_GOTOBOTTOM
Ships by Class/Type: Military Small Craft
For topics on PT boats, landing craft, Vietnam riverine, etc.
Italeri 1/35 PT 596
dodgem37
Visit this Community
Maryland, United States
Joined: October 19, 2006
KitMaker: 6 posts
Model Shipwrights: 4 posts
Posted: Saturday, August 12, 2017 - 02:21 PM UTC
I've been messing around with the subject model for a few months now. My wife suggested I post it on-line to share what I've been doing. First time posting. I'll see how it goes for a start. Hope you like it. Photo intensive.


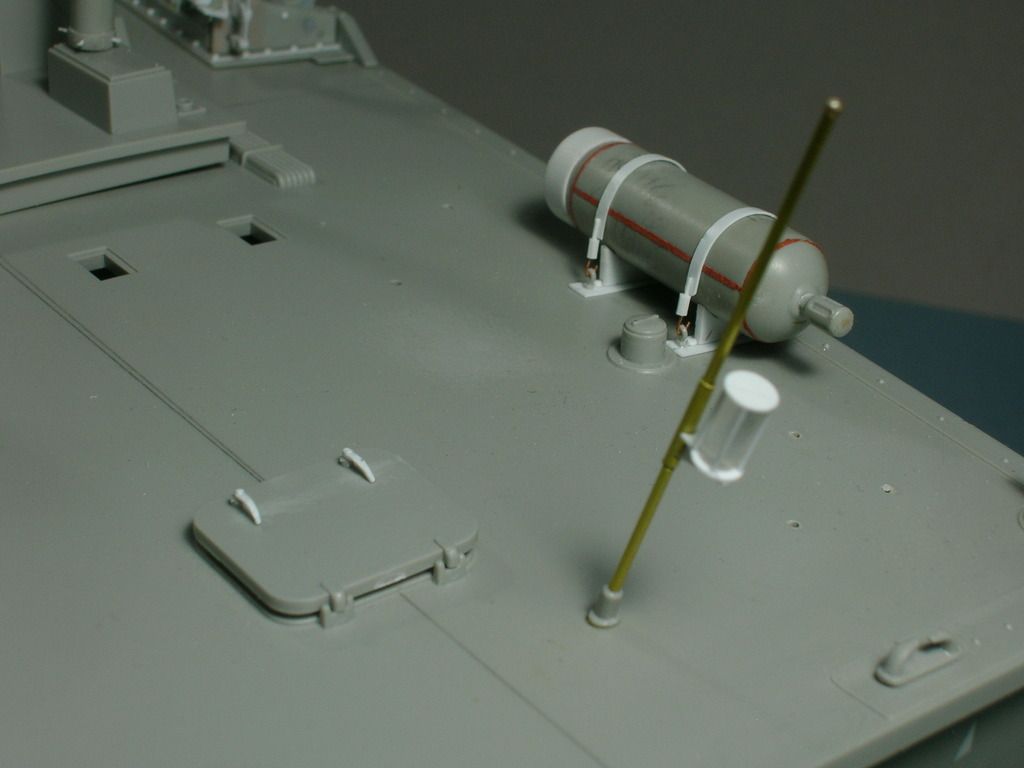
Flag staff. Telescoping Albion Alloys Tube. Clear sprue Lantern. Hatch Dogs.
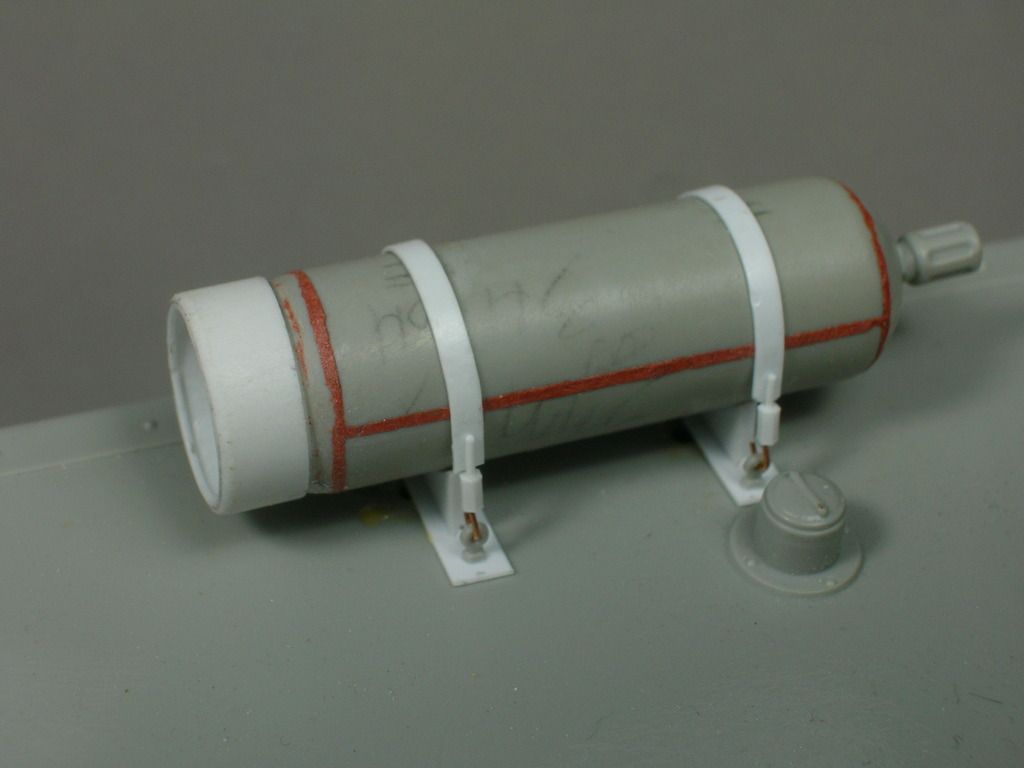

Smoke Discharger. I see I forgot to champher the rear strap. Oh, well.
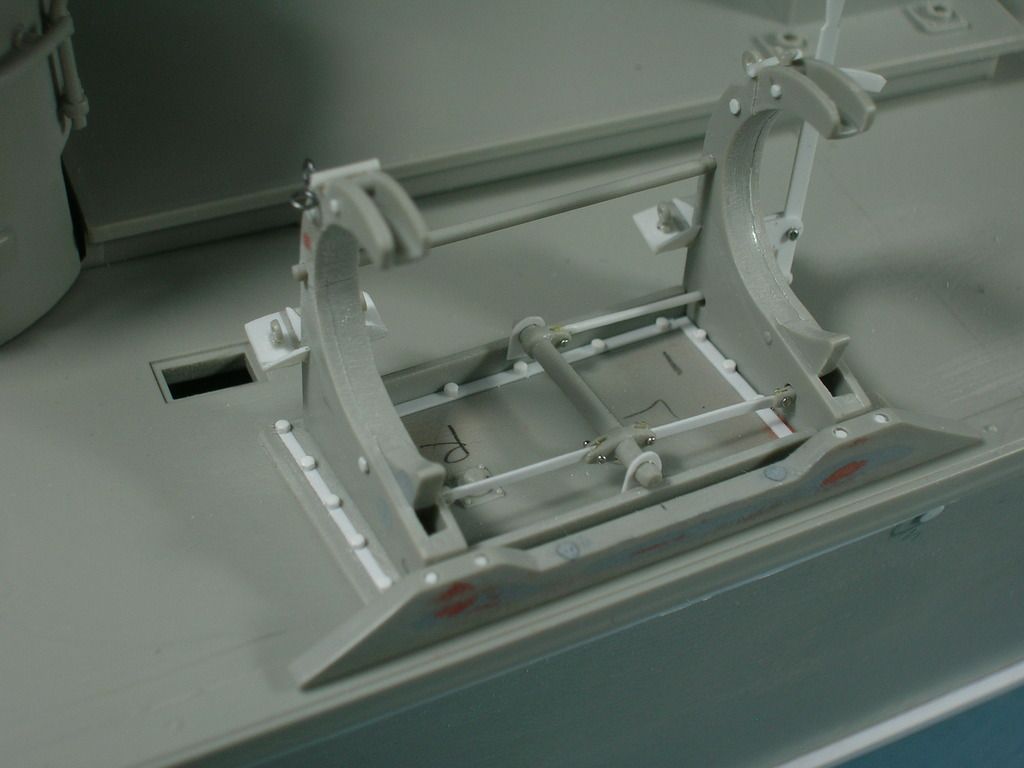

Port rear Torpedo Roll-Off Rack. Silver is flattened solder balls.
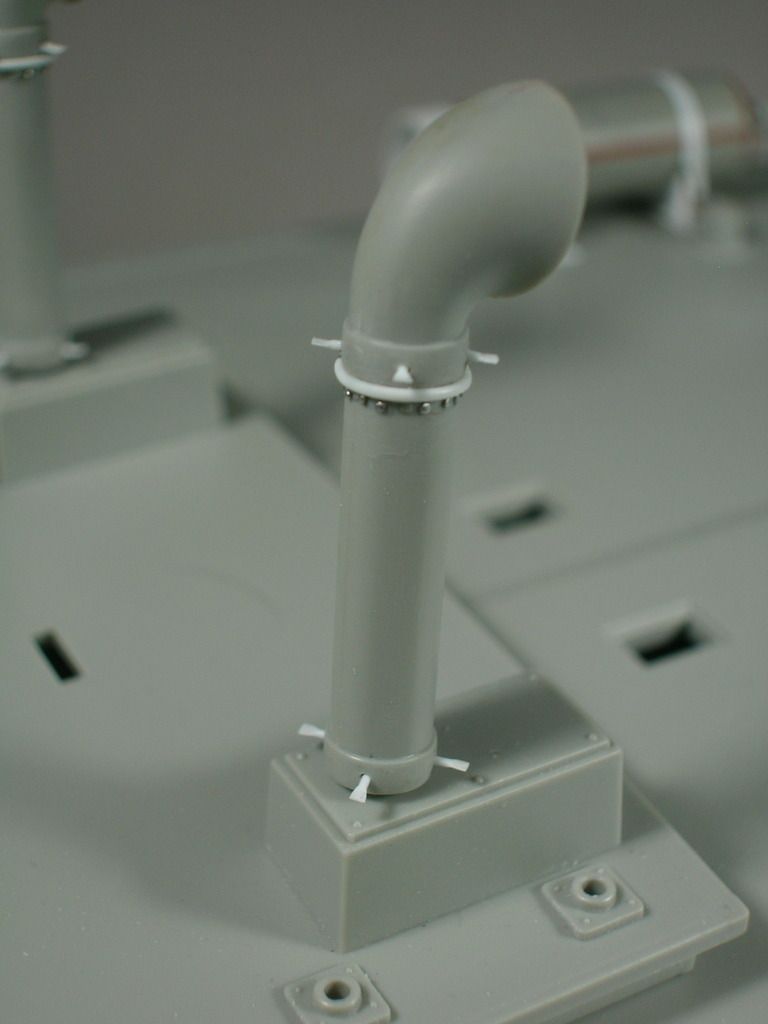

Engine Room Vent. Flattened rod is supposed to represent wing bolts.
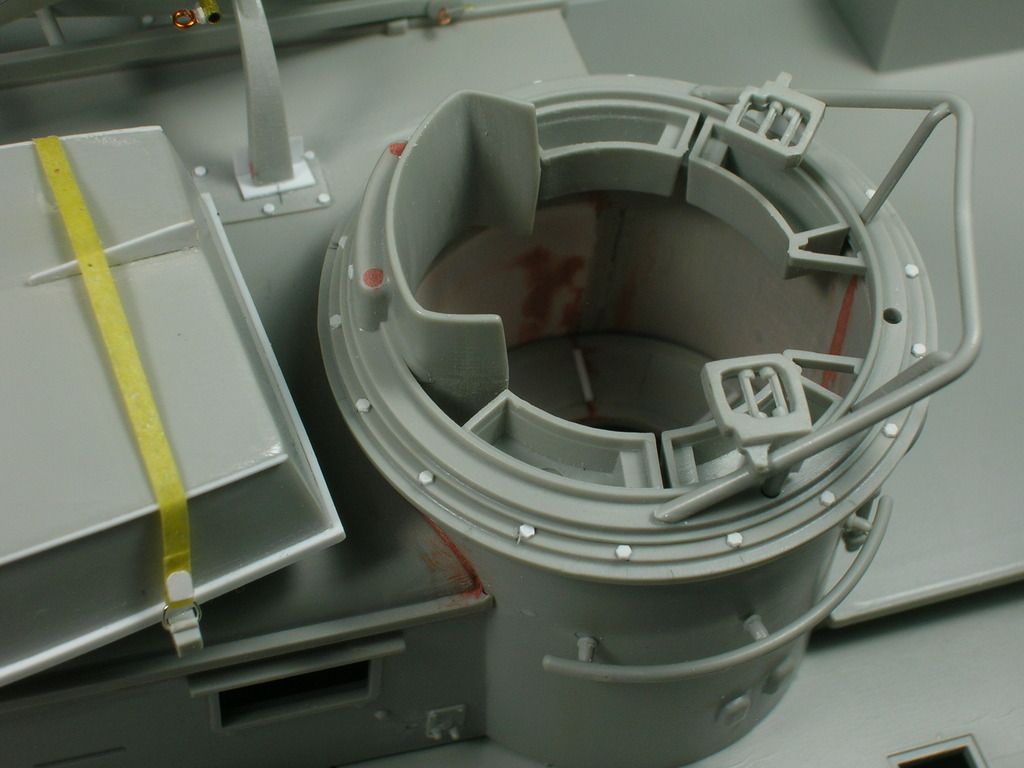

Rear Turret Ring. Blocked in rear wall. New details on Dinghy.
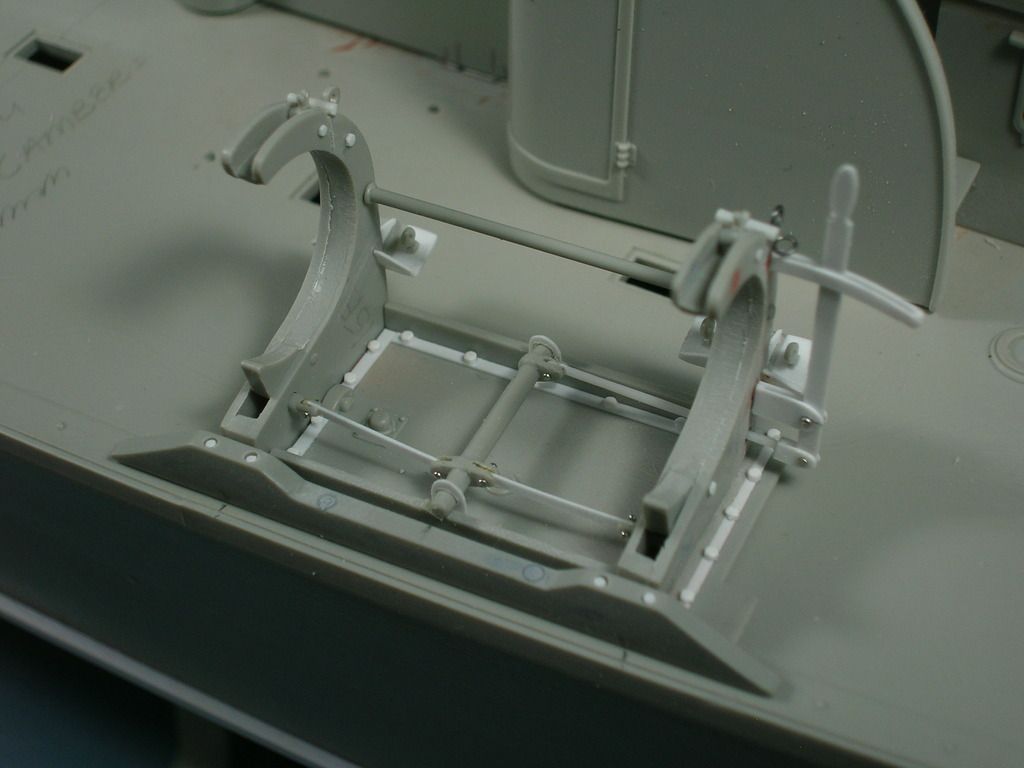

Other Port side Torpedo Roll-Off Rack.
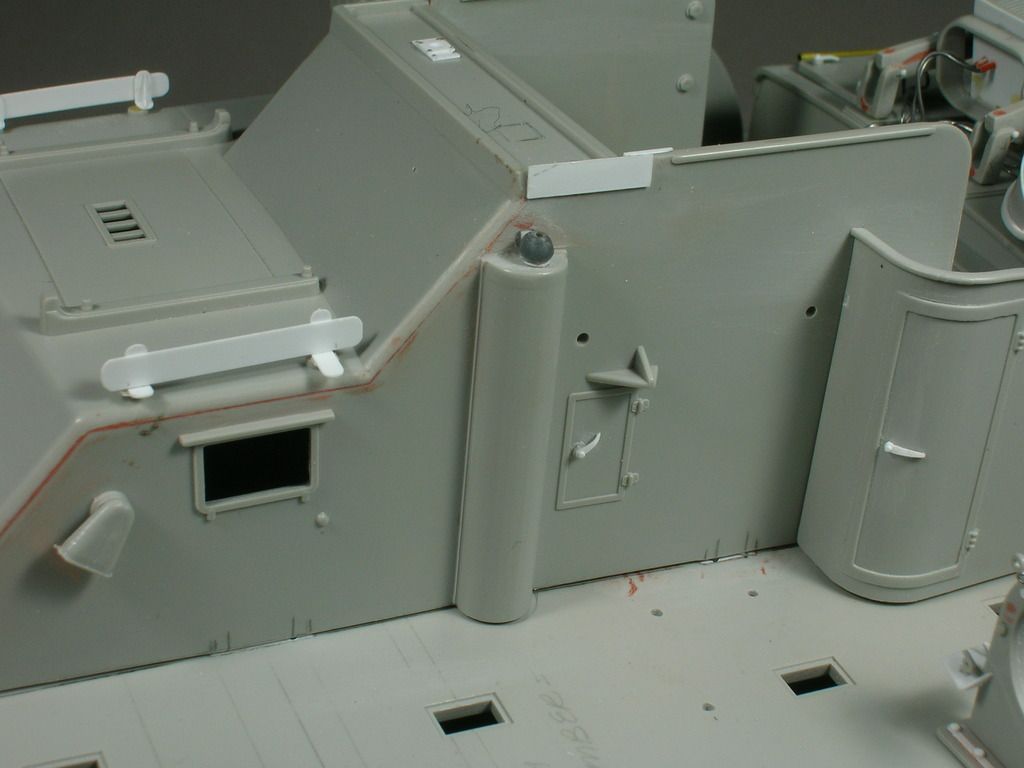

Hatch Dogs, Running Light Guard, Antenna Base, corrective strip.
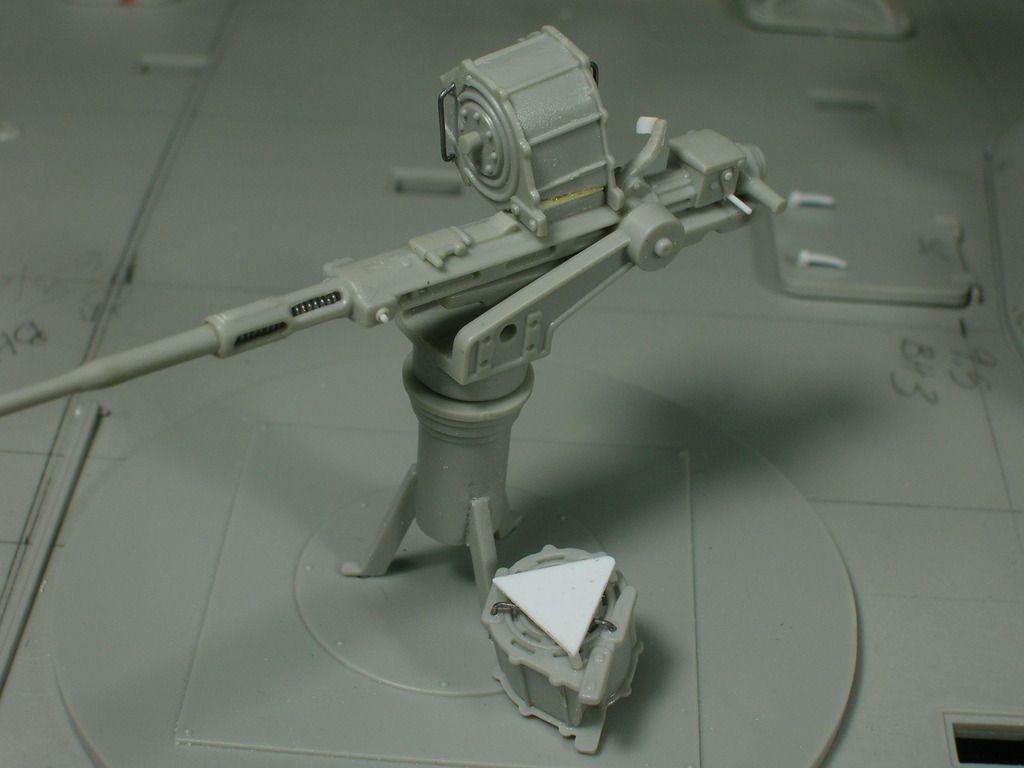

20mm. New Recoil Spring from solder, misc. details.
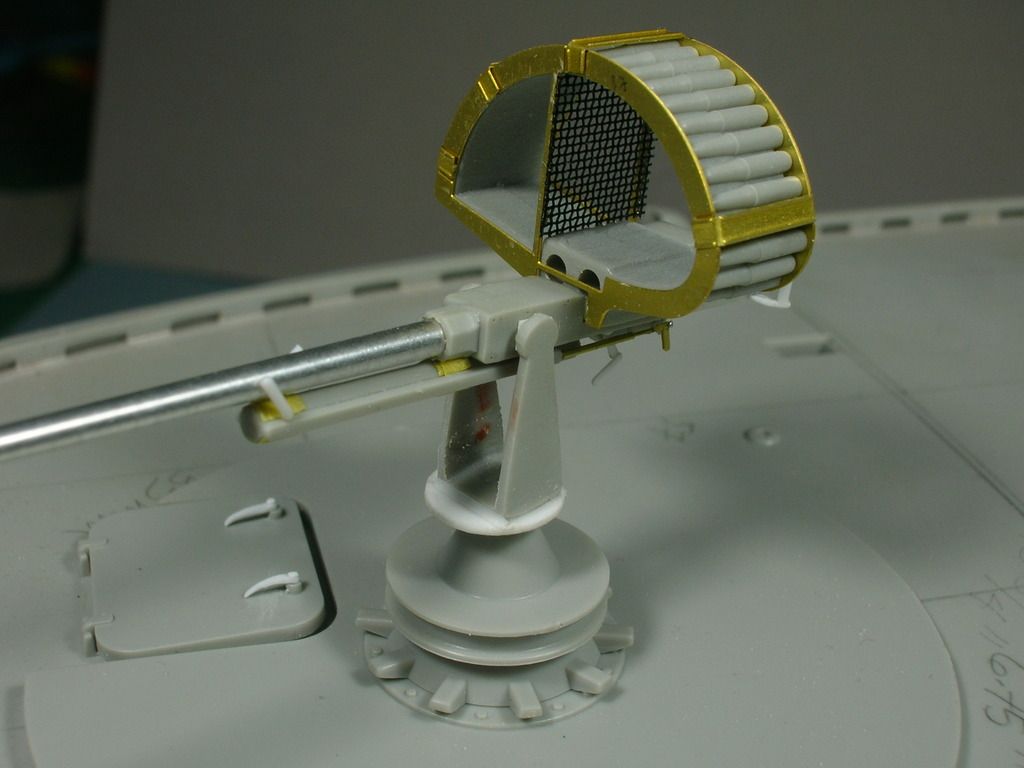

37mm. Reworked base, misc. details.
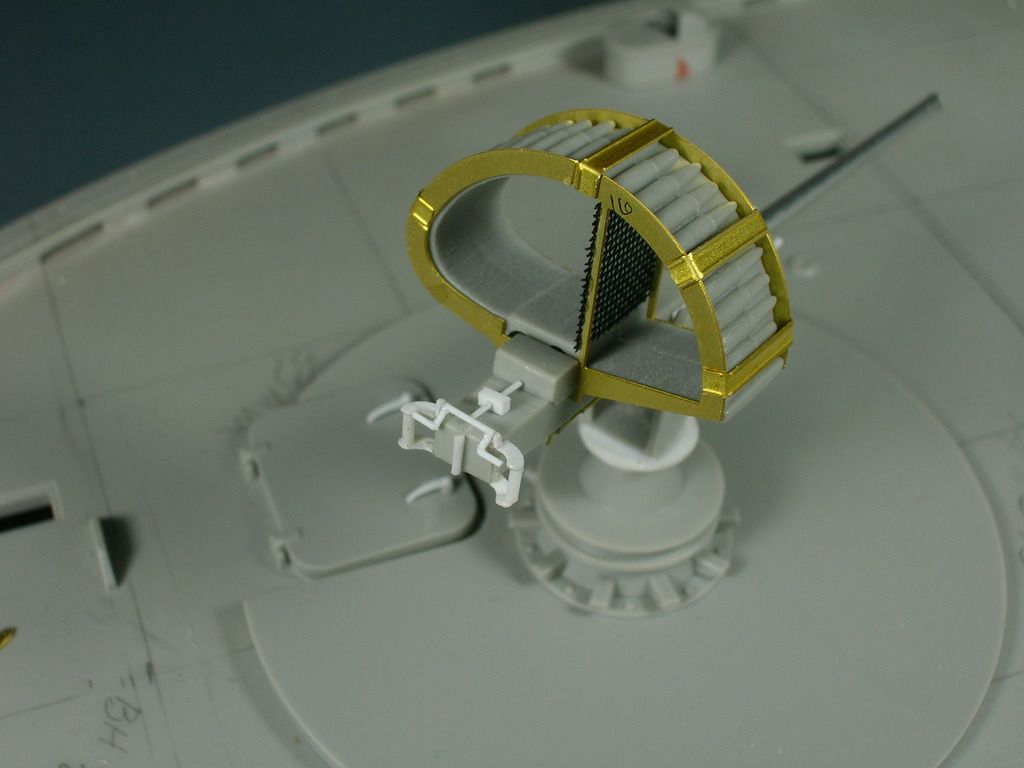

Tried my hand at making a new Handle/Trigger detail. Not so hot.
I'll get back to this later.
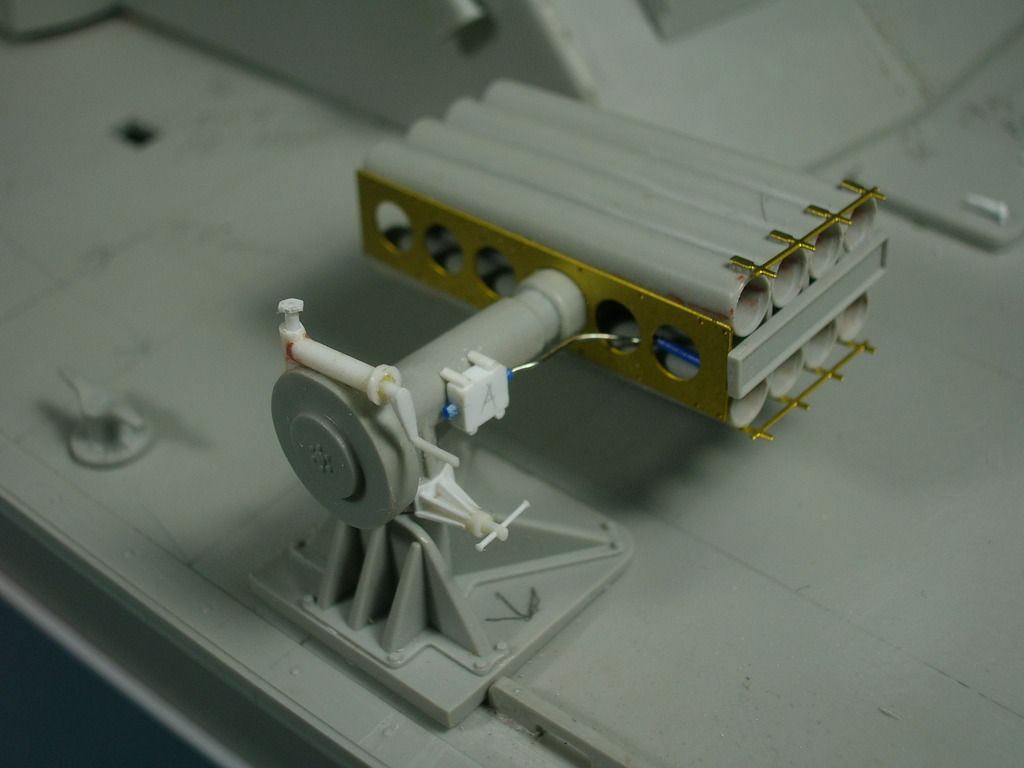

Rocket Launcher.
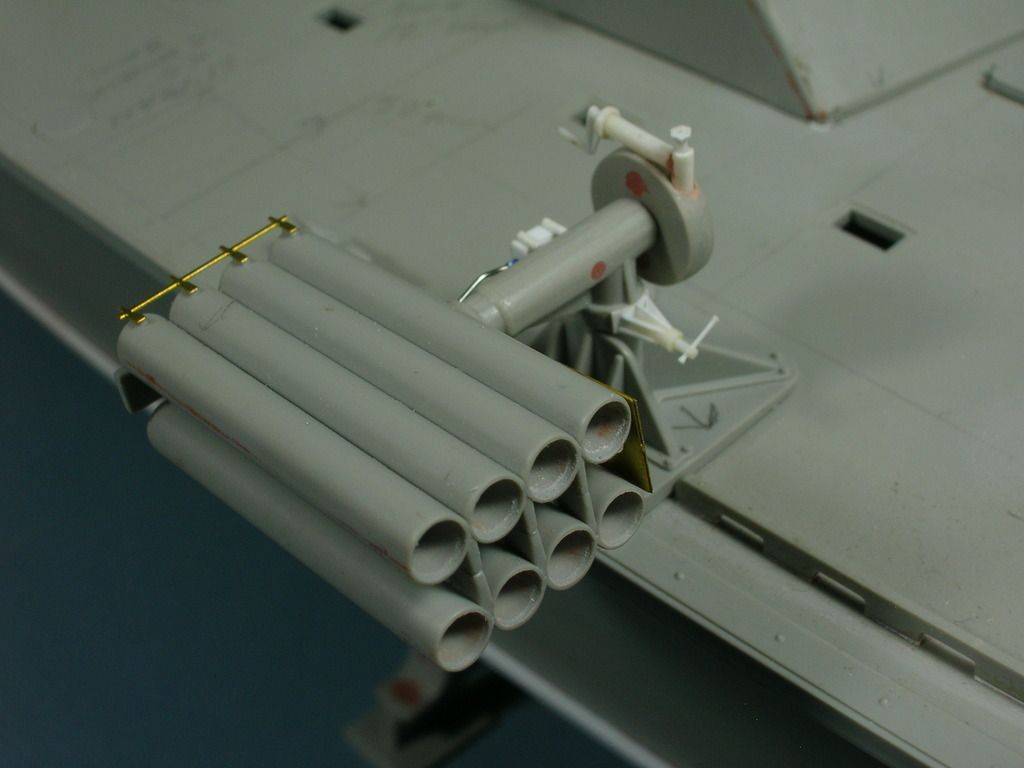

Other side.
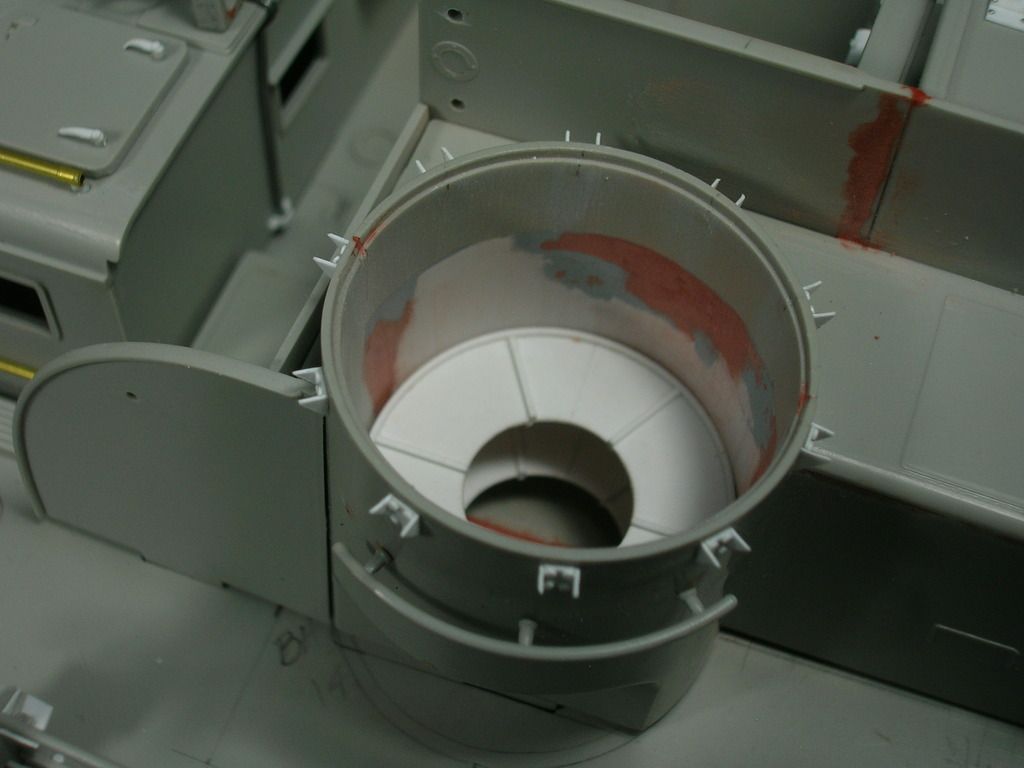

Blocked in Forward Turret and added fasteners.
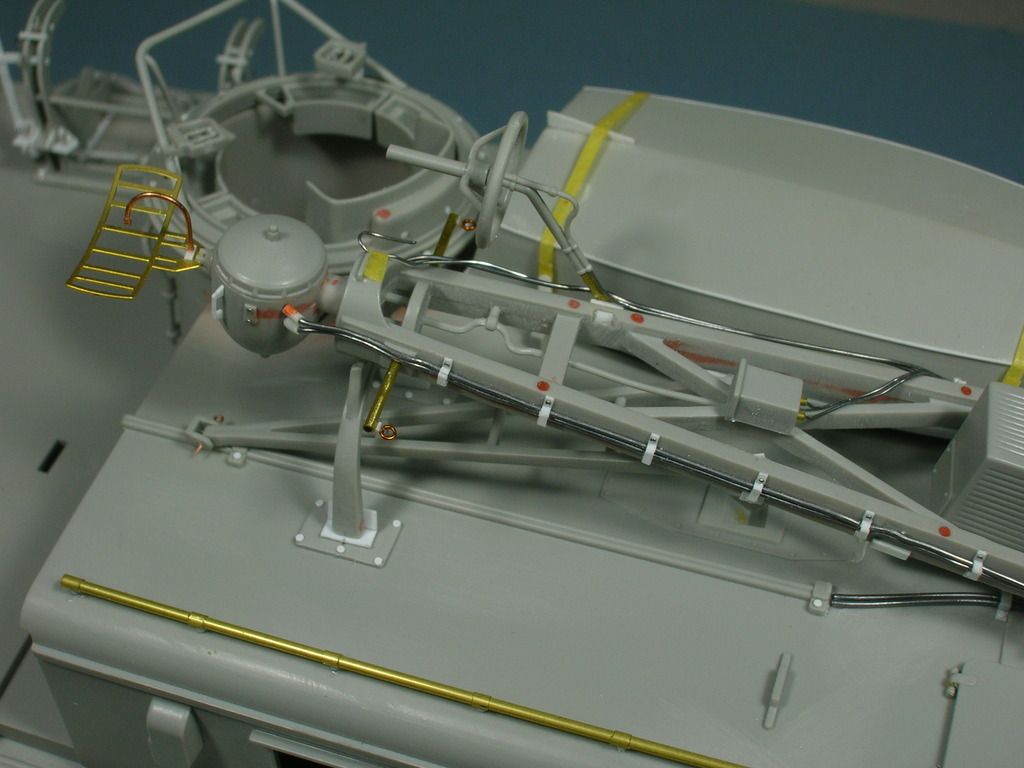

Did some extra work on the Mast. Still need Running Light and Rope Tie-Downs.
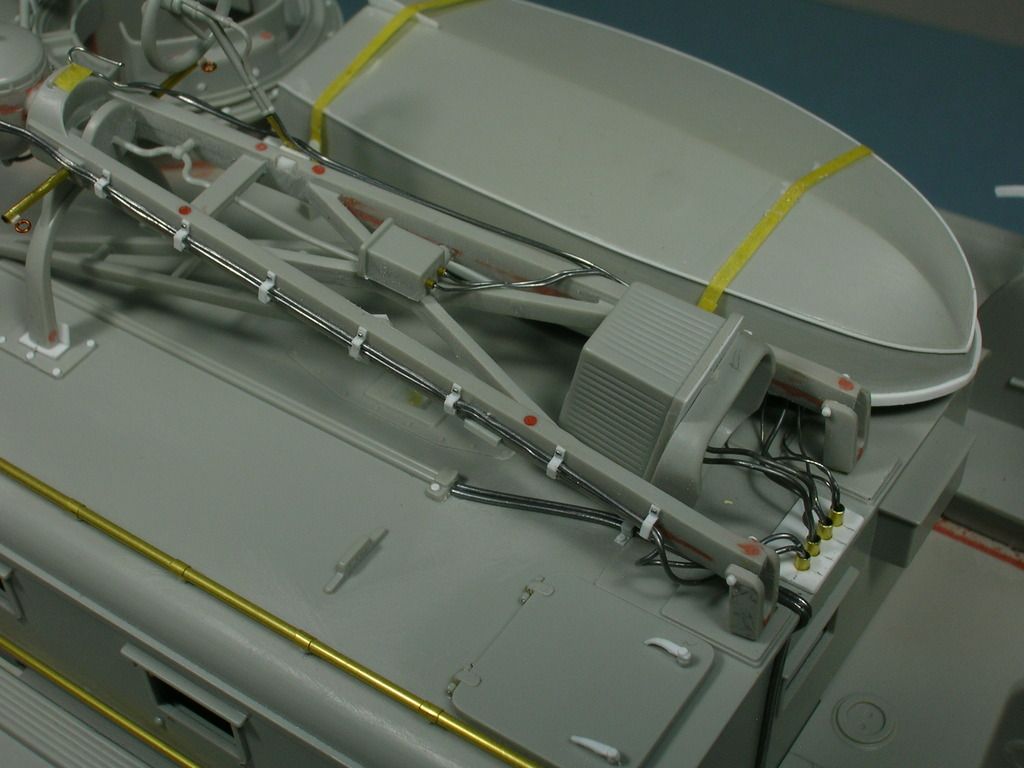

New Hatch Dogs, relocated Cabling, Albion Alloys telescoping tube for Rails and Boat Hook.
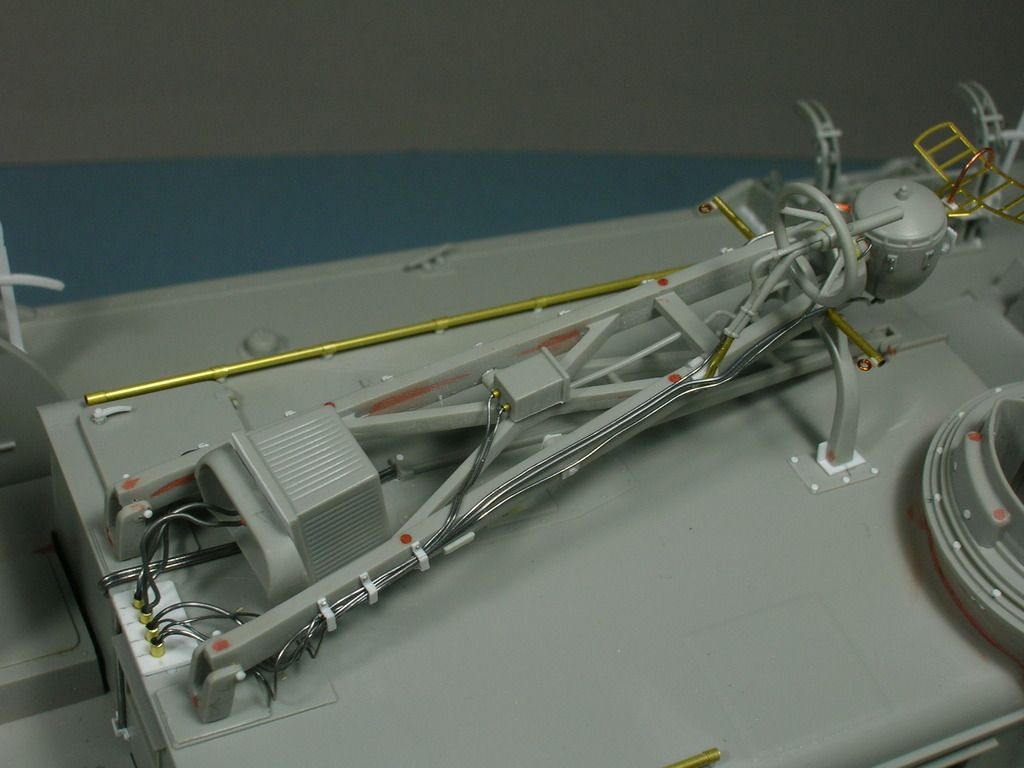

Full Monty.
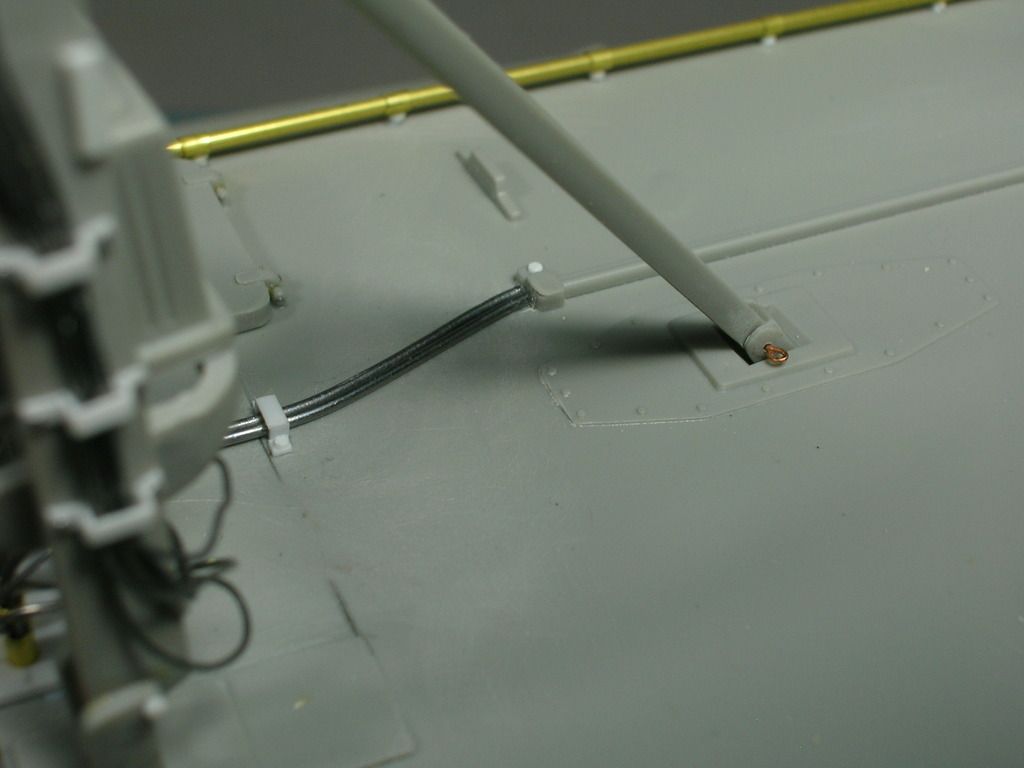

Pin-Mounted so I can lay the Mast down.
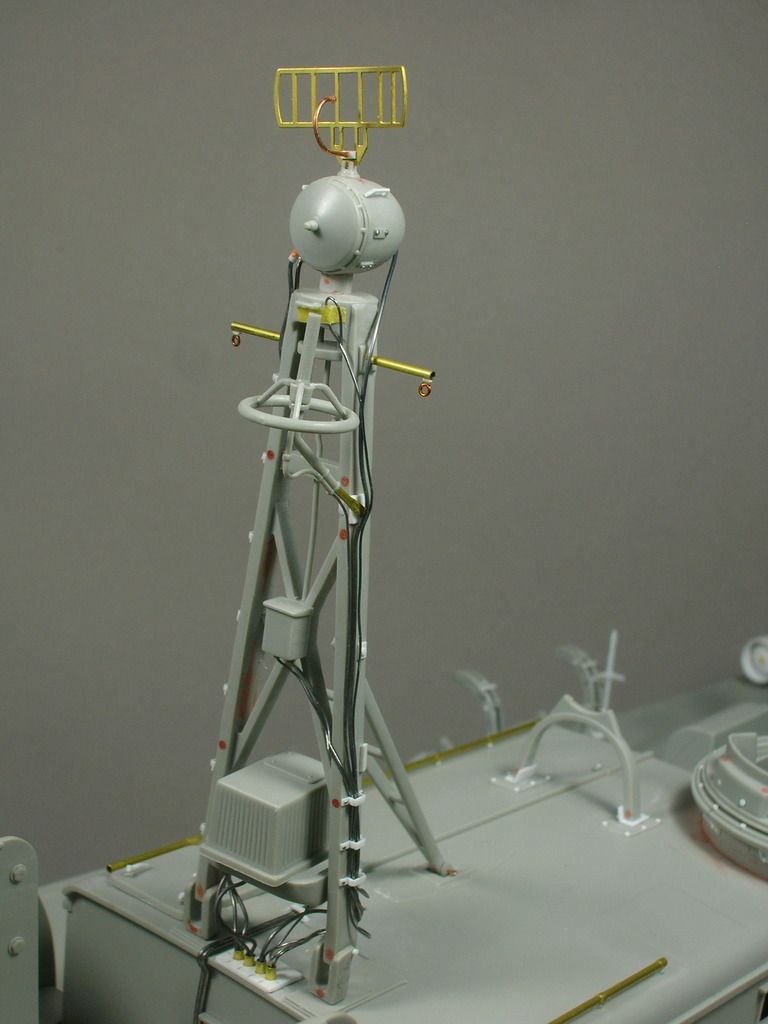

Attention!
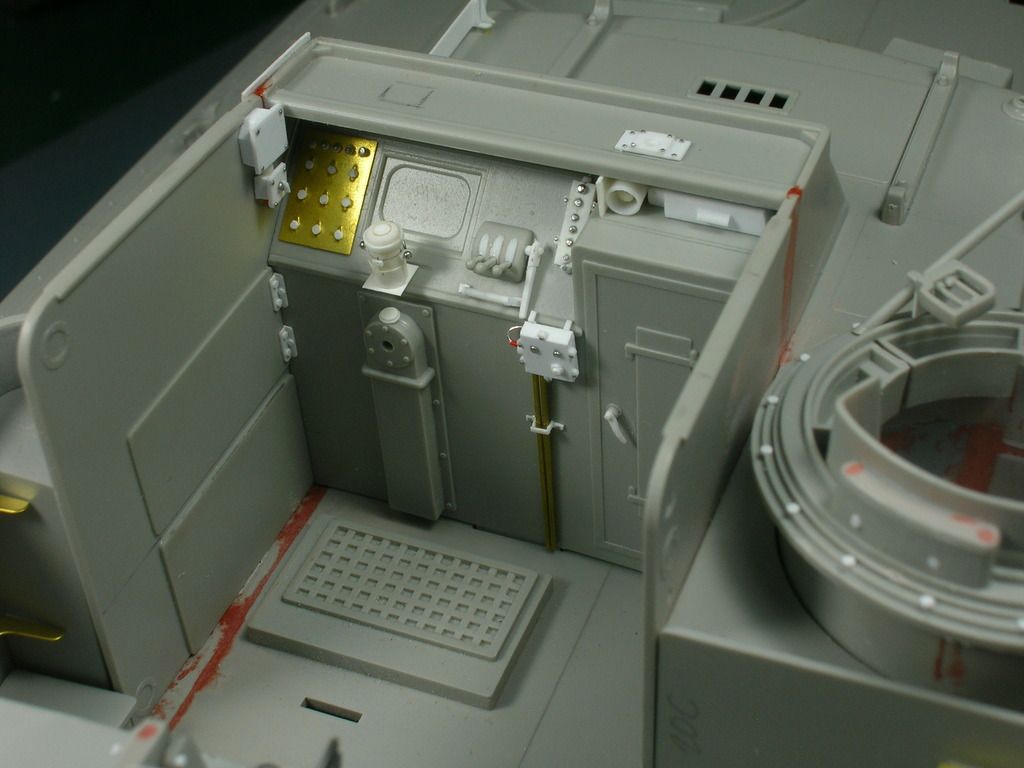

Did some Cockpit work.
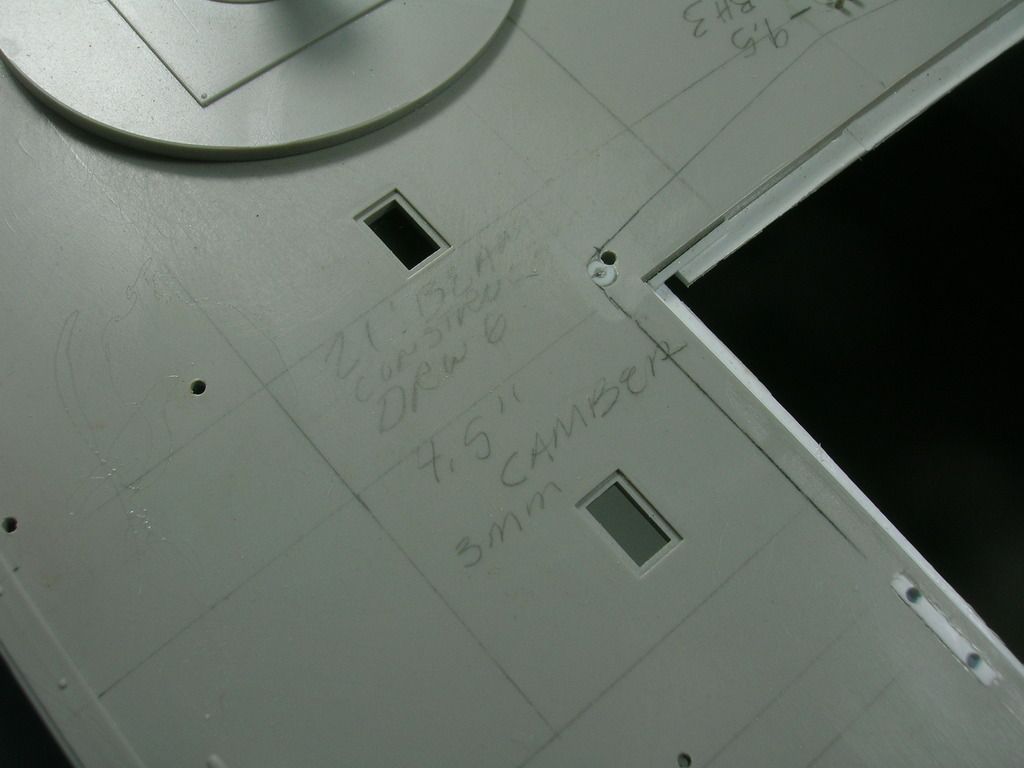

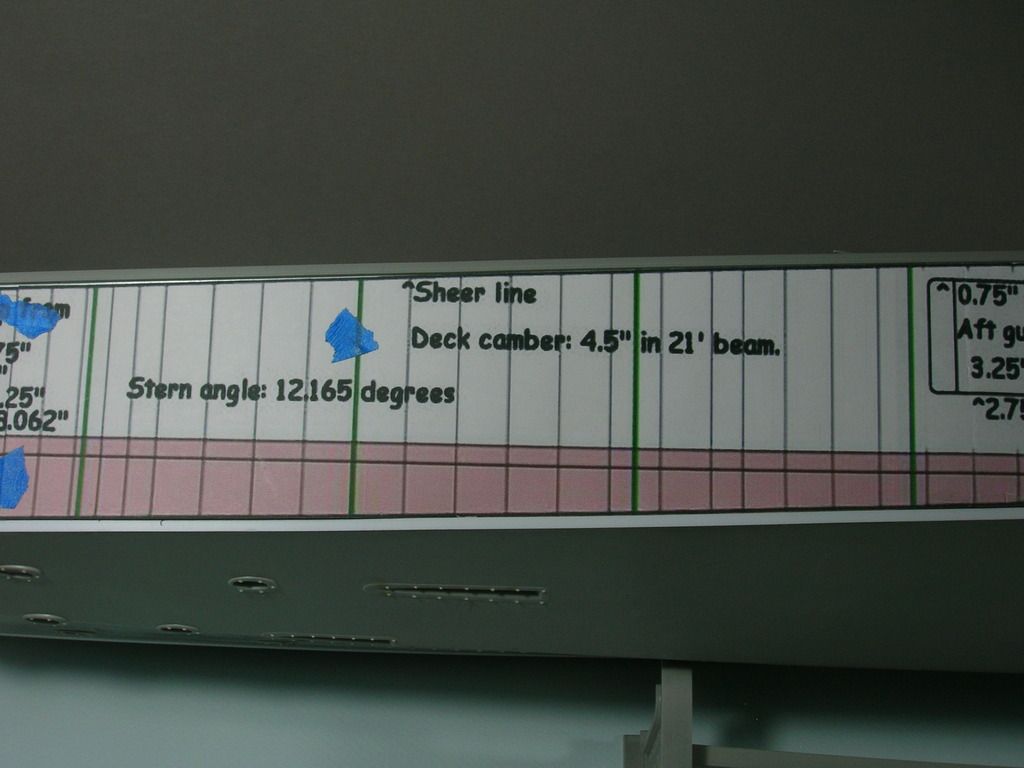
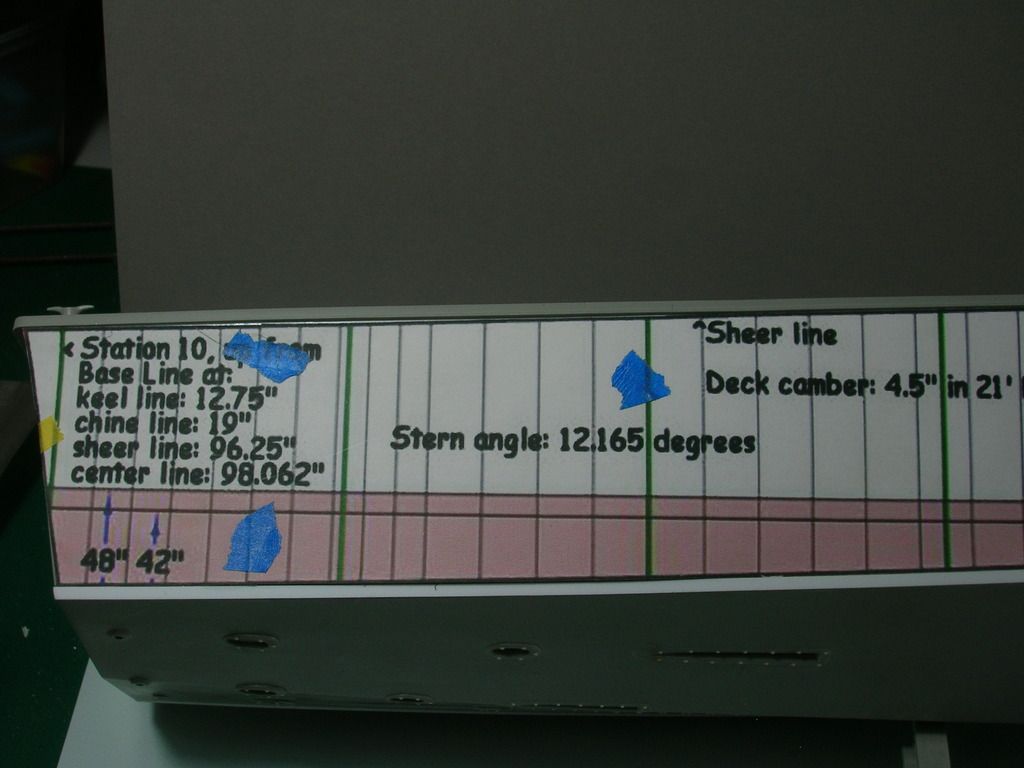
Notes to work out Camber.
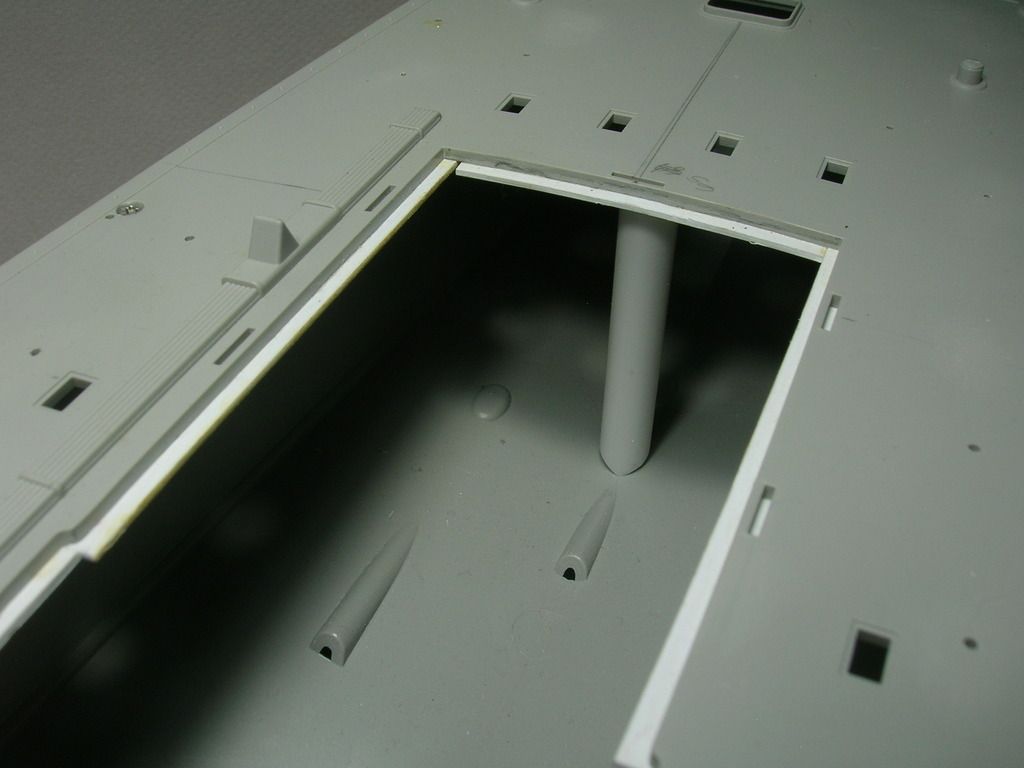

Helping hand, aft.
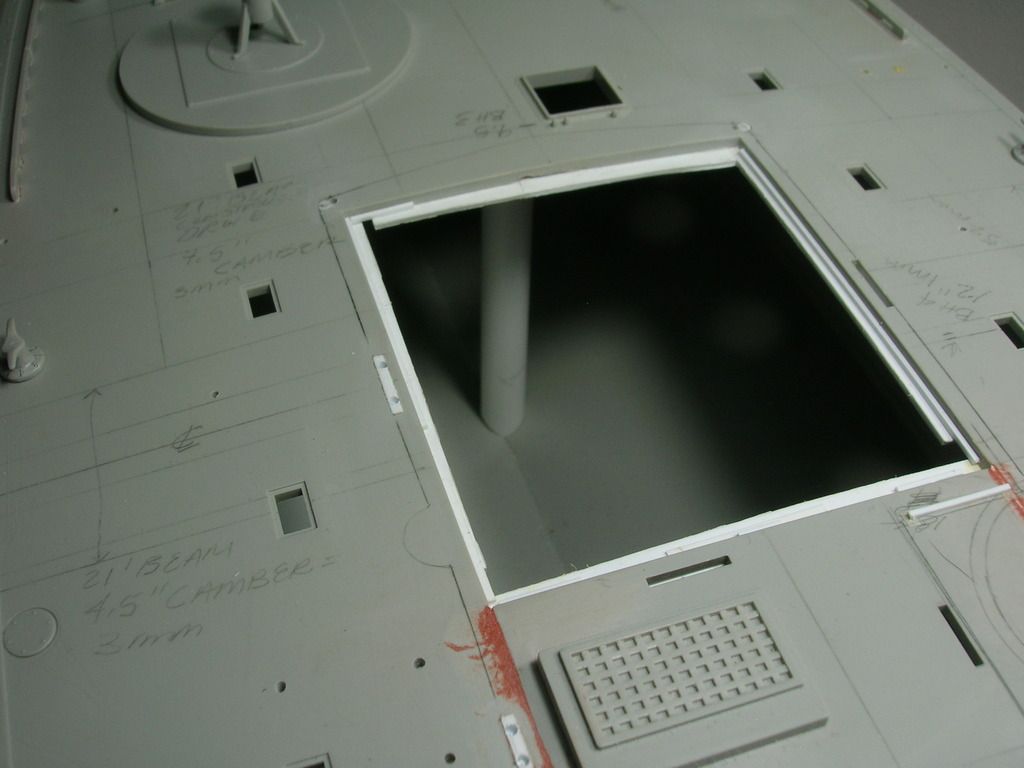

Another one, forward.
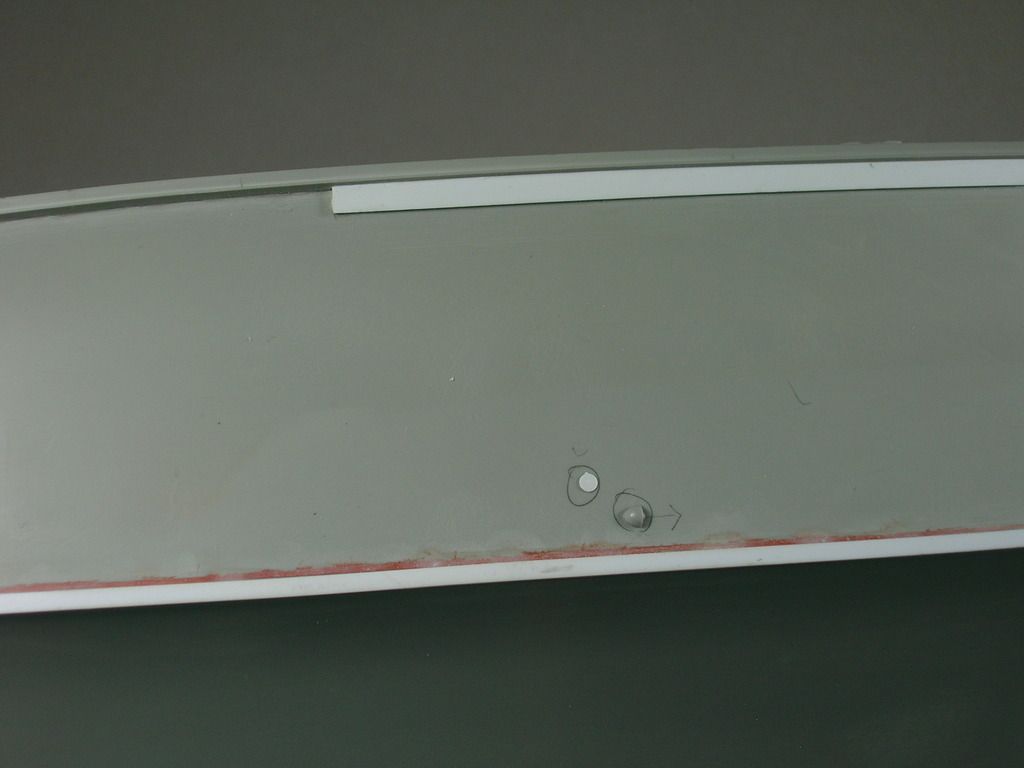

New Chine and Gunnel.


Doesn't appear so, but I sanded the keel to sharpen it a bit.
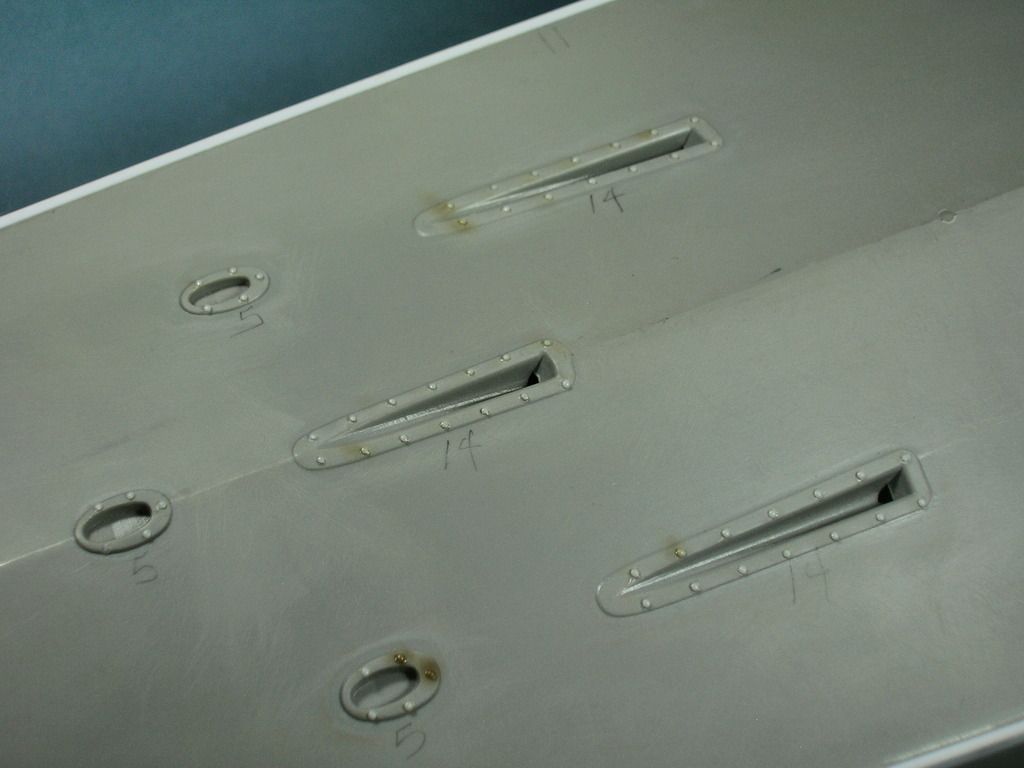

New Carriage Bolts.
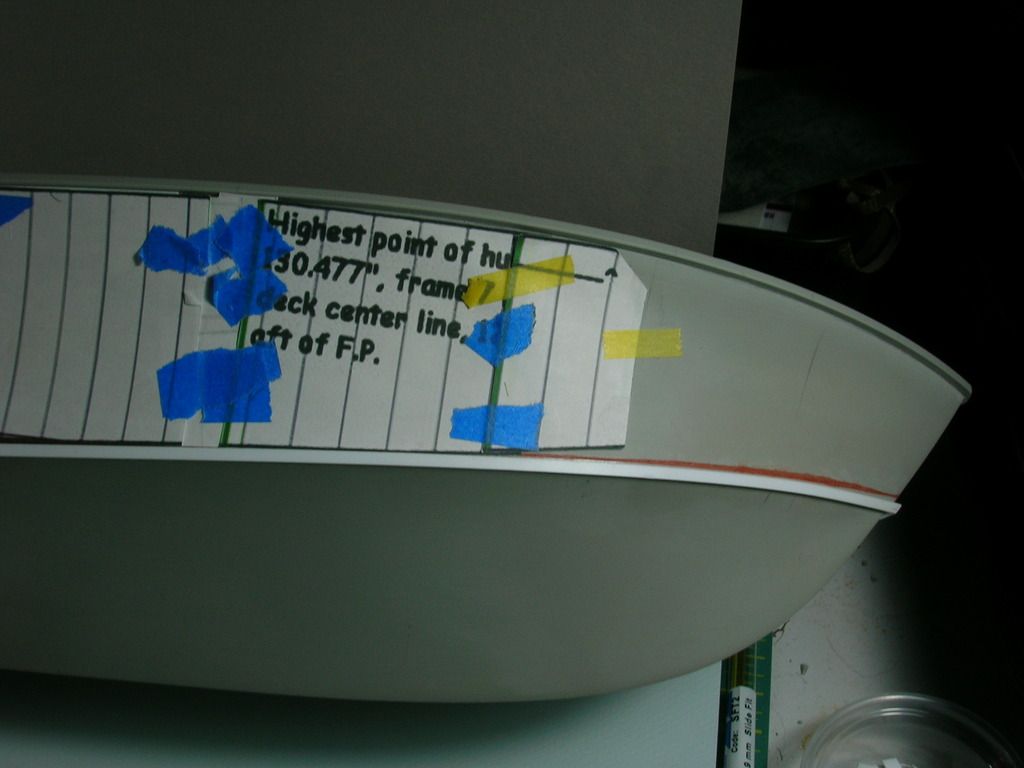

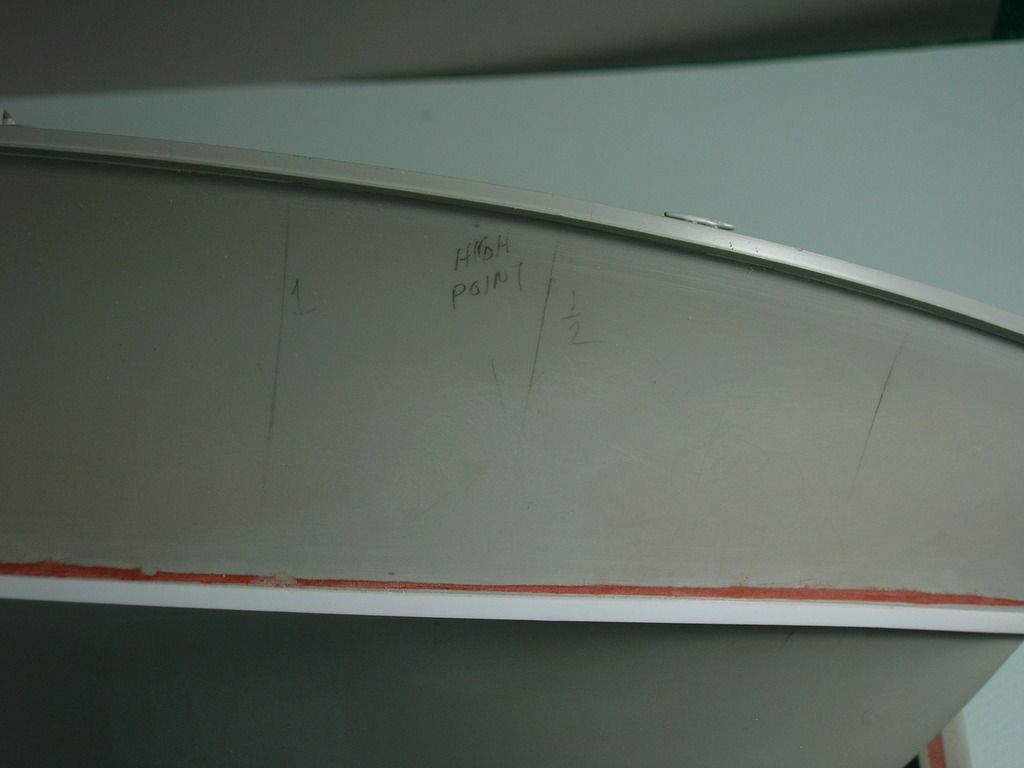
The next couple of imagery are figuring out the deck contour.
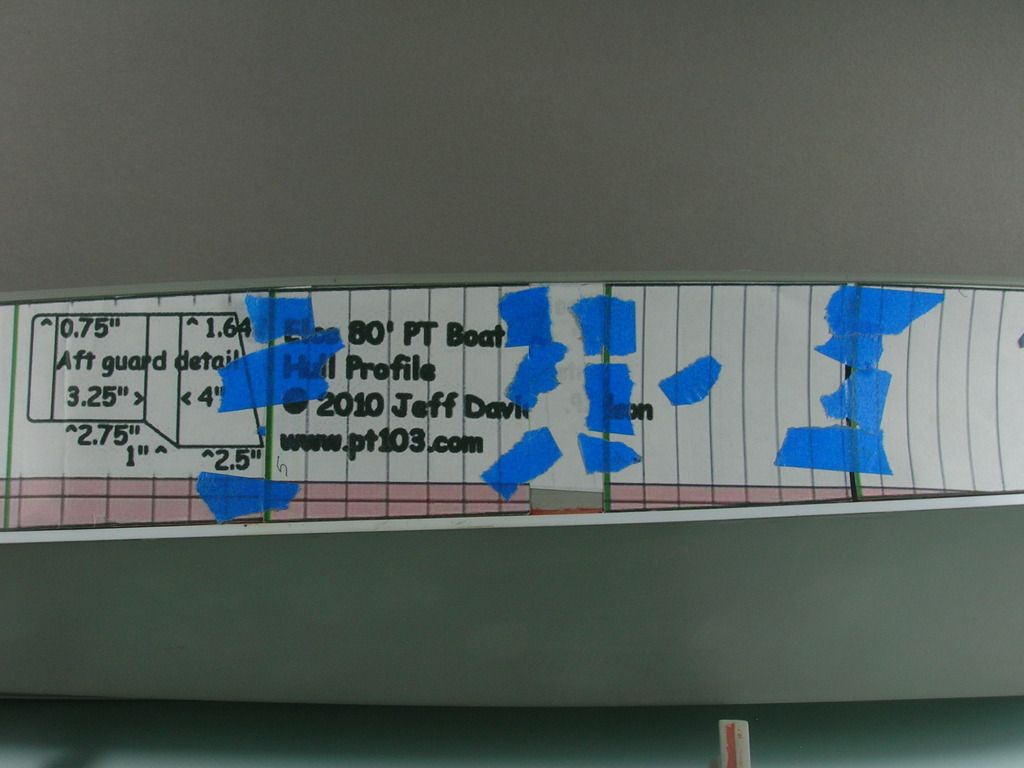


Bulkhead locations.
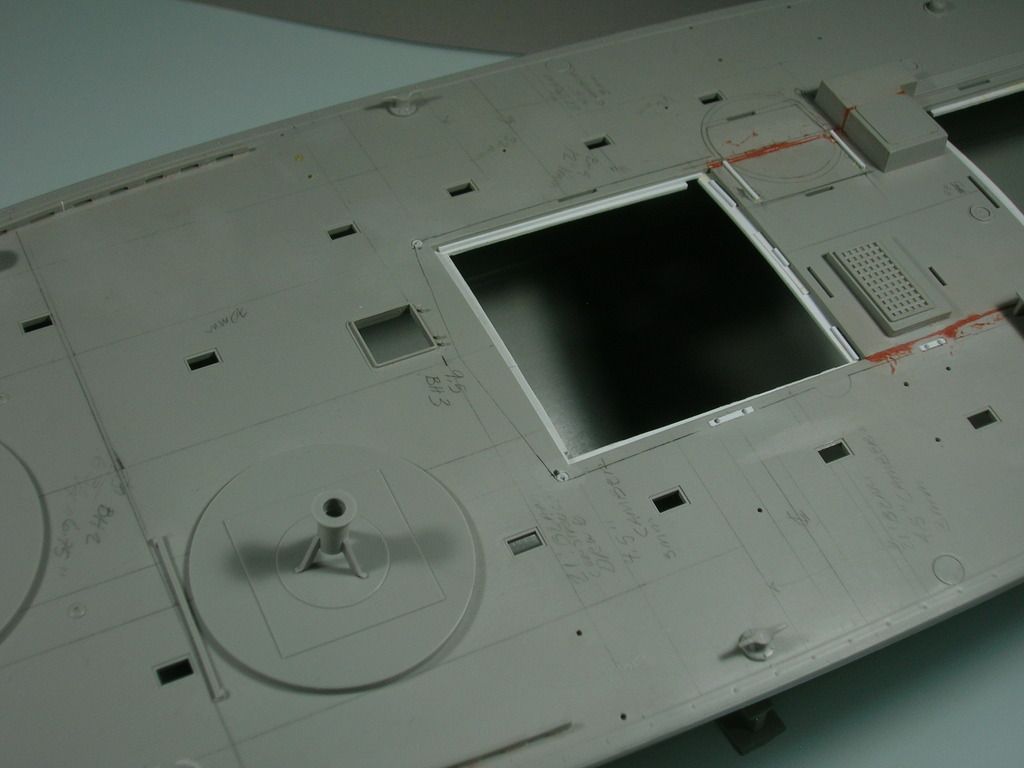

Lots of notes to figure things out.
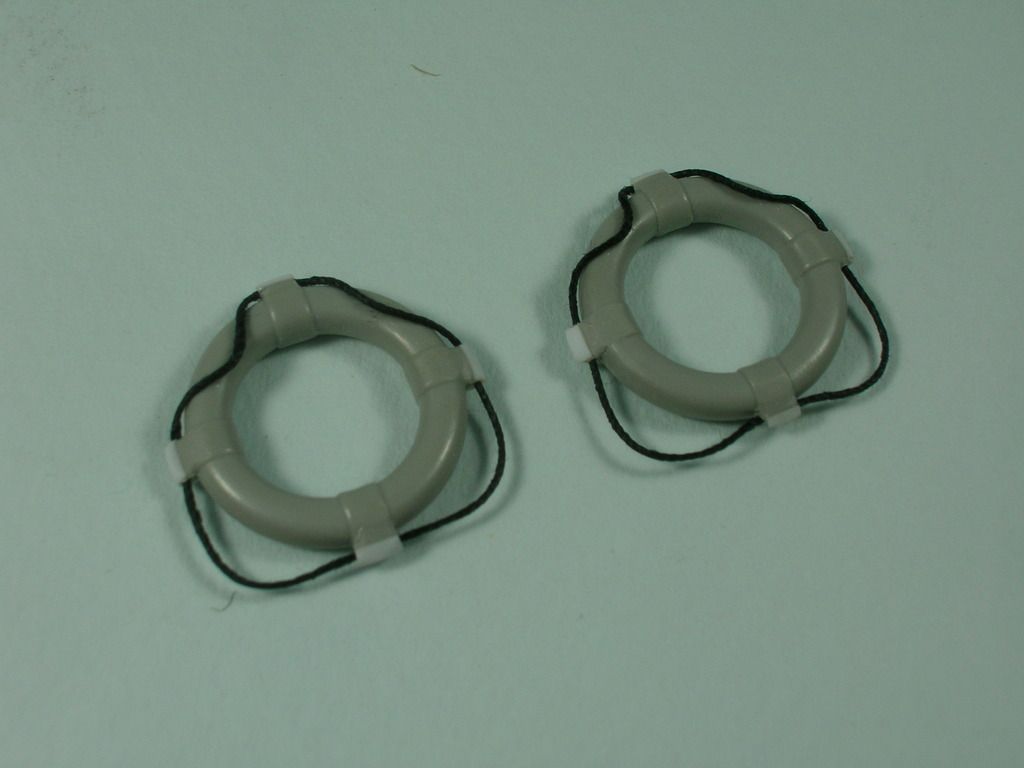

Life Rings.
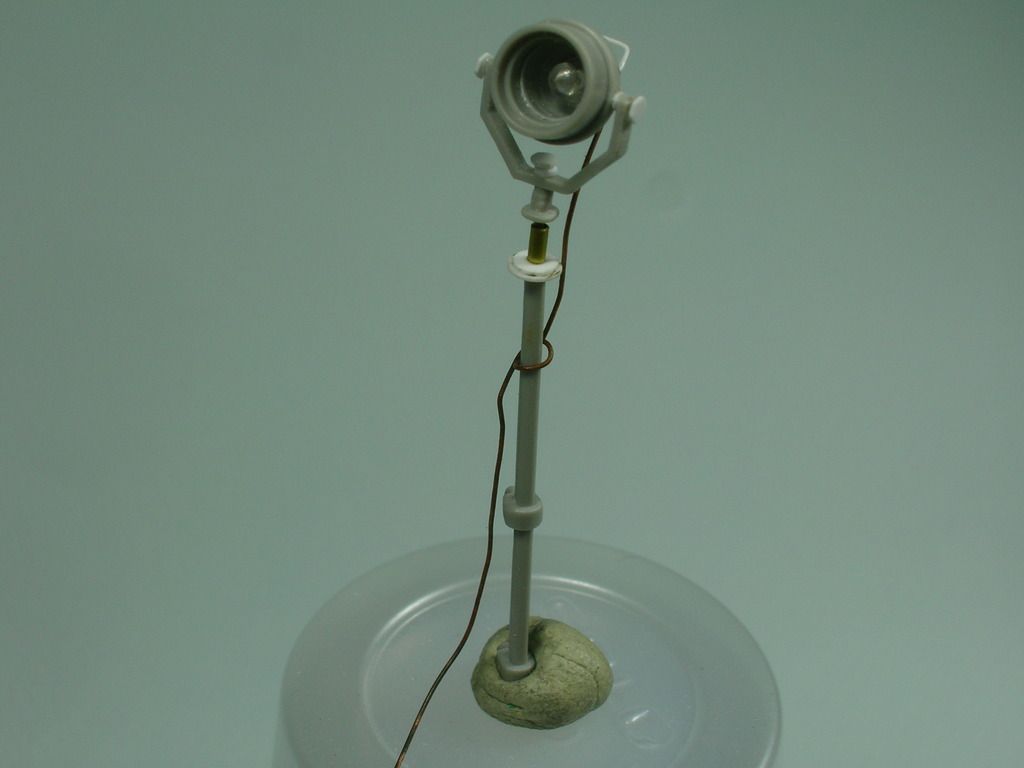

Search Light with bulb. Rotates, elevates, and depresses.
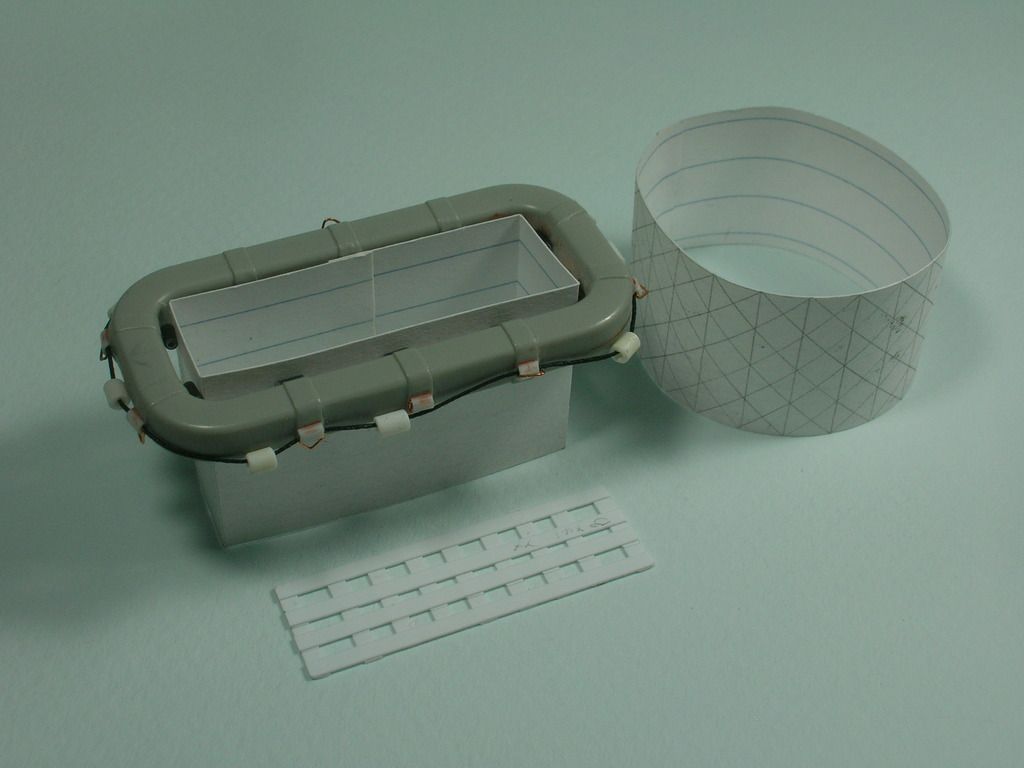

Figuring out the Life Raft Rope Fencing.
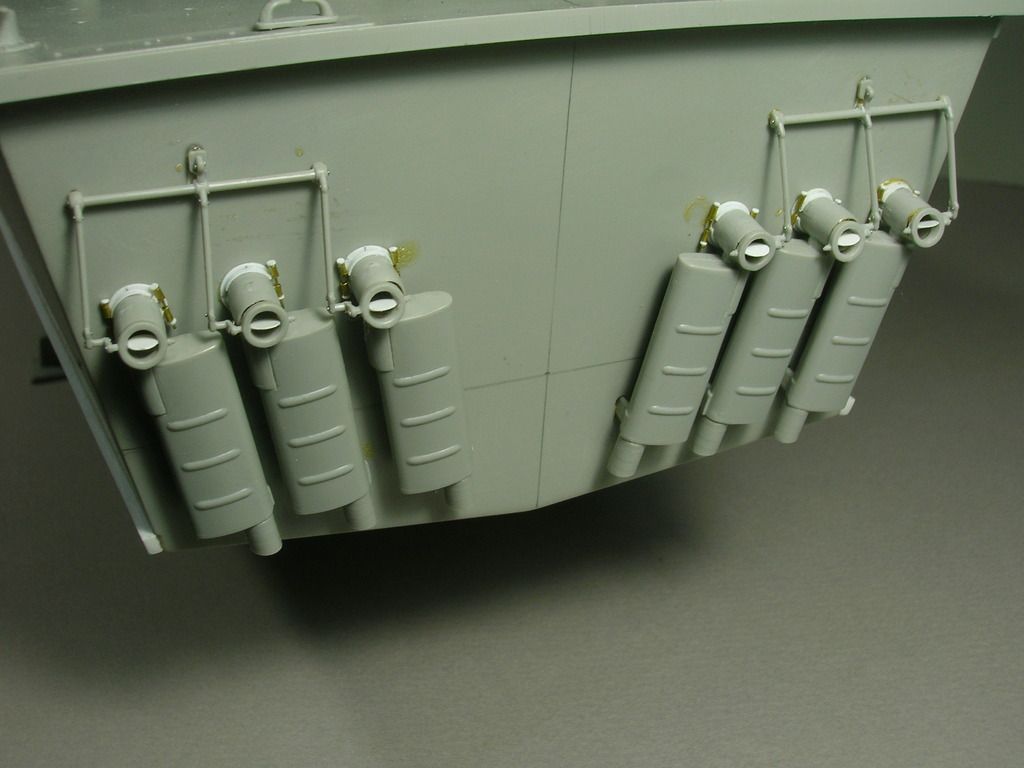

Muffler detail. I see I lost a Clamp Fastener. A little over zealous with using masking fluid as a temporary fastener.
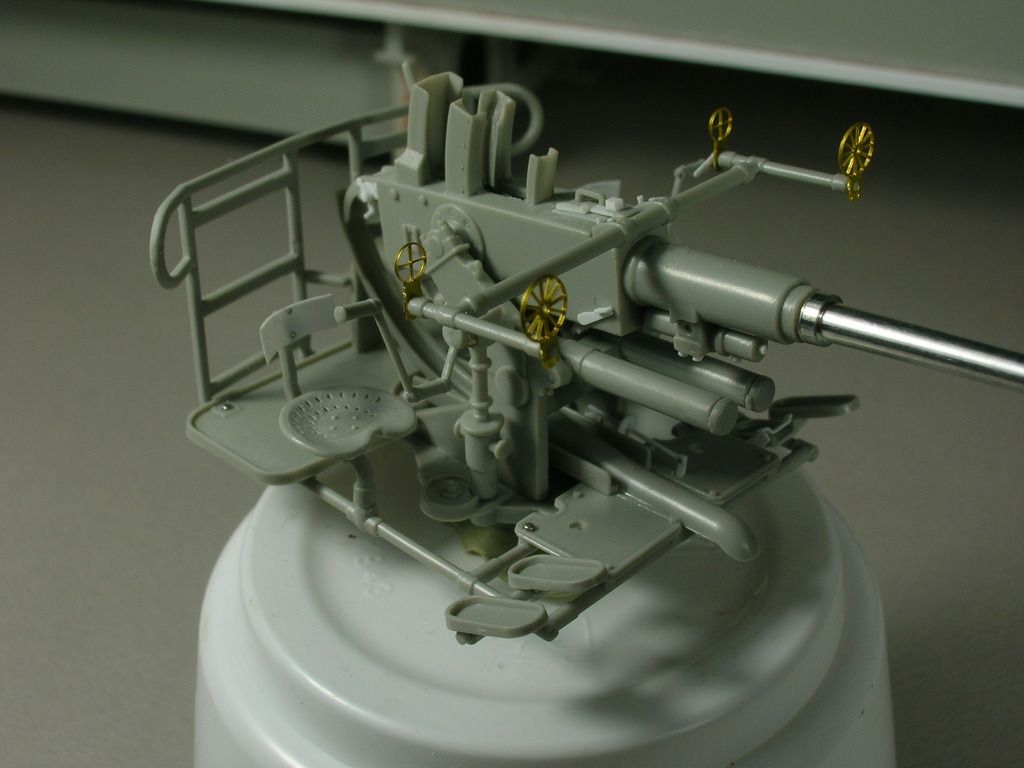

40mm. Used a Technical Manual for detailing.
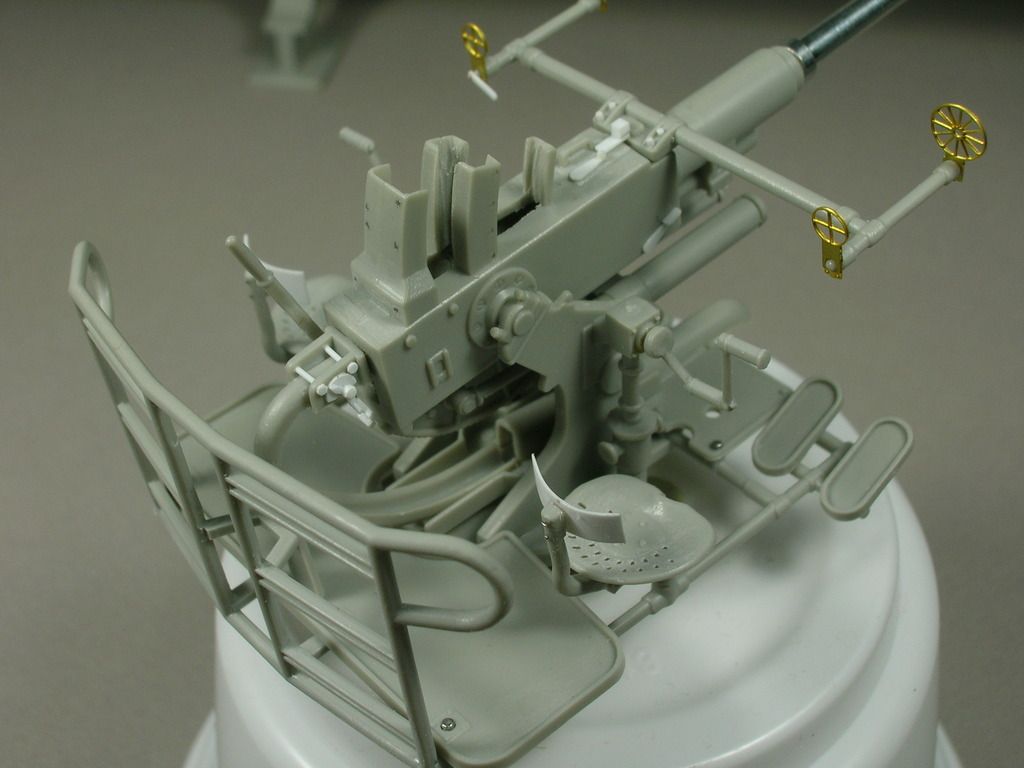

Side 2.
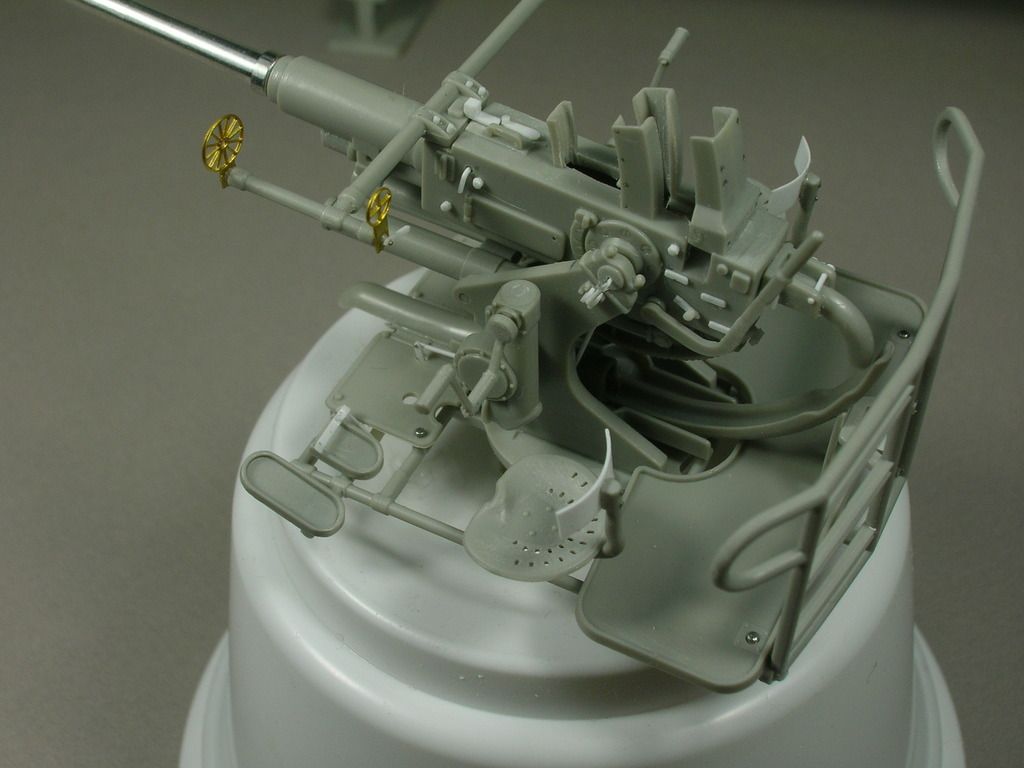

Side 3.
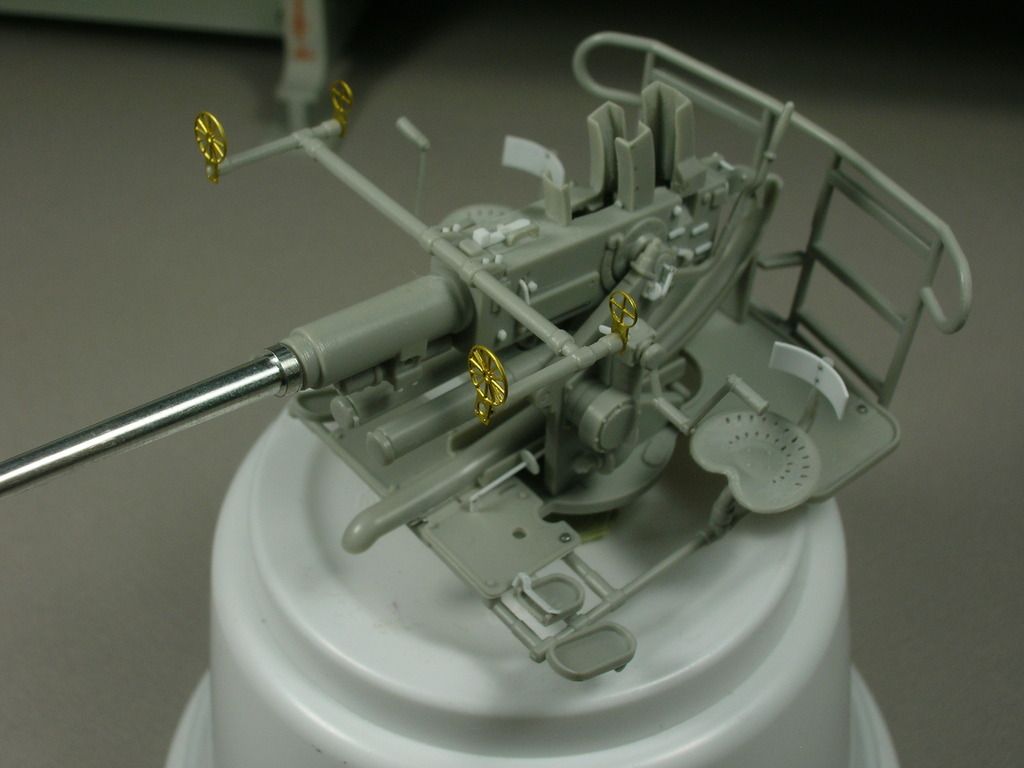

Side 4.
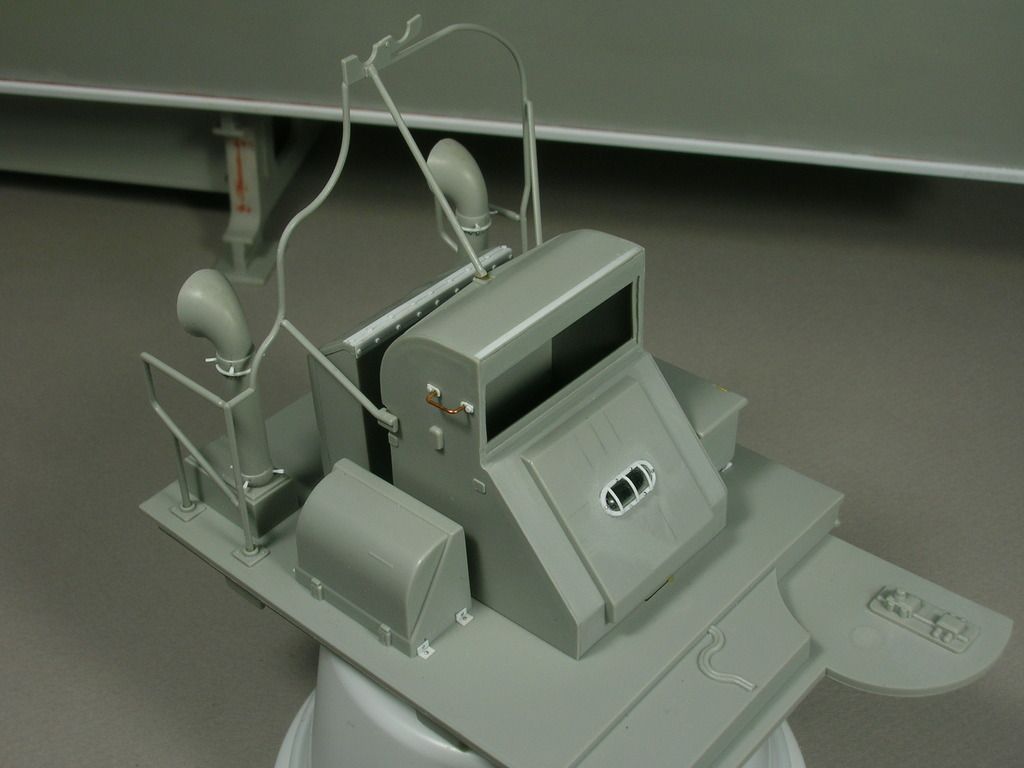

Engine Room Deck. I removed the window, shaped some rod, then vac-formed the rod to make the window.
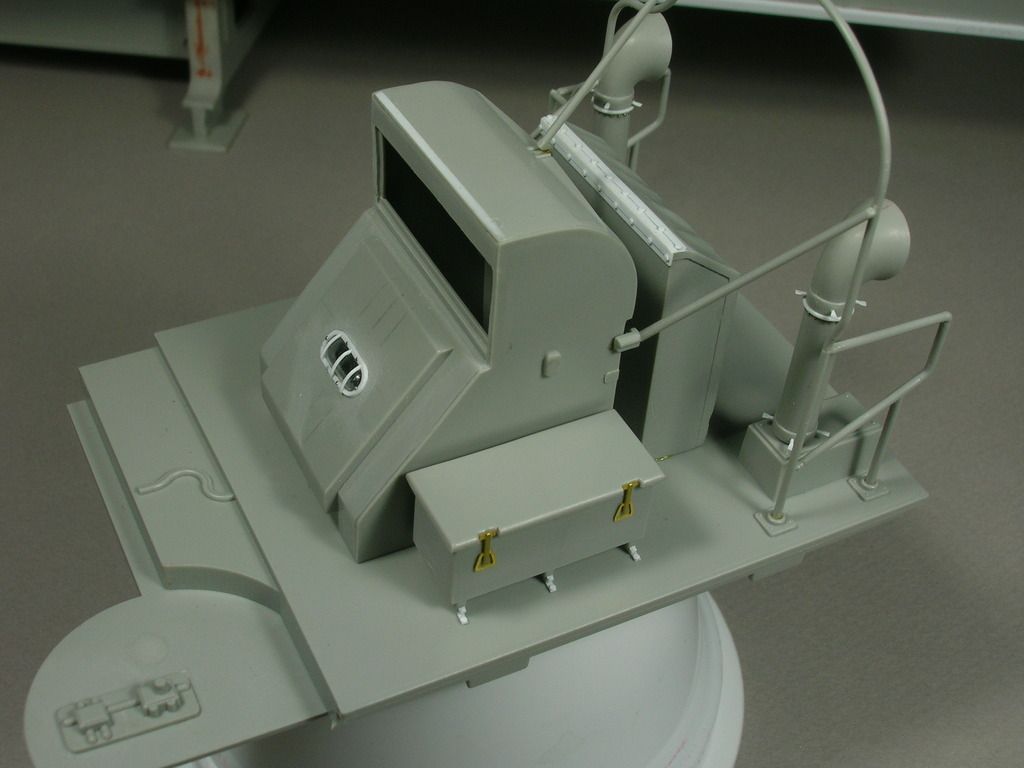

Other side.
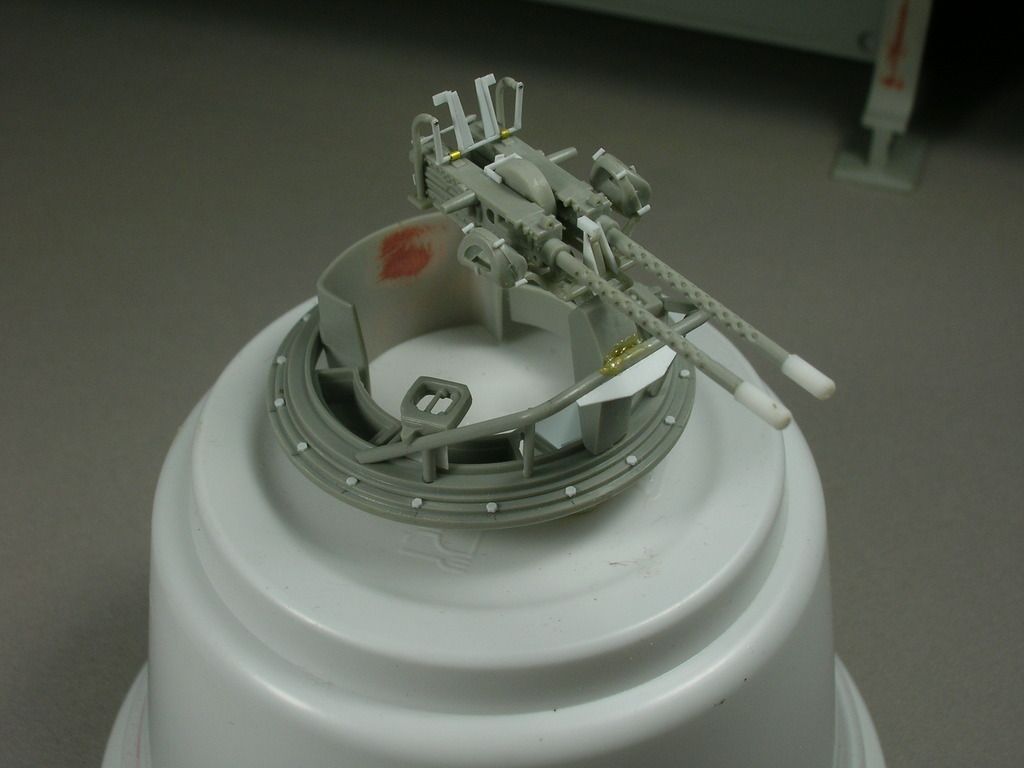

Machine Gun. The Trigger detail atop the guns is made up. I didn't want to mess with trying to make it accurate. Maybe I'll go back to it.
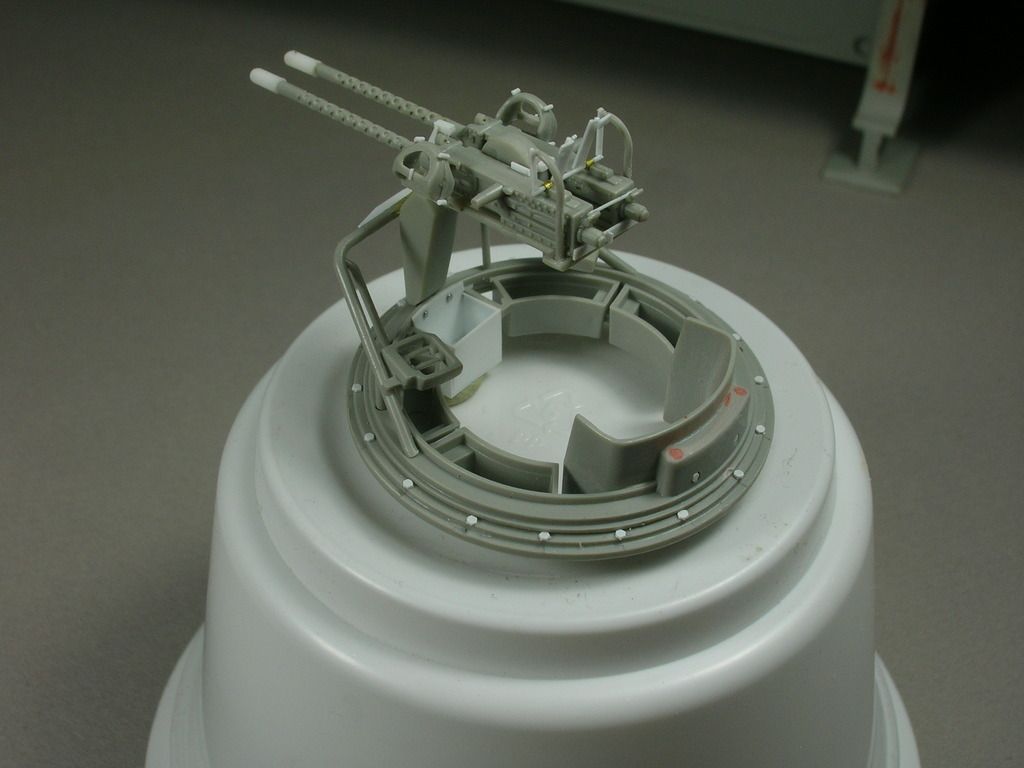

Spent shell box.
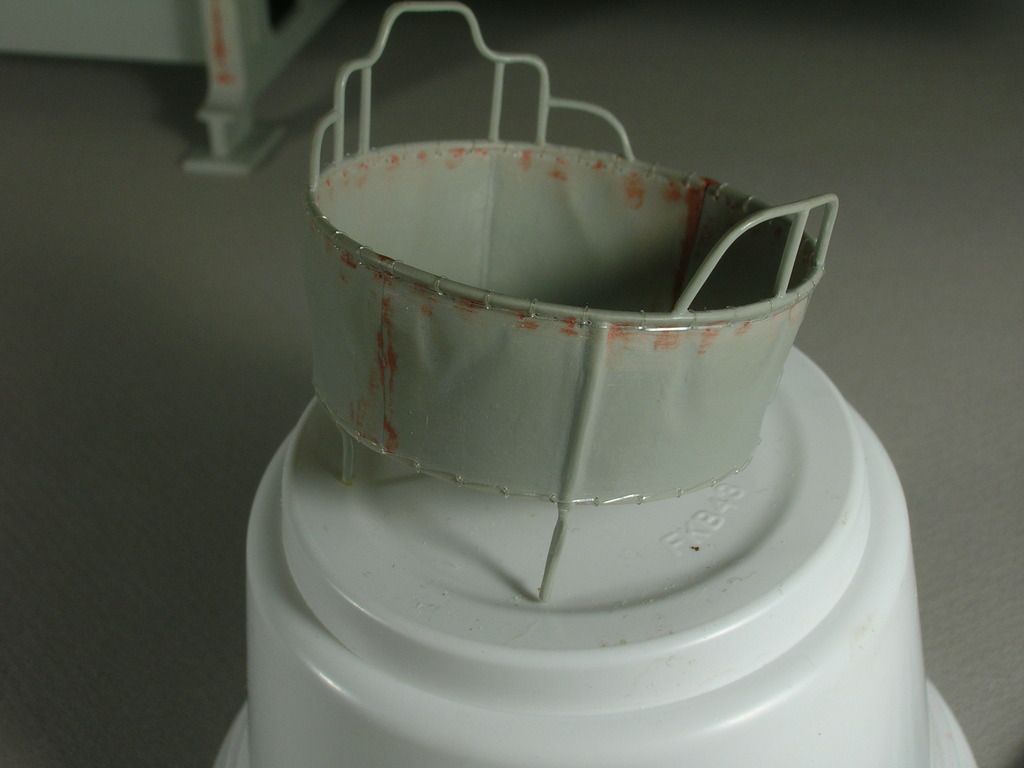

Monofilament Roping.
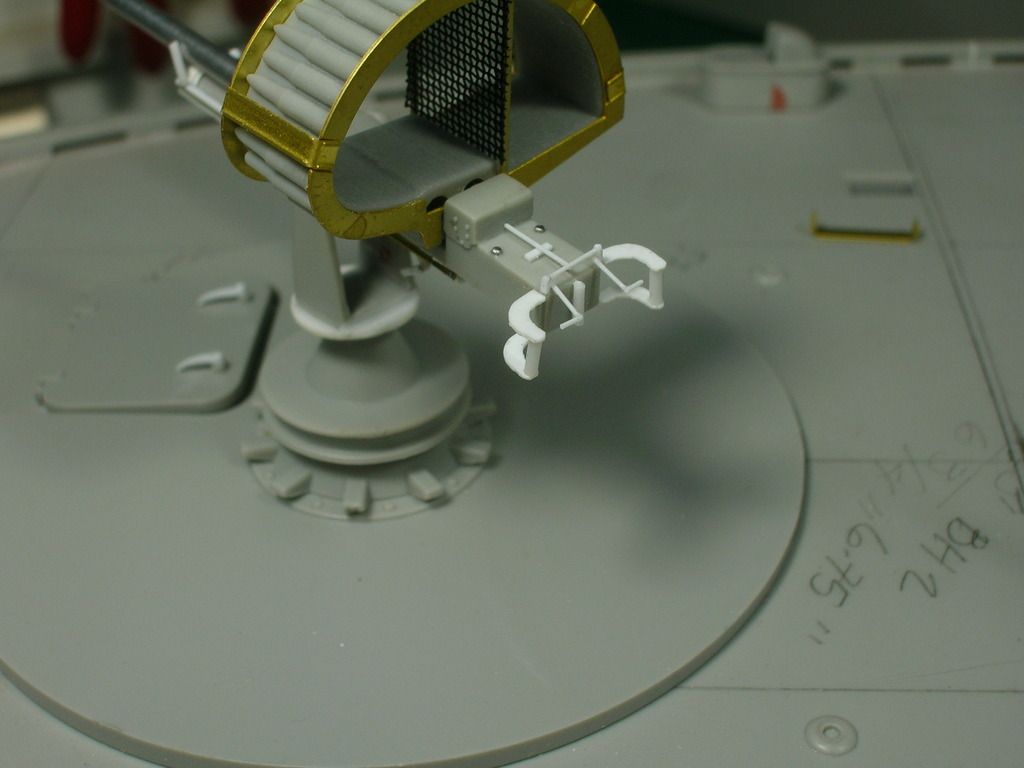

37mm. Reworked the Handle/Trigger condition.
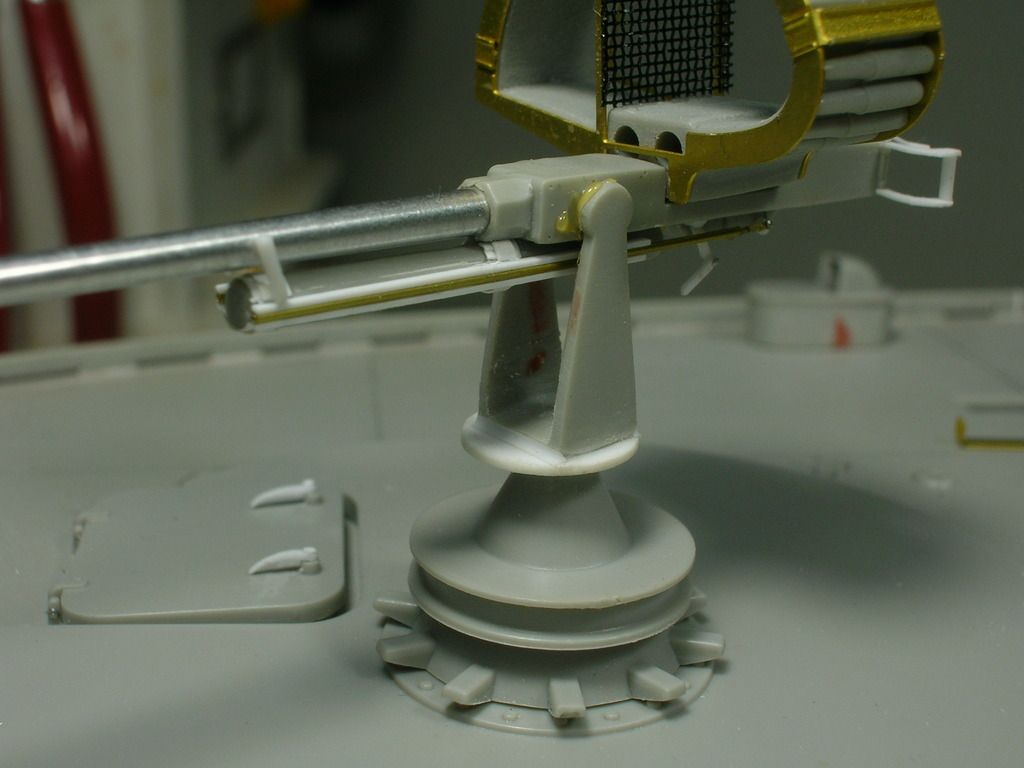

Also the Recoil Mechanism.
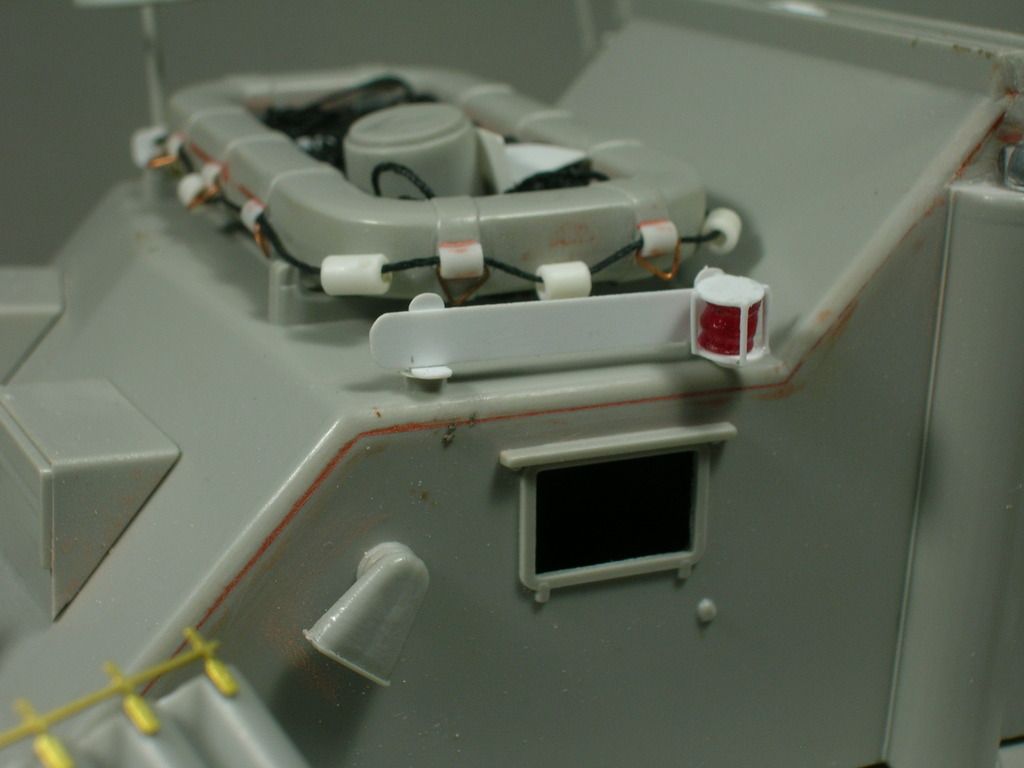

Port Running Light.
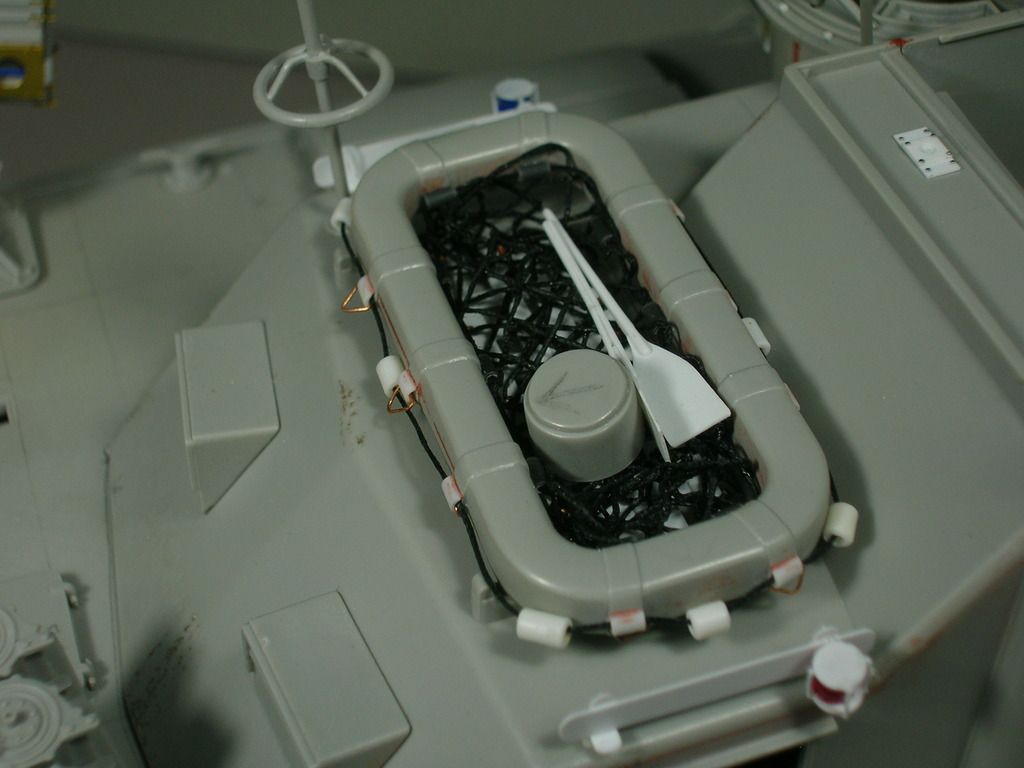

Managed to make and thread the fencing to the Raft without swearing. New paddles.
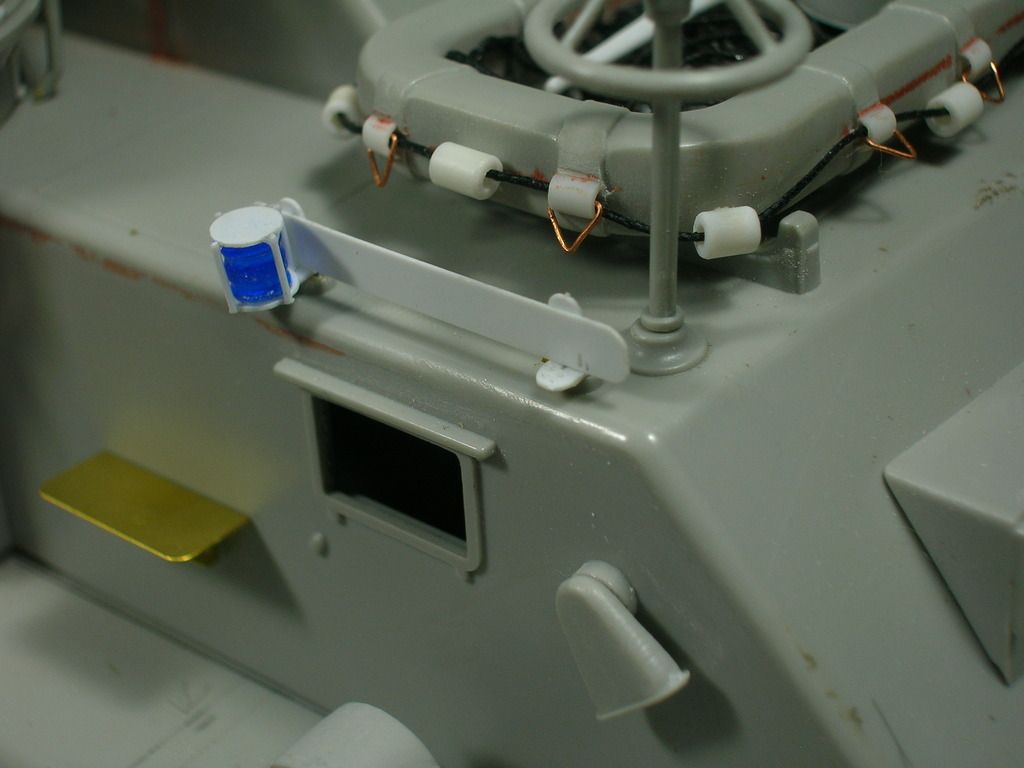

Starboard Running Light.
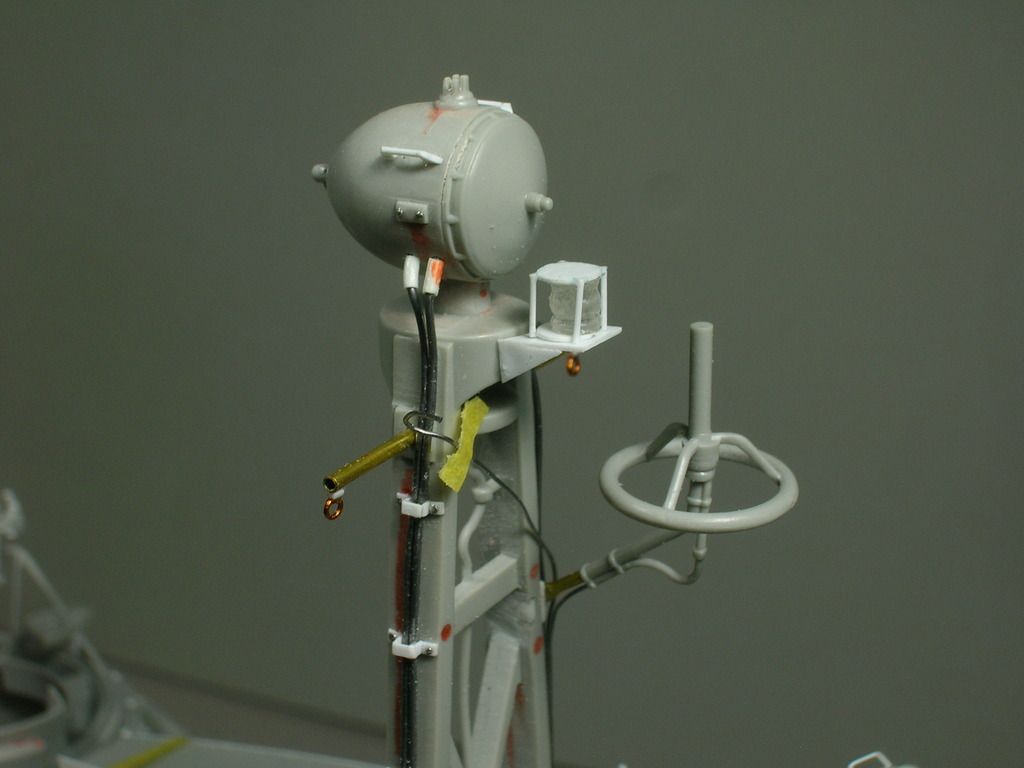

Mast Running Light.
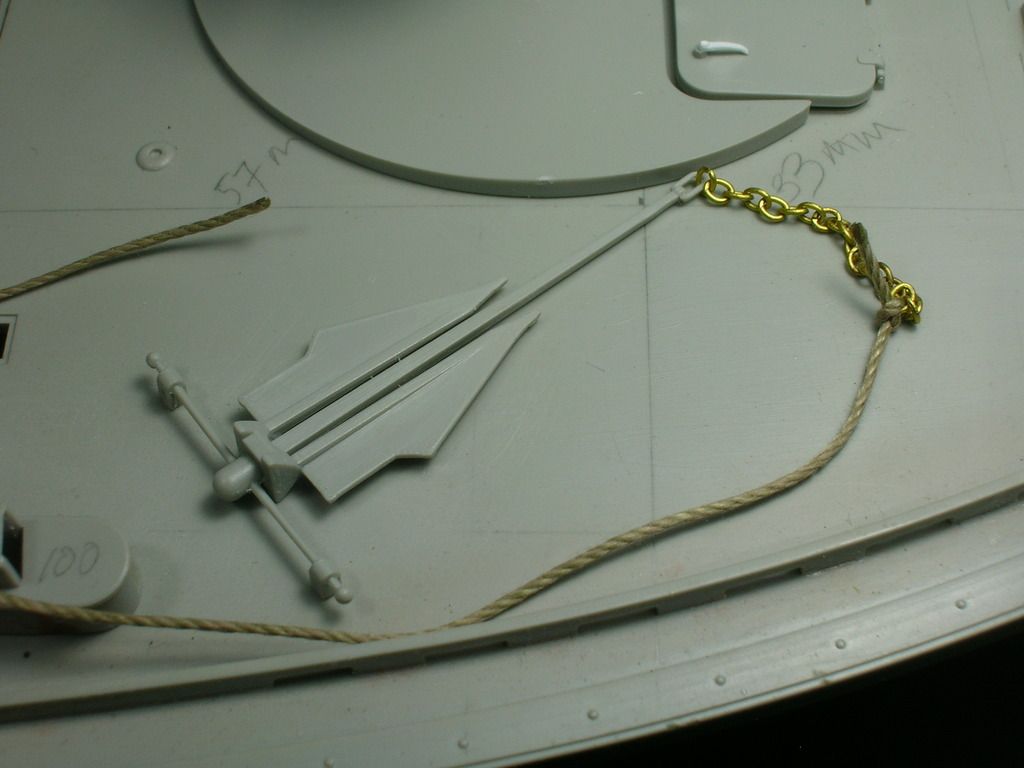

Anchor. I 'll be looking at the Rope-to-Chain fastening condition. I'm not sure this is how the two connect.
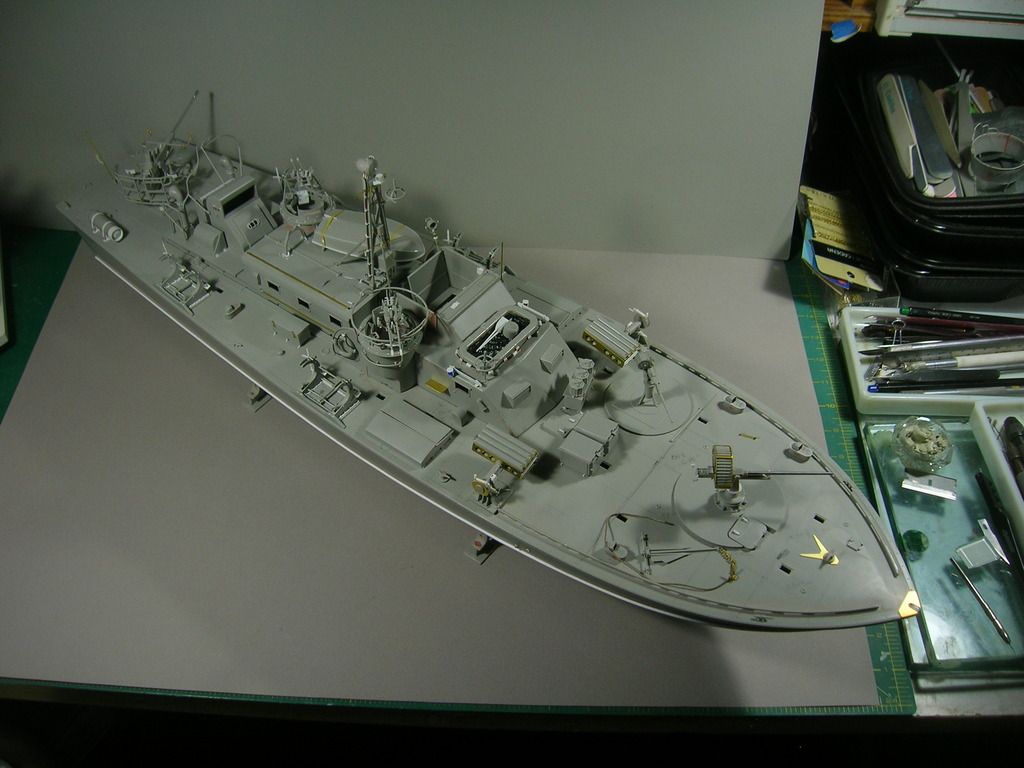

It's a Big One!

Thank you for looking in on a Newbie!
Sincerely,
Mark
Longshanks8
Visit this Community
England - South West, United Kingdom
Joined: July 04, 2013
KitMaker: 430 posts
Model Shipwrights: 390 posts
Posted: Saturday, August 12, 2017 - 04:53 PM UTC
Cracking job Mark, thank you for sharing and I hope you continue to do so.

Rope to chain. Rope would have an eye spliced in it either direct through chain or using a shackle to connect

Kev
Grauwolf
#084
Visit this Community
Quebec, Canada
Joined: September 14, 2005
KitMaker: 2,485 posts
Model Shipwrights: 1,157 posts
Posted: Saturday, August 12, 2017 - 06:34 PM UTC
Super job on all the extra detailing...this really gives your model
the extra touch, so far...FANTASTIC!


Will follow with interest.

Cheers,
Joe
Robbd01
#323
Visit this Community
Arizona, United States
Joined: February 13, 2013
KitMaker: 791 posts
Model Shipwrights: 59 posts
Posted: Saturday, August 12, 2017 - 07:02 PM UTC
From the pictures and the scratch detail you have been adding, I don't think your self title of 'Newbie' does not fit at all. Not even close. Looks good. One of my favorite foaty things subject. I have the Merit 1/48 early elco '80 and the old Revell 1/72 109. I thought of getting the Italeri but I think it is too big and I would have no place to put it. I will be lurking your thread. Keep the pics coming.


Cheer

xrz100
Visit this Community
Berlin, Germany
Joined: May 28, 2010
KitMaker: 193 posts
Model Shipwrights: 186 posts
Posted: Saturday, August 12, 2017 - 07:51 PM UTC
Hello Mark, fantastic job, 10 more of them and I consider you an expert
Very good detailing on the baot I have not seen so far and which goues beyond the eduard etch parts.
Which sources of books/pictures have you used Mark?. One more question the starport running light appears blue, is that related to the flash/color behind?
dodgem37
Visit this Community
Maryland, United States
Joined: October 19, 2006
KitMaker: 6 posts
Model Shipwrights: 4 posts
Posted: Saturday, August 12, 2017 - 09:22 PM UTC
Thank you, everyone.

Kev, I'm researching your suggestion to see how it's done. Splicing that thread will be a test!

'I thought of getting the Italeri but I think it is too big and I would have no place to put it.'
Robbie, I think the kit is over 2 feet in length. It's long, and tall. It's a Big One!

'Which sources of books/pictures have you used Mark?'
Christian, I used many books, pictures, and a couple of websites as reference.

Books are:
PT 157 by Bridgeman Carney
Military Miniatures in Review No's 50 & 51
U.S. PT-Boats of World War II by Frank Johnson
PT Boats Behind the Scenes by Frank Andruss, Sr.
American PT Boats in World Wr II, Volume II by Victor Chun
Allied Coastal Forces of World War II, Volume II: Vosper MTBs & U.S. ELCOs by John Lambert and Al Ross.

Websites are:
http://www.fineartmodels.com/PT_Boat.html
http://pt103.com/
I don't recall the site I used for the Bofors.

'One more question the port running light appears blue, is that related to the flash/color behind?'
It is 1/8" diameter blue acrylic rod. I did a look-see after reading your question and now realize it's supposed to be green. I'll make that correction. Thank you.

Thank you everyone.
Sincerely,
Mark
Harry_at_BFM
Visit this Community
Colorado, United States
Joined: February 04, 2007
KitMaker: 594 posts
Model Shipwrights: 556 posts
Posted: Saturday, August 12, 2017 - 10:28 PM UTC
Some excellent, good old-fashioned scratch building, Mark.
Longshanks8
Visit this Community
England - South West, United Kingdom
Joined: July 04, 2013
KitMaker: 430 posts
Model Shipwrights: 390 posts
Posted: Sunday, August 13, 2017 - 02:10 AM UTC
Eye splice is not to hard to do and would fit with the level of detail you have achieved so far

This is a good site
http://www.animatedknots.com/splice/

One suggestion to ease sliding the yarns. Take a piece of tube approx. the diameter of the individual yarn. File a long slope such that you can slip Hals section tube between the yarns and feed the individual yarn through. HTH
Kev
TAFFY3
Visit this Community
New York, United States
Joined: January 21, 2008
KitMaker: 2,531 posts
Model Shipwrights: 1,244 posts
Posted: Sunday, August 13, 2017 - 02:56 AM UTC
Outstanding! Love the detail work. Al
Cosimodo
#335
Visit this Community
Auckland, New Zealand
Joined: September 03, 2013
KitMaker: 1,808 posts
Model Shipwrights: 871 posts
Posted: Sunday, August 13, 2017 - 02:47 PM UTC
agree with the previous comments. Some amazing detailing in this build. very impressive.

cheers
Michael
guedejo
Visit this Community
New York, United States
Joined: June 01, 2006
KitMaker: 13 posts
Model Shipwrights: 1 posts
Posted: Monday, August 14, 2017 - 07:23 AM UTC
Superb job. The level of detail it's incredible. Very well researched. Congratulations. And we should thank your wife for encouraging you to post your fine work.

Cheers

Sebastian
dodgem37
Visit this Community
Maryland, United States
Joined: October 19, 2006
KitMaker: 6 posts
Model Shipwrights: 4 posts
Posted: Monday, August 14, 2017 - 03:22 PM UTC
Thank you, Brothers, for stopping by and your good words.

Sincerely,
Mark
dodgem37
Visit this Community
Maryland, United States
Joined: October 19, 2006
KitMaker: 6 posts
Model Shipwrights: 4 posts
Posted: Tuesday, August 15, 2017 - 02:01 AM UTC
I found these references useful as well. I didn't post them earlier as they were under a pile of other things and I had forgotten about them.
ELCO Microfilm Collection #1 - I don't know the Authur
ELCO 80-Foot PT Boat On Deck Color Series, Squadron Signal
PT Boats At War, WWII to Vietnam, Norman Polmar & Samuel Morison
Allied Torpedo Boats by John Lambert & Les Brown

Sincerely,
Mark
jjcadenhead
Visit this Community
Florida, United States
Joined: November 02, 2010
KitMaker: 32 posts
Model Shipwrights: 10 posts
Posted: Tuesday, August 15, 2017 - 04:44 AM UTC
Your level of detail is amazing!!
JJ1973
#345
Visit this Community
Niedersachsen, Germany
Joined: August 22, 2011
KitMaker: 1,835 posts
Model Shipwrights: 1,832 posts
Posted: Sunday, August 20, 2017 - 12:45 AM UTC
Hi Mark,

I can only second what already was said above - outstanding job, you are doing really excellent with you mostly scratch super-detailing!!

Great work!

Cheers,
Jan
TRM5150
Visit this Community
Massachusetts, United States
Joined: January 03, 2010
KitMaker: 2,159 posts
Model Shipwrights: 1,400 posts
Posted: Sunday, August 20, 2017 - 07:02 AM UTC
Okay then!! Outstanding work Mark!! Thanks for listening to your wife and sharing the project with us!! Amazing detailing all around! Almost a shame to have to paint it!
 _GOTOTOP