_GOTOBOTTOM
Ships by Class/Type: Military Small Craft
For topics on PT boats, landing craft, Vietnam riverine, etc.
72' 6" Vosper MTB
Longshanks8
Visit this Community
England - South West, United Kingdom
Joined: July 04, 2013
KitMaker: 430 posts
Model Shipwrights: 390 posts
Posted: Tuesday, February 06, 2018 - 10:28 PM UTC
Hi Folks

P1080432 (Copy)

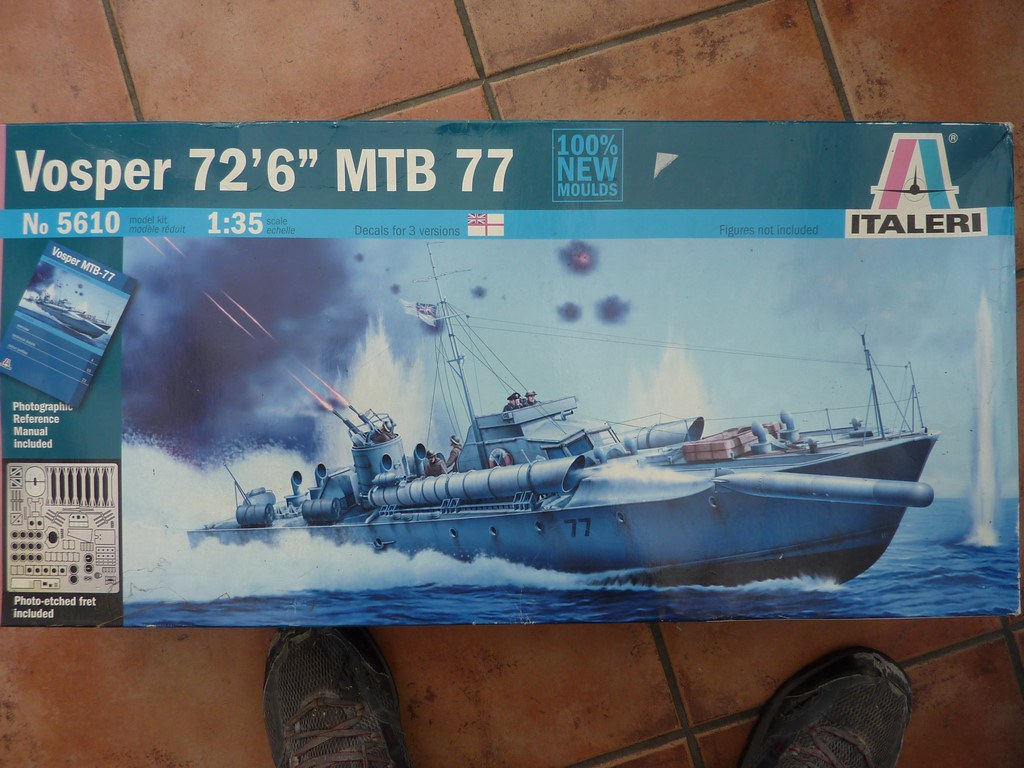
It has been my intention to build this boat ever since watching the group build ' Channel Adversaries '
https://modelshipwrights.kitmaker.net/forums/211104
Inspired by the late Julian Swallows, Warren Inman, Daniel Moscatelli & Alan McNeilly

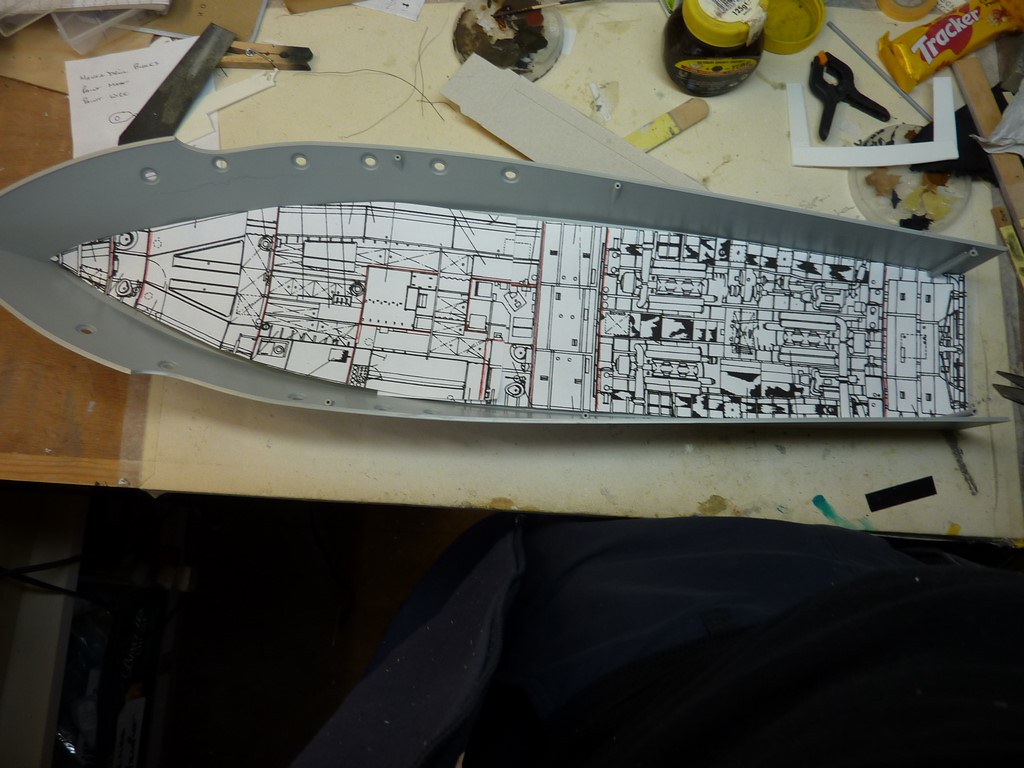
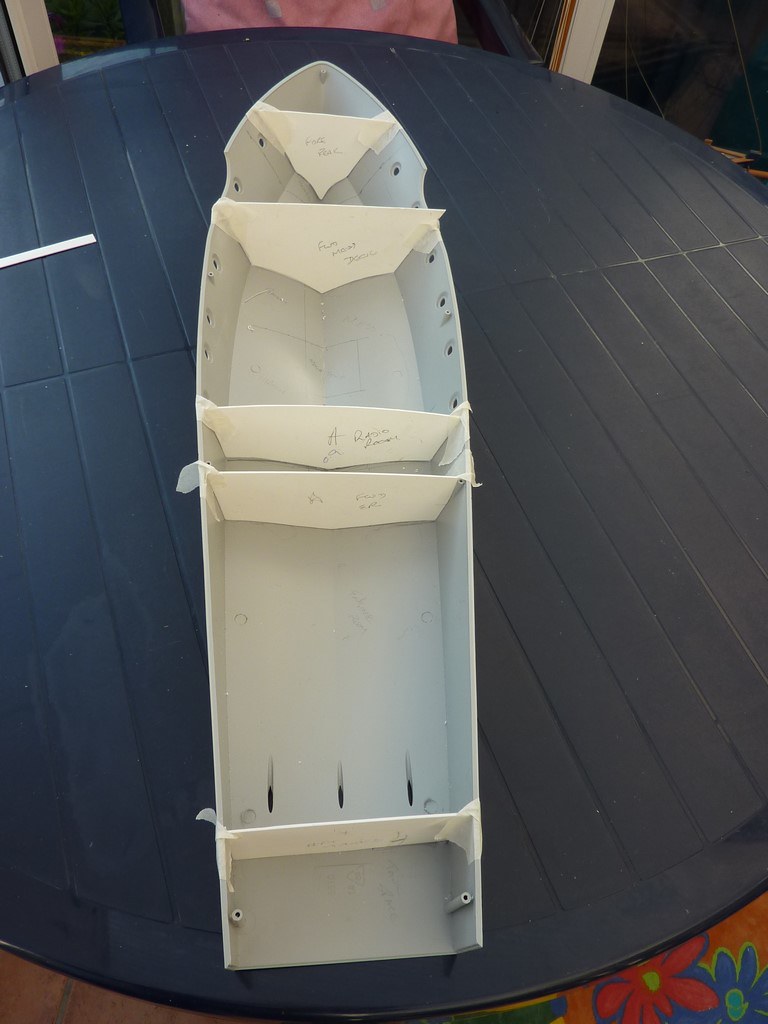
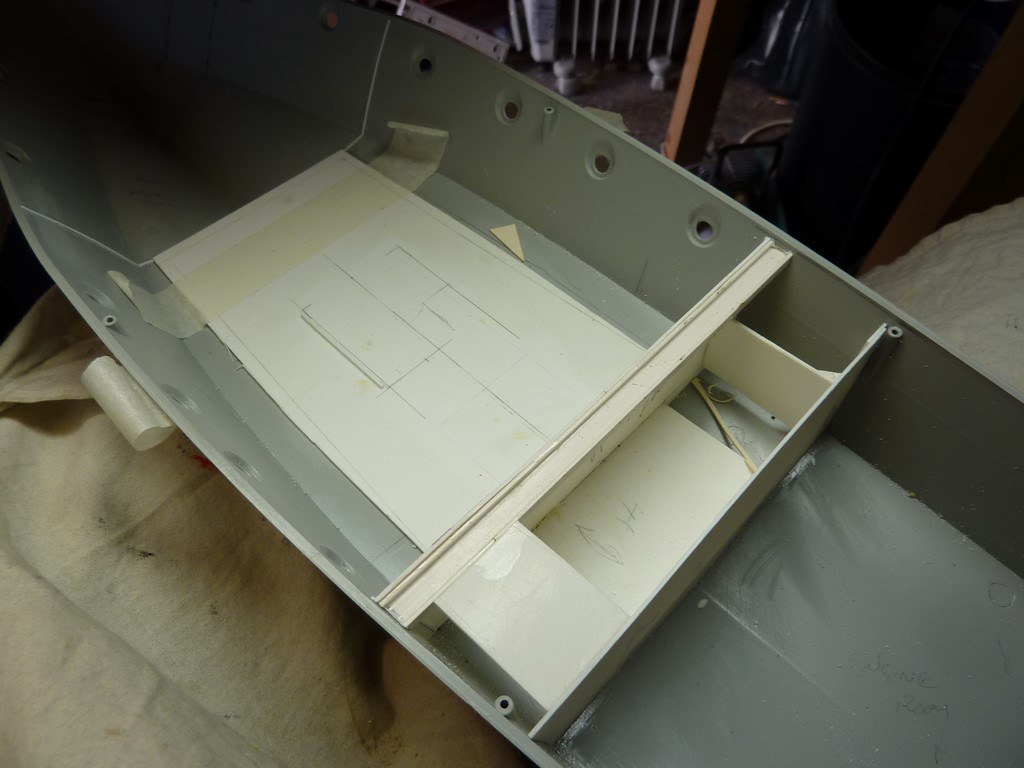
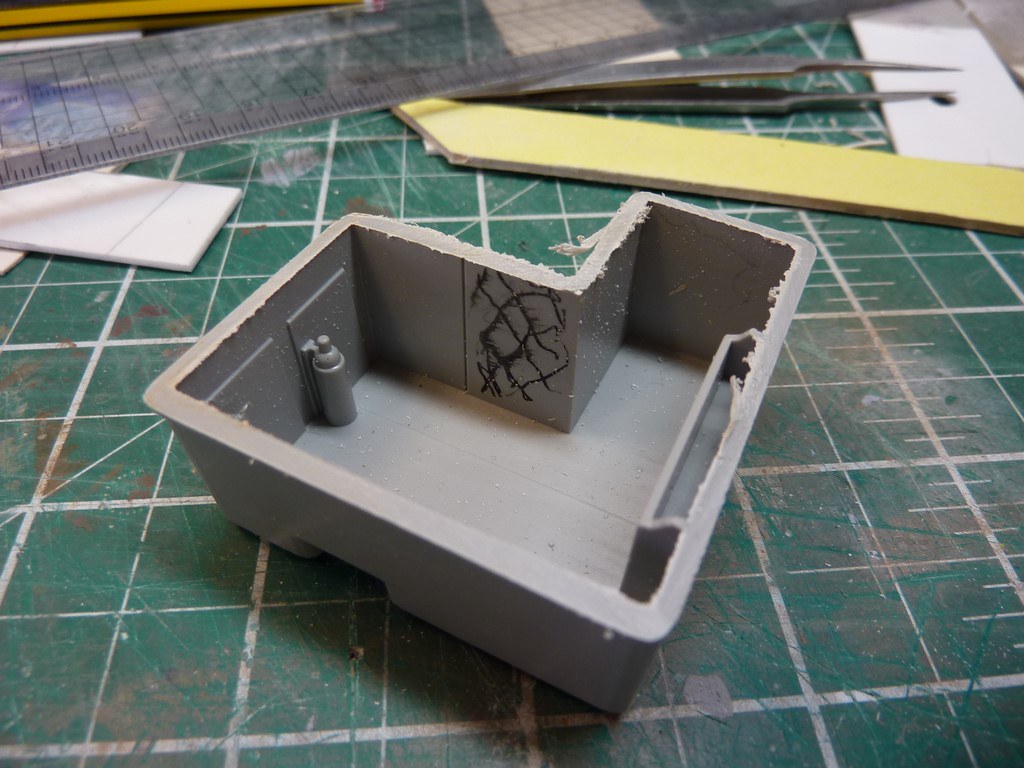
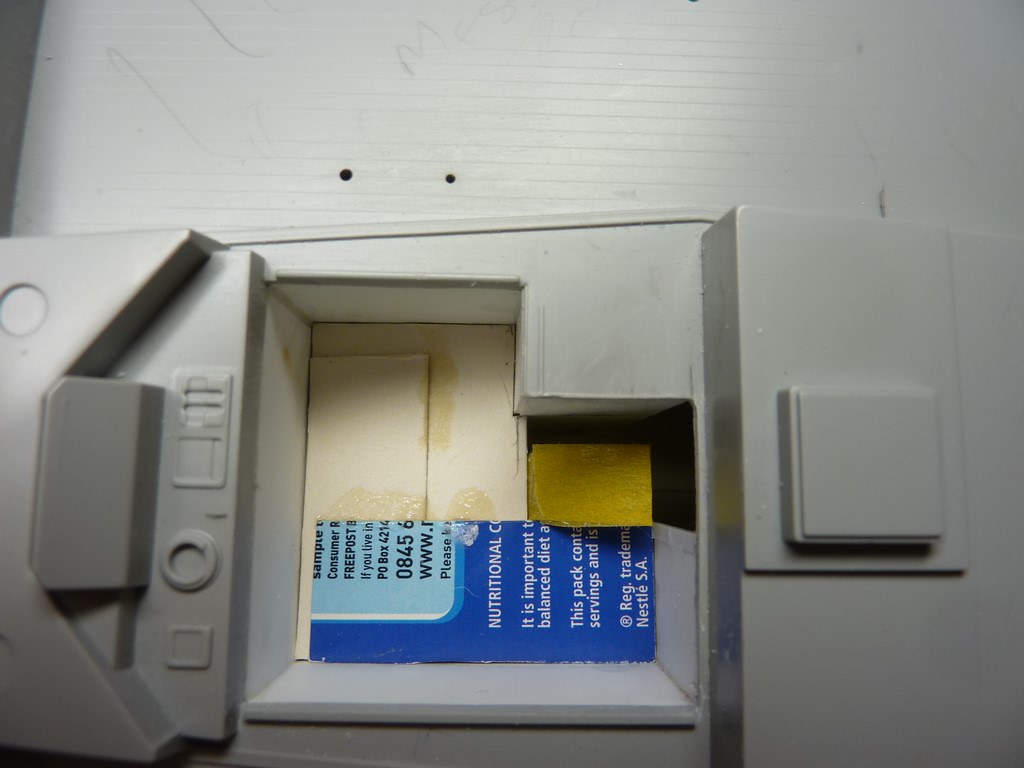
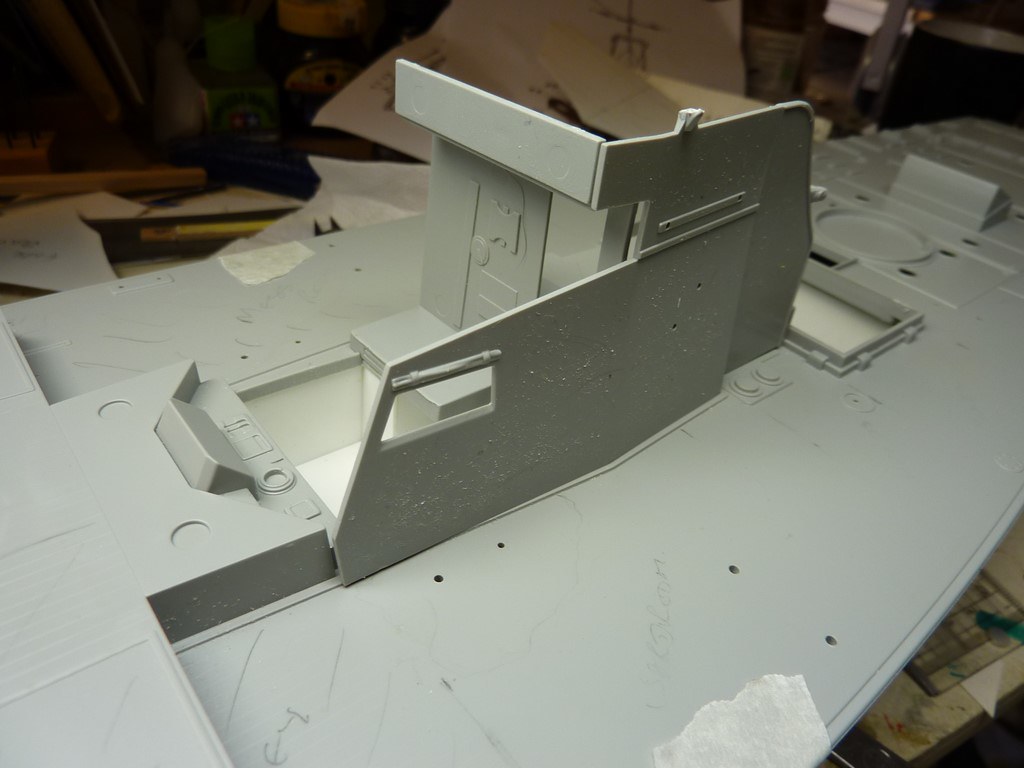
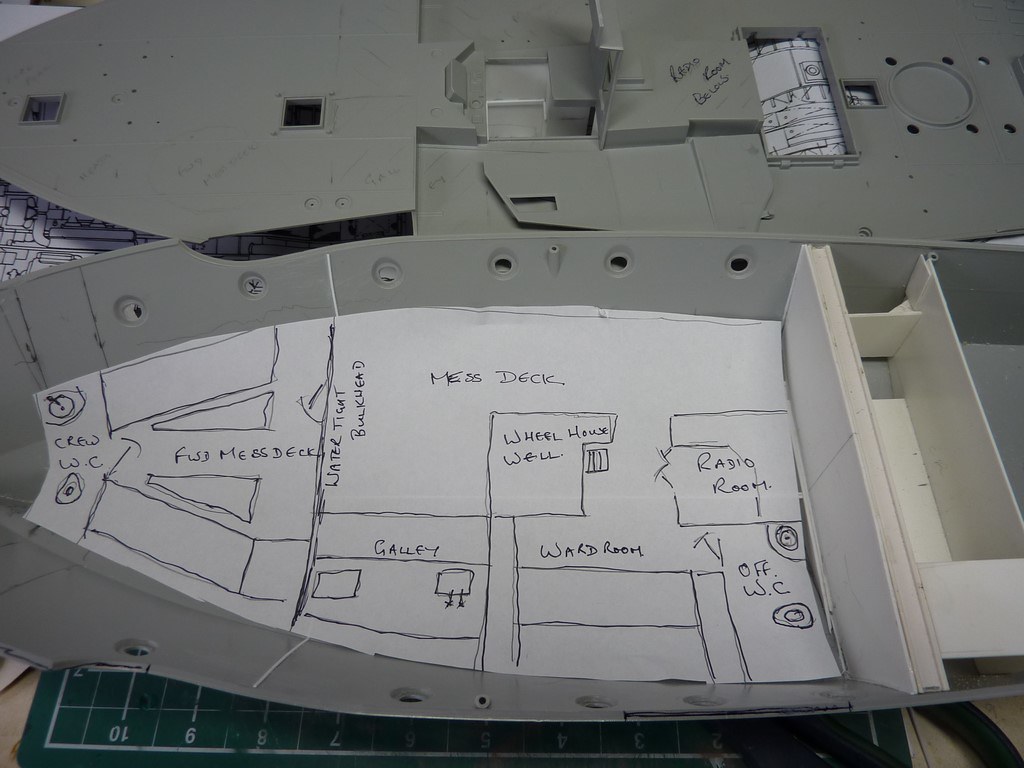
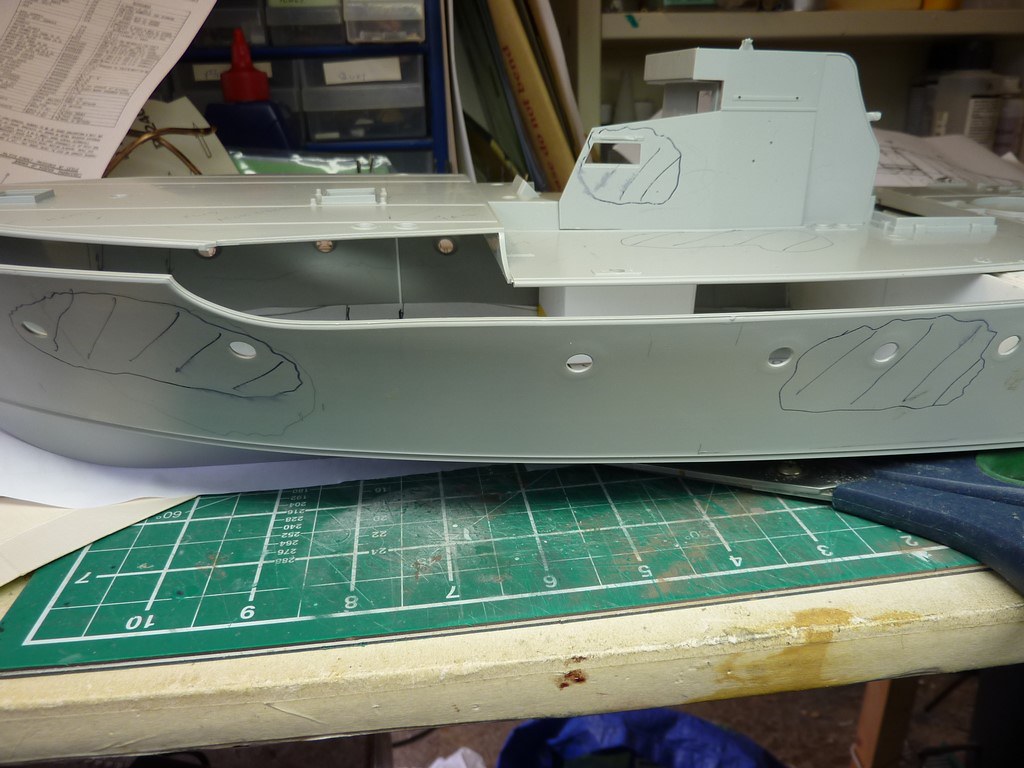
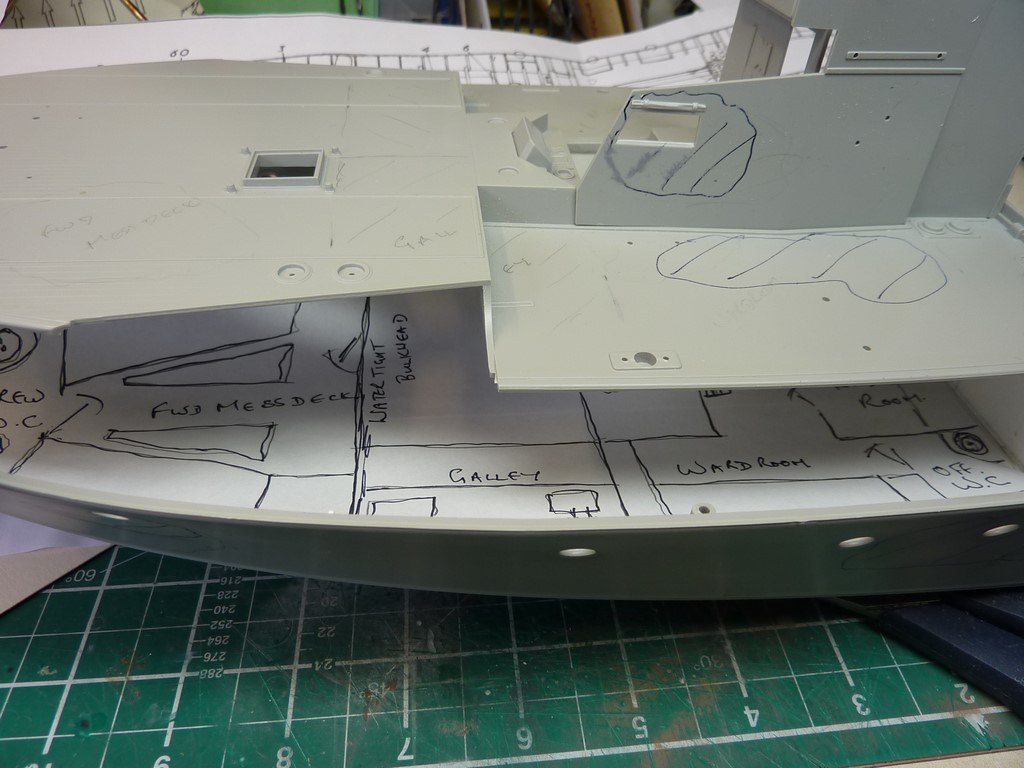
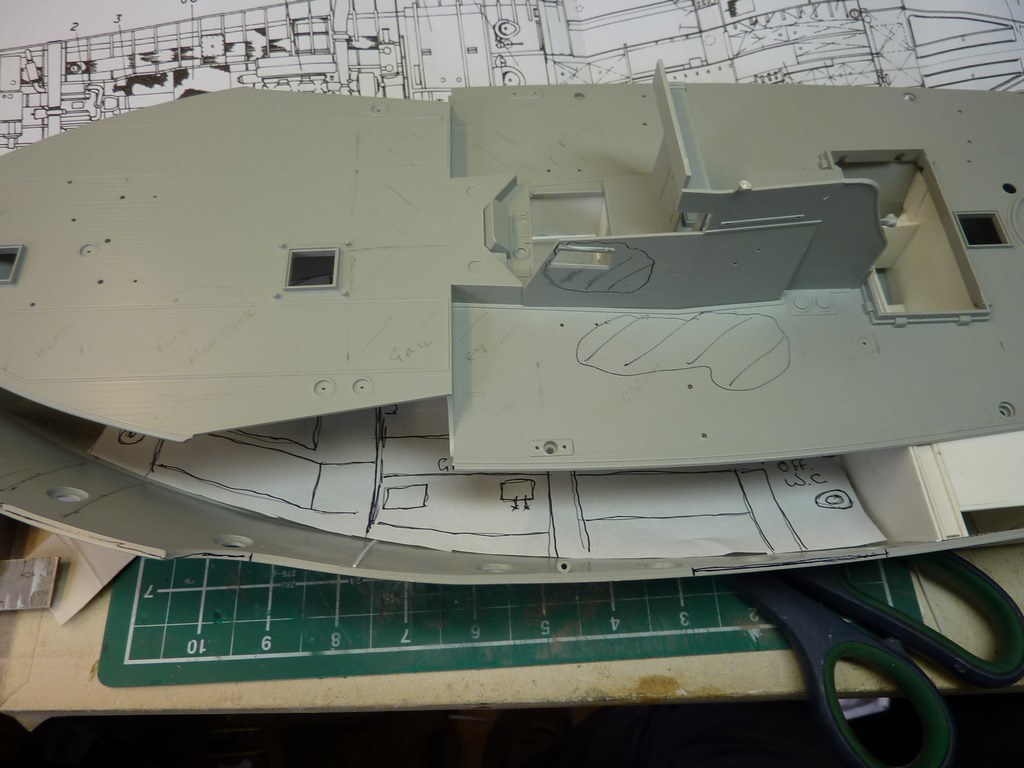
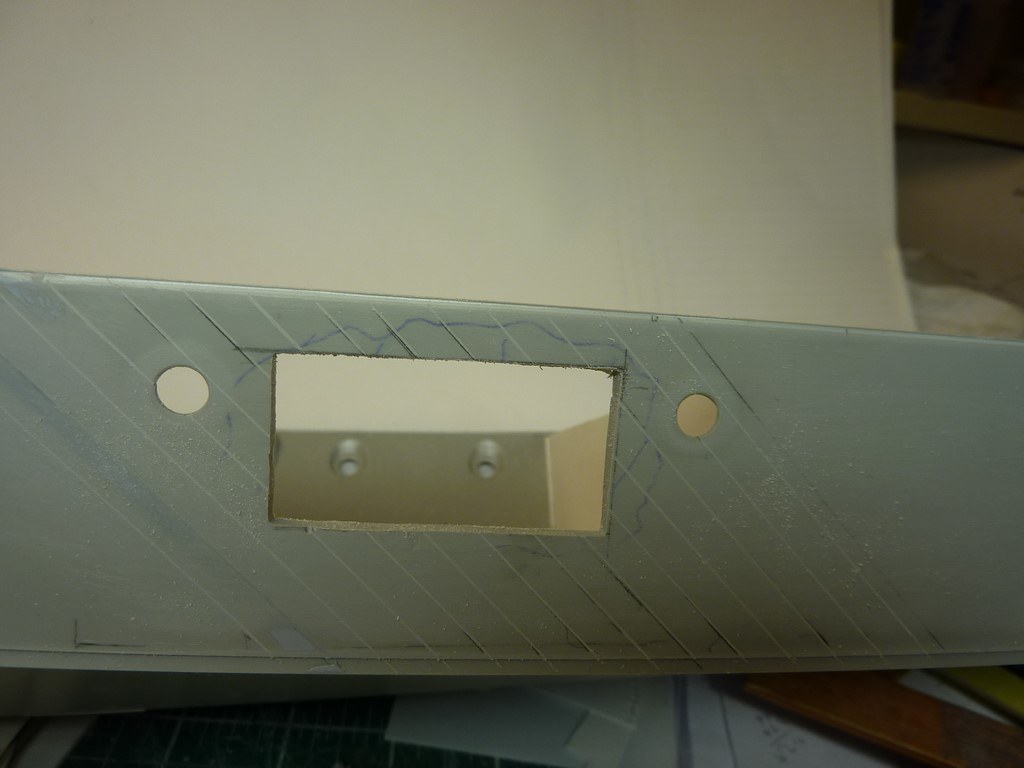
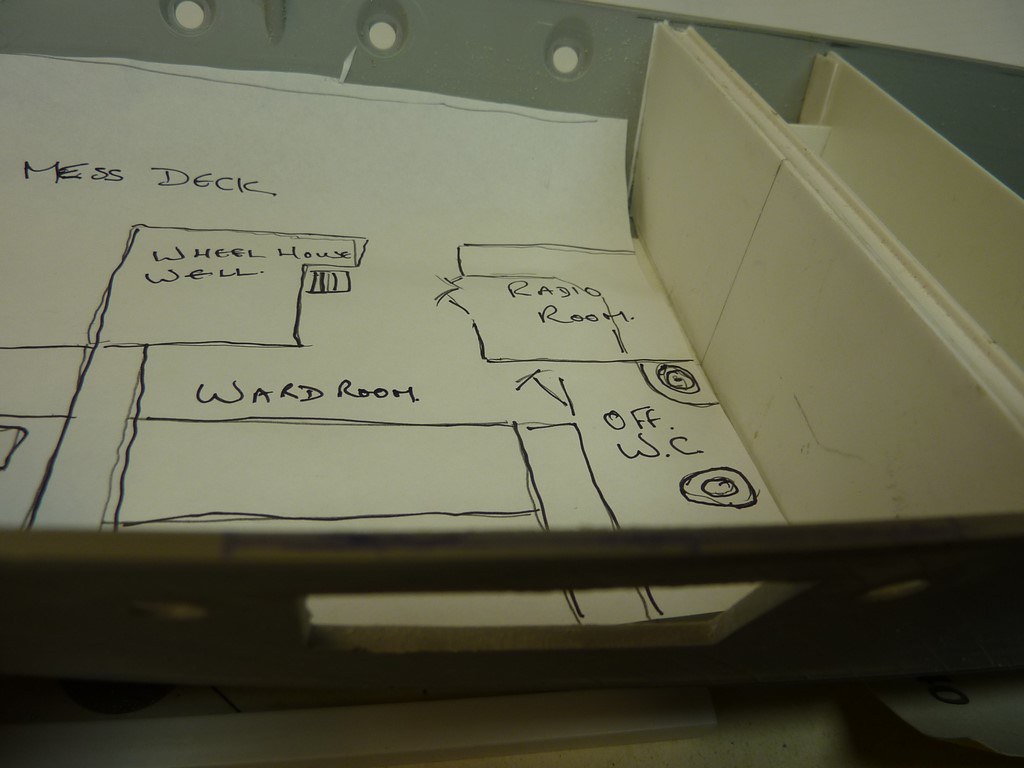
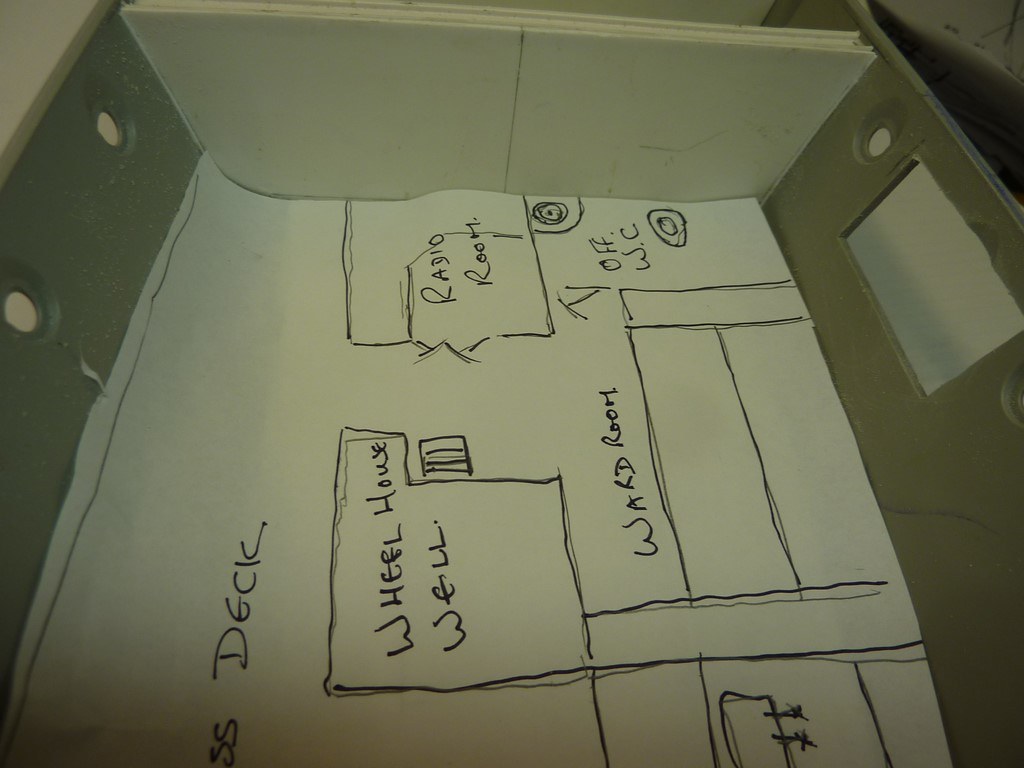
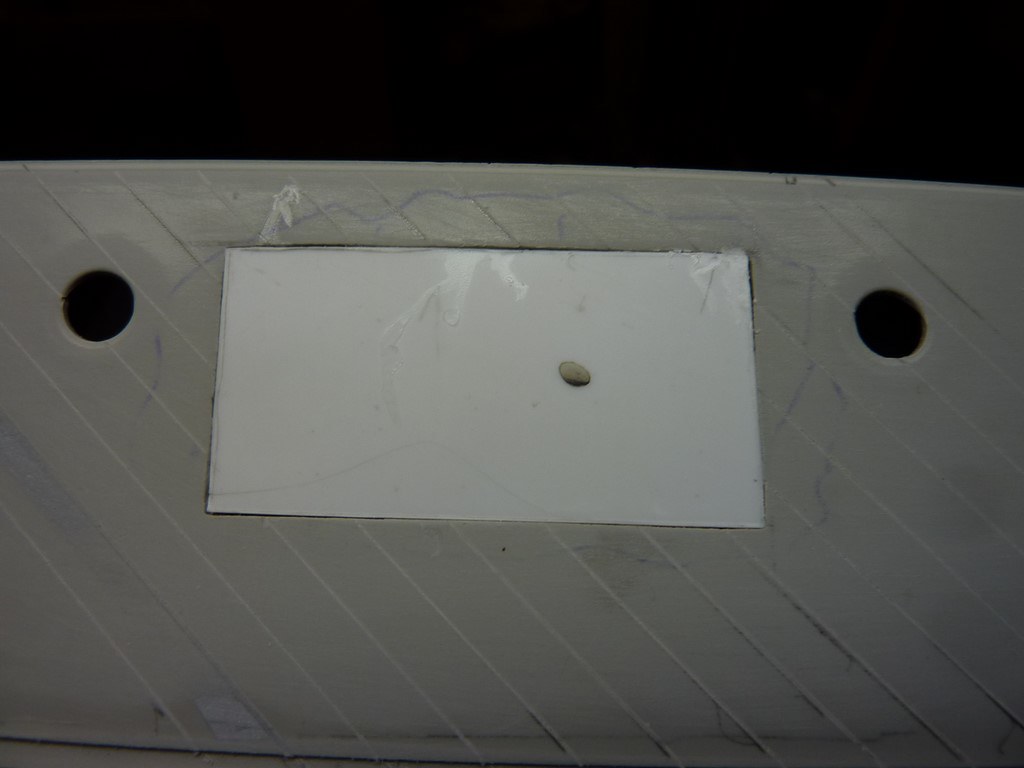
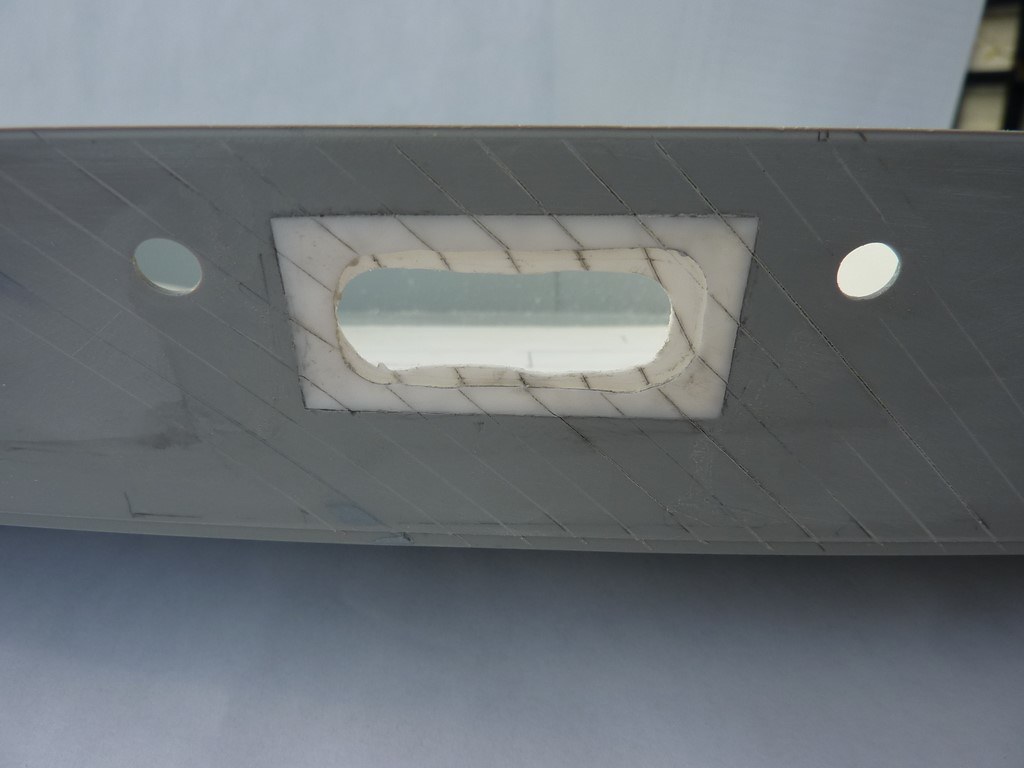
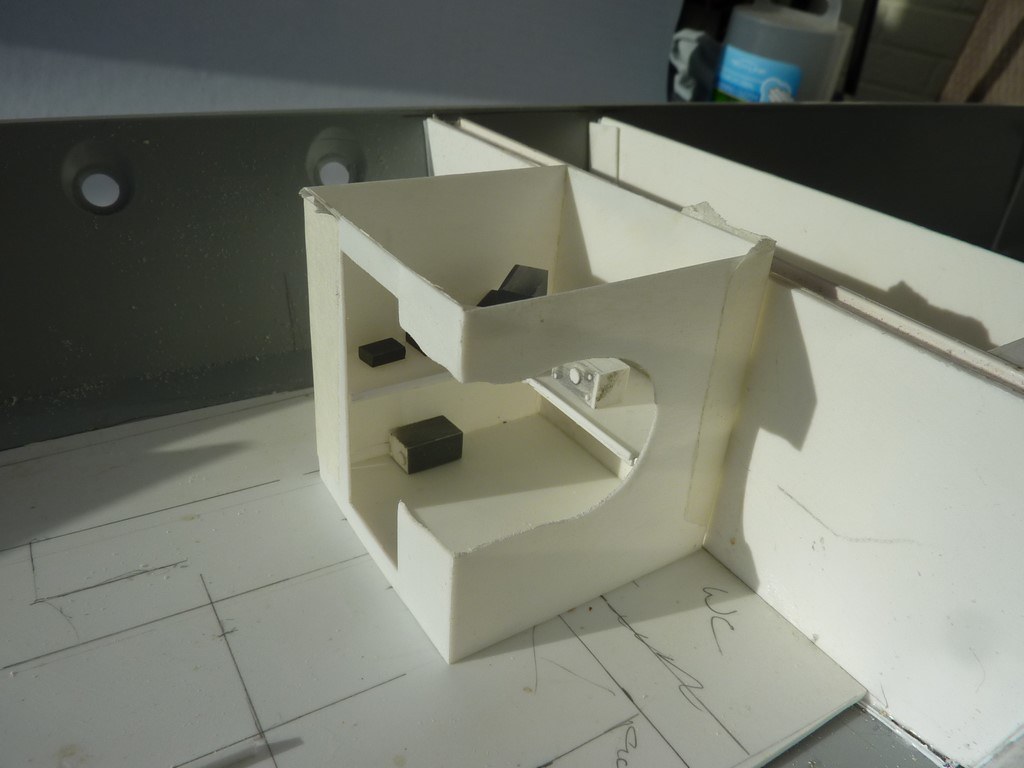
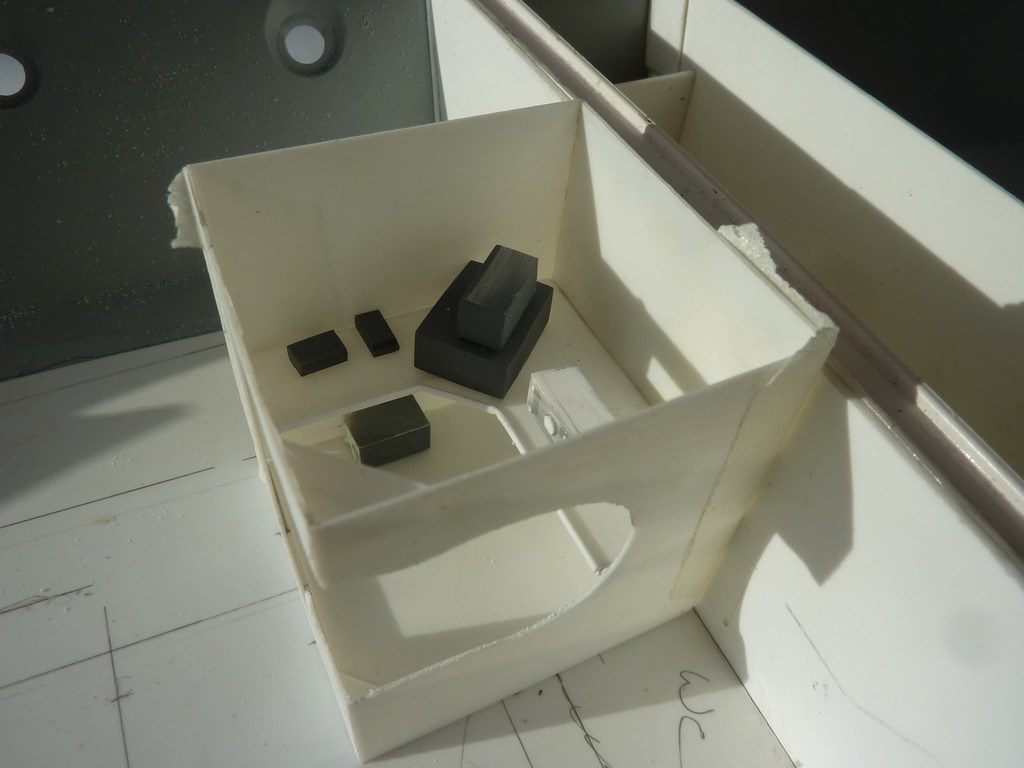
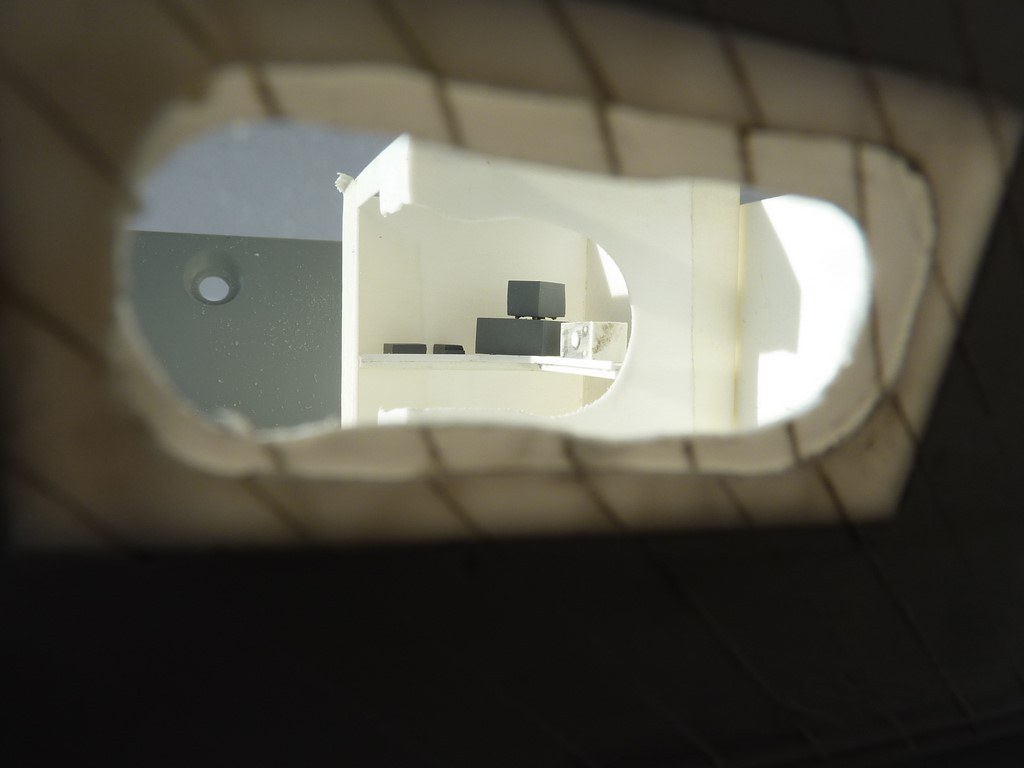
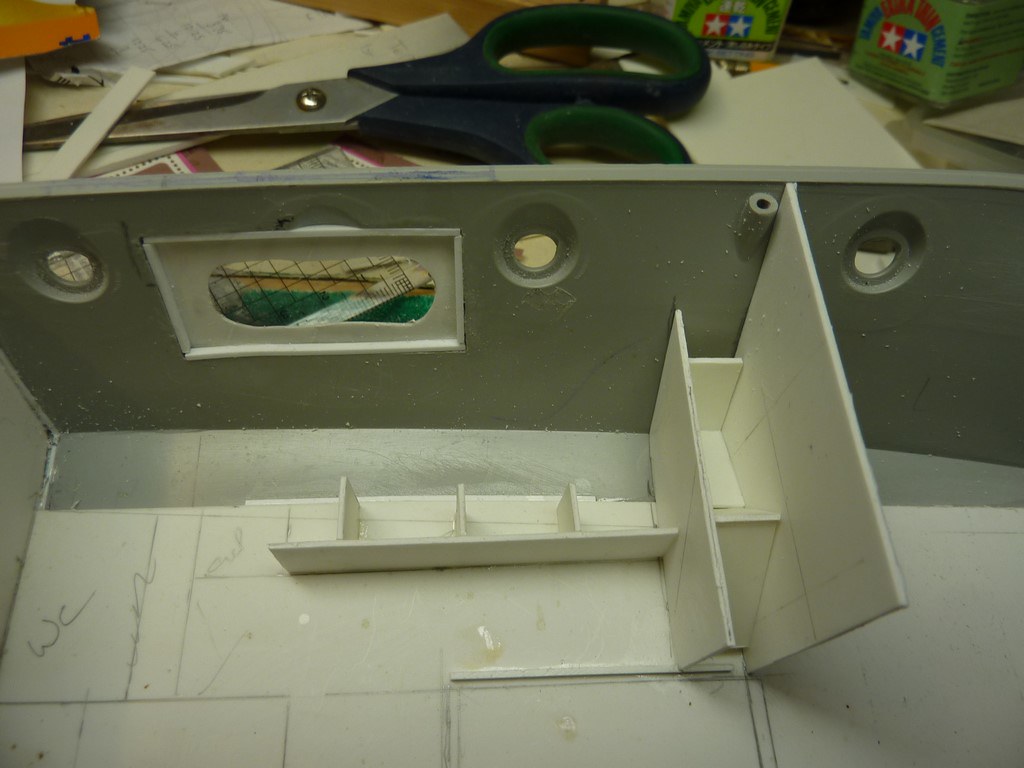
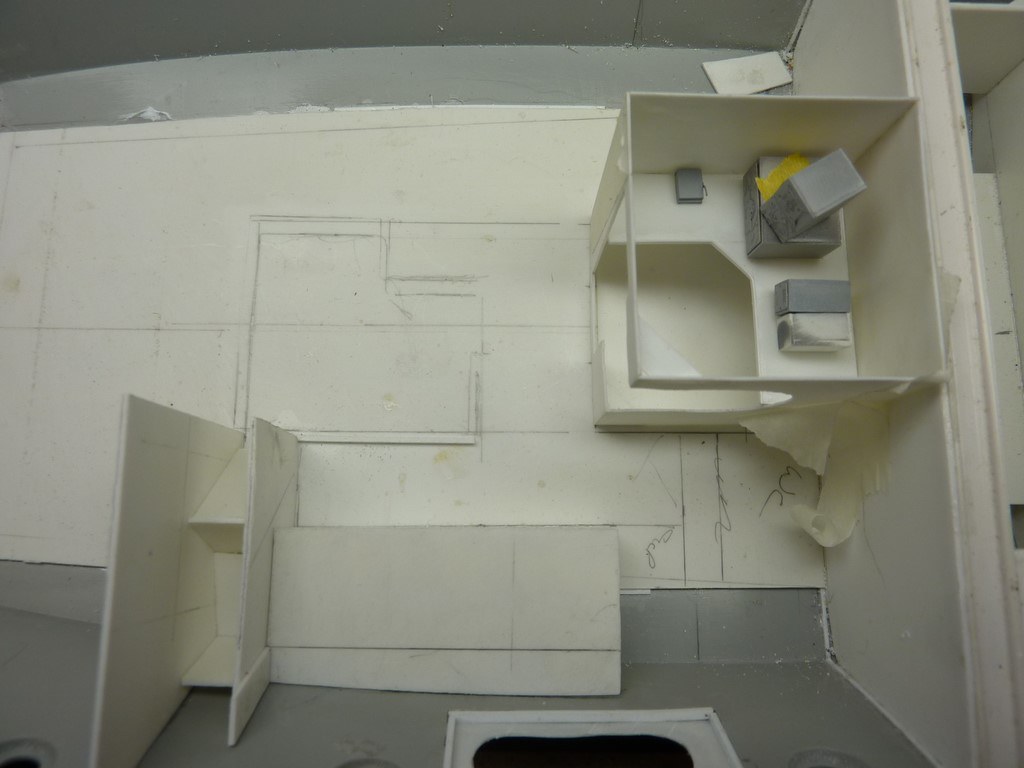
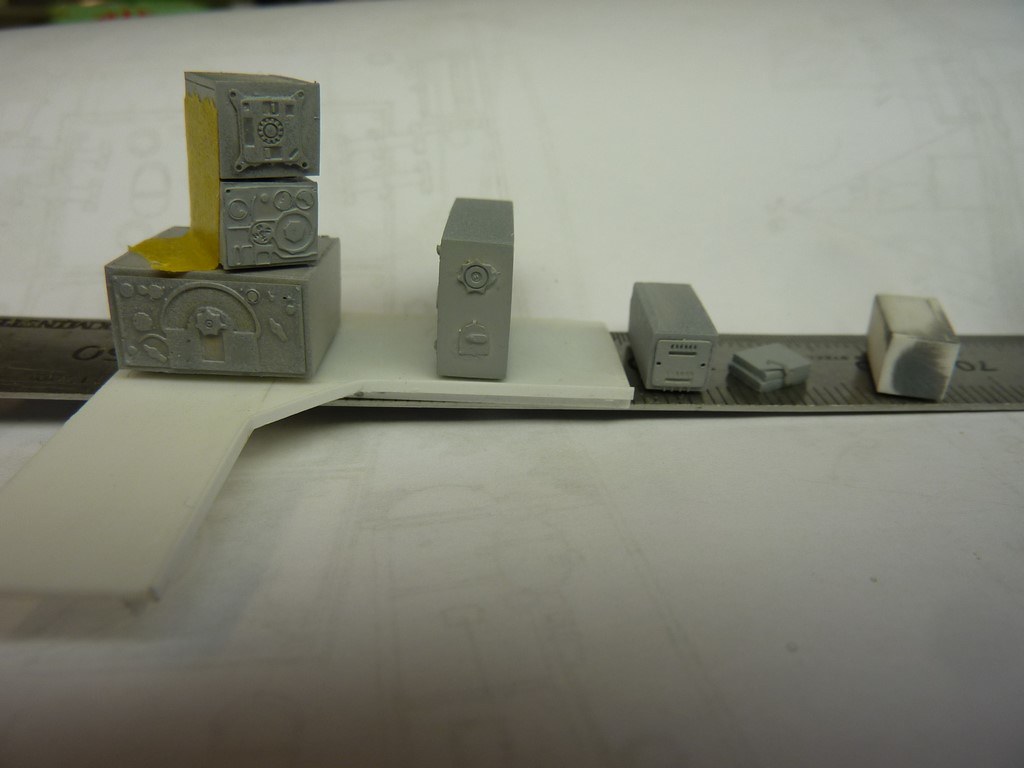
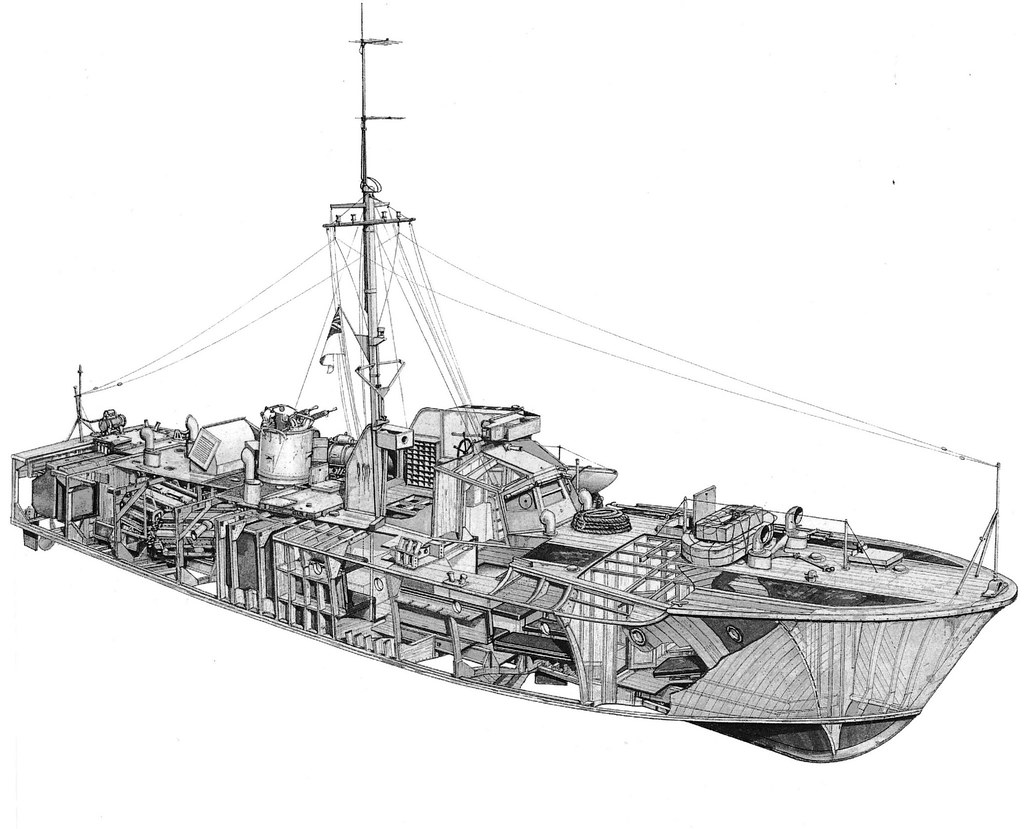
The intention is to build this boat as a cut away model From the starboard side I hope to produce museum quality (as close as I can get) The port side will have cut outs revealing the forward mess deck, the wardroom, the chartroom and I hope the engineroom.

Vosper (Copy)

Cheers Kev
Longshanks8
Visit this Community
England - South West, United Kingdom
Joined: July 04, 2013
KitMaker: 430 posts
Model Shipwrights: 390 posts
Posted: Tuesday, February 06, 2018 - 10:36 PM UTC
I do have a bit of reference material which I will list below. Having sais that don't be shy about point out what I have forgotten lol.

P1080437 (Copy)

P1080438 (Copy)

P1080439 (Copy)

P1080441 (Copy)

P1080440 (Copy)

P1080435 (Copy)

That's the books

Kev
Longshanks8
Visit this Community
England - South West, United Kingdom
Joined: July 04, 2013
KitMaker: 430 posts
Model Shipwrights: 390 posts
Posted: Tuesday, February 06, 2018 - 10:44 PM UTC
Material wise ....

The full Griffon set which is insane
P1080428 (Copy)

P1080426 (Copy)

Italeri PT boat set
P1080421 (Copy)
Which takes care of an extra 20mm if reqd

Italeri horsedrawn 20mm Breda
P1080424 (Copy)
Second option taken care of. The gun is on the second sprue. By the way I do have a large amount of 1/35 horse manure to spare. Not all of it will be used in this build.

Anyone any thoughts preferences between the 20mm Oerlikon and the 20mm Breda

A selection of figures
P1080430 (Copy)

That's it for the moment.
WIP will commence soon your comments and feedback welcome.
There is nothing worse than talking to an empty room

Cheers Kev
RobinNilsson
Staff MemberTOS Moderator
KITMAKER NETWORK
Visit this Community
Stockholm, Sweden
Joined: November 29, 2006
KitMaker: 6,693 posts
Model Shipwrights: 70 posts
Posted: Tuesday, February 06, 2018 - 10:49 PM UTC
Looks like you will be rather busy for a while
Longshanks8
Visit this Community
England - South West, United Kingdom
Joined: July 04, 2013
KitMaker: 430 posts
Model Shipwrights: 390 posts
Posted: Tuesday, February 06, 2018 - 10:53 PM UTC
I think that could be an under statement Thank you for your help in getting me up and running, much appreciated

Kev
d6mst0
#453
Visit this Community
Texas, United States
Joined: August 28, 2016
KitMaker: 1,925 posts
Model Shipwrights: 1,298 posts
Posted: Tuesday, February 06, 2018 - 11:54 PM UTC
So, Kev which razor blade manufacturer you will be using to remove all of the PE off the sheets? So I can buy their stock?...LOL I bet the owner of Griffin is enjoying the boost in profits this year.

You have on heck of a project there. I hope you post often so we can get all the details.

Good luck.

Mark
nichocat
Visit this Community
California, United States
Joined: April 06, 2015
KitMaker: 7 posts
Model Shipwrights: 3 posts
Posted: Wednesday, February 07, 2018 - 01:20 AM UTC
I used the wheels from the Italeri Breda 20/65 for a RN/RAF style torpedo trolley. The trolley is a companion piece for a Trumpeter 1/32 scale Fairey Swordfish I built. I could not let those go to waste.
Note, the depth charges in the PTConversion kit are of a different length than the depth charges found in the Vosper Kit. This may be due to USN design and RN/ Ordinance Board design differences.
The Vosper Kit is great fun. Enjoy.
Grauwolf
#084
Visit this Community
Quebec, Canada
Joined: September 14, 2005
KitMaker: 2,485 posts
Model Shipwrights: 1,157 posts
Posted: Wednesday, February 07, 2018 - 02:32 AM UTC
Hi Kev,
Armed with that arsenal of books and AM details, you will surely
do a great job with this build.

Will be following with interest!

Cheers,
Joe
TimReynaga
Staff MemberAssociate Editor
MODEL SHIPWRIGHTS
Visit this Community
California, United States
Joined: May 03, 2006
KitMaker: 2,500 posts
Model Shipwrights: 1,830 posts
Posted: Wednesday, February 07, 2018 - 03:53 AM UTC
Wow, Kev, I love your idea! It is always great to see someone taking a slightly unusual tack on a project. I'll definitely be following this build!
Cosimodo
#335
Visit this Community
Auckland, New Zealand
Joined: September 03, 2013
KitMaker: 1,808 posts
Model Shipwrights: 871 posts
Posted: Wednesday, February 07, 2018 - 04:04 AM UTC
I think a cut away is a great idea... and a huge challenge. Definitely hope to see this develop into your aim of a high quality build.
Good luck.

Michael
Longshanks8
Visit this Community
England - South West, United Kingdom
Joined: July 04, 2013
KitMaker: 430 posts
Model Shipwrights: 390 posts
Posted: Wednesday, February 07, 2018 - 04:06 AM UTC
Thanks guys.

@ Mark "I hope you post often so we can get all the details"
As long as the support is there I will be posting

@Christopher "I used the wheels from the Italeri Breda ...."Good to see you recycling. Thanks for the tip off on the DC

@ Joe Cheers Buddy

@Tim "I love your idea!" Well lets just see if we can pull it off, I'm going to be relying on you guys as well.

Cheers Kev
Longshanks8
Visit this Community
England - South West, United Kingdom
Joined: July 04, 2013
KitMaker: 430 posts
Model Shipwrights: 390 posts
Posted: Wednesday, February 07, 2018 - 01:02 PM UTC
OK here we go starting with the hull ..
First requirement is to sub-divide the hull using bulkheads
This plan will give an idea as to the divisions
P1080479 (Copy)

A note for those interested in scribing in panels

1 Don't try and do it in one, mark and shape 1st piece . Mark and shape 2nd piece. Glue to 1st piece and so on. Hope this makes sense, if not PM me.
P1080483 (Copy)

P1080488 (Copy)

P1080491 (Copy)

I tend to work in cardboard and then transfer to plastic

Five templates/bulkheads
P1080492 (Copy)

Loose fitted in the boat
P1080494 (Copy)

Compartments from forward Fore peak, Forward Mess deck, Accommodation (mess room, galley etc) Mid fuel cells, Engine room, Aft fuel cells.
P1080495 (Copy)

Sorry if I'm teaching you to suck eggs with the scribing. It's difficult to know how much info to put in.

First step on a long voyage
Thanks for stopping by

Kev
d6mst0
#453
Visit this Community
Texas, United States
Joined: August 28, 2016
KitMaker: 1,925 posts
Model Shipwrights: 1,298 posts
Posted: Wednesday, February 07, 2018 - 06:23 PM UTC
Kev,

Thanks for the demo on scribing. Understanding how it is done comes in handy when dealing with a door that sticks in its frame.

The project begins.

Mark
RobinNilsson
Staff MemberTOS Moderator
KITMAKER NETWORK
Visit this Community
Stockholm, Sweden
Joined: November 29, 2006
KitMaker: 6,693 posts
Model Shipwrights: 70 posts
Posted: Wednesday, February 07, 2018 - 07:35 PM UTC
Add strips of styrene to the bulkheads to provide supports for the decks in those compartments which have a full deck like the forward mess and accomodation. This will make it easier to get the decks shaped and positioned.

Don't worry about teaching us to suck eggs, those who know how to do this will simply have to take the repetition course
I think there are enough readers who haven't done anything similar and will benefit from the teaching

/ Robin
TAFFY3
Visit this Community
New York, United States
Joined: January 21, 2008
KitMaker: 2,531 posts
Model Shipwrights: 1,244 posts
Posted: Wednesday, February 07, 2018 - 09:22 PM UTC
Off to a good start, look forward to following along. Al
xrz100
Visit this Community
Berlin, Germany
Joined: May 28, 2010
KitMaker: 193 posts
Model Shipwrights: 186 posts
Posted: Wednesday, February 07, 2018 - 10:46 PM UTC
Hello Kev, for me this is always very interesting to learn how other do things like that, it is not boring to me. from time to time I have to cut an engine frame which requires this kind of proceedings.

kind regards

christian
RedDuster
Visit this Community
England - South East, United Kingdom
Joined: March 01, 2010
KitMaker: 7,078 posts
Model Shipwrights: 6,649 posts
Posted: Thursday, February 08, 2018 - 02:37 AM UTC
Great start Kev,

Will be following along with interest.

Cheers

Si
Longshanks8
Visit this Community
England - South West, United Kingdom
Joined: July 04, 2013
KitMaker: 430 posts
Model Shipwrights: 390 posts
Posted: Thursday, February 08, 2018 - 04:09 AM UTC
Thanks for the support Gentlemen.

Slow steps forward as I try to figure out what I'm doing....

Fixed the watertight bulkheads either side of the midships full tanks

I've had to temporarily had to fix an I beam to spread the hull which was pulling in
P1080502 (Copy)

Sorting the floor iwo of the midships accommodation
P1080500 (Copy)

The wheelhouse 'cockpit' had to go...

No way to access the lower level, plus the sides are angled in to ease extraction from mould. The hatched area should not be there.
P1080503 (Copy)

Sides fitted, remember the way I scribed the hull bulkheads. Similar concept here for the floor
P1080506 (Copy)

Giving
P1080499 (Copy)

You can see the access now to deck below, still needs to be trimmed for depth
P1080504 (Copy)

Side of the wheelhouse in place

Trying to decide where / how to cut away side / deck to show radio room behind the dark hole above and the wardroom between the wheelhouse and the side
P1080505 (Copy)

Thanks for stopping by

Kev
airborne1
Visit this Community
Queensland, Australia
Joined: April 15, 2006
KitMaker: 915 posts
Model Shipwrights: 41 posts
Posted: Thursday, February 08, 2018 - 08:02 AM UTC
Impressive piece of workmanship Kev.

Michael
Longshanks8
Visit this Community
England - South West, United Kingdom
Joined: July 04, 2013
KitMaker: 430 posts
Model Shipwrights: 390 posts
Posted: Thursday, February 08, 2018 - 05:21 PM UTC
Thanks Michael

Going to try give you an idea of what's going to happen ....
General internal layout
P1080512 (Copy)

Hatched areas to be removed
P1080507 (Copy)

So I'm thinking the forward area will open into the forward mess deck/ WC. The midships area into the wardroom/WC and poss radio room beyond and / or the deck area to view same. The cutaway on the wheelhouse comes from Julian Swallows (Gremlin56) who when he did his remarked that the level of detail in the wheelhouse was ridiculous as it couldn't be seen. Now hopefully it will be
P1080508 (Copy)

P1080511 (Copy)

I hope this goes some way to explain my train of thought, at least as it stands today

Thanks for stopping by

Kev
TAFFY3
Visit this Community
New York, United States
Joined: January 21, 2008
KitMaker: 2,531 posts
Model Shipwrights: 1,244 posts
Posted: Thursday, February 08, 2018 - 09:11 PM UTC
Impressive work and moving along nicely. If I might make a suggestion, you might consider an opening in the roof of the wheelhouse, rather than the side, to be able to view the interior. Al
Grauwolf
#084
Visit this Community
Quebec, Canada
Joined: September 14, 2005
KitMaker: 2,485 posts
Model Shipwrights: 1,157 posts
Posted: Thursday, February 08, 2018 - 09:11 PM UTC
Hi Kev,
Really EXCELLENT work! I like your approach to the bulkheads...ingenious!
Cheers,
Joe
Longshanks8
Visit this Community
England - South West, United Kingdom
Joined: July 04, 2013
KitMaker: 430 posts
Model Shipwrights: 390 posts
Posted: Friday, February 09, 2018 - 04:01 AM UTC
" If I might make a suggestion, you might consider an opening in the roof of the wheelhouse,"

You are quite right Al Life would be simpler but .....
Joking aside I'm setting out with the intention that when looked at from the Starboard side the boat will appear complete. Its only when spun around the internals will become apparent.
I have to start with a plan, whether it will stand first contact remains to be seen.

Thanks Joe and everyone else stopping by

Kev
Longshanks8
Visit this Community
England - South West, United Kingdom
Joined: July 04, 2013
KitMaker: 430 posts
Model Shipwrights: 390 posts
Posted: Friday, February 09, 2018 - 02:27 PM UTC
Going to be difficult to go back now.... lol
P1080594 (Copy)

This cut out is iwo wardroom looking through to radio room
P1080595 (Copy)

P1080596 (Copy)

Fitted blank, two by 0.5mm card to give correct thickness to side planks
P1080597 (Copy)

I'm hoping to show the diagonal planking used on these boats. The outer skin are laid at 45', the inner skin at 60'. These are separated by oiled calico.
P1080608 (Copy)

Work started on radio shack. I'm making this as a separate module for ease of building. Started making the various boxes/radio/radar.
P1080610 (Copy)

P1080611 (Copy)

and a peak through.....
always going to be difficult to show the view through
P1080614 (Copy)

I'm calling that progress
I have a couple of pics of the radio room but if anyone has any pics of the wardroom and / or messroom I would appreciate any help
Thanks for looking in

Kev

PS Looking at this I've realised that the inner planks are angled the wrong way Doh! Never mind can be changed later
Longshanks8
Visit this Community
England - South West, United Kingdom
Joined: July 04, 2013
KitMaker: 430 posts
Model Shipwrights: 390 posts
Posted: Saturday, February 10, 2018 - 06:17 PM UTC
Moving forward ...
Work commenced on wardroom
P1080617 (Copy)

P1080622 (Copy)

Making up Tx, Rx, Radar etc. modules. This very much gizmology given a/ the lack of info and b/. the location and 'viewability' of the shack
P1080625 (Copy)

View through side
P1080620 (Copy)

That's it for now, thanks for looking in

Kev
Edit 13/02 Reason errors in post at end
 _GOTOTOP