_GOTOBOTTOM
General Ship Modeling: Bases & Water Effects
These topics dealing with buidling bases and water effects are grouped together
Base for Large Ship Help
Hatter50
Visit this Community
North Carolina, United States
Joined: June 17, 2006
KitMaker: 478 posts
Model Shipwrights: 82 posts
Posted: Saturday, April 11, 2009 - 11:42 PM UTC
I'm Dead in the Water on my 144 Fletcher. Lots of thinking going on as to just HOW to setup a base for it. It's a full hull model and will be fairly heavy, 31 inches in length.

Right now I have brass lamp risers. Weird threading 1/4 28 vs the normal 1/4 20 thread. Normal candiates don't have those special threaded nuts and bolts.

Back to the drawing board. I know I have to have something connected to the keel up to the decking for support. I've seen dowels and brass tubing but then I'm clueless on how to attach the risers.

Cogitating here.

Regards
Steve

MrMox
Visit this Community
Aarhus, Denmark
Joined: July 18, 2003
KitMaker: 3,377 posts
Model Shipwrights: 985 posts
Posted: Sunday, April 12, 2009 - 12:47 AM UTC
I have buildt the Revell 1:72 gato, it rests on 2 .357 holsters embedden in the base plate. Corresponding 8 mm. holes are drilled in the hull and 2 pieces of 8 mm. evergreen tuping is glued in the holes, going all the way trough and grapping the hull top and glued.

The evergreen slides into the brass tubes, and the gato rests firmly, but can be taken of if needed.

Cheers/Jan
Hatter50
Visit this Community
North Carolina, United States
Joined: June 17, 2006
KitMaker: 478 posts
Model Shipwrights: 82 posts
Posted: Sunday, April 12, 2009 - 04:19 AM UTC
Jan,

I looked at your builds. I think I see what you've done. Very fine job. Looks really good. Going hinting for brass tubing this afternoon.

Regards
Steve
#027
Visit this Community
Louisiana, United States
Joined: April 13, 2005
KitMaker: 5,422 posts
Model Shipwrights: 5,079 posts
Posted: Sunday, April 12, 2009 - 01:52 PM UTC
Steve,

If you take your lamp risers to Lowe's or Home Depot, they have a section with all different types of nuts. I found the proper nuts for my lamp risers there.
Admhawk
Visit this Community
Ontario, Canada
Joined: November 06, 2007
KitMaker: 32 posts
Model Shipwrights: 27 posts
Posted: Sunday, April 12, 2009 - 03:30 PM UTC
When I use risers on my resin models I saw off the threaded part and drill a hole straight through the center. I then use a wood screw through the bottom of the base, through the riser and into the resin hull. You can use a nut and bolt in your case. I wrap a piece of paper towel around it several times and clamp it into a vise to protect it while drilling, if it spins, tighten it, just go slow.
Hatter50
Visit this Community
North Carolina, United States
Joined: June 17, 2006
KitMaker: 478 posts
Model Shipwrights: 82 posts
Posted: Sunday, April 12, 2009 - 10:52 PM UTC
Darren,

Thats a good idea. I have 4 risers, tested that with two of them. Small model might work. The problem for me with that is the narrow bolt that goes through. For my small guys I think thats what I'll do.

Gator,

Well Lowe's is where i found out about the specialty thread of 1/4 28. They had no hardware for it though. Might have to make a run to Mr Competitor. I Already tried 2 very good but smaller outfits.

Regards
Steve
jellin96
Visit this Community
Kansas, United States
Joined: November 01, 2008
KitMaker: 2 posts
Model Shipwrights: 1 posts
Posted: Monday, April 13, 2009 - 05:35 AM UTC
Does anybody have some pictures of the methods you're describing? I'm having a bit of trouble envisioning some of them...

Thanks,
Joel
Hatter50
Visit this Community
North Carolina, United States
Joined: June 17, 2006
KitMaker: 478 posts
Model Shipwrights: 82 posts
Posted: Monday, April 13, 2009 - 06:03 AM UTC
Hey Darren,

Have not incorporated this into the model yet, but i did purchase 2 sizes of brass tubing at the local hardware. K&S pipe I think. One is listed as 1/4" and the other is 7/32. Now I'm not sure if these are the right tags or not, but i DID make sure the smaller fit snugly inside the other. I redrilled my risers to fit the smaller tube.

Issue with drilling. Sraped the riser and had to sand and polish. (Maybe go back and get more as i ruined one during this test).

What I NEED to do now is get a bolt that will go through the base into the lower riser. I'll then figure a way to mount the larger tube inside the hull allowing the smaller tube to slide inside.

This should provide a good solid base with the decorative brass riser showing.

The key to all this is to get that Hull tube mounted solidly.

Thanks for all the suggestions. Photos? Yes, when I get my plan down pat, I will post a few photos..........assuming it works. Don't work.......no pics.

Regards
Steve

Hatter50
Visit this Community
North Carolina, United States
Joined: June 17, 2006
KitMaker: 478 posts
Model Shipwrights: 82 posts
Posted: Monday, April 13, 2009 - 07:42 AM UTC
Brass Riser update.

I've learned more about brass lamp risers than I ever wanted to know. They come in different shapes and sizes, anodized and not. I chose non-anodised. The only place I could find them in my area was at a lamp store.

The risers that I chose have a "specialty" thread to them. 1/4" 28 and not the standard 1/4" 20. That took some looking to find.

I now have nuts and bolts hardware, and I have the brass tubes. These tubes fit snugly together. I will mount the larger one inside the hull from keel to deck to provide a solid support for the smaller tube to slide into. (by the way I have one set of risers that I cut off the threaded male end and drilled out the barrel that will allow the smaller tube to fit into. This gives me several options to work with)


I'm getting back on track now.
Hatter50
Visit this Community
North Carolina, United States
Joined: June 17, 2006
KitMaker: 478 posts
Model Shipwrights: 82 posts
Posted: Friday, April 17, 2009 - 11:19 AM UTC
Update for the stand hardware.

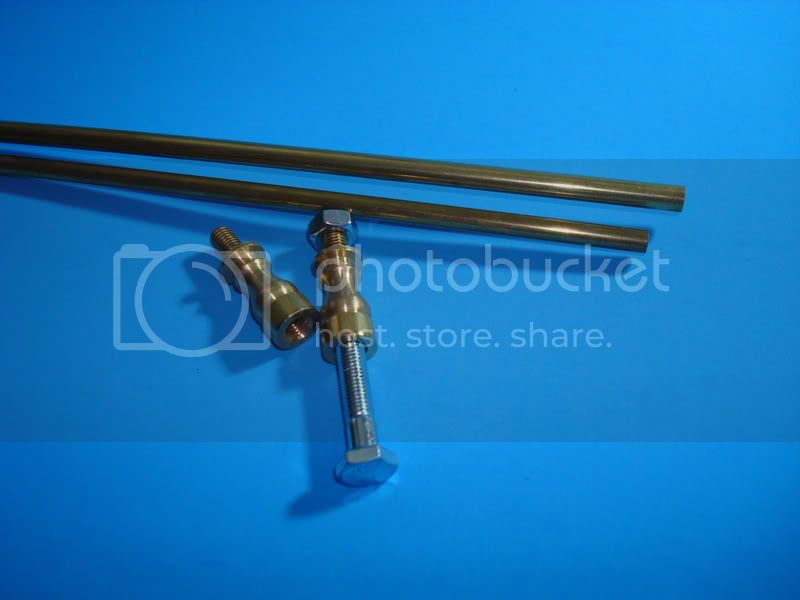
A solid "no shake" stand. I ground down the male threads on the Brass Riser. Fitted and CAed the smaller brass tube to that end of the riser. The larger brass tube is CAed into the White Bic plastic pen........which is very solidly attached to the inside of the hull.

You will note from the photo that I had thoughts of drilling out the Brass Riser and either slipping in the smaller tube or a long bolt. Went through several brass risers in this testing process.

I THINK I have something that will be solid, yet allow me to remove the hull from the stand. If i had not wanted to make the stand removable i would have omitted the smaller tube. It would then have fit onto the male elnd of the riser.


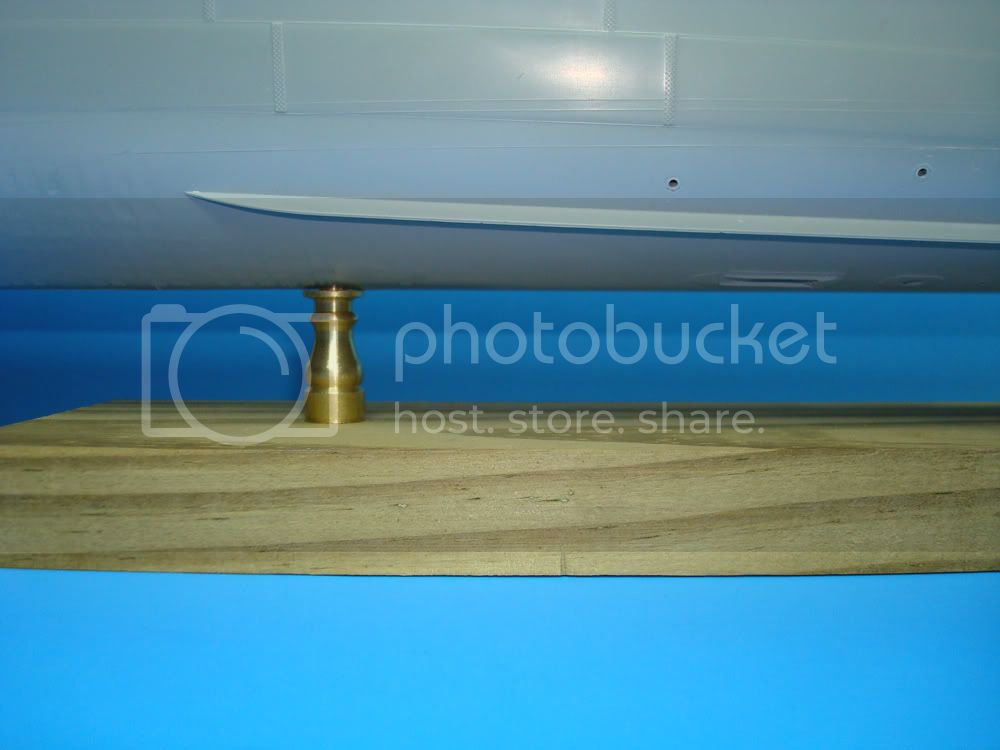
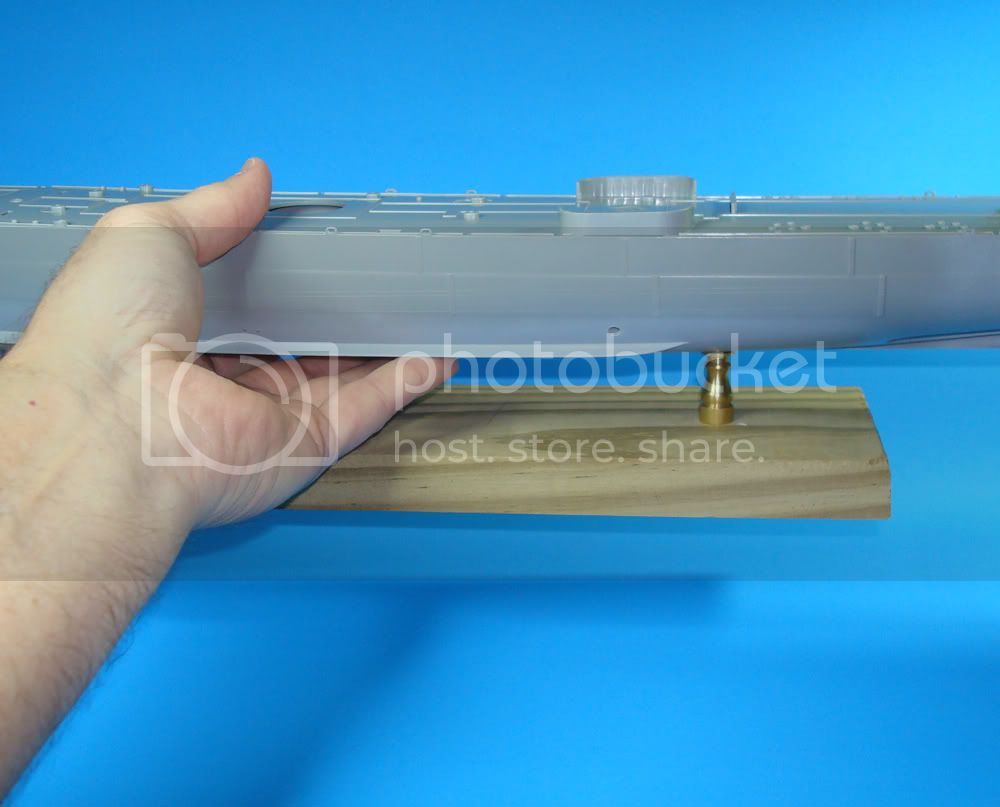
OK, one last "Stand" photo and I'm back to work on the ship. I have attached a "Temporary" build stand. The display stand later. It's not hard to see the belly intakes sitting elevated like this. No brass parts have been CAed as of yet, but the photo showing it being lifted shows that the fit is tight and it's not really going anywhere. I had to cut down my bolts as I recessed the heads into the wood base.


This stand/base has taken me an abnormally long time since I've never made a ship stand before. At least now i have the steps down. Next ones will be much simpler.

I'm ready to get back to the ship now..........

Regards
Steve
 _GOTOTOP