_GOTOBOTTOM
General Ship Modeling
Discuss modeling techniques, experiences, and ship modeling in general.
WIP : 1/72 Revell Schnellboot with flak
Silantra
Visit this Community
Putrajaya, Malaysia
Joined: March 04, 2004
KitMaker: 2,511 posts
Model Shipwrights: 89 posts
Posted: Sunday, August 02, 2009 - 07:51 PM UTC
Hi guys, it's been a while since i build my last ship and post anything at MSW.. so here it goes.
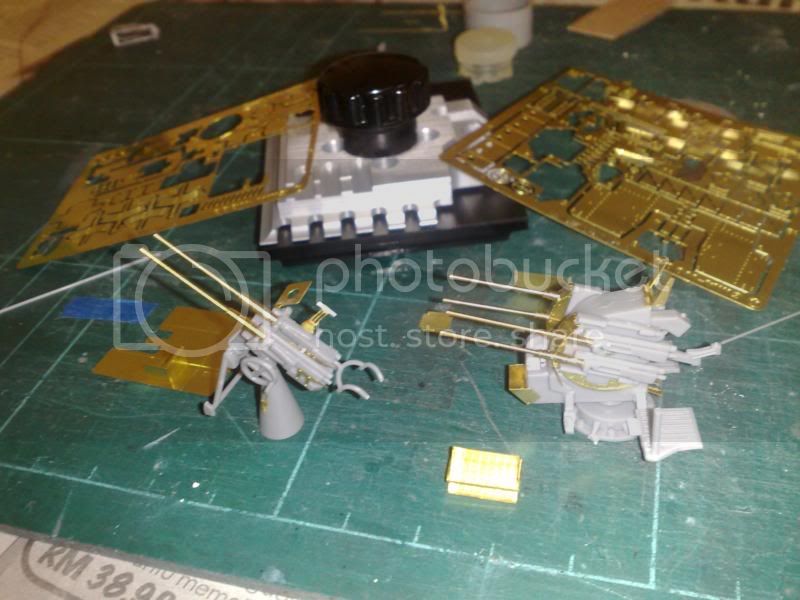
My next build is Revell 1/72 Schnellboot with Flakveirling.
At first and my initial intention is to build this OOB but thanks to the excellent 1/35 thread and some references i found, i decided to at least do some correction and detail the kit a bit.

The build has started a month ago but it was slow sail.


the Kit


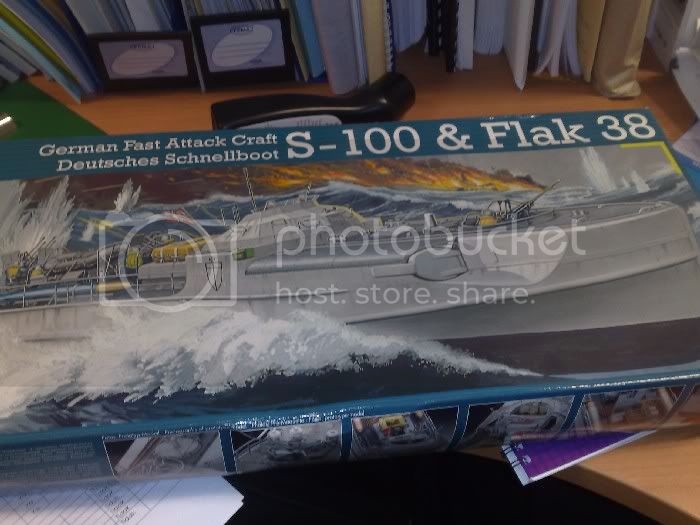
from initial inspection, this kit will promise a smooth sailing building it.
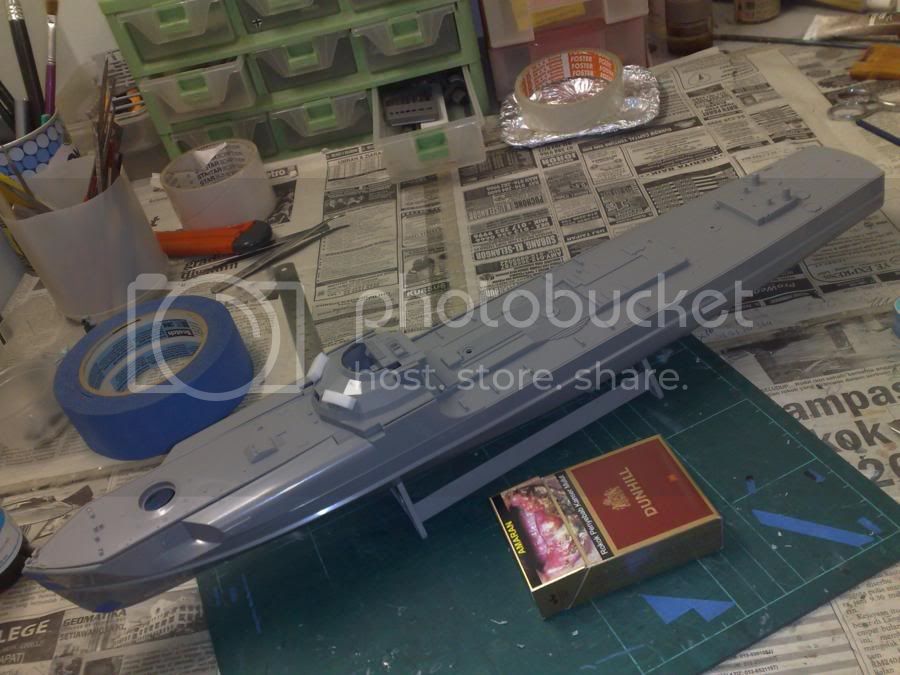
I test fitting major components such as the hull and the main deck and the kalotte..all parts seem to fit perfectly...
the only difficulty is to understand the instructions,... in the early steps, you have to choose some options depending on which version of S-100 boat you will finish... some options required to open holes at different places...so this may take a while to understand at first.......

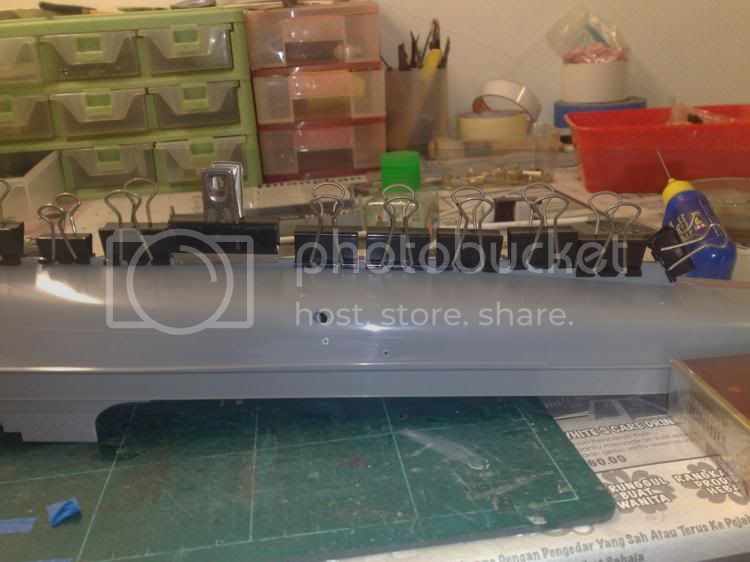
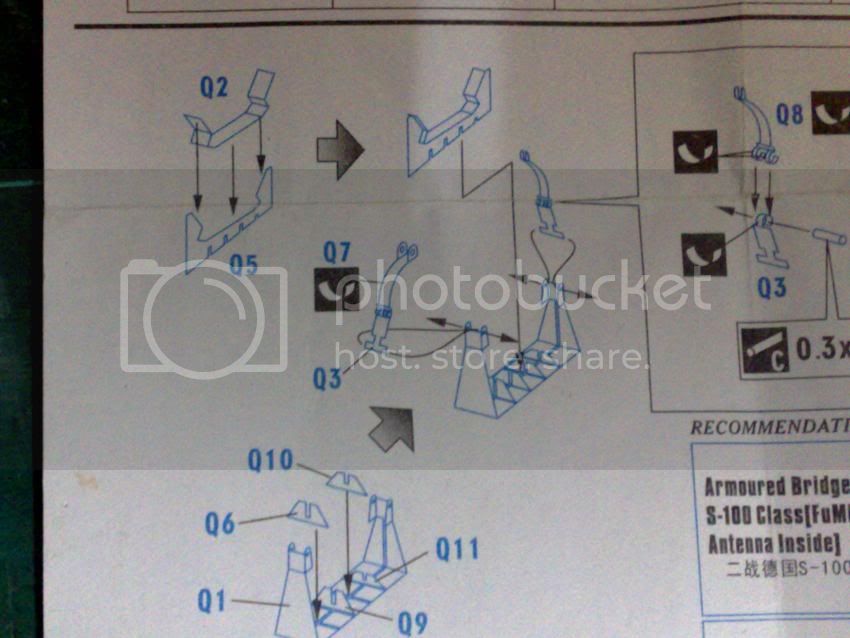
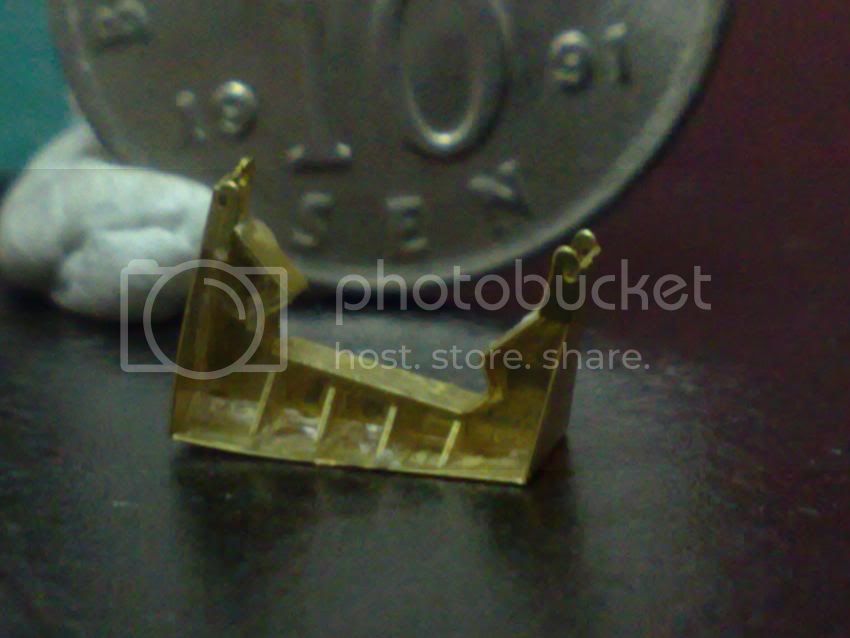
next i assemble the display stand,....not much a problem except for a seam line that easily removed with sanding........

and i temporarily attached the hull, deck and the kallote....


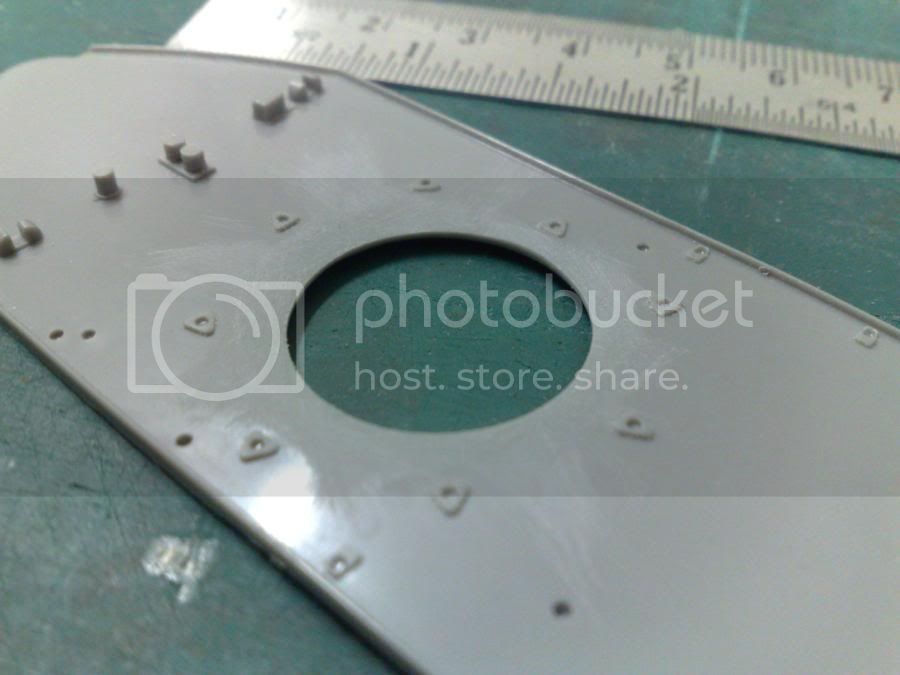
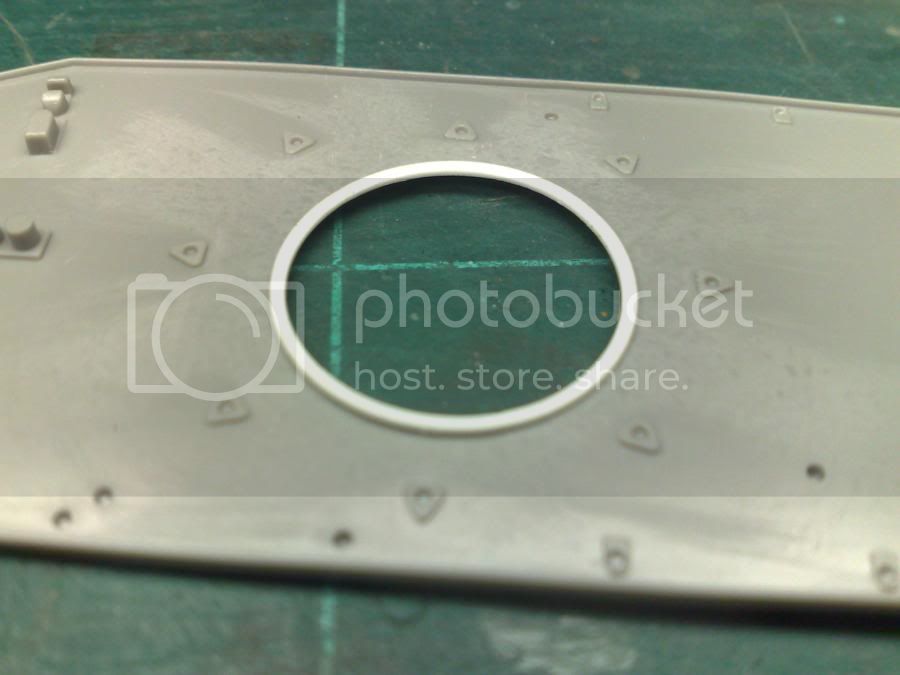
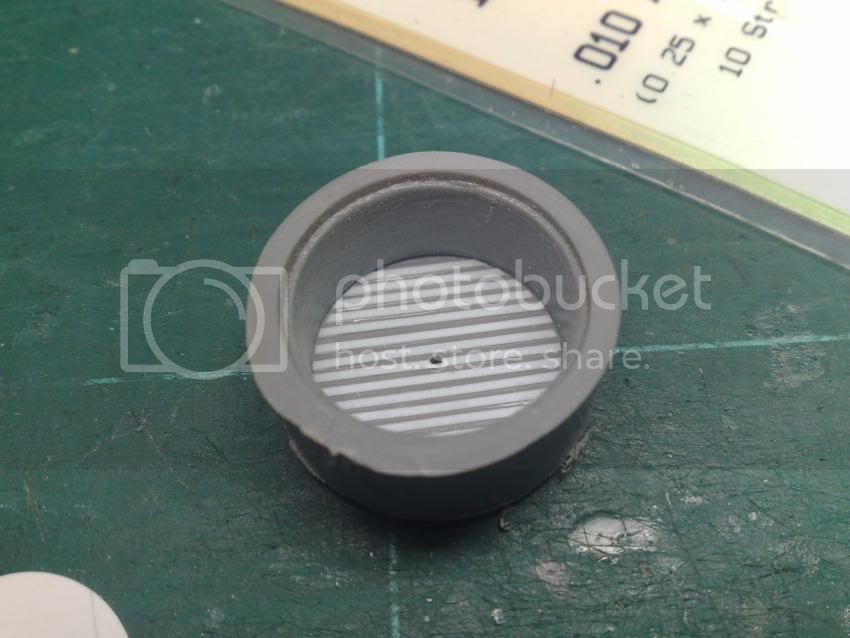
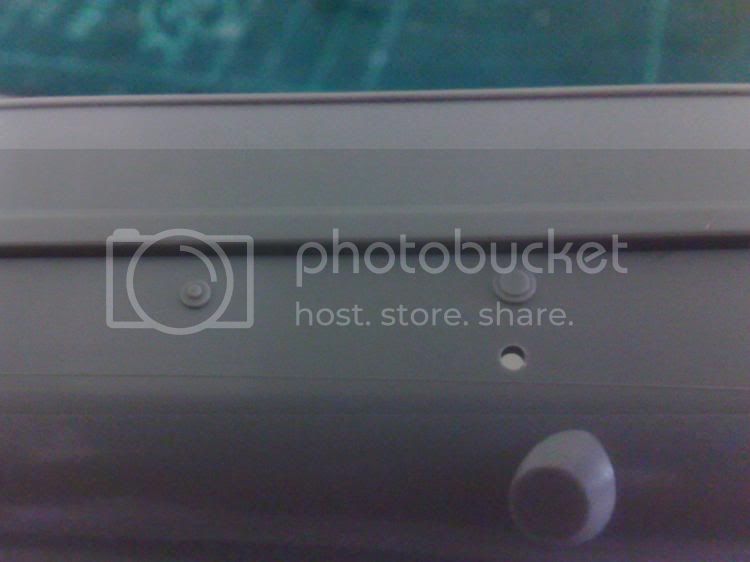
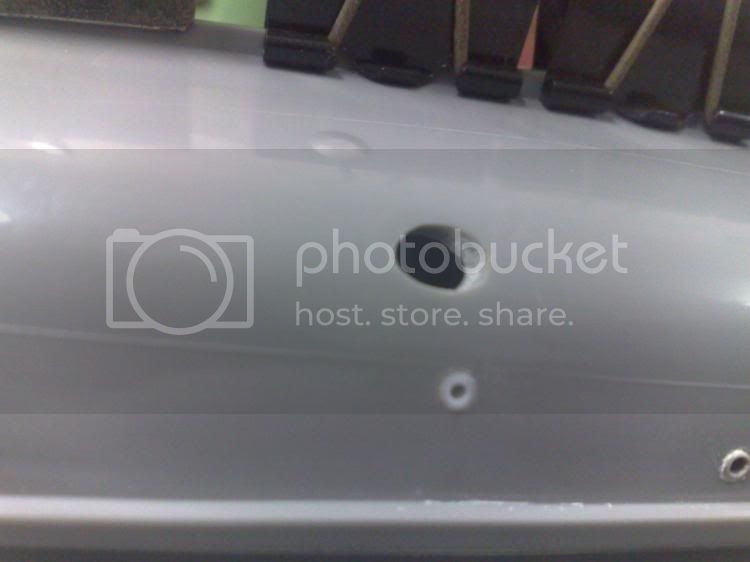
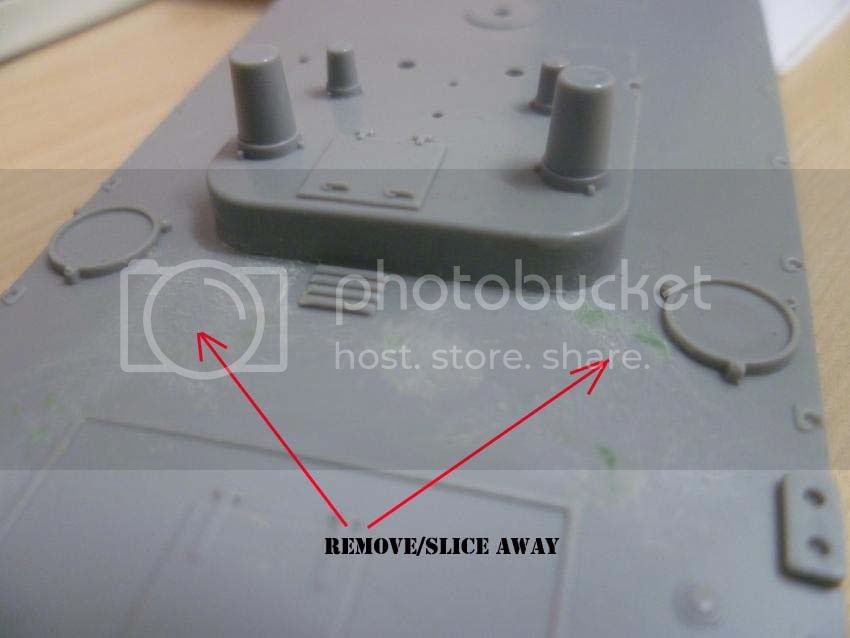
References told me that the bow gun tub should be enlarged and the surface around the tub should also be flatten. Revell must got a wrong references i believed...

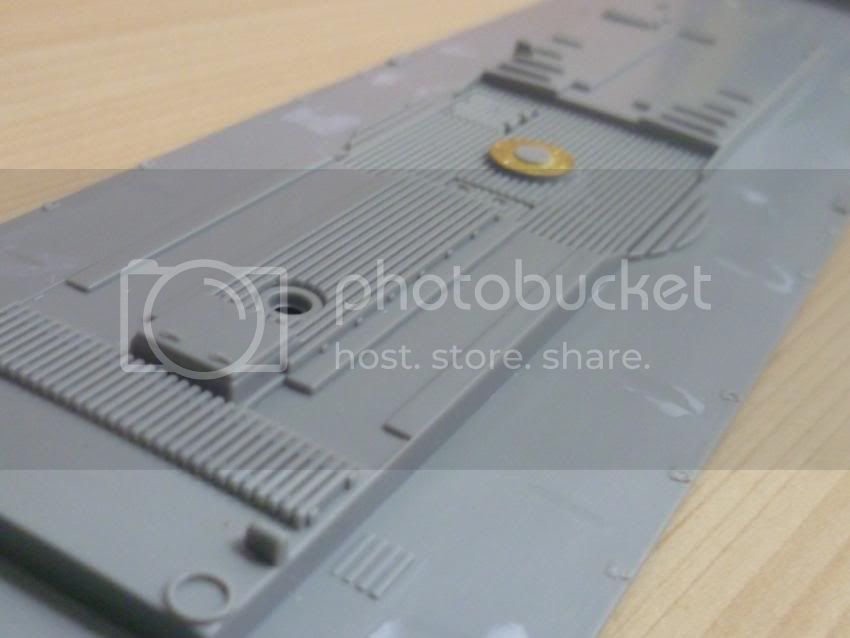
This is the top surface of the deck.

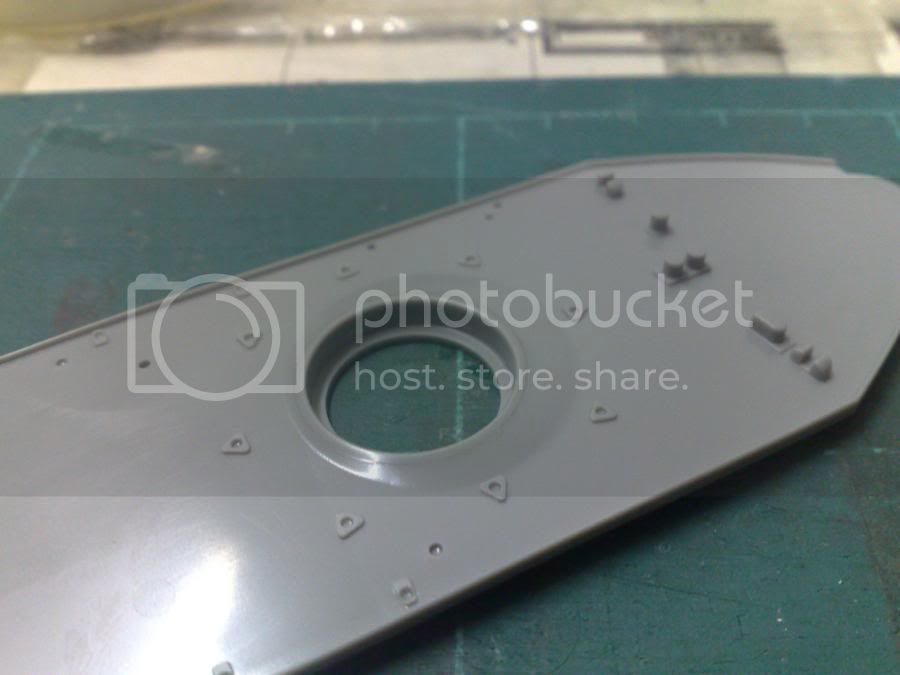
Visible in this image is the bump surrounding the tub which will be flatten later.

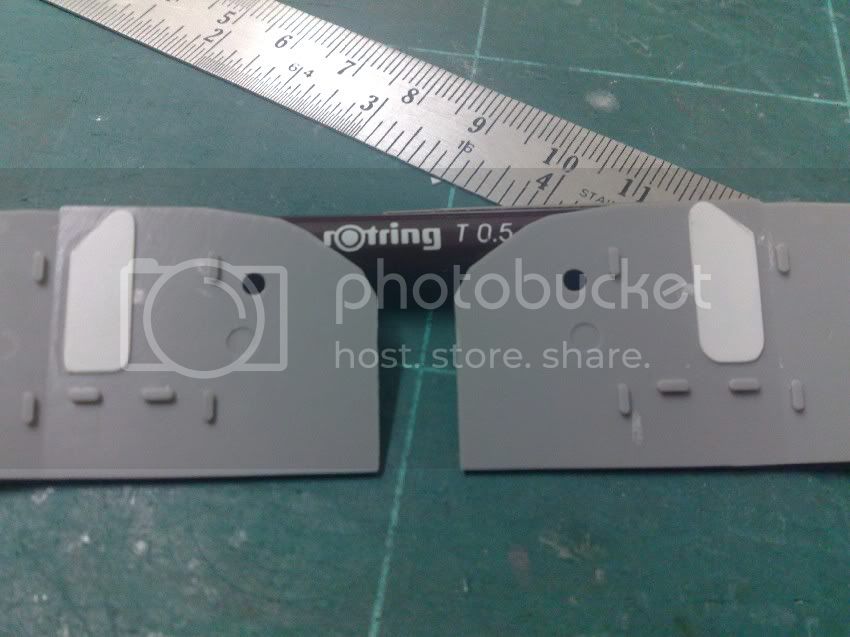
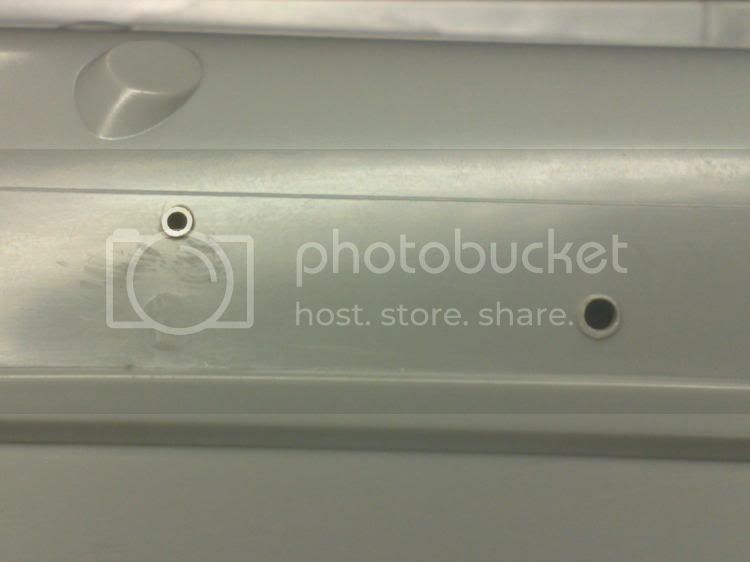
The bottom/inside surface has a large thick 'ring'.


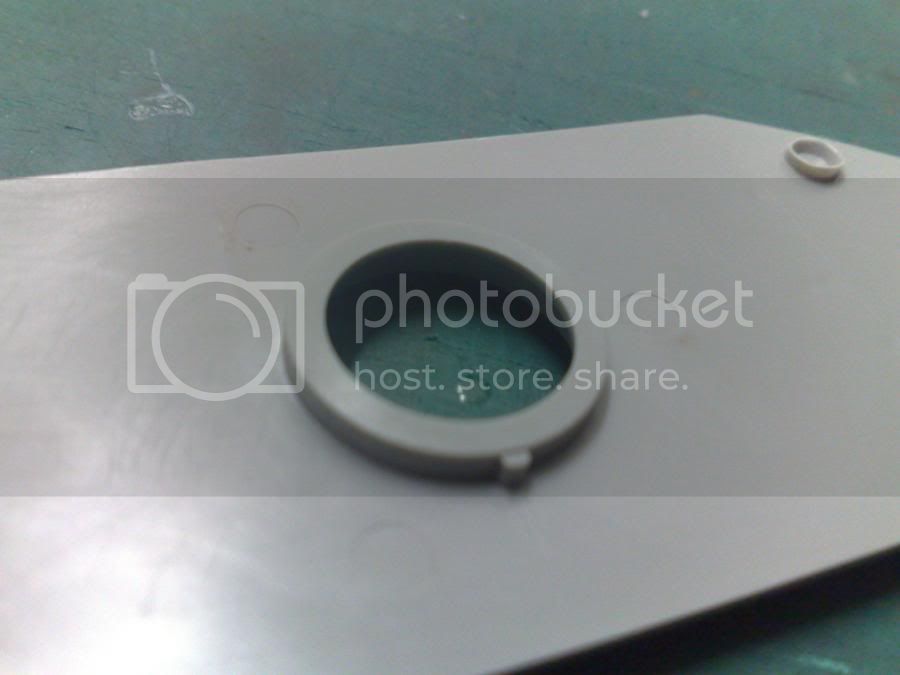
Work started by removing the large ring using a miniature saw and cutter.


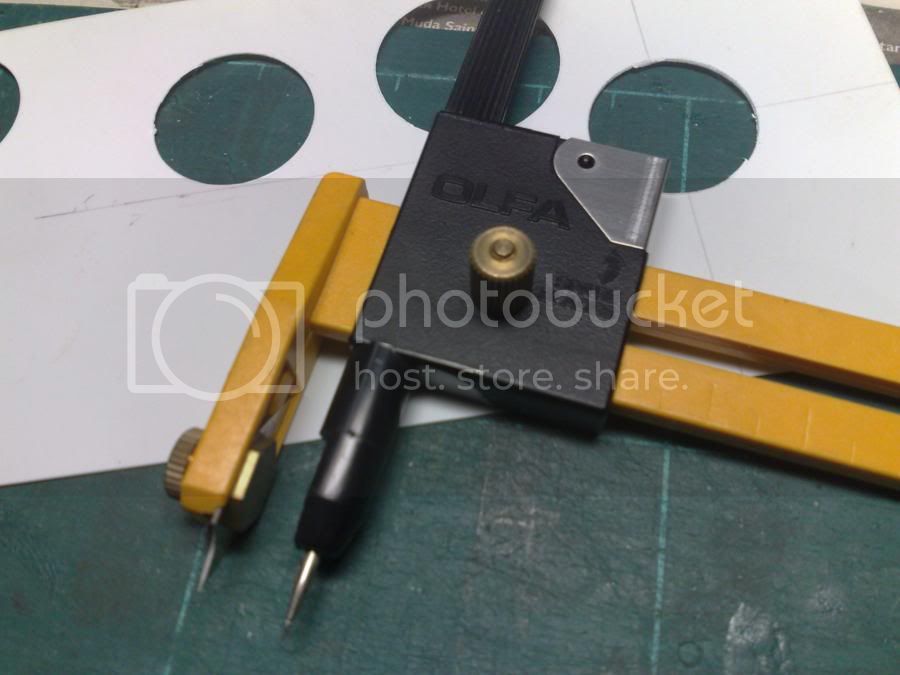
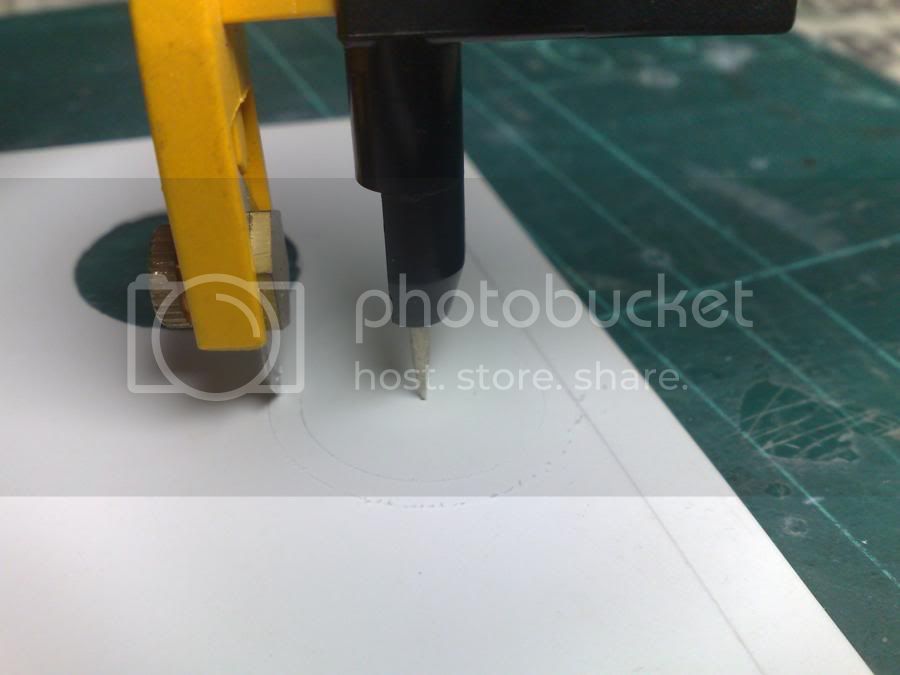
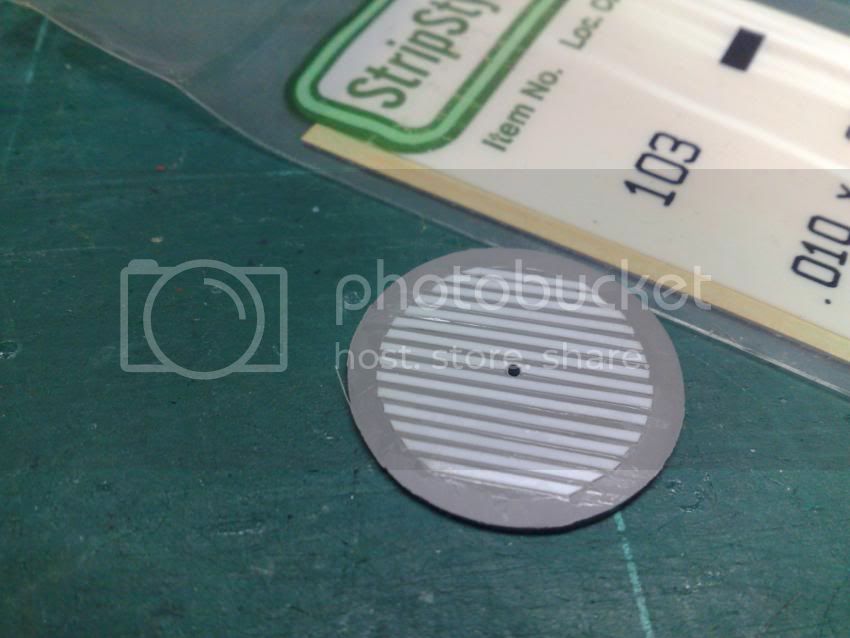
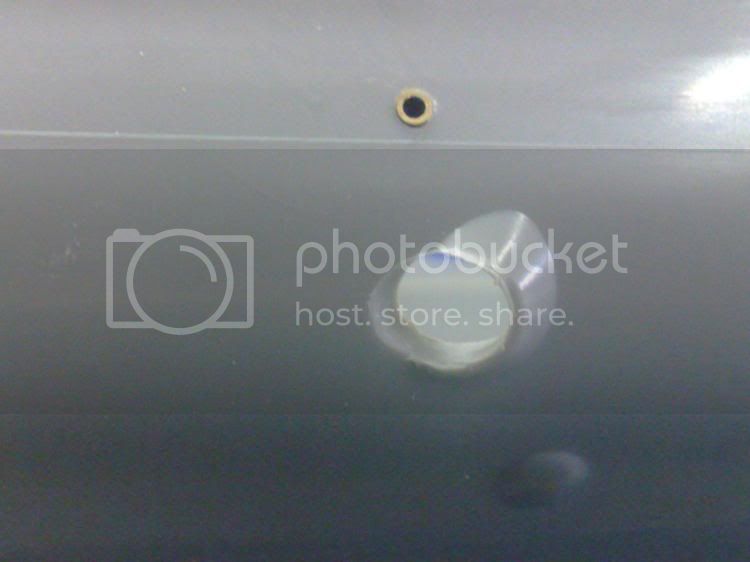
and then i attached the circle template and secured with tape.

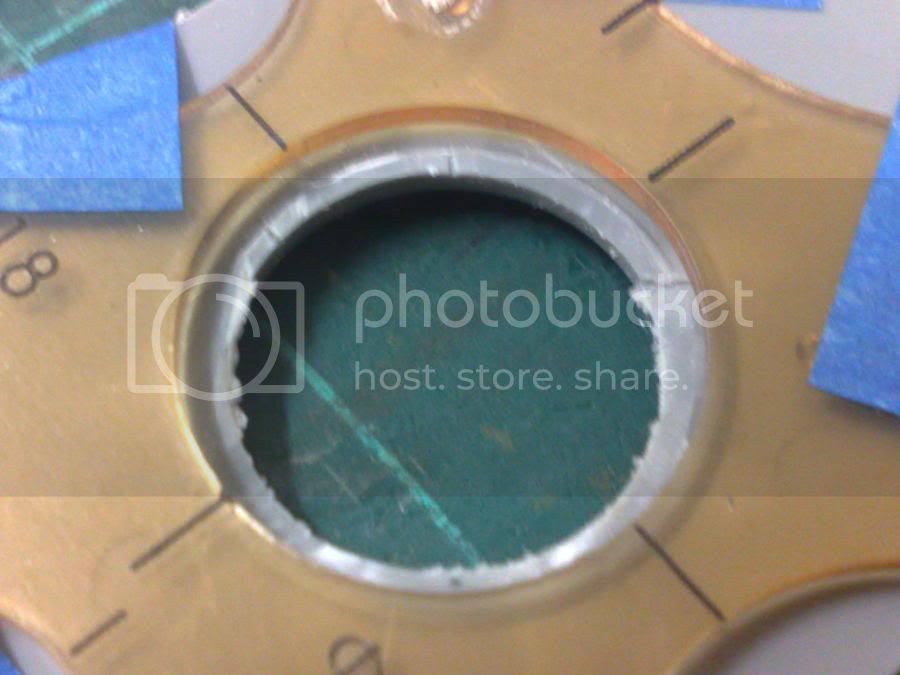
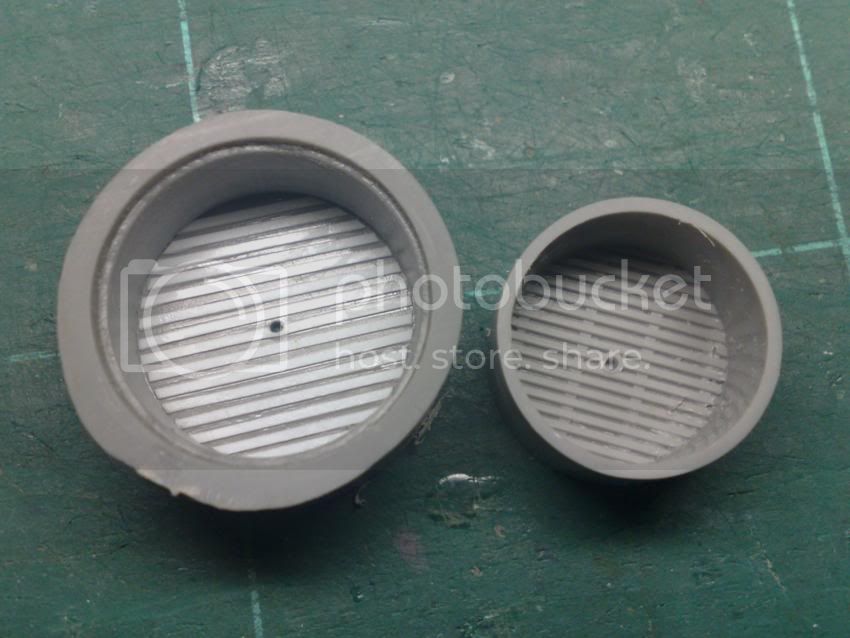
I drew a new circle which is 4mm bigger than the original diameter and then using a scribing tools, i make a few light pass along the perimeter of the new circle. After a few pass, i put more pressure until it detached.

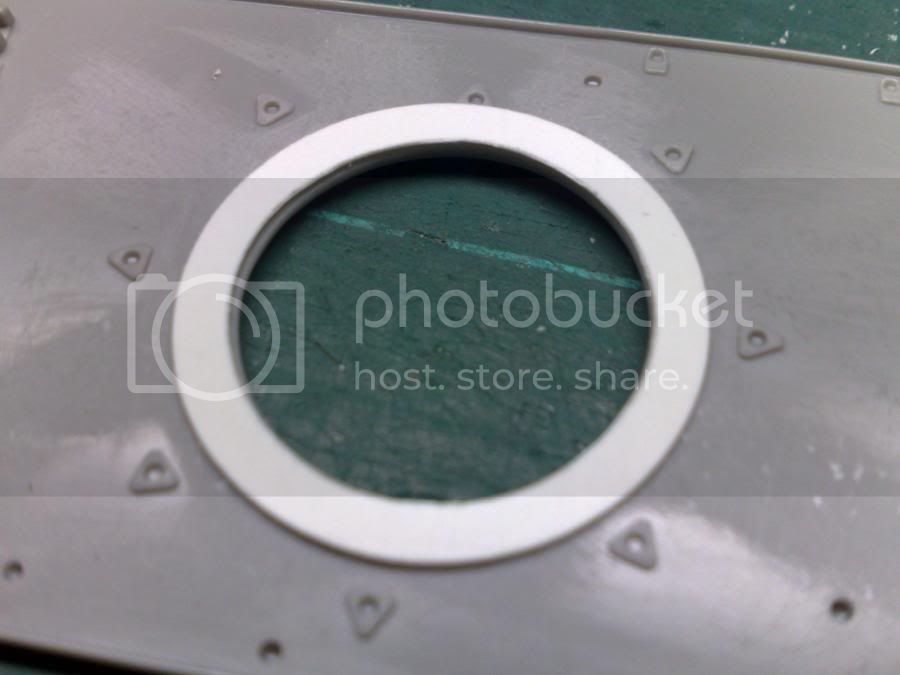
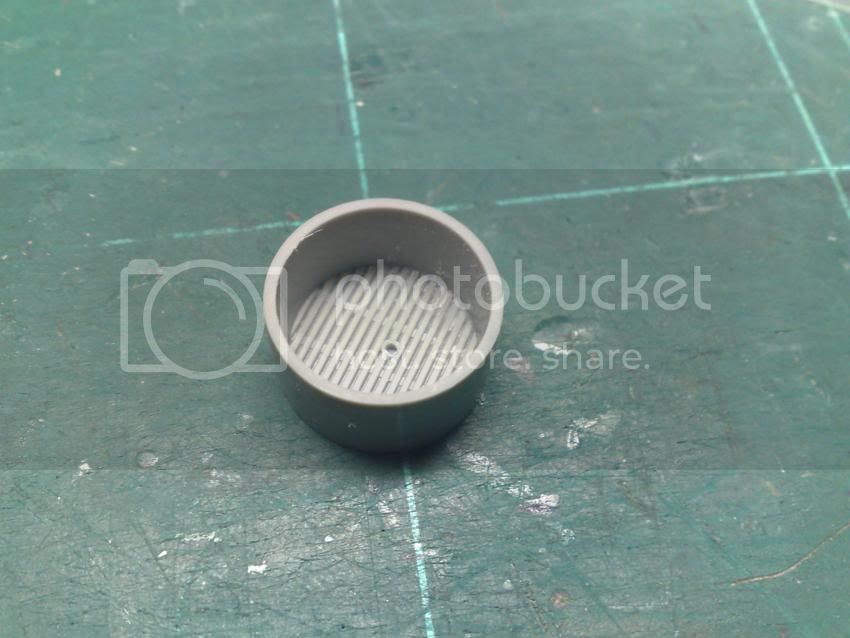
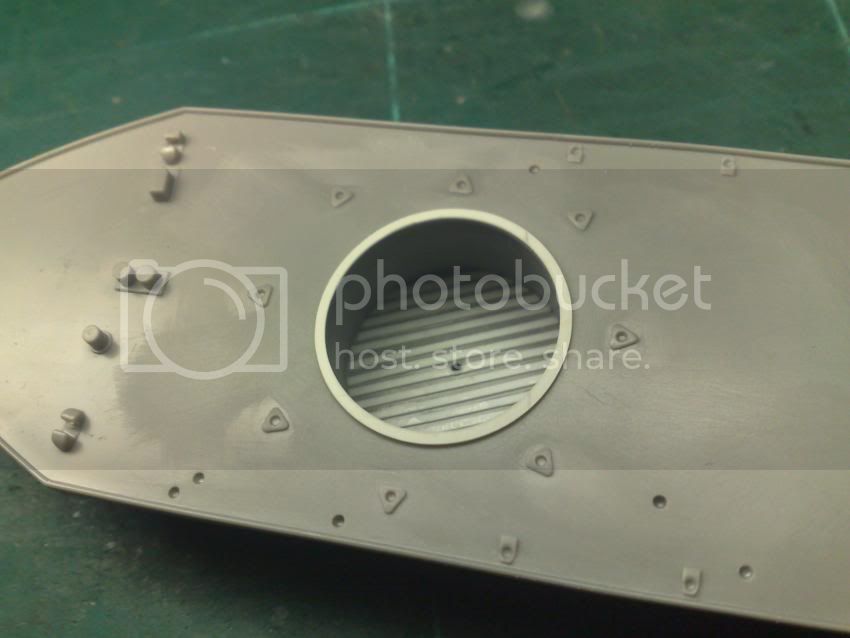
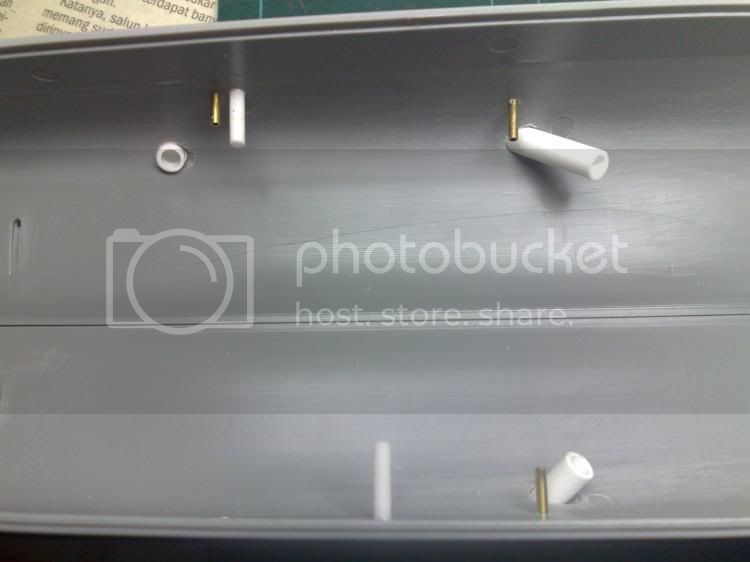
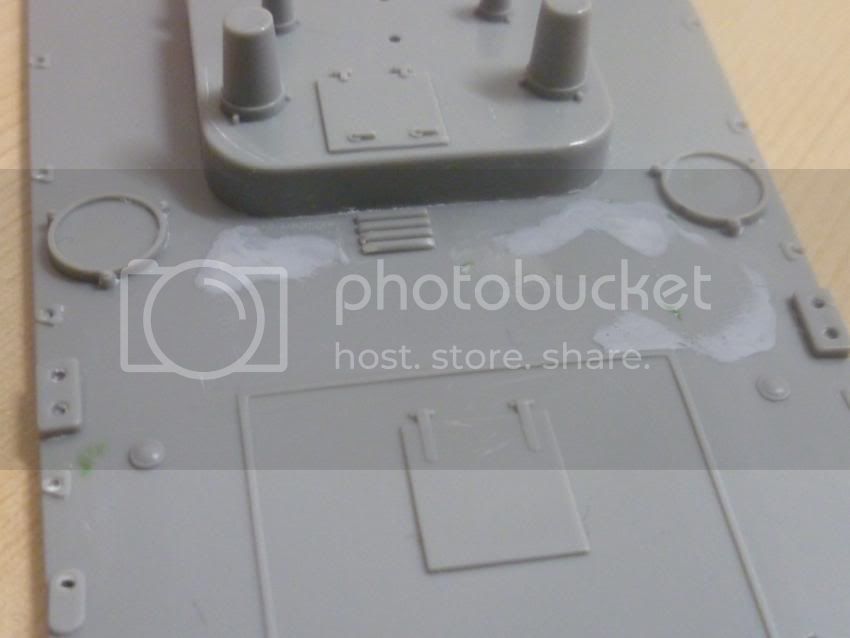
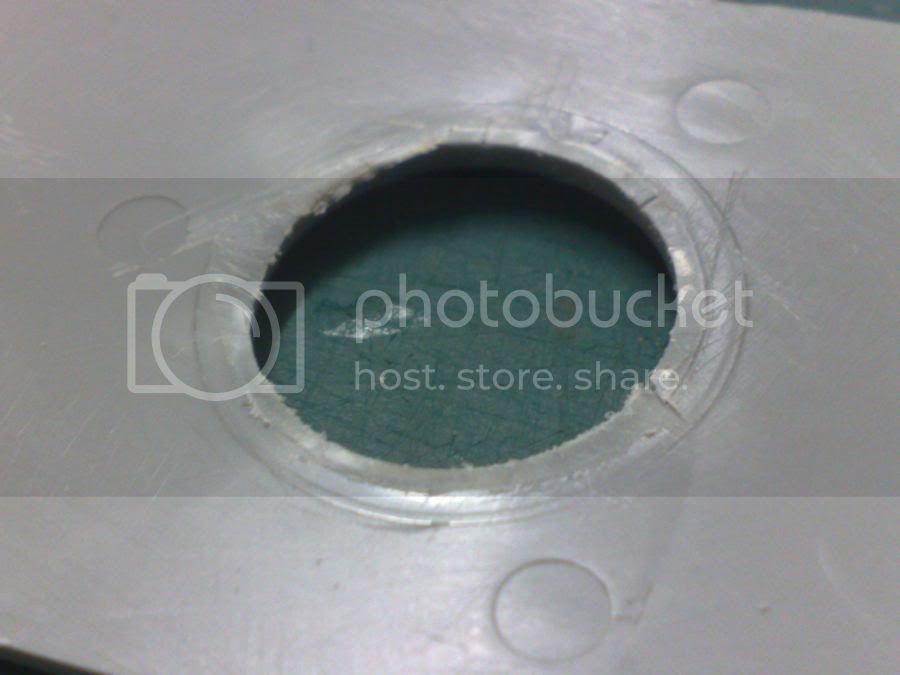
Using dremel then, i flatten the surface around the tub. Prior to that i masked the surrounding details...
slowly i then sand with multiple grade sand paper...
this is how it look...


Silantra
Visit this Community
Putrajaya, Malaysia
Joined: March 04, 2004
KitMaker: 2,511 posts
Model Shipwrights: 89 posts
Posted: Sunday, August 02, 2009 - 07:56 PM UTC
building the ring for the gun tub...

tools for trade

1. olfa circle cutter - bought 8-9 years ago and today i found out how useful it is :lol:
2. 0.2mm styrene sheet
3. a ruler -

After measuring the inner diameter of 2mm, i then slice a few times and then start to work on the outer diameter.


test fitting... opss to big...

my bad maths...

finally after 3rd attempt, i got the ring just right..test fitting once again


decided to details the interior of the wheelhouse... using 0.25mm plastic, i trace the exterior door and transfered them to paper for measurement... and then cut the plastic into shape..

this is how they look for both side

Most of them wont be visible but i was poisoned from the 1/35th thread..grrrr

working on the tub interior..due to the new tub diameter, the interior must be enlarge too...

this is the original kit tub...


i look into my tools box and found this 1" PVC pipe connector... so i cut it using dremel and sand the edges smooth..


the outside diameter is not really round compare to the inside..

using 1mm sheet, i made a circular shape for the tub floor and using 0.75mm strip, i replicate the wooden lining of the floor.


walla...finished tub..took 45mins to this stage


comparison between the kit tub and the new tub


test fitting as usual


Silantra
Visit this Community
Putrajaya, Malaysia
Joined: March 04, 2004
KitMaker: 2,511 posts
Model Shipwrights: 89 posts
Posted: Sunday, August 02, 2009 - 07:59 PM UTC
Latest update.

Well due to the poisoned i 'enjoyed' viewing the italeri boat, i decided to get some details parts


3 PE set from griffon are for 1. Bridge details set, 2. weapon enchancement set and 3. Mine/depth charges rack and torpedo cradles
and one CMK resin mines set. This set contains 4 Mines and their equipment set.
This addition marked the cost of this build and this maybe the most expensive aftermarket parts i ever got for a single kit. Thanks to all the reference..


okay, now on with the build..

I work on the hull. References showed that the portholes on the starboard and portside are wrongly places. It should be lowered just below the waterline.
So i removed them and drill new holes. I even drill all of the holes to get the depth effect.
In this photo below, the top 'portholes' are wrongly place and i drill a new one below it.


I inserted brass tubing in all of them to get the depth feel.


4 more holes were drilled at the front of both side (2 on each side) and brass tube were installed.


The engine exhaust of each S-100 class boat were a bigger holes located below the waterline and once again i dremeled the exhaust hole.


Plastic tubing of 5.5mm were inserted then to get the depth feel effect. They are 3 of them.


top view of what they look like


All of them are temporarily installed and will fix them later. Of course, the surrounding area of the exhaust will get putty treatment.

anyway, i sand the surrounding hump of the exhaust and then polish.


and then i mate the hull...carefully to get good alignment..


more progress soon..........

thanks for viewing

as usual, comments are strongly welcome

Cheers,

Sil

DaveCox
Visit this Community
England - South East, United Kingdom
Joined: January 11, 2003
KitMaker: 4,307 posts
Model Shipwrights: 85 posts
Posted: Sunday, August 02, 2009 - 08:06 PM UTC
That's looking good.

I'm glad to see that your kit seems to be better than the one I built a month or so back - so many mis-matched seams and so much flash. I spent more time cleaning up parts than I did glueing them together.
goldenpony
Visit this Community
Zimbabwe
Joined: July 03, 2007
KitMaker: 3,529 posts
Model Shipwrights: 2,419 posts
Posted: Sunday, August 02, 2009 - 11:20 PM UTC
Zaidi,

Nice looking build so far. Your updates/corrections are looking great!

I am looking forward to seeing more.

TGarthConnelly
Visit this Community
Connecticut, United States
Joined: August 03, 2008
KitMaker: 875 posts
Model Shipwrights: 872 posts
Posted: Tuesday, August 04, 2009 - 05:54 AM UTC
Very nice work, sir, I'd like to see it when it's completed.

Garth
JMartine
Visit this Community
New Jersey, United States
Joined: October 18, 2007
KitMaker: 1,698 posts
Model Shipwrights: 1,514 posts
Posted: Wednesday, August 05, 2009 - 03:24 AM UTC
Great work so far, and great WIP thread, lots of pics.... will make a great reference bookmark!
look forward to the rest
Silantra
Visit this Community
Putrajaya, Malaysia
Joined: March 04, 2004
KitMaker: 2,511 posts
Model Shipwrights: 89 posts
Posted: Sunday, August 16, 2009 - 05:06 PM UTC
thanks guys for the encouragement..

well another small update...gee this gonna be a slow build....
while waiting for the bottom hull to get the upgrade work done, i decided to work on the PE for the guns.
This is Griffon Enhancement Armament Set

so here it goes...it took me two hot evening to come to this stage


the quad gun. still not complete...a few more smaller PE and the huge armour shield


the twin gun in progress


i continue with the twin gun and it's finished...(still need to add the ammo clip)


the join and PE were all very super fragile.... it's hard to hold the gun after completed.
in order not to break anything, i store the gun into the plastic container


and then i continue with the quad gun...
the ammo clip tray
the most challenging task...

and they are 2 of them

and seats are also tough to glue due to small contact surface
just left the ammo clip and the front armour sheild


that's all for now..more PE next...

thanks for looking
TGarthConnelly
Visit this Community
Connecticut, United States
Joined: August 03, 2008
KitMaker: 875 posts
Model Shipwrights: 872 posts
Posted: Monday, August 17, 2009 - 01:25 AM UTC
Just ... WOW! ... WOW!
Silantra
Visit this Community
Putrajaya, Malaysia
Joined: March 04, 2004
KitMaker: 2,511 posts
Model Shipwrights: 89 posts
Posted: Tuesday, August 18, 2009 - 06:41 AM UTC
another 2 hours update...

managed to finish the quad gun....at this stage, i almost gone crazy....


that's for now...
Silantra
Visit this Community
Putrajaya, Malaysia
Joined: March 04, 2004
KitMaker: 2,511 posts
Model Shipwrights: 89 posts
Posted: Wednesday, August 19, 2009 - 08:43 PM UTC

some small update .. this time, i work on the bow gun....

the griffon set came with resin MG body and brass barrel.... and this enhancement set really enhanced the MG..... took 1.5 hours to this stage..

beside the PE, i also modified the gun base rod...i cut the kit plastic rod and replaced with brass rod in order to get strong support. The revell plastic rod was soft and easy to bend... The set also called for the ABS rod to be install on 3 locations..but i replaced the supplied ABS rod with styrene rod..

onto the photos


next,. the ammo clips..

kinda cool ehh?? and crazy..i still havent glue the edges


to get the general idea


and they are 12 of them

more PE after this..stay tune!
MrMox
Visit this Community
Aarhus, Denmark
Joined: July 18, 2003
KitMaker: 3,377 posts
Model Shipwrights: 985 posts
Posted: Wednesday, August 19, 2009 - 11:48 PM UTC
Thats a downright scary update set - but very nice work so far!

Keep up the spirit

Cheers/Jan
Silantra
Visit this Community
Putrajaya, Malaysia
Joined: March 04, 2004
KitMaker: 2,511 posts
Model Shipwrights: 89 posts
Posted: Thursday, August 20, 2009 - 02:35 AM UTC

Quoted Text

Thats a downright scary update set - but very nice work so far!

Keep up the spirit

Cheers/Jan


Thanks Jan, at first this set look scary but as i work along, they are okay. The only thing I found to be the upsetting factor is the confusing instruction...most of the instruction didnt actually tell where exactly to put the parts....i have to figure it out myself and by looking at the supplied photos....
and there are 2 more set to go..........

TAFFY3
Visit this Community
New York, United States
Joined: January 21, 2008
KitMaker: 2,531 posts
Model Shipwrights: 1,244 posts
Posted: Thursday, August 20, 2009 - 02:34 PM UTC
Hello Sil, very nice work, the thought of working with such tiny PE parts scares the pants off of me. I built the Revell Type VIIC U-Boat and that used some small PE parts but nothing as complex as you are attempting. The ammo racks for the quad Flak gun are particularly impressive. One thing I noticed is that the angle of the gun shield on the dual Flak gun seems a little off. The depression guard sticking out from the guns is hitting the gun-shield and preventing the guns from being fully depressed. The bend in the guard should be able to ride down outside the shield allowing the guns to be depressed and the guard to slide along the depression rails mounted on deck around the gun mount. The depression rails are to prevent over-zealous gunners from shooting up their own boat. A small point, but I thought I would mention it. Waiting to see more progress, it might actually inspire me to build the one I have.
Al
Silantra
Visit this Community
Putrajaya, Malaysia
Joined: March 04, 2004
KitMaker: 2,511 posts
Model Shipwrights: 89 posts
Posted: Thursday, August 20, 2009 - 03:43 PM UTC

Quoted Text

Hello Sil, very nice work, the thought of working with such tiny PE parts scares the pants off of me. I built the Revell Type VIIC U-Boat and that used some small PE parts but nothing as complex as you are attempting. The ammo racks for the quad Flak gun are particularly impressive. One thing I noticed is that the angle of the gun shield on the dual Flak gun seems a little off. The depression guard sticking out from the guns is hitting the gun-shield and preventing the guns from being fully depressed. The bend in the guard should be able to ride down outside the shield allowing the guns to be depressed and the guard to slide along the depression rails mounted on deck around the gun mount. The depression rails are to prevent over-zealous gunners from shooting up their own boat. A small point, but I thought I would mention it. Waiting to see more progress, it might actually inspire me to build the one I have.
Al


Hey Al,

thanks for your comments... really appreciate it.. so the protruding rod is called depression guard..i thought it was some kind of aiming gizmo.... thanks to point it out coz i didnt realized it until i read your comments... but that's strange , coz prior to glue the shield, i make sure the depression guard can move without hitting the armour plate..maybe a mistake is done when i glue the shield. I will try to look and see if i can do anything to correct it ...

thanks

TAFFY3
Visit this Community
New York, United States
Joined: January 21, 2008
KitMaker: 2,531 posts
Model Shipwrights: 1,244 posts
Posted: Friday, August 21, 2009 - 03:26 PM UTC
Hello Sil, glad I could help and I'll be following your build. You have given me a few ideas already. Al
rokket2001
Visit this Community
South Australia, Australia
Joined: March 28, 2005
KitMaker: 353 posts
Model Shipwrights: 331 posts
Posted: Friday, August 28, 2009 - 04:28 PM UTC
Love the detail and choices, coming along nicely.
#027
Visit this Community
Louisiana, United States
Joined: April 13, 2005
KitMaker: 5,422 posts
Model Shipwrights: 5,079 posts
Posted: Saturday, August 29, 2009 - 01:16 PM UTC
Awesome work!
Dr_Who2
Visit this Community
Nordrhein-Westfalen, Germany
Joined: September 17, 2008
KitMaker: 90 posts
Model Shipwrights: 89 posts
Posted: Sunday, August 30, 2009 - 01:32 PM UTC
Oh boy, I was lucky to have been seated while I clicked -innocent as I am- the link leading to this WIP. Otherwise I would have fallen over and hit the ground.
Nice work, and I am not talking about the kit or AM parts but how well and thorough you have put the stuff together so far. Photo wise, a very educative development.
Silantra
Visit this Community
Putrajaya, Malaysia
Joined: March 04, 2004
KitMaker: 2,511 posts
Model Shipwrights: 89 posts
Posted: Monday, August 31, 2009 - 05:49 AM UTC
Thanks guys for the kind word of encouragement...
sorry for not doing any major update... right now, no major update as i'm trying to finish my Abrams/ Furthermore, the job is killing my time....I should be back soon...this time i will try to do the hull and deck..

thanks for your support....

Zaidi
JMartine
Visit this Community
New Jersey, United States
Joined: October 18, 2007
KitMaker: 1,698 posts
Model Shipwrights: 1,514 posts
Posted: Tuesday, September 01, 2009 - 12:12 AM UTC
yes, not good when work gets in the way of our hobby, my case exactly!

great job on the PE details.... the whole WIP looks fabulous, thanks for sharing!
Silantra
Visit this Community
Putrajaya, Malaysia
Joined: March 04, 2004
KitMaker: 2,511 posts
Model Shipwrights: 89 posts
Posted: Wednesday, September 09, 2009 - 06:46 AM UTC
guys..work on the hull is almost complete...

Now i need to ask a question about the color of the hull below the waterline. SOme references said the color should be hull red and some said it to be dark grey. I'm quiet confused here. Which is correct??

thanks
Dr_Who2
Visit this Community
Nordrhein-Westfalen, Germany
Joined: September 17, 2008
KitMaker: 90 posts
Model Shipwrights: 89 posts
Posted: Wednesday, September 09, 2009 - 09:38 AM UTC
Sil,

that would depend what specific ship you are up to.
Find this site answering about most of the questions with text and pictures:

http://www.prinzeugen.com/SBOATIND.htm

Silantra
Visit this Community
Putrajaya, Malaysia
Joined: March 04, 2004
KitMaker: 2,511 posts
Model Shipwrights: 89 posts
Posted: Wednesday, September 09, 2009 - 03:00 PM UTC

Quoted Text

Sil,

that would depend what specific ship you are up to.
Find this site answering about most of the questions with text and pictures:

http://www.prinzeugen.com/SBOATIND.htm


thanks for the superb link. really helpful
Silantra
Visit this Community
Putrajaya, Malaysia
Joined: March 04, 2004
KitMaker: 2,511 posts
Model Shipwrights: 89 posts
Posted: Sunday, November 14, 2010 - 11:52 AM UTC
Ahoy Shipmates...

it's been more than a year since my last update...
i was so busy which include moving to a new house 200 miles away a year ago.... left some part of me (this hobby) at my in law home...
this new place and new job taken away all my time until i lost the interest (at one time) and this ship sunk with it...

Only recently i got it back!!!! so
after more than a year, finally the sinking boat is pull from the bottom of the ocean
the laziest progress ever occur to me

I removed the smoke dispenser rings ..so here the photos before and after shave and after i applied aftershave...


aftershave and polish


I removed the plastic torpedo rack to make way for the Griffon PE rack....


using dremel and varios grit of sandpaper, aftershave and cologne,
looks good to go


I started on the Griffon set for torpedo racks and mine cradles...
and now the craziest PE ever made by Human... the torpedo rack...

i choose the torpedo rack first coz it's the most difficult and the most parts in it...
took me 10 minutes from this:

into this:-

and there are 8 of them


next is the base for the railing

and i stuck at this step... Part Q2 is too complex for my tired eyes to fold...first attempt resulted in broken PE... dang! and there are 8 of these.....

Finally after 1.5 hour, managed to do the cradle base... this is not completed yet as i need to install the bracket later on which is another PITA process


and the mines cradle.. test fitting on a scrap plastic


that's for now....i wish and i hope i can have the time like the old days.....

anyway, it's so good to be back!!!
 _GOTOTOP