For painting and weathering, I noticed that the anechoic tiles tend to impart a very unique visual appearance on a modern submarine that is very difficult to achieve in 1/350 scale and therefore mostly ignored. So I deciede to use this project as an experiment and I masked off a random "stair step" pattern and sprayed different shades (matt, semi-gloss, and gloss) of black as an attempt to impart that look to varying degrees of success.
Now not everyone will agree that what I've done even captures what we see visually and I'm even one to agree on that. But I thought something should be done to break of the perfect black cylinder that most sub models end up looking like so this was an attempt to impart that look, accurate to the look or not.
After I weathered the model (gray pastels) I sprayed everything flat. I lost some of what I was going for in doing that (naturally the flat clear flattened everything), so if I try this technique again one thing I've learned is that is probably is more important to use different brands of black (not all blacks are the same) than different "tones" as the color contrast is what achieves the effect, not tonal contrast (which is lost when everything is flattened, duh!).
For paints, I simply used Krylon black for the gloss and semi-gloss and "Color Place" for the flat black. It is the color difference between the Color Place and the Krylon that really achieves what I was going for. Naturally the Krylon color difference was non-existent and when flattened lost some of what I was after.
Used the kit supplied decals on top of future to eliminate silvering but they cracked when the flat was put on over them.
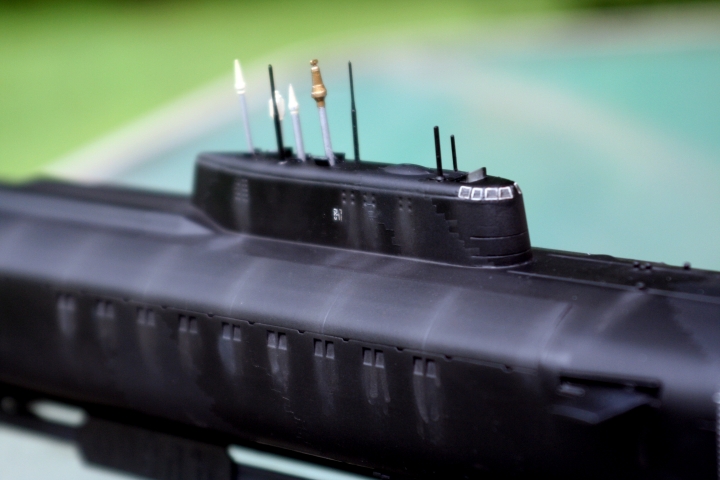
I opened up the limber holes.
Anyhow, having never photographed a sub, I struggled with depth-of-field when the sky went overcast the second I stepped outside. So hence the very narrow field of focus on some of the shots.