Hi Bob,
"Get my keester in to the model room, I'll be all set." Hehehehehe, yeah buddy, I hear that one. From the time I get up out of bed to go to the salt mines, it is the one thing that propels me through the day, that and the girl friend, money for more models, and time to enjoy them all.

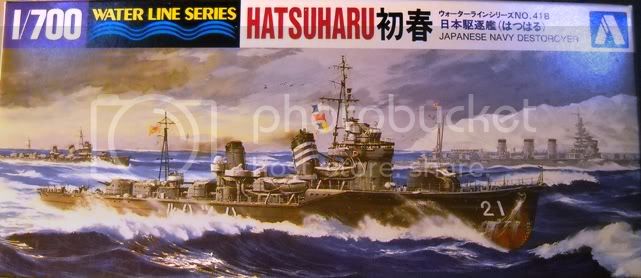
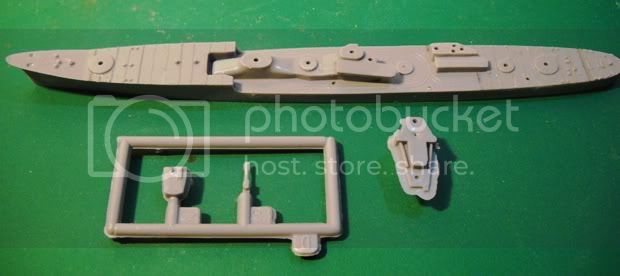
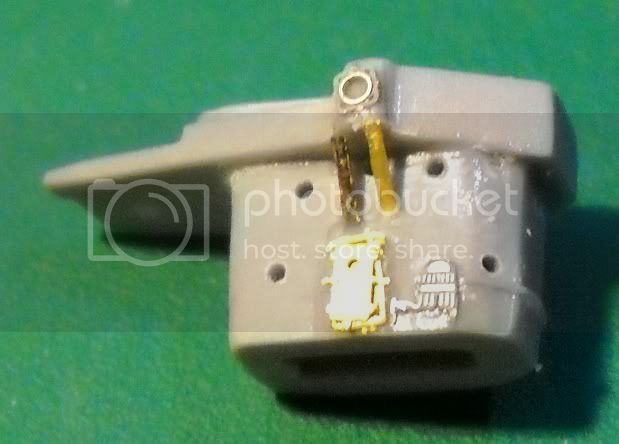
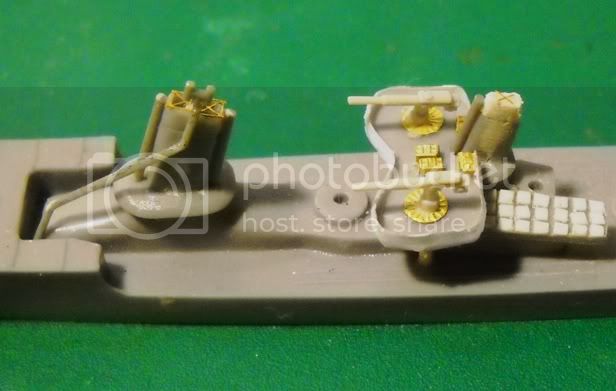
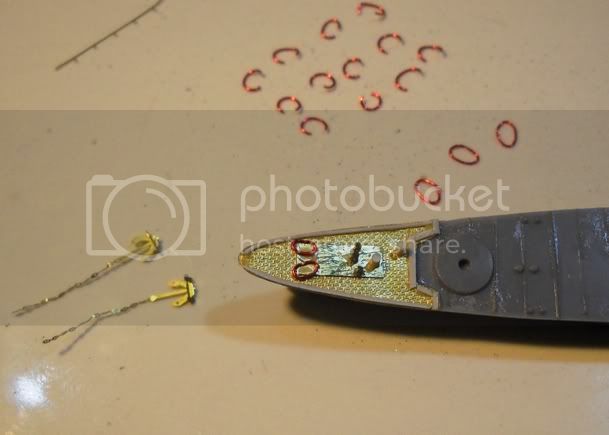
Well, turning my attention back to the Hatsuharu, I got to work on working on the bow section some more. I added the start of the capstan and anchor chain handling gear first. more or less to establish their position on the chain bearing plate. To frame in the holes that go to the chain lockers I used some fine wire. I get the wire from Radio Shack, er. pardon me, "The Shack" as their current corporate name game insists they be called today. While you can often dig up fine wire from alternate sources such as old electronics and discarded house hold items, I like the convenience of having a standard size of enamel coated wire that readily accepts a coat of paint.
Wrapping a few turns around a conveniently sized mandrel, in this case the shaft of the metal compass point that I use to apply Super Glue to projects, turns out a number of small sized rings of wire. Using a fine pointed set of scissors to trim them off of the coil of wire yields several small circular wire shapes that I can form using a set of tweezers. Usually when you clip them off, they get deformed into stretched shapes that have to be tweaked a bit, but the circular curved shape over the majority of the wire holds up and lets you easily bend them into what I want. In this case, the wear surfaces that surround the openings into the chain locker and exit openings in the sides of the ship.
Looking at my reference picture of the Sky Wave model version let me locate and Super Glue the home brew parts onto the chain plate. This offers a little more detail to this area as well as provides a easily defined area to poke the hole for the chain to go into. I also clipped a pair of anchors and chain sections from one of the Tom's Model Works IJN Ship PE frets and assembled them.
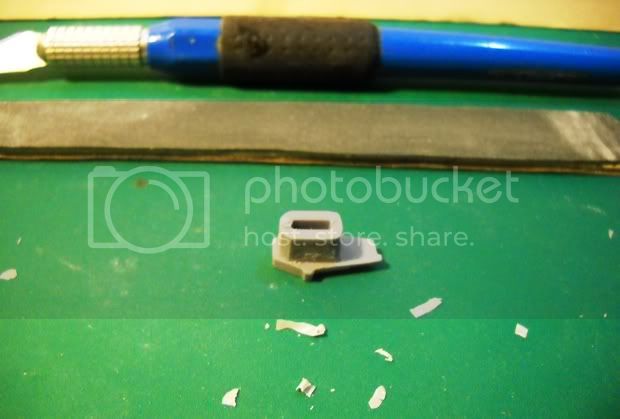
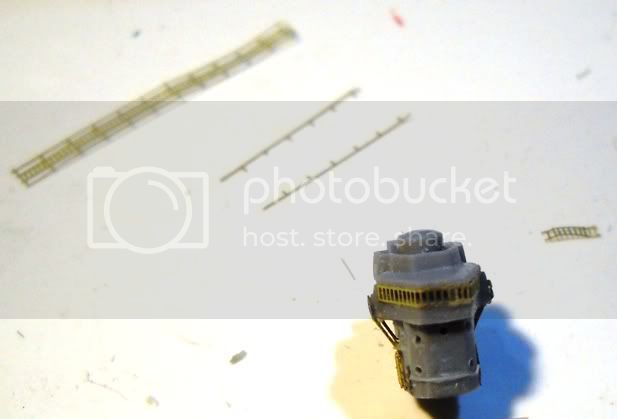
Working with such tiny parts is a daunting task for some, but once you tinker around with these things you develop a method for your madness. In my case, I use a 4" X 4" white ceramic tile that I came up with. The White Tile lets various colors of material in tiny sizes show up very well and offers a hard surface to cut them on. One problem is that you need to use a finger tip or something to hold the parts down when you cut them otherwise you will discover the joys of "tweezer-pulting" or having your tiny parts disappear into the carpet monster or Twilight Zone as they come free. I have also seen some modelers use a layer of clear food wrap to help in holding the parts down and keep from losing them. But I prefer to use the ever handy Mark One Digit for this task. Dipping the tip end of the anchor into a dot of Super Glue then picking up the cross bar with the now sticky end of the anchor and positioning it in place where it should go with some fine pointed tweezers is the easiest way to get these two parts together for me.
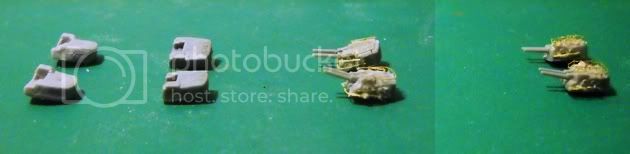
The section of chain that is attached to the head of the anchor needs to be twisted so that it looks more like the alternating links of chain rather than a length of flat links. Using the fine pointed tweezers, in this case two sets makes this happen. I used a set of locking tweezers to hold one link while twisting the one above and below to shape the chain. Working down the length of the chain makes it look as it should quickly and easily. While some ultra tiny chain would be nice, in this case for this size of a ship model it would need to be along the size of about 75 links per inch. Unfortunately, the smallest size I have managed to come up with is 42 links per inch. That works okay for ships larger than destroyers like cargo ships, cruisers, air craft carriers, and battleships.
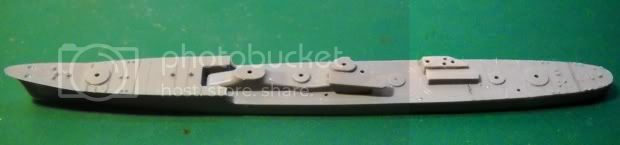
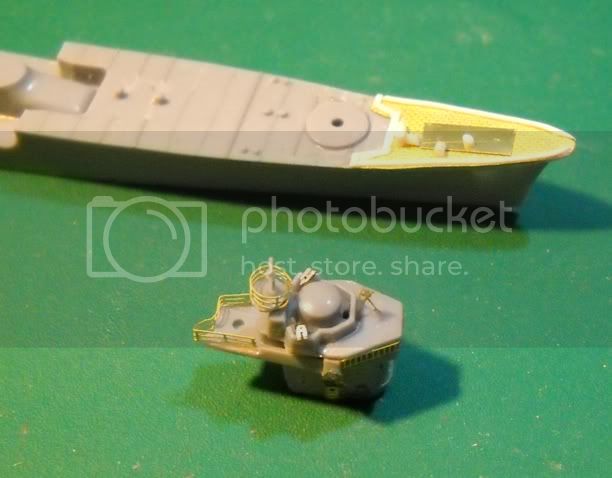
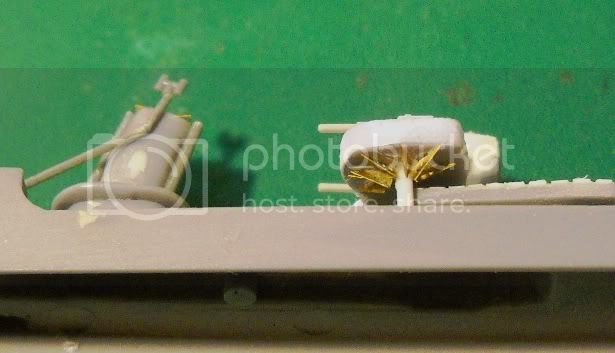
So here is the top view of what I have managed so far on the bow.
Looking at the side you can see where I mounted the openings and their chain bearing surfaces. You can also see the puttied over dimples that is one of the usual problems that model makers run into forming the graceful
compound curved bow sections of these small scale ships. This happens as the styrene cools after being injected into the mold. In some cases they try to disguise this problem by molding the anchor openings at this point but looking at the box art actually shows the location to be a bit further forward than where the dimple is. This little wrinkle is not just a problem with destroyer sized ships, I have seen it on all sizes of ship classes and more or less try to make the correction as early in the build process as possible to avoid trying to handle a model that is rigged out and railed.

I will be poking a set of holes into the chain lockers onto the upper deck surface with a mini drill and pin vise then use a pointed round Swiss File to further shape it. Doing all this work sometimes makes the wire forms come loose. It isn't a big issue, but it does happen. Replacing these is easy enough once the holes are formed and having them glued down to start with makes for an easy location device. Having a ready supply of extras is also easy and cheap in case the parts disappear into the carpet monster or Twilight Zone when they come loose. Can you tell that I am "very" familiar with both.