


Now since I'm new to the ship business I am very happy for any comments, criticisms and tips you can provide! (Incidentally, I would be even if I wasn't new...

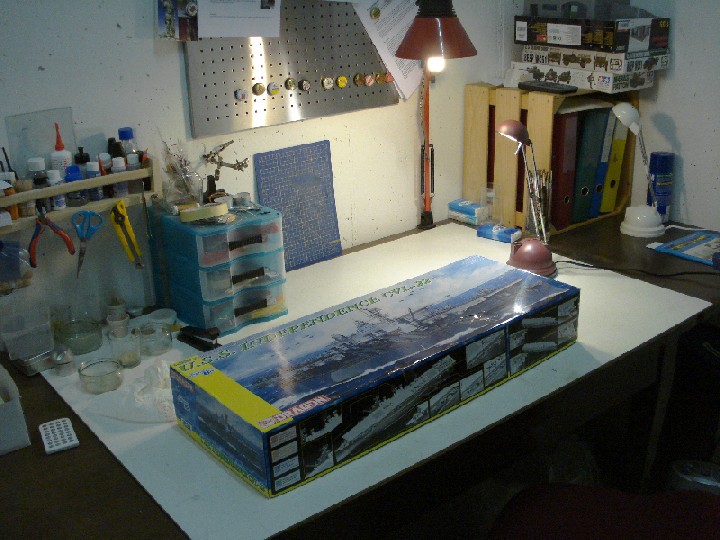
Cleaned up the work bench to make room, the box is huge :
Contrary to the instructions I started with the hull first. Top is dry fitted, bottom is glued:
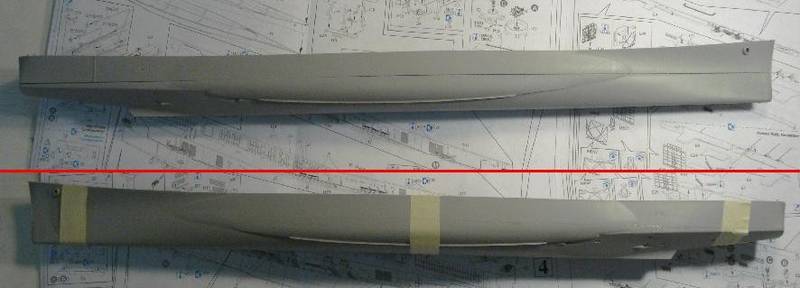
Two things to watch out for here: Fit is not that tight, so be sure to align the two halves correctly before the glue sets. It will save you all the sanding I had to do...
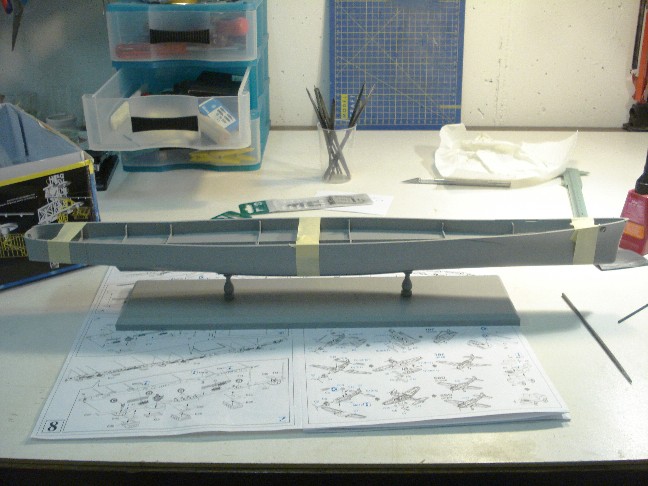
Second, if you want to use the stand, be sure to drill out the mounting holes for it before this step. This is not pointed out in the instructions. Fortunately for me the plastic was slightly discolored where the stand goes so I was able to save it.

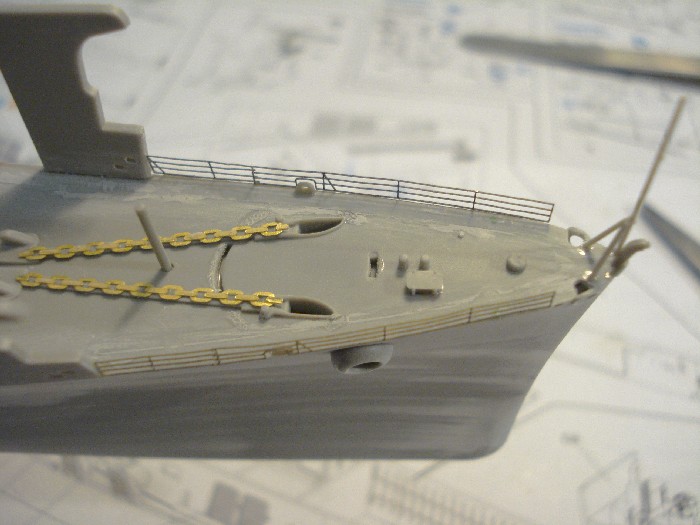
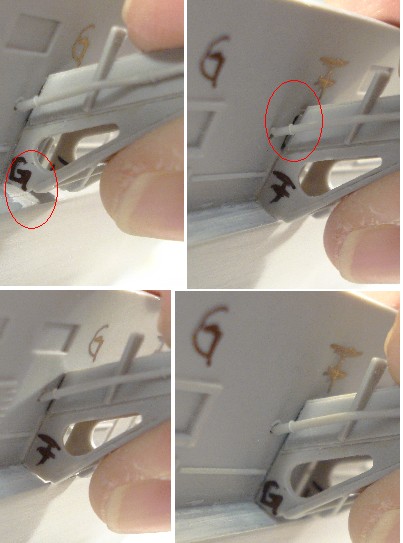
Detail shot of the bow. There is some damage from the sprue attachment where DML removed the sprue from the upper hull. These will not be covered and have to be filled.

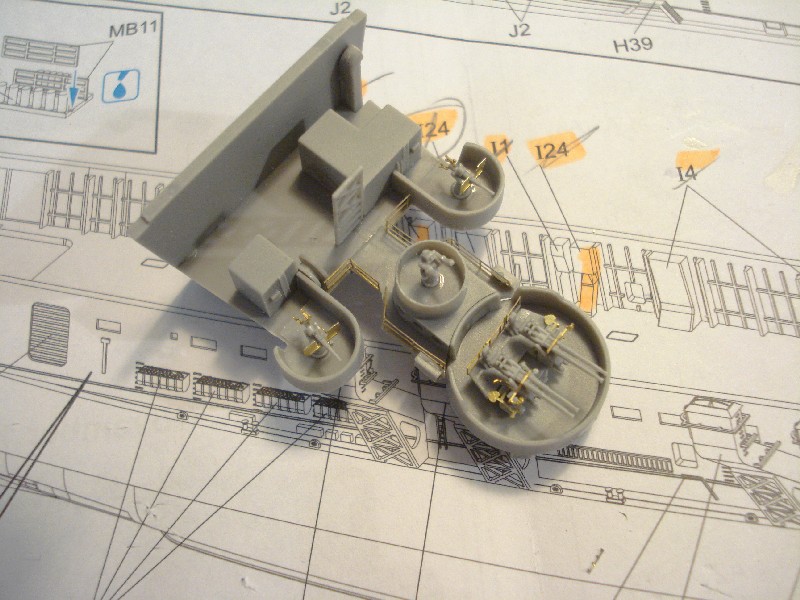
Going on to the hangar deck, be sure to have some kind of system with the instructions. They are so crammed it's easy to lose track of what's fitted and what not. I mark the numbers I have fitted already. Also note all the pin marks on this part. They won't be that evident if you don't mount a light inside the hangar but some may wish to remove them which is hard to do.
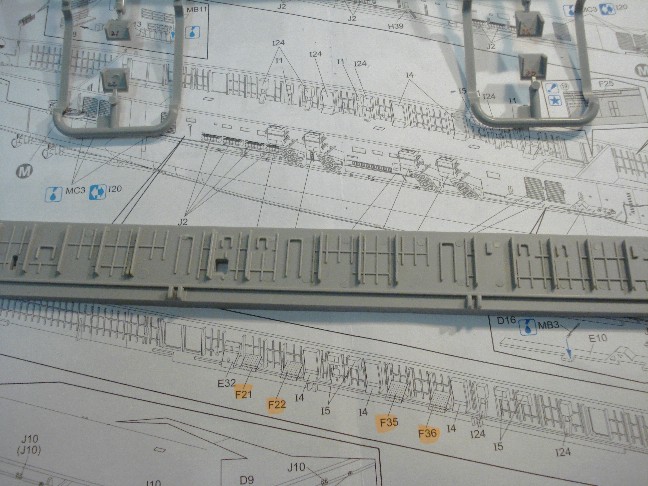
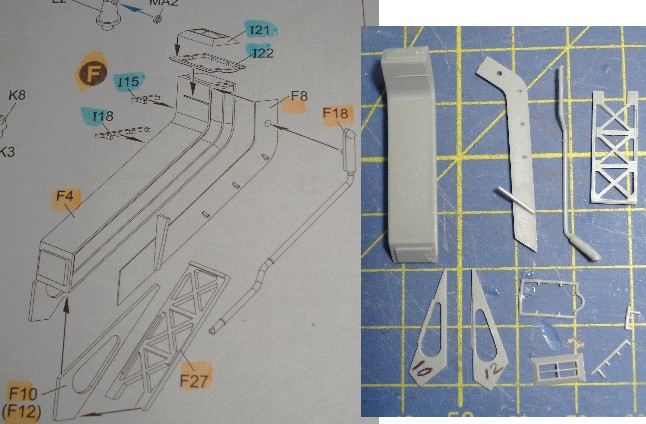
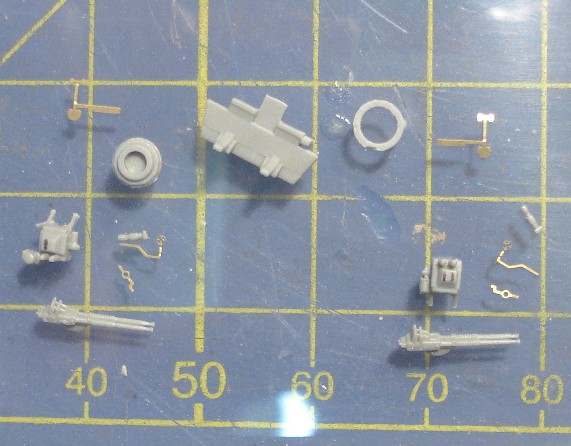
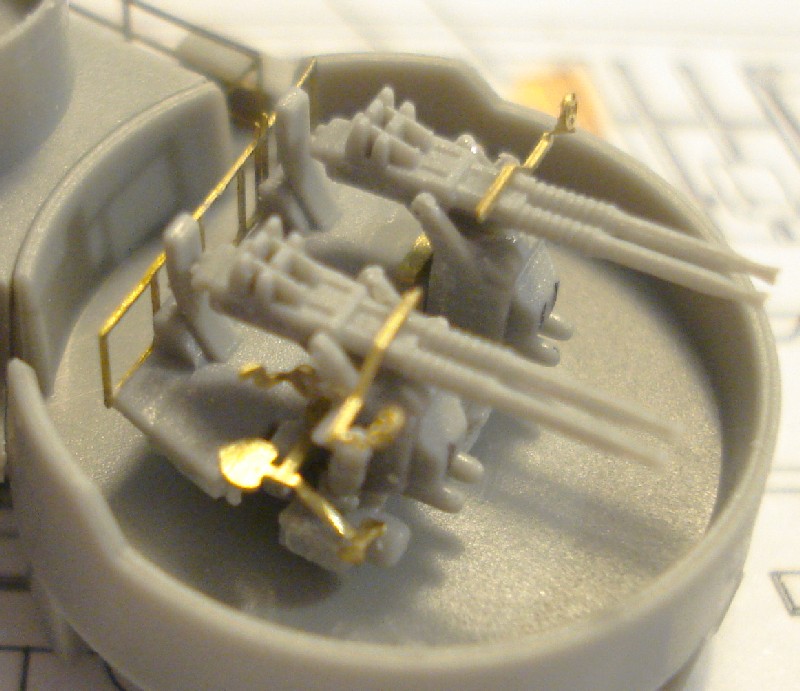
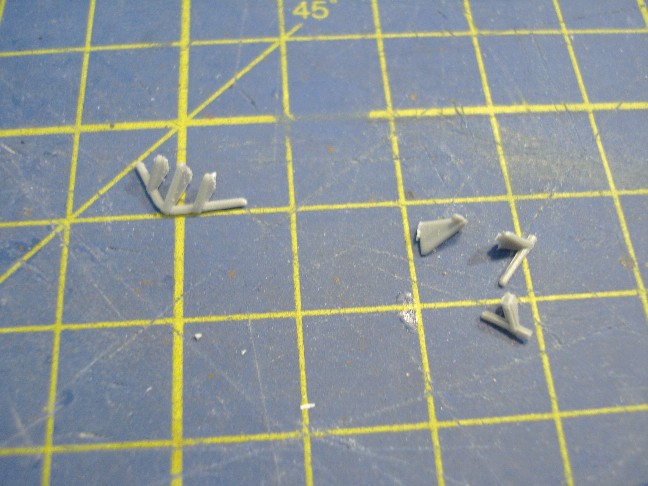
Parts fitted to the inside hangar wall:

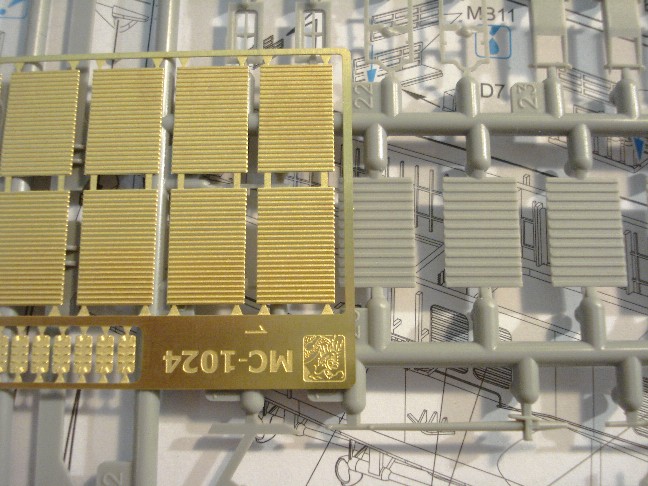
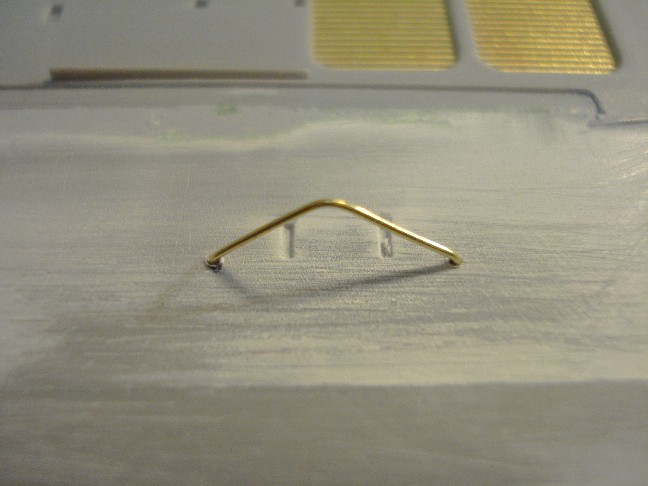
Choice of plastic or PE hangar doors. PE is clearly the better alternative here:

Okay, that's it for now. Next is the other side of the hangar and fitting of hangar deck and walls.
Cheers and thanks for looking!
Stefan


