_GOTOBOTTOM
General Ship Modeling
Discuss modeling techniques, experiences, and ship modeling in general.
Trumpeter's 1/700 Scale AOE-1 USS Sacramento
mstazzz62
Visit this Community
New Jersey, United States
Joined: January 07, 2010
KitMaker: 34 posts
Model Shipwrights: 31 posts
Posted: Monday, February 28, 2011 - 03:19 PM UTC
Greetings fellow modelers! After a whole week working on my Prinz Eugen - back on the shelf she goes! I'm diving in to something a little different : a naval support vessel, the USS Sacramento, a US Navy fleet oiler/supply ship in 1/700 scale. You know, for a 1/700 scale model this thing is a good size! (A little under 14")
Well, let's take a look. Here's the kit contents:

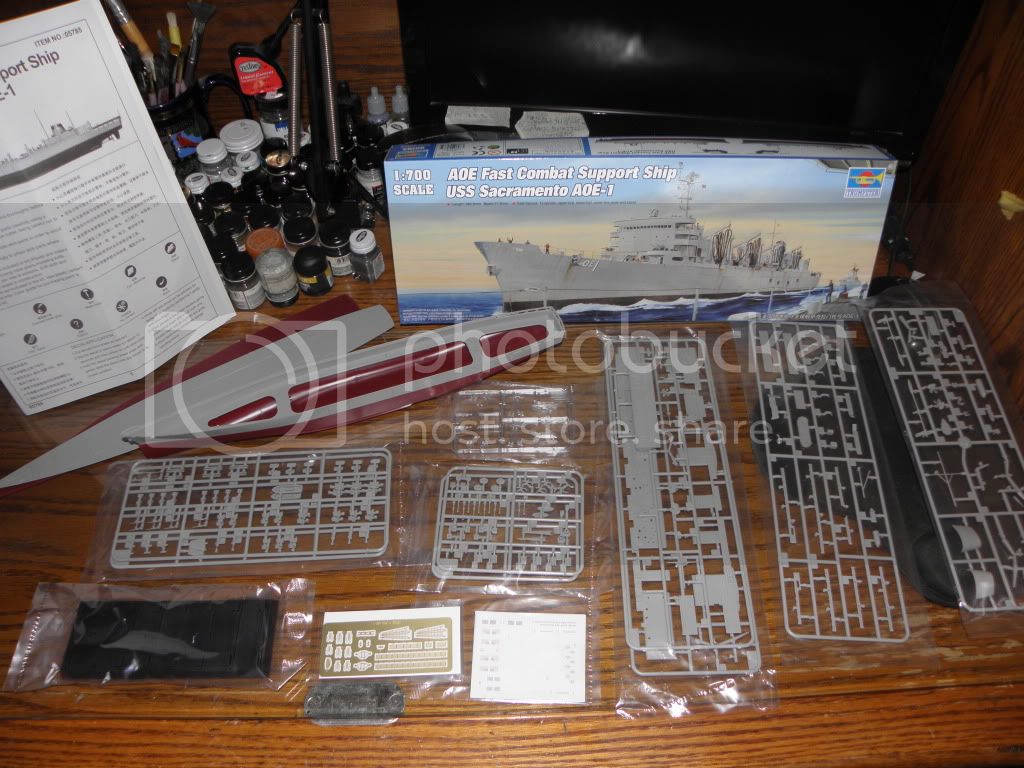
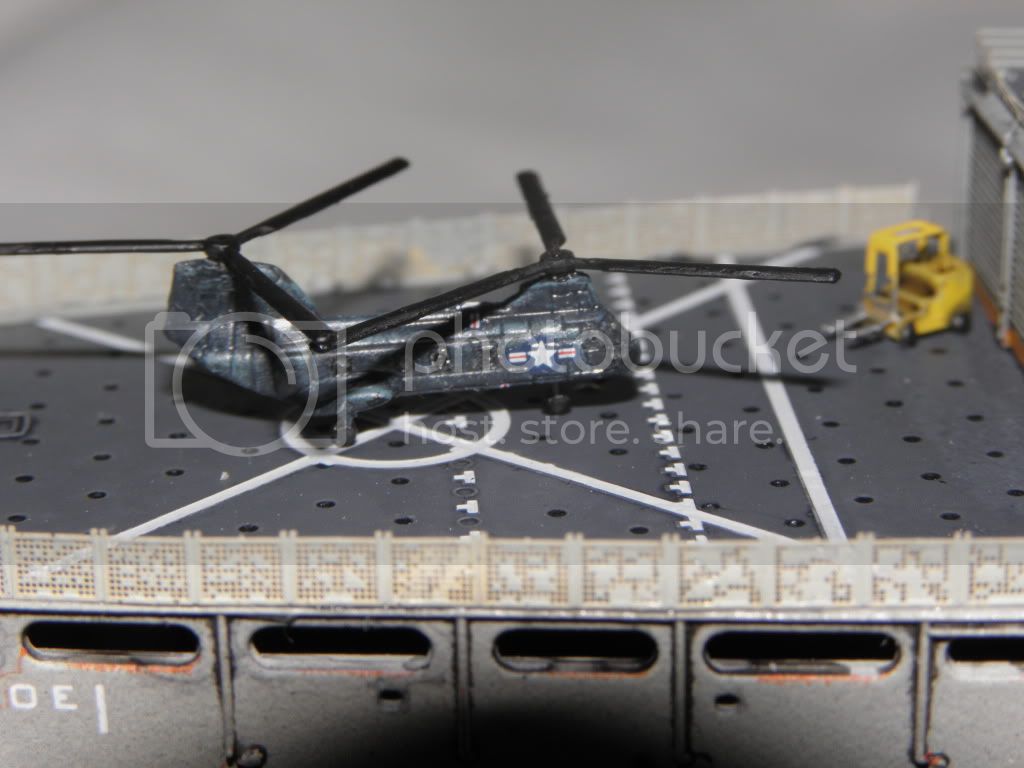
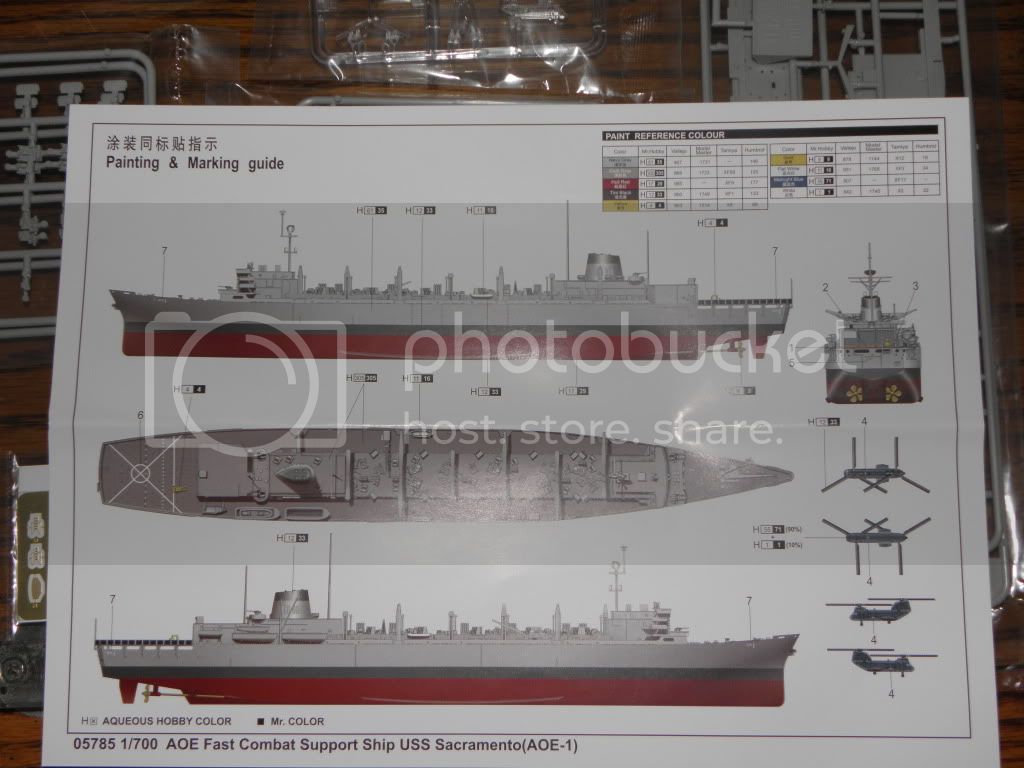
The usual split hull, a neat little display base (the one made to look like timbers in a dry dock), two chinook helos molded in clear, and a small P/E fret. here's the color plan:

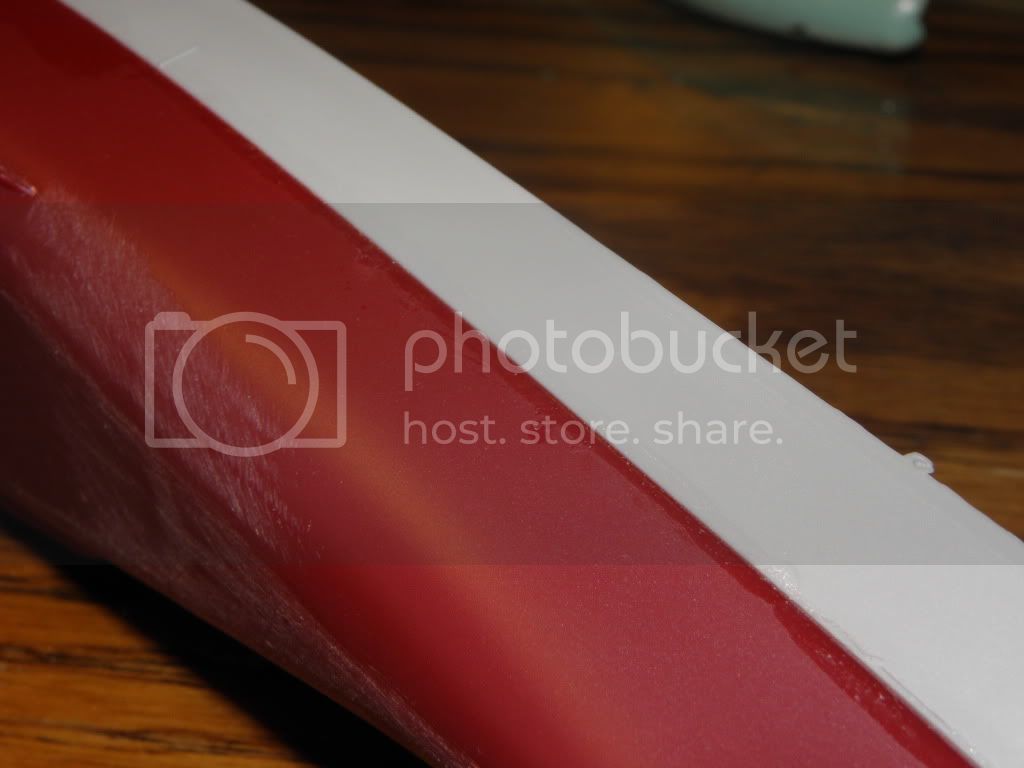
I began as always with the hull, and that's when the problem started. The upper and lower hulls did not fit well - I had to put sprue spreaders inside the hull to get a somewhat decent fit, but even then there was a nasty step between them:


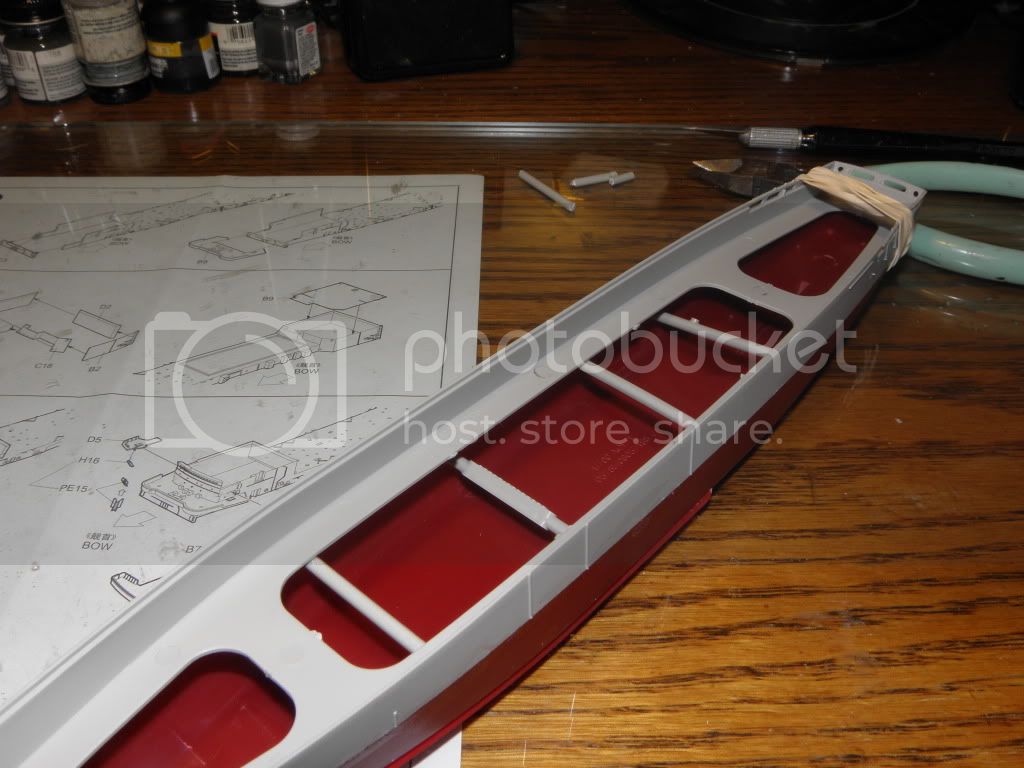
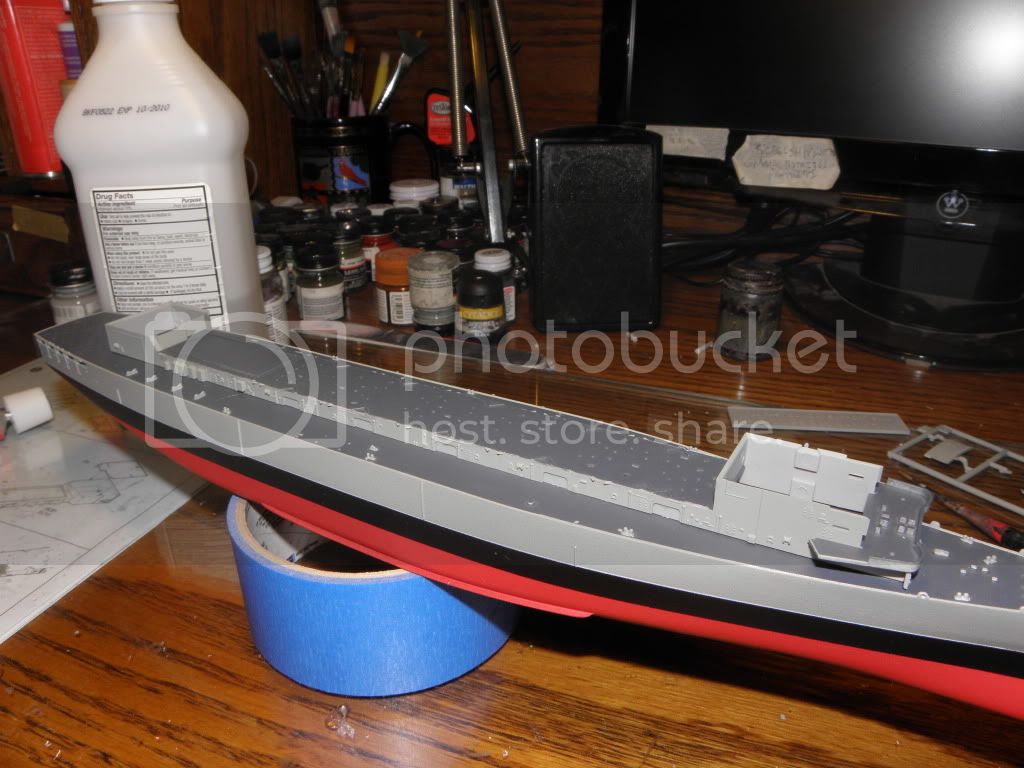
I went through two sanding sticks to even things out, and then I replaced detail lost in the sanding with styrene strip. Here is the lower hull painted:

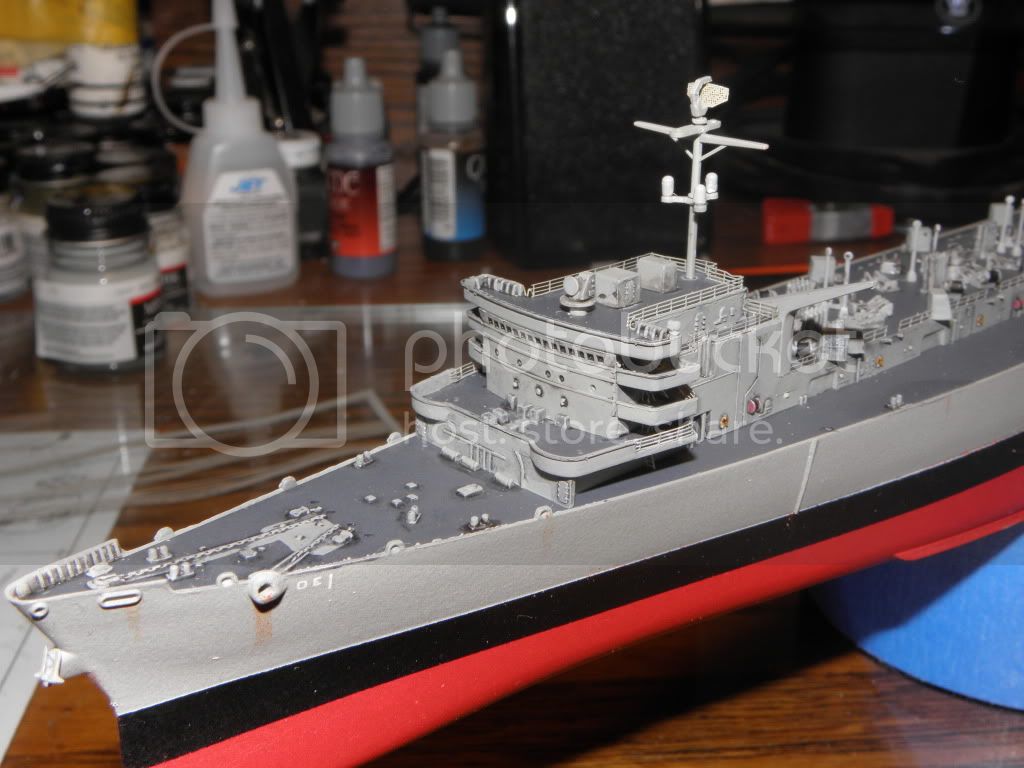
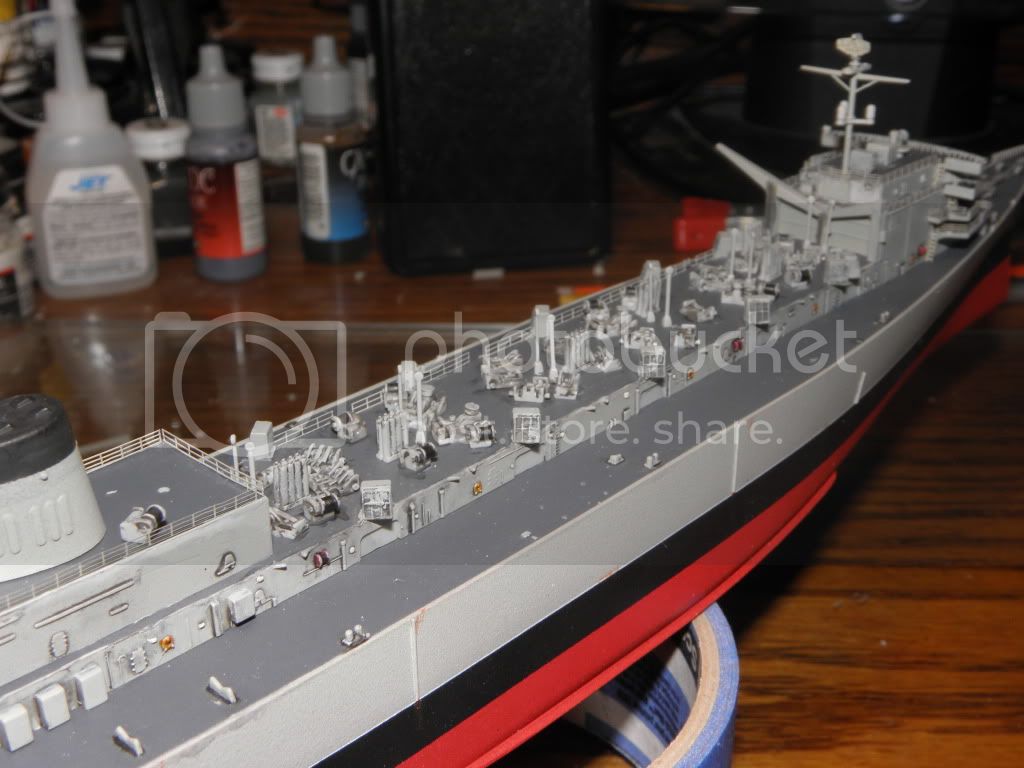
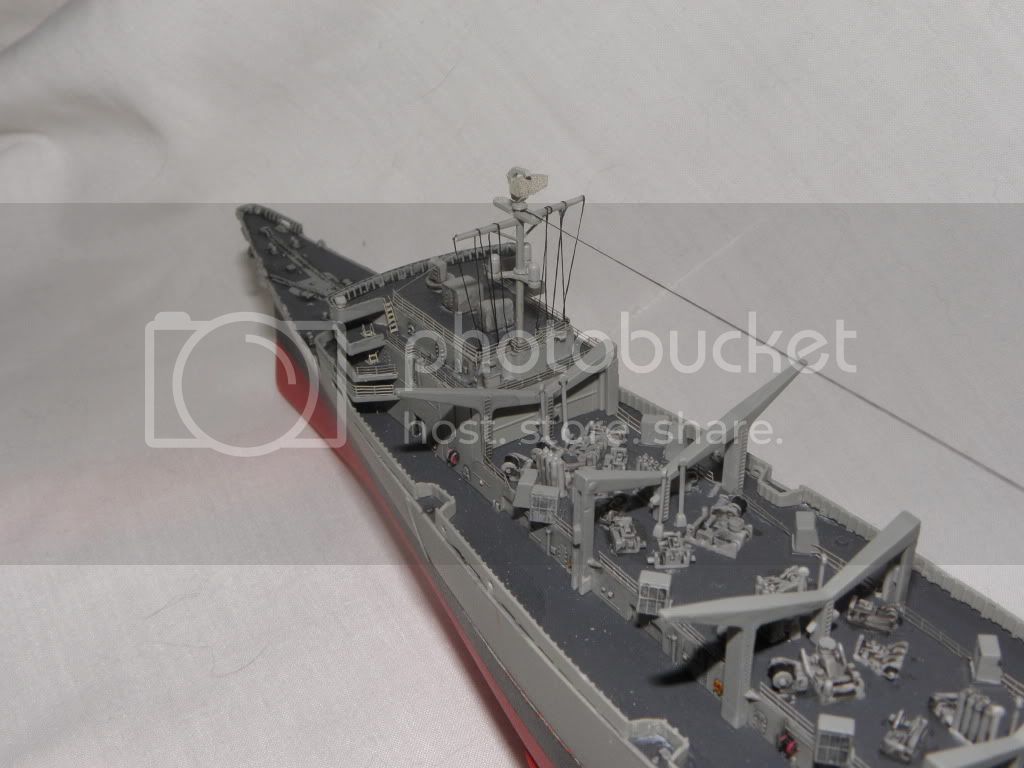
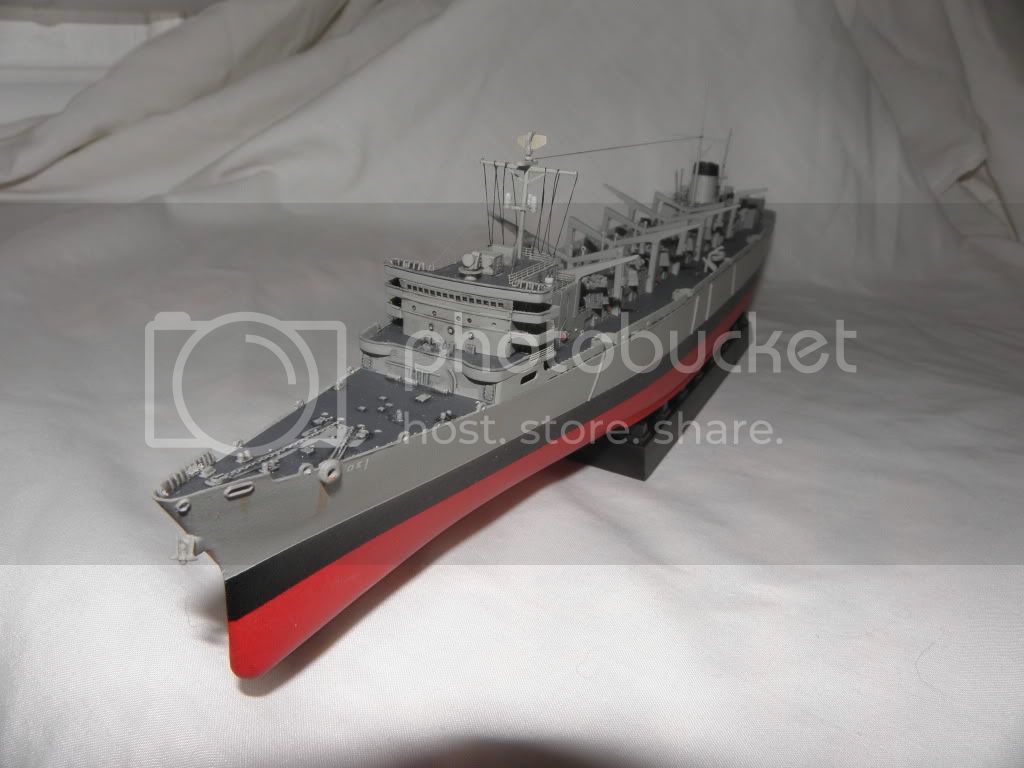
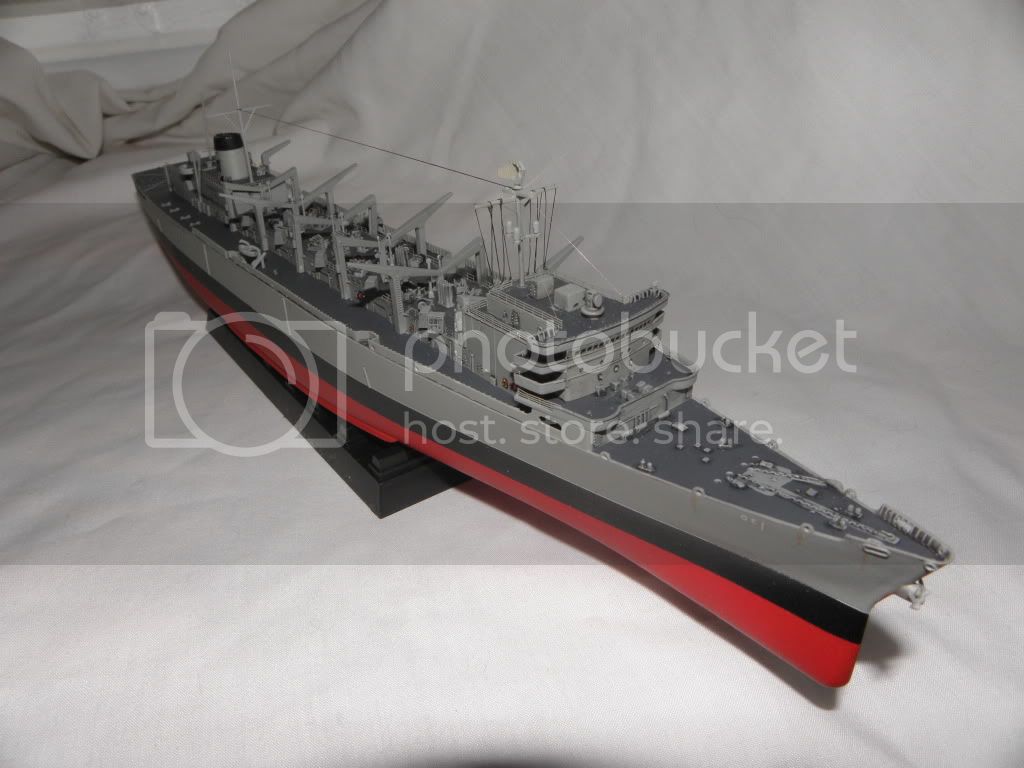
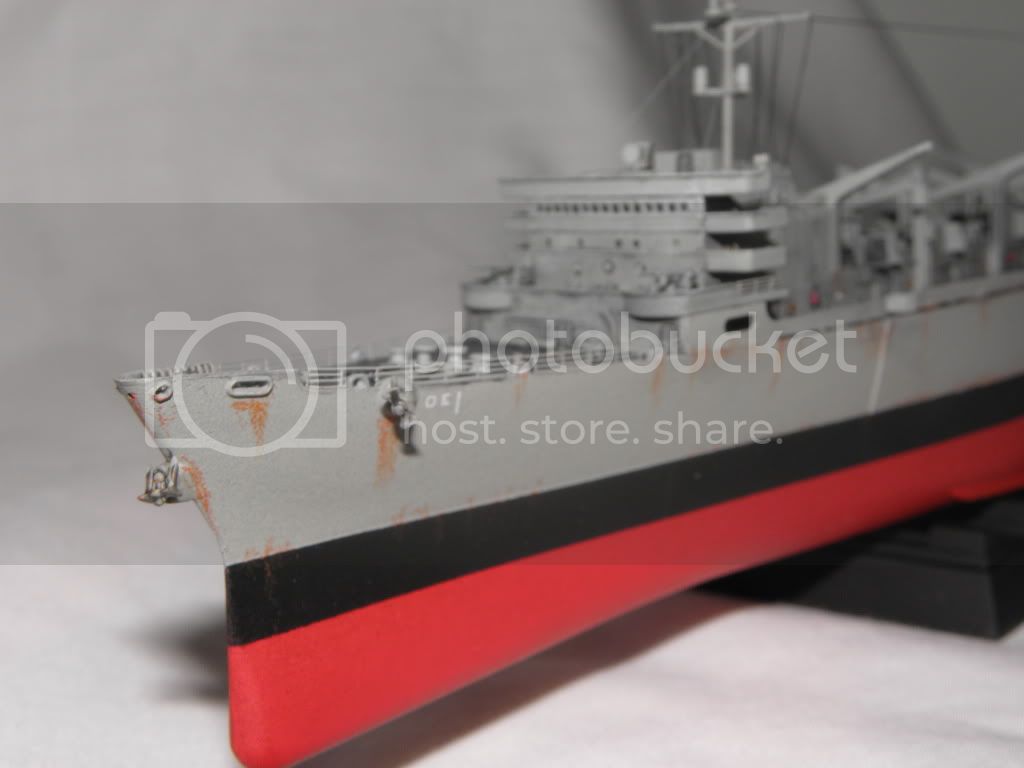
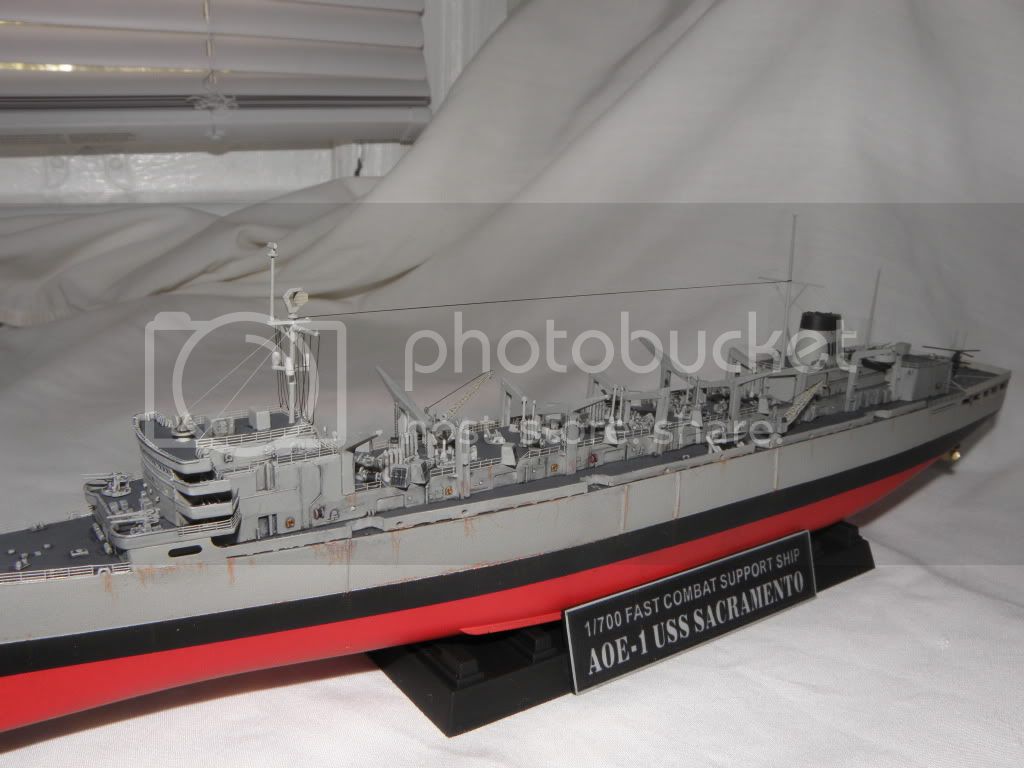
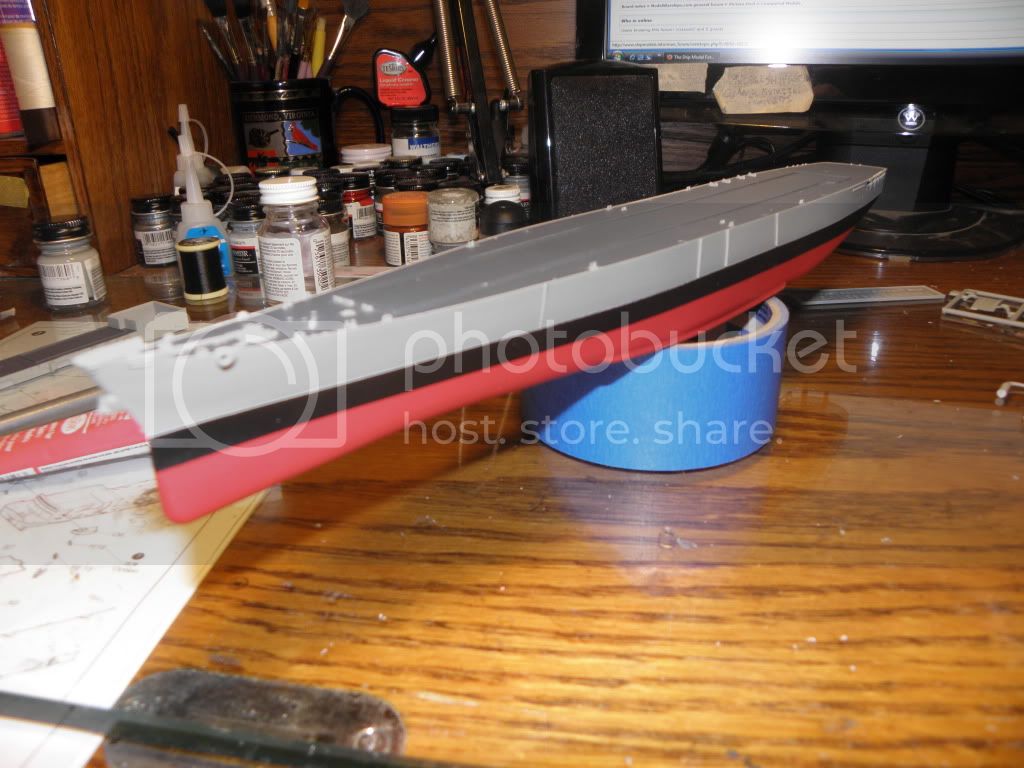
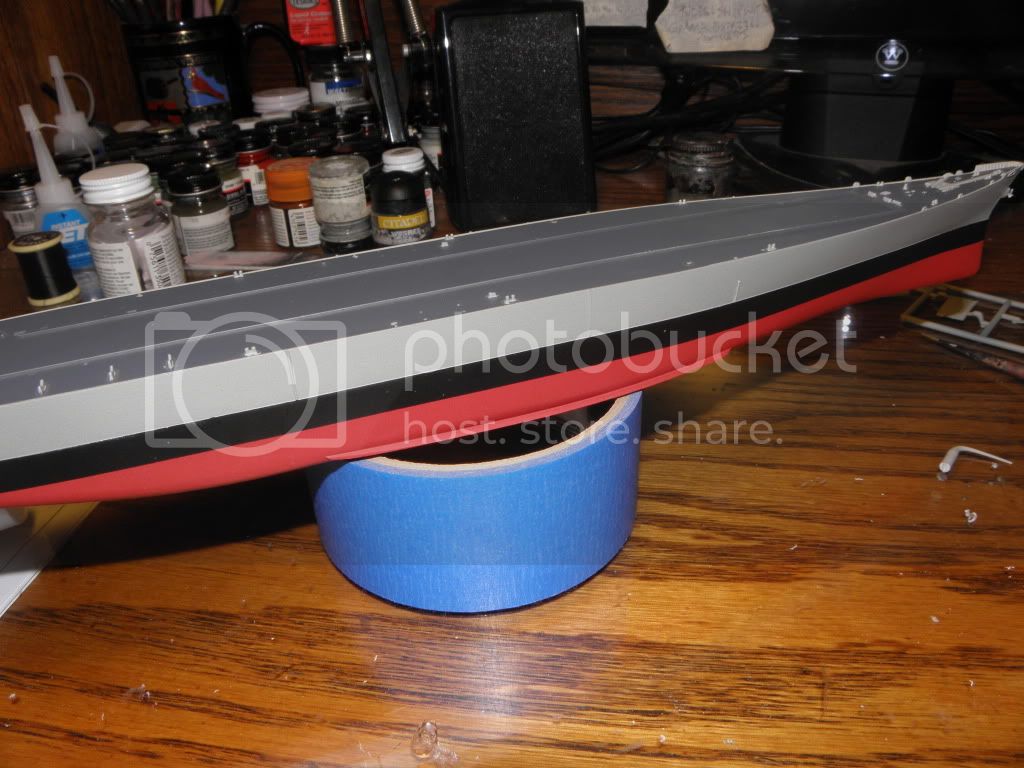
Here is the hull and main deck assembled and painted:


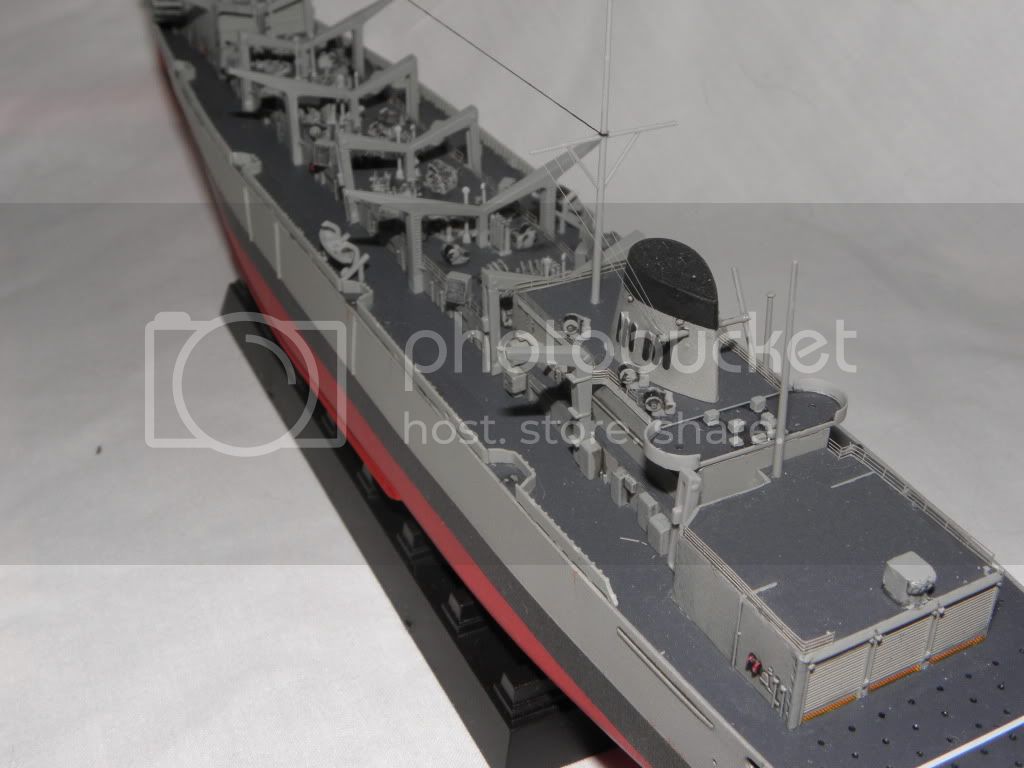
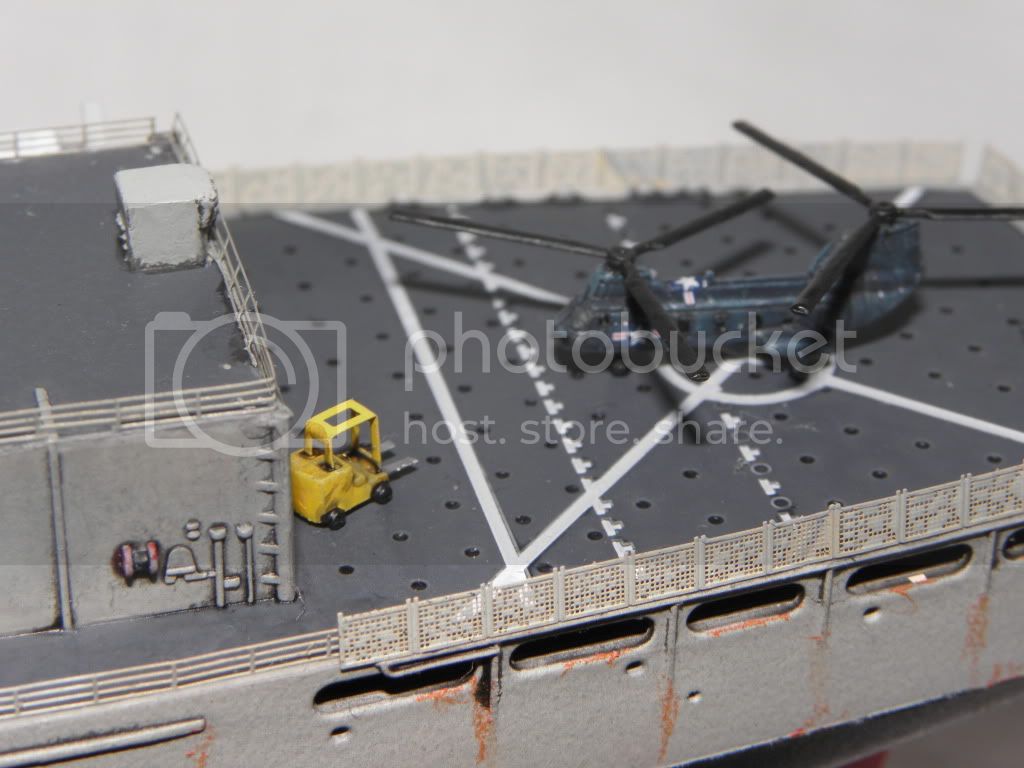
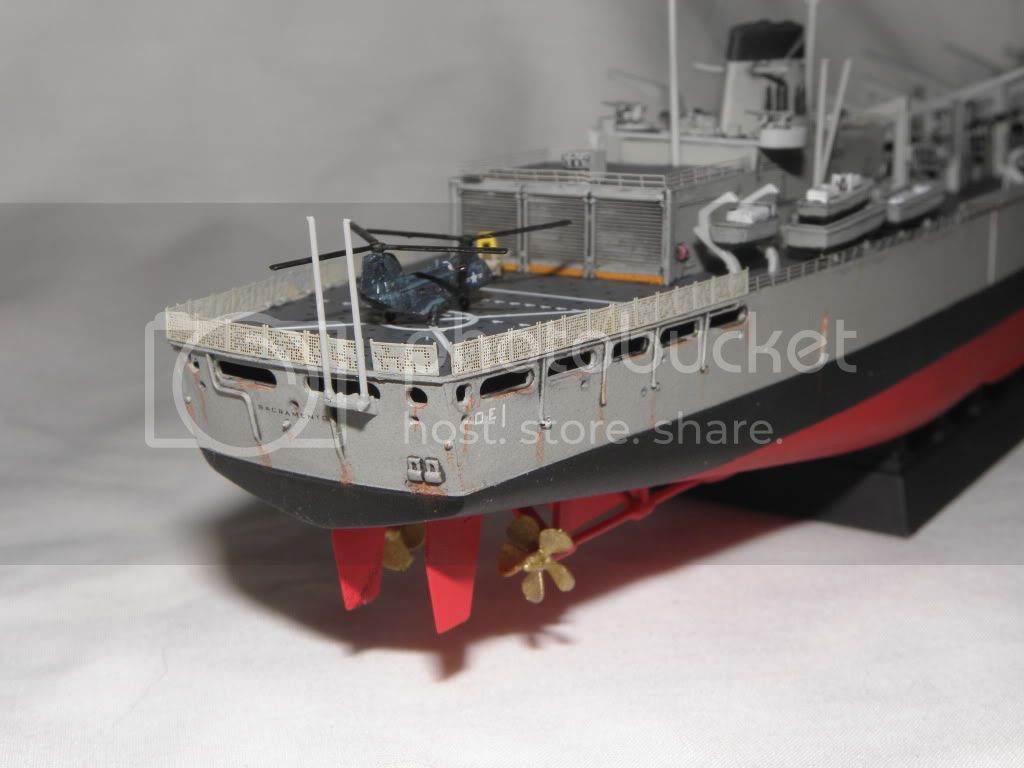
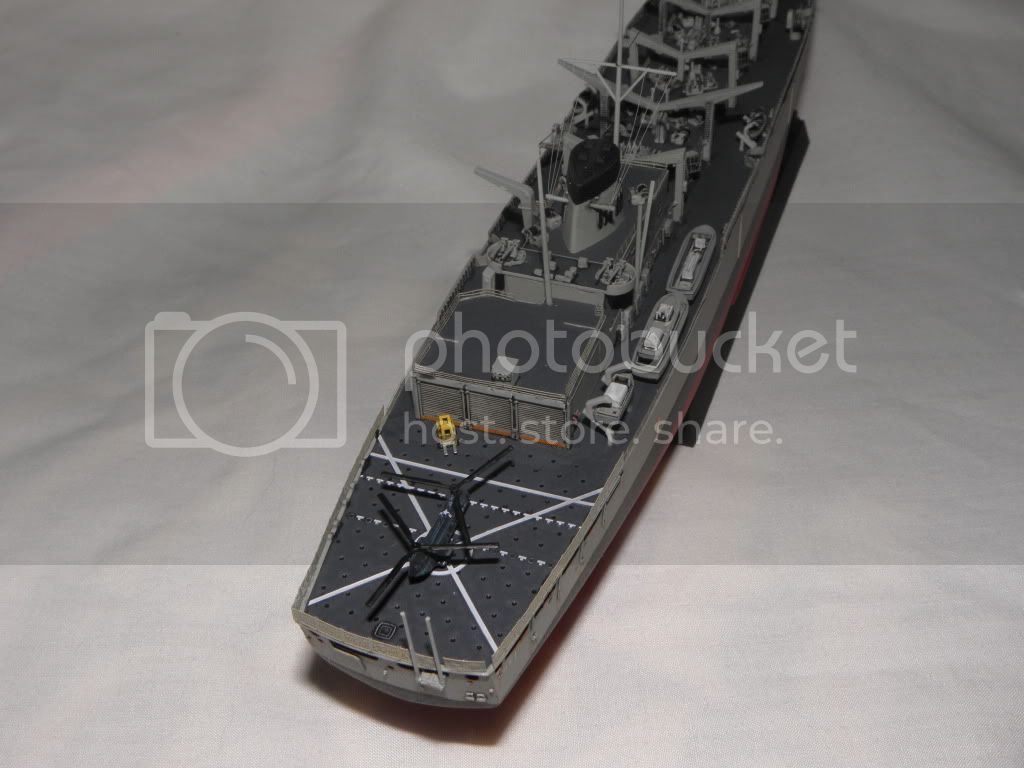
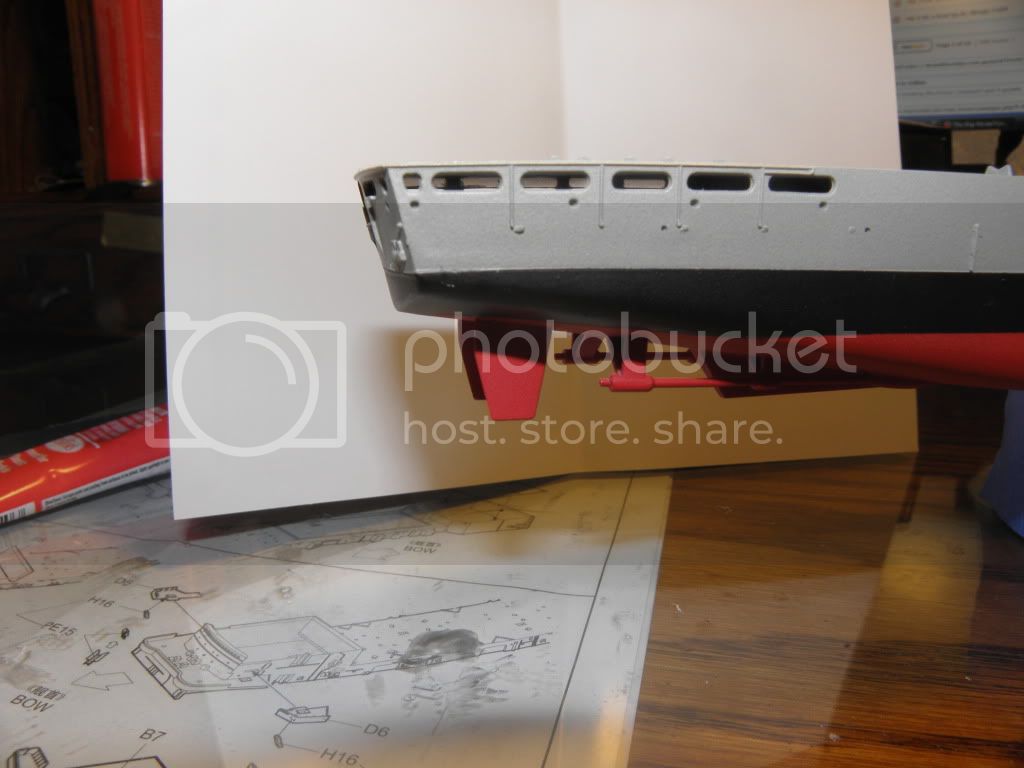
The stern of the ship has an open area that SHOULD have a deck and some details, but there is nothing included in the kit. Honestly, you really can't tell:

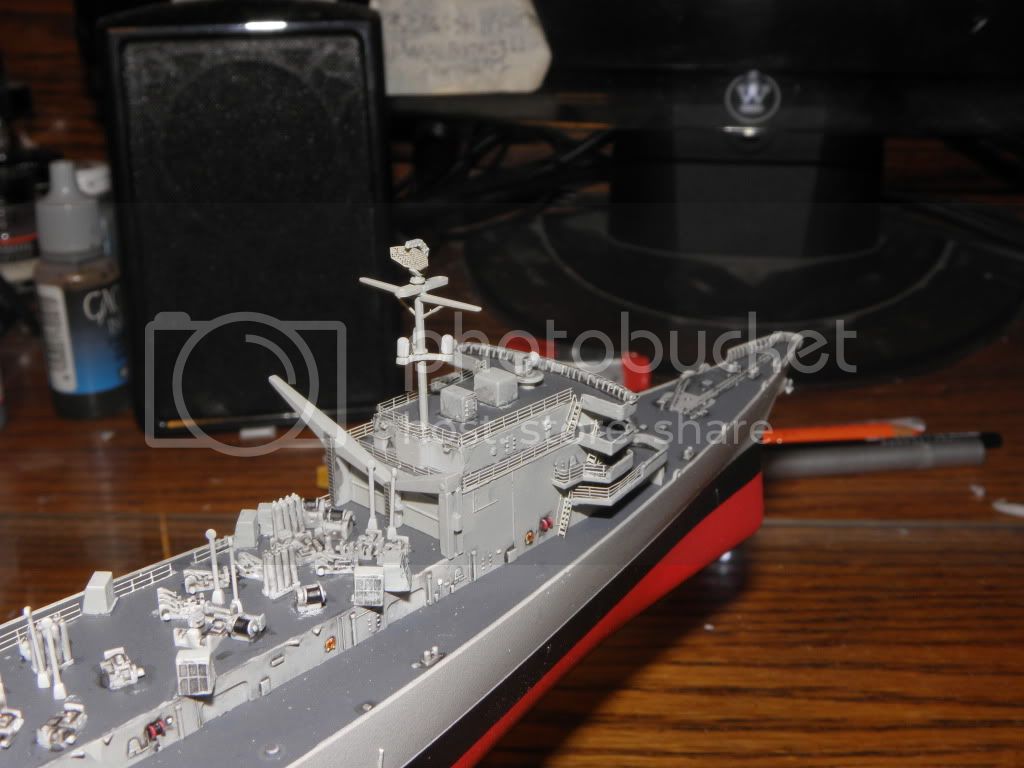
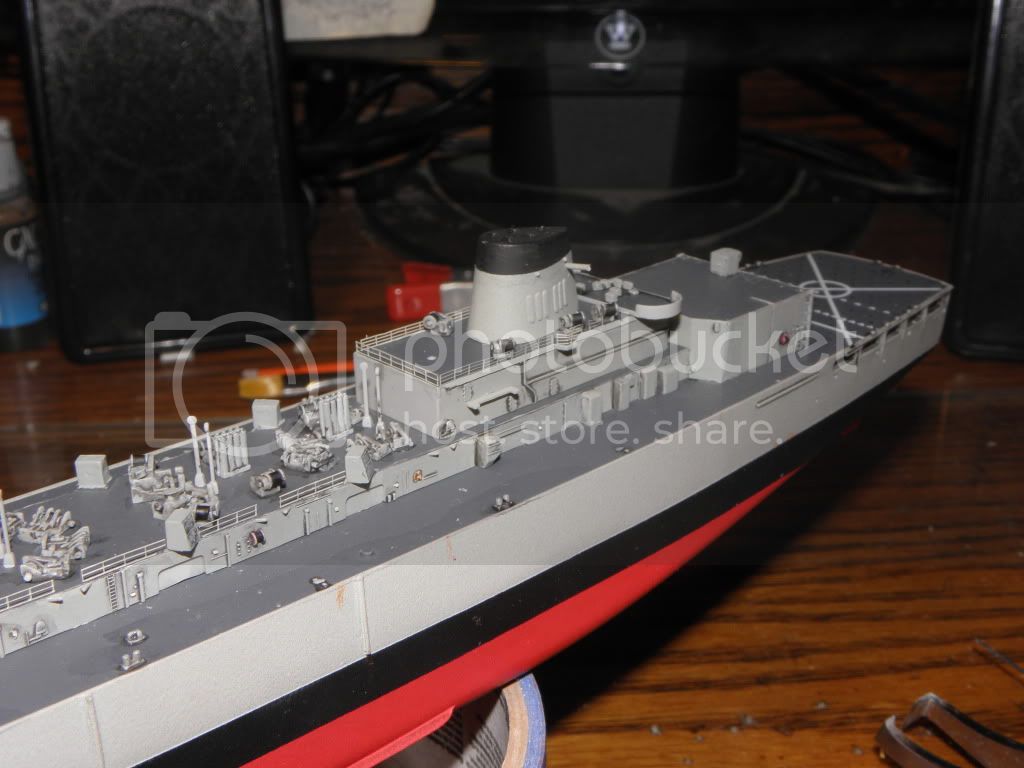
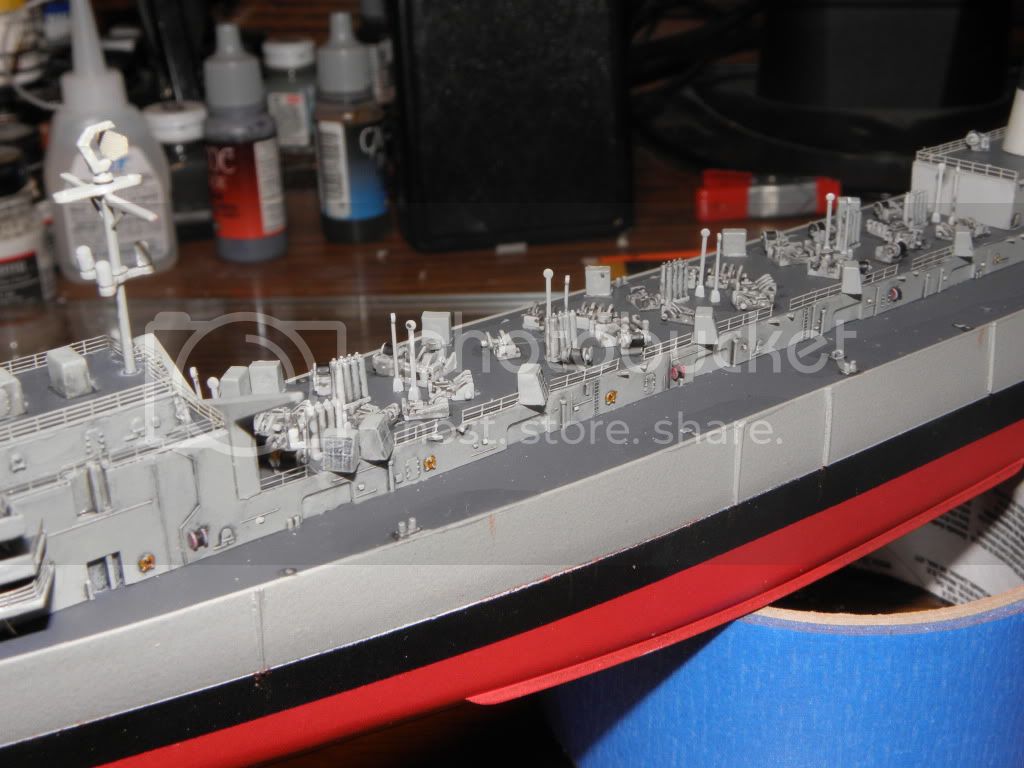
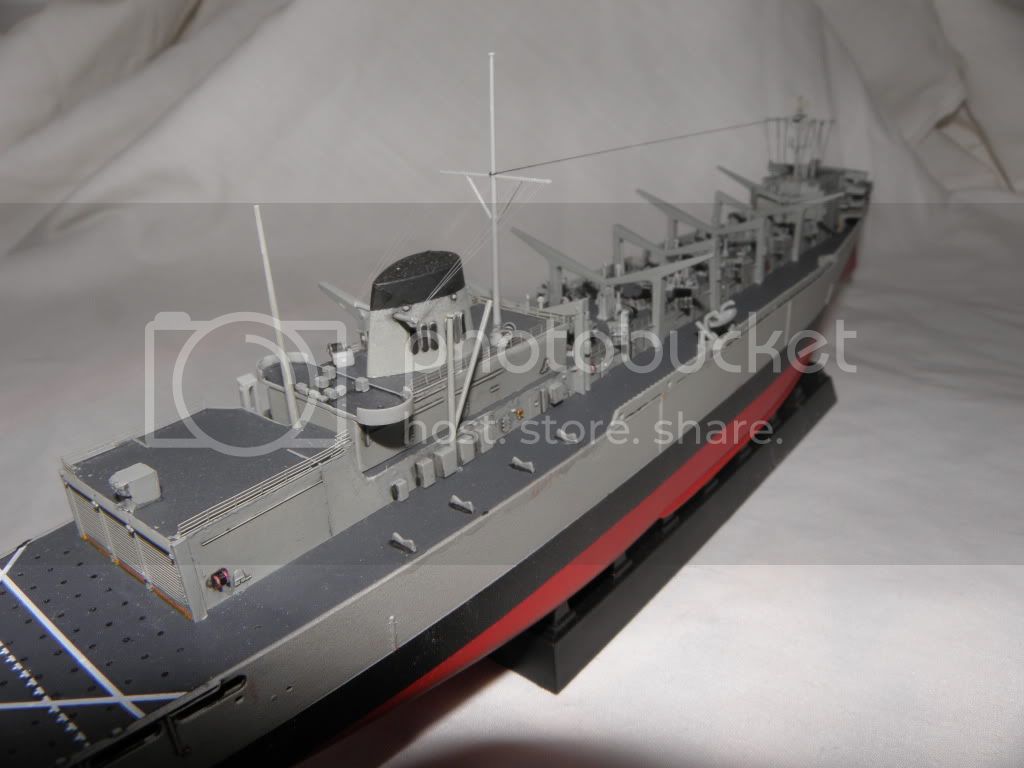
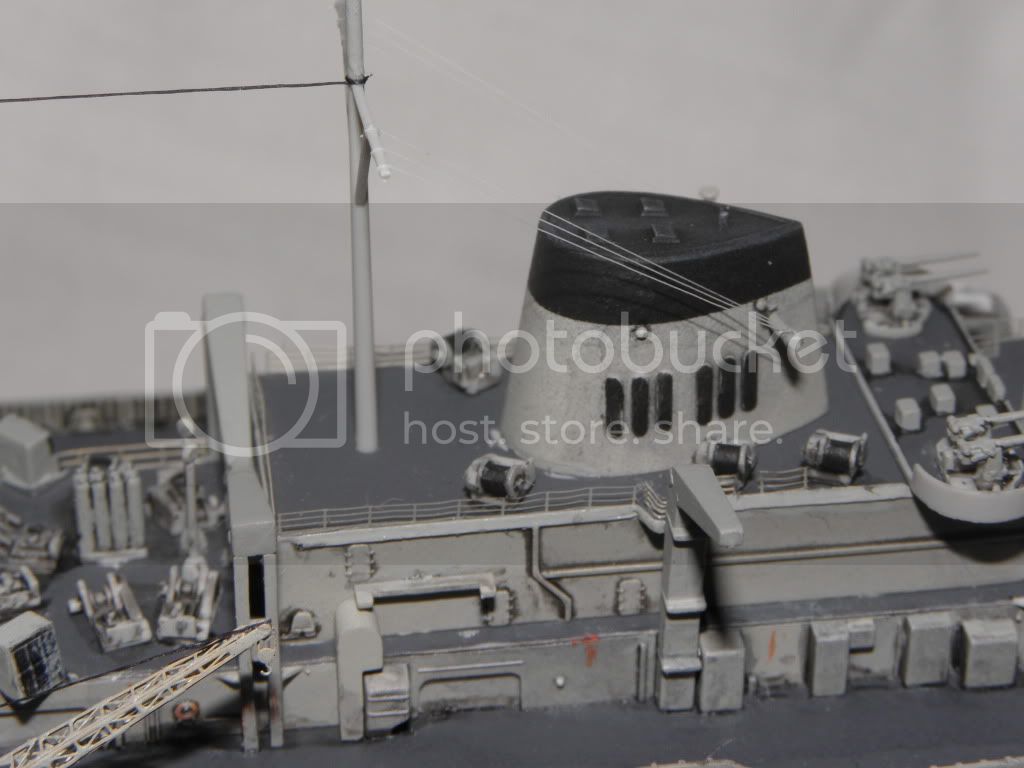
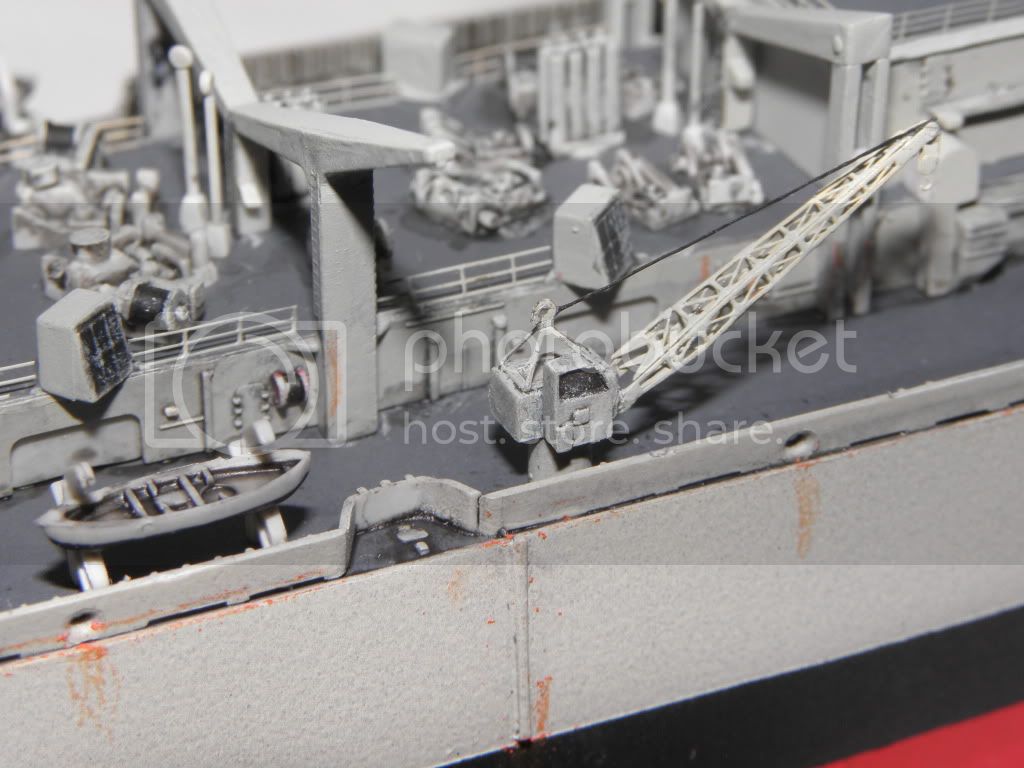
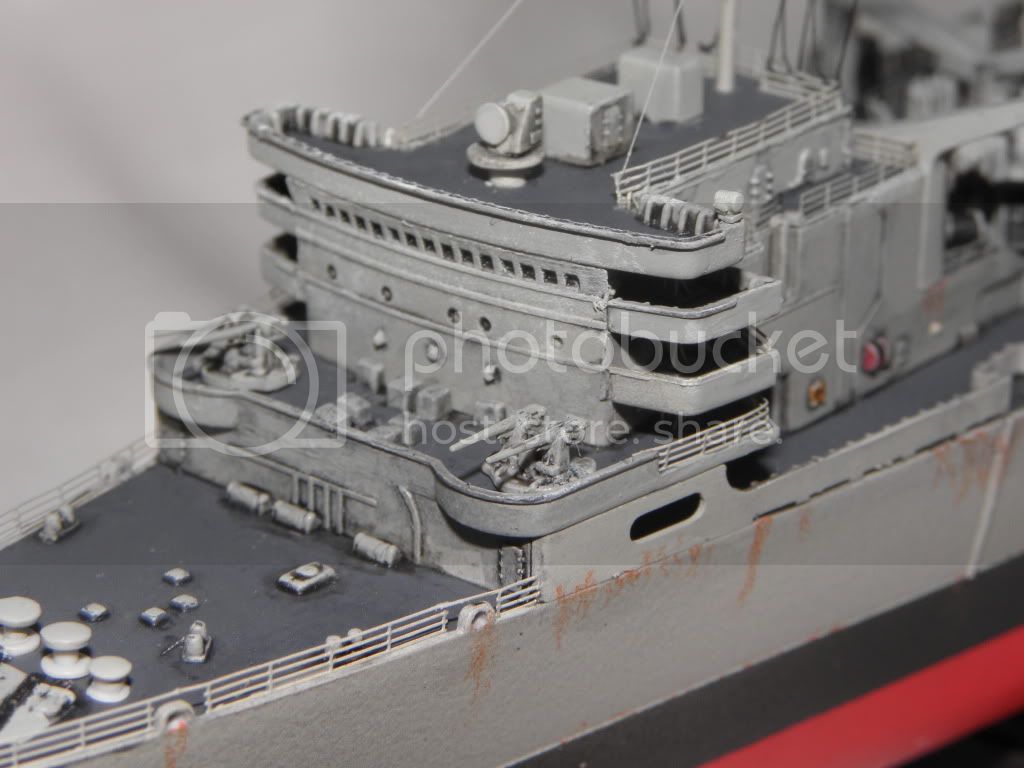
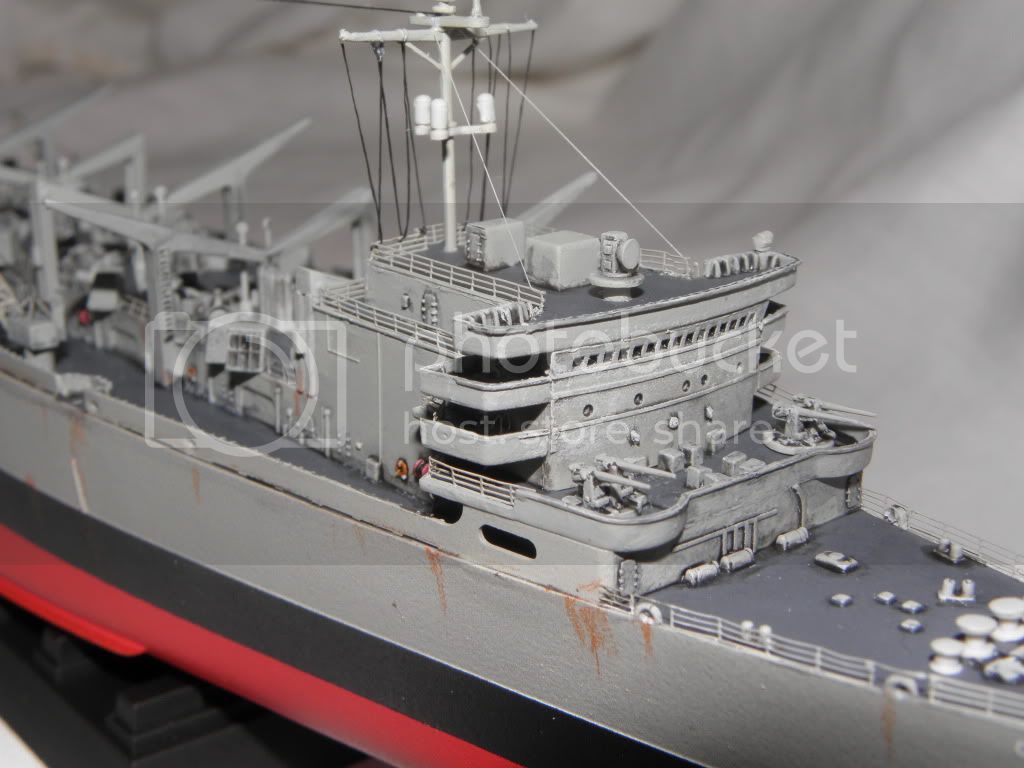
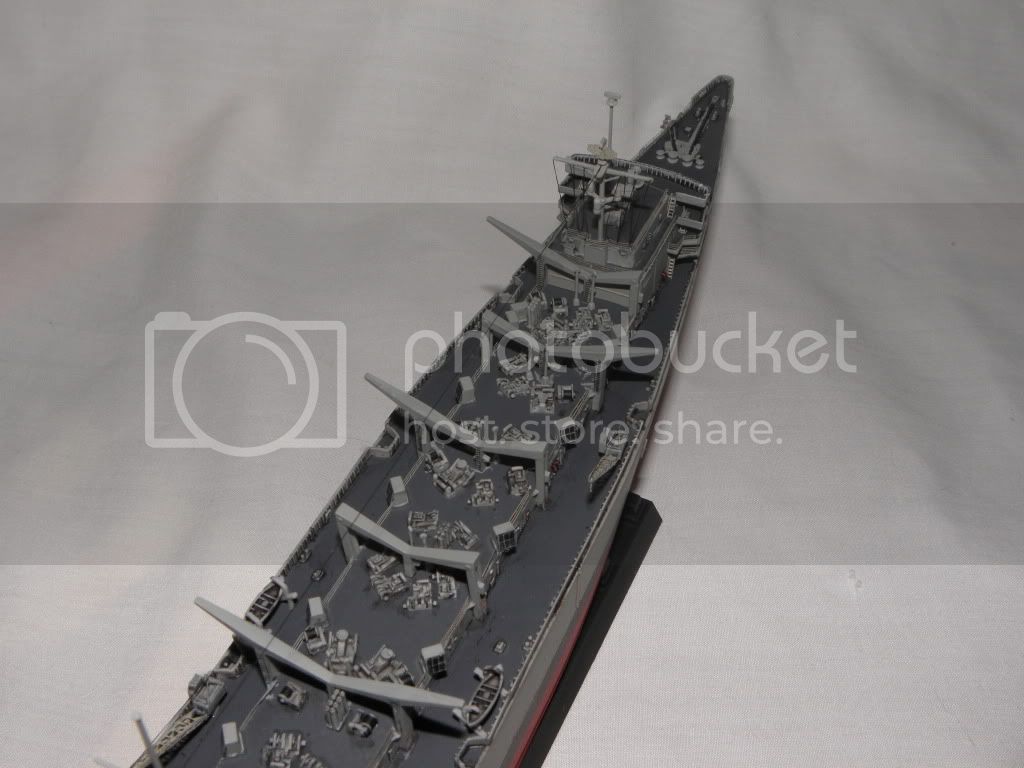
With the hull mostly done I began building the upper works. If you build this kit do yourself a big favor - when you assemble the upper deck / bridge use slow setting model glue, assemble it on the main deck already mounted to the hull, and push, prod, and coax the walls into place. I tried building it on my table, which is level, but the deck has a slight bow to it - when I tried to get it to fit it sprung up on one end! Luckily the glue was not set so on the deck it went, held down to set. Whew! Good thing I didn't use CA! Here's the main pieces (that's a LONG join to glue!)

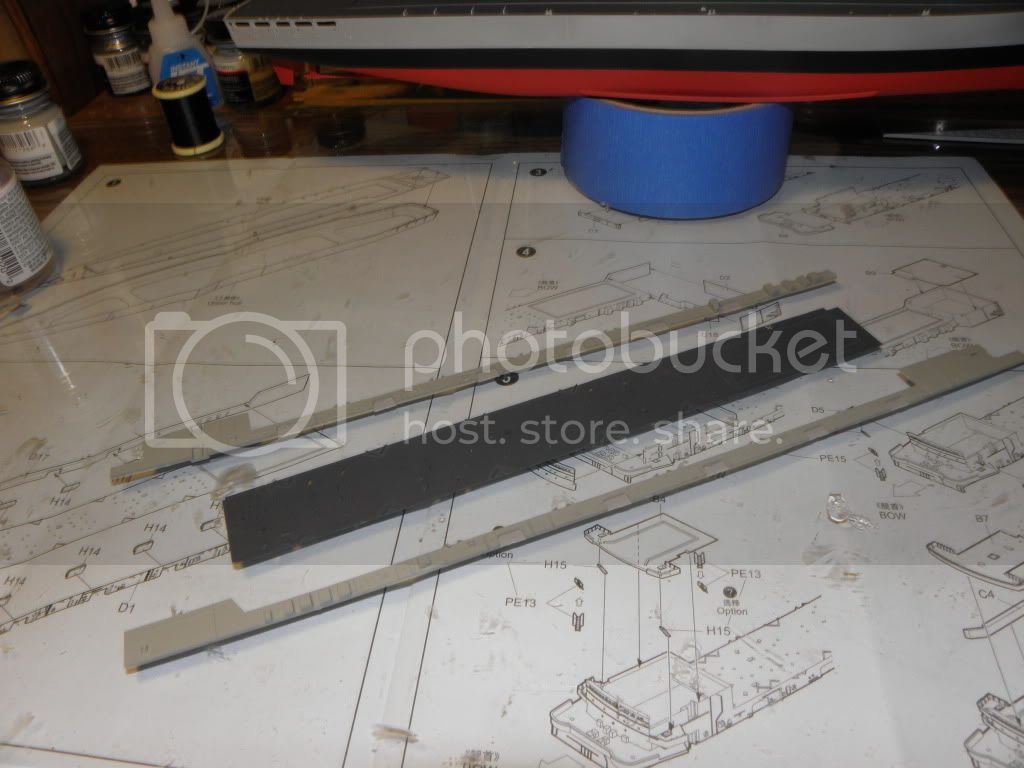
Here it is dry fit on the deck:

Well, that's it for tonight. Construction will continue so stay tuned! Thanks for lookin' and happy modeling!
Mark


JMartine
Visit this Community
New Jersey, United States
Joined: October 18, 2007
KitMaker: 1,698 posts
Model Shipwrights: 1,514 posts
Posted: Wednesday, March 09, 2011 - 12:58 AM UTC
Hello Mark!

Nice WIP you have going; good set of pics and blog info.

have you tried Gator's Glue? Acrylic based glue (ie, water soluble) which sets as hard as CA (for all practical purposes). I use a moist brush to move small pieces around and correctly position them in place. You can always wick excess glue, so you do not end up with nasty glue residue. I do all my PE work and most small details with that glue.

Look forward to the rest!
mstazzz62
Visit this Community
New Jersey, United States
Joined: January 07, 2010
KitMaker: 34 posts
Model Shipwrights: 31 posts
Posted: Friday, March 11, 2011 - 06:54 AM UTC
Greetings fellow modelers! All the major components are mounted and I've moved on to the little details. I started on adding the railings and lots of winches. The deck really looks busy now:


I'm going to finish the railings and then add the crane assemblies. Lots to do so stay tuned! Comments/critiques always welcomed! Oh, James - thank you for the reply! I use Aleene's Tacky Glue to position my P/E and then lock it down with CA.
Gonna try the Gator Glue one day. Thanks again and happy modeling!
Mark
mstazzz62
Visit this Community
New Jersey, United States
Joined: January 07, 2010
KitMaker: 34 posts
Model Shipwrights: 31 posts
Posted: Tuesday, March 22, 2011 - 08:10 AM UTC
Greetings fellow modelers! More progress with the addition of the masts, aerials, and the rigging. I finished the loading gantries and added the fairways? breakwaters? Whatever the solid railings at the deck edges are called! I'm moving on to the ships boats and various little details - getting close to the end!


That's it for now! Happy modeling and comments/critiques always welcomed!
Mark
JMartine
Visit this Community
New Jersey, United States
Joined: October 18, 2007
KitMaker: 1,698 posts
Model Shipwrights: 1,514 posts
Posted: Tuesday, March 22, 2011 - 11:59 PM UTC
Looks good Mark! will you give it a pinwash of sorts to bring out the details?
Did all the PE come with the kit? It is a nice looking kit, interesting subject.
MrMox
Visit this Community
Aarhus, Denmark
Joined: July 18, 2003
KitMaker: 3,377 posts
Model Shipwrights: 985 posts
Posted: Wednesday, March 23, 2011 - 12:21 AM UTC
Interesting build - not an everyday subject - nice build, but for a "workmanlike" ship it could use a bit more weathering and rust streaks.

Otherwise a nice and clean build.

Cheers/Jan
surfsup
Visit this Community
Queensland, Australia
Joined: May 20, 2010
KitMaker: 1,230 posts
Model Shipwrights: 1,212 posts
Posted: Thursday, March 24, 2011 - 03:18 AM UTC
Lovely job Mark. I wouldn't mind ghetting this kit myself.....Cheers Mark
mstazzz62
Visit this Community
New Jersey, United States
Joined: January 07, 2010
KitMaker: 34 posts
Model Shipwrights: 31 posts
Posted: Saturday, March 26, 2011 - 06:06 AM UTC
Greetings fellow modelers! I'm calling this kit done! And here she is:


Not a bad kit, even with the fit problems. It's got good detail but is missing the prominent refueling hoses hanging off the loading gantries. The P/E included is nice, especially the cranes, but no railings are include. I used my own stash to apply railings, and UNI-Canais fly tying thread to rig her.
I had fun with this kit! I had to build it OOTB so I can't add the hoses (which is driving me nuts!) Thank you all who commented and advised me on my journey - it really helps you get to be a better modeler!
Thanks again and happy modeling!
Mark


 _GOTOTOP