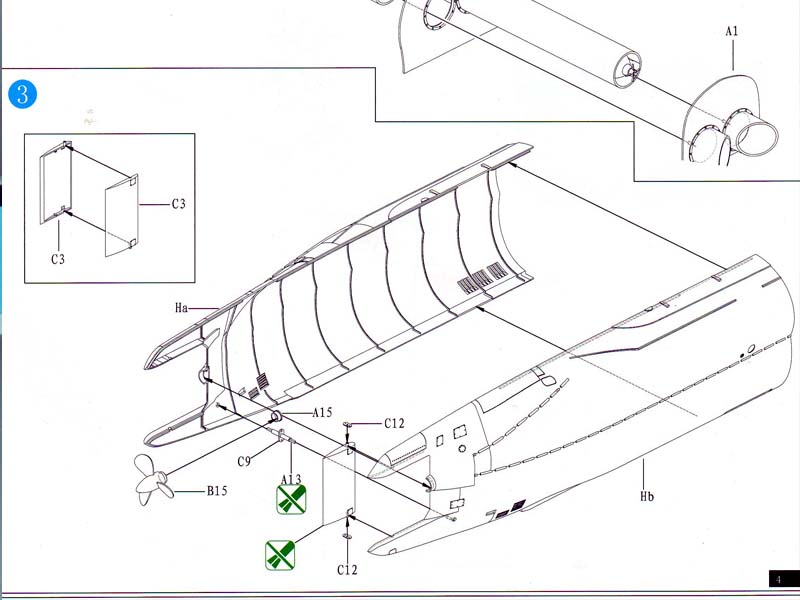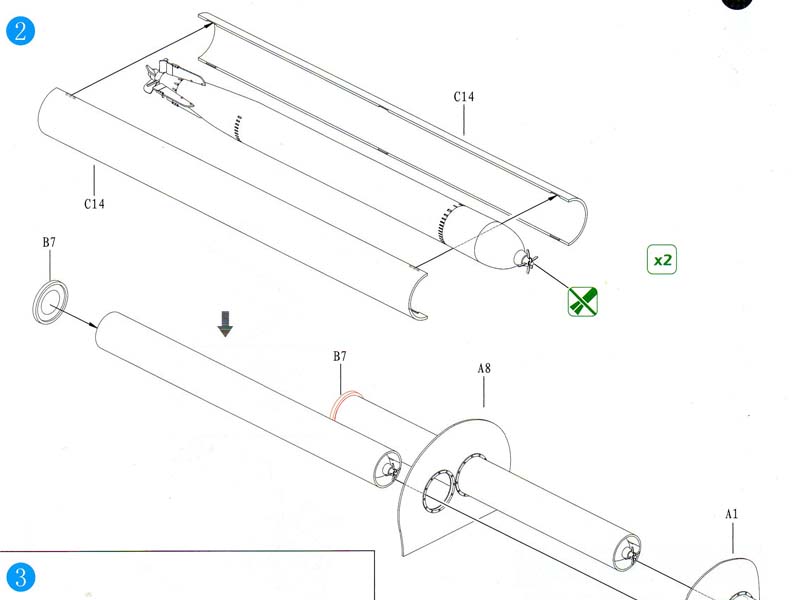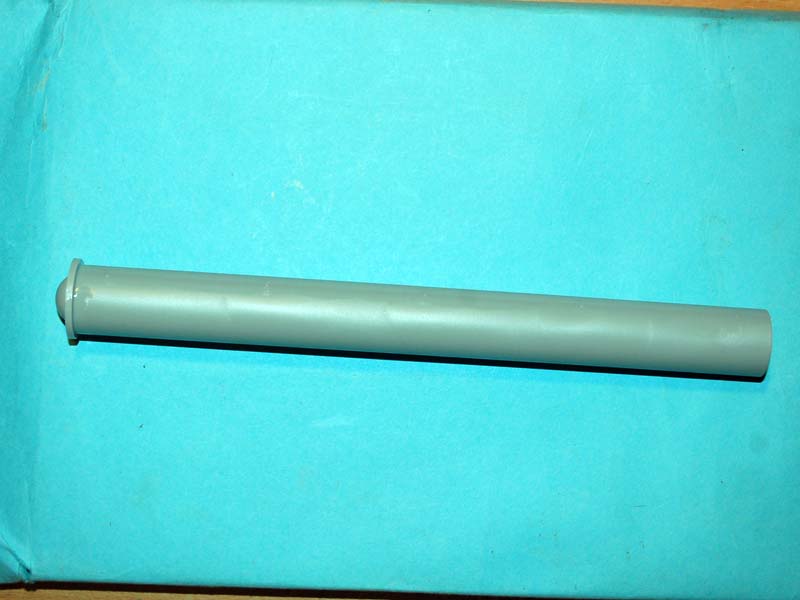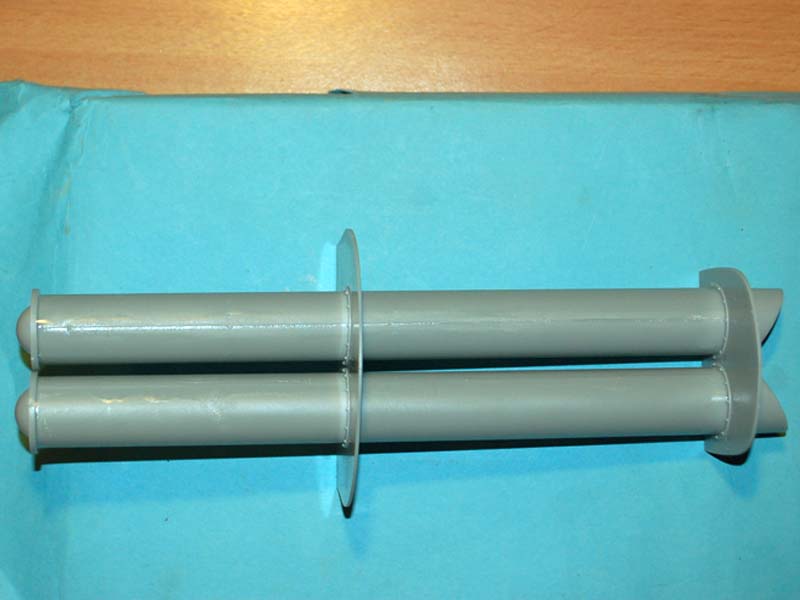


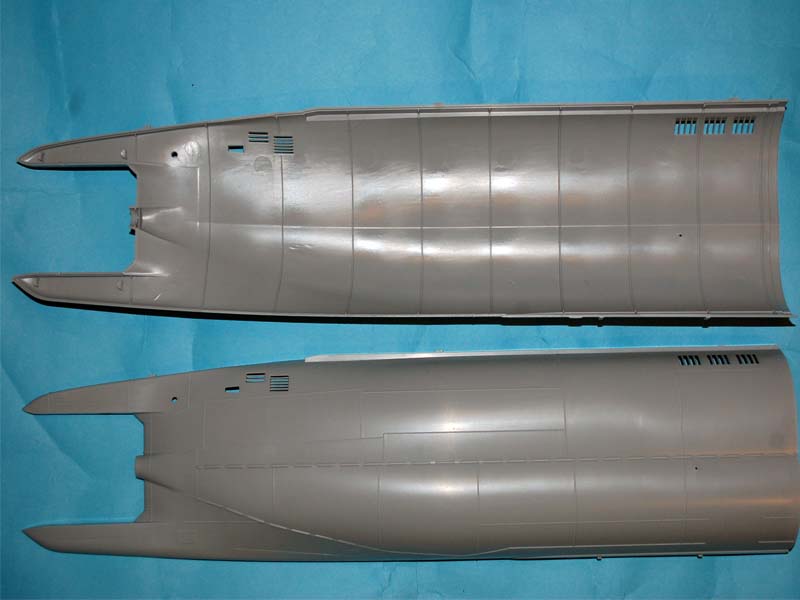
The first two stages of this build cover assembly of the two torpedoes and their launch tubes, I have however skipped these stages for the moment and started with the rear third of the sub as due to the distortion I mentioned in my review it was going to be the most challenging starting point.
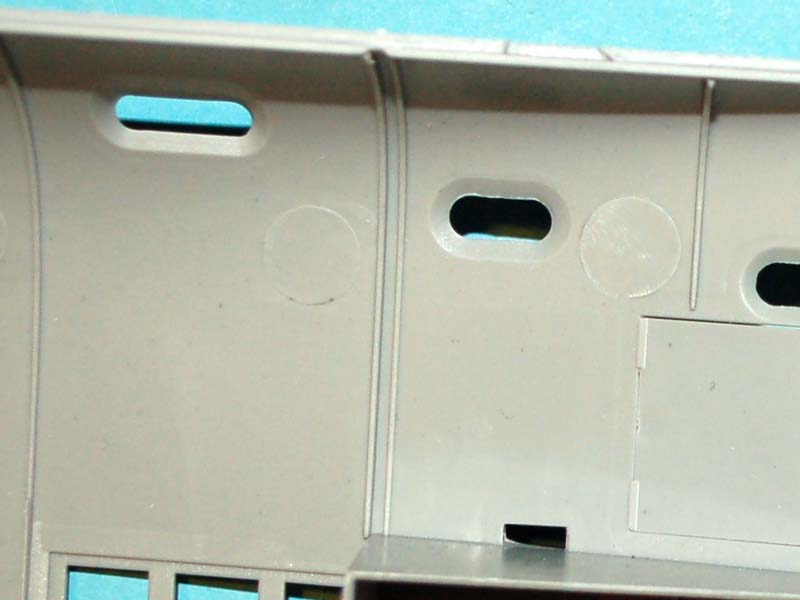
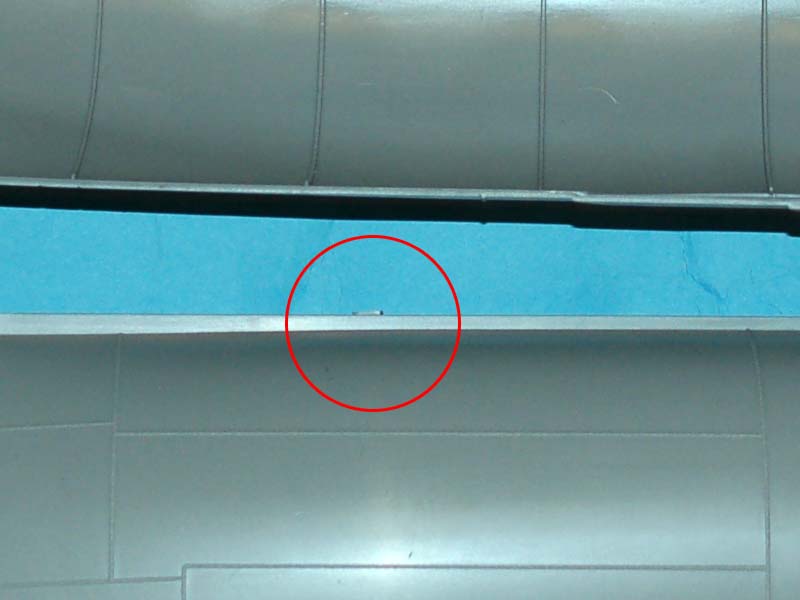
The two pictures below show the inner and outer detail of the rear of the subs body and I have zoomed into and circled one of the casting nubs that need to be removed.
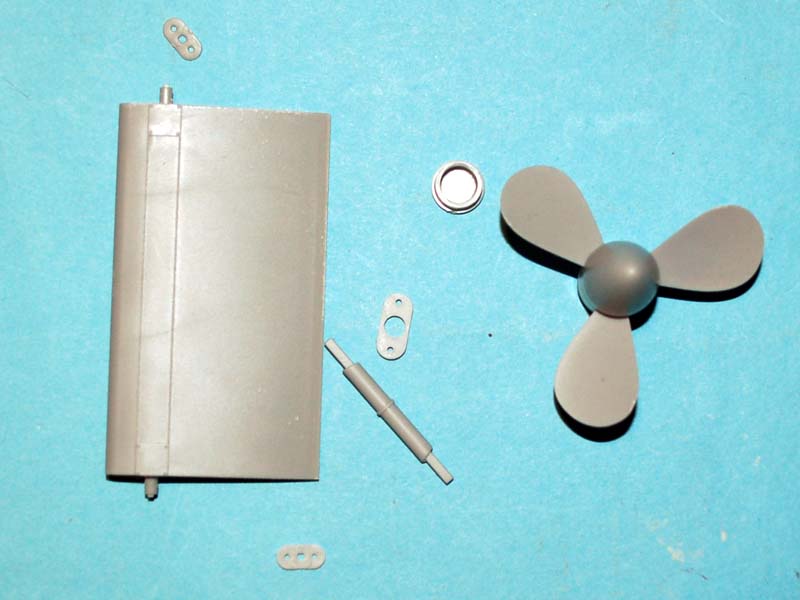
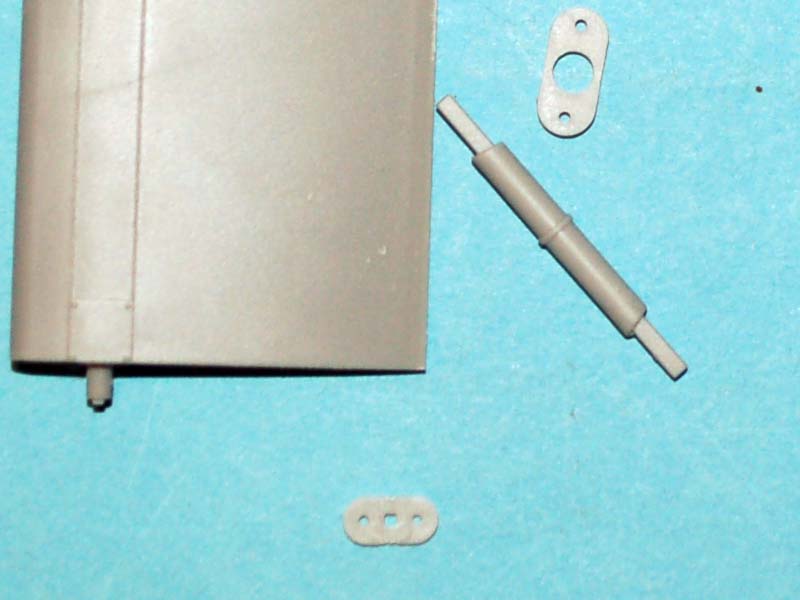
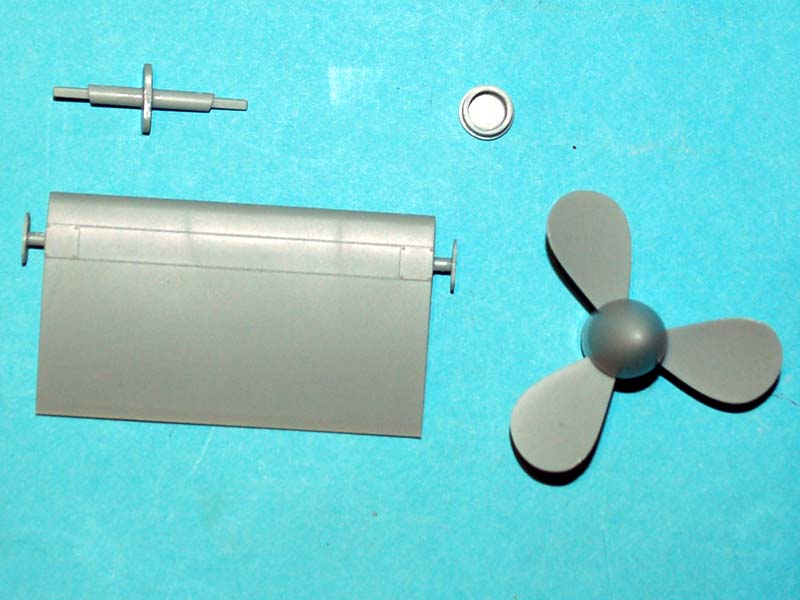
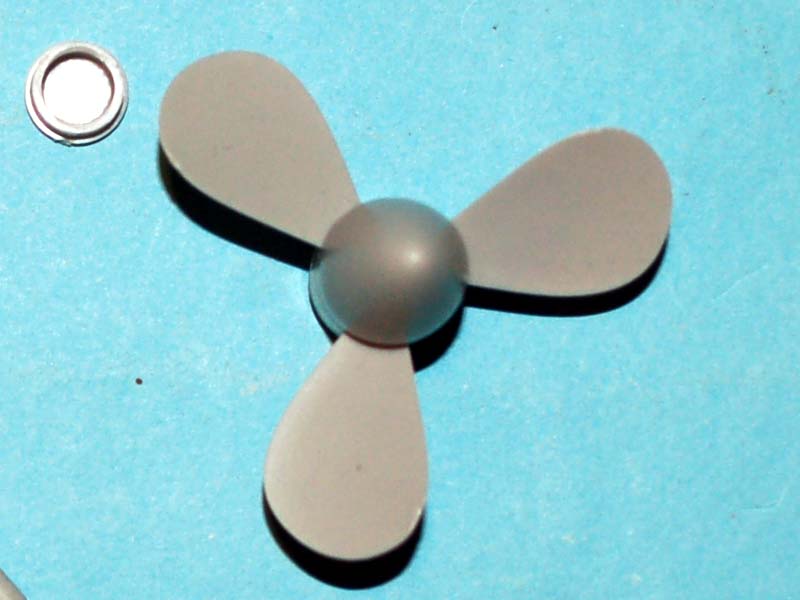
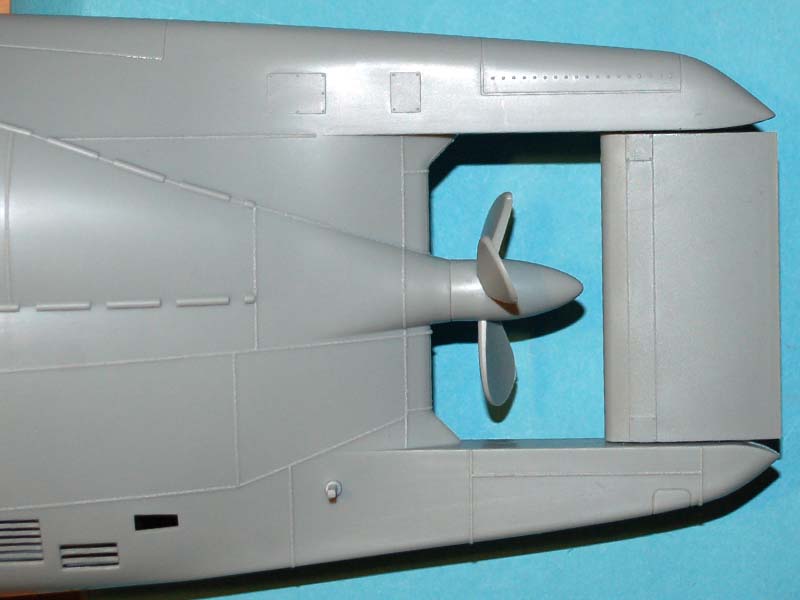
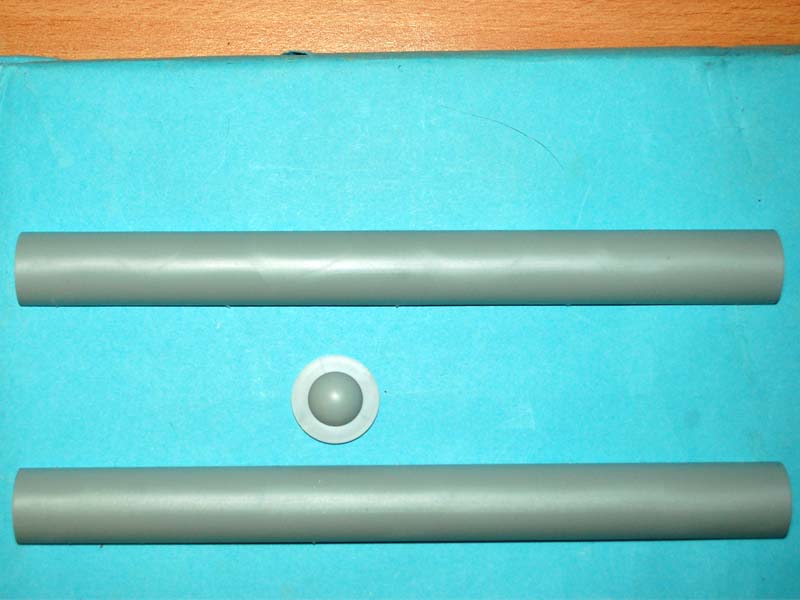
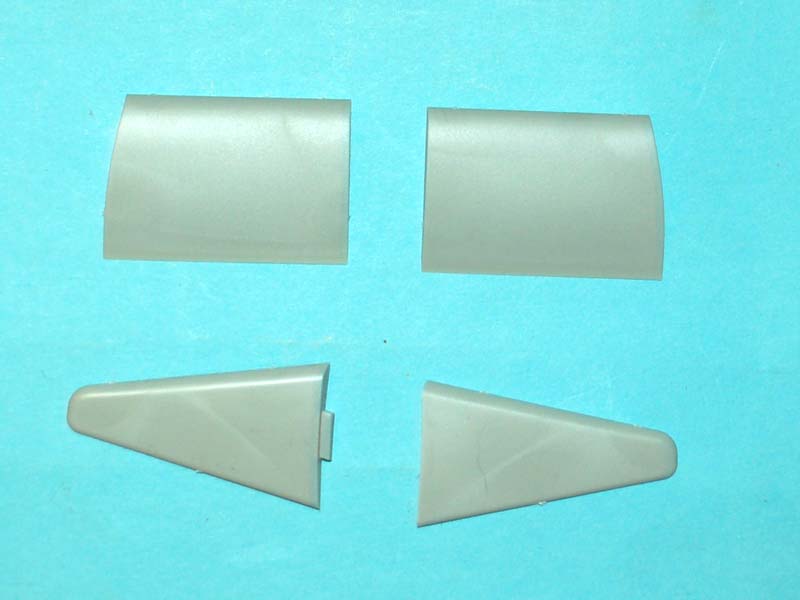
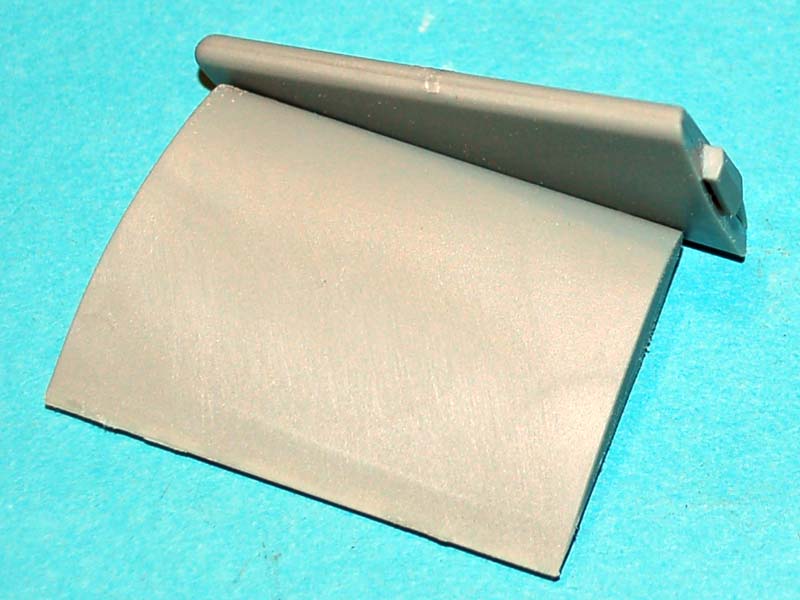
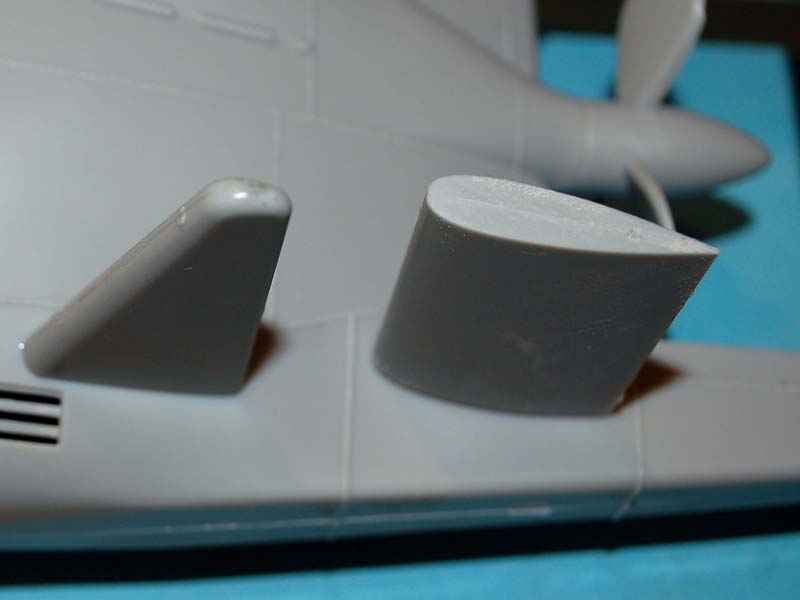
These images show the rudder parts and propeller for the sub plus the bar that the rear sail plans are attached to. The rudder is easy enough to put together with the minimum of clean up, however it is worth noting that the fit is fairly loose but as it is upright no big issue. The same cannot be said for the bar (A13) which is for attaching the stern planes as it is very loose meaning if not cemented the stern planes will sit 90degrees out of true, I have used this part in the pictures here but I have decided I am going to cut it away and replace it with a metal bar that is a good fit in the moulded holes in the hull. The last part of this stage is the prop which will require great care when removing from the sprue or you will be left with a chunk missing from each blade, if like me you attach part A15 to part B15 before attaching it to the model it is easy to retain the ability to rotate the prop which will add painting later.