_GOTOBOTTOM
General Ship Modeling
Discuss modeling techniques, experiences, and ship modeling in general.
1/700 IJN I-58
Philippus
Visit this Community
England - South East, United Kingdom
Joined: March 13, 2007
KitMaker: 182 posts
Model Shipwrights: 6 posts
Posted: Monday, April 29, 2013 - 07:30 PM UTC
Hi all,

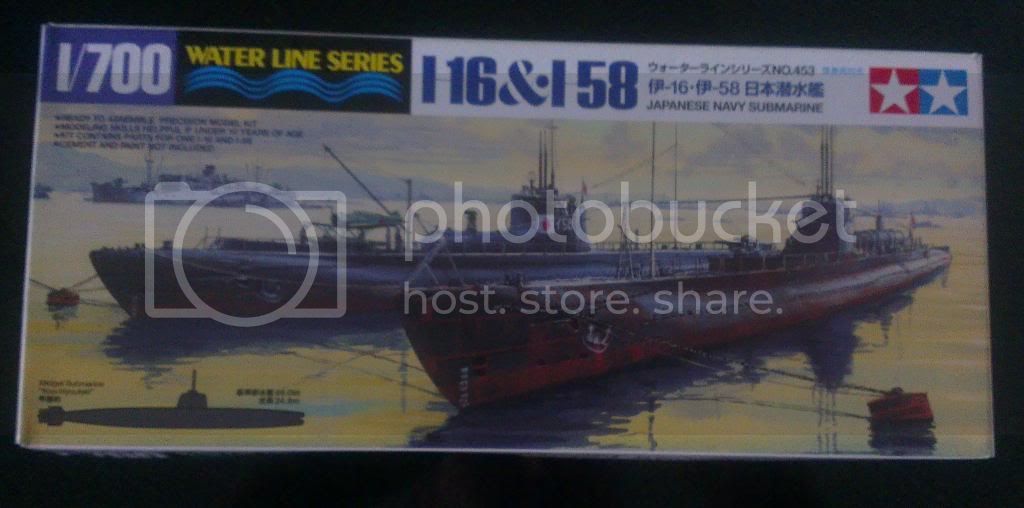
I am building Tamiya's I-58 from this kit for the Dive 3 campaign.


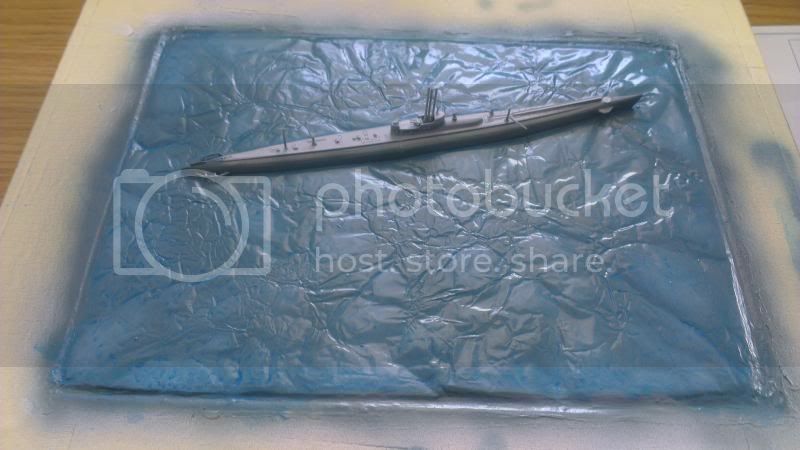
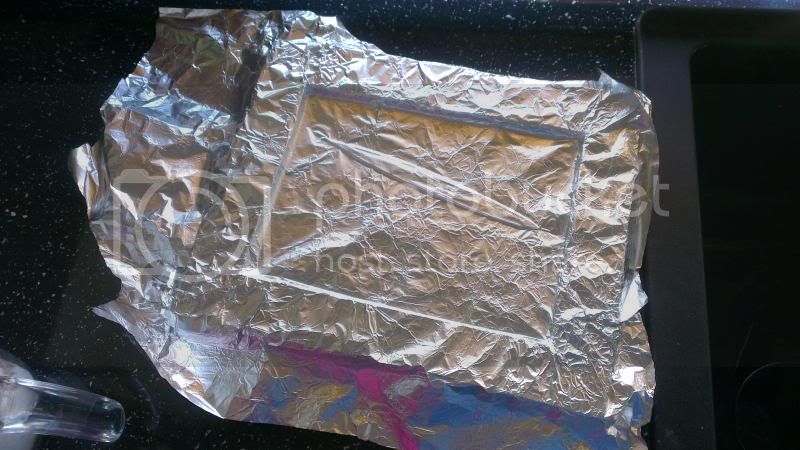
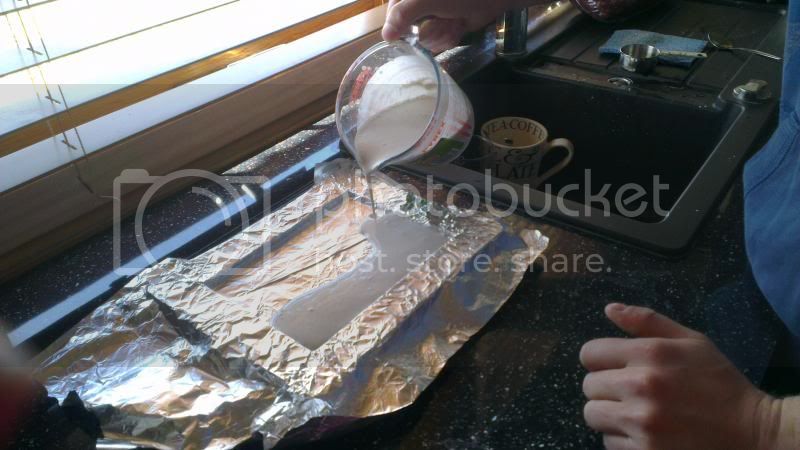
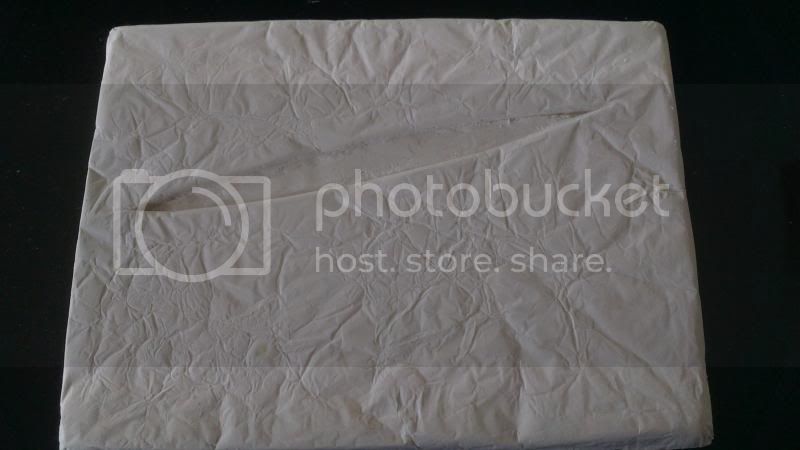
First things first, I need a base to display the waterline kit on. I have never attempted to make a water base before so I did a bit of research and see some good results from tin foil being crinkled up and then being used as a mold for plaster of Paris.


And here is an action shot of the plaster being poured which the Mrs kindly took for me.


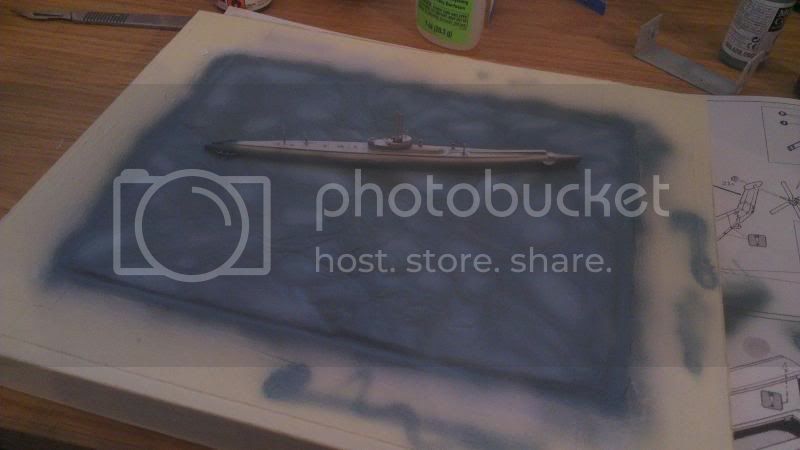
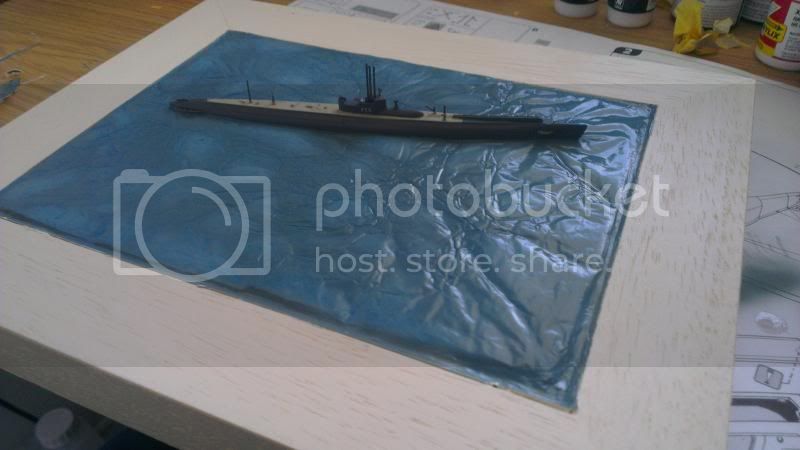
The result wasn't too bad but I felt that the textured surface I created was a bit extreme for 1/700. So after the 3rd attempt I ended up with this.


Still maybe a bit extreme but I am happy with it.

Because I cast three bases I have two to practice painting the water, which after I think about it is going to be pretty difficult!

On to the submarine. It is very small and has few parts to it so not many progress shots of the construction. Here it is after an hour of work bench time.


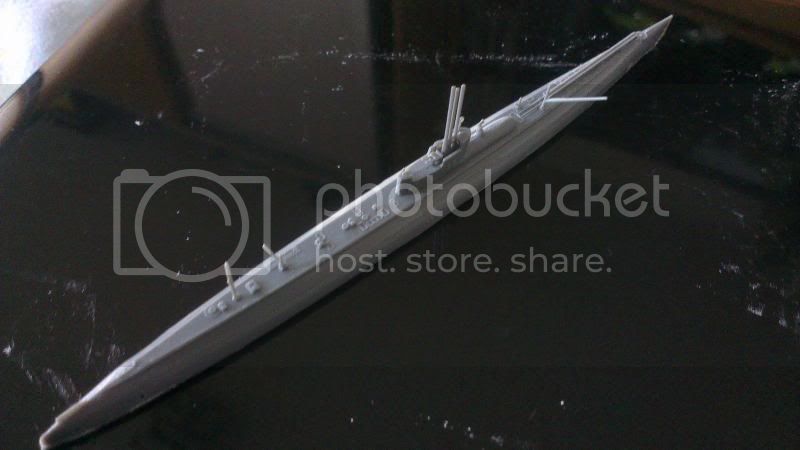
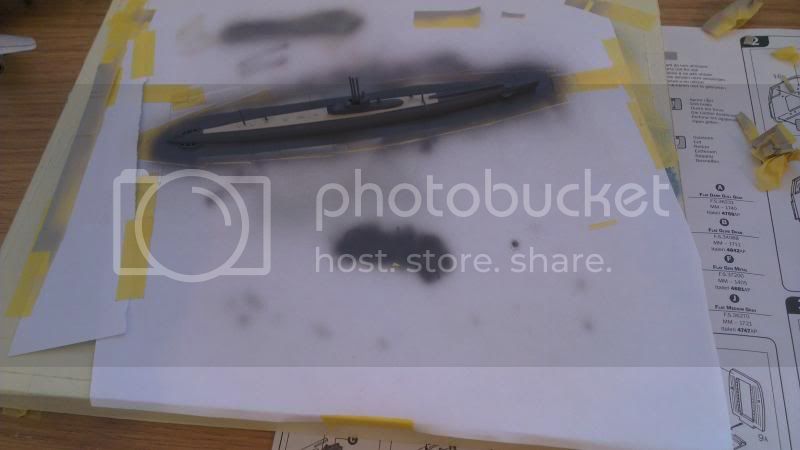
It is almost finished, just got to add on the hydoplanes and a bit of rigging then on to the painting.

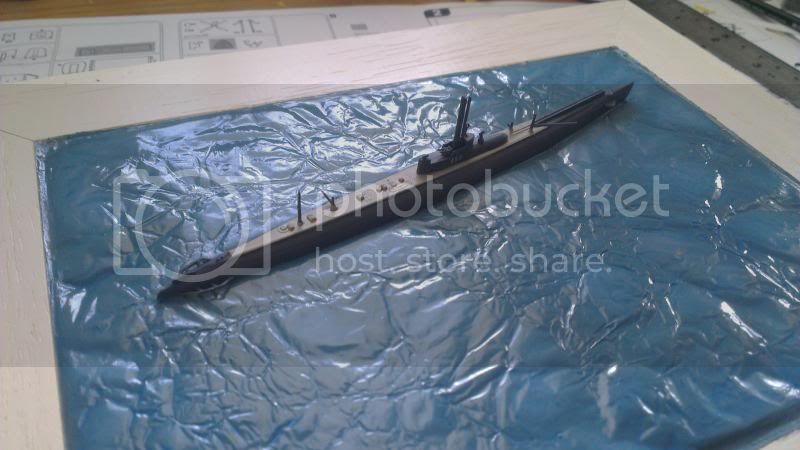
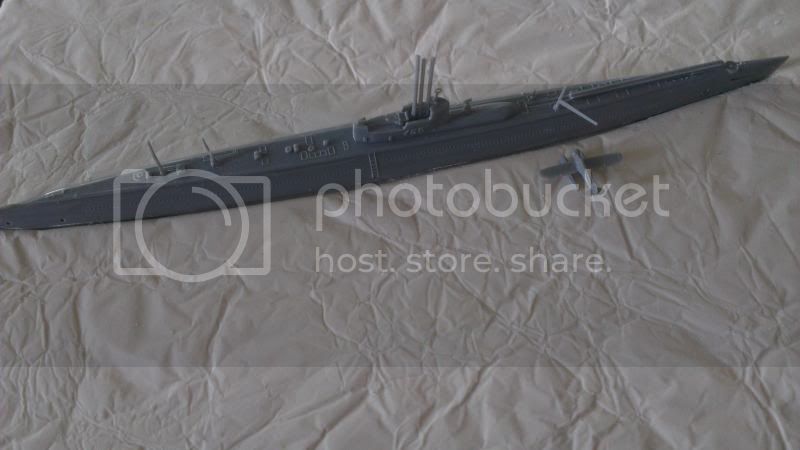
I am going to make a little diorama of it lifting the float plane up with its crane like this.


Once I have the sub painted I am going to use some milliput to mould it into the base and create the effect of the water splashing up the side of the sub. Then I will paint the water after I have had a couple of trial runs on the spare bases!

Thanks for looking,
Philip.
Gremlin56
Joined: October 30, 2005
KitMaker: 3,897 posts
Model Shipwrights: 3,301 posts
Posted: Monday, April 29, 2013 - 07:34 PM UTC
An interesting project Philip, will be fun to see it develop.
Cheers,
Julian
Philippus
Visit this Community
England - South East, United Kingdom
Joined: March 13, 2007
KitMaker: 182 posts
Model Shipwrights: 6 posts
Posted: Tuesday, May 28, 2013 - 06:49 AM UTC
Not too much progress but here is an update shot:


I've attached the plaster base to a display case (picture frame!) fixed the sub to the base and blended it in with vallejo putty and have just give it a coat of vallejo grey primer.

Hopefully not it'll start moving along at a decent rate.

Thanks for looking,
Philip.
phantom_phanatic309
#372
Visit this Community
United Kingdom
Joined: March 10, 2010
KitMaker: 2,568 posts
Model Shipwrights: 220 posts
Posted: Tuesday, May 28, 2013 - 10:28 AM UTC
I may have to try that myself on my next project. I've use foil in the past but with the ship stuck straight onto it. Ok untill it gets flattened!
I assume that you fill the bottom side of the foil otherwise would we get the waves in reverse?
Philippus
Visit this Community
England - South East, United Kingdom
Joined: March 13, 2007
KitMaker: 182 posts
Model Shipwrights: 6 posts
Posted: Wednesday, May 29, 2013 - 08:23 AM UTC
I never really thought about which side up the foil went i just went with it!

Here is where I am at right now.


Not the best photo admittedly but it is good enough to see the general effect. Tomorrow night Im going to give it a very thin blue glaze before a couple of coats of future.

Thanks,
Philip
Philippus
Visit this Community
England - South East, United Kingdom
Joined: March 13, 2007
KitMaker: 182 posts
Model Shipwrights: 6 posts
Posted: Sunday, June 02, 2013 - 06:46 PM UTC
I am moving along nicely now.

Here is a shot after a blue glaze and 4 thin coats of future.


After a ton of masking I managed to get the sub painted. Here is where I am now.


Next up a bit of slight weathering and painting the float plane.

Thanks for looking,
Philip.
Philippus
Visit this Community
England - South East, United Kingdom
Joined: March 13, 2007
KitMaker: 182 posts
Model Shipwrights: 6 posts
Posted: Tuesday, June 04, 2013 - 09:04 AM UTC
Bit more progress. Put a wash over the sub and have removed the masking.


Just got the float plane to paint and position under the crane and then add the photo etch figures. Hoping to have it wrapped up over the weekend.

Thanks,
Philip.
phantom_phanatic309
#372
Visit this Community
United Kingdom
Joined: March 10, 2010
KitMaker: 2,568 posts
Model Shipwrights: 220 posts
Posted: Tuesday, June 04, 2013 - 11:00 AM UTC
Looking forward to seeing the finished result.
 _GOTOTOP