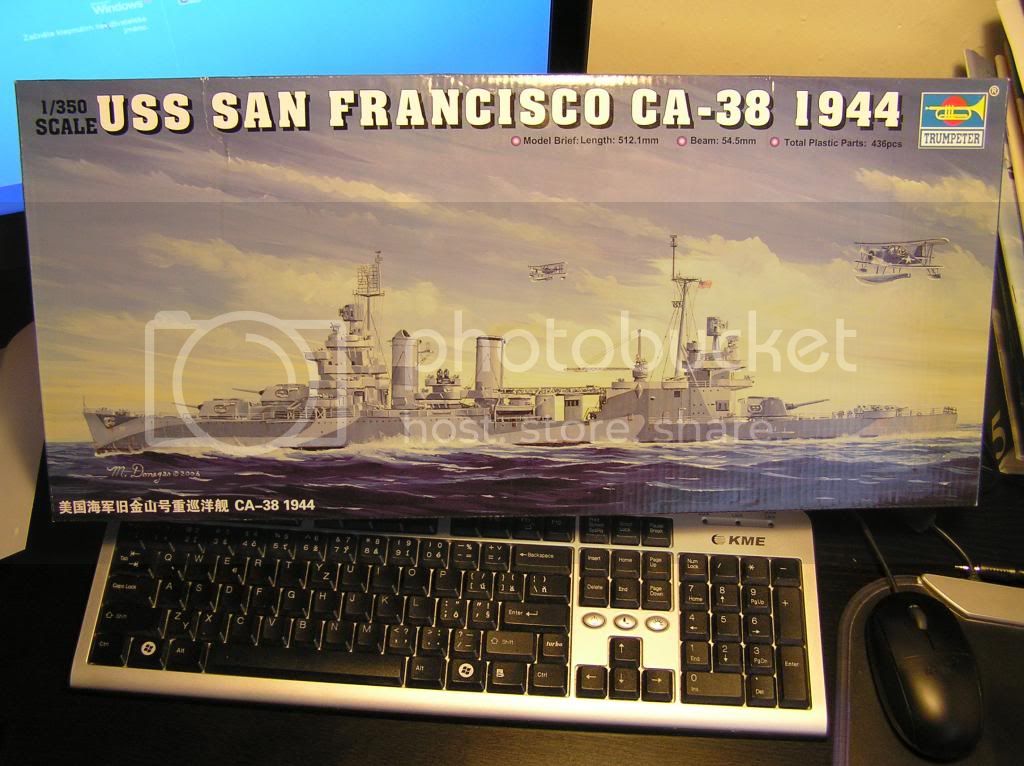
1/350 CA38 USS San Francisco
Slovakia
Joined: October 15, 2010
KitMaker: 825 posts
Model Shipwrights: 97 posts
Posted: Monday, December 30, 2013 - 10:34 AM UTC

#306
Victoria, Australia
Joined: June 27, 2010
KitMaker: 3,959 posts
Model Shipwrights: 2,777 posts
Posted: Monday, December 30, 2013 - 11:57 AM UTC
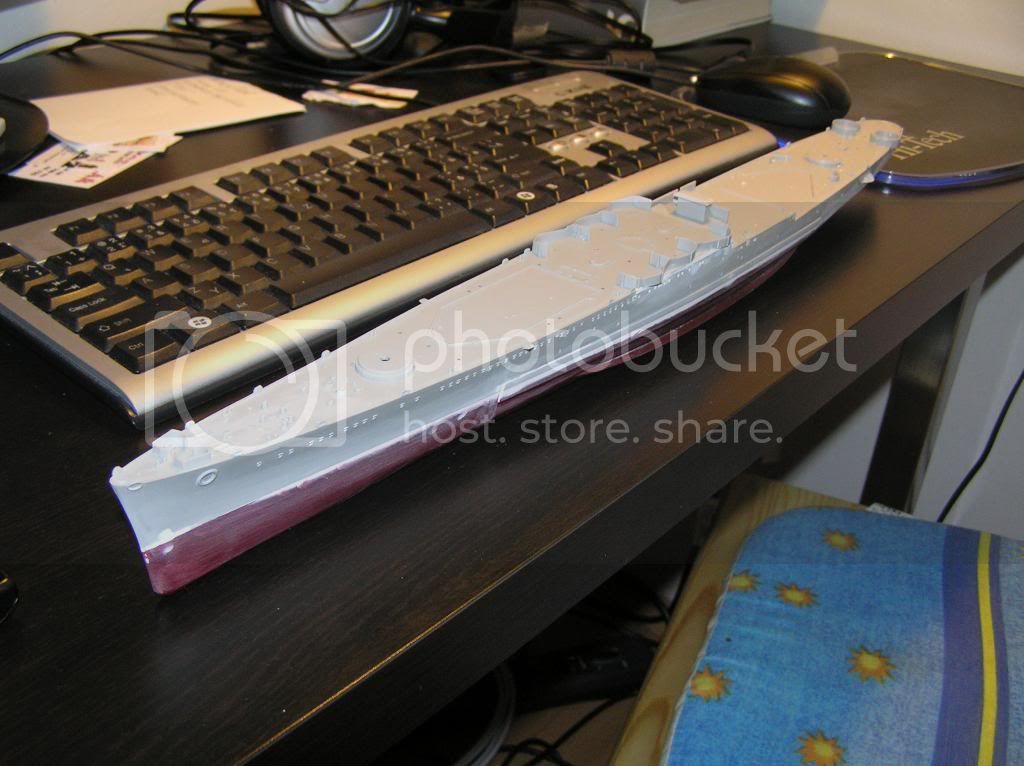
very nice start

Stay home and build models!
In 1/72
Gloster Gladiator MkII for the Bi-planes Campaign
In 1/350
Airfix 1:350 Type 45 Destroyer
England - South East, United Kingdom
Joined: March 01, 2010
KitMaker: 7,078 posts
Model Shipwrights: 6,649 posts
Posted: Tuesday, December 31, 2013 - 06:11 AM UTC
Good looking start to a good looking cruiser Naseby,
will be following with interest.
Si
Slovakia
Joined: October 15, 2010
KitMaker: 825 posts
Model Shipwrights: 97 posts
Posted: Sunday, January 05, 2014 - 12:05 PM UTC

#306
Victoria, Australia
Joined: June 27, 2010
KitMaker: 3,959 posts
Model Shipwrights: 2,777 posts
Posted: Sunday, January 05, 2014 - 09:26 PM UTC
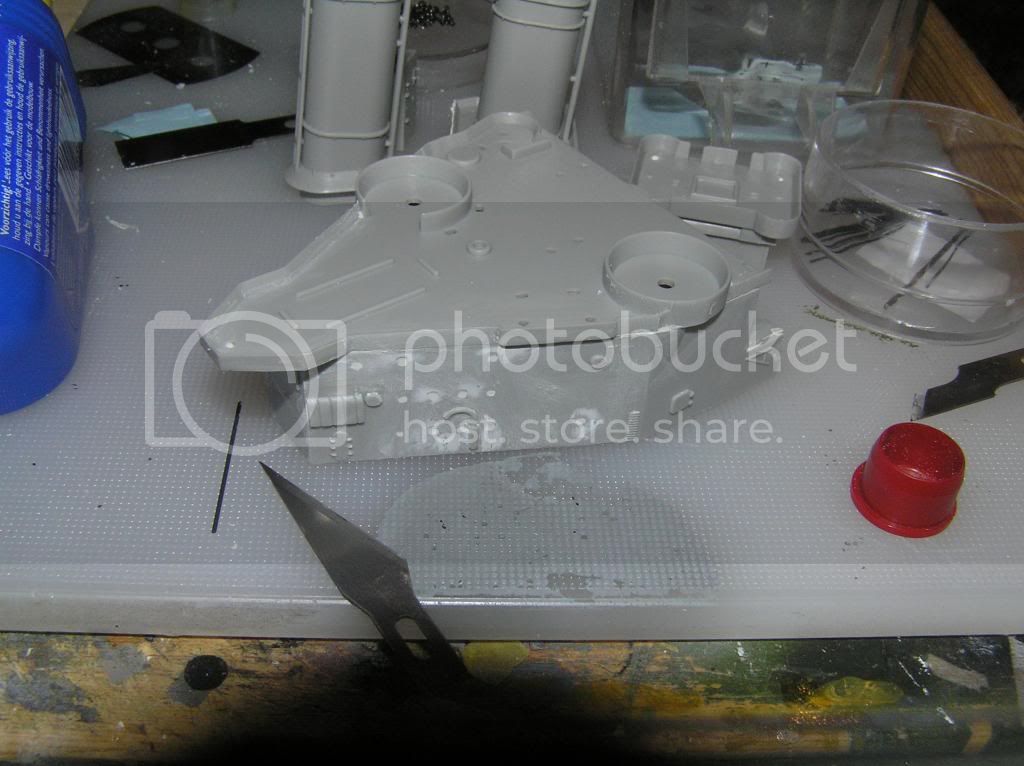
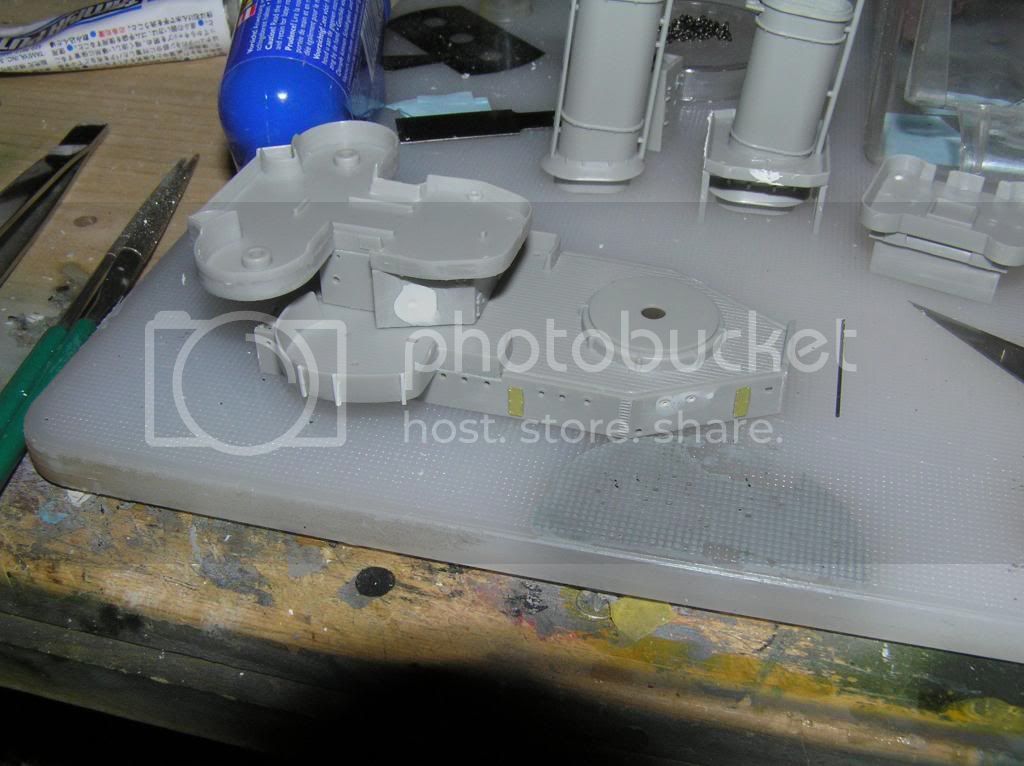
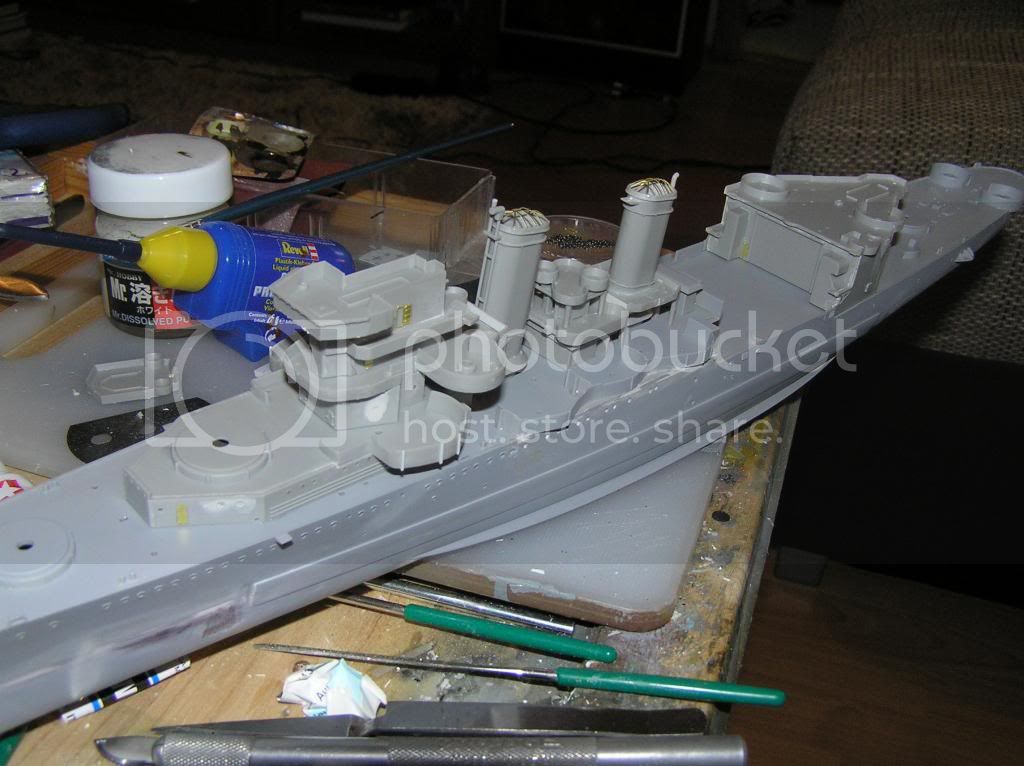
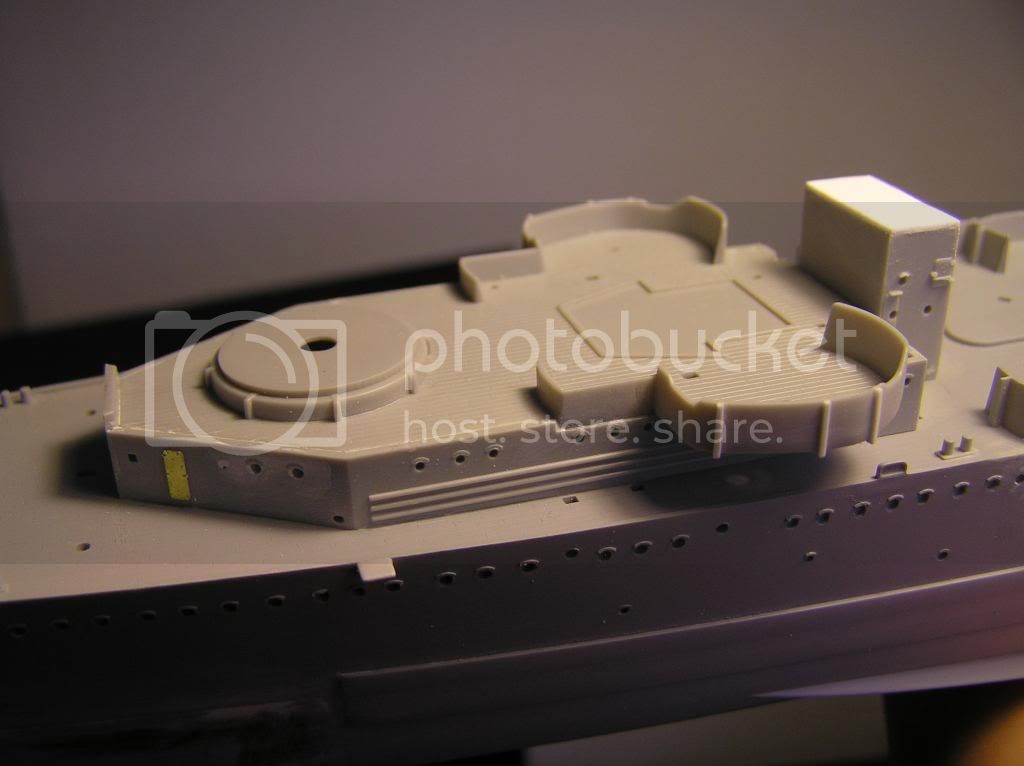
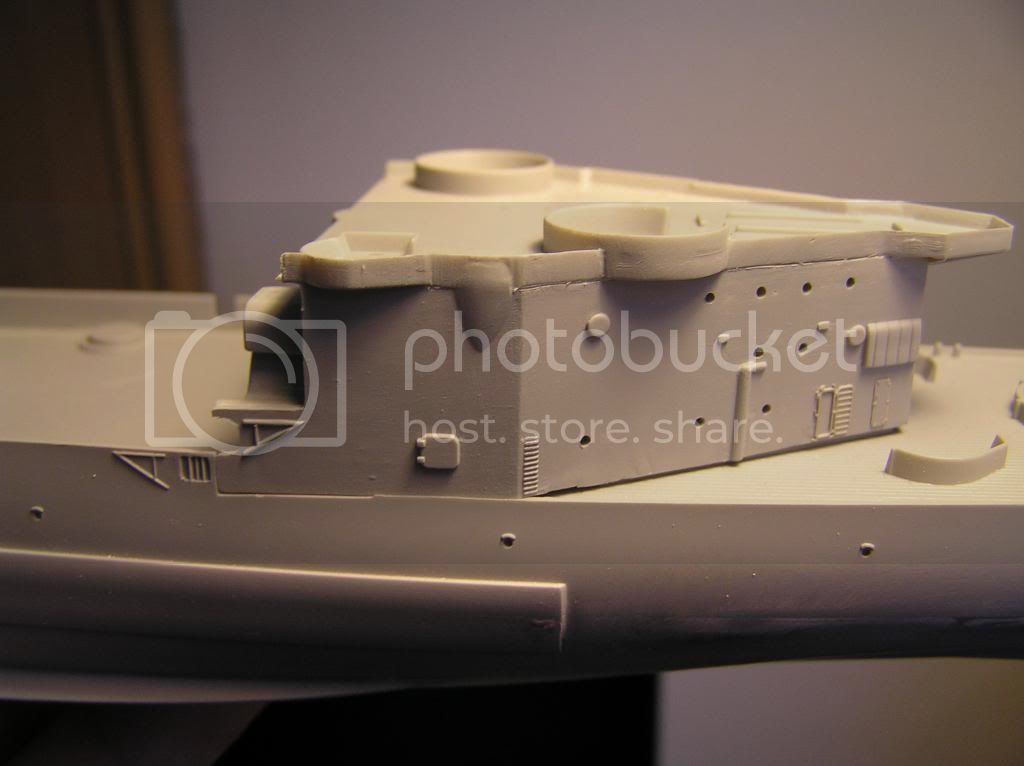
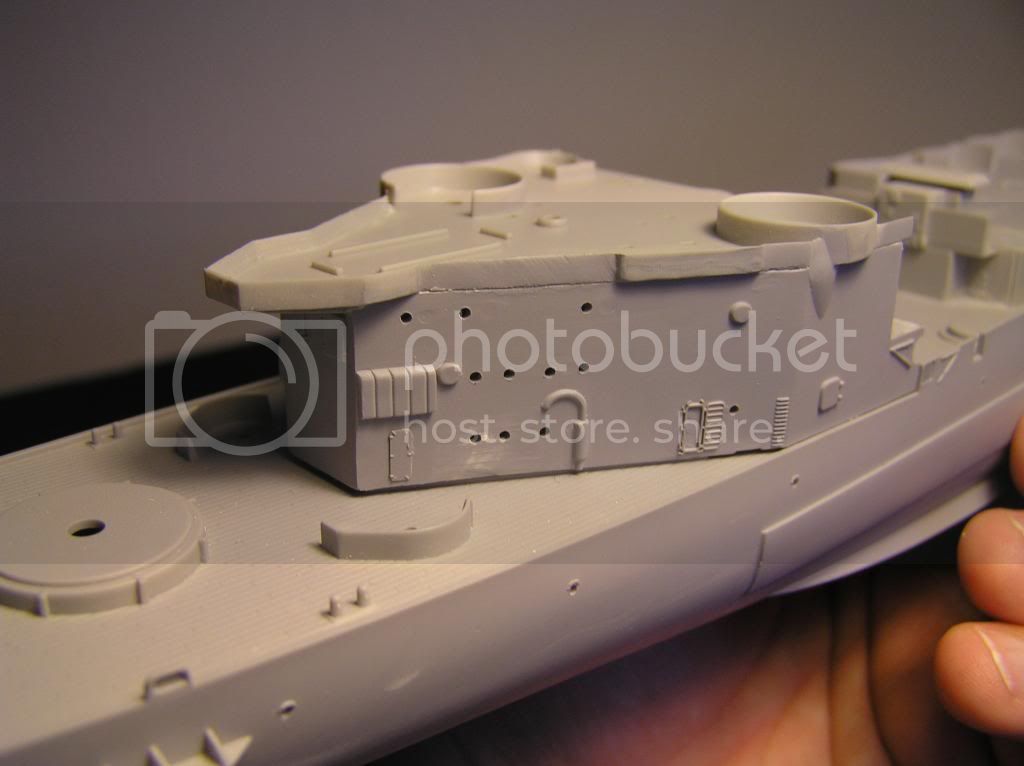
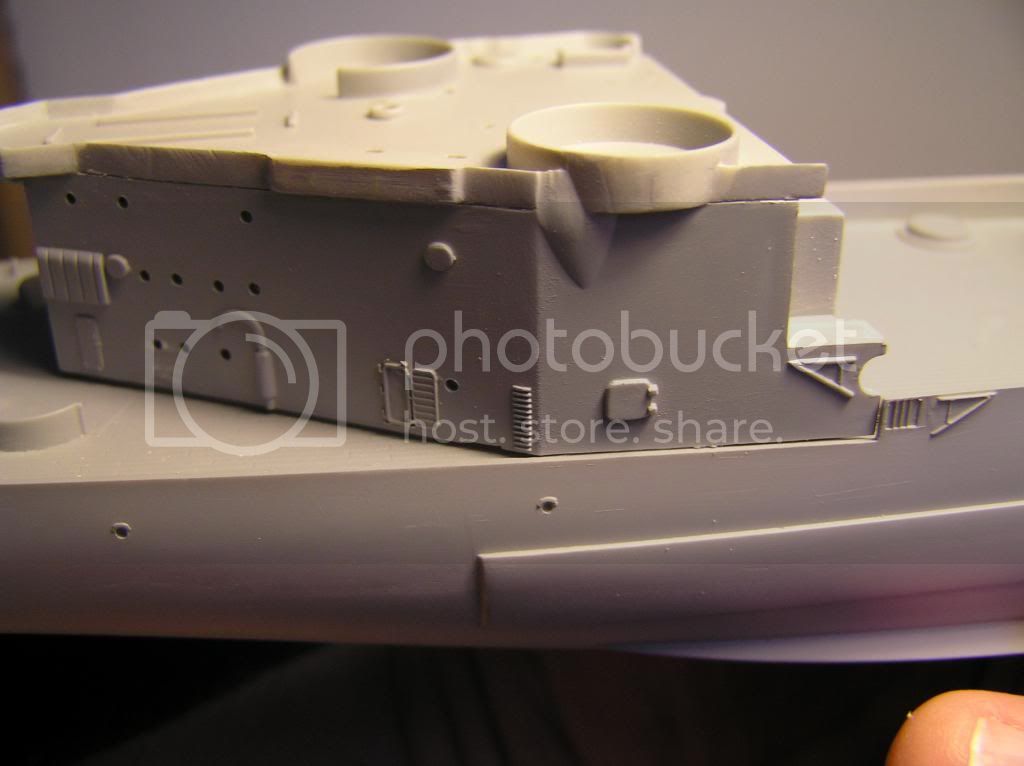
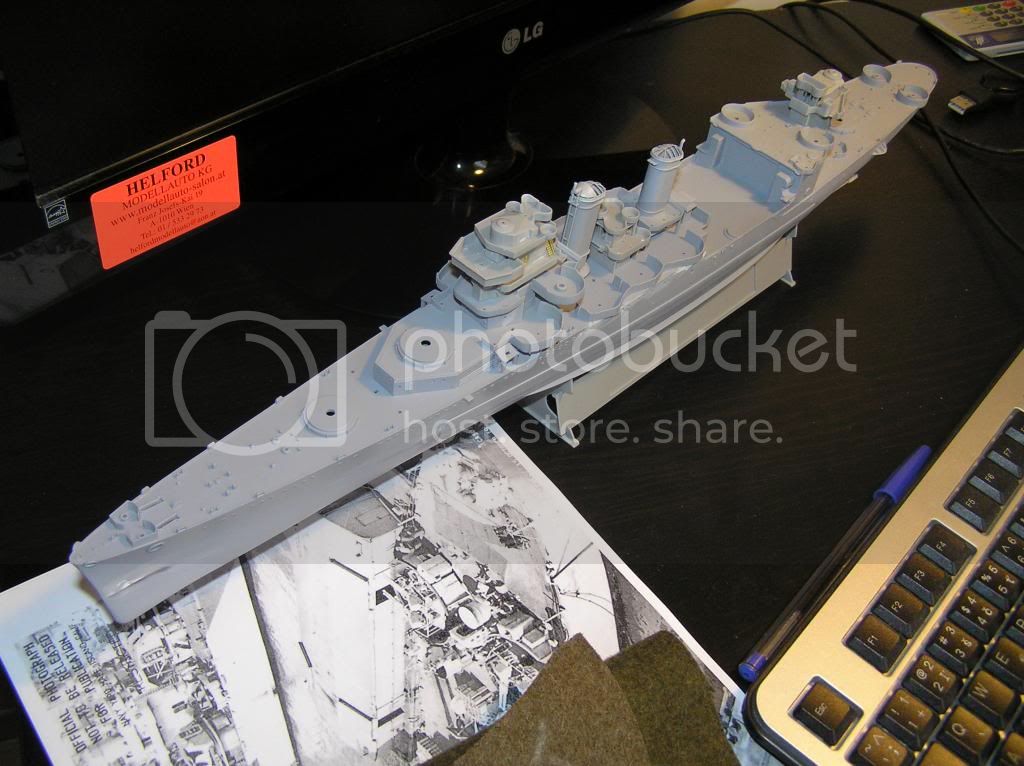
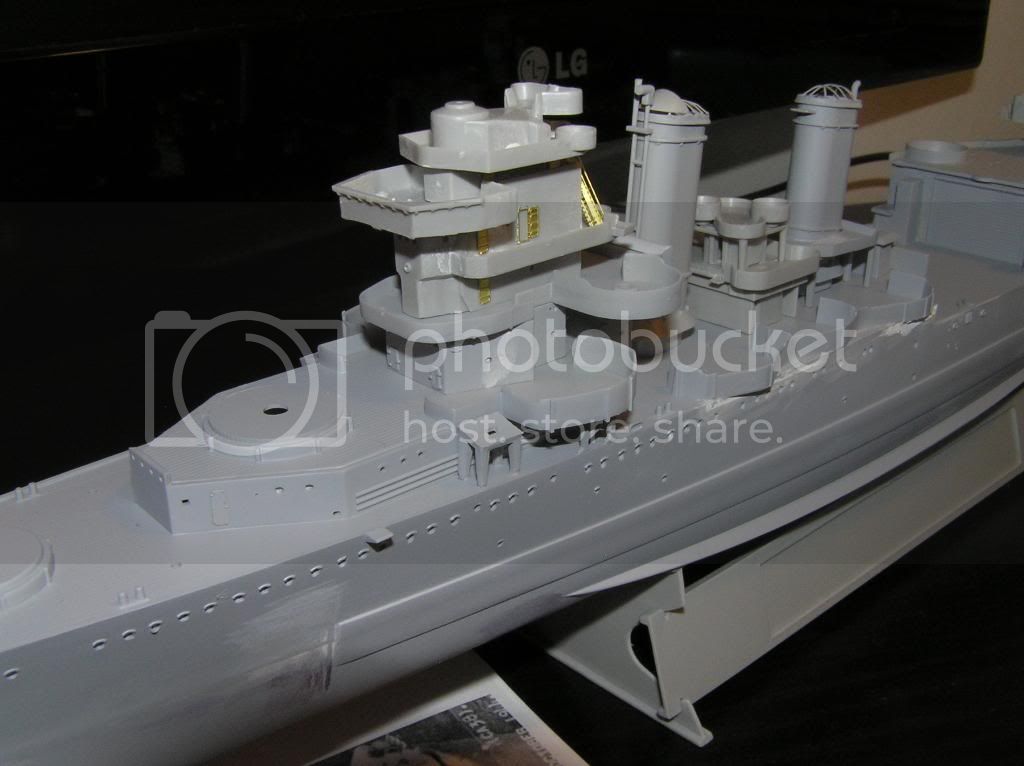
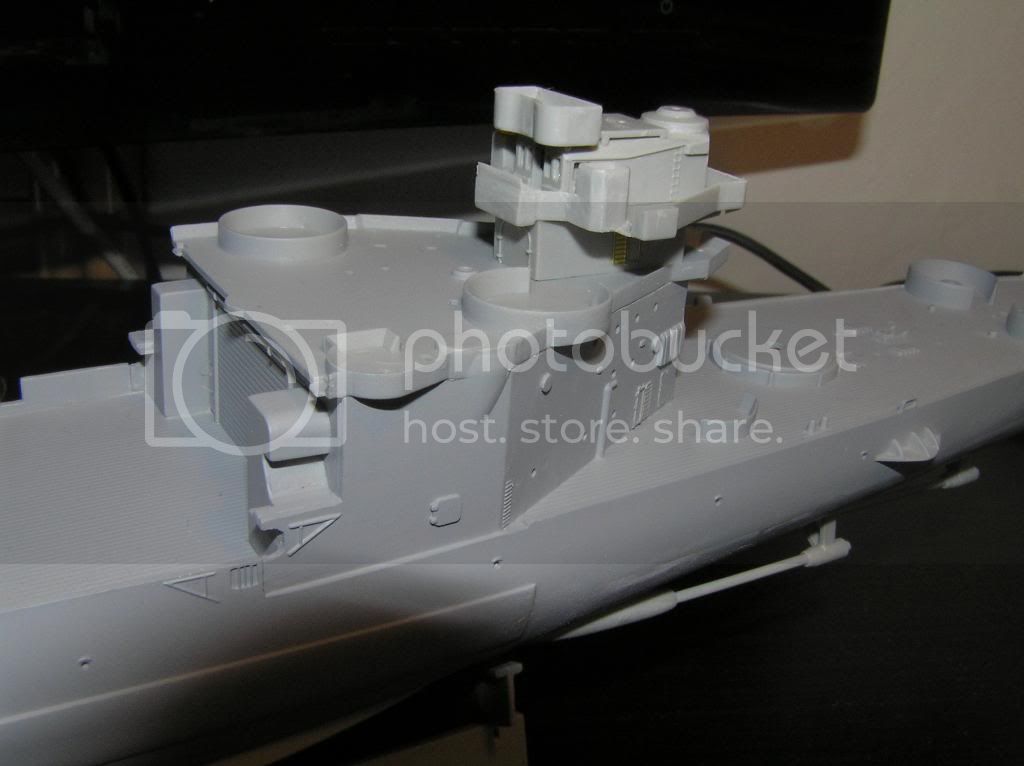
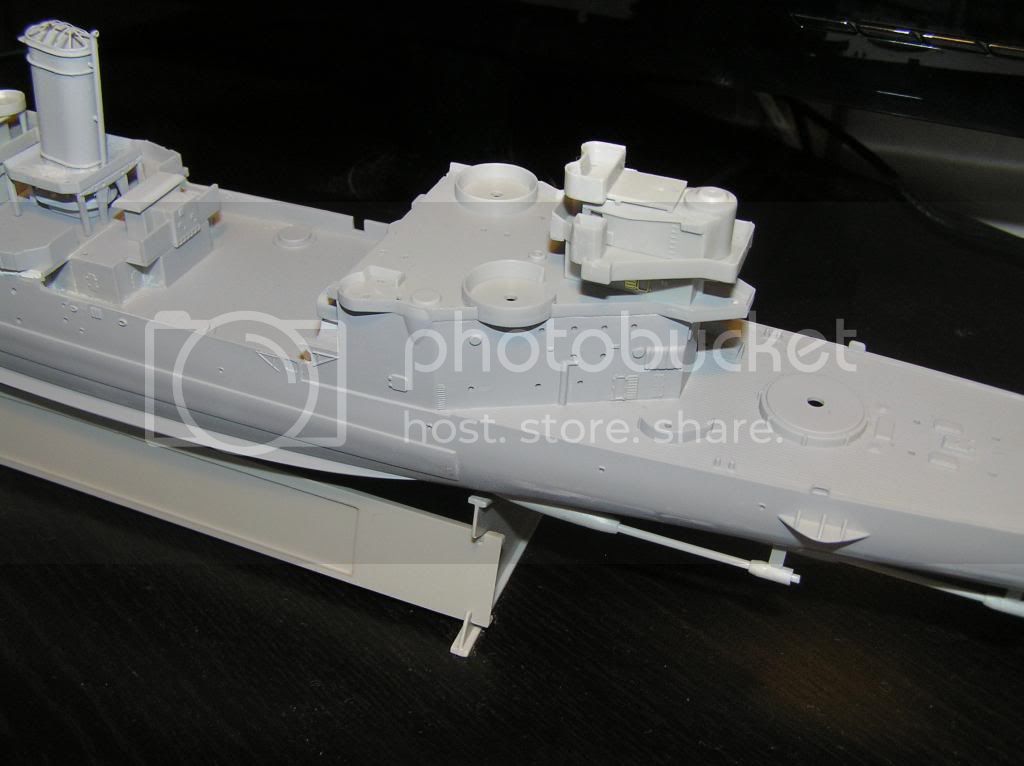
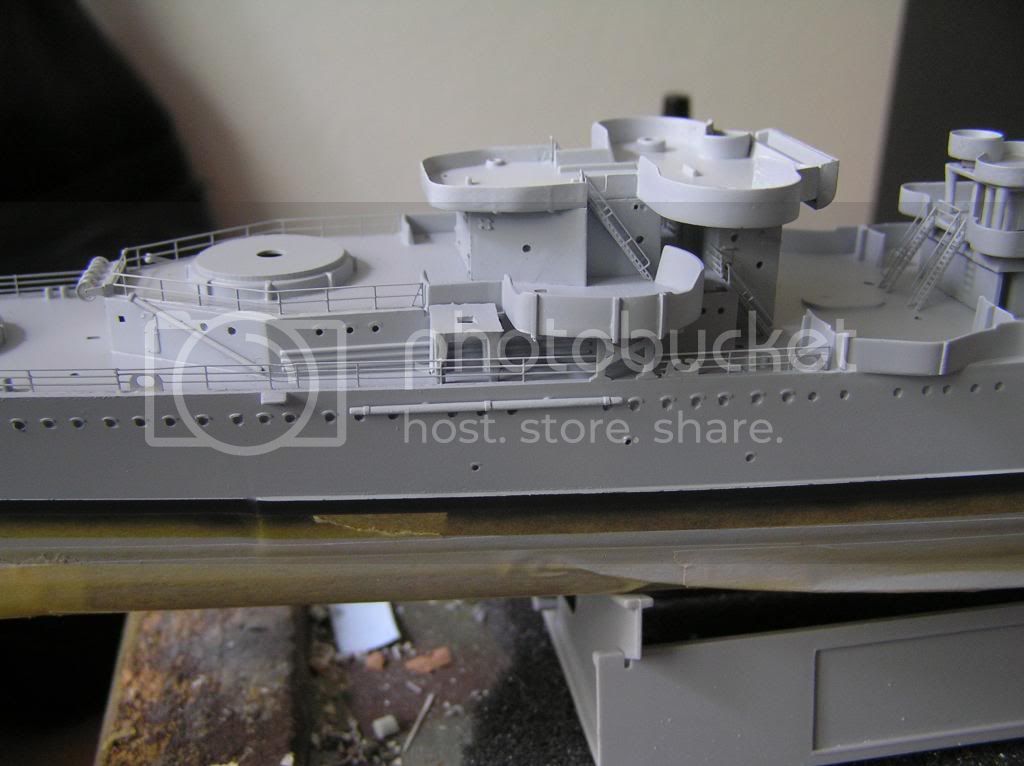
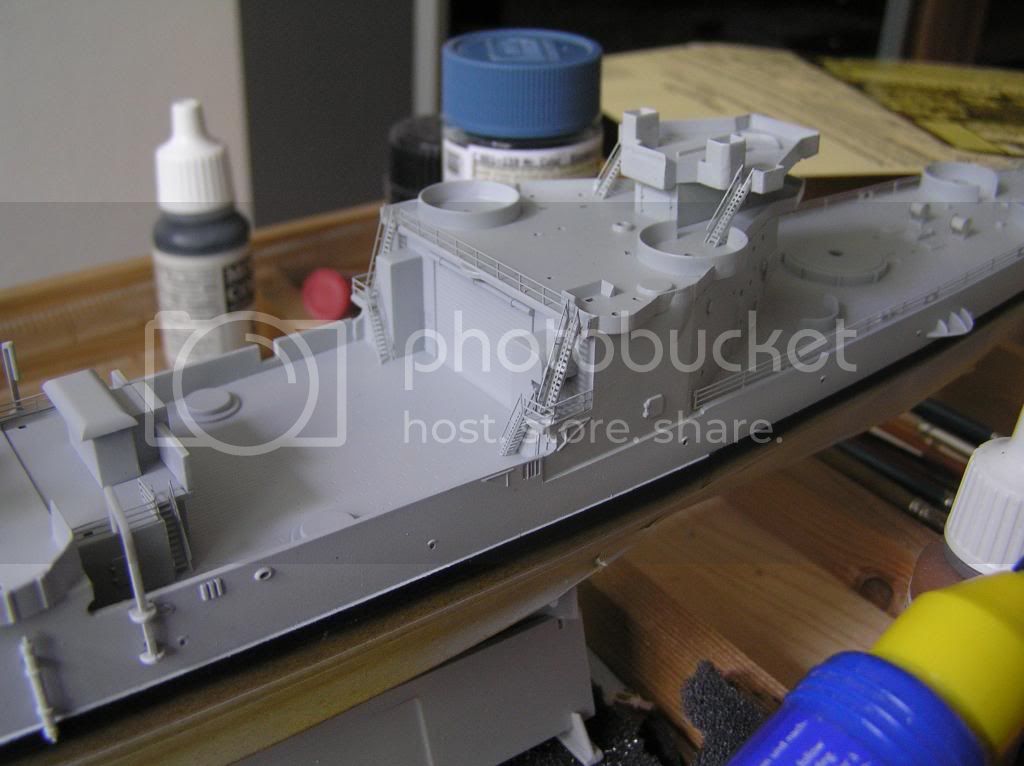
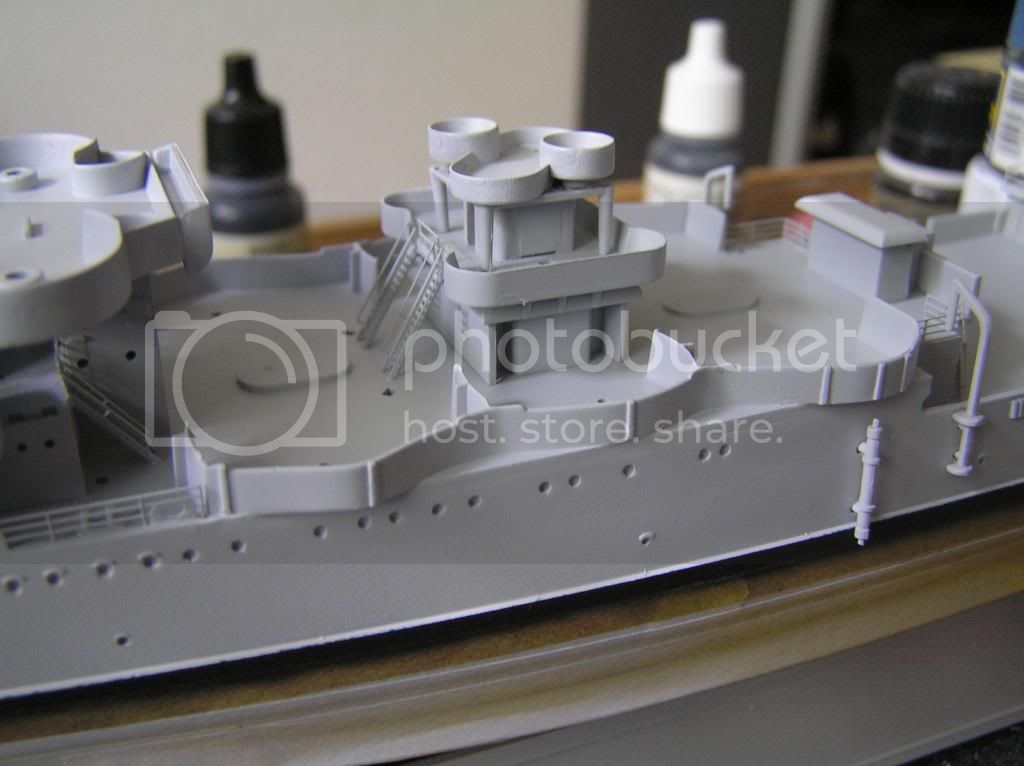
Whoa! You're right Naseby, the fit between the aft superstructure/hangar and hull is pretty bad... one way to over come it might be to sheet over the area with some styrene to bring it to the correct level. The only catch is the detail will need to be removed first and re-applied after.
Stay home and build models!
In 1/72
Gloster Gladiator MkII for the Bi-planes Campaign
In 1/350
Airfix 1:350 Type 45 Destroyer
Slovakia
Joined: October 15, 2010
KitMaker: 825 posts
Model Shipwrights: 97 posts
Posted: Wednesday, April 30, 2014 - 08:07 PM UTC

#306
Victoria, Australia
Joined: June 27, 2010
KitMaker: 3,959 posts
Model Shipwrights: 2,777 posts
Posted: Wednesday, April 30, 2014 - 11:09 PM UTC
Looking good, Naseby

Stay home and build models!
In 1/72
Gloster Gladiator MkII for the Bi-planes Campaign
In 1/350
Airfix 1:350 Type 45 Destroyer
Joined: October 30, 2005
KitMaker: 3,897 posts
Model Shipwrights: 3,301 posts
Posted: Thursday, May 01, 2014 - 02:56 AM UTC
You seem to have tackled a lot of problems in style Naseby, she's looking good sir!


#335
Auckland, New Zealand
Joined: September 03, 2013
KitMaker: 1,808 posts
Model Shipwrights: 871 posts
Posted: Thursday, May 01, 2014 - 10:21 PM UTC
Hi Naseby,
I have just caught up with this build and it's looking good progress. I am keen how this progresses.
Cheers
Michael
Campaign:
Strip, Track and Trail - Porsche 917/20 - On the bench
Phantoms at 60 - F-4J Marines
Below 1000 tons - M50 minesweeper - Sailed for duty
England - South East, United Kingdom
Joined: March 01, 2010
KitMaker: 7,078 posts
Model Shipwrights: 6,649 posts
Posted: Friday, May 02, 2014 - 08:38 AM UTC
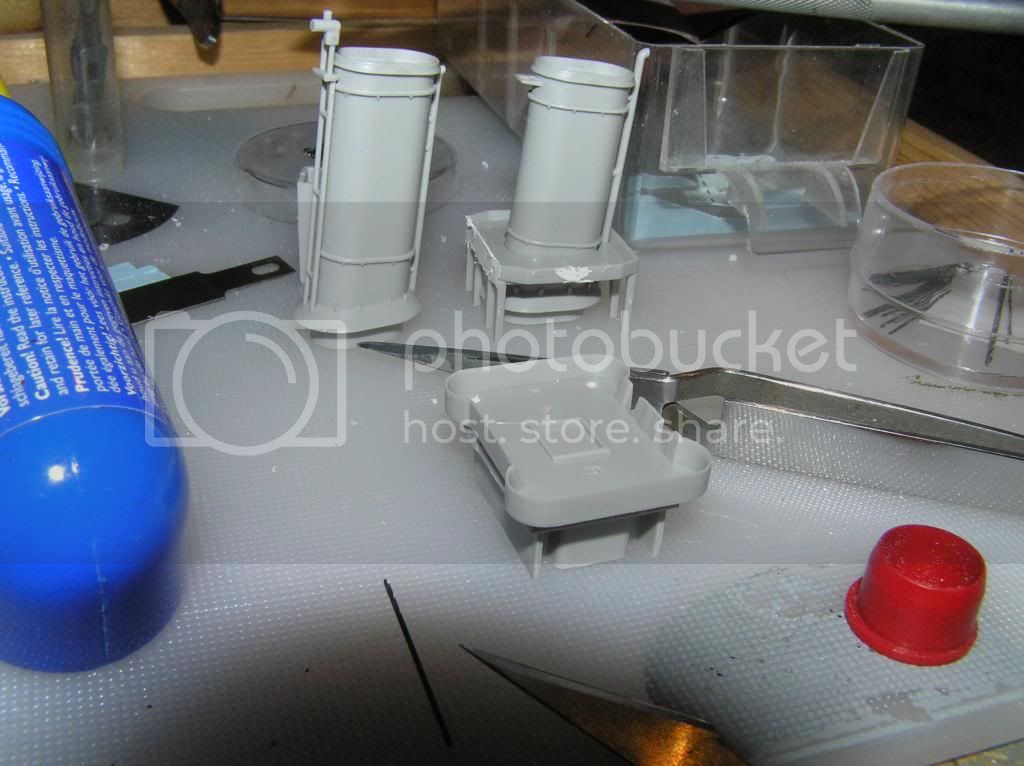
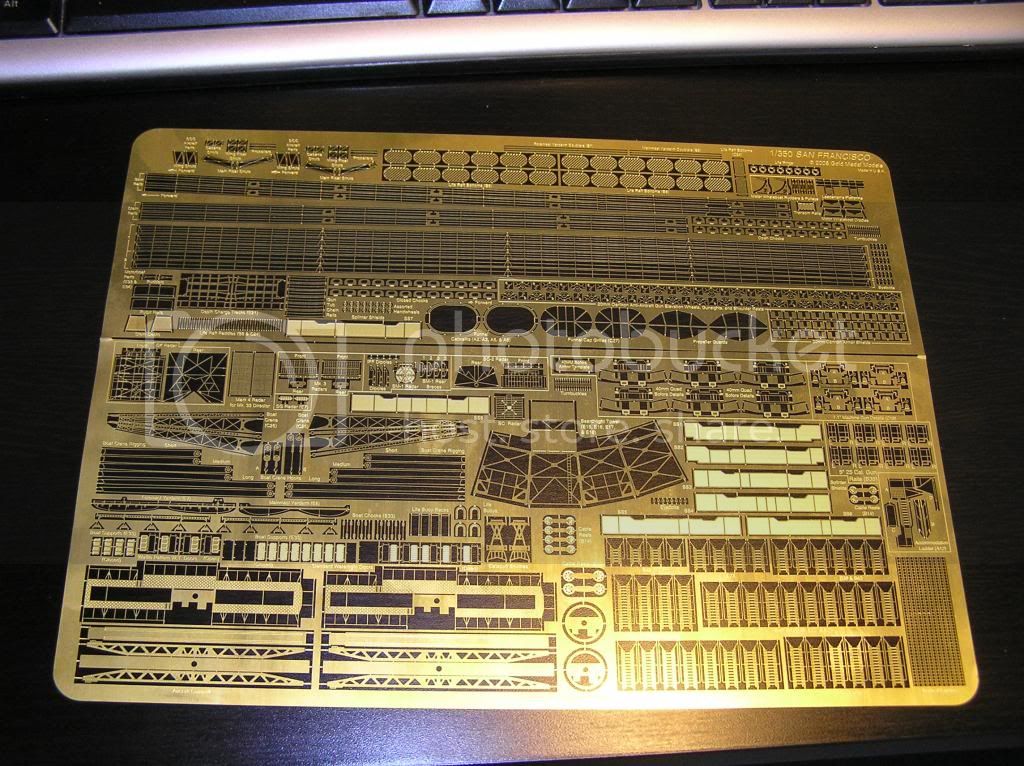
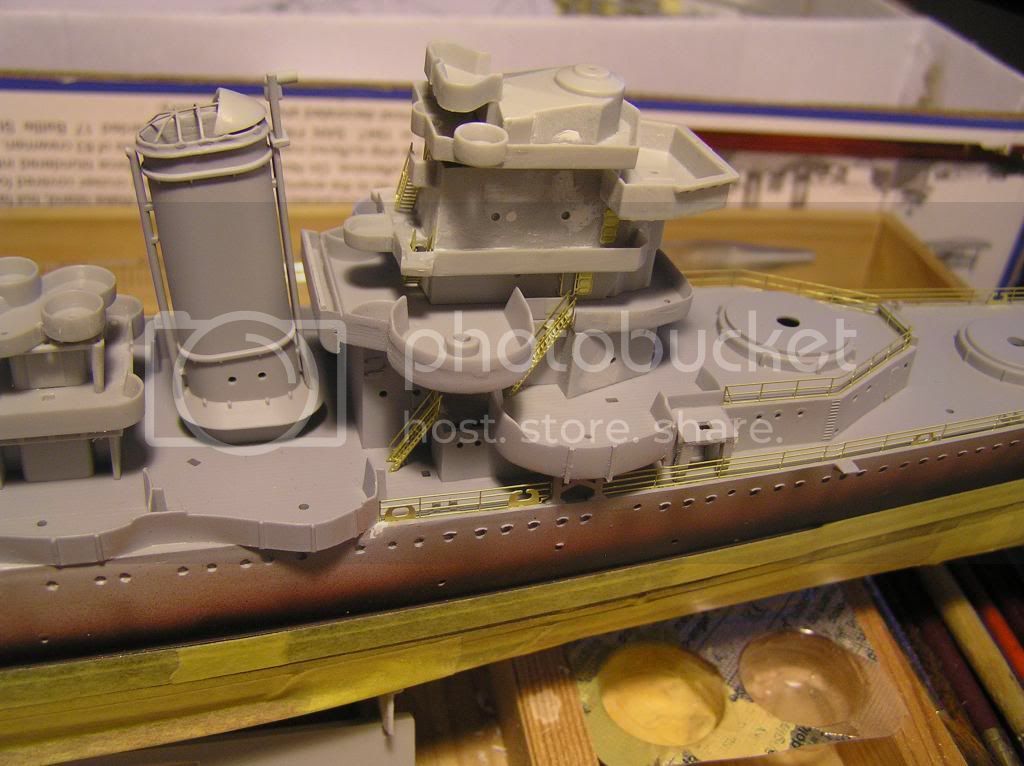
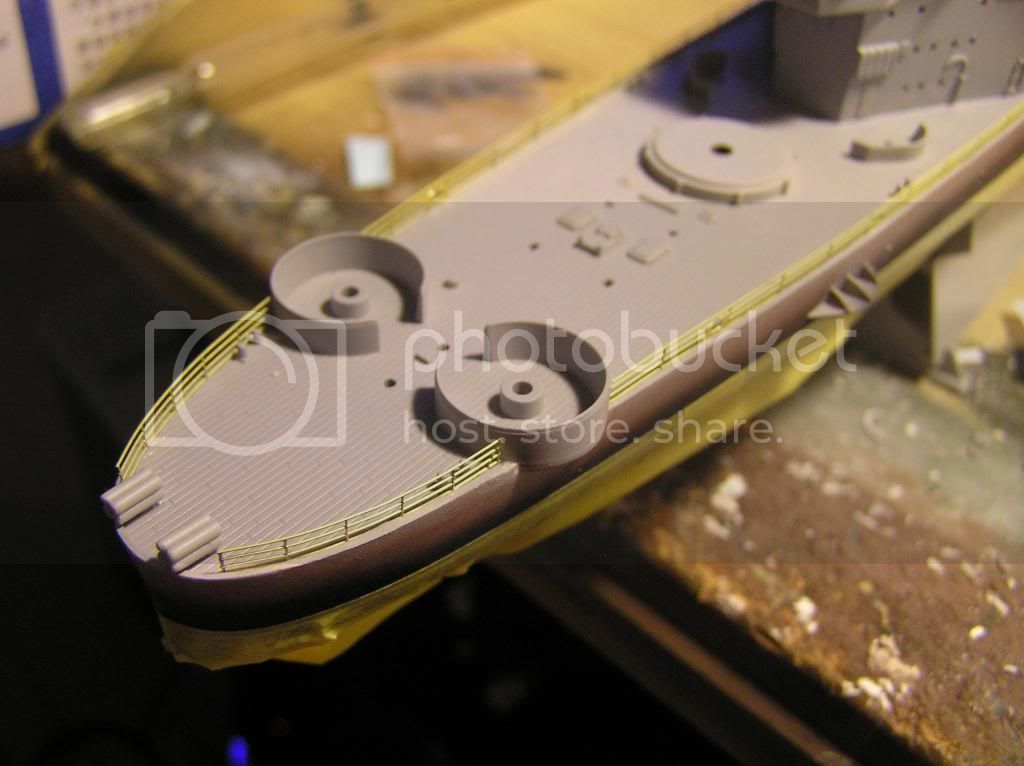
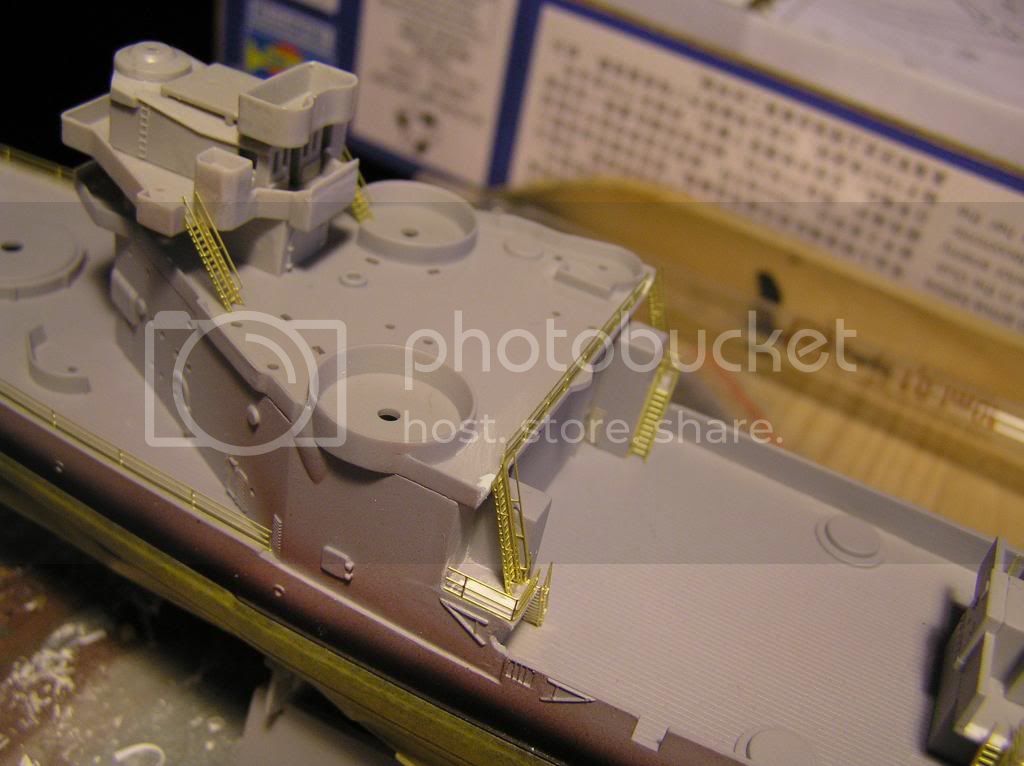
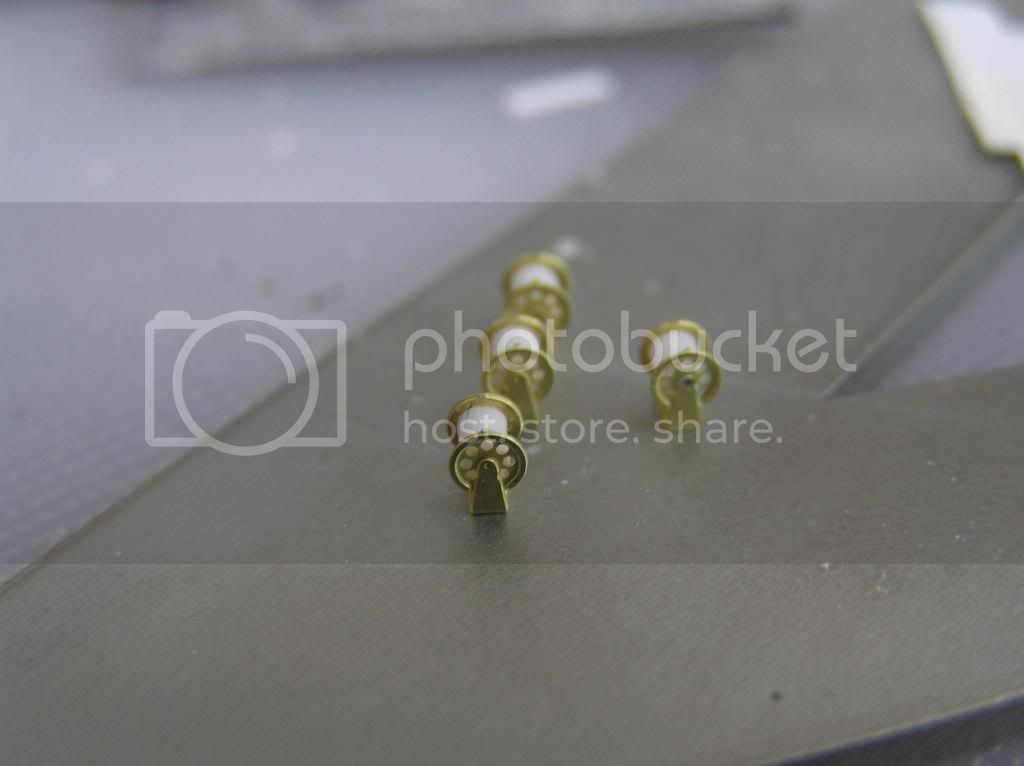
Great progress Naseby, very tidy etch work.
Si
Montevideo, Uruguay
Joined: August 22, 2011
KitMaker: 998 posts
Model Shipwrights: 941 posts
Posted: Friday, May 02, 2014 - 08:57 AM UTC

uuuffff great Job

" My bigger dread is to look at the history of my life and to ask me what I did with her "
United States
Joined: September 29, 2012
KitMaker: 5 posts
Model Shipwrights: 5 posts
Posted: Sunday, May 04, 2014 - 02:58 PM UTC
Built the 1942 version last year and will watch the '45 version with interest. I had minimal fit problems and am surprised the problems you have with the hanger. Suggestions: if it's not too late, cut off cut off the molded 5" position shields and use the PE GMM has, the bends are tricky but the look is worth it; the kit 5" are horrible I recommend the l'arsenal or Veteran products; Master Models maker an excellent gun barrel set and 20mm guns. Keep up the good work, it makes a really attractive model.
Slovakia
Joined: October 15, 2010
KitMaker: 825 posts
Model Shipwrights: 97 posts
Posted: Monday, May 05, 2014 - 01:23 AM UTC
Thanks for the comments guys. I apreciate it that this built is being watched.
@James : The PE shields for the guns look great thats true, but I will keep the plastic ones. Im not that good with the PEs yet. Im afraid the PE shield would be too brittle and easy to break off. Im planing to paint the camouflage partially by brush, so structural integrity is a priority over detail.
Slovakia
Joined: October 15, 2010
KitMaker: 825 posts
Model Shipwrights: 97 posts
Posted: Thursday, May 08, 2014 - 04:46 AM UTC
England - South East, United Kingdom
Joined: March 01, 2010
KitMaker: 7,078 posts
Model Shipwrights: 6,649 posts
Posted: Friday, May 09, 2014 - 07:06 AM UTC
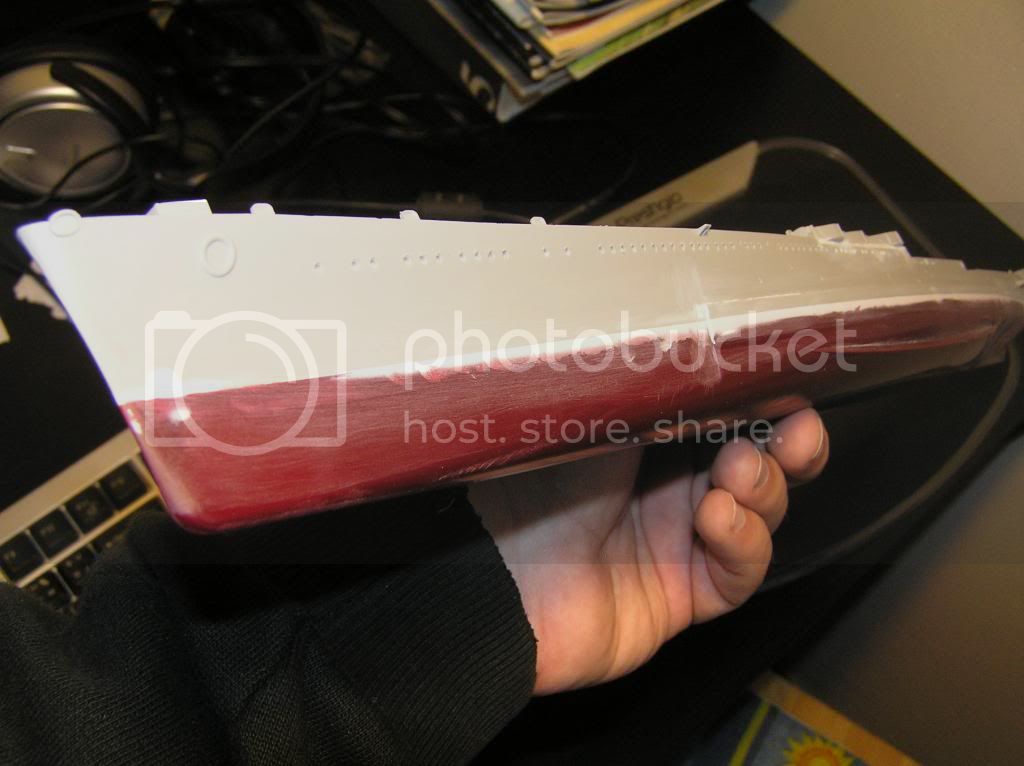
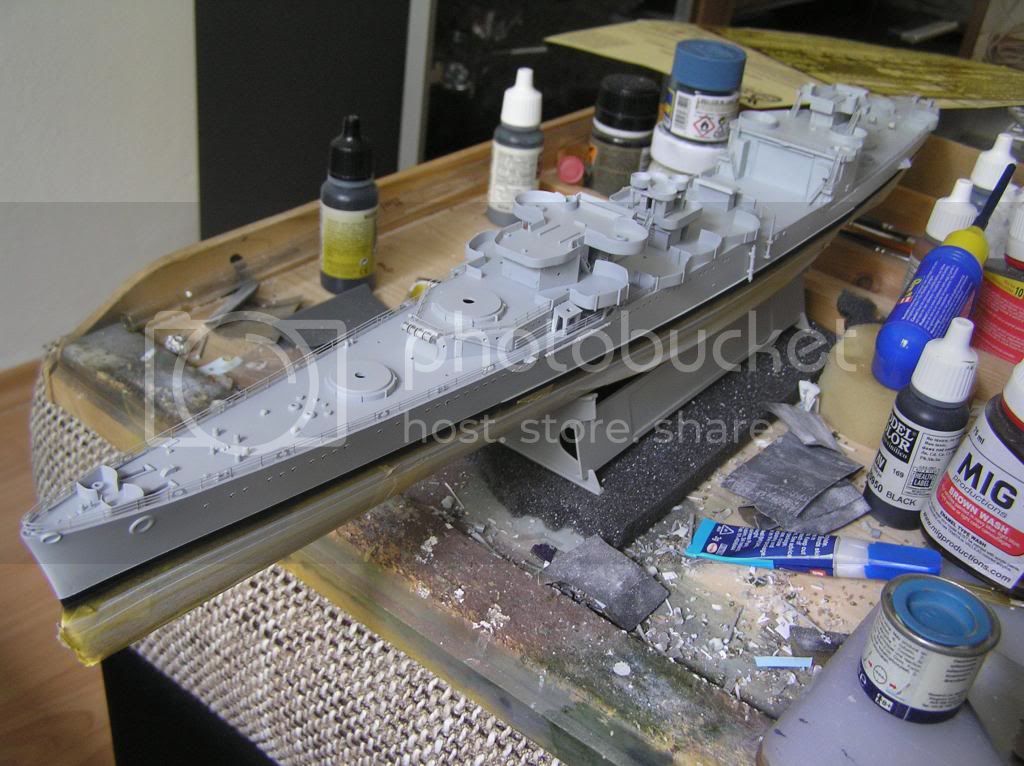
Coming on great Naseby,
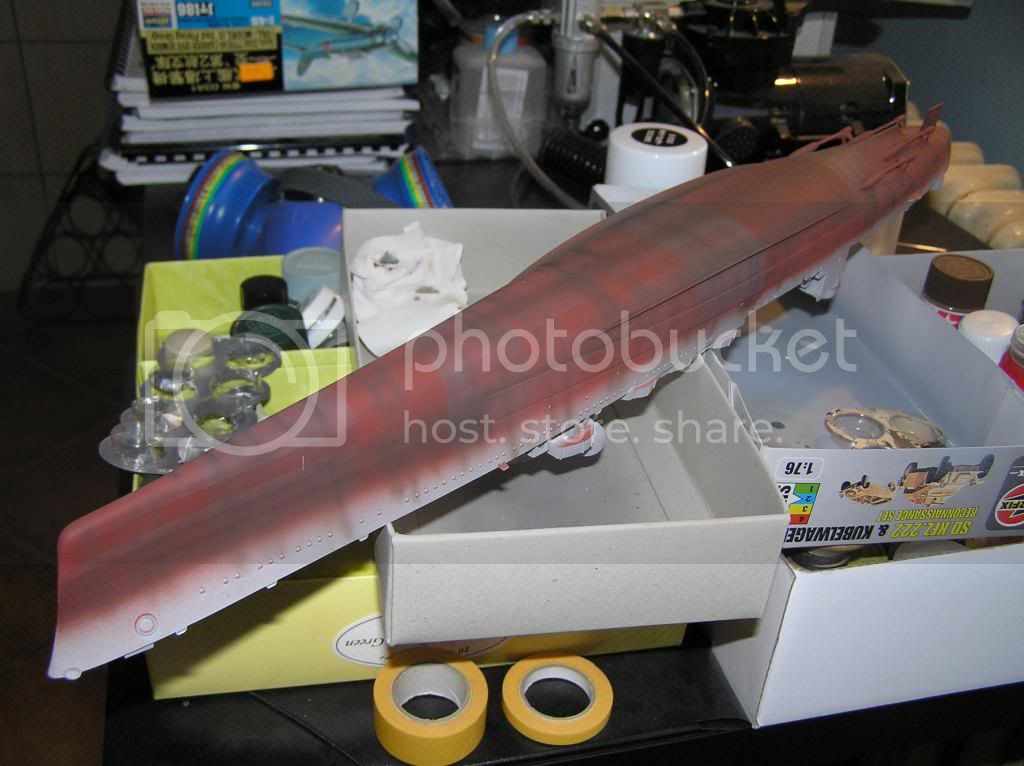
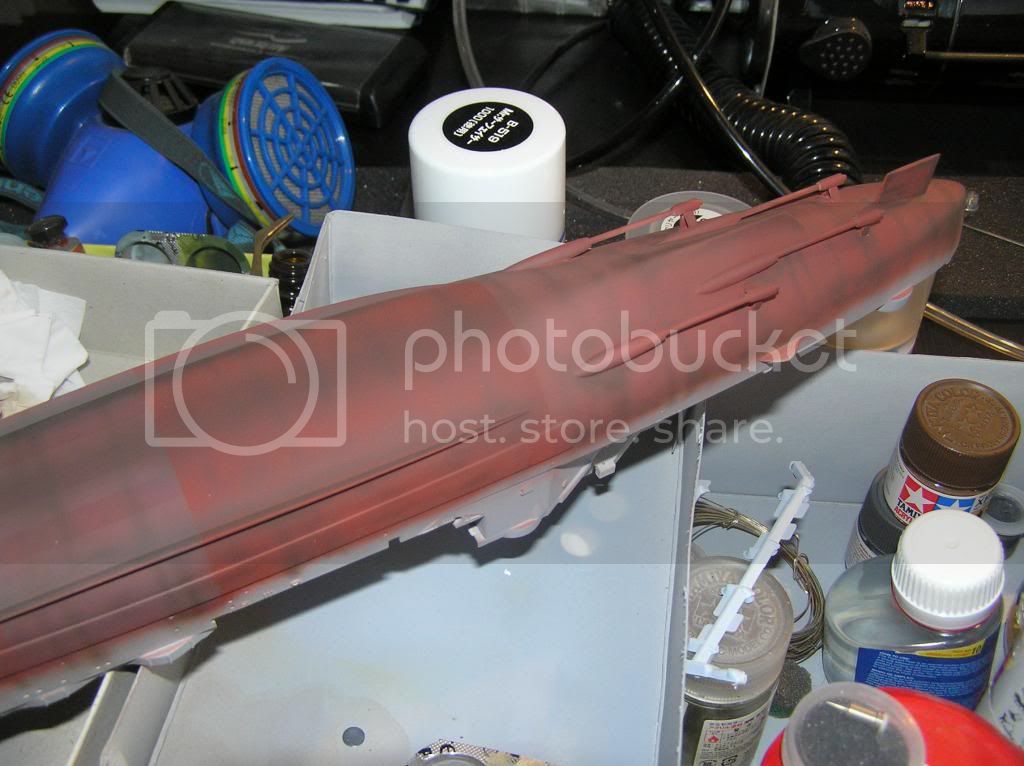
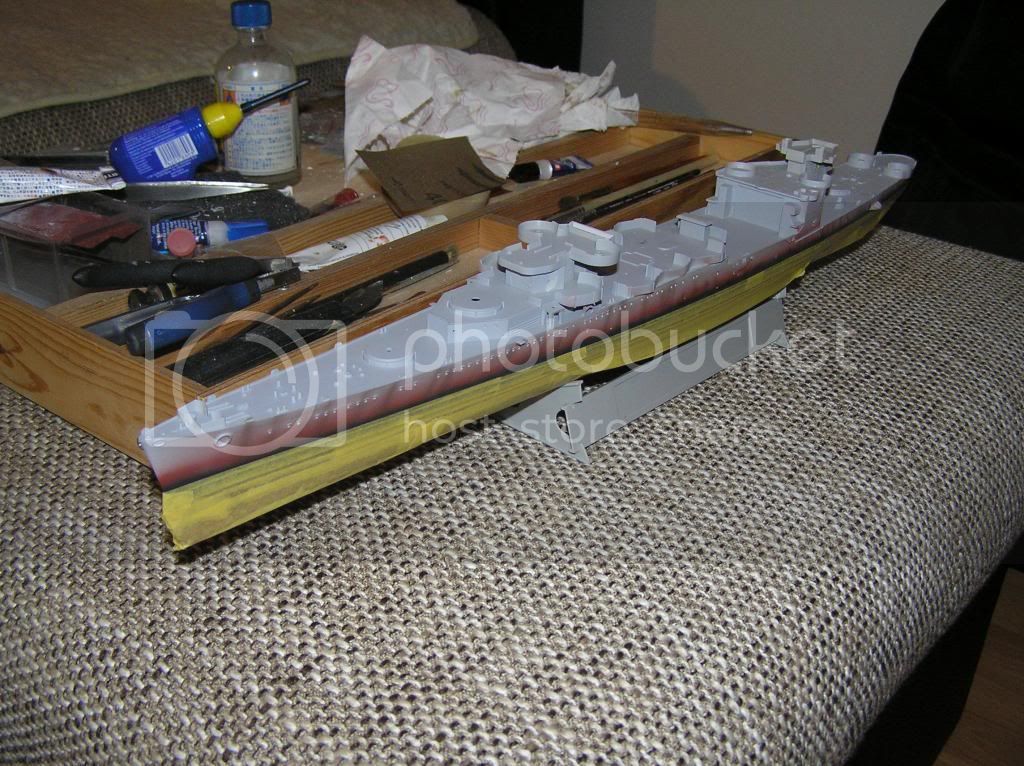
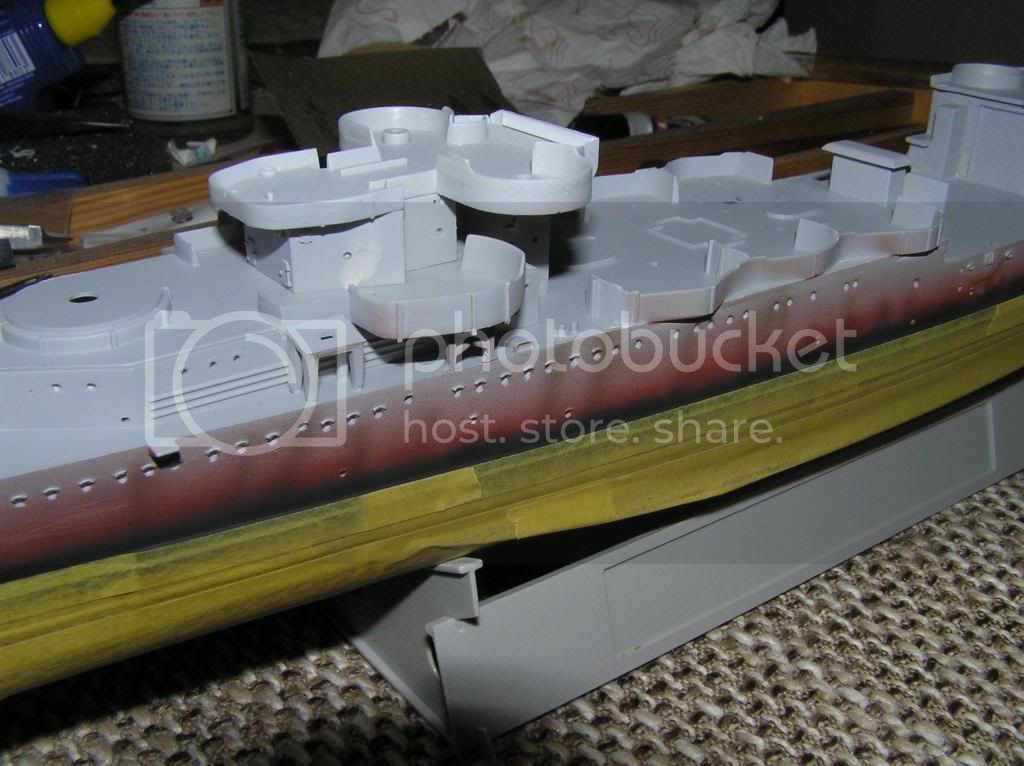
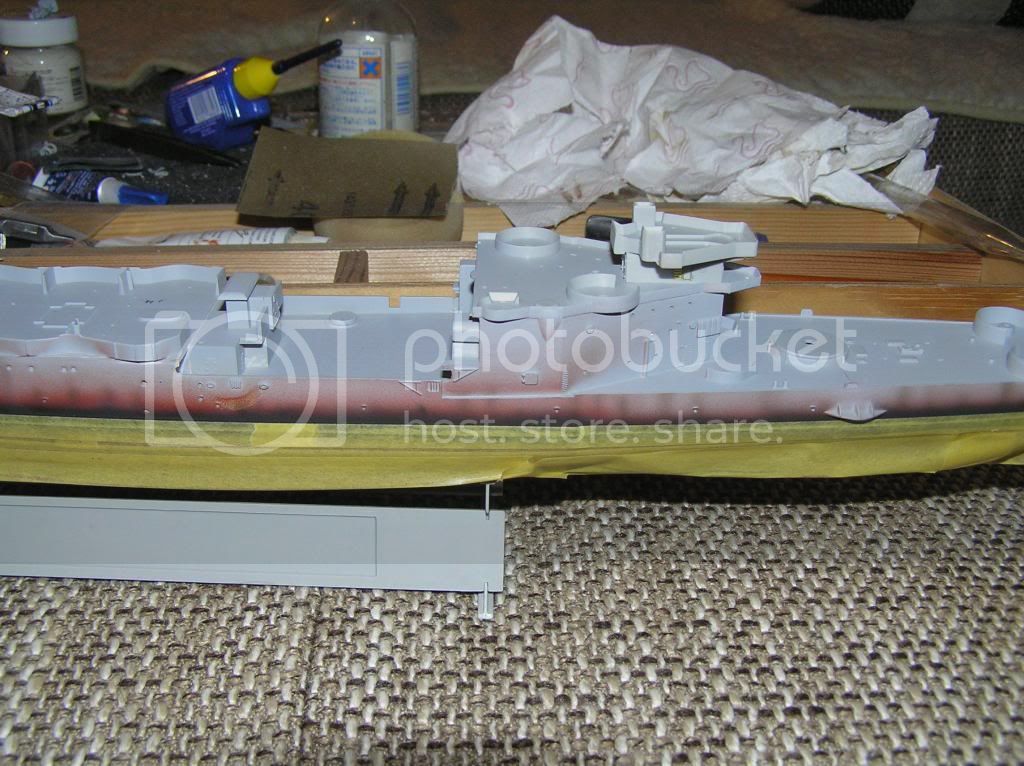
The effect of the pre shading on the hull is excellent.
Si
Slovakia
Joined: October 15, 2010
KitMaker: 825 posts
Model Shipwrights: 97 posts
Posted: Tuesday, May 13, 2014 - 05:48 AM UTC
England - South East, United Kingdom
Joined: March 01, 2010
KitMaker: 7,078 posts
Model Shipwrights: 6,649 posts
Posted: Tuesday, May 13, 2014 - 07:25 AM UTC
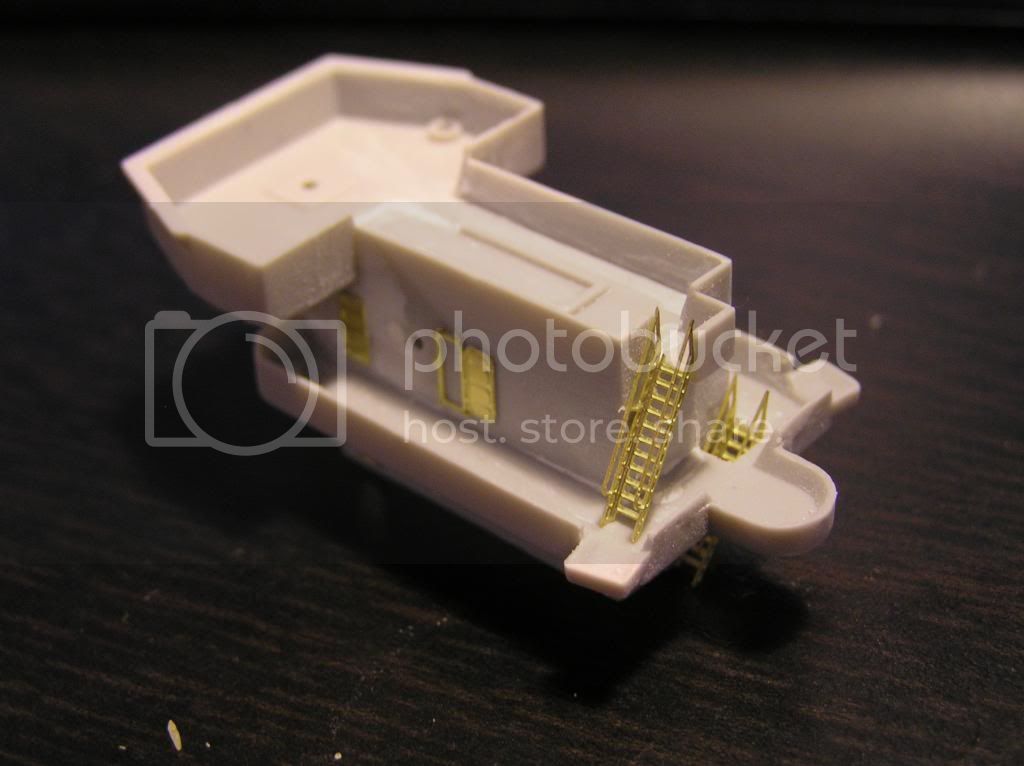
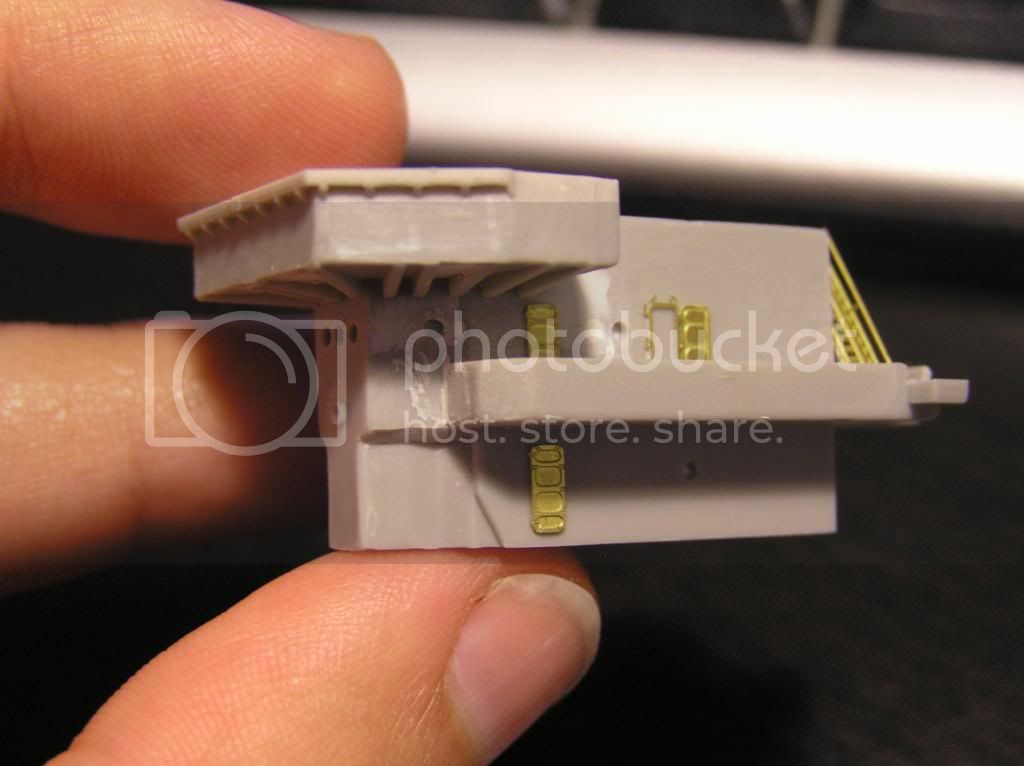
Very neat etchwork Naseby.
Are you just gong to drill out the opened water tight door?
Si
Slovakia
Joined: October 15, 2010
KitMaker: 825 posts
Model Shipwrights: 97 posts
Posted: Sunday, June 01, 2014 - 06:32 AM UTC

#345
Niedersachsen, Germany
Joined: August 22, 2011
KitMaker: 1,835 posts
Model Shipwrights: 1,832 posts
Posted: Sunday, June 01, 2014 - 04:44 PM UTC
Very nice work, you tackled that really nice! Looking at your first posts from this build, there seems to be a lot of problems with the kit, and you made it into something really looking great.
I'm following with interest, looking forward to see how it turns out in the end!!
Jan
Slovakia
Joined: October 15, 2010
KitMaker: 825 posts
Model Shipwrights: 97 posts
Posted: Friday, July 18, 2014 - 08:29 AM UTC
TimReynaga
 Associate Editor
California, United States
Joined: May 03, 2006
KitMaker: 2,500 posts
Model Shipwrights: 1,830 posts
Posted: Friday, July 18, 2014 - 12:54 PM UTC
Naseby,
Your San Francisco is looking super! Your hand painted Measure 33 looks better than many airbrush jobs I've seen. Great work!


#306
Victoria, Australia
Joined: June 27, 2010
KitMaker: 3,959 posts
Model Shipwrights: 2,777 posts
Posted: Sunday, July 20, 2014 - 09:29 AM UTC
I concur Tim!
You sure have a steady hand there Naseby!

Great work!
Stay home and build models!
In 1/72
Gloster Gladiator MkII for the Bi-planes Campaign
In 1/350
Airfix 1:350 Type 45 Destroyer

#345
Niedersachsen, Germany
Joined: August 22, 2011
KitMaker: 1,835 posts
Model Shipwrights: 1,832 posts
Posted: Sunday, July 20, 2014 - 04:25 PM UTC
The camo looks absolutely fantastic, I fully agree! You certainly know how to work with the good old brush, really nice work!!
Jan
Slovakia
Joined: October 15, 2010
KitMaker: 825 posts
Model Shipwrights: 97 posts
Posted: Monday, July 21, 2014 - 08:47 AM UTC
Thank You for the comments Guys. Unfortunatelly the camouflage fields are not 100 percent correct and also the blue colours is a bit too "blue" should be more subtle and greyish.
Joined: October 30, 2005
KitMaker: 3,897 posts
Model Shipwrights: 3,301 posts
Posted: Thursday, July 24, 2014 - 05:06 PM UTC
Quoted Text
Thank You for the comments Guys. Unfortunatelly the camouflage fields are not 100 percent correct and also the blue colours is a bit too "blue" should be more subtle and greyish.
Don't be so modest

You have done an excellent job hand painting the camo. It looks very smooth and even.








 uuuffff great Job








 Great work!


 You have done an excellent job hand painting the camo. It looks very smooth and even.
