Paints – Tamiya, Vallejo Model Color, LifeColor, Golden, oils
Base: Golden & Liquitex Mediums; “1/2” Styrofoam, Blick canvas board, Tri-Art and Golden Acrylics.
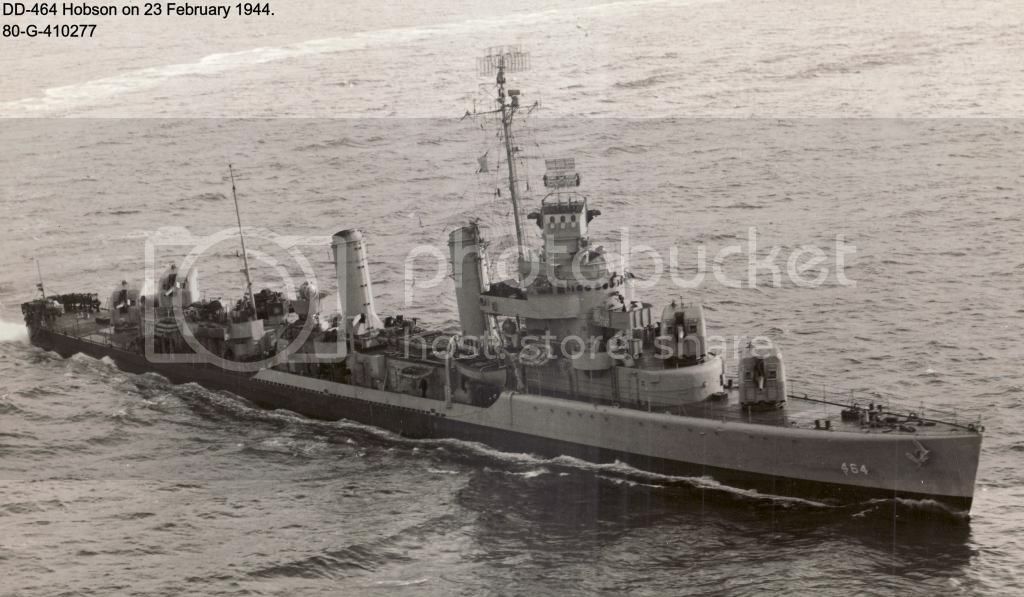
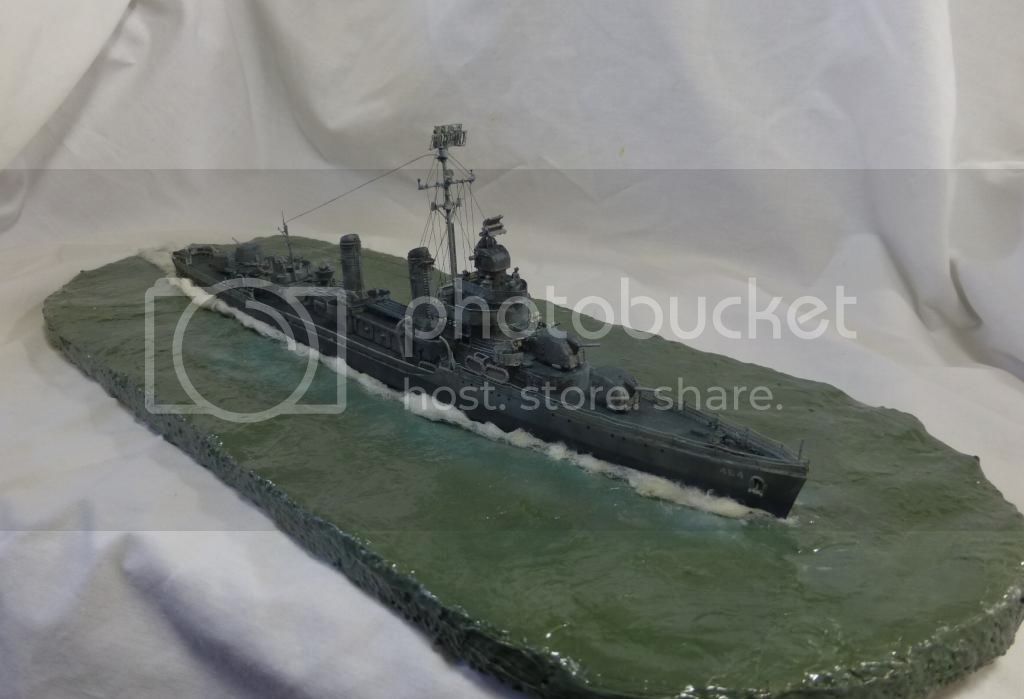
I used the 1/350 Cyber-Hobby (Dragon) USS Buchanan 1945 Tokyo Bay to model USS Hobson. I intended this kit to be part of a D-Day Group Build on Finescale. The timing was hubris (model was about six months late), but the idea has good history We think of destroyers as being part of the Pacific War, but rarely was USN (and RN) naval gun power more appreciated than during the Normandy campaign prior to the breakout. (An ATO DD had the attraction of carrying Measure 22 which I find very pleasing to the eye and not beastly hard to paint.) I believe all of the USN DDs at Normandy were Gleaves Class with late war fittings. But a Gleaves isn't necessarily a Gleaves, and Rick Davies at Model Warship kindly shared much data and helped me to conclude that Hobson would match the Buchanan 1945 kit well. Hobson had the best photos and was a worthy ship. It had extensive duty in the Atlantic, including participation in the risky Ranger raid against Norway, and helped Bogue kill a sub before doing excellent service during the Normandy campaign. (It proved to be a “lucky ship” in WWII, but helped prove that the ocean is always hazardous. In 1952 when the Cold War was pushing the USN hard Hobson was sunk by a collision with USS Wasp at the loss of 176 crewmen.
The Kit
Here's the kit:
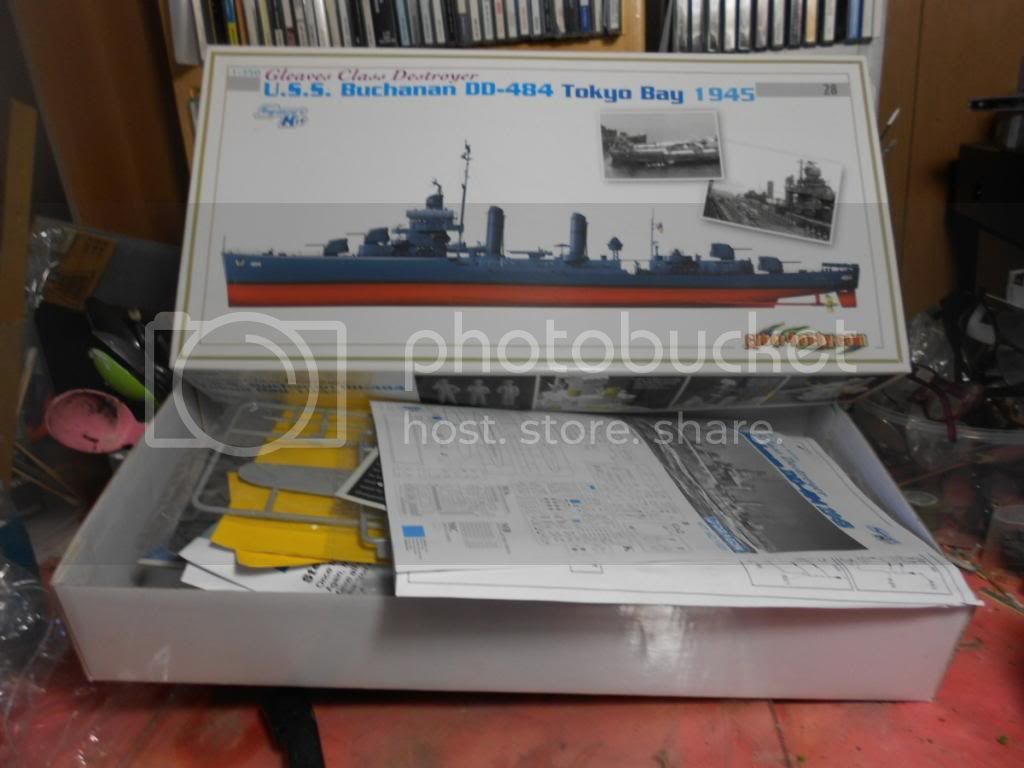
This is my first Dragon ship model, but I'm well acquainted with their armor. The family resemblance shows. The detail is exceptional the the fit ususally excellent. But caution is in order because a Dragon screw-up can be major. The delicacy of a DML model also requires extreme care in handling, and I've caused myself trouble there. You could argue that DML kits are over-engineered. Detail is good but I think many components could have been done nicely with fewer small parts. DML's approach raises the part count and greatly increases build time. Unfortunately DML's reputation for providing poor instructions was the case here. Parts are mislabeled, and placement is often very vague, requiring a lot of trial and error. Here's what it looked like into the build.
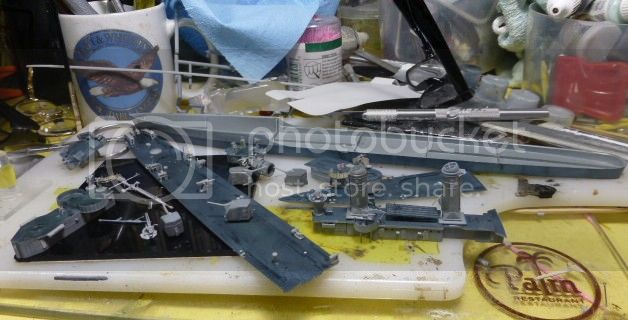
I did luck out with the PE. The 1945 kit came with additional Cyber Hobby PE including full railings ladders etc. I like DML PE. It's less refined than Tom's or WEM but much sturdier. It also comes with a couple of jigs to help with some tricky bends on the fire control radar. The one place where DML let me down was the mast and the SC radar. The kit's foremast was flimsy and the plastic SC radar was awful. So I picked up a set of WEM WWII USN radars for the SC2. The delicate WEM frame worked very nicely but I made a serious error installing the 16 dipoles. I saw another brand of radar PE - Empire I think - that dispensed with the dipoles and it looked fine. (It's hard to see the things in a photo.) The WEM piece would have looked better without them. I also scratch built the mast in brass. Judging from the photos of the Gleaves DDs I've seen, the mast is actually pretty stout and I don't think my brass is badly out of scale. I embellished the thing with bits of the plastic mast and with PE fragments. After a fight I got it sit well. I also put on chains. I like chains, even though one of the anchors is now lost.

Painting and Weathering
I model armor and am very interested in the unusual but effective weathering techniques pioneered by Mike Rinaldi in his excellent “Tank Art” books. Rinaldi is light on rust and chipping. But there's still wear so Rinaldi came up with something he calls "reverse dry brushing." What you do is lay down a base coat of a color that is close to but darker than what you want for the model. He recommends Tamiya acrylics for this stage. I used XF 17 Sea Blue after Vallejo primer for the lower hull and the pieces of the deck that I knew were going to end up blue and one of the Tamiya grays for the superstructure. I sealed it with Future. The base colors were LifeColor Deck Blue, LC Navy Blue both lightened with a bit of Vallejo Model Color Light Sea Gray. Vallejo MC 905 (Blue Gray Pale) cut with MC 906 (pale blue) stood in for haze gray. Once the base color combination (Tamiya, Future, Vallejo) was dry, I took a brush and dampened it in Vallejo Airbrush Thinner and slowly made some streaks. This removes some of the light base and reveals some of the darker Tamiya. This creates a series of dark smudges. This suited my idea for the model's overall look. I wanted to evoke a ship that was well used and weary. Not, however, obviously damaged or falling apart. What I was looking for was a model that evoked pic below of USS Lansdowne in 1945. You should be able to see the mottled paint in the first pic – done at the earliest stage of painting and long before weathering proper began. Much else built on this initial step.
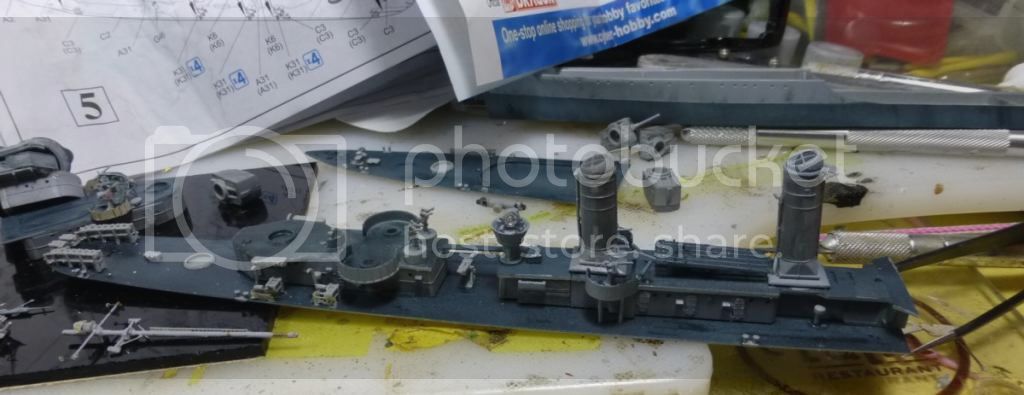
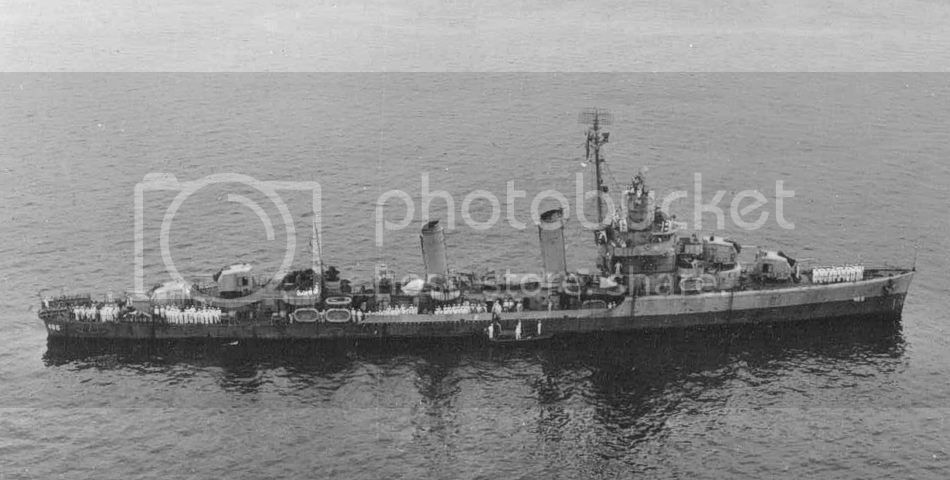
Post assembly weathering starts with David Gritth's oil paint filter technique which gives an indistinct look that I really like in ships. I used my Iwata Com.Art for panel washes – it's great for that job. I also did some streaking with AK “streaking grime” enamel effects. There is no rust on this model.
Rigging:
Unless you were going to put up a load of signal flags, the ship required a spare rigging arrangement. Unit Caenis is simply too fine for me but I was very with the 12/0 Veevus fly tying line I used. The Veevus, a fine Danish company, sports a .047mm diameter and that's fine. It's polyester and is quite easy to see and work with. I've bought some 16/0 Veevus for my next ship project (1/700 Derfflinger - a WWI German Battlecruiser from Flyhawk) which will be thinner yet.
Below are some pics taken when the ship was complete a couple of months ago. They show the model itself without the distraction of a base.

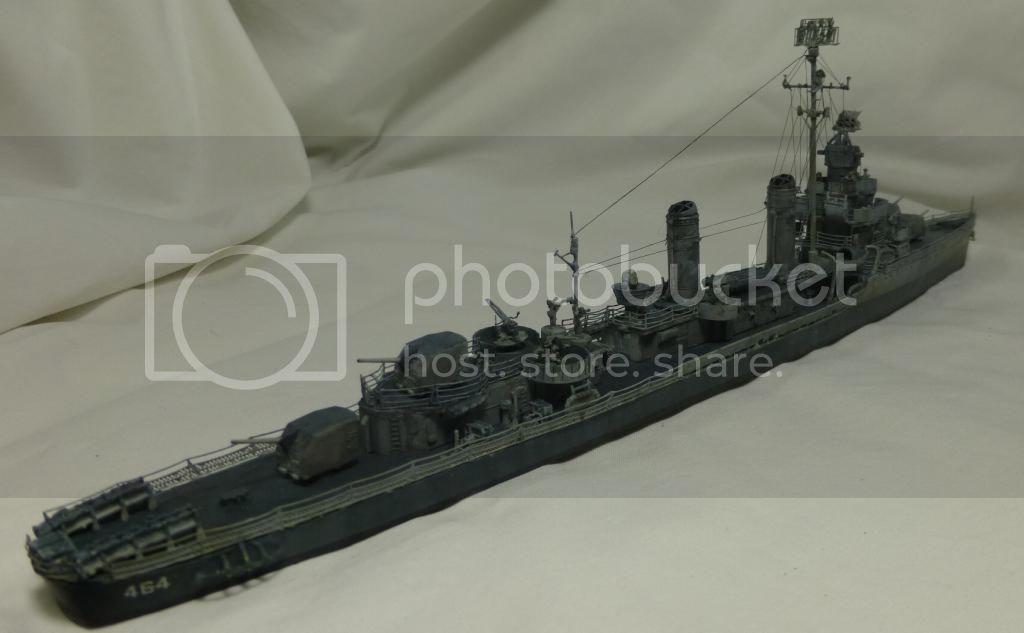

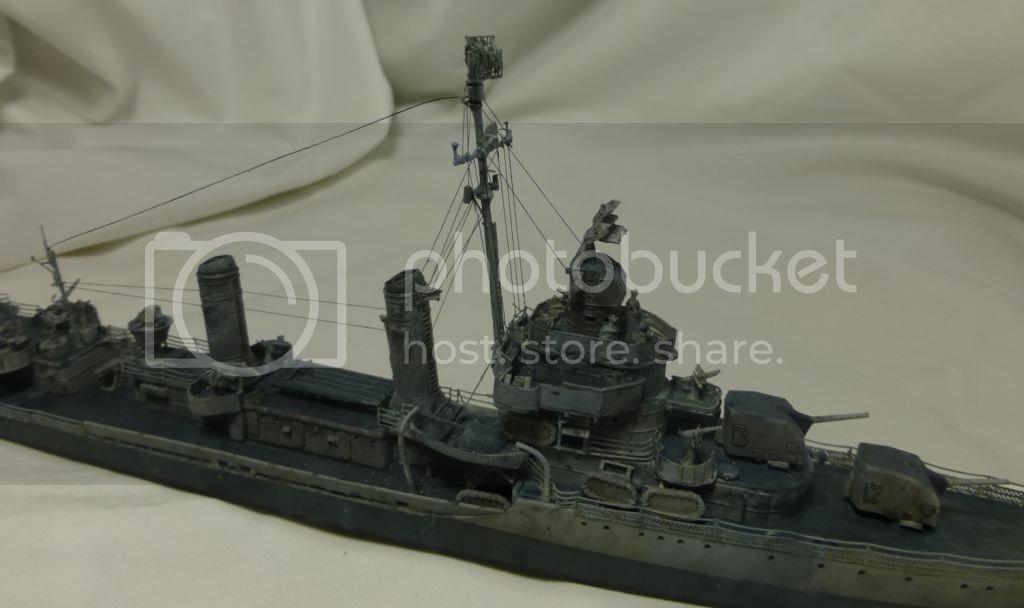
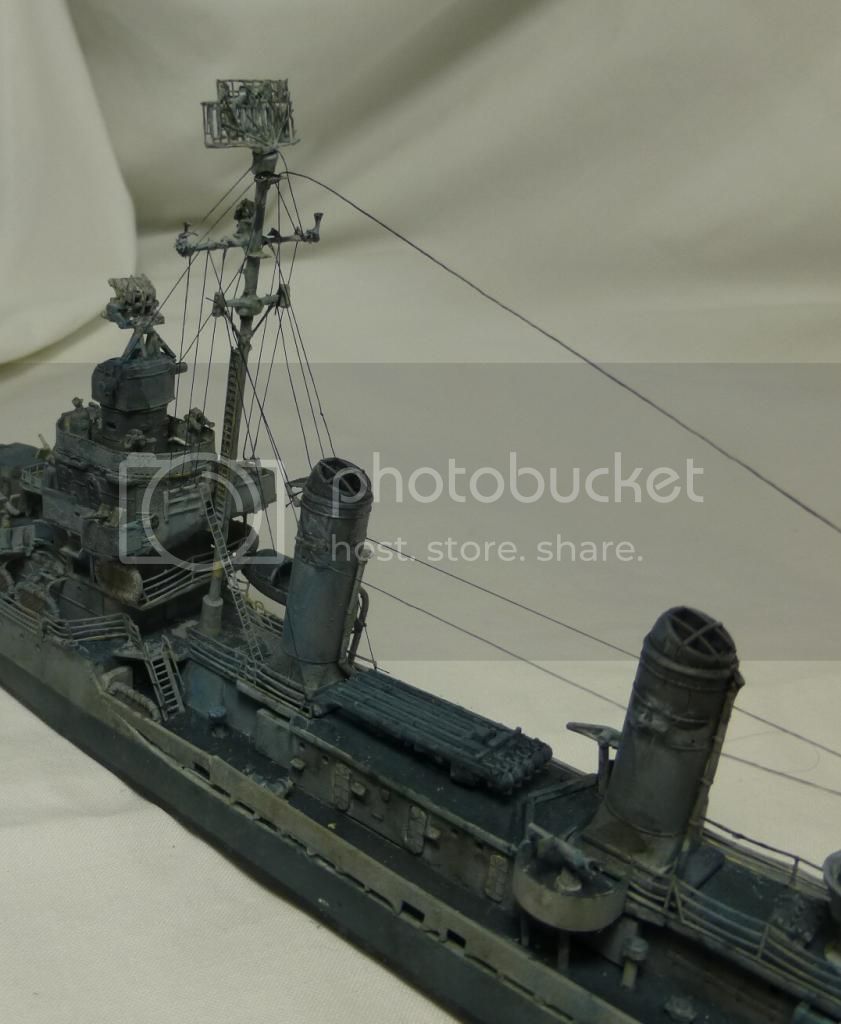
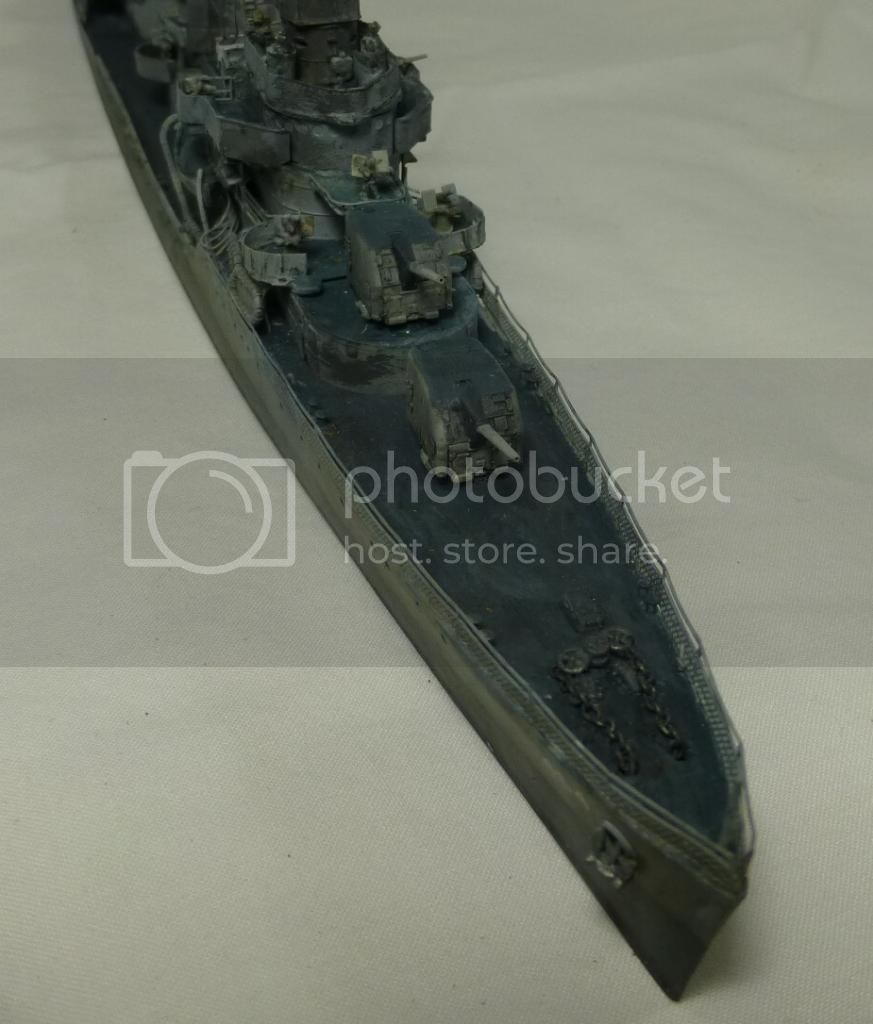
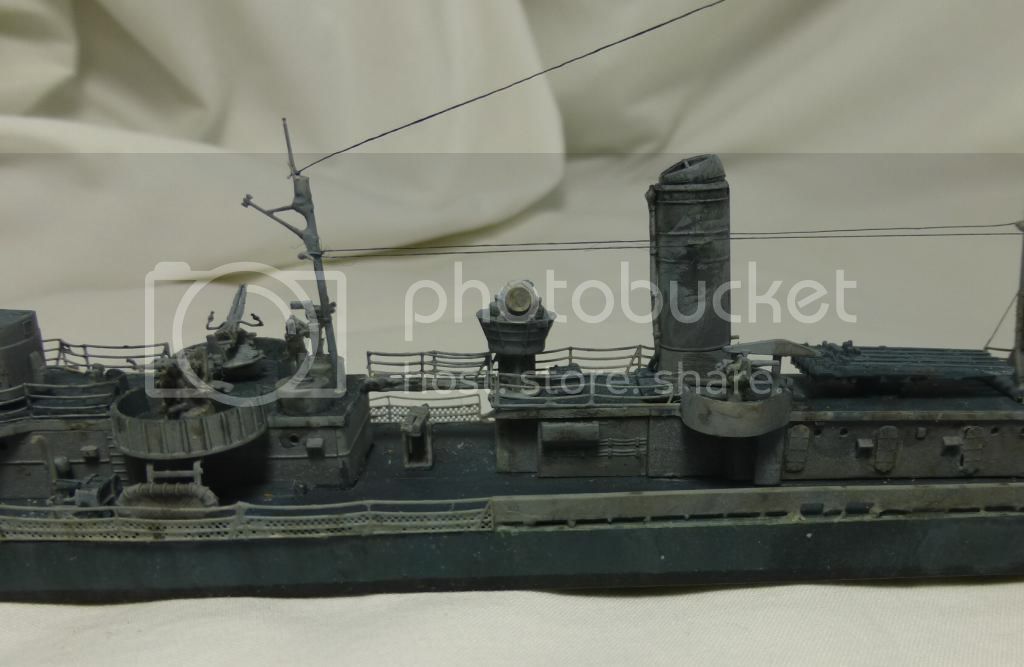
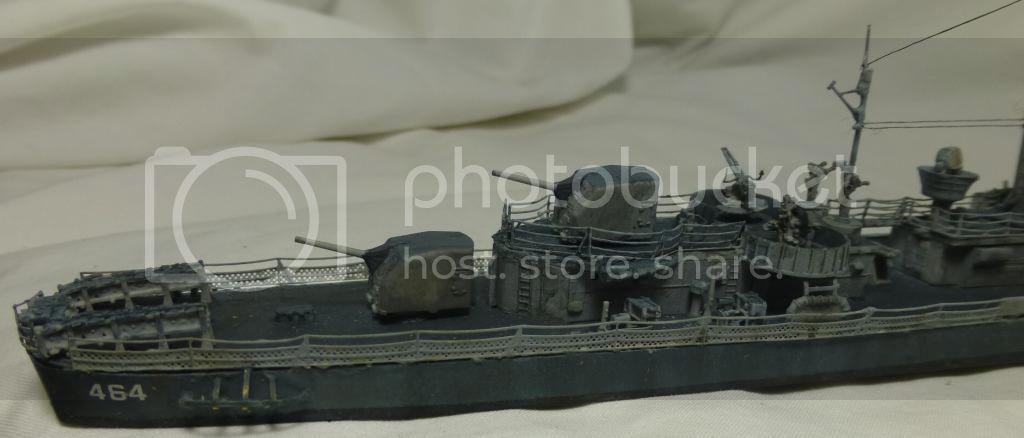
Base
I've never made a water base before, but I stumbled on some of the tutorials available on Model Warship and for good or ill decided to try to make a water base for Hobson. It took six weeks of experimenting. Maybe it was worth it.
Working off a post in “Tips” by Mr. Baumann “Compendium of model-water making links” http://www.shipmodels.info/mws_forum/viewtopic.php?f=4&t=37923 I ran into some good ideas. There were also Chris Flodberg's tutorials that promised splendid results. I burned a lot of hours on this and worked with everything from oat bran to Styrofoam for the base and cotton balls for foam. I stumbled initially and Kometa kindly suggested a less elaborate technique for a decent base. Here is the very good English translation of the process:
http://www.u-modelismo.com/foromodelismonaval/index.php?topic=1423.0
I also saw Chris Flodberg's videos on YouTube which I had completely missed despite their presence in Mr. Baumann's post. Anyway, a lot of questions concerning Flodberg's use of cotton for foam disappeared. I might add that the base was finished under extreme time pressure. The model is in California and I'm in Minnesota and the last thing I did on the Left Coast was take pictures.
Should also note that I took a bunch of photo of San Francisco Bay in the last few weeks when the weather has been typical old north California – low clouds, ugly rain, shallow waters. Made me think of Normandy so I came up with a pair of gray-green colors.
Anyway, here they are compared to the inspiration photo of Hobson:

The simpler approach was done on Blick canvas board with Liquitex gloss medium and rayon & unwoven polyester for the foam.
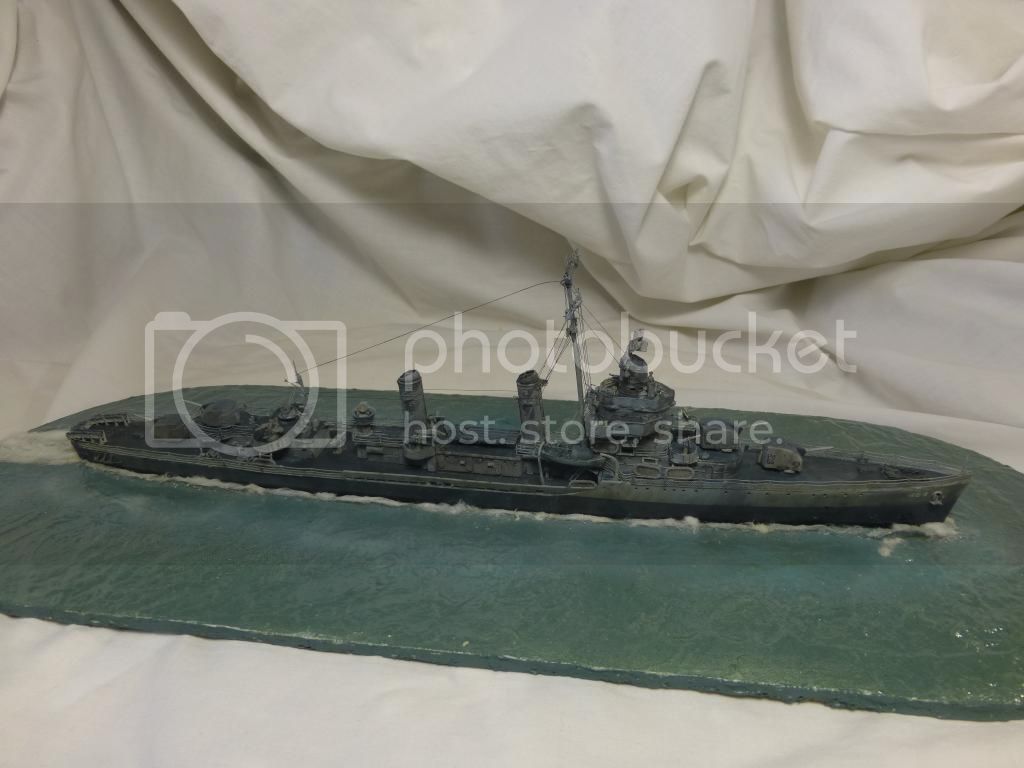
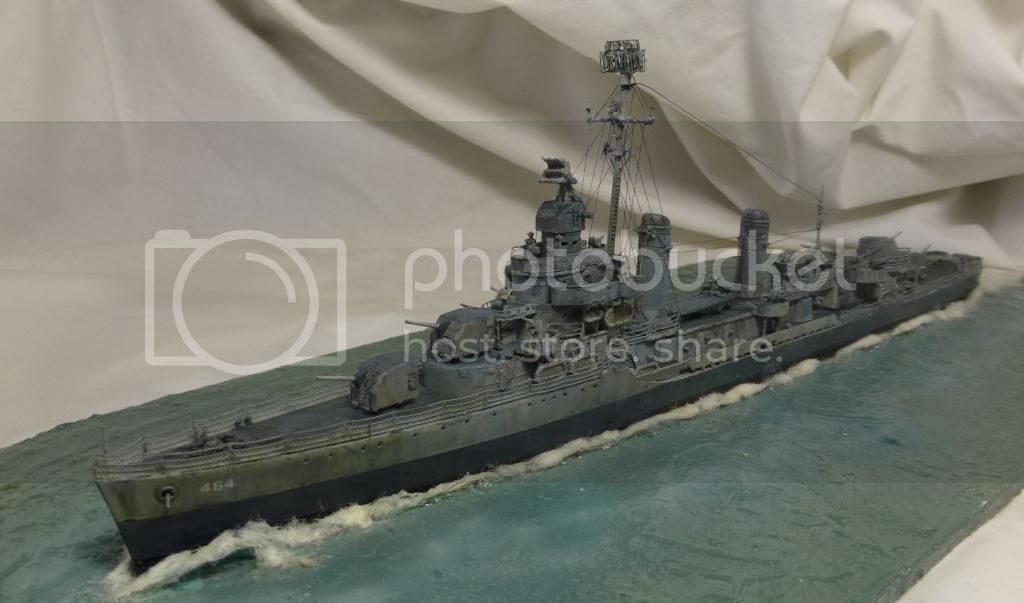
These are styrofoam shaped with a butane lighter, covered with paper, painted with Golden Fluids and covered with Golden Gloss Mediums. Foam is also rayon and unwoven polyester.
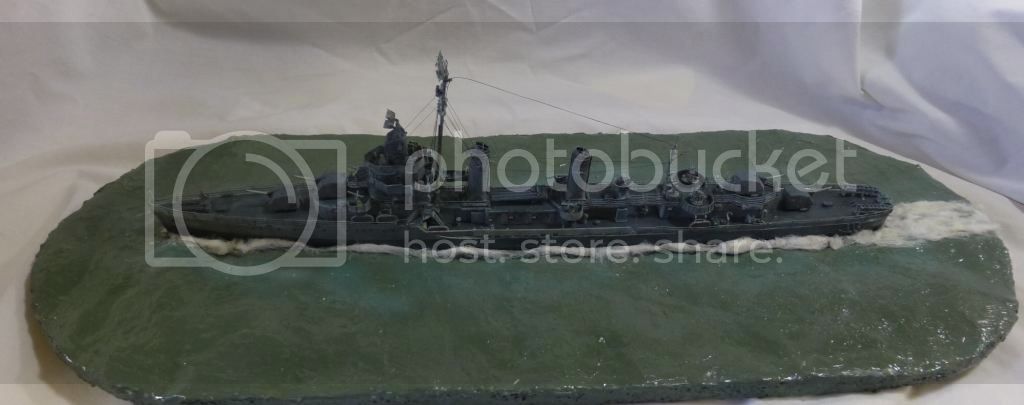
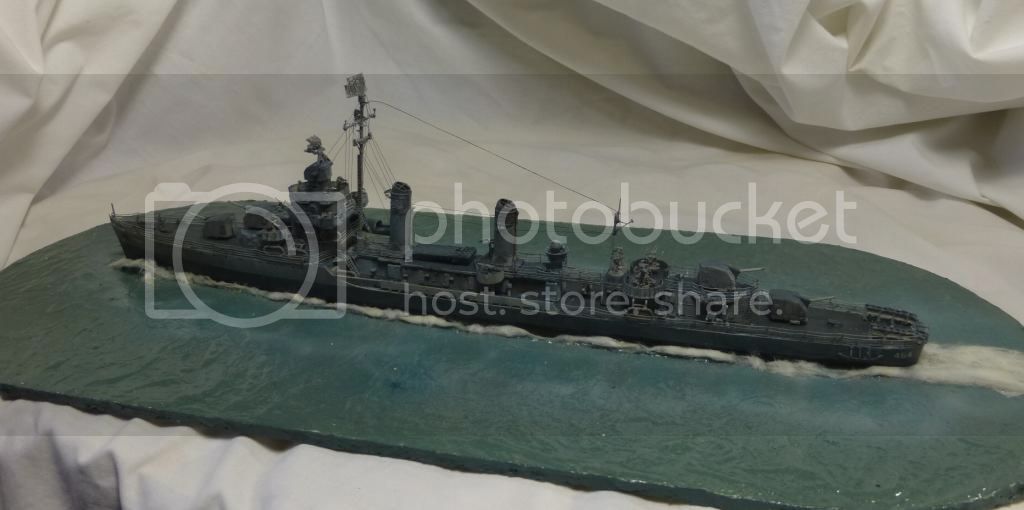

Comments very welcome.
Eric


