Campaigns
Want to be part of a group build? This is where to start, plan, and meet about them.
Official Ancient Sailing Ships Campaign
RussellE
#306
Visit this Community
Victoria, Australia
Joined: June 27, 2010
KitMaker: 3,959 posts
Model Shipwrights: 2,777 posts
Posted: Sunday, October 11, 2015 - 02:04 PM UTC
Hi John

good to hear you're taking on the challenge.

To be able to pull apart the parts that you've glued together with CA, you can also apply CA de-bonder! This dissolves the CA. Try a little on some spare plastic sprue from the kit first though to make sure it doesn't have a negative impact.

Good thing you didn't use styrene cement
YellowHammer
#513
Visit this Community
Alabama, United States
Joined: March 28, 2006
KitMaker: 554 posts
Model Shipwrights: 219 posts
Posted: Monday, October 12, 2015 - 10:57 AM UTC
Hey Tim and Russell,
I really appreciate your suggestions. Things fell into place for me today. My wife had the day off for the Columbus Day holiday so we decided to head to our neighboring city for a day of Christmas shopping. You can never start shopping too early. I was able to hit the local HobbyTown and yes, they had the Evergreen sheet 2020 in stock! I was also able to pick up a pack of sheet etched for HO scale sidewalks for my grandson's train layout. I have to use reading glasses to see the deck detail but I know once painted and given a wash, the plank detail will pop.

After putting the initial coat of paint on the train layout terrain I decided to try to remove the deck. It popped out with very little prying. Apparently this is a very cheap CA glue I'm using. Just some minimal sanding inside the hull and it is ready to go. No damage was caused to the deck during its removal so I was able to use it for a template to cut the new deck. It fits the contours of the hull much better. I've marked the deck for the locations of the rower's chests and have drilled out the holes for the mast and oar stand. On inspection, the oar stand pieces are flat on their interior surfaces. The bottom of the elevated frame won't be visible but I'm going to have to round the edges of the two legs.

The old saying goes: "The Lord always looks after fools and children." I"ve always seemed to fall into at least one of those categories. Maybe I'm meant to actually finish this boat after all.

Anyway, thanks again Tim and Russell.
John
North4003
Visit this Community
England - West Midlands, United Kingdom
Joined: August 01, 2012
KitMaker: 960 posts
Model Shipwrights: 58 posts
Posted: Monday, October 12, 2015 - 11:51 AM UTC
John, try using an Xacto knife to score around the joint. Several light passes should do it.
GrantGoodale
Visit this Community
Ontario, Canada
Joined: April 26, 2015
KitMaker: 99 posts
Model Shipwrights: 99 posts
Posted: Saturday, October 17, 2015 - 09:52 PM UTC
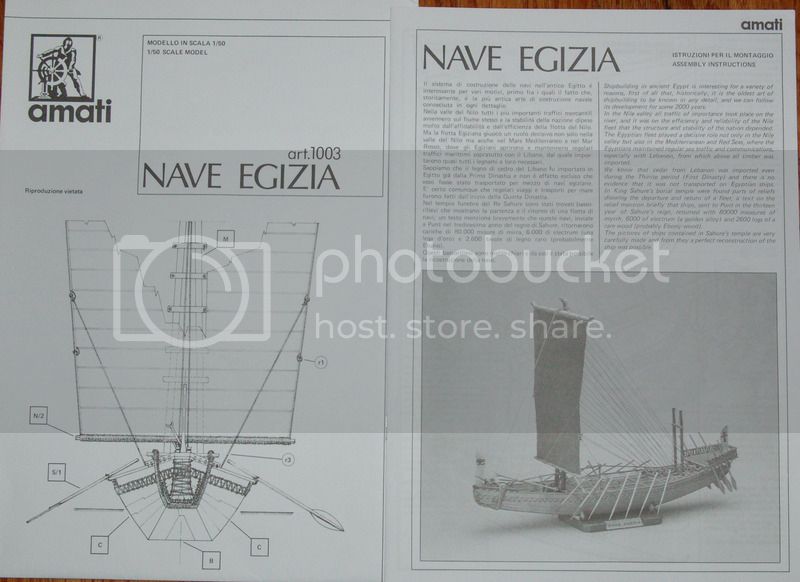
I finally received the plans for an Egyptian boat. Now to start buying the wood. I am glad that this campaign lasts for 1 year. Any shorter and I would probably have no hope for completion.

[/URL]
North4003
Visit this Community
England - West Midlands, United Kingdom
Joined: August 01, 2012
KitMaker: 960 posts
Model Shipwrights: 58 posts
Posted: Saturday, October 17, 2015 - 10:30 PM UTC
Grant I'm happy you received your plans. I'm glad to have Egypt represented in our campaign.
YellowHammer
#513
Visit this Community
Alabama, United States
Joined: March 28, 2006
KitMaker: 554 posts
Model Shipwrights: 219 posts
Posted: Sunday, October 18, 2015 - 04:59 AM UTC
Grant,
Looking forward to watching your build. Can't imagine trying to build a model where you have to create each individual part.
John
YellowHammer
#513
Visit this Community
Alabama, United States
Joined: March 28, 2006
KitMaker: 554 posts
Model Shipwrights: 219 posts
Posted: Wednesday, January 13, 2016 - 07:17 AM UTC
Hi Guys,
I'm making slow progress on my Viking boat. Mainly in trying to detail paint 36 1/220 scale deck crew at the moment. I have a question I would like to get your input on. I plan on putting a symbol on the front of the sail. Would the symbol be visible on the back side of the sail as well? I don't know if the sail canvas was dyed through; or if the design was painted on the front; or additional cloth was sewn on the front; or finally, some type of thread work like needle point was used to create the symbols. Any thoughts?
Thanks
John
North4003
Visit this Community
England - West Midlands, United Kingdom
Joined: August 01, 2012
KitMaker: 960 posts
Model Shipwrights: 58 posts
Posted: Wednesday, January 13, 2016 - 07:38 AM UTC

Quoted Text

Hi Guys,
I'm making slow progress on my Viking boat. Mainly in trying to detail paint 36 1/220 scale deck crew at the moment. I have a question I would like to get your input on. I plan on putting a symbol on the front of the sail. Would the symbol be visible on the back side of the sail as well? I don't know if the sail canvas was dyed through; or if the design was painted on the front; or additional cloth was sewn on the front; or finally, some type of thread work like needle point was used to create the symbols. Any thoughts?
Thanks
John


John, I think it is pretty much open to have the symbol on the front or both sides of the sail. I think the owner would be more concerned with the front rather than the rear of the sail. If I were a Viking ship owner I would had my sail maker use some sort of dye and just stripe the sail in an alternating color, panel by panel. A sewn on crest could have been a way to strengthen the sail.
YellowHammer
#513
Visit this Community
Alabama, United States
Joined: March 28, 2006
KitMaker: 554 posts
Model Shipwrights: 219 posts
Posted: Friday, January 29, 2016 - 12:16 PM UTC
Thanks Brent. I just got back in country from a trip to Honduras. I'm going to go with both sides of the sail. My first attempt at masking and painting the emblem didn't go so well. I botched getting the center stripe centered on the sail so I'll be starting again soon.

Anybody else making progress?
YellowHammer
#513
Visit this Community
Alabama, United States
Joined: March 28, 2006
KitMaker: 554 posts
Model Shipwrights: 219 posts
Posted: Saturday, April 09, 2016 - 03:38 AM UTC
Hi guys,
Haven't seem any updates for awhile. I've had several life distractions but am now making slow progress again on my Viking ship. I've posted a few shots below.


Hopefully I did the photo load right.

You can see I have the seated figures placed along with the oars. These took more effort than I anticipated, especially the oars. I made them from sewing needles but had all sorts of trouble trying to get the eyes filled so it would look flat. I tried several putties, glues, and even hot wax but nothing would adhere to the metal needles. I painted up 30 seated figures for the 24 oars, which was a good thing since the carpet sea monster consumed 6 of them. I also had trouble getting a joint between the sail spar and the mast that would hold the weight of the metal spar and the aluminum foil sail. I finally used a U shaped wire gaff giving me more glueable surface to support the spar. I haven't decided yet if I will paint it like a rope or leave it the brass color.

For you History Channel Vikings fans you'll recognize the sail emblem as that belonging to Lagertha Ingstadt, Earl of Hedeby. I have standing figures left to place representing her, some warrior maidens, a helmsman, and one or to others.

I still have a lot of work to do so I won't be getting to the Roman warship for this campaign. I still need to add the rigging ropes for lifting the spar, the stays for the spar, and the sheets to secure the bottom of the sails. To get better connection points for these ropes I inserted small wires through the hull rail just forward of the rudder for looping the thread. I'll also be adding a pennant at the top of the mast. Lots of touch up painting to do too. I'm not happy with the dragon head. More photos I've seen since I painted it look to be a dark gray or faded black, maybe a rubber color. I also need to weather fade the yellow tail. I haven't decided if I will us the kit anchor. It looks okay but with all the standing figures I may not have room. I'm going to try to put it in a simple water base like it is sailing up a fjord. Haven't done water before so that will be another learning experience for me.

For being such a small kit, I'm getting a lot of enjoyment and experience with it. The ship itself is only as long as my forefinger so I've had to make a lot of repairs along the way from dropping it.

Hope you guys are all doing well. Let's see some updates!

John
YellowHammer
#513
Visit this Community
Alabama, United States
Joined: March 28, 2006
KitMaker: 554 posts
Model Shipwrights: 219 posts
Posted: Saturday, April 09, 2016 - 03:40 AM UTC
Well Murphy is at it again. I did the 3 photo uploads exactly the same way each time and I got 3 different results. This is normal for me. Anyway, hopefully you can get an idea of where I'm at. Thanks
YellowHammer
#513
Visit this Community
Alabama, United States
Joined: March 28, 2006
KitMaker: 554 posts
Model Shipwrights: 219 posts
Posted: Friday, May 20, 2016 - 08:14 AM UTC
Hi All,
Well I finally got my build to a stage I'm okay with so I'm calling it done. Its been an adventure for me. I couldn't find a campaign folder in Kitmaker so I'm posting some final photos here. Feel free to comment.

This is the first kit I've finished in 25 years. I know, I started small! I did learn a lot about the Viking ships and got some experience that will help me with future builds. Things like watching out for paint wicking up the sides of your boat when you place it in the "water". I should have used some cellophane wrap to model when placing it in the celluclay I used for the water. Repainting a hull under the oars is a pain in the posterior.

Anyway, it was fun, which was my first goal.
Thanks for following.
John


North4003
Visit this Community
England - West Midlands, United Kingdom
Joined: August 01, 2012
KitMaker: 960 posts
Model Shipwrights: 58 posts
Posted: Friday, May 20, 2016 - 08:35 AM UTC

Quoted Text

Hi All,
Well I finally got my build to a stage I'm okay with so I'm calling it done. Its been an adventure for me. I couldn't find a campaign folder in Kitmaker so I'm posting some final photos here. Feel free to comment.

This is the first kit I've finished in 25 years. I know, I started small! I did learn a lot about the Viking ships and got some experience that will help me with future builds. Things like watching out for paint wicking up the sides of your boat when you place it in the "water". I should have used some cellophane wrap to model when placing it in the celluclay I used for the water. Repainting a hull under the oars is a pain in the posterior.

Anyway, it was fun, which was my first goal.
Thanks for following.
John


John, you did a fantastic job on your Long Boat. The display base really sets it off. Congratulations.
North4003
Visit this Community
England - West Midlands, United Kingdom
Joined: August 01, 2012
KitMaker: 960 posts
Model Shipwrights: 58 posts
Posted: Tuesday, July 12, 2016 - 09:54 PM UTC
How are you all doing? I need to get back to my kit.
TimReynaga
Staff MemberAssociate Editor
MODEL SHIPWRIGHTS
Visit this Community
California, United States
Joined: May 03, 2006
KitMaker: 2,500 posts
Model Shipwrights: 1,830 posts
Posted: Sunday, August 07, 2016 - 08:10 AM UTC
Hi John,

My compliments on an absolutely stunning build – the History Channel Vikings series is one of my favorites, and bringing Lagertha Earl of Hedeby’s longship to life was an inspired idea!

I took the liberty of reposting your tiny photos full sized so everyone can appreciate your model artistry.


Well done my friend!


best regards,
Tim
YellowHammer
#513
Visit this Community
Alabama, United States
Joined: March 28, 2006
KitMaker: 554 posts
Model Shipwrights: 219 posts
Posted: Sunday, August 07, 2016 - 08:32 AM UTC
Thanks Tim for the assistance with the photos and comments from you and Brent. I had lots of fun with this one. One thing I realized after the build was that the oar blades were in the water and couldn't be seen, so all that hassle with filling the needle eyes was needleless. Bad pun, I know. Hope to see some progress on the other builds.
John
TimReynaga
Staff MemberAssociate Editor
MODEL SHIPWRIGHTS
Visit this Community
California, United States
Joined: May 03, 2006
KitMaker: 2,500 posts
Model Shipwrights: 1,830 posts
Posted: Sunday, August 07, 2016 - 08:55 AM UTC
Hey John, you have inspired me - I think I'll try a Viking ship too:


It may not be up to your standard, but I’ll try to have fun with it!

YellowHammer
#513
Visit this Community
Alabama, United States
Joined: March 28, 2006
KitMaker: 554 posts
Model Shipwrights: 219 posts
Posted: Sunday, August 07, 2016 - 10:00 AM UTC
Hey Tim,
That Viking Ship would be great. From what I've read it's a pretty decent kit. I don't think it comes with figures though. I haven't had any luck finding Vikings in that scale but you maybe able to scratch some up. With or without crew I know, with your skills, it's going to be another gem. I'll definitely be following your build.
John
TimReynaga
Staff MemberAssociate Editor
MODEL SHIPWRIGHTS
Visit this Community
California, United States
Joined: May 03, 2006
KitMaker: 2,500 posts
Model Shipwrights: 1,830 posts
Posted: Tuesday, August 09, 2016 - 07:58 AM UTC
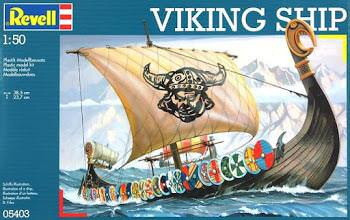
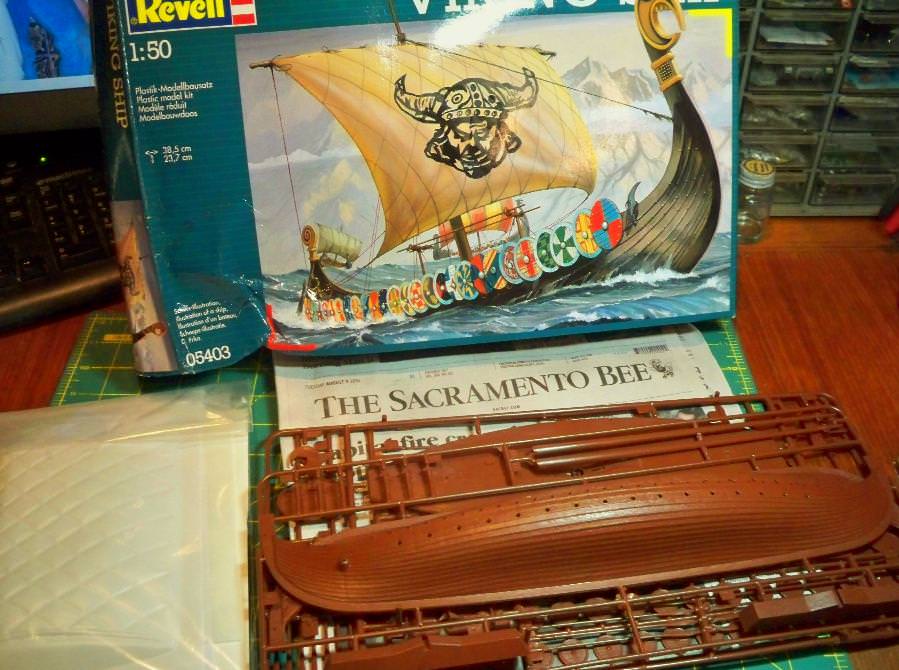
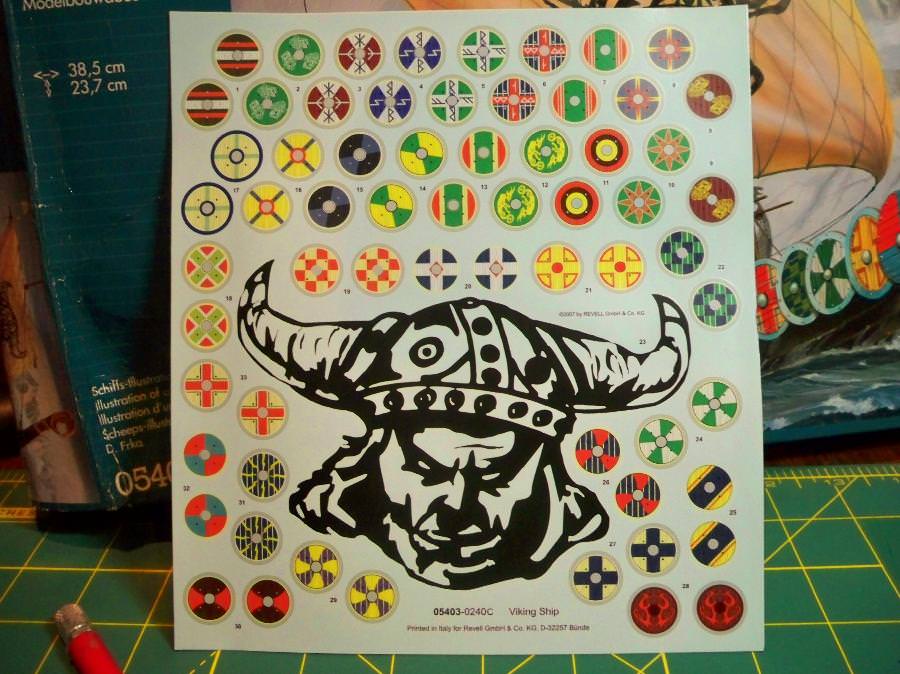
This is my start on the Revell 1/50 scale Viking Ship (9th Century Norse Long Ship)


I’m not sure about that ridiculous Viking head marking for the sail, but the colorful decals for the shields look great.

Should be fun!
TimReynaga
Staff MemberAssociate Editor
MODEL SHIPWRIGHTS
Visit this Community
California, United States
Joined: May 03, 2006
KitMaker: 2,500 posts
Model Shipwrights: 1,830 posts
Posted: Thursday, August 11, 2016 - 05:18 AM UTC
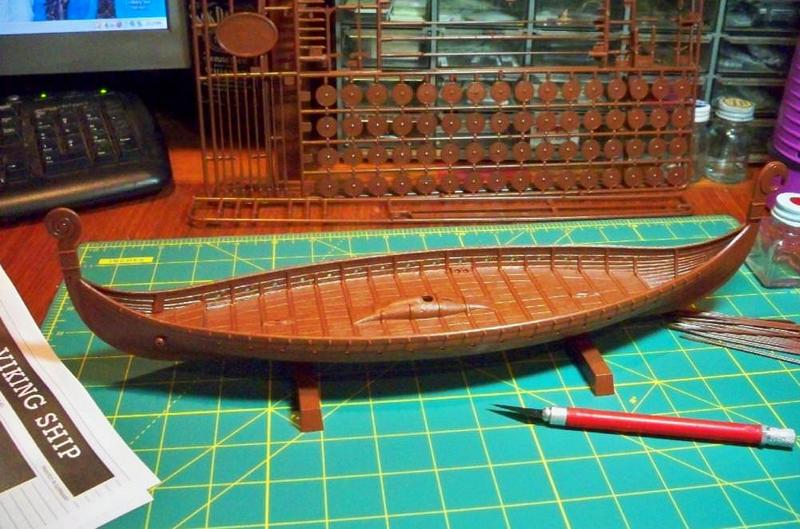
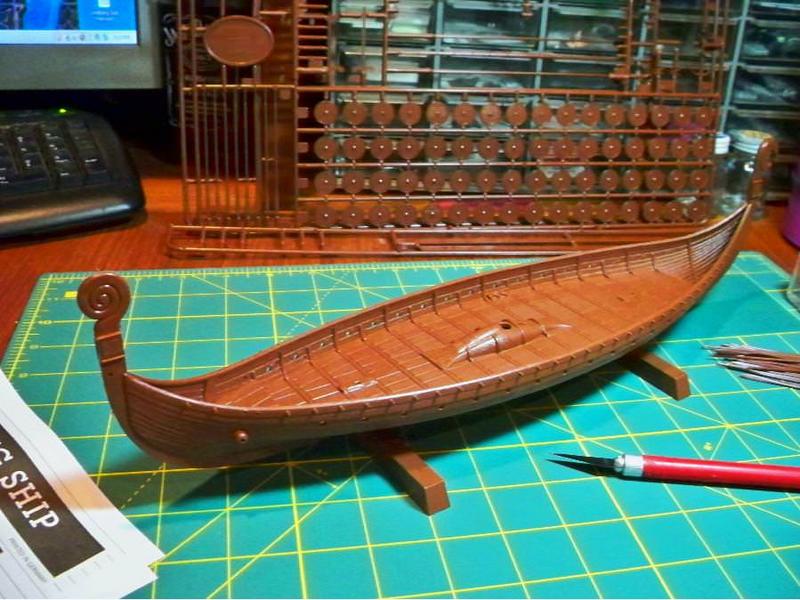
Here’s the Viking Ship so far with the hull assembled and test fitted on its display blocks.


I know next to nothing about Norse Long Ships, but the model looks a lot to me like the 9th Century Gokstad ship displayed at the Viking Ship Museum in Oslo, Norway. The kit matches that graceful design pretty closely, right down to the hand made look of the clinker-constructed hull planks. Very cool!
YellowHammer
#513
Visit this Community
Alabama, United States
Joined: March 28, 2006
KitMaker: 554 posts
Model Shipwrights: 219 posts
Posted: Thursday, August 11, 2016 - 07:47 AM UTC
Hey Tim,
Looking great so far. I'm really looking forward to see you paint this one. If your planning on using the same technique you used on the Nina and Pinta I know it will be stunning. On a side note, just for grins I looked online again for Viking figures. I still didn't find any in 1/50 or 1/48 scale. However I found several companies offering 28mm (1/56) scale gaming figures in both metal and plastic. The plastic figures (Viking Hirdmen by Warlord Games) were multipart figures allowing the swapping of heads, arms and weapons to get lots of different poses. The details on the figures didn't look too bad and not over scale like most metal figures do. No seated figures though. Just a thought.
Does the kit come with any instructions or parts for rigging? I wound up making some guesses based on pictures I found online.
Anyway, you're making great progress. Keep them updates coming!
John
North4003
Visit this Community
England - West Midlands, United Kingdom
Joined: August 01, 2012
KitMaker: 960 posts
Model Shipwrights: 58 posts
Posted: Thursday, August 11, 2016 - 09:08 AM UTC
John and Tim, great discussion. The Revell kit is a good one. I'm looking forward to your build.
ivanhoe6
Visit this Community
Wisconsin, United States
Joined: April 05, 2007
KitMaker: 2,023 posts
Model Shipwrights: 8 posts
Posted: Thursday, August 11, 2016 - 05:51 PM UTC
Happy Friday everybody !
A quick question..... The LHS has a couple of old Heller ship kits in their re-sale section. I don't remember which ones. How are Heller's sailing ships in general? Not real impressed with their armor kits.
Thanks in advance for any input ! And have a great weekend everybody !!

Tom
North4003
Visit this Community
England - West Midlands, United Kingdom
Joined: August 01, 2012
KitMaker: 960 posts
Model Shipwrights: 58 posts
Posted: Thursday, August 11, 2016 - 10:01 PM UTC
I have a Heller Pinta and it is a good kit overall. It does need some scribing of wood grain into some small surfaces but it does go together well.
TimReynaga
Staff MemberAssociate Editor
MODEL SHIPWRIGHTS
Visit this Community
California, United States
Joined: May 03, 2006
KitMaker: 2,500 posts
Model Shipwrights: 1,830 posts
Posted: Friday, August 12, 2016 - 12:16 AM UTC

Quoted Text

Hey Tim,
Looking great so far. I'm really looking forward to see you paint this one. If your planning on using the same technique you used on the Nina and Pinta I know it will be stunning. On a side note, just for grins I looked online again for Viking figures. I still didn't find any in 1/50 or 1/48 scale. However I found several companies offering 28mm (1/56) scale gaming figures in both metal and plastic. The plastic figures (Viking Hirdmen by Warlord Games) were multipart figures allowing the swapping of heads, arms and weapons to get lots of different poses. The details on the figures didn't look too bad and not over scale like most metal figures do. No seated figures though. Just a thought.
Does the kit come with any instructions or parts for rigging? I wound up making some guesses based on pictures I found online.
Anyway, you're making great progress. Keep them updates coming!
John


Thanks John!

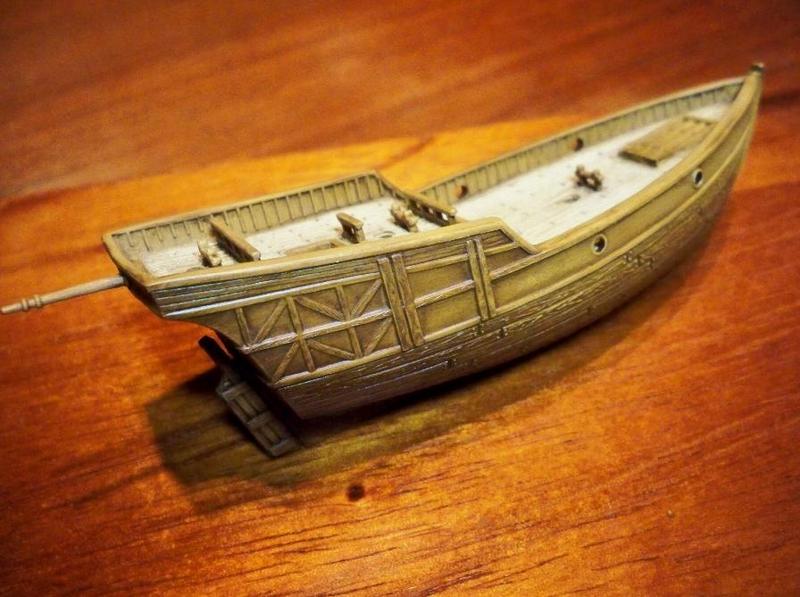
I do plan to paint the Longship the same as my Niña and Pinta builds (Grumbacher Raw Umber artist's oil wash over a Tamiya XF-59 Desert Yellow acrylic base coat):
This basic combination should highlight all that subtle wood grain on the Revell molds.

Also, I took a look at the Warlord Games Viking Hirdmen you mentioned for the crew. Wow, they look fantastic! Maybe I’ll use them on a future build, but I liked your Longship diorama treatment so much that I won't redo what you have already done so well; for my own build I’m just going to go for a simple full-hull presentation with what’s in the box.

As for rigging, yes, the Revell kit instructions come with a nice rig plan, and there is even two types of scale cordage included in the kit (one for the rigging and a thicker one for the anchor cable)! This one should be pretty straightforward. Plus, it is a much larger scale than the old Pyro kits I often build, so that should make things easier too.

And by the way, your guesses on the rigging for your own build look to be right on target!