_GOTOBOTTOM
Ships by Class/Type: Cruisers
Topics covering cruisers both past and present.
1/700 USS Miami (picture heavy)
MikeyBugs95
Visit this Community
New York, United States
Joined: May 27, 2013
KitMaker: 2,210 posts
Model Shipwrights: 83 posts
Posted: Thursday, December 24, 2015 - 01:21 AM UTC
Being mostly an armor builder, I somehow burnt myself out of doing armor for the time being even while I wasn't doing much of anything. I just lost the enthusiasm. In an attempt to rekindle that, I decided to tackle something a bit out of taste for but what I've been wanting to do for a while: detail Midship Models 1/700 USS Miami.

I have the Gold Medal Models USN Cruisers and Destroyers set, Tom's Modelworks Inclined Ladders, White Ensign Models Doors and Hatches and some sets from 3D Model Parts, specifically the 40mm quad and dual Bofors mounts, 20mm Oerlikons, the 5in/38 turrets and Mk37 and Mk51 directors. I have a set of Verlinden figures as well but I'm not sure if I will use them. I also had to buy another set of doors and hatches (meant for Japanese ships) because I almost ran out of usable doors from the USN set. Now onto the work so far...

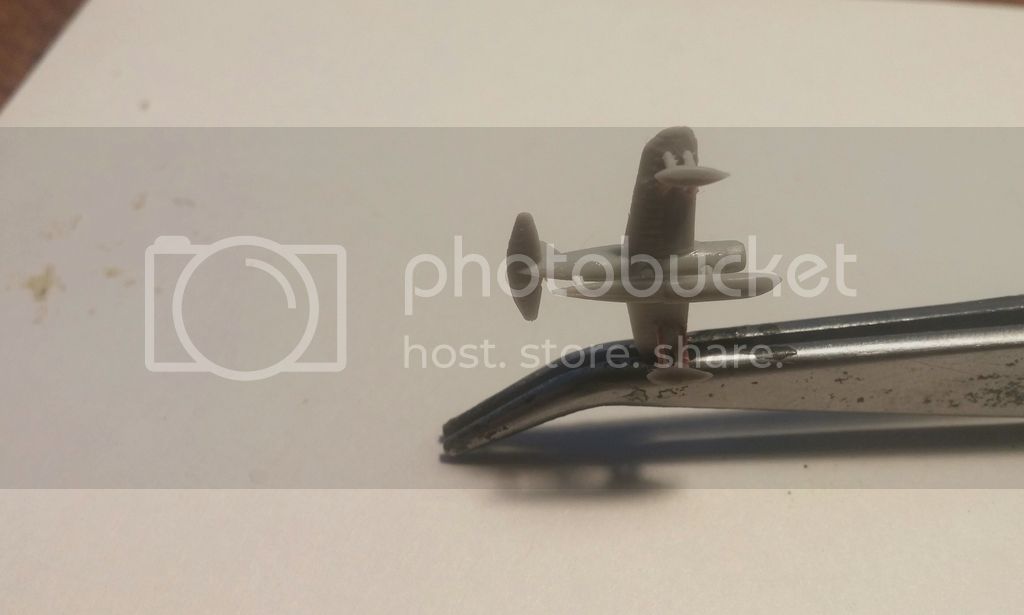
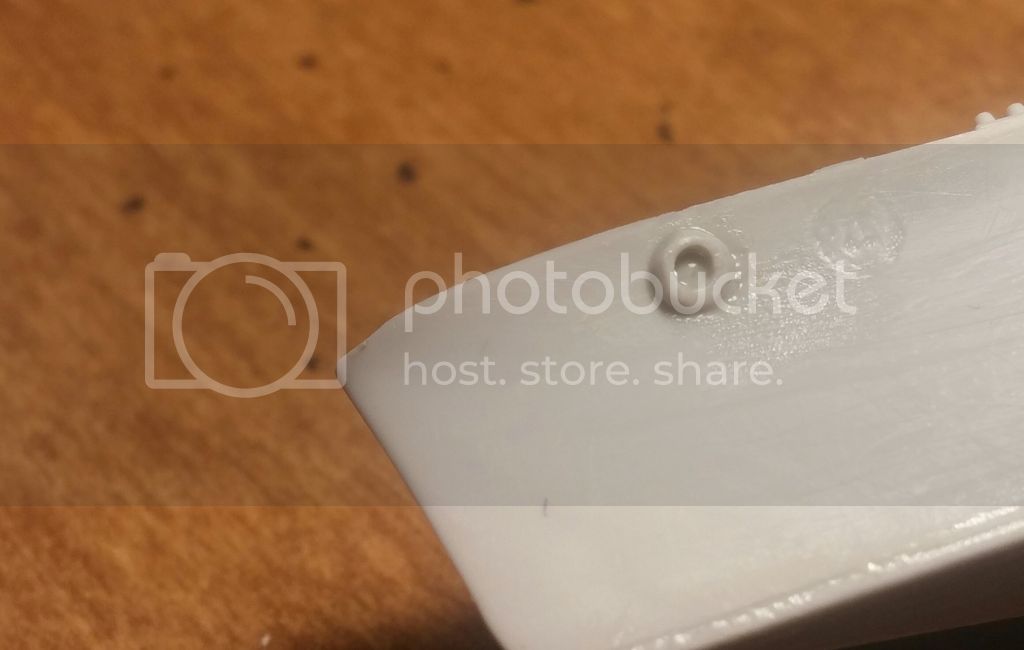
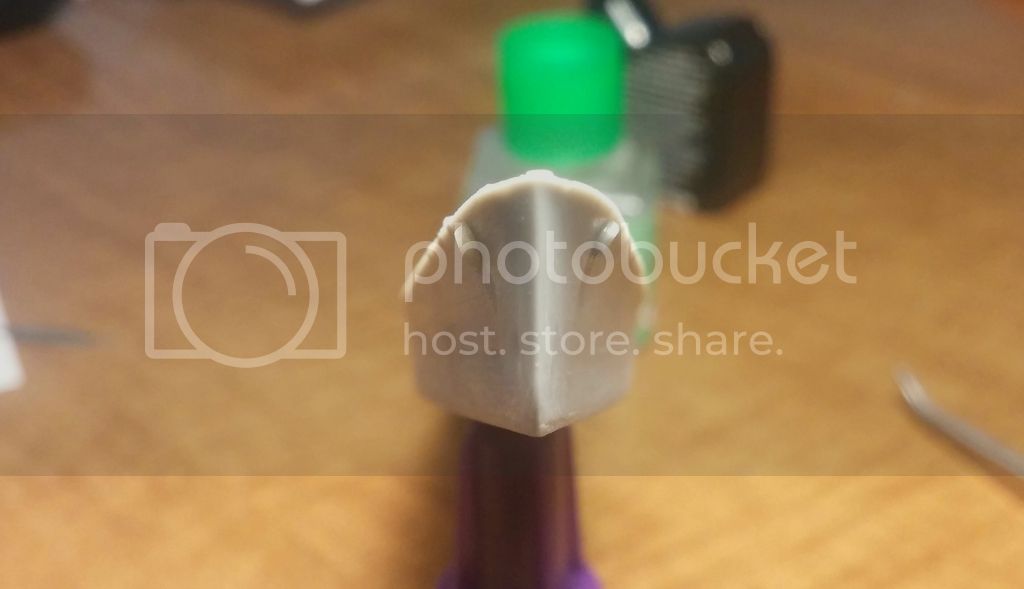
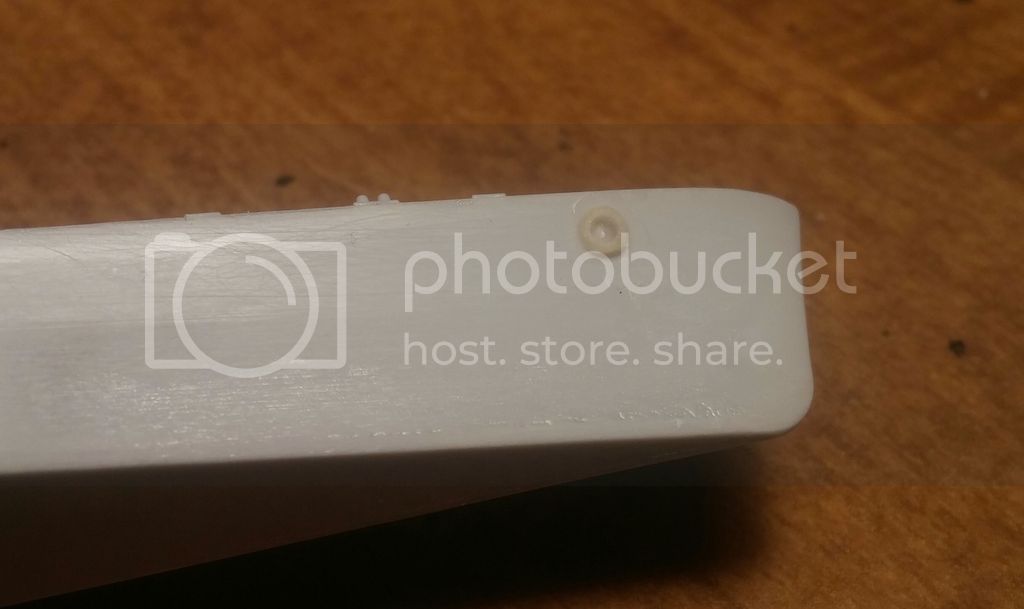
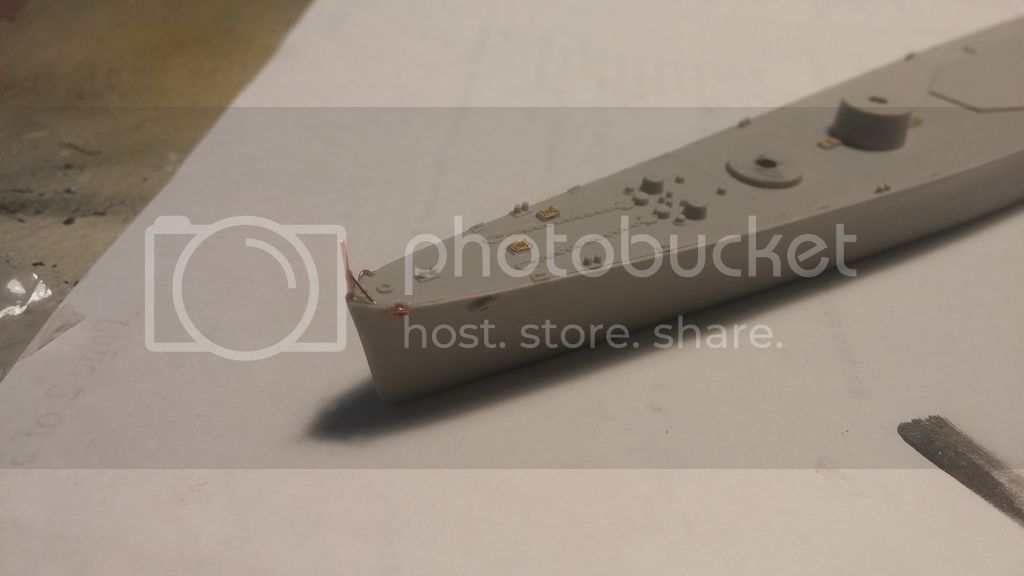
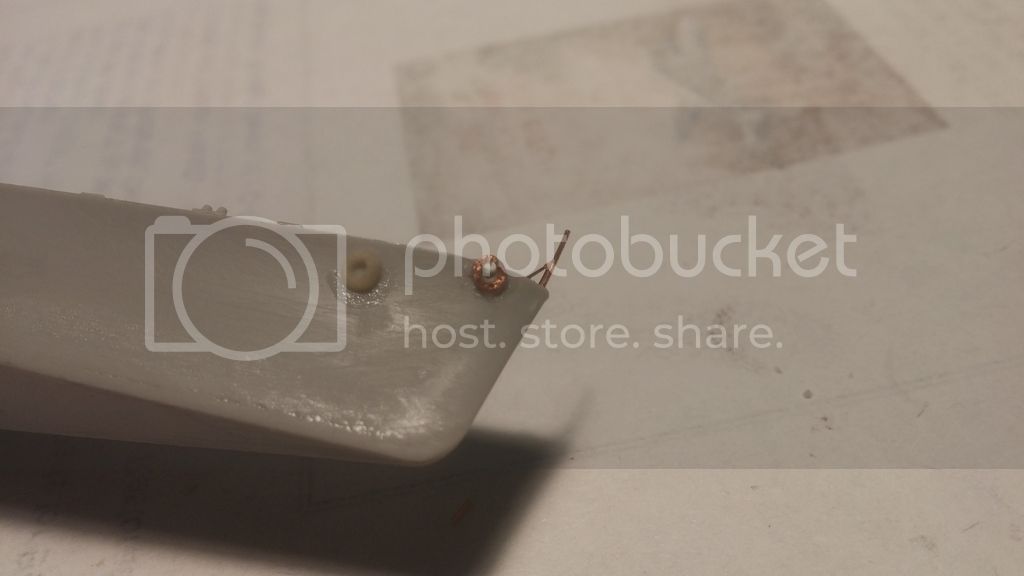
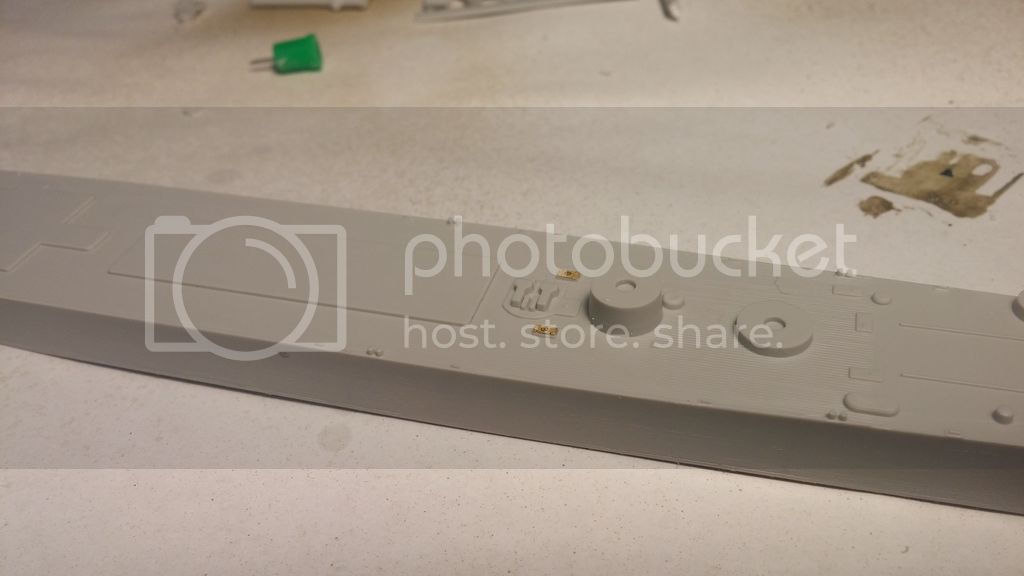
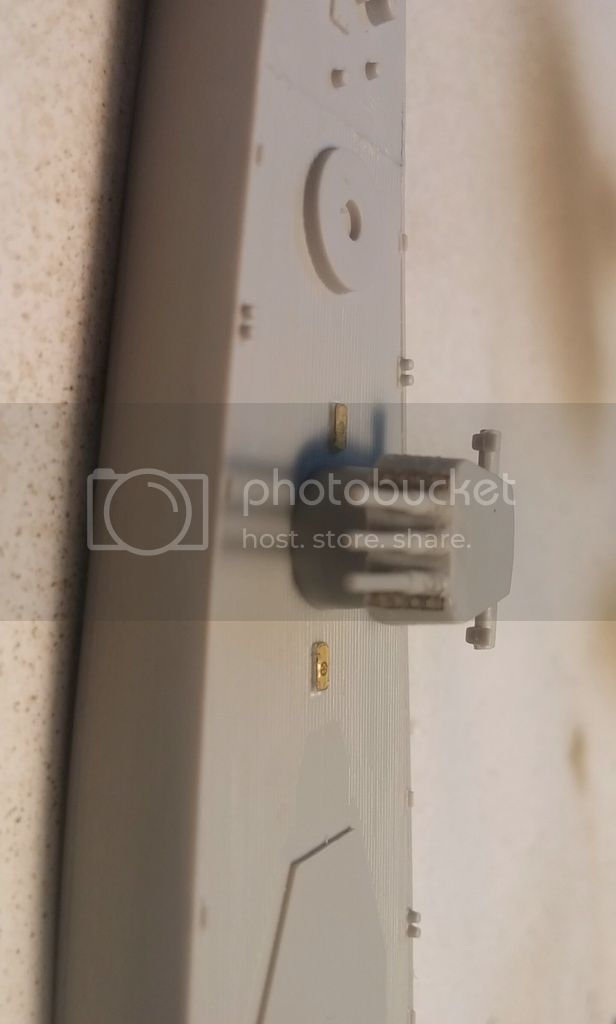
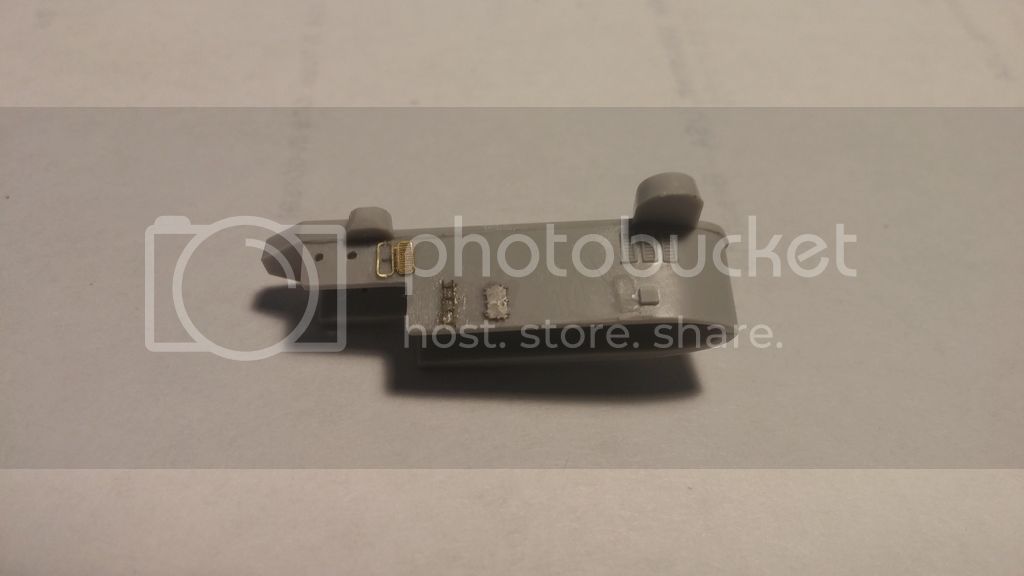
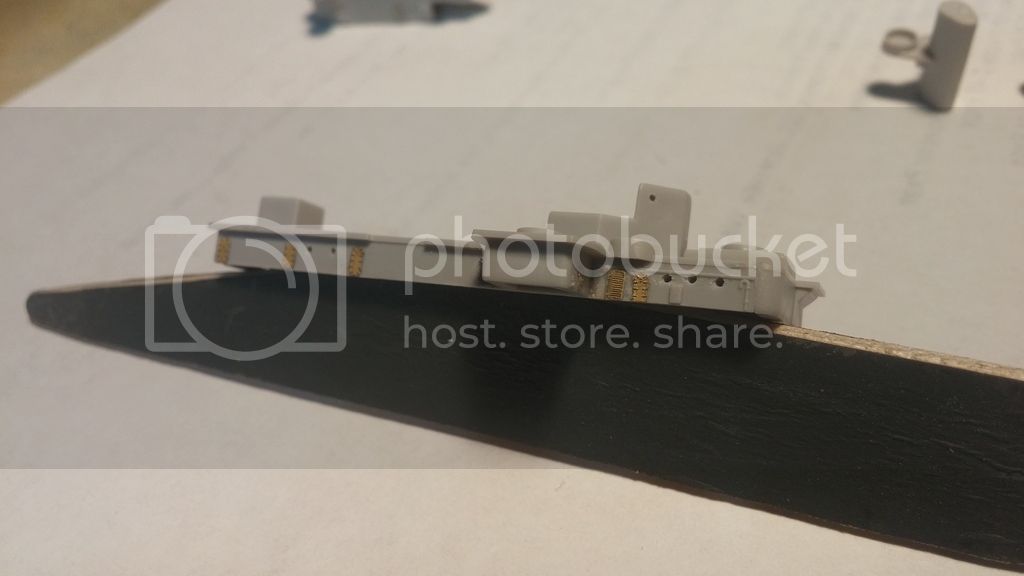
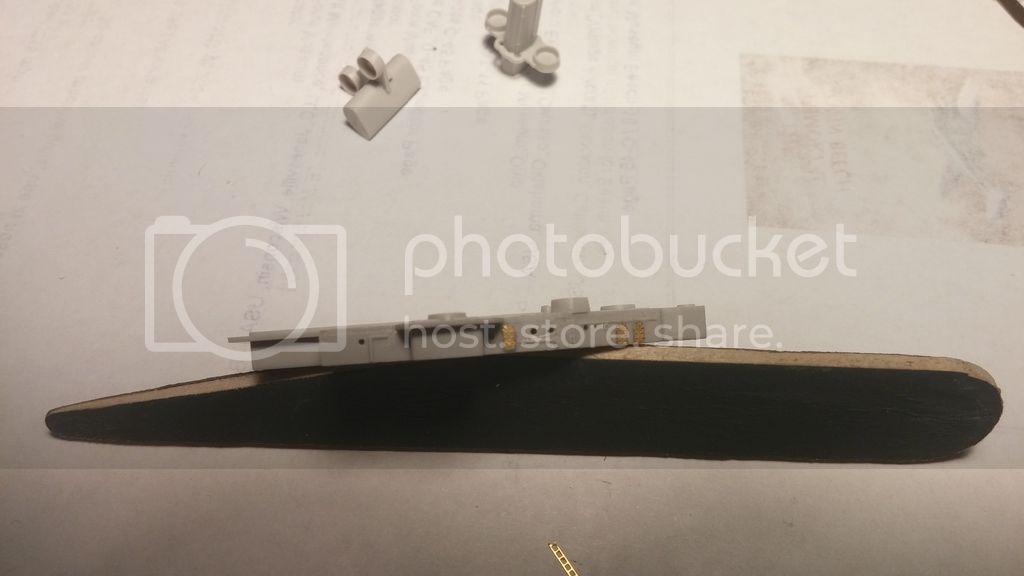
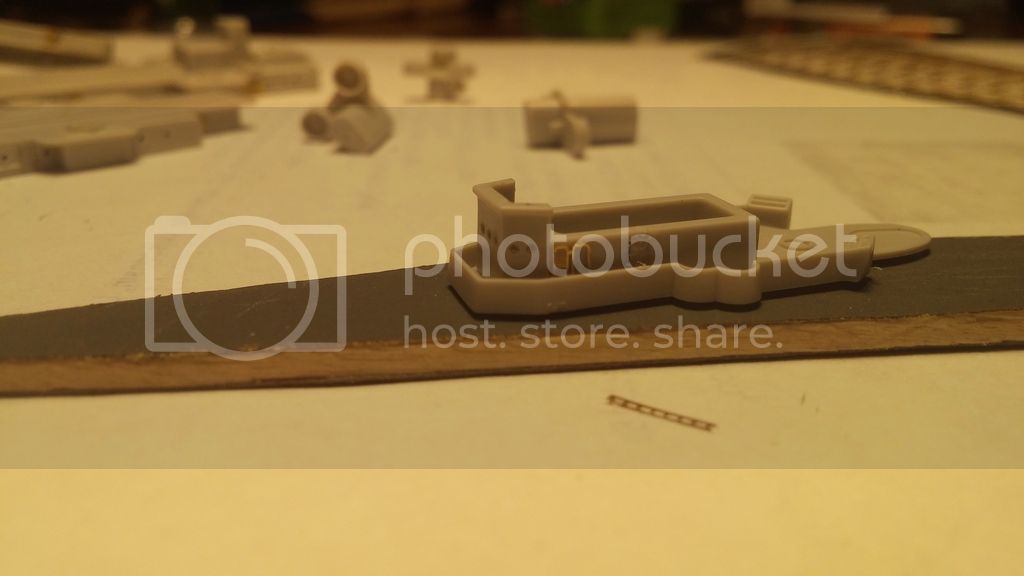
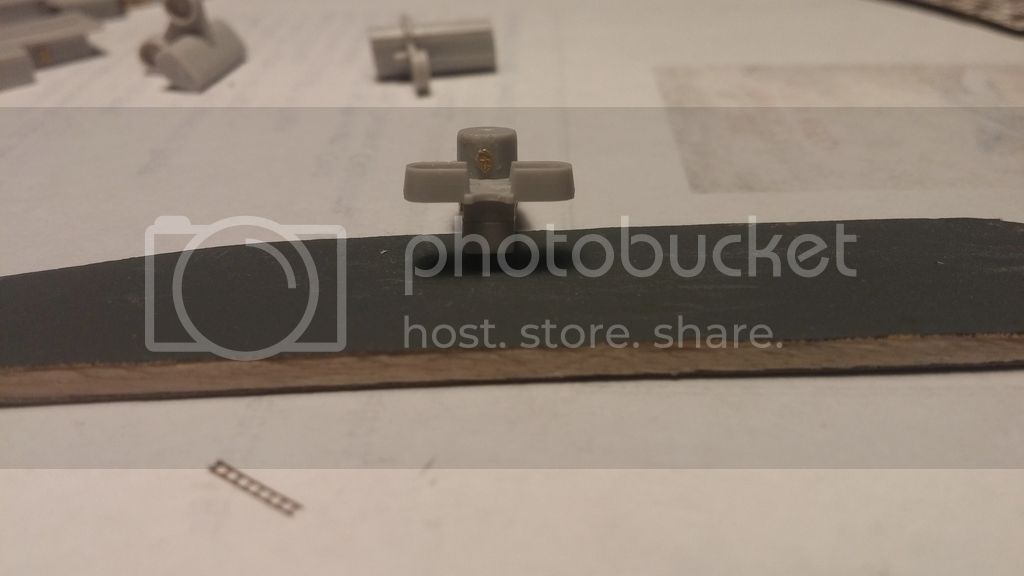
So far I've spent about 22 hours (according to what I remember from the times I was up; 2 days I was up until 4) just attaching doors, hatches and ladders along with the research involved in finding the actual location of the items. More than half of the time spent was on research. Right now I have a few subassemblies made but none of the decks are glued to the hull or each other yet. Most of the doors that I could find in the pictures (I'm using NavSource as my main research tool) I replaced or added. Ladders between decks have been added/replaced as well. I've also added Ladders to the turrets where necessary and I also cut and placed those circular extrusions on the turret sides. I plan on eventually adding some 40mm and 20mm ammo bins as well. Enough of my talking... Time for pictures (do not take these pictures as the final product of the day(s), I've added more since they were taken). Also, I apologize for the quality of the pictures, they were taken at night and I don't have a true photography set up. The 7th picture is a hawsepipe I made from a piece of sprue. I tried forming it from copper wire and then dipping it in CA but it didn't work well. I'm going to try to cast a 2nd as I'm not confident I can cut another one similar.


Any comments or questions welcome.
TRM5150
Visit this Community
Massachusetts, United States
Joined: January 03, 2010
KitMaker: 2,159 posts
Model Shipwrights: 1,400 posts
Posted: Thursday, December 24, 2015 - 02:09 AM UTC
Fine looking ship so far Michael! Quality work cannot be rushed! Love the 3D Model parts! Big improvement on the guns! Keep up the good work!!
MikeyBugs95
Visit this Community
New York, United States
Joined: May 27, 2013
KitMaker: 2,210 posts
Model Shipwrights: 83 posts
Posted: Thursday, December 24, 2015 - 02:12 AM UTC
Yeah the 3D Model Parts is a huge improvement. Even the ends are a bit hollow on the 5inch guns. now if they'd only make some 6 inch guns and turrets..
RedDuster
Visit this Community
England - South East, United Kingdom
Joined: March 01, 2010
KitMaker: 7,078 posts
Model Shipwrights: 6,649 posts
Posted: Thursday, December 24, 2015 - 03:05 AM UTC
Serious amount of kit you are throwing at the basic model Michael.

Great work, I admire that attention to detail in 1/700th, my eyes aren't up to that any more.

Will be following with much interest.

Cheers

Si
MikeyBugs95
Visit this Community
New York, United States
Joined: May 27, 2013
KitMaker: 2,210 posts
Model Shipwrights: 83 posts
Posted: Friday, December 25, 2015 - 12:49 PM UTC
Well tonight's only work was minimal. The family had to go help my dad move out of his apartment so I didn't get much time. All I did was replace the putty fill with cut plastic sheet fill on the bottom of the 2 remaining unfinished main turrets. I then attached the 3 little circles to the sides and sanded down the others evenly on the finished turrets. I then sat around the desk for a bit wondering what to do until I decided to try one of the funnel grill caps from the GMM Cruisers and Destroyers set. Cut the first piece from it and was able to form it after a little fiddling and picture-looking-at-ing. I got one side glued down and I just need to wait for the glue to fully harden to safely bend down the other side without it twinging away to where no one has gone before. I also painted the inside of the funnel caps black as I figure it's going to be tough once everything is on and painted. So that's my abridged version of the events for tonight. Till tomorrow.
MikeyBugs95
Visit this Community
New York, United States
Joined: May 27, 2013
KitMaker: 2,210 posts
Model Shipwrights: 83 posts
Posted: Saturday, December 26, 2015 - 04:09 PM UTC
Again, not much for today and no pictures. I'll take some pictures tomorrow. All I did today was anneal the GMM PE set and the 1 funnel grill I took out. I reformed it again and now attached 1 side. Tomorrow I'll attach the other side. Then I started detailing one of the OS2U Kingfishers that came with the kit (even though I plan on replacing it). I added copper wire struts for the wing floats and and will be adding a small piece of plastic for a piece on the main float. I'll see about finding PE canopy frames for them.
MikeyBugs95
Visit this Community
New York, United States
Joined: May 27, 2013
KitMaker: 2,210 posts
Model Shipwrights: 83 posts
Posted: Monday, December 28, 2015 - 05:57 AM UTC
Another picture update. Like I had mentioned in the previous post I've been working a bit on the Kingfisher. I have a few more pieces yet to do but overall it's pretty firmly there. I also finally got the other hawsepipe made and attached. The good thing about having a parent who's a dentist is free molding materials. If anyone needs any 1/700 hawsepipes to replace a kits one or add to a kit I can mold them. I still have the mold. You'll just need to sand the cast down to where you need it and remove some flash.


berndm
Visit this Community
Niedersachsen, Germany
Joined: March 26, 2014
KitMaker: 844 posts
Model Shipwrights: 151 posts
Posted: Monday, December 28, 2015 - 02:25 PM UTC
Great detail work, this will be a stunner !
MikeyBugs95
Visit this Community
New York, United States
Joined: May 27, 2013
KitMaker: 2,210 posts
Model Shipwrights: 83 posts
Posted: Tuesday, December 29, 2015 - 12:10 AM UTC
New update. You might need your magnifiers for this one. On the forecastle, I'm not sure what it's called but I got it on a few more hatches on as well and the circles/pipes (I'm sorry for all you who live and breath ship building and who know all of the terms for what these are, like I said, I'm a newbie in ships) are on and hollowed out. I'm not going to hollow the hawsepipes out right now though. I might go into them a bit to give the impression of hollowness, but not all the way.


MikeyBugs95
Visit this Community
New York, United States
Joined: May 27, 2013
KitMaker: 2,210 posts
Model Shipwrights: 83 posts
Posted: Tuesday, December 29, 2015 - 03:19 AM UTC
Well I've pretty much ran through all the pictures of all the Cleveland's on NavSource and browsed the detail pictures of the Brooklyns and St. Louis'. If anyone has any pictures that could help me with this I'd appreciate seeing them. I'm not sure if there's a hatch on the front of the barbette of the superfiring turret, I can't really see much use of it but it might be there. That's just one of the types of things I need. I'm still looking for locations of doors, hatches and ladders for square bridge Clevelands.
surfsup
Visit this Community
Queensland, Australia
Joined: May 20, 2010
KitMaker: 1,230 posts
Model Shipwrights: 1,212 posts
Posted: Tuesday, December 29, 2015 - 02:15 PM UTC
Some really nice going on with this one.....CHeers mark
MikeyBugs95
Visit this Community
New York, United States
Joined: May 27, 2013
KitMaker: 2,210 posts
Model Shipwrights: 83 posts
Posted: Tuesday, December 29, 2015 - 02:54 PM UTC
Well I'm trying. Unfortunately I've run into a problem with the radar. Even though I'm not quite up to that stage yet, I've decided to assemble the SK radar I'll be using and leave it in an empty tamiya paint jar I have. I'm just having a tough time making the bends right. I can't find any really good references to use that show the bends well and the instructions from GMM aren't too good in that area. If anyone has any tips for making the Gold Medal Models SK radar, or has any suggestions for a set that's easier to assemble, I'm all ears.
MikeyBugs95
Visit this Community
New York, United States
Joined: May 27, 2013
KitMaker: 2,210 posts
Model Shipwrights: 83 posts
Posted: Thursday, December 31, 2015 - 01:55 PM UTC
I found a way to build the SK antenna! I'm not going to build it at all and instead I bought a Lionroar US antenna set. I'll use the LR SK antenna instead. I also now have another set of US doors and hatches (i plan on replacing the 2 or 3 or 4 hatches on the bow with the correct style) on the way along with a set of chocks (cable holes it's called in the set) and anchors and a set of boat davits. I also ordered an Alliance Modelworks Woban class harbor tug, a photoetch bending tool and a Skywave Rudderow destroyer escort.

I also recently designed a set of hawsepipes in a 3D modelling program and put it up on Shapeways. I test them out and see how they look. I'll also try to design some hawsepipes for that Rudderow destroyer escort. If anyone wants more info you can pm me.
MikeyBugs95
Visit this Community
New York, United States
Joined: May 27, 2013
KitMaker: 2,210 posts
Model Shipwrights: 83 posts
Posted: Tuesday, January 05, 2016 - 12:27 PM UTC
The turrets can now rotate as well. I drilled a hole in the barbettes and a corresponding home in the base of the turrets and then glued a wire in to the hole in the turrets. I'll also attempt to design some PE to attempt to get the bracing under the overhanging decks. I can't build them from plastic strip, trust me, I've tried.
MikeyBugs95
Visit this Community
New York, United States
Joined: May 27, 2013
KitMaker: 2,210 posts
Model Shipwrights: 83 posts
Posted: Thursday, January 14, 2016 - 12:46 PM UTC
Ok. I got some new photoetch. Lionroar Radars, Boat Davits and anchors/"cable holes". I already replaced all the chocks on the kit with the Lionroar ones and built a few anchors. I also drilled out the hawsepipes holes and scraped off the molded on anchor chain. I'll get some pictures up tomorrow after I attach the brackets for the side boat davits. I also replaced 2 hatches from a new FStar doors and hatches set. I plan on acquiring a Flyhawk portholes set. If I can I'll start adding those on as well. But first, I believe I need to replace the lip around the anchor chain openings as I kinda mashed them while drilling out those holes and cutting off the chains... Eventually I'll get this done.
 _GOTOTOP