_GOTOBOTTOM
New Content
Announcements on new content additions to the site.
Dragon 1/700 Scale USS Lake Erie CG-70
fhvn4d
#159
Visit this Community
Massachusetts, United States
Joined: April 07, 2008
KitMaker: 803 posts
Model Shipwrights: 51 posts
Posted: Saturday, April 23, 2016 - 04:18 AM UTC
So I reviewed this kit a while back, and I said in the review that I would be working with vision enhancers... boy I wasn't kidding! I have only done a few things in 700th scale, and probably none of them since I turned 40...4 years ago LOL. This is Dragons premium edition of the USS Lake Erie CG-70. It comes with some photo etch that I will be getting to shortly, but for starter... lets get through step 1-6.

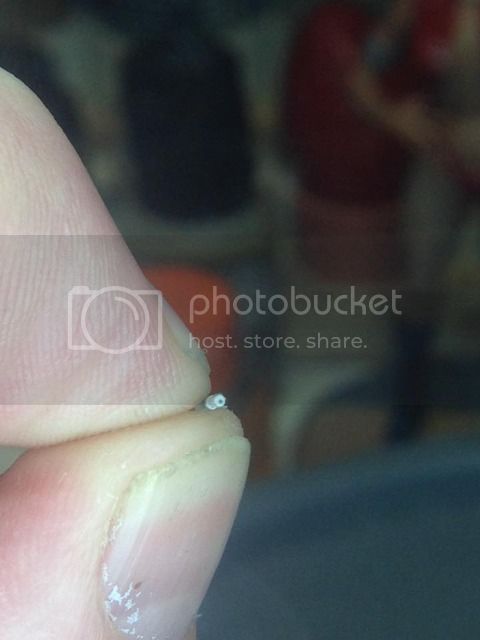
Steps 1-3 have us putting some of the weapon systems and some of the ships commmunication antenna together. The small parts for me, REQUIRED constant use of my visor. I even bothered to drill out one barrel and experimented with using a hypodermic needle on another (my diabetic cat will never forgive me).
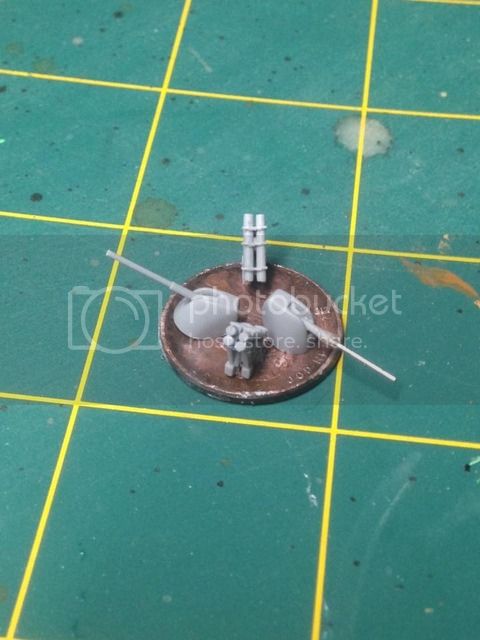
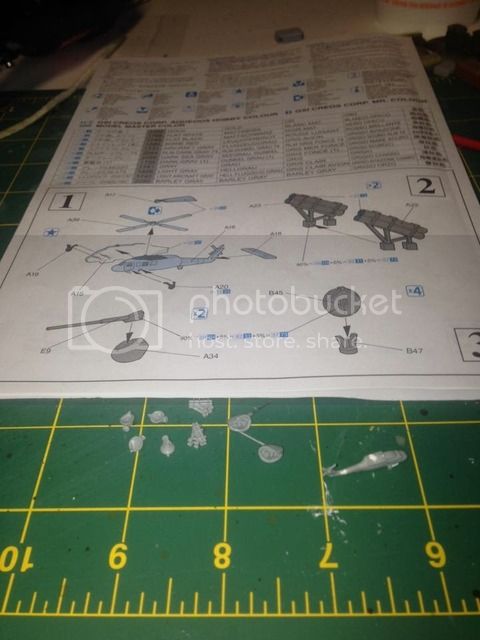


For some reason I just didnt care for the kit supplied rotor blades
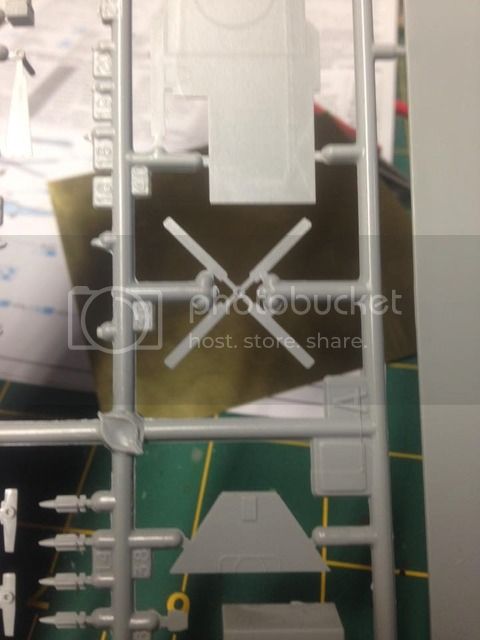

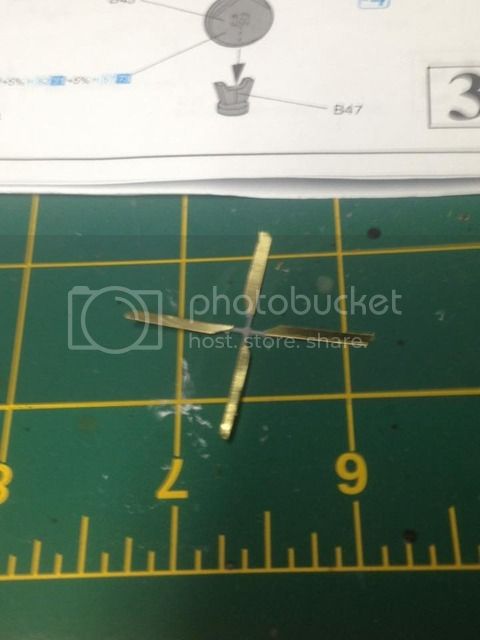
So, I scratched out some new ones from .005 brass sheet that I had recently picked up.

Oh yeah I STARTED this build with the display stand, intent on making it look like a fine grained mahogany base with gold stanchions for the ship to sit on..... and found the kits first oopsie.....
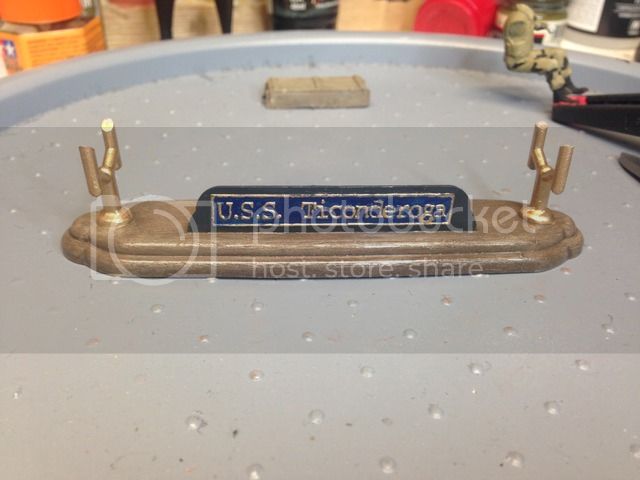

I spent way too much time hand painting the gold and blue to not show it... but I fear that its gonna end up getting cut off because of the ships name discrepancy... ohhhh well... Steps 4 to 8 almost done and Ill have pictures up in a few days!
TRM5150
Visit this Community
Massachusetts, United States
Joined: January 03, 2010
KitMaker: 2,159 posts
Model Shipwrights: 1,400 posts
Posted: Saturday, April 23, 2016 - 06:46 AM UTC
Looking good there Brian! Nice work cleaning out the barrels....not always an easy task! Don't worry about he discrepancy in the name..build her and have some fun! You can always drop her in a water base later if it bothers you too much!!
fhvn4d
#159
Visit this Community
Massachusetts, United States
Joined: April 07, 2008
KitMaker: 803 posts
Model Shipwrights: 51 posts
Posted: Saturday, April 23, 2016 - 04:14 PM UTC
You inspired another idea Todd!!! I think what Ill do is just blank off the Tico name with some sheet, and then maybe try making a decal that has the ships name correctly and add the ships crest to it!
fhvn4d
#159
Visit this Community
Massachusetts, United States
Joined: April 07, 2008
KitMaker: 803 posts
Model Shipwrights: 51 posts
Posted: Thursday, April 28, 2016 - 06:09 AM UTC
YIKES AM I BEHIND ON POSTING PROGRESS... LOL ready for warp speed???

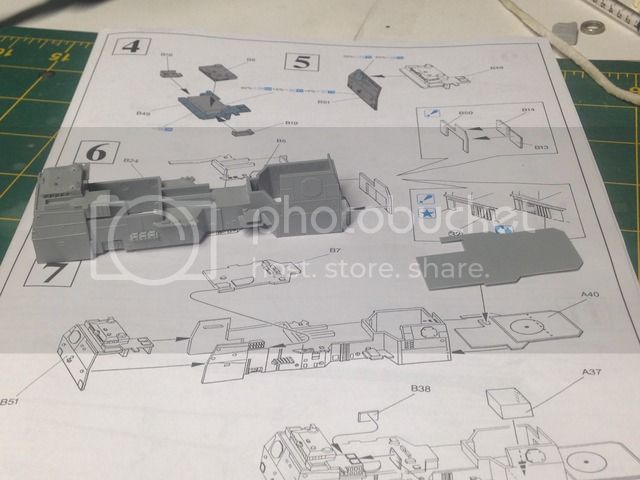
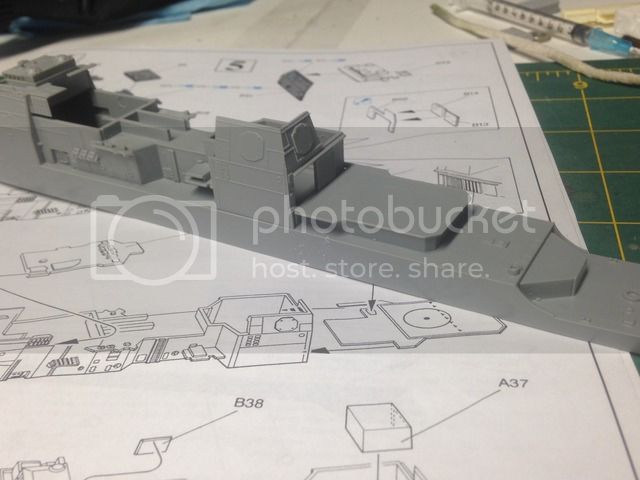
So we hit steps 1-3 as you saw, and 4-8 received similar attention. A word, carefully dry fit all of the major assemblies before gluing, and consider taking the part A40 and placing it on the ships hull without glue, then taking the rest of sub assembly in step 7, and putting that on the ships hull and carefully gluing A40 to the rest of the sub assembly ONLY. There is a tricky angle here that you dont want to get wrong.


You will have to apply pressure to the side of the landing deck to get it to line up right, but once glued it should sit correctly


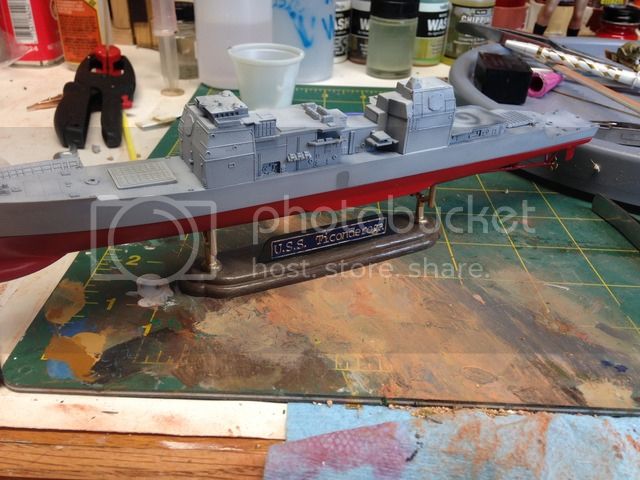
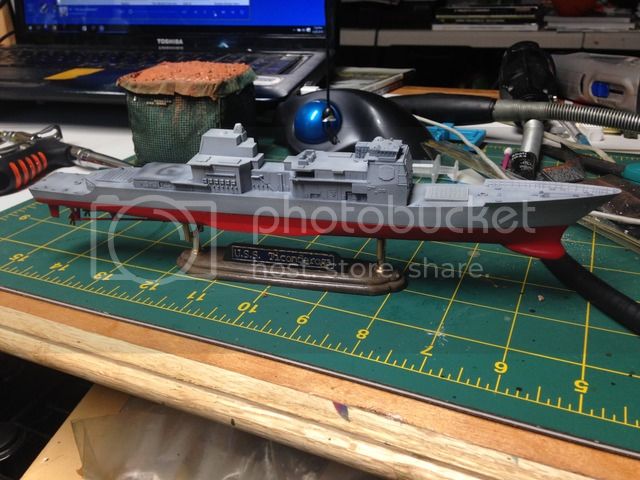
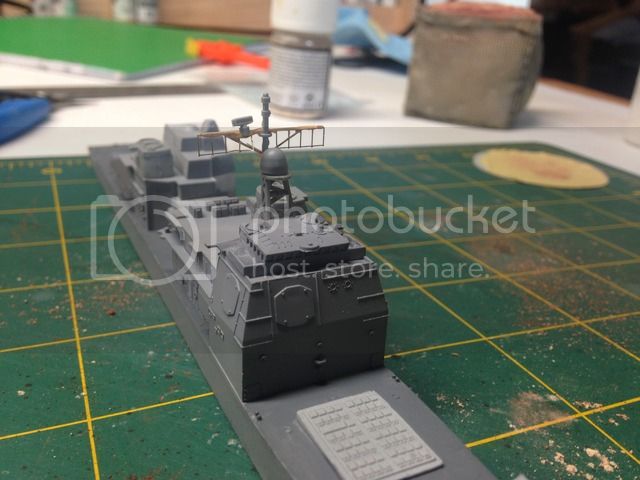
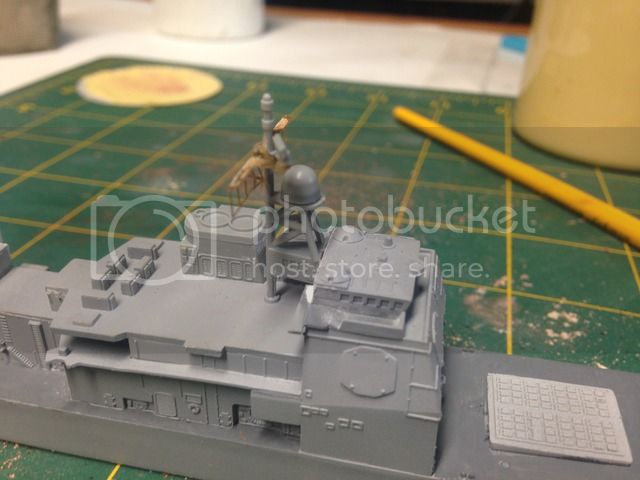
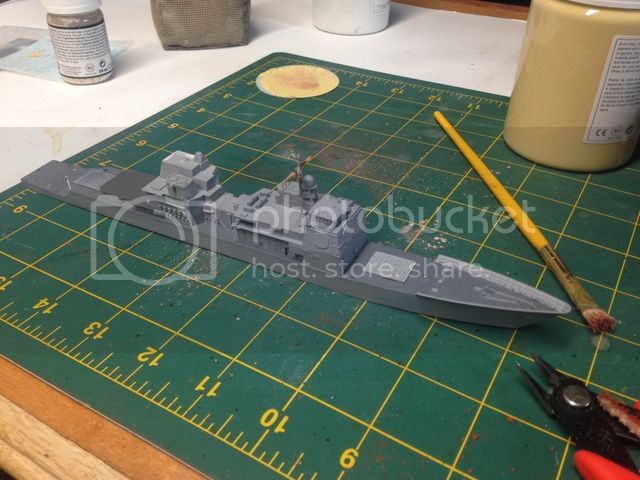
Steps 9-12 have you assembling the hull, rudders and screws, as well as mating the foredeck and afterdeck parts to the hull. The main superstructure is completed and mated as well. For reference, I have painted the hull parts, and primed the main ship with AV Grey and black to shadow. The parts are sitting dry on top of each other but you can get a picture of where the kits headed.


Next up will be attaching all the little bits and (gulp) attacking the PE. No coffee that day! (and as you can see my desk is back to normal clutter)
Cosimodo
#335
Visit this Community
Auckland, New Zealand
Joined: September 03, 2013
KitMaker: 1,808 posts
Model Shipwrights: 871 posts
Posted: Friday, April 29, 2016 - 11:02 AM UTC
Looking very good Brian. I don't envy you working in 700 scale especially with PE but I'll keep watching to how it turns out.

cheers
Michael
fhvn4d
#159
Visit this Community
Massachusetts, United States
Joined: April 07, 2008
KitMaker: 803 posts
Model Shipwrights: 51 posts
Posted: Saturday, April 30, 2016 - 04:45 AM UTC
Little more progress has been made. I spent a fair amount of time bending the PE main mast, only to discard it as too flat! The mast I used in these pictures is the plastic one with the kit, but the antenna array is PE as is the mount it is on... I think it just looked a little better for the mast to have some more structure to it than just the thickness of fret.


Also did some painting of the decks, and the helo deck. They are two different colors and it shows pretty well here with AV acrylics ( not quite the FS standard colors, but decent)


More work in a few days as I am off taking a Heavy vehicle/Machinery rescue course for the next 3 days.
TRM5150
Visit this Community
Massachusetts, United States
Joined: January 03, 2010
KitMaker: 2,159 posts
Model Shipwrights: 1,400 posts
Posted: Saturday, April 30, 2016 - 05:21 AM UTC
Fine update Brian! She's looking great! Best of luck in the classes!!
 _GOTOTOP