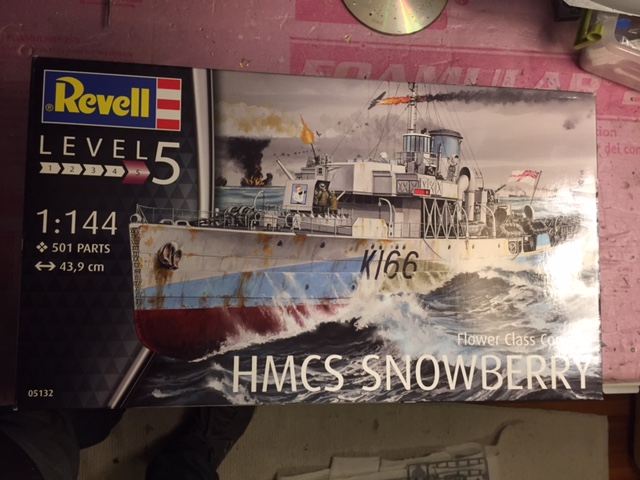
HMCS SNOWBERRY as USS SAUCY build
Connecticut, United States
Joined: August 03, 2008
KitMaker: 875 posts
Model Shipwrights: 872 posts
Posted: Sunday, September 25, 2016 - 08:48 PM UTC
Hi Guys,
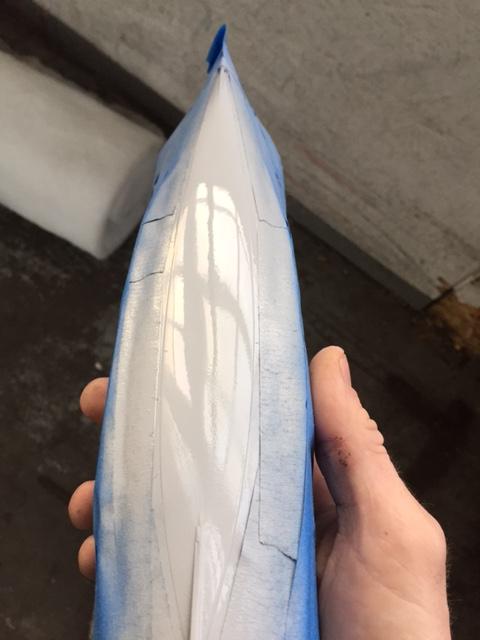
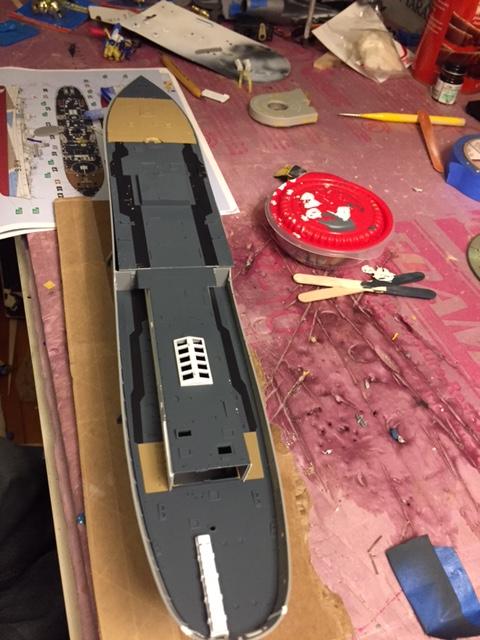
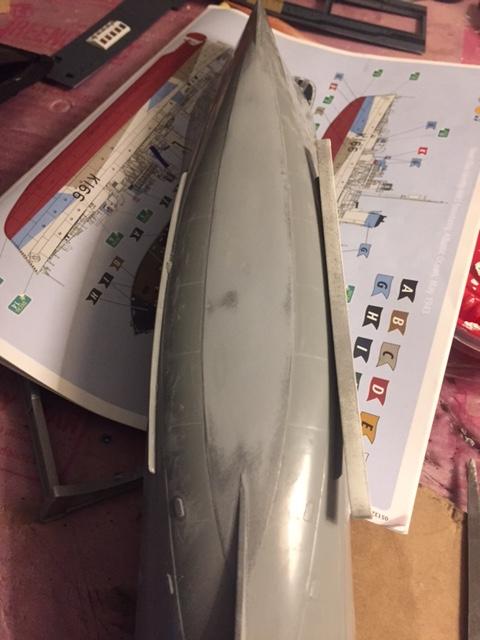
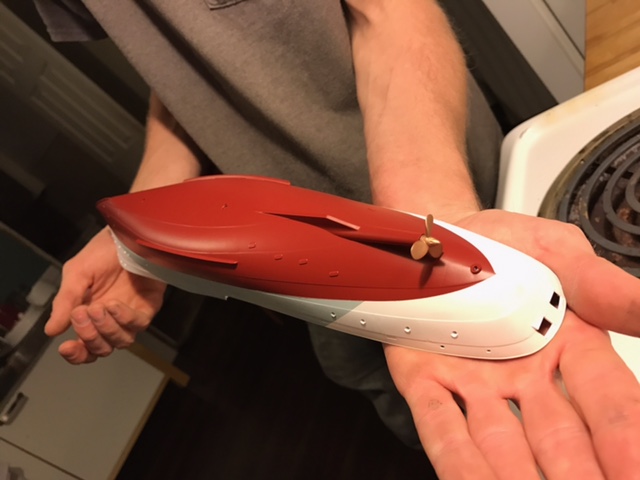
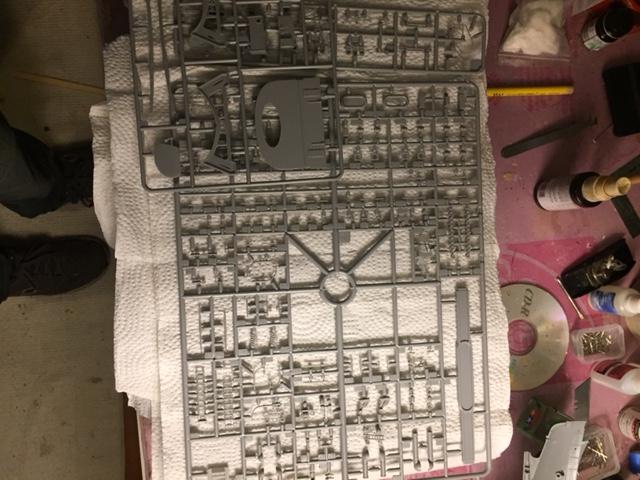
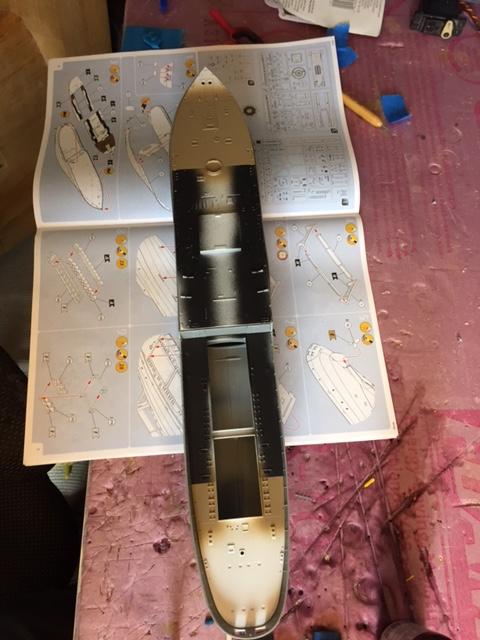
Kyle Lord of East Providence, RI picked up my SNOWBERRY from ROG (1:144) and my G-5 from Merit (1:35) yesterday. He and his girlfriend, Amanda are very nice people.
He has already started the HMCS SNOWBERRY as the USS SAUCY. The first thing he did was to wash the kit to get the residue of the releasing agent from the molding process off. Secondly, he put the two halves of the hull together. I picked up some brass light finnels for him to use as pedestals (on both kits). He mentioned in an email that he is going to be using some "generic" PE railings to replace the kit's thickish railings. I agreed with him on that.
Here are some photos:

He dryfitted the decks too:
Tim
England - South East, United Kingdom
Joined: March 01, 2010
KitMaker: 7,078 posts
Model Shipwrights: 6,649 posts
Posted: Tuesday, September 27, 2016 - 12:40 AM UTC
looks a great kit, got one in my stash, so will be following very closely.
Cheers
Si
Connecticut, United States
Joined: August 03, 2008
KitMaker: 875 posts
Model Shipwrights: 872 posts
Posted: Tuesday, September 27, 2016 - 12:51 AM UTC
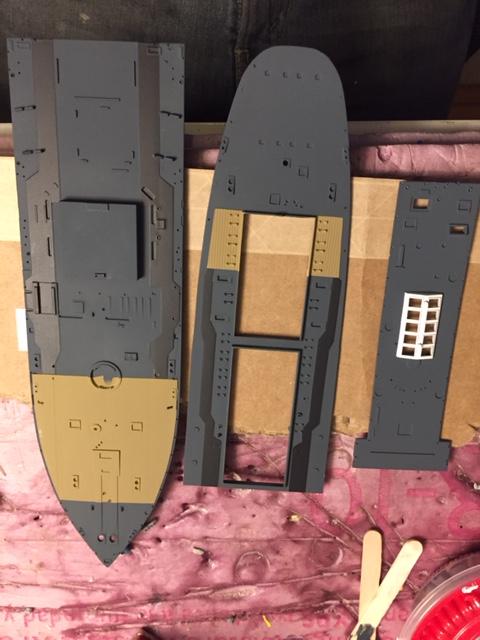
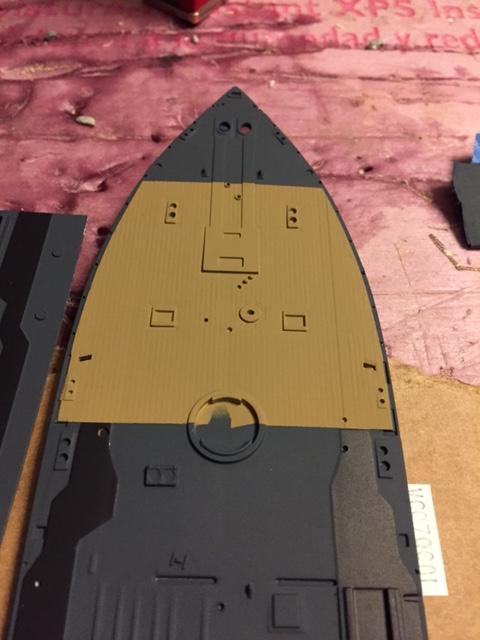
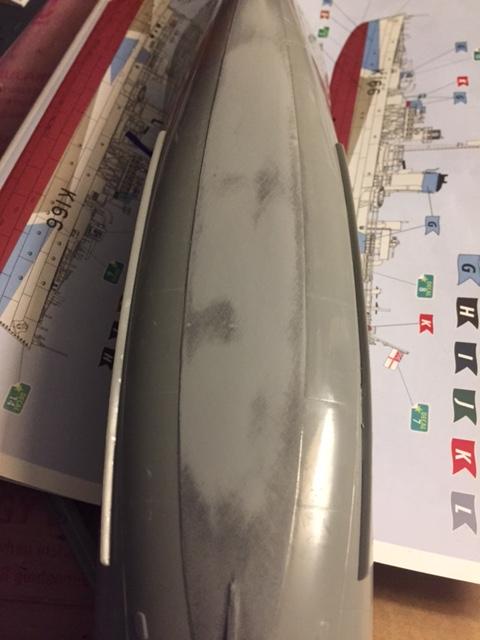
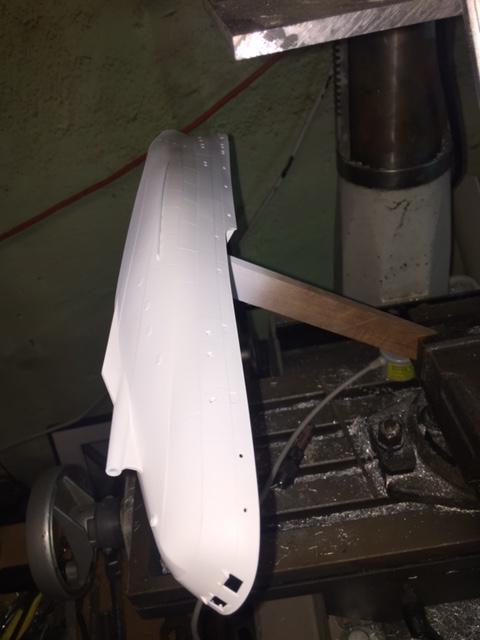
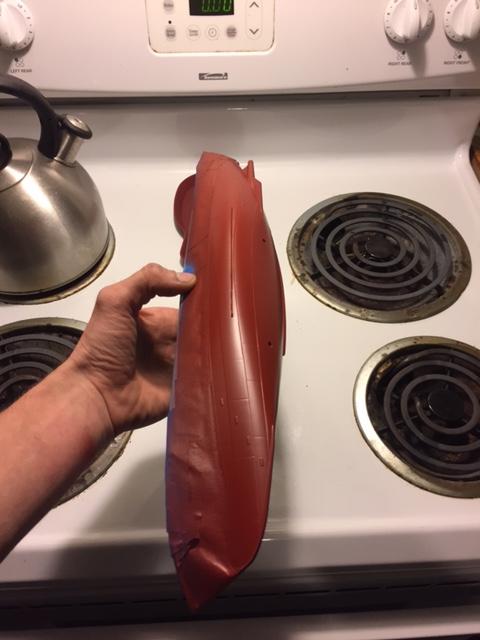
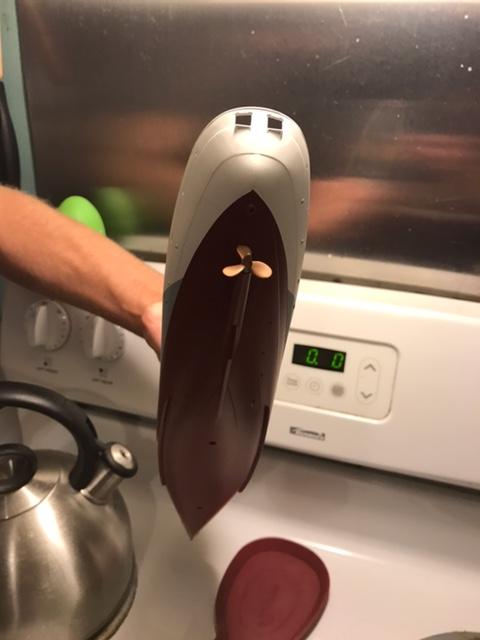
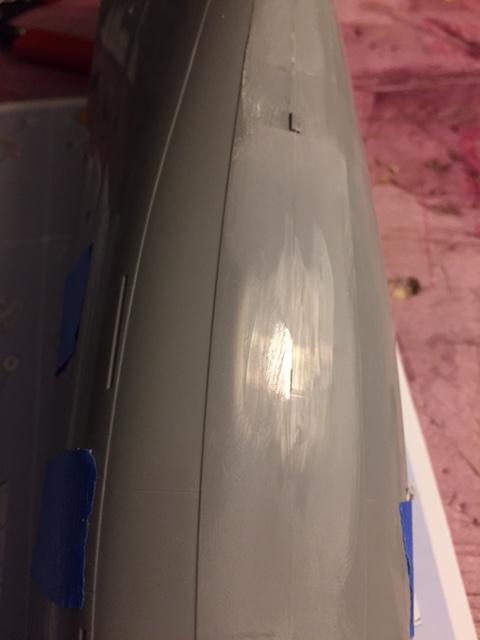
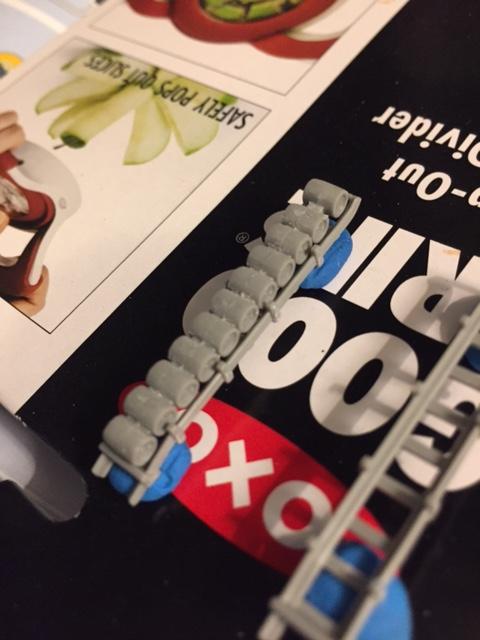
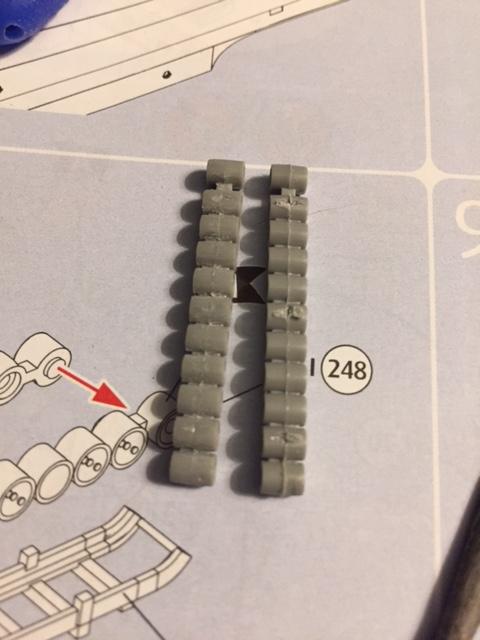
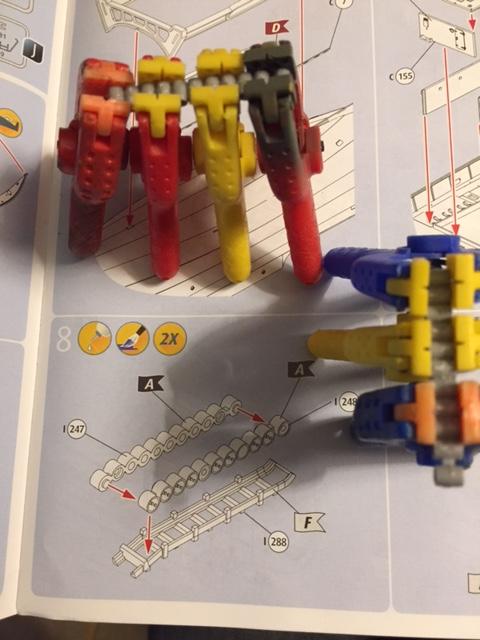
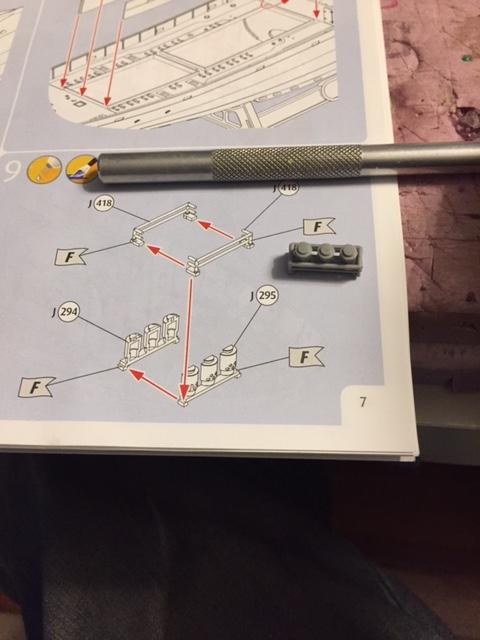
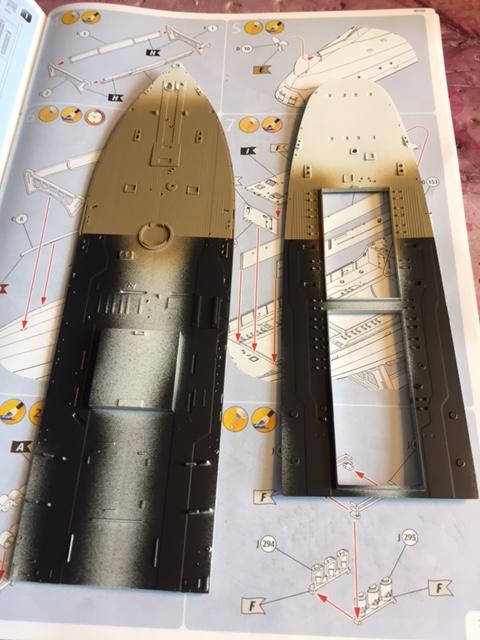
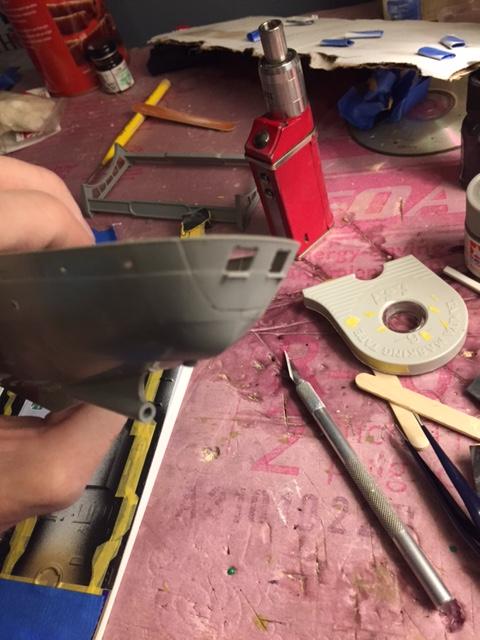
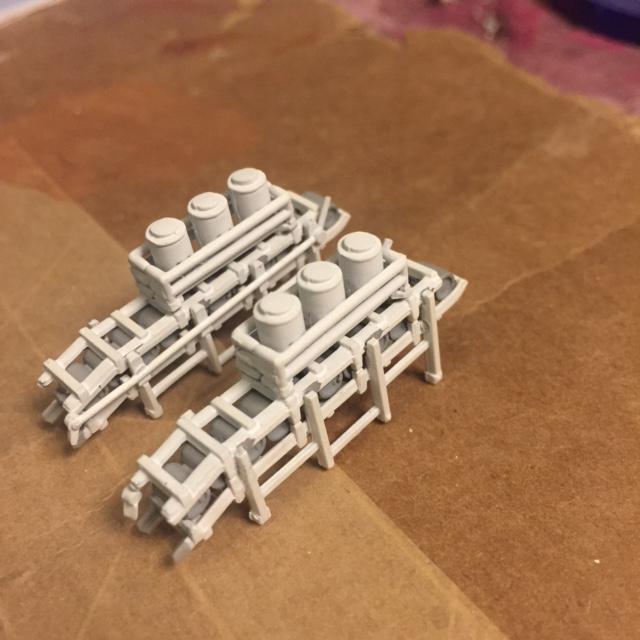
Here are more photos of the build, putting the depth charges together, putting the CSA generators together, doing something to the prop, and painting the decks.
Simon, be advised, Kyle says the seams on the hull are difficult to line up and there is flash as well as seams on the depth charges, but other than that, he likes it.
Oh, yeah, he did say there is warpage where the decks and hull meet.

Tim
Quoted Text
looks a great kit, got one in my stash, so will be following very closely.
Cheers
Si
Connecticut, United States
Joined: August 03, 2008
KitMaker: 875 posts
Model Shipwrights: 872 posts
Posted: Tuesday, September 27, 2016 - 08:04 PM UTC
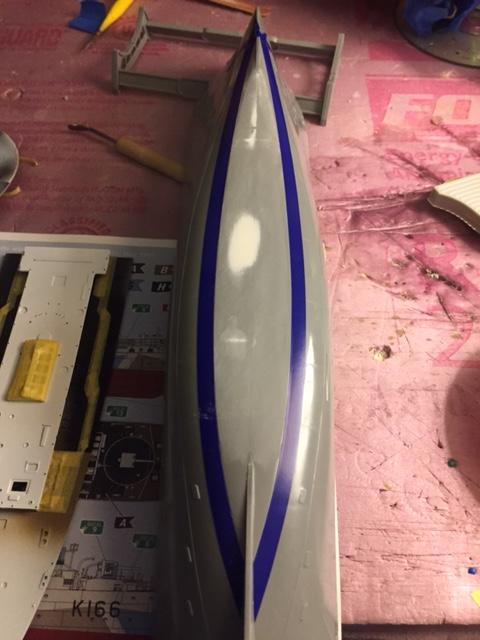
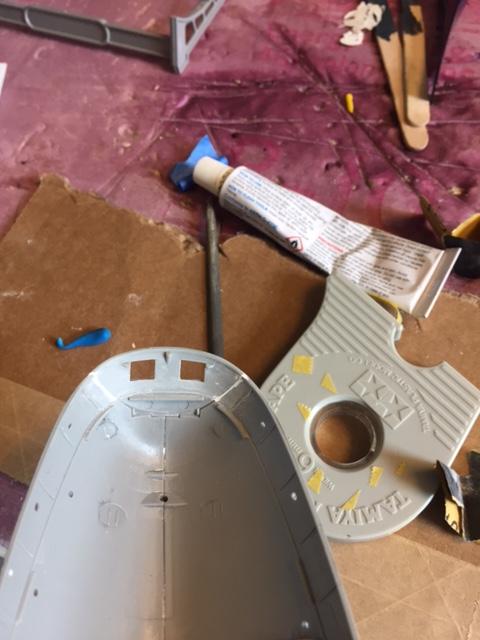
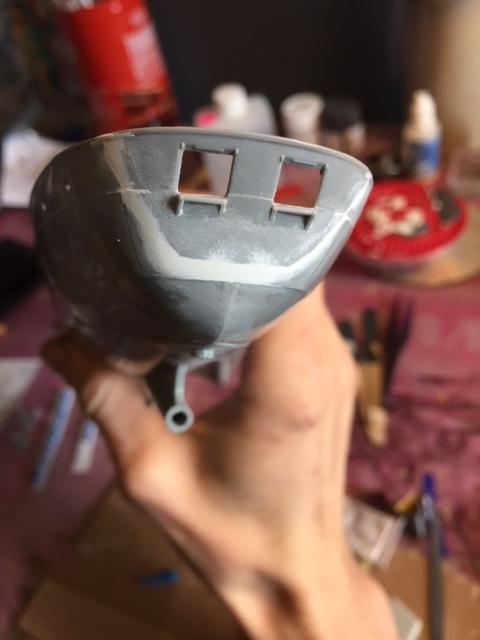
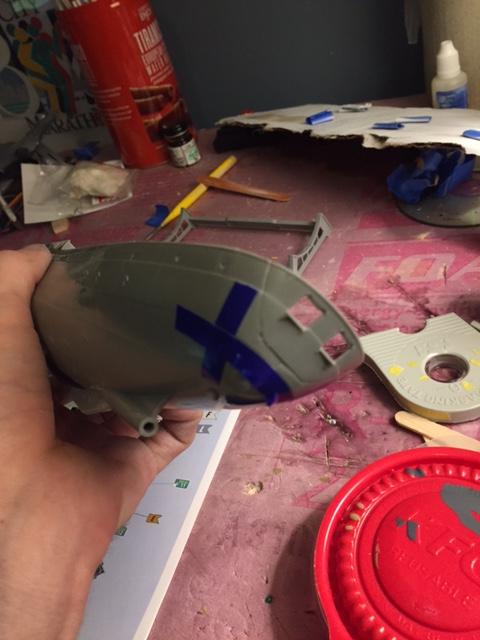
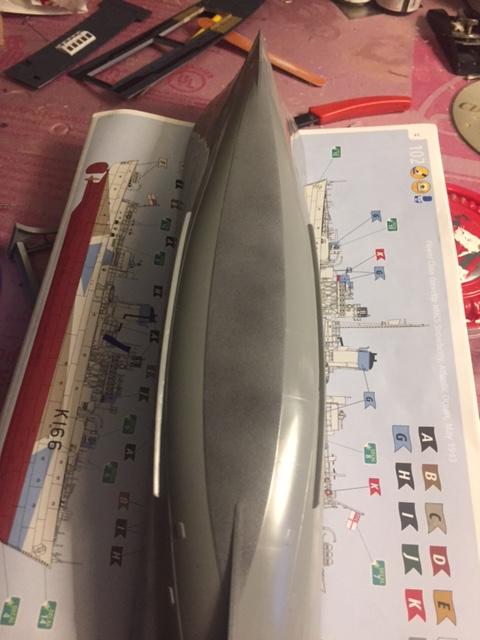
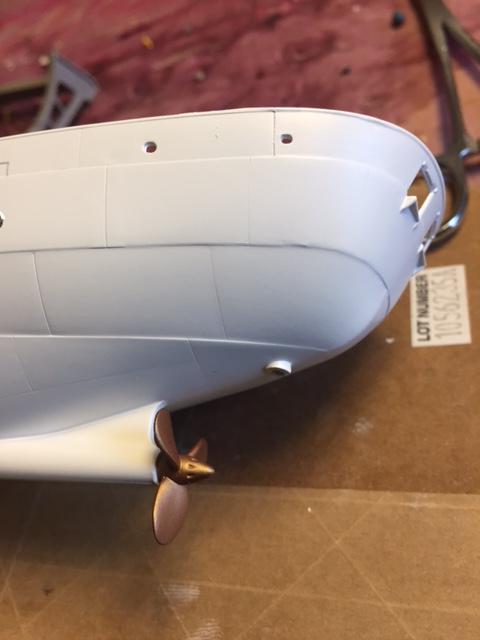
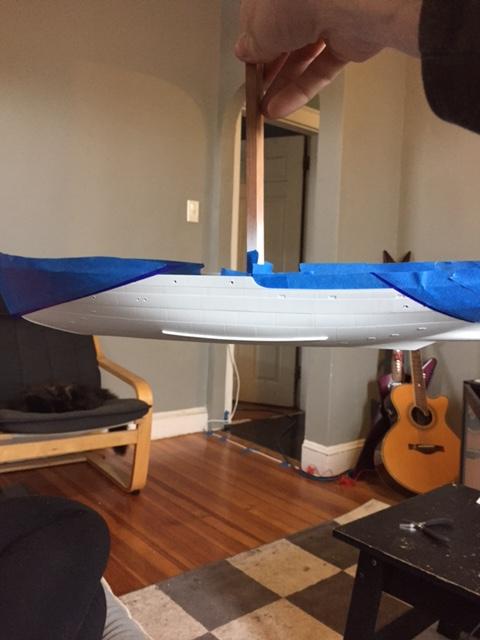
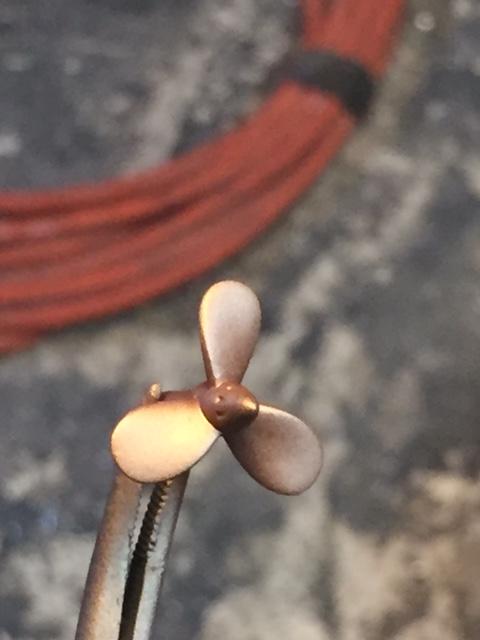
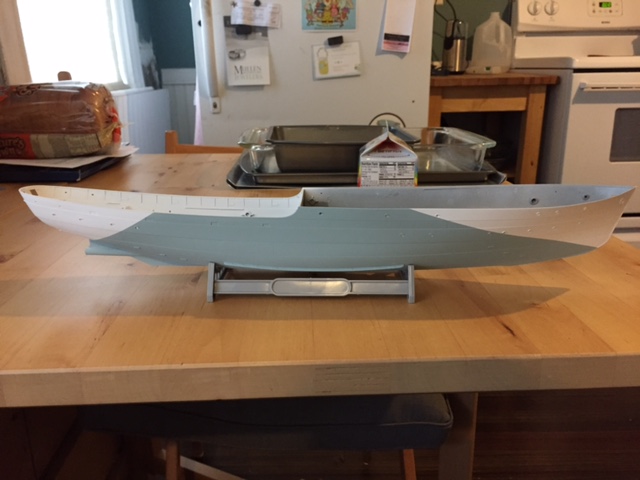
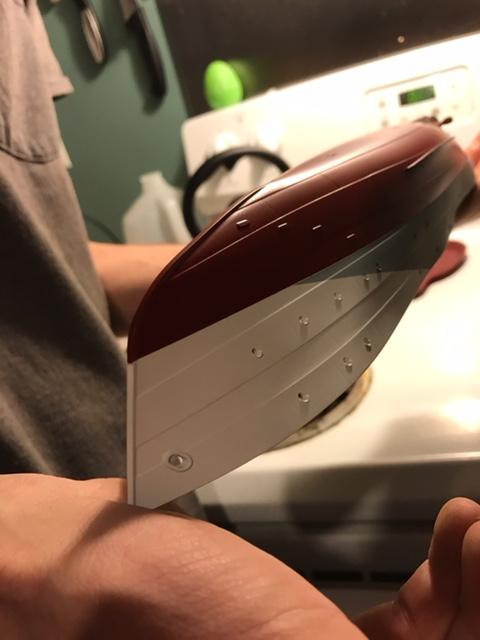
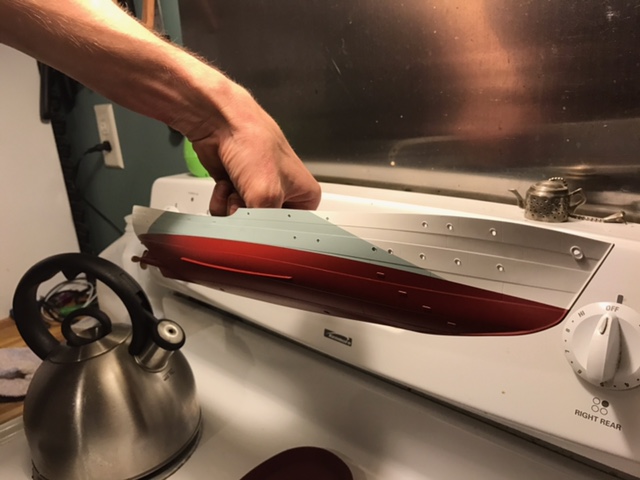
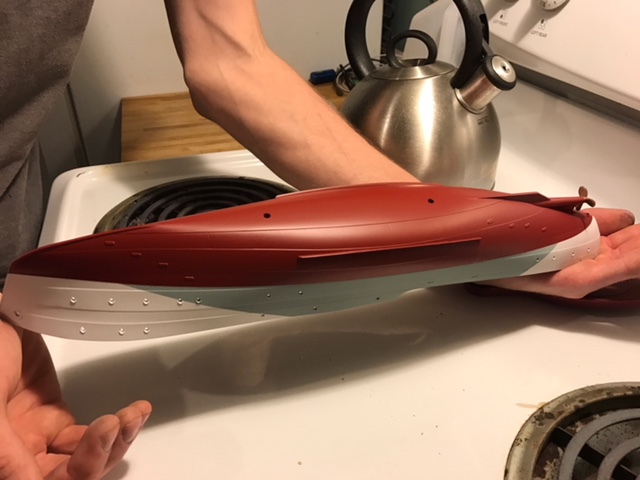
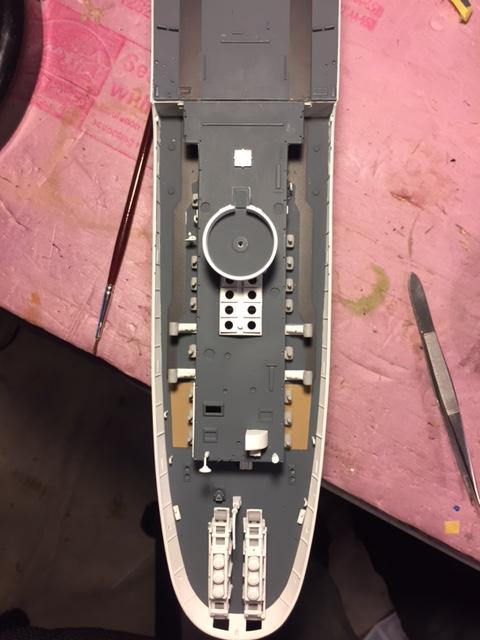
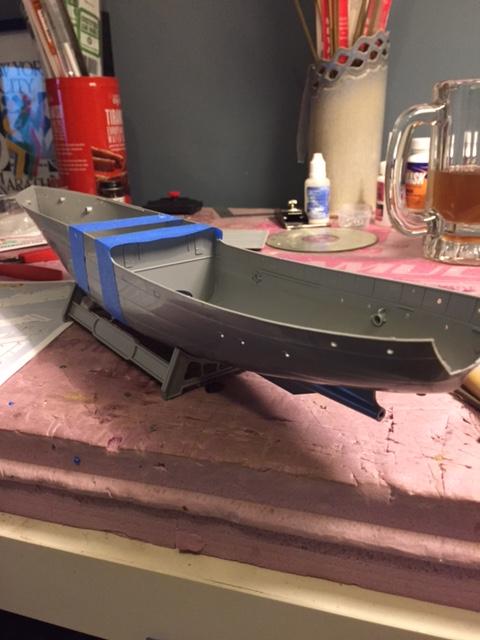
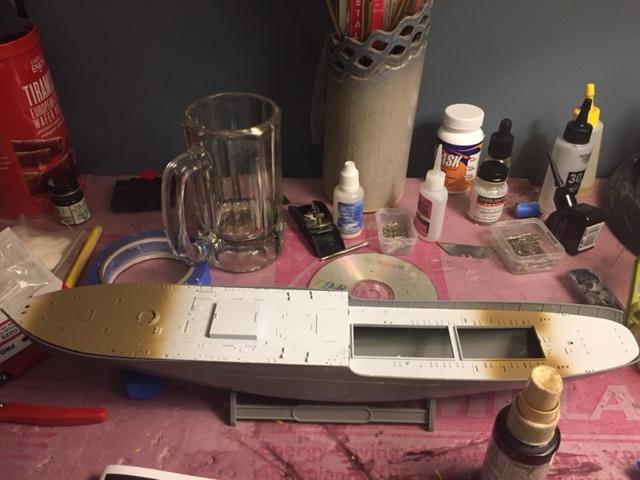
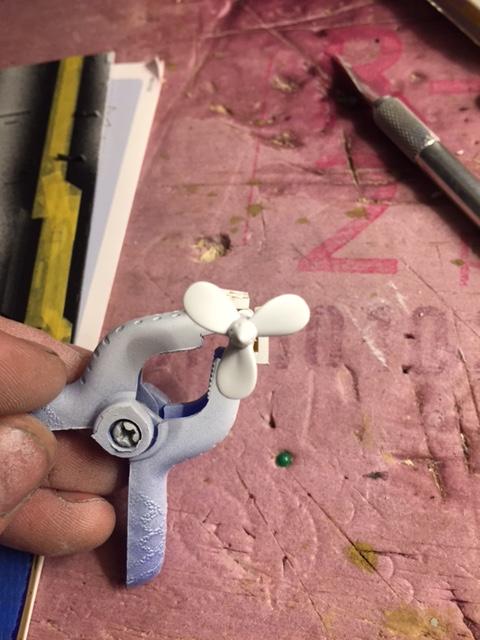
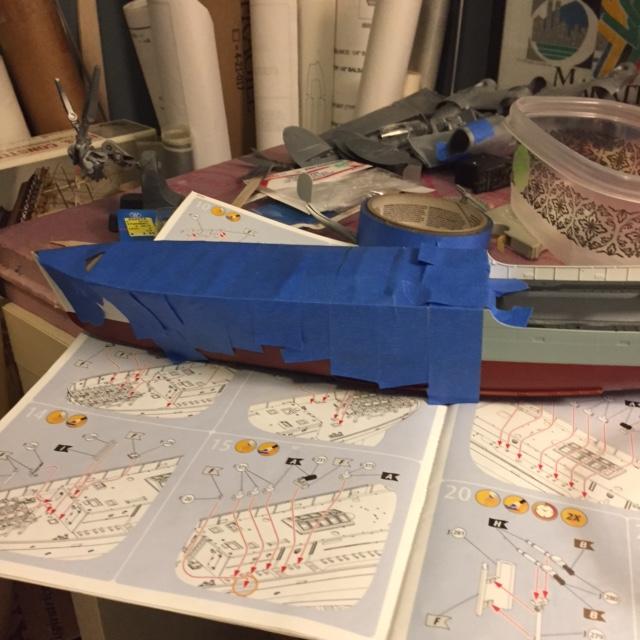
Kyle sent me an update today, and here it is. These are his words:
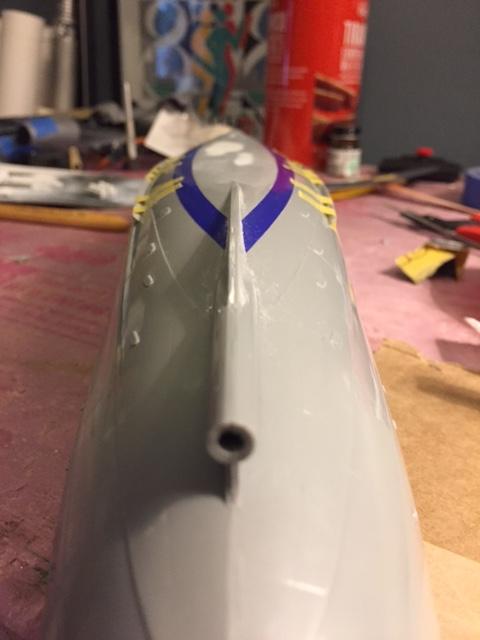
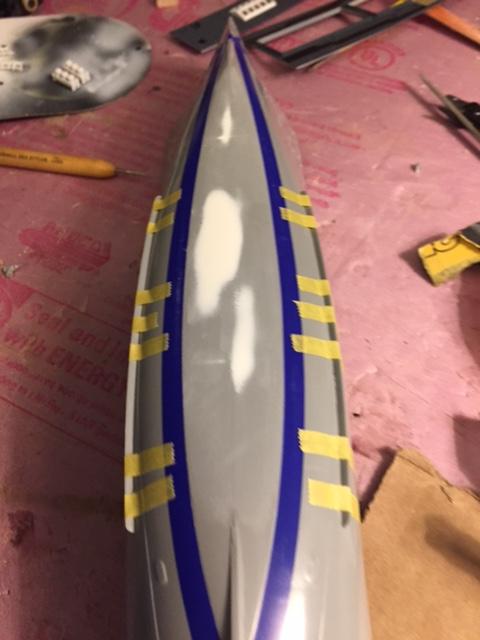
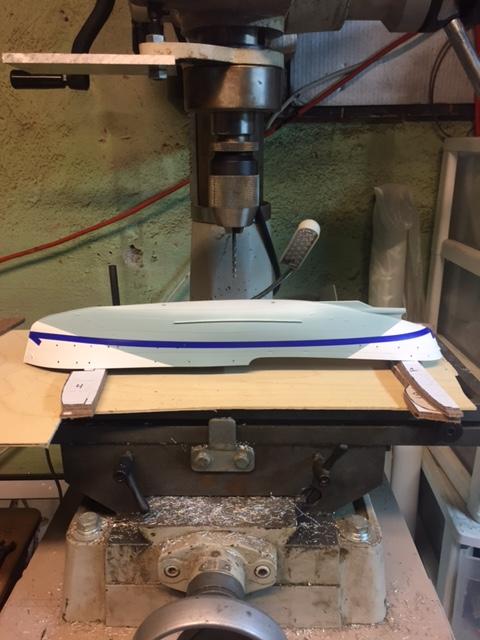
Decks are masked and ready for weathering deck blue which will be a mix of dark gray and field blue at half each.
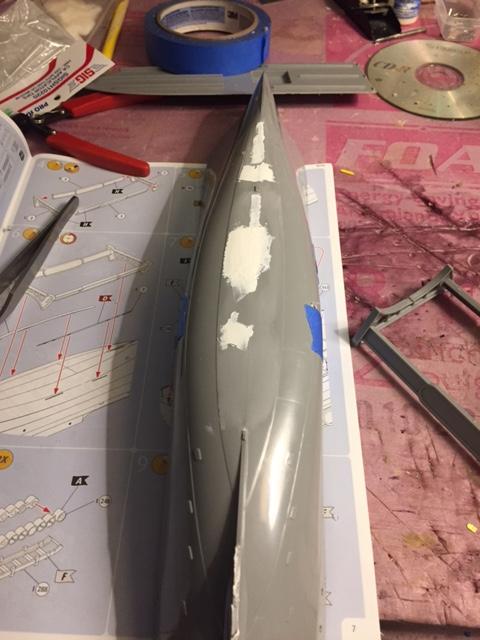
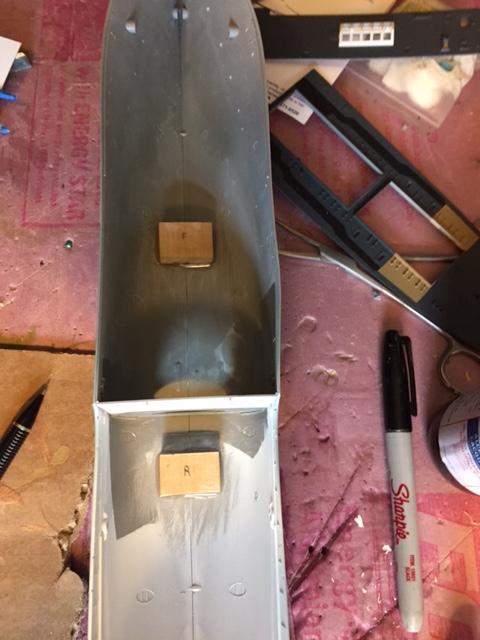
Bottom of the hull has been sanded though I filled the low spot again as it wasn't quite right. Stern piece is glued in and was filled though not pictured.
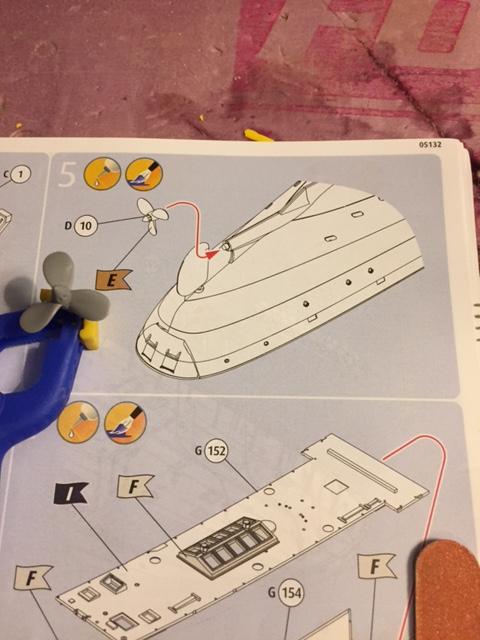
The upper surface was sprayed with Tamiya white with a small amount of light grey added. Prop has been primed and is waiting to be painted bronze.


Tim
Quoted Text
Here are more photos of the build, putting the depth charges together, putting the CSA generators together, doing something to the prop, and painting the decks.
Simon, be advised, Kyle says the seams on the hull are difficult to line up and there is flash as well as seams on the depth charges, but other than that, he likes it.
Oh, yeah, he did say there is warpage where the decks and hull meet.
Tim
Quoted Text
looks a great kit, got one in my stash, so will be following very closely.
Cheers
Si
Connecticut, United States
Joined: August 03, 2008
KitMaker: 875 posts
Model Shipwrights: 872 posts
Posted: Wednesday, September 28, 2016 - 08:57 PM UTC
Connecticut, United States
Joined: August 03, 2008
KitMaker: 875 posts
Model Shipwrights: 872 posts
Posted: Thursday, September 29, 2016 - 08:22 PM UTC
England - South East, United Kingdom
Joined: March 01, 2010
KitMaker: 7,078 posts
Model Shipwrights: 6,649 posts
Posted: Thursday, September 29, 2016 - 10:21 PM UTC
Looking good Tim.
Following with interest.
Si
Connecticut, United States
Joined: August 03, 2008
KitMaker: 875 posts
Model Shipwrights: 872 posts
Posted: Friday, September 30, 2016 - 12:08 AM UTC
Thank you, Si. I like it.
Quoted Text
Looking good Tim.
Following with interest.
Si
Connecticut, United States
Joined: August 03, 2008
KitMaker: 875 posts
Model Shipwrights: 872 posts
Posted: Sunday, October 02, 2016 - 12:54 AM UTC
Connecticut, United States
Joined: August 03, 2008
KitMaker: 875 posts
Model Shipwrights: 872 posts
Posted: Sunday, October 02, 2016 - 09:04 PM UTC

#084
Quebec, Canada
Joined: September 14, 2005
KitMaker: 2,485 posts
Model Shipwrights: 1,157 posts
Posted: Monday, October 03, 2016 - 06:46 AM UTC
She is coming along just fine....looking forward to seeing the
mods that will be made to superstructure and and other details, to
see how different the US corvettes were from the RCN ones.
Cheers,
Joe
Connecticut, United States
Joined: August 03, 2008
KitMaker: 875 posts
Model Shipwrights: 872 posts
Posted: Monday, October 03, 2016 - 07:46 PM UTC
Joe,
Chris Preston from BC in Canada told me that the SAUCY was the very same as SNOWBERRY when the USN took delivery of the FLOWER which became the SAUCY.
Connecticut, United States
Joined: August 03, 2008
KitMaker: 875 posts
Model Shipwrights: 872 posts
Posted: Tuesday, October 04, 2016 - 02:02 AM UTC
Connecticut, United States
Joined: August 03, 2008
KitMaker: 875 posts
Model Shipwrights: 872 posts
Posted: Tuesday, October 04, 2016 - 09:06 PM UTC
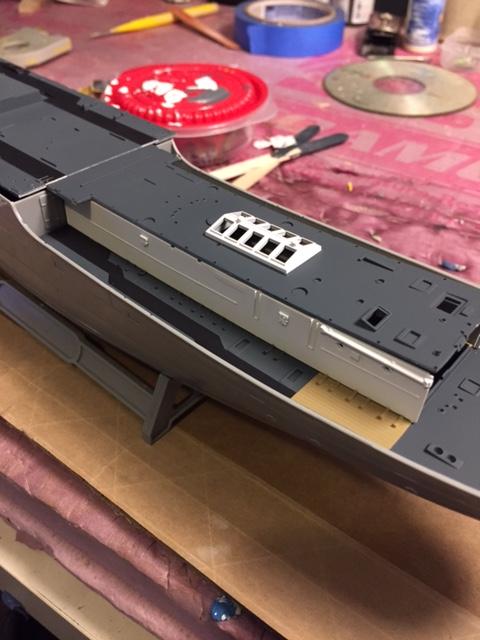
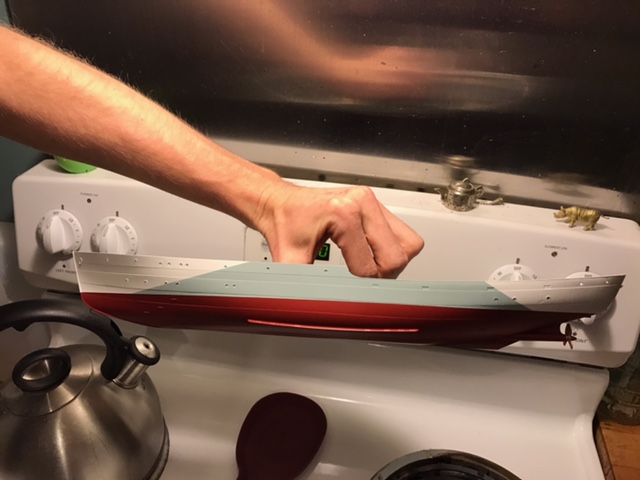
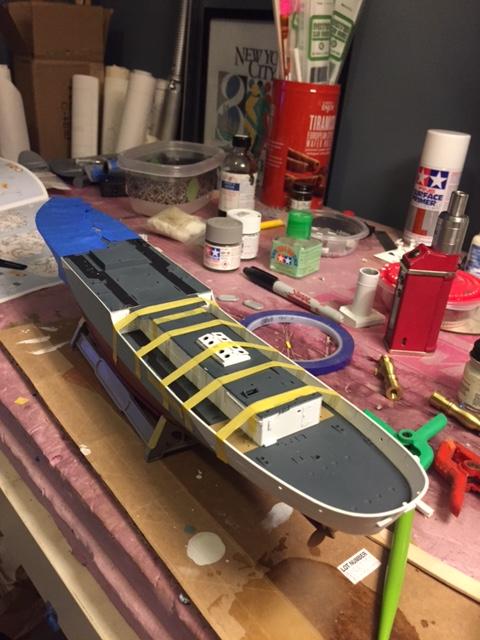
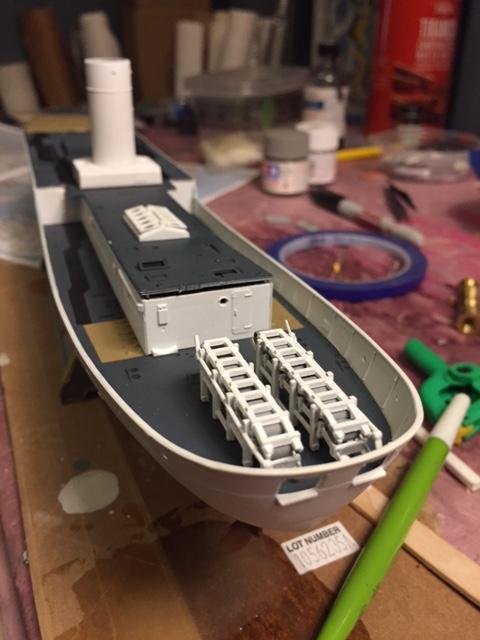
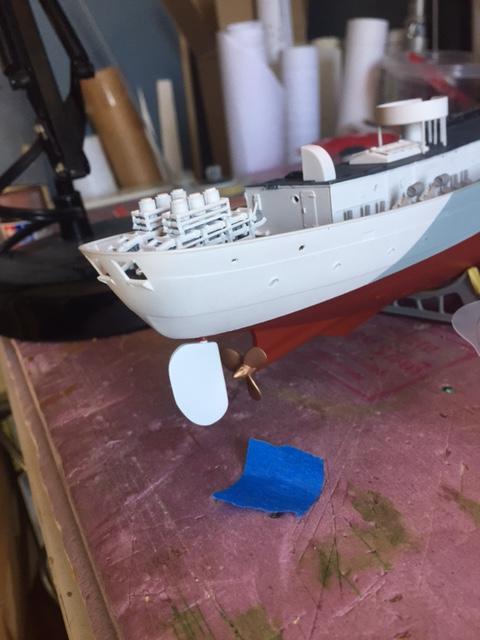
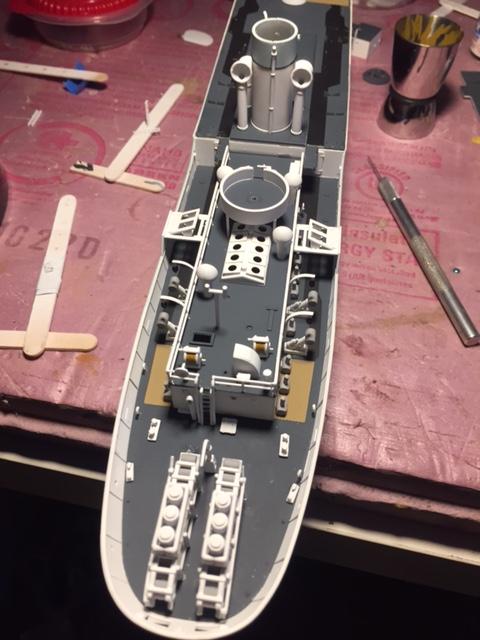
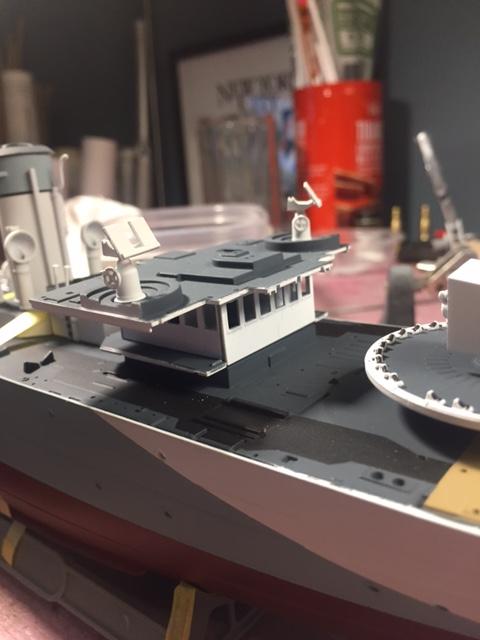
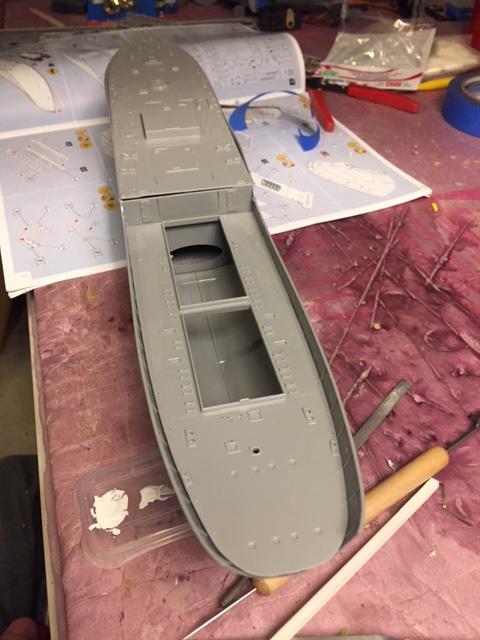
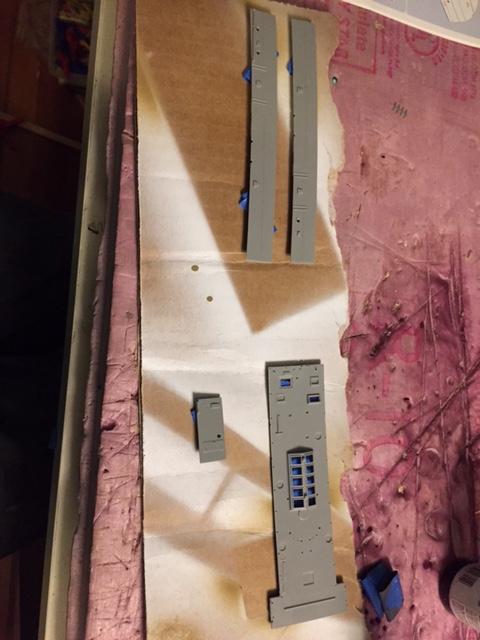
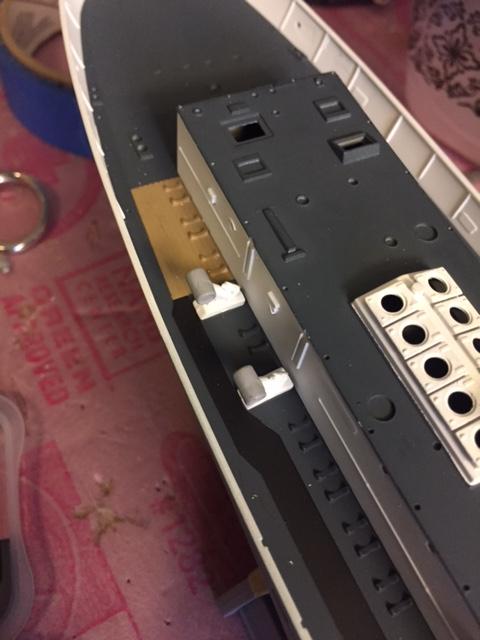
Kyle sent me an update today. This is what he said: Front deck went on last night, I had to tack glue the front with super glue then pull in the sides with tape and liquid glue to adhere. The racks were a bit of a pain too, they design the top and bottom to fit into notches but there was no way they'd fit so I finagled a little. They will require white touch ups but I wanted to show you the progress.
Here are some photos:
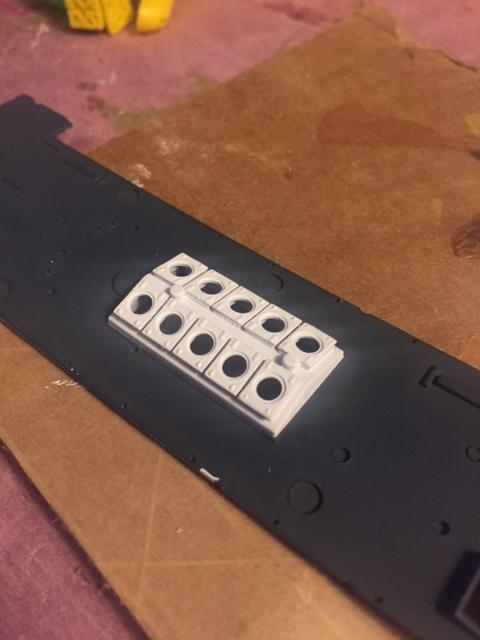

Tim
Connecticut, United States
Joined: August 03, 2008
KitMaker: 875 posts
Model Shipwrights: 872 posts
Posted: Wednesday, October 05, 2016 - 09:16 PM UTC
#345
Niedersachsen, Germany
Joined: August 22, 2011
KitMaker: 1,835 posts
Model Shipwrights: 1,832 posts
Posted: Thursday, October 06, 2016 - 09:26 PM UTC
Tim,
pretty professional work Kyle is doing there, this is really taking shape! Fine model and very crisp and clean work!!
Cheers,
Jan
Connecticut, United States
Joined: August 03, 2008
KitMaker: 875 posts
Model Shipwrights: 872 posts
Posted: Thursday, October 06, 2016 - 09:34 PM UTC
Jan,
Yes ... I am very impressed with the work which Kyle is doing.
Quoted Text
Tim,
pretty professional work Kyle is doing there, this is really taking shape! Fine model and very crisp and clean work!!
Cheers,
Jan
Connecticut, United States
Joined: August 03, 2008
KitMaker: 875 posts
Model Shipwrights: 872 posts
Posted: Friday, October 07, 2016 - 04:34 AM UTC
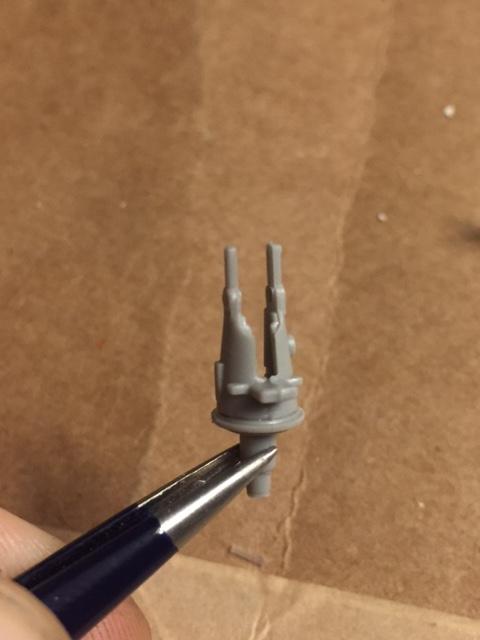
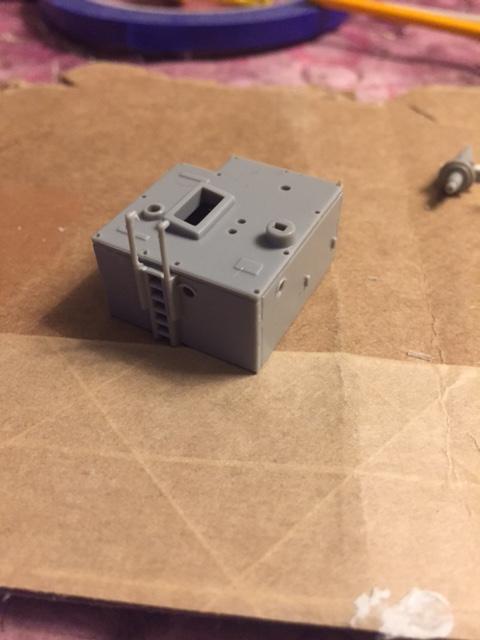
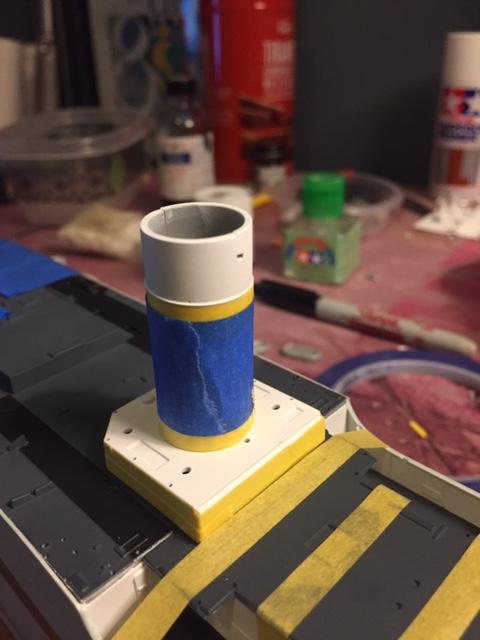
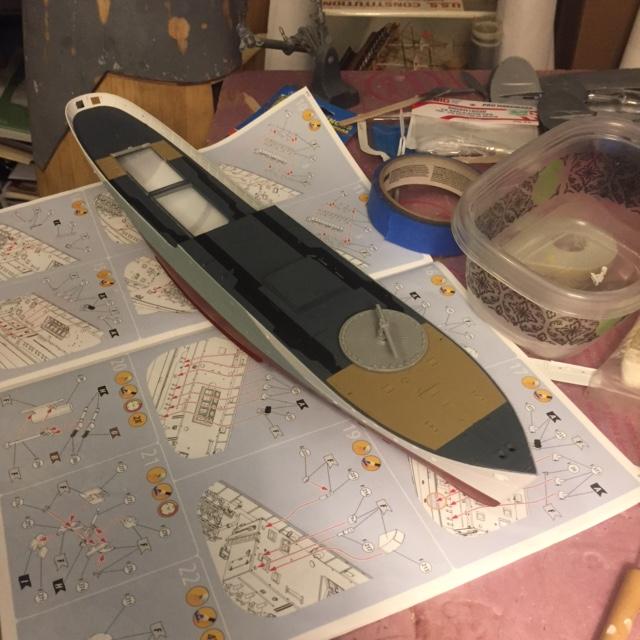
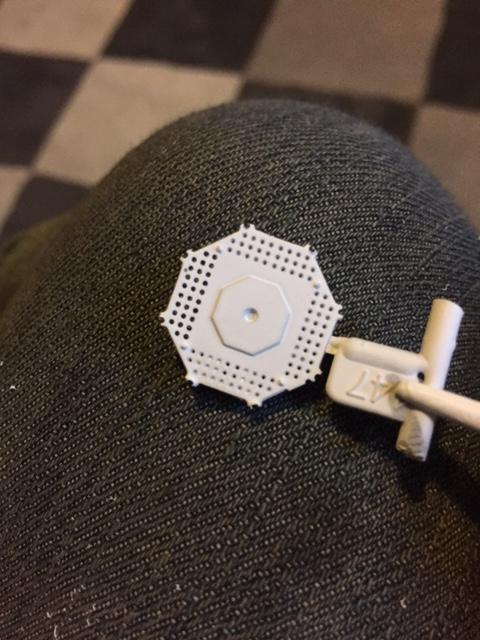
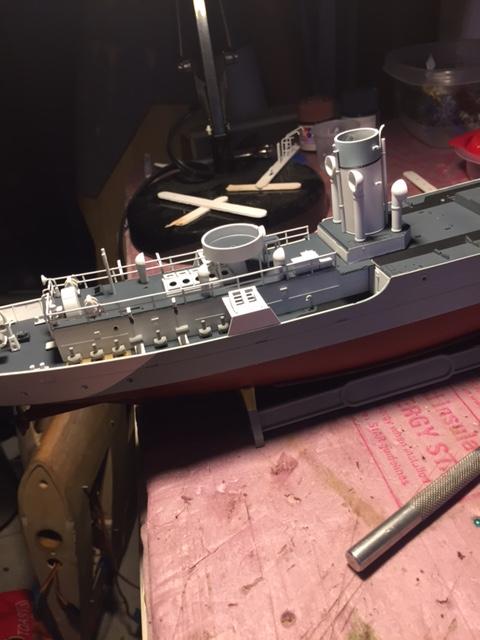
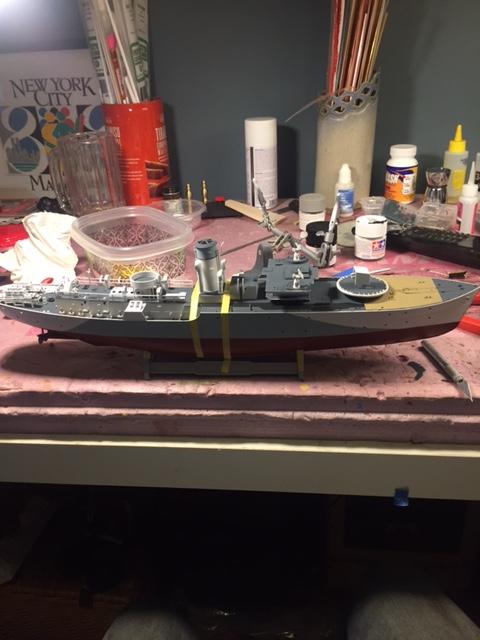
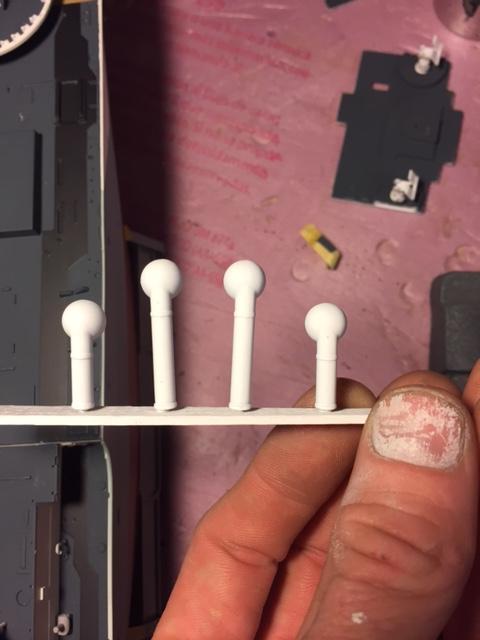
Kyle just sent me an update. He has started to mount the depth charges along the sides and he has started on making its mast. He also had a placard made for the base.
Here are some photos:
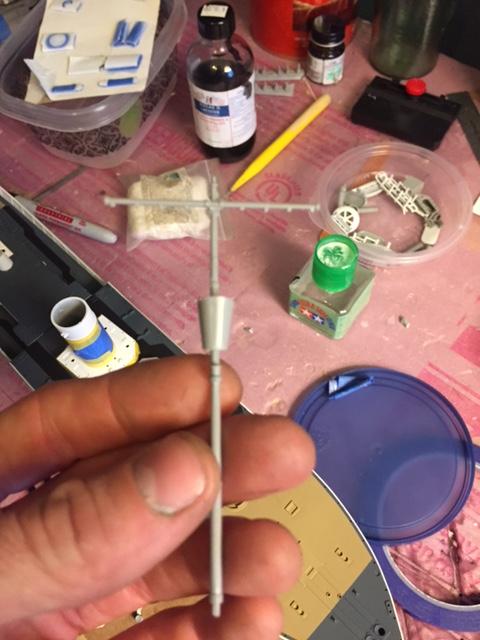

Tim
Connecticut, United States
Joined: August 03, 2008
KitMaker: 875 posts
Model Shipwrights: 872 posts
Posted: Monday, October 10, 2016 - 01:16 AM UTC
Connecticut, United States
Joined: August 03, 2008
KitMaker: 875 posts
Model Shipwrights: 872 posts
Posted: Wednesday, October 12, 2016 - 04:31 AM UTC
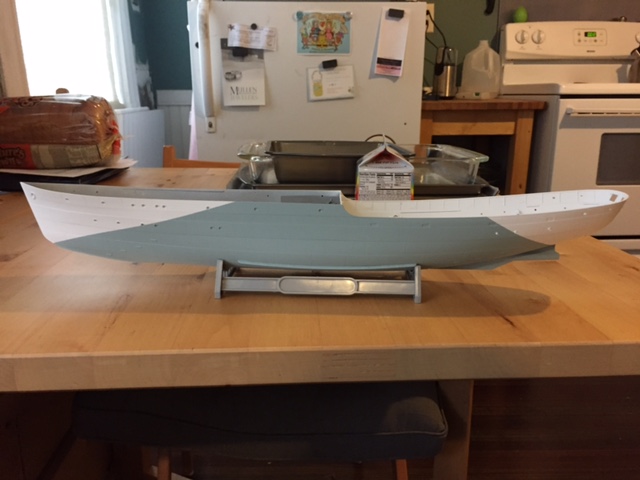
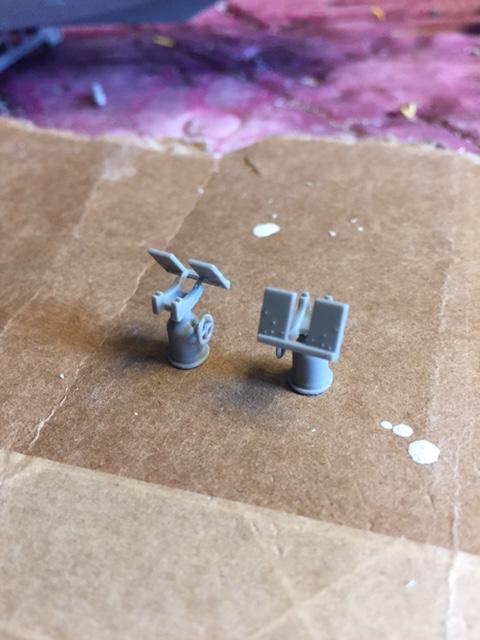
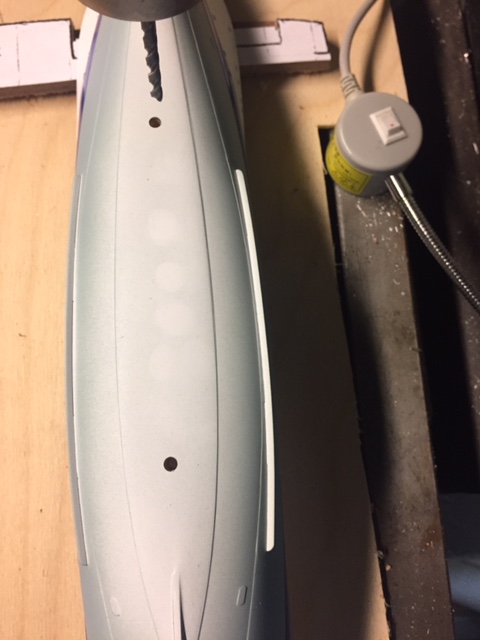
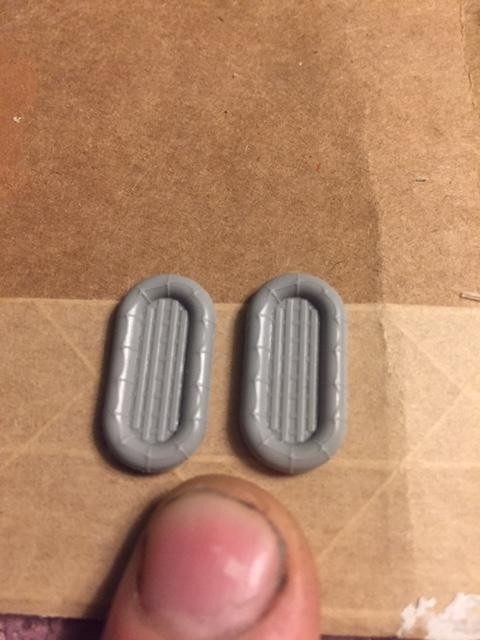
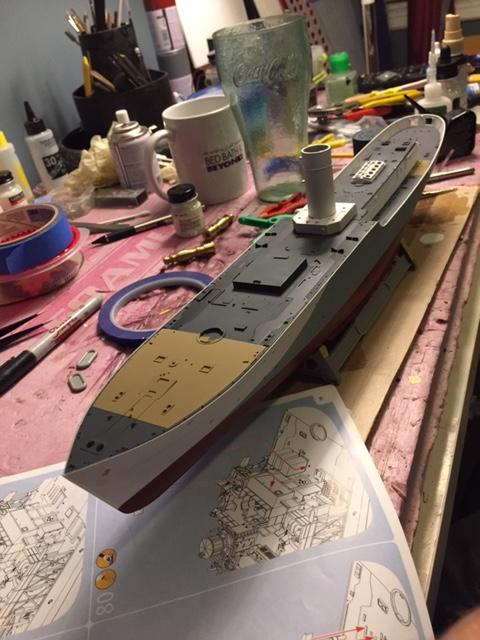
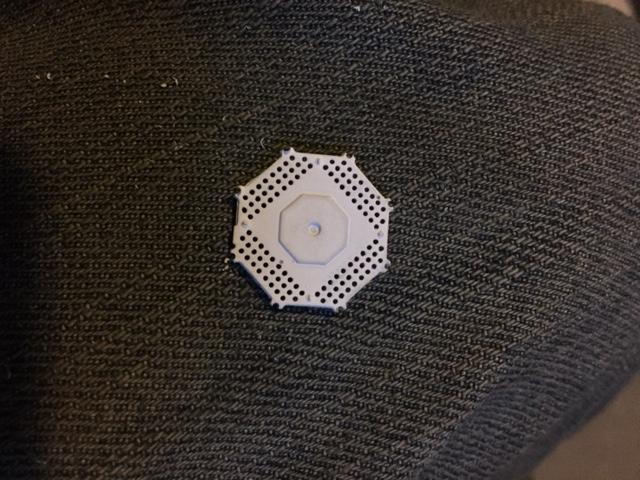
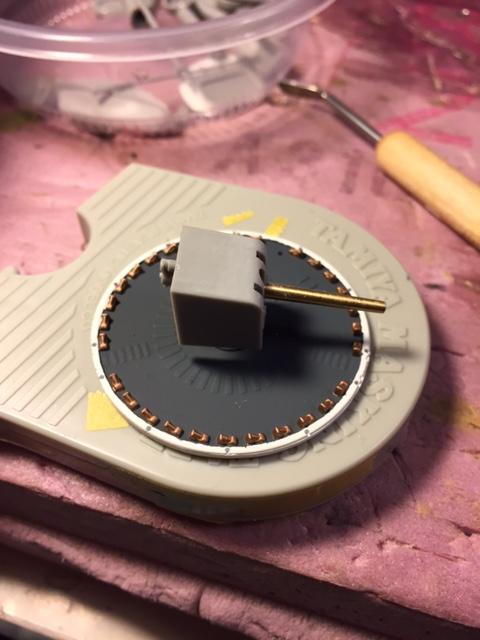
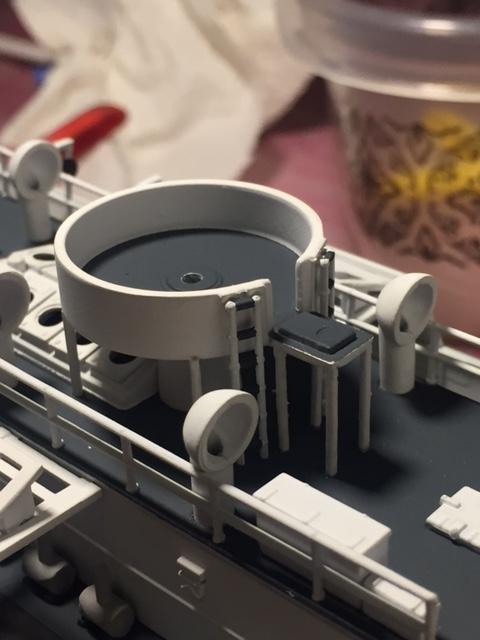
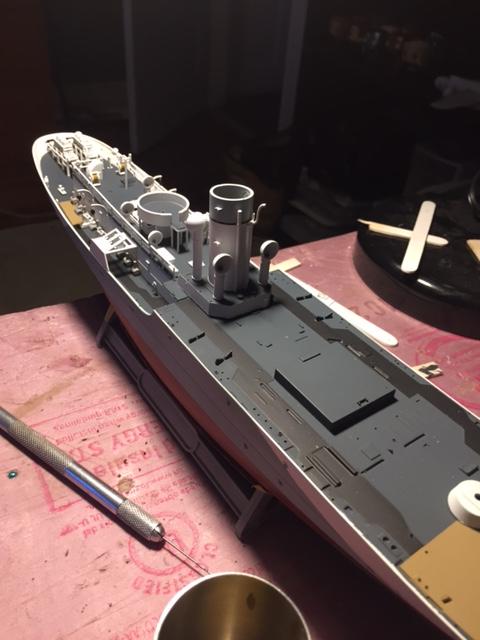
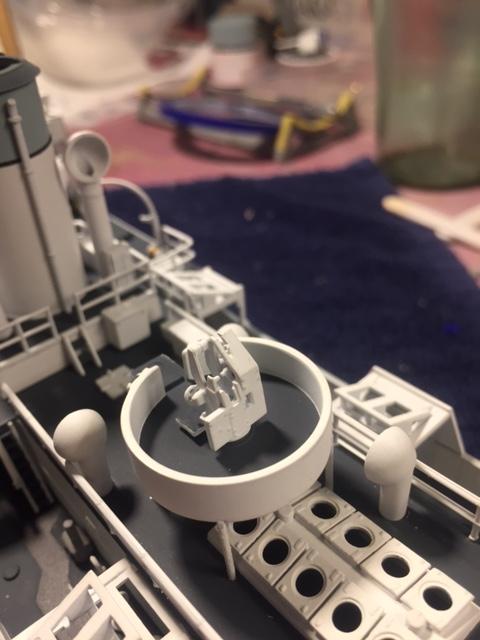
Kyle sent me another update today, and this is what he said: A little more progress, painted some small parts white and attached them. The Pom Pom and 4" gun mounts are painted. The platform is just resting on the deck but the pedestal is attached.
Here are some photos:
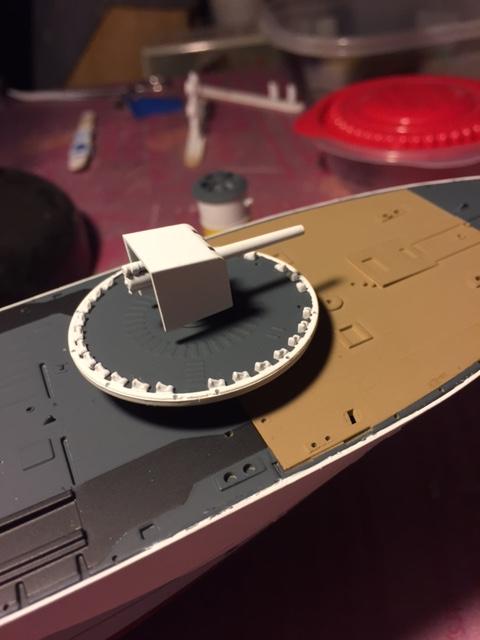

Tim
Connecticut, United States
Joined: August 03, 2008
KitMaker: 875 posts
Model Shipwrights: 872 posts
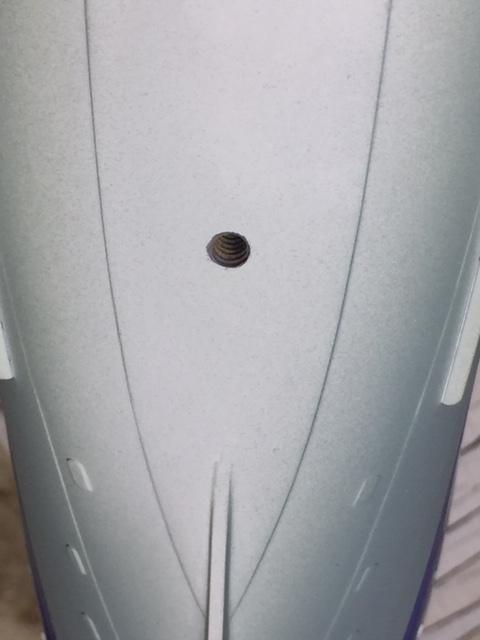
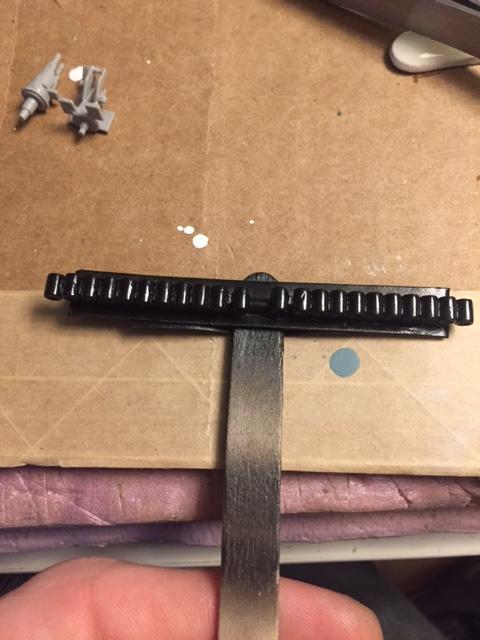
Posted: Friday, October 14, 2016 - 01:43 AM UTC
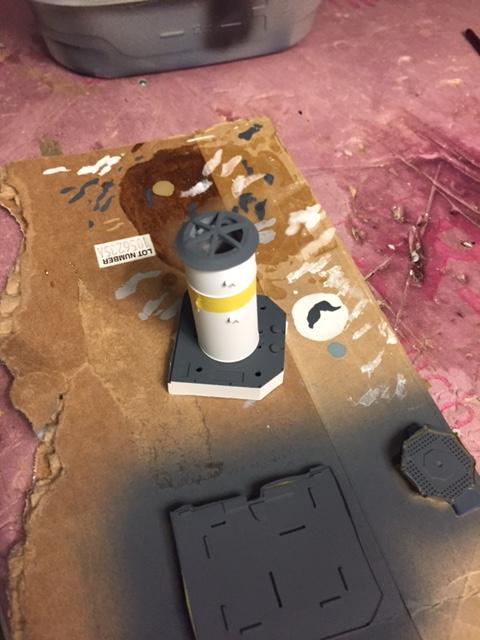
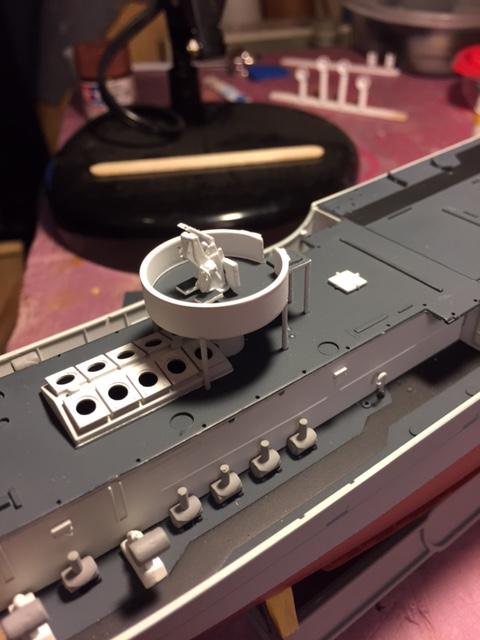
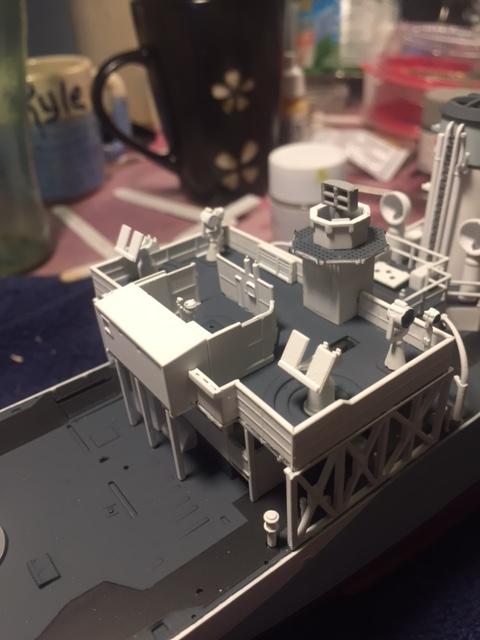
Kyle sent me an update this morning. Heres what he said, Got some more parts on last night. I'm preparing more parts now for primer and paint. I'm closing in on being done with the aft section.
Here are some photos:

Tim
Connecticut, United States
Joined: August 03, 2008
KitMaker: 875 posts
Model Shipwrights: 872 posts
Posted: Tuesday, October 18, 2016 - 10:51 PM UTC
#345
Niedersachsen, Germany
Joined: August 22, 2011
KitMaker: 1,835 posts
Model Shipwrights: 1,832 posts
Posted: Thursday, October 20, 2016 - 09:18 AM UTC
Hi Tim,
Kyle is doing an amazing job there - crisp and clean work at an amazing speed! It's fun to watch this project grow!!
Cheers,
Jan
Connecticut, United States
Joined: August 03, 2008
KitMaker: 875 posts
Model Shipwrights: 872 posts
Posted: Thursday, October 20, 2016 - 09:14 PM UTC
Yes, he is, Jan.
Quoted Text
Hi Tim,
Kyle is doing an amazing job there - crisp and clean work at an amazing speed! It's fun to watch this project grow!!
Cheers,
Jan
Connecticut, United States
Joined: August 03, 2008
KitMaker: 875 posts
Model Shipwrights: 872 posts
Posted: Tuesday, November 08, 2016 - 10:08 PM UTC
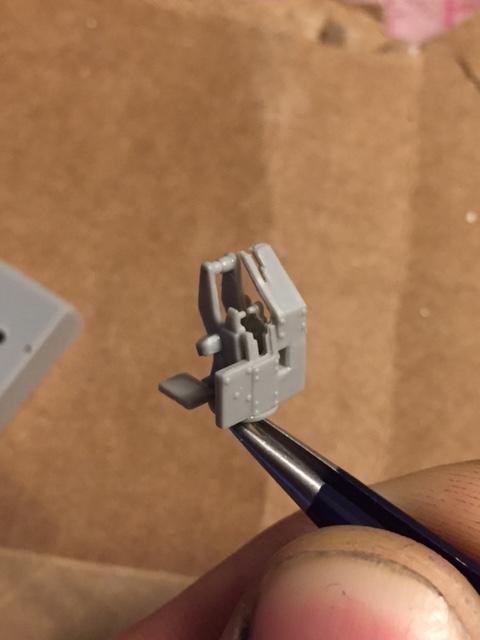
Hi Guys,
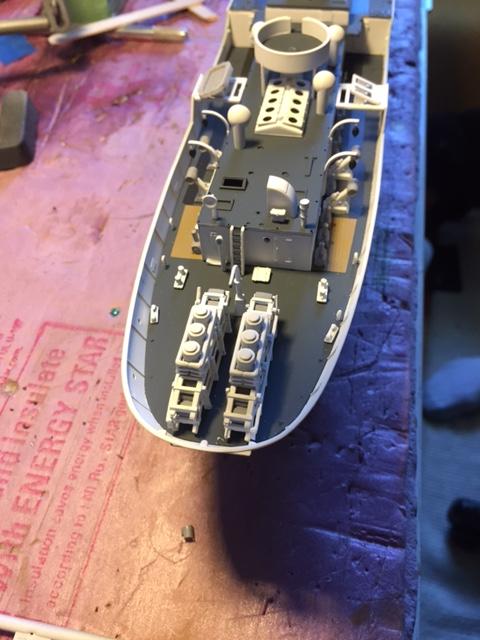
Kyle sent me an update last night, this is what he said: Hey Tim sorry for the lack of progress but work had been really kicking my butt. I did a little last night, I got the spotlights, guns and Pom Pom glued in. I also got the front railing section on the upper deck. Temporarily on hold until I can get to Hobby Lobby for some more primer.
Here are two photos:
Tim