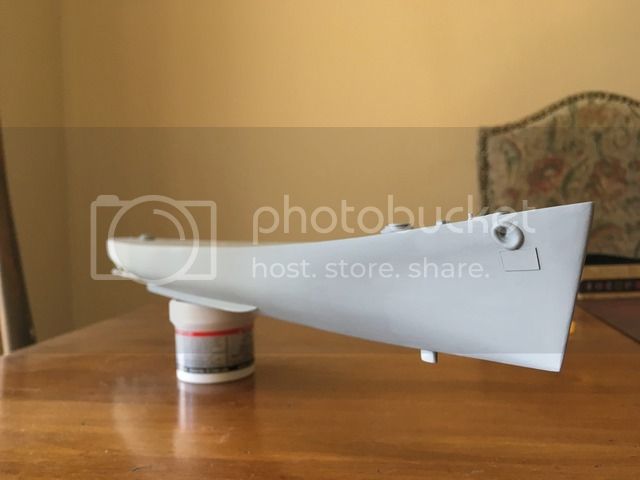
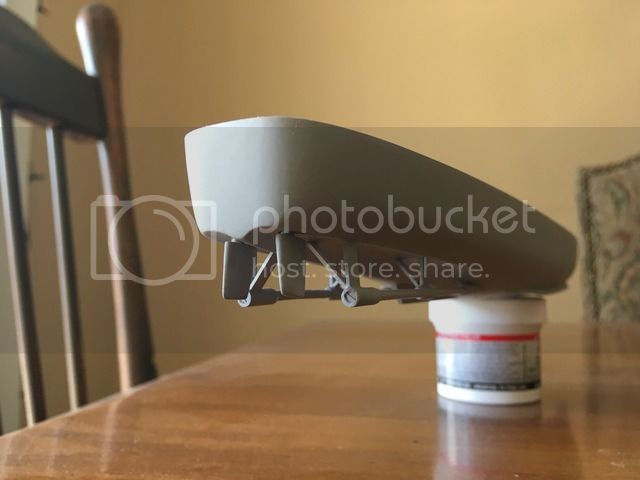
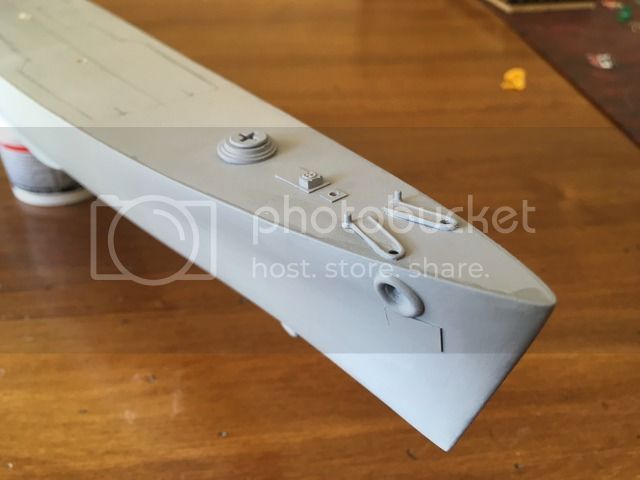
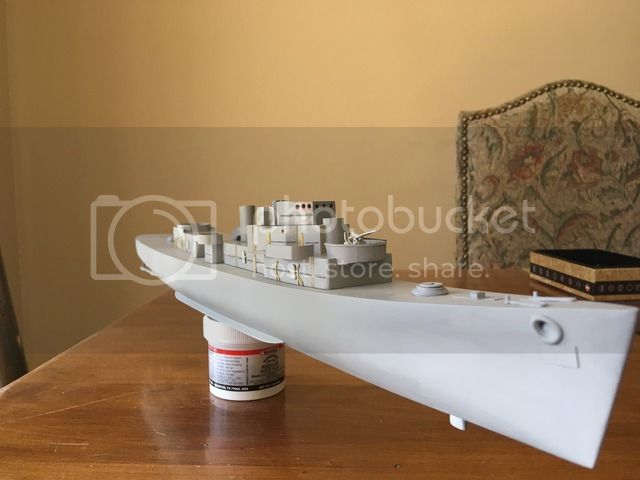
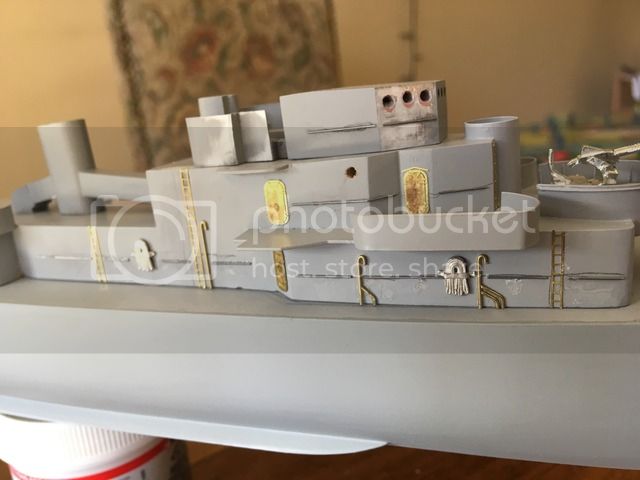
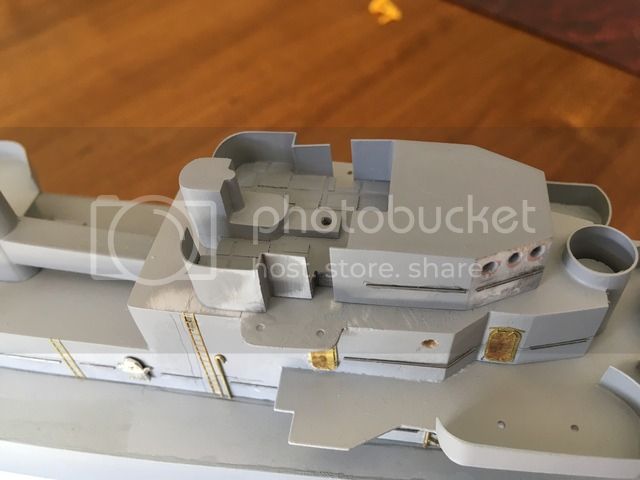
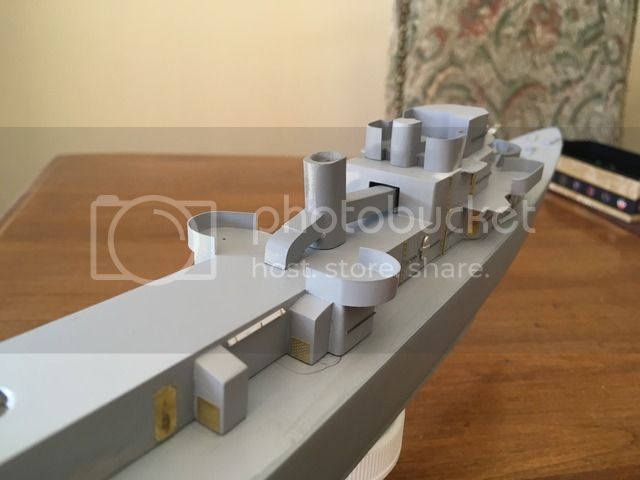
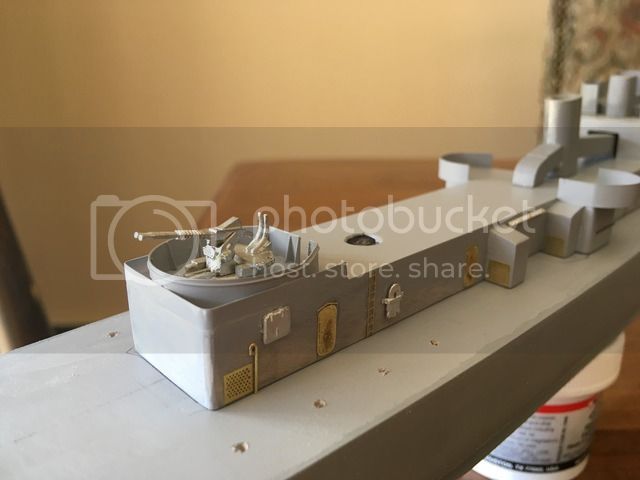
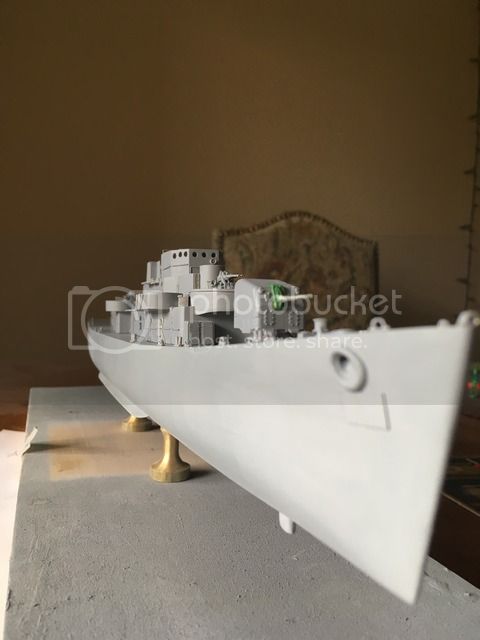
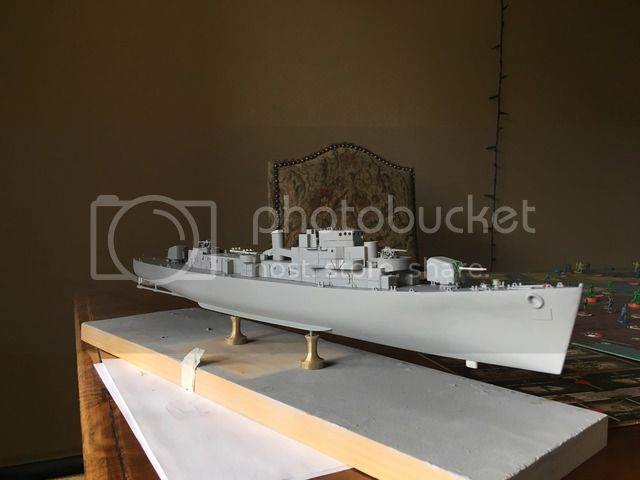
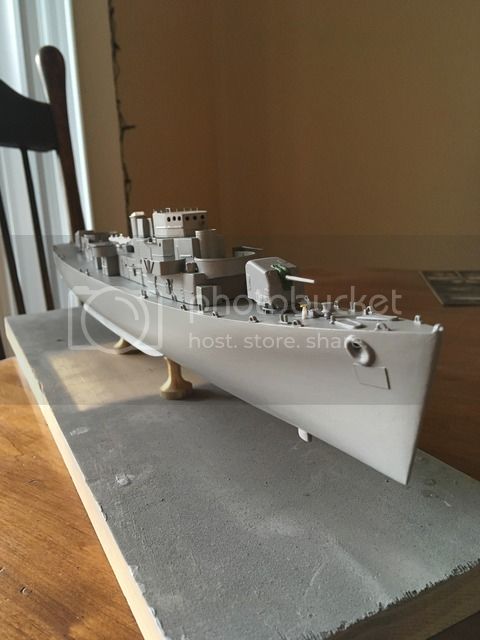
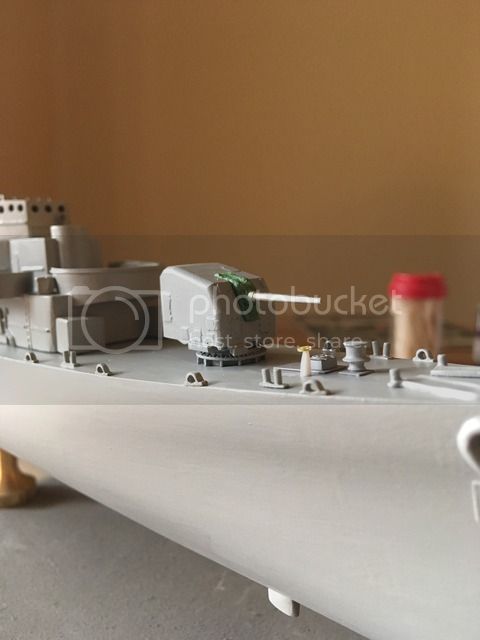
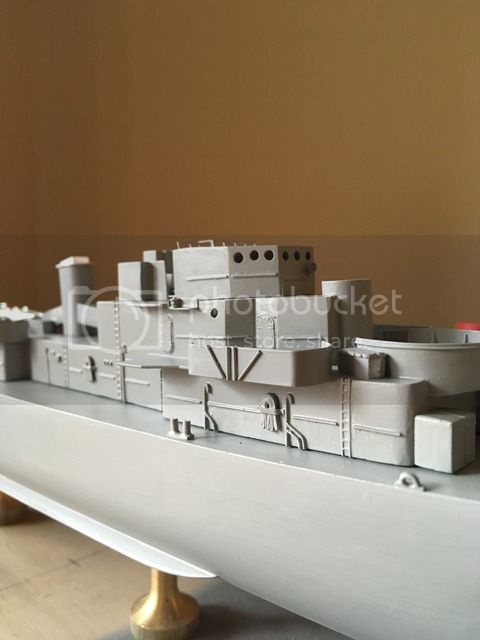
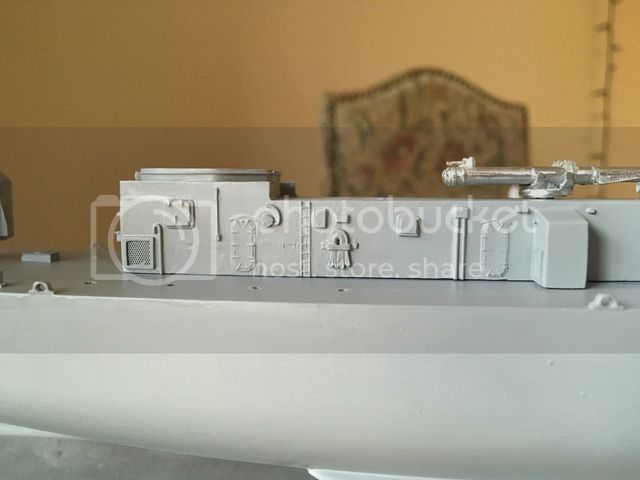
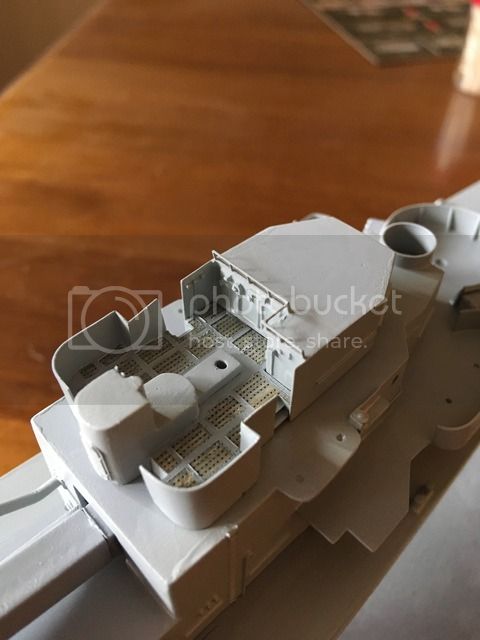
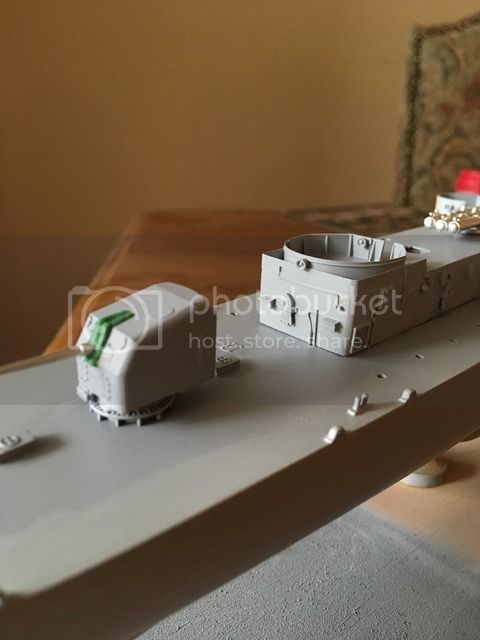
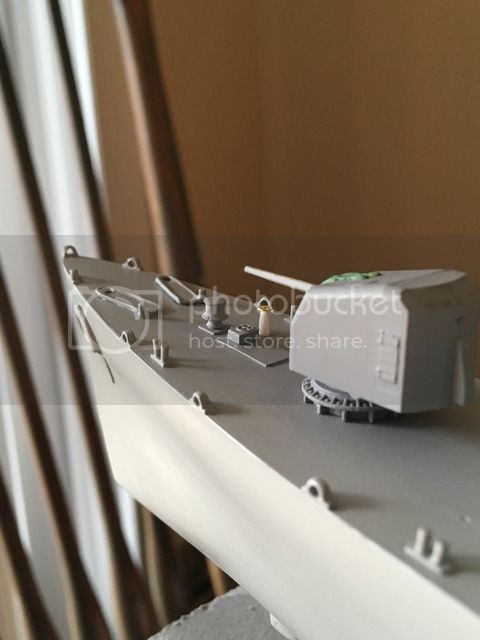
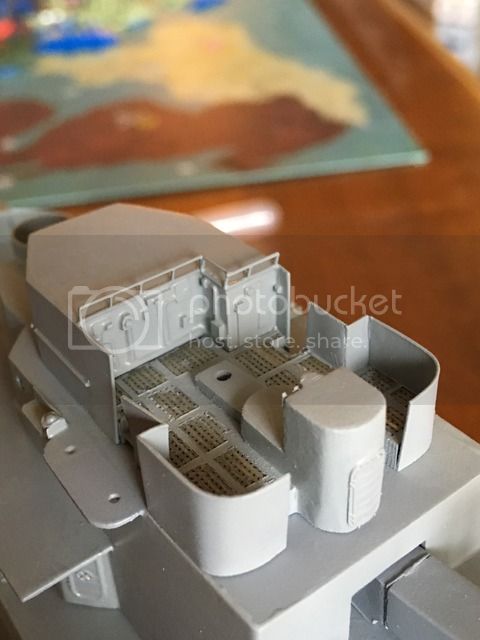
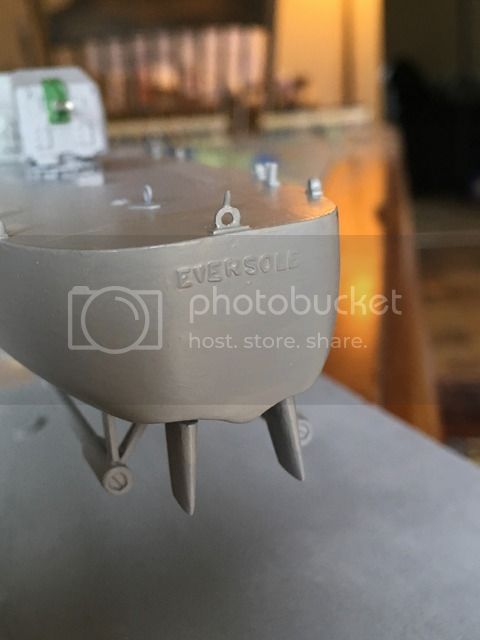
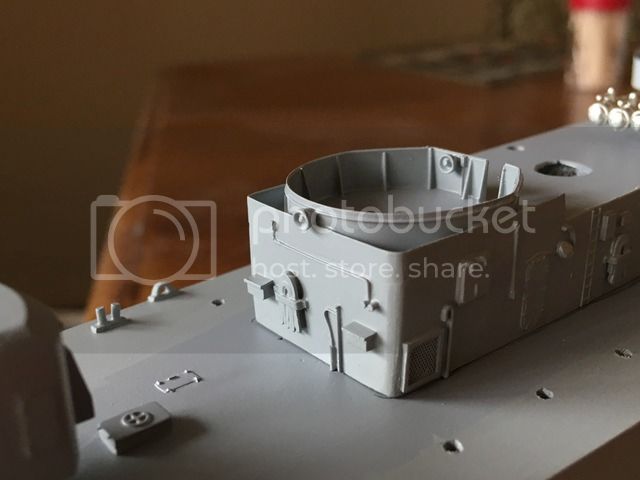
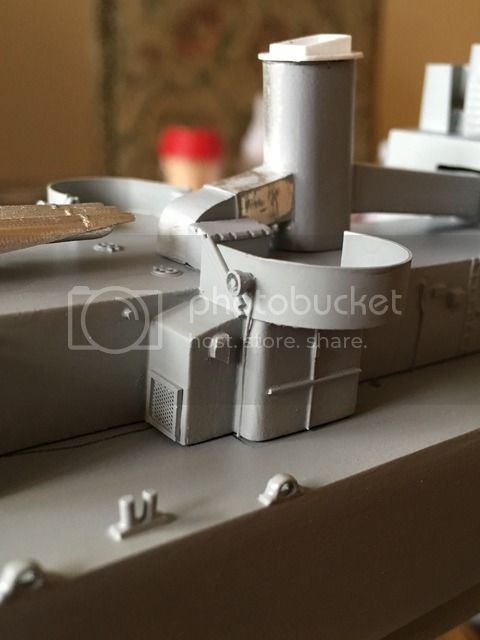
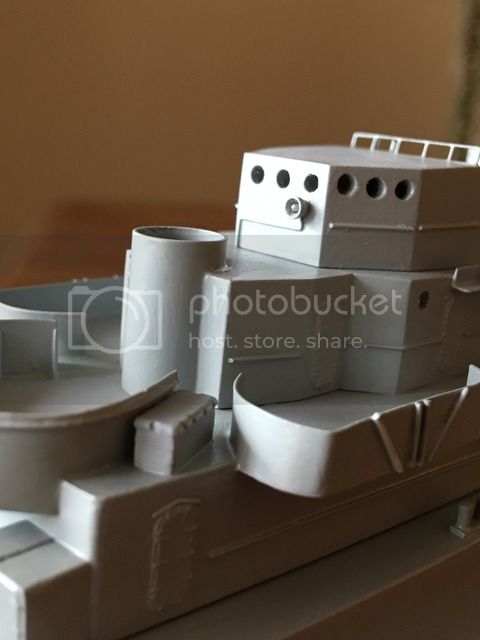
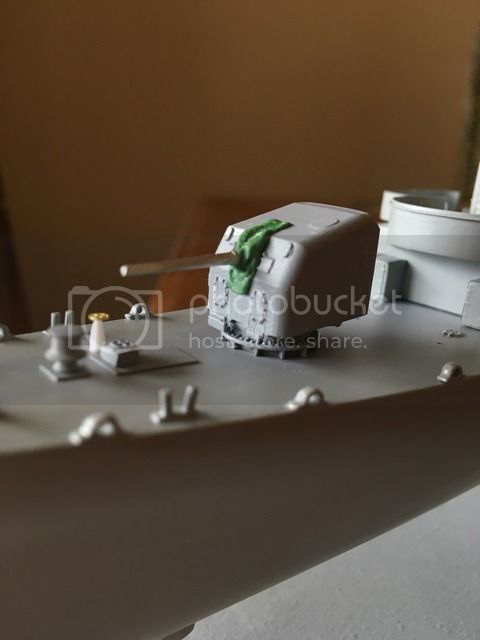
This is my first build in several years...college etc always gets in the way for a little but, but I'm glad to be back at the hobby. I recently moved to Colorado and left much of my model making supplies back at home on the east coast, so I'll be painting this model without the use of an airbrush. I'm viewing this as a challenge to improve my brush painting skills.
But enough babble, here are some pictures:
The box, safely packaged, arrived from Maine via UPS last Wednesday:

A very crude, unmeasured mockup for size of the ship:

Step one is the sanding and shaping of the hull. The kit comes with a set of contour plans to help you get the shape right. After working on the shape, I chiseled out what the directions call the "knuckle" which extends from the stern about 1/3 of the length of the ship. This is where the shafts go. Does anyone know if there is a correct term for these cutouts? At any rate, I slowly chiseled them away, purposefully removing too much wood with the intention of back-filling with putty to ensure a smoother shape.

Intentionally deep cutouts complete.

Sanding of the skeg for a perfect fit. This was undeniably satisfying.

I spread cheap automotive body filler over the hull to fill small imperfections, and began to rebuild certain parts of the bow which were misshapen during the carving process. I did the same later on around the edges of the deck in order to achieve a crisp 90 degree angle where the deck meets the side of the ship.

Round one of back-filling the propeller shaft cutouts.

Apologies for the poorly lit photo, but putty round two after a first round of sanding. Here I applied putty all around the edge of the deck in order to build up those crisp edges.

Happy modelling!
-Andrew


