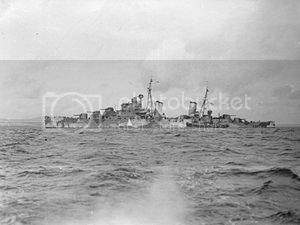
In the beginning of her career, she performed convoy escort duties, and spent some time in the Mediterranean. On the 11th of March, 1942 while steaming North of Crete, at approximately 19:58 hours, the Type VII C German U-Boat U-565 lay submerged off of her starboard bow and fired a spread of three torpedoes from a distance of approximately 1,000 meters. The Naiad crew watched one torpedo go in front of the ship, and another behind. The 3rd torpedo struck dead amidships on the starboard side. The explosion split her bulkheads and she immediately listed hard to starboard. Captain Grantham gave the abandon ship order and 35 minutes after the impact, the Naiad rolled to starboard, capsized, and sank by the stern just North of Sidi Barrani, Egypt. She took 77 souls with her. Her 582 survivors were plucked from the dark sea by her accompanying fleet. U-565 quietly slipped away, escaping the depth charge screen that was set by the Naiad's escorts.
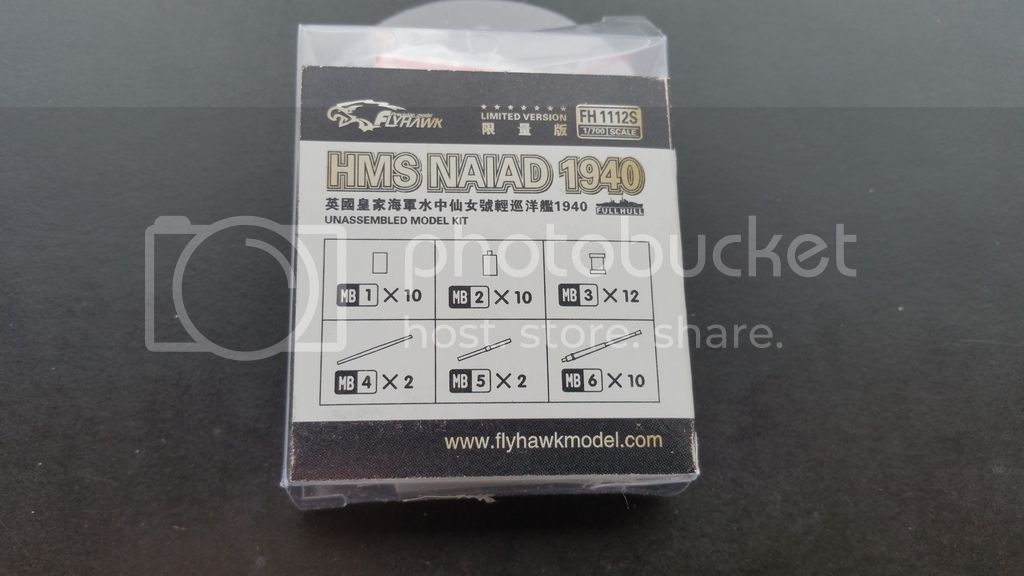
In December 2016 Flyhawk Model released a Global Limited Edition 1/700 kit of this proud ship. Kit # FH 1112S comes packaged in an attractive and sturdy box, complete with a banner advertising the limited run of 1000 kits and bonus parts included within (and trust me, there are a lot of bonus parts).
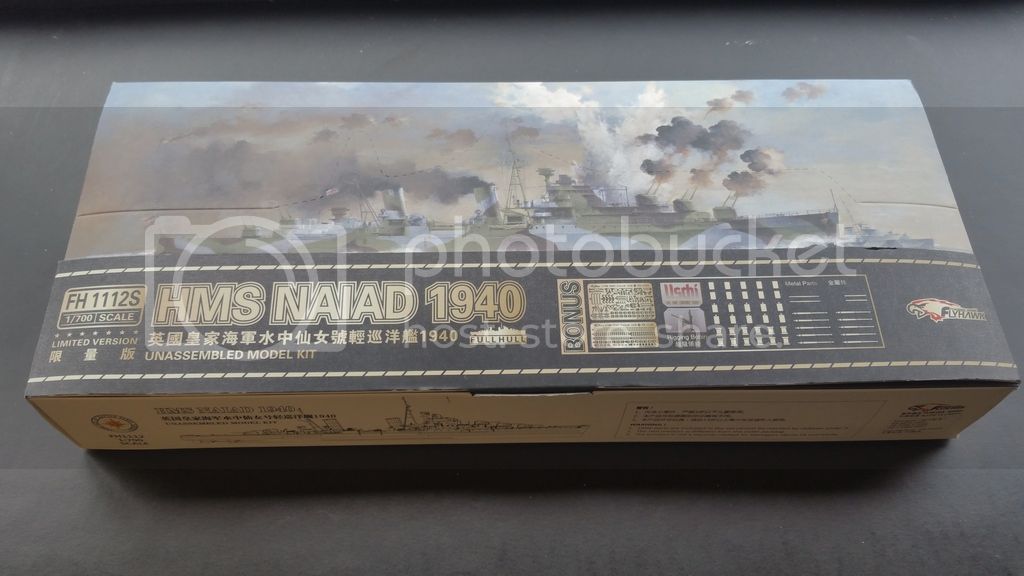
Upon opening the shipping packaging, I was greeted with a throwback to my youth. The product box is made to display the model when completed. There is a perforated cut-out on the front of the box, and then a sea-scape to fold and rest your ship on. Also, inside is a very nice card stock print of the cover art, complete with details of the ship on the reverse.

Kit # 876 : 1000
Inside the box is another plain brown cardboard box full of parts. Theres also a small clear plastic container that carefully protect the four, finely cast masts, two sheets of PE parts on a card, supplementary instructions for the PE, some Uschi rigging line, and a smaller box full of tiny metal parts.

A nice piece of cardstock art for your shop wall.
Opening the inner box, I discovered more PE parts, a small decal sheet with ensigns on it, a keel weight, instructions, and six bags of plastic frets. Theres also another clear plastic box containing slide molded superstructure pieces.
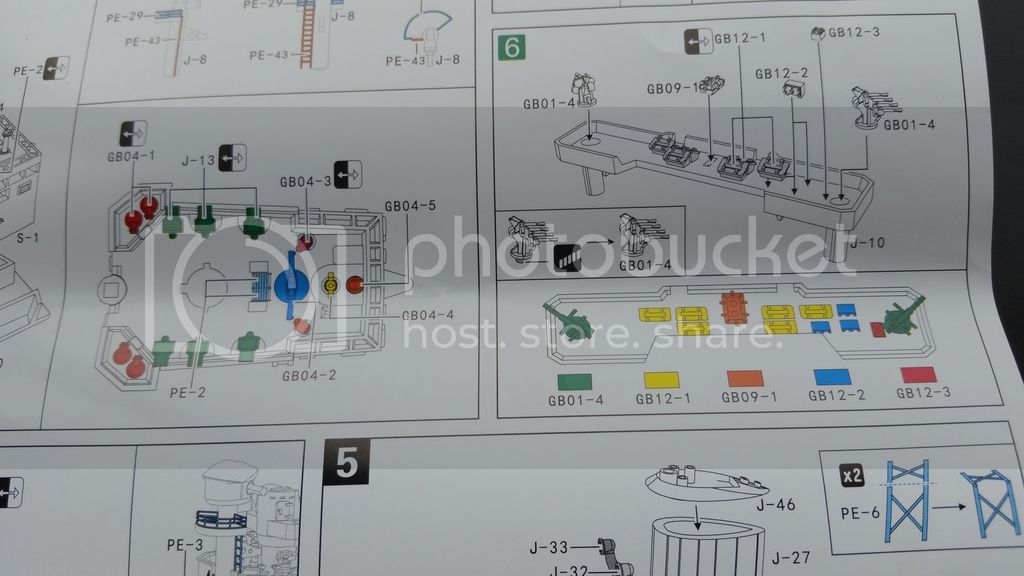
The instructions are very well done.
There are two long, glossy pages of instructions printed in color, with excellent detail. Considering the small scale of this kit, clear and concise guidance is invaluable. The painting guide calls out Mr. Hobby, and Tamiya colors (along with something in Mandarin). Again, the color references make this an indispensable piece of the build.

Uschi rigging bobbin included!
Moving into the PE, the standard kit has the one PE card featuring the railings, anchor chains, and some fittings. The bonus pieces are two more PE cards with some of the smallest pieces Ive ever seen. Theres an instruction sheet included with the bonus PE that shows more color diagrams, and some actual color photos of the parts used on the model. This is of great help, and serves to constantly remind me of how much better I can be at bending my PE.


Loupe not included*
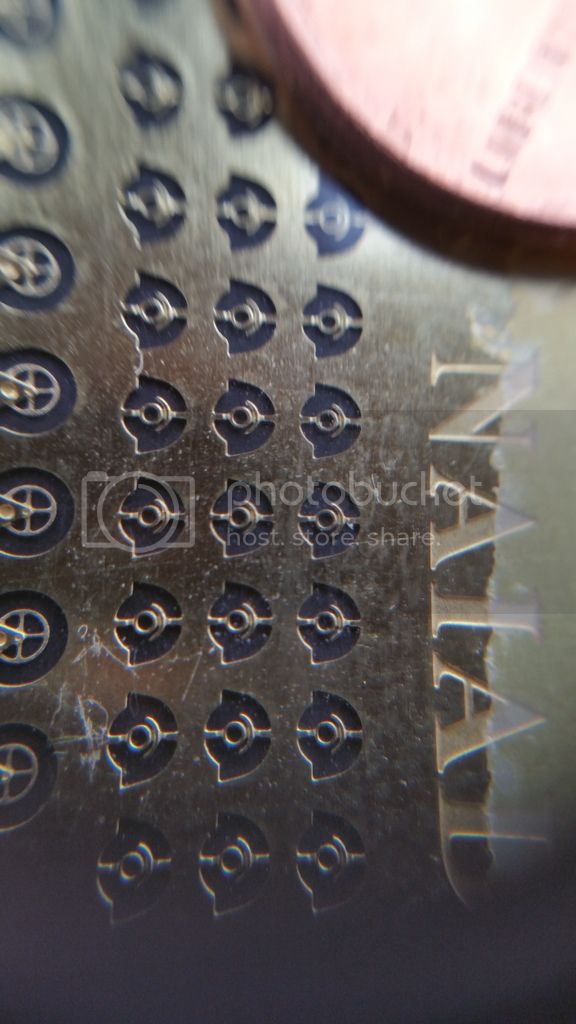
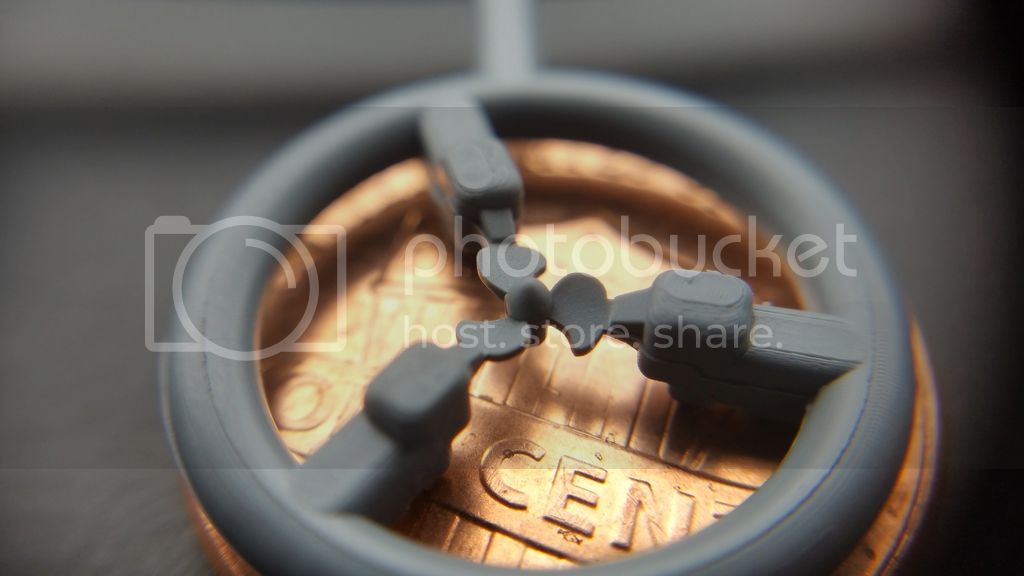
Continuing on to the box containing the metal parts, there are six small zip bags in the box. Each bag contains metal detail parts for a specific portion of the ship. They include depth charges and gun barrels that are so small that if you ping one of them into oblivion there will be zero chance of recovery. Extra care must be taken at all times when handling these pieces, as simply exhaling would be enough to cause them to devoured by the Carpet Monster. There are 46 metal pieces included in this box in total. A jewelers loupe is not included, but should be a requirement for this portion of the build.

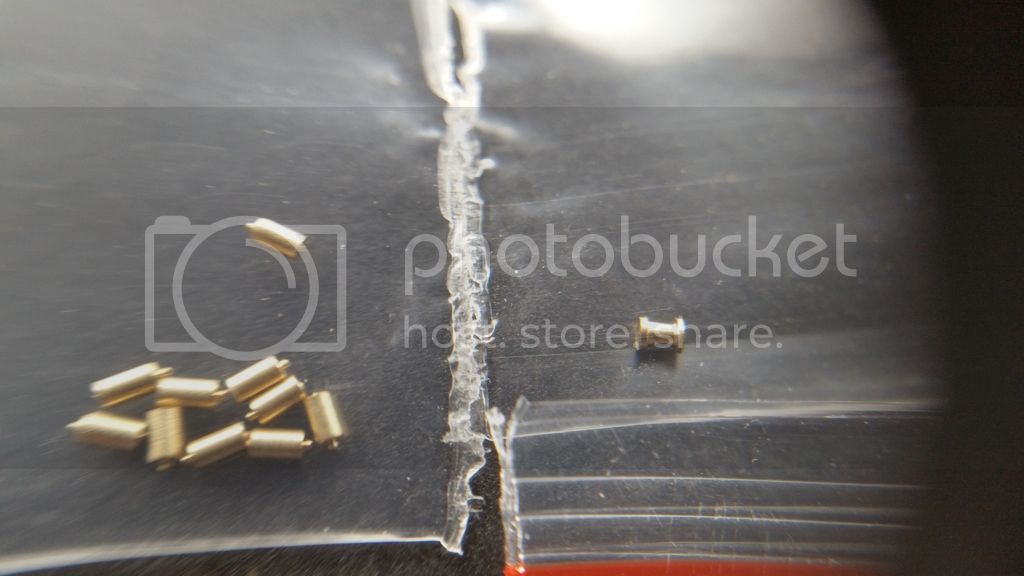
These depth charges are about the size of a grain of coarse sand.

The gun barrels are bored. Incredible.
Looking at the masts, there are four of them (plus a spar) contained in the protective box. They are some of the finest molding I have seen. Looking at them with magnification, there is nary a seam line to be seen. Trimming the gates will be the most challenging portion of these well of course, then the rigging afterwards.
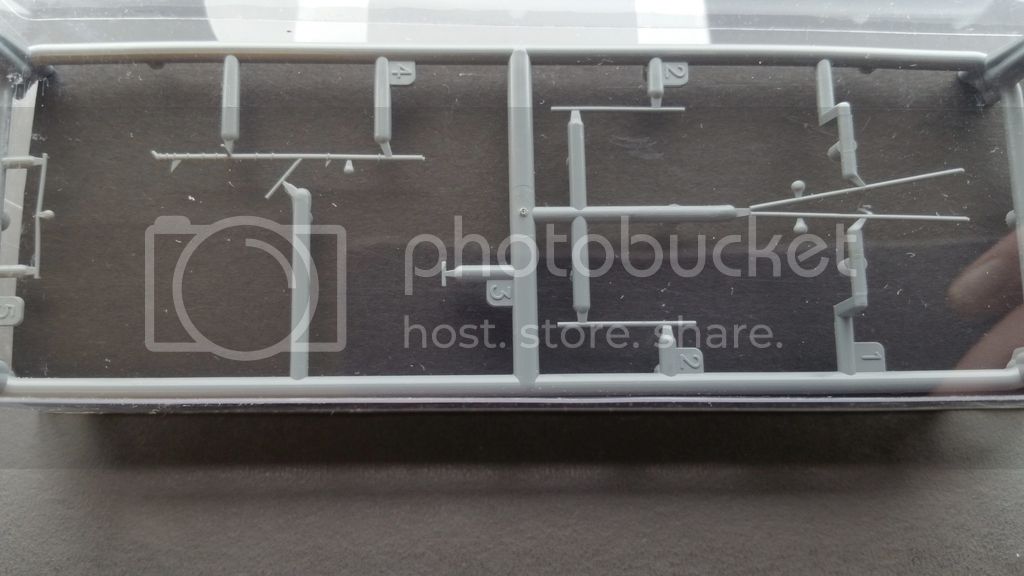
Masts.
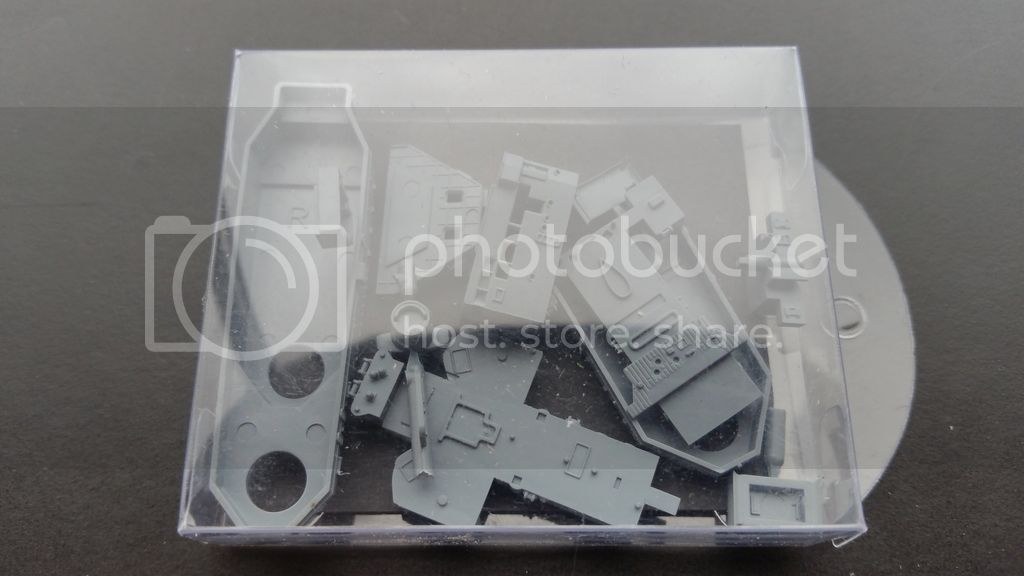
The last box-in-a-box houses the superstructure. There are ten parts, and again the molding is incredible. Zero clean-up required. Those open windows almost make me want to add some LEDs

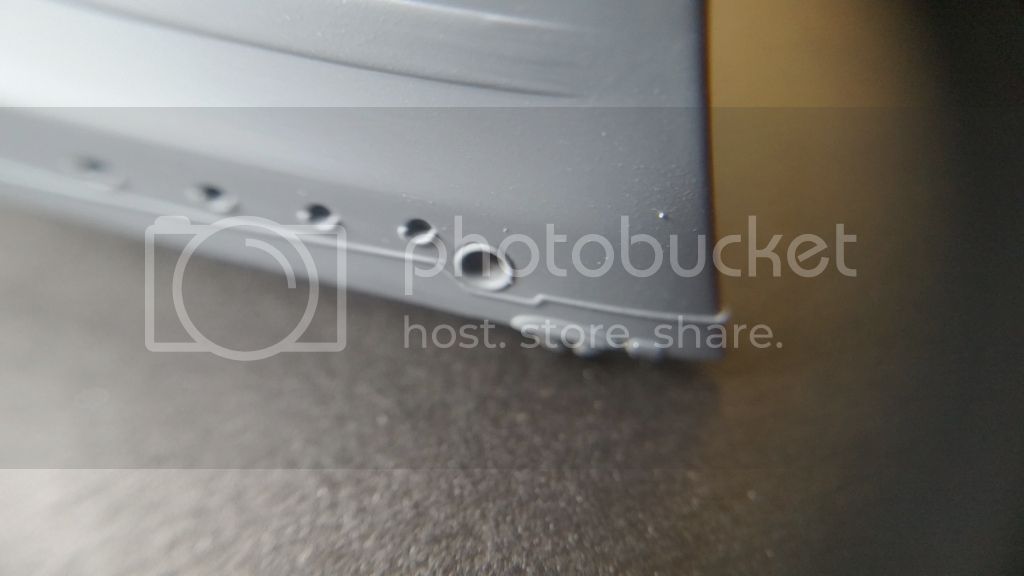
Moving on to the plastic-bits in the bags, lets start with the hull. It is packaged in a bag that contains the main deck pieces (2) and the two-part hullwhich is rubber-banded together. This model is also able to be displayed as a waterline kit, so the hull is split at the waterline. It is well cast, and the joint between the two halves appears near-perfect. I doubt any filler will be required along this seam. I will more likely than not drill out the tiny portholes and scuppers along the sides.
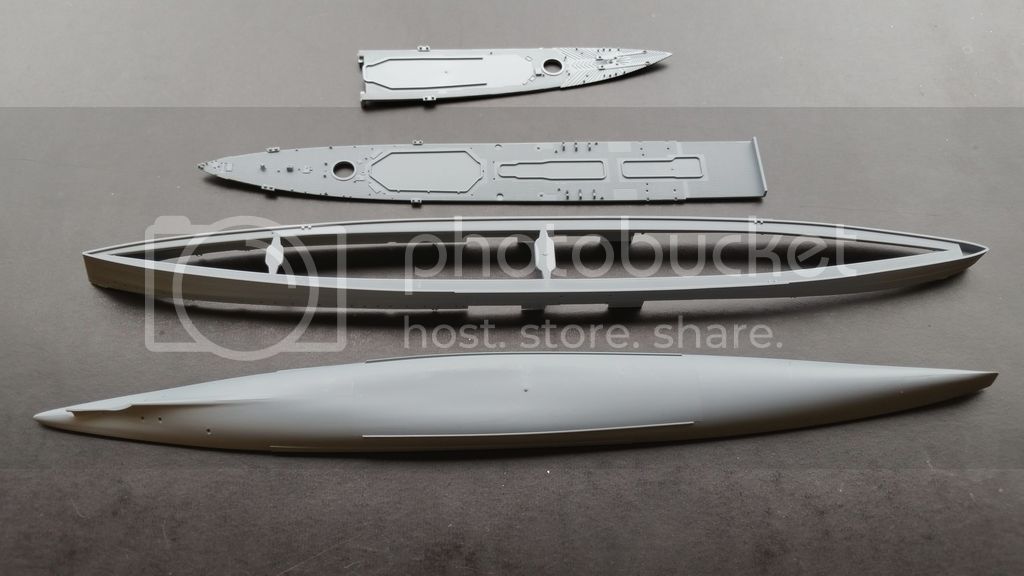

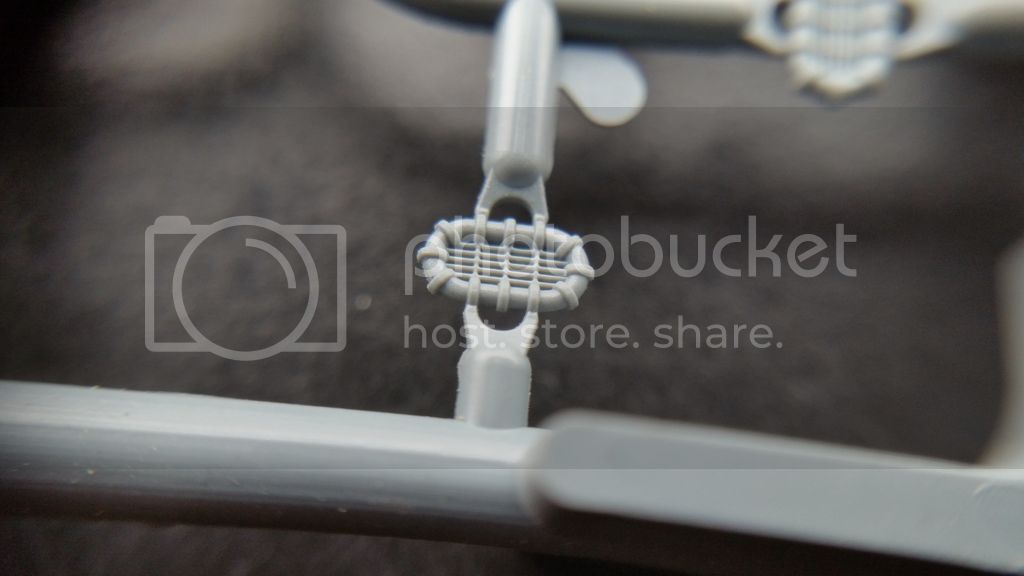
I was expecting the props to be PE, but in this kit they are molded on a sprue. There is no notable flash, and the detail is superlative. I am beginning to see a trend with this kit of trimming the gates carefully, and will be going through a number of new blades on my X-Acto knife.

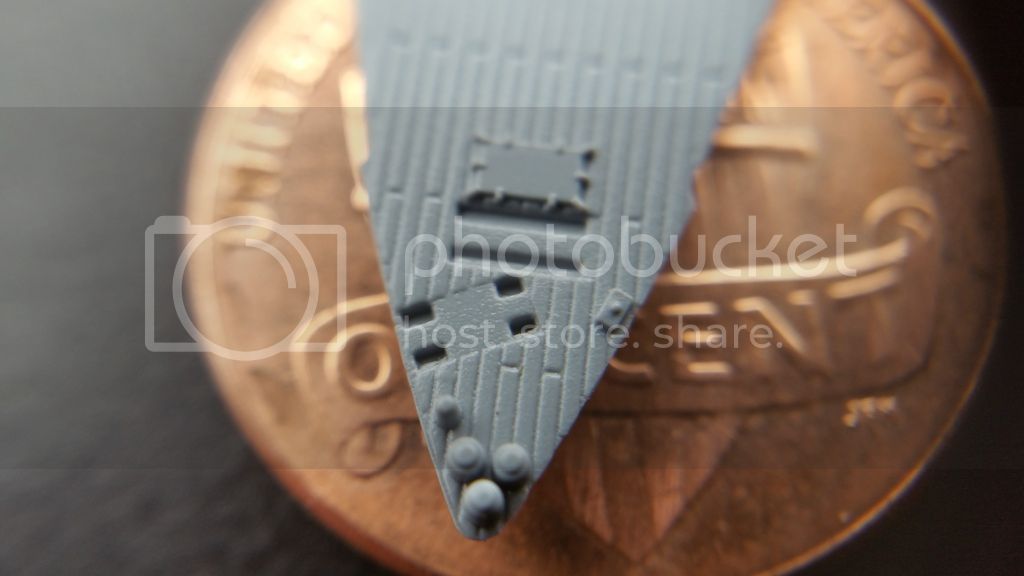
There are several small frets of plastic that have gun barrels, and other small bits that I see replaced by the PE parts. Even so, the plastic is remarkable look at the detail on those rafts!

Another bag contains frets that have the lifeboats and some additional gun barrels. The detail on the small boats is insane. Ive built 1/700 kits that had lifeboats that were a crudely shaped wedge of plastic. These have decks and planking, and theyre roughly the size of a grain of rice!

A fret that came in a zip bag contains the single-piece stacks, davits, and more incredibly tiny pieces. There goes another #11 blade.

The last sprue is on a card, and sealed in a bag. It contains all the guns, some life rafts, and other incredibly small, and detailed parts. The search lights and signal lamps in particular have incredible cast detail.
If you want to get one of these kits yourself, I cannot recommend it enough. The level of detail is far and beyond anything I have seen before. The plastic appears to be of great quality, and the fittings included make this an out-of-the-box masterpiece with no need for aftermarket parts (OK, I bought a deck mask). The MSRP is listed at $68.95, and you can find them for about $50 (US) shipped from overseas. Thank you to Flyhawk Models for providing the kit for us, and to KMN for issuing this kit to me for review.
I have chosen to paint her as she served in the final days of her war. She wore a three-color wartime camouflage scheme of light grey (XF-19:2 + XF-2:10 + XF-78:1), 1940 Brown (XF-64), and 1940 Green (XF-5:2 + XF-2:5). Her decks were washed natural teak, and she was a little weary from being at sea for more than 10 months. She endured many bombing attacks by the Luftwaffe, and was severely damaged in one attack near Crete in mid-1941.
Ill be building her for static display on a teak base, secured by a brass rod. Underneath her, lurking, will be a 1/700 Hobby Boss Type VII C U-boat representing U-565, also in her wartime camouflage.

Stay tuned for the build and thanks for looking!