
Flyhawk 1/700 SMS Derfflinger
Flyhawk PE (partially used); Tom's Model Works railings
Paints: Golden High Flow, Lifecolor, Vallejo Model Color
Weathering: Wilder oils, AK enamel washes, Iwata Com.Art, Modern Master Metal Effects
This is my rendition of the Flyhawk Derfflinger. Overall it is a very good model of a WWI battlecruiser which, to my eye anyway, is the most graceful class of iron warships. And, the Defflinger itself was one of Hipper’s star performers at Jutland which also makes it historically important. What's not to like? I should note that I have tried to replicate Derfflinger as it looked in the hours before Jutland. I put on fewer boats than normal (perhaps there should have been even fewer.) I also painted the rear funnel for tactical ID. I've read that the color was red, if so, my model is wrong. I used the red-brown color employed by Claus Bergen who painted I guess the official German painting of Jutland. I used the odd and lovely color Alizarin Crimson Hue from Golden.
The Kit and Construction:
Flyhawk is a new model making company and it's recent kits have received excellent reviews. The basics are just fine – the hull comes together nicely and the deck fits well with a little fiddling. This is the only 1/700 kit I've done that could be considered “modern” so I may not be the best person to judge it. Compared to a Midship 1/700 DD I made a while back Defflinger is a perfection. However, I make more planes and tanks than ships (the time spent though is honestly 33% ship: kits would be one ship in five). I cannot say that I found Flyhawk's engineering outstanding because compared to a new tool Tamiya plane or tank, it's at best okay. The superstructure goes together, but don't expect things to “click” into place. (Some sub assemblies are eyeball oriented – they remind me of Eastern European airplanes.) As might be expected for a 1/700 warship there are a lot of small parts. Many are attached to the sprues with a lot of styrene which made them hard to remove cleanly. (BTW: this gave me the opportunity to use sprue nippers called, no joke, “God's Hand.” They cost about $50, and were a birthday gift to myself, and are utterly fantastic for this kind of work. They're fragile, but fantastic for this kind of work.. Check Ytube.) So we're sanding parts the size of an ant's toenail – not always easy. On the other hand, Flyhawk, puts most of it's parts on Sprue B, so there are two of them. In practice, this means that often you have two parts ready for any one called for. If you have ever lost or wrecked a part you can appreciate that. (If I was rich I would always have two copies of the model I was working on.)
I hesitate to comment on PE. I understand the need for parts like railings. I understand the desire to model a part in PE with much more detail and “realism' than what is possible in plastic. That said, I really dislike working with the stuff. I'm getting too close to the “three score and ten”years to enjoy wearing my 5X glasses. I should note that while doing Derfflinger the “real world” smashed into the project twice, putting everything on ice for weeks on both occasions. I know many modelers can work on several projects, but I'm not one of them. And I always think of ship models as “projects.” They take a long time and require more brain cells. Once off balance it was easy to put off the kit altogether. It's also easy to lose parts and break them. I had serious problems with the mast accessories. Compared to other types used, I found Flyhawk PE to be a bit brittle. If the folds made along the base (no easy matter) were somewhat off it's no easy matter to fix things. And when done successfully, the parts are very delicate – unfortunately ready for damage. And there's something else. If a PE part is done exactly right, it is well worth the time. If a PE part is, however, a little off it actually looks bad. Fortunately, every part in all PE sets for Derfflinger had a plastic equivalent. A clean plastic part, regardless of detail, is better than a badly done PE equivalent.
One problem I've had with every ship is project fatigue. If ships weren't so neat, I wouldn't make them. But toward the end of every kit I make, I'm already thinking of what's up next. The Flyhawk PE purchased has a multitude of extremely small parts (portholes, attachments for torpedo nets and many others). I put on many of the doors but decided it was far better to finish the ship than try to install every single piece. Especially so as any piece attached incorrectly or with too much CA would actually harm the model. (I will accept argument, but I found the plastic torpedo net more accurate in scale than the fabric rendition provided in the PE set.)
I should point out that the “out of the box” Derfflinger includes what could easily be considered an adequate set of PE. (Railings, ladders, bow and stern masts plus others.) I did get the medium PE set and found it of little value. The superstructure is changed, although it's hard to see. There are full mast fittings in PE but I don't think any are really needed. (It would be easy to remove some plastic and put on PE railing and have a part that looked good and fit well.)
Painting & Weathering:
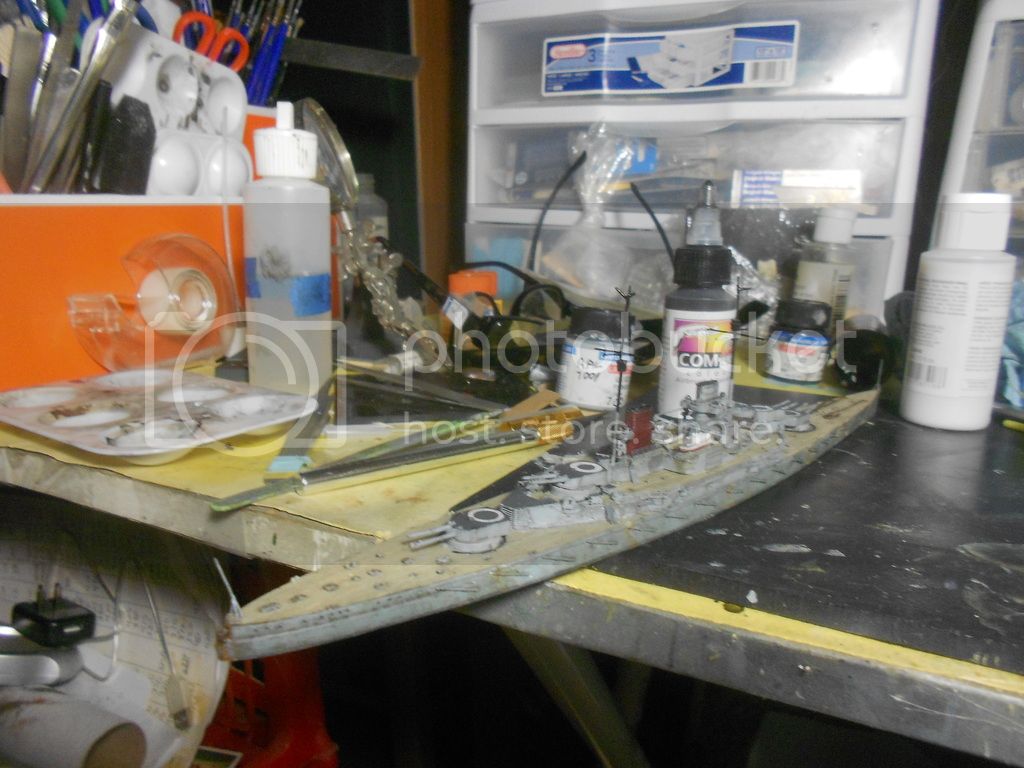
I accepted the two-gray scheme presented by Mr. Tanner and others on the net as accurate. In years past I did an ICM Konig and employed Revell Aqua Color 7000 and 7001. I have both bottles today but they're too thick. I found that LifeColor had a very good light gray (RAL 7001) that matched my Revell patch. I made a “chromatic black” with Golden High Flow colors in a version with a distinct blue hue, With a little white and gray, I found an almost exact match for Revell's 7000 and used it. ( A close version of my chromatic black would make a splendid USN navy and deck blue I think.) I did try to make my 7000 a littler darker than ideal just to emphasize the fact that there were two colors. By the time weathering etc was done, I think the two colors are closer than I wanted. This is how the kit looked after painting and a simple wash:
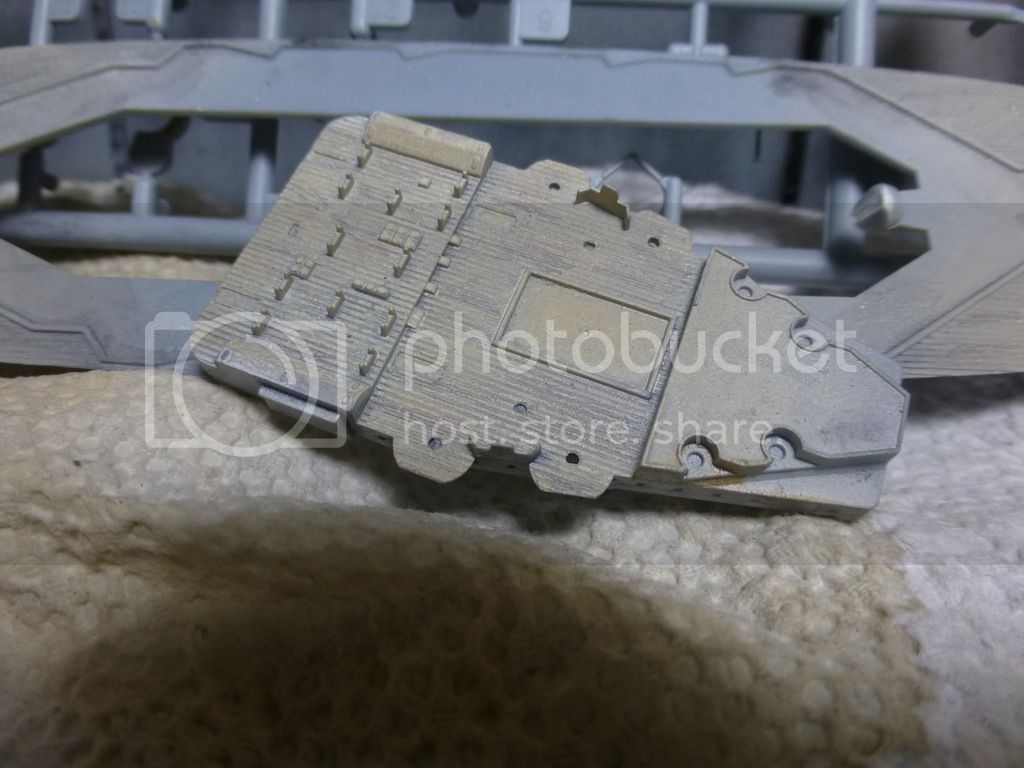
There is a wooden deck available for Derfflinger but I'm very glad I didn't try it. The engraving on the deck was well done and I employed three “deck” colors (Golden and Vallejo) shaded with a standard pencil. It worked pretty well I think:
I think ships work well with my standard wash/pinwash technique. I employ a very popular paint among airbrush pros that work on fabric, leather, and: more to the point, model railroaders etc – Iwata Com.Art. For most cases it's a bad paint for styrene and isn't made for it. However, it has fine pigments, comes in many transparent (very light) colors, will “revive” after drying' but most importantly leaves an uneven and slightly dirty surface. On the hull I used Mr. Griffin's technique of several coats of very light oils. Normally I'd scoff at anyone buying an oil paint made for modelers – a few good tubes of student grade is a lifetime supply – but armor guru Adam Wilder has persuaded some of his old buddies at Vallejo to make an extremely fast drying oil paint. Maybe not for the canvas, but an oil wash made with Wilder products will dry within an hour. I don't like enamel products but the AK wash for gray hulls and wooden decks both work pretty well. Overall I wasn't looking for a hard weather effect.
Rust is a different matter. I put some on the anchors and the system used for the torpedo nets. (The nets themselves, as I understand it, were a kind of metal mesh.) There are dozens of ways to employ rust, (in the past I've been content to use Golden Red Oxide and other hand paints) but I found an old technique really nice. What you want is Modern Masters Iron Paint and Modern Masters Rust Activator. The paint is water soluble, dries quickly and smells bad. The “Activator” is blue liquid and works within an hour. Experiment a bit, but if you put the right amount of “Iron Paint” and “Activator” on anything (plastic, metal, cardboard, maybe your thumb) you get rust. The paint is made of rust, so the outcome is obvious. The Modern Masters twins cost about $20 – it's also a lifetime supply. I used them on 40/link per inch railroad chain which the maker claims is appropriate for a 1/700 ship. I prefer them to the PE even if a bit thick.
Rigging:
It was obviously soon that plastic masts wouldn't work. Inspired by Mr. Griffith, I used solder on very thin brass rod.
I've used waxed fly line in the past. This time I tried Inis 40 denier line recommended by Guido Hopp. Frankly, I just don't see things that well and ordered a roll of Inis 70 denier line. It was far easier to see and deal with – the gents that can handle 20 denier line will always hold my admiration. Or sort of. If the model is considered to be made for photography, I can understand the desire for “scale” rigging. If not, spending hours rigging a ship with line so thin that you can't see it from 24” away is perhaps a statement of artistic skill. If people a few feet away can't see the line if looking at the ship, perhaps something is lost. Anyway, the Inis 70 looks nice from a two feet.
I perhaps didn't synchronize rigging and railing well. The superstructure requires railing which I put on after assembly. There are more than one level, so if getting one piece in place, it isn't hard (at lease for me) to put a thumb on railing already installed. When I railed the hull and rigged ship things turned more clumsy. It was quite easy when moving the hull – to position the very fine lines – to put one's thumb on a good piece of railing. I did this several times. You can see it on some of the pics below when I mangled a bit of railing simply moving the ship about. This is also the reason that I used less rigging than I should have on the ship. Every time I put my finger somewhere, something got bent, and then I'd have to fix it. Call it caution.
Bases:
I needed a base for the ship but the real world put on serious restrictions. I have a serious “space” problem which is compounded by height beyond height X width. In the most simple aspect, the model must be viewed at about shoulder level. I've been looking around at bases, and have found one that is very economical and would work great in my den here.
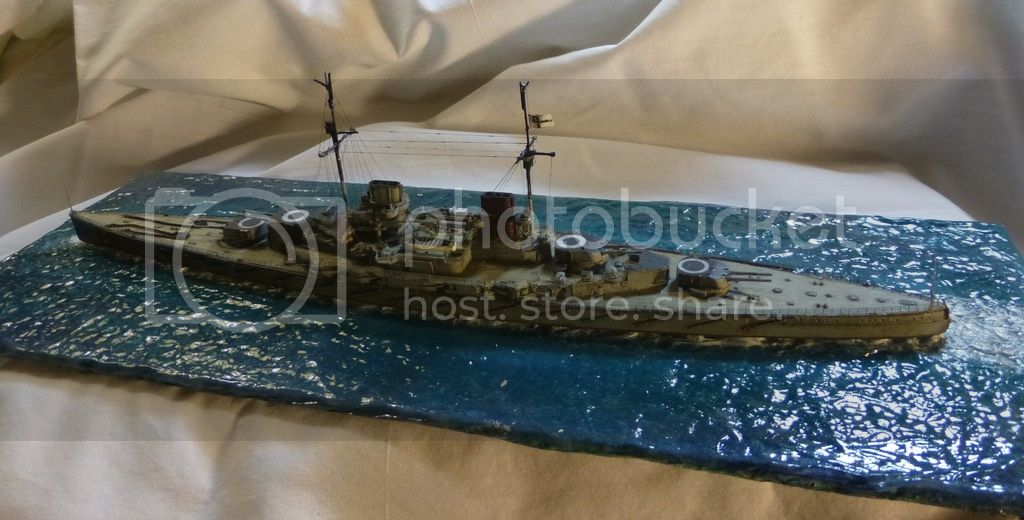
The first was done on thin hardboard attached with aluminum foil, primed with gesso and painted via airbrush. The wave movement comes from Golden Gloss Medium. The water along the ship comes from Woodland Scenics Water Effects. When cured, dry brush it. It's simple and it works – it is easy to move the kit into a good position:
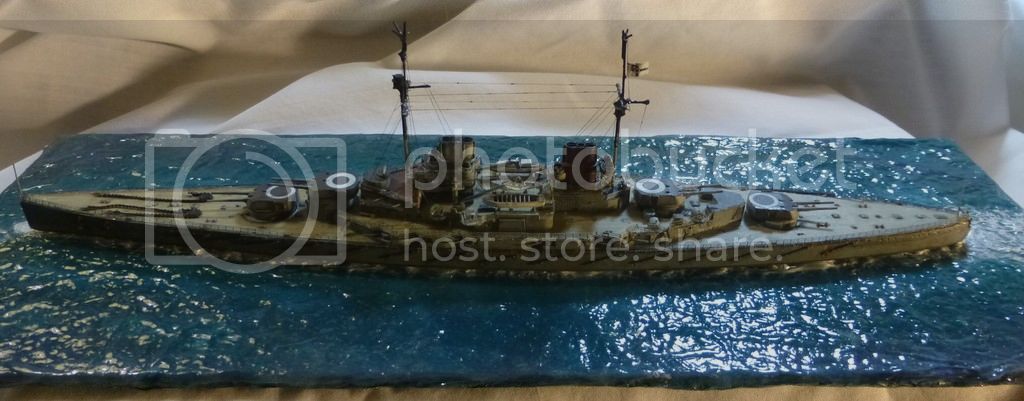
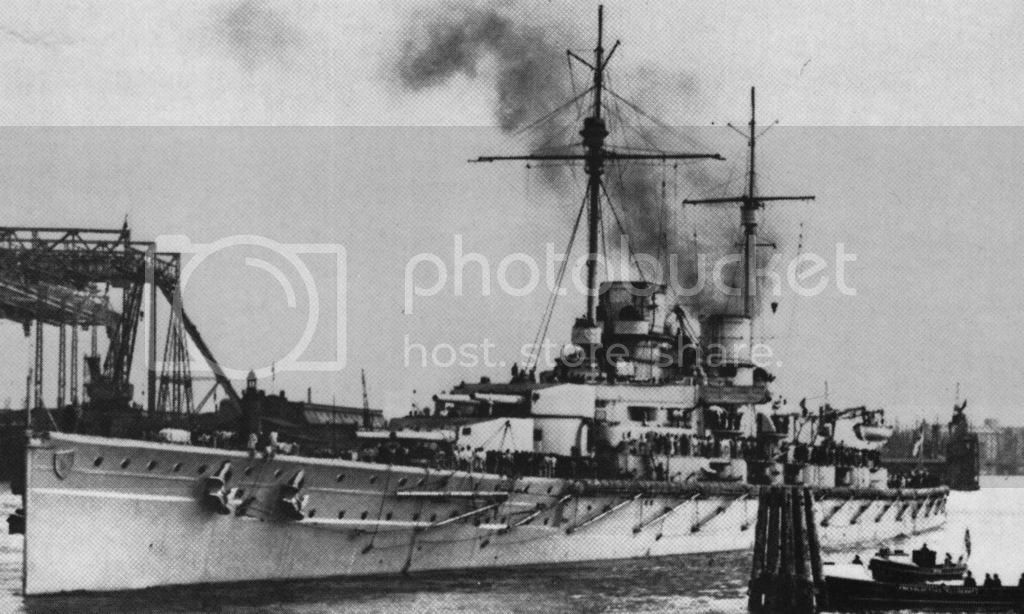
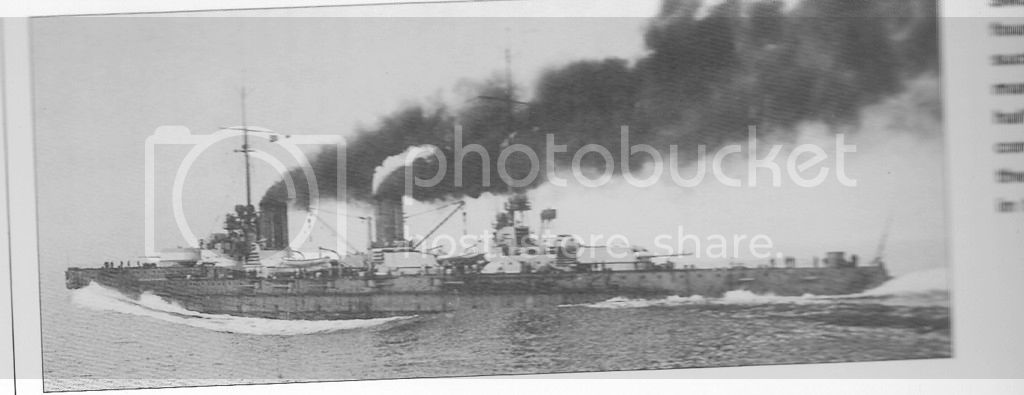
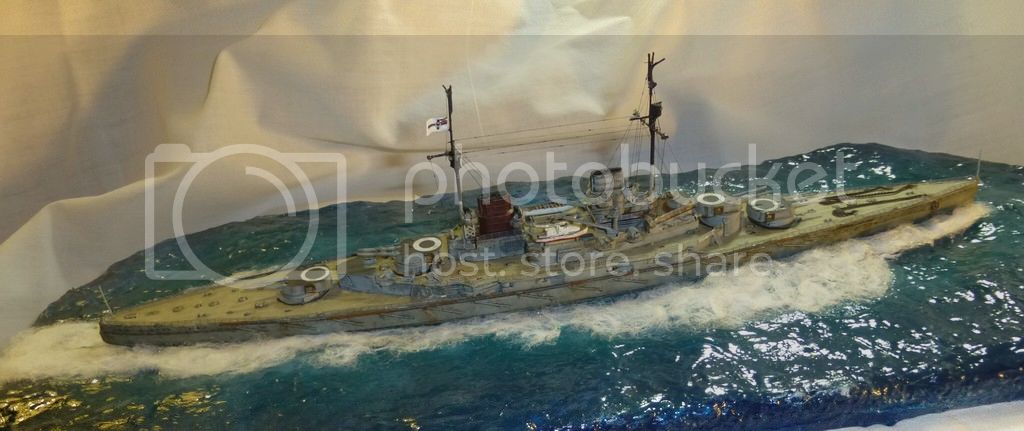
The next base made is much better I think. I made it from 1/2” Styrofoam and used Chris Floodberg's lighter technique. This worked well because the kit is waterline and wouldn't work with huge waves. Instead I was thinking of a pattern like this shown by Von Der Tonn. The photo is from Staff and the description is:
“SMS von der Tannn trials. The four propellers create a powerful suction ahead of themselves, manifested as the low water halfway along the hull.” (Staff p. 4)
I hope this looks something like it:

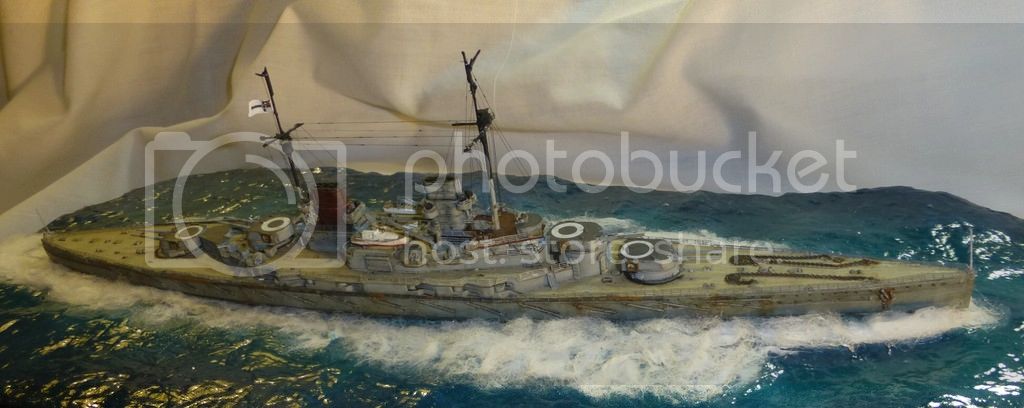
I had another piece of Styrofoam that was 1” thick and tried to emulate a very fast moving ship except this time going through heavier seas:
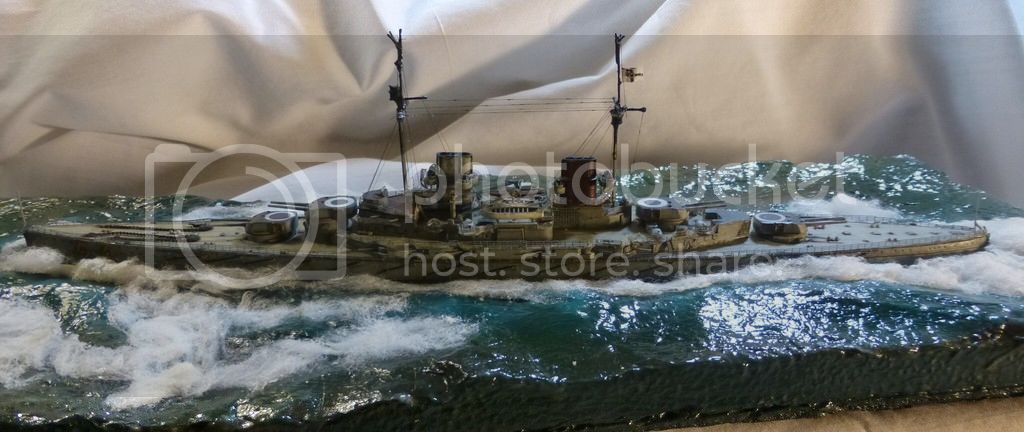
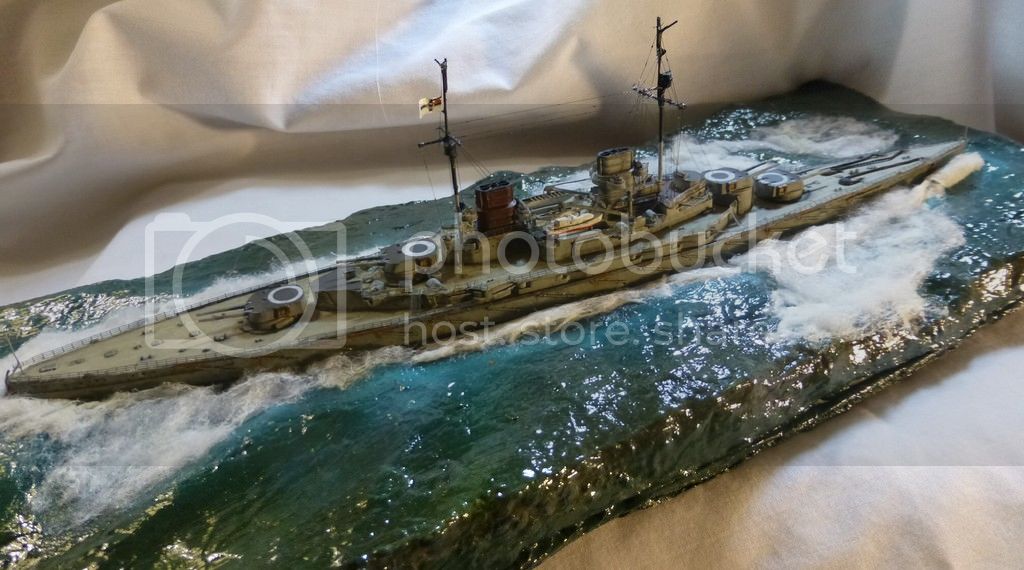
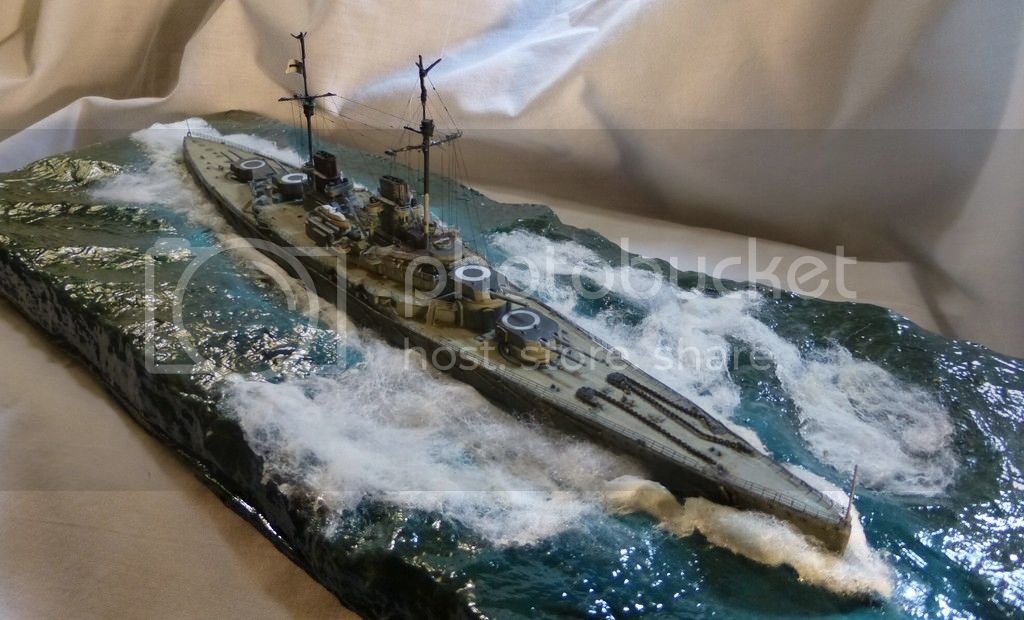

The bases were fun. I liked art better than shop in junior high, and the influence remains. According to the insulation guru at the local Home Depot the white foam that is made up of a zillion plastic airballs is "expanded" polystyrene foam. The firmer but still very light pink material is "extruded" foam. I had a piece of the pink foam but it didn't melt well. It was also 1" thick and I don't think would have worked well with the 1/700 waterline - at least at my house. As Chris Flodberg illustrated in his Finescale article, I don't doubt the pink foam would work very well with a full hull model and would no doubt work splendidly with a rolling pin or dremel tool.
Not my finest hour, but it did get done. And from 3" away, it looks pretty good.


