_GOTOBOTTOM
General Ship Modeling
Discuss modeling techniques, experiences, and ship modeling in general.
1/17 English Carronade
pbishop
Visit this Community
Utah, United States
Joined: November 03, 2016
KitMaker: 116 posts
Model Shipwrights: 116 posts
Posted: Friday, August 04, 2017 - 07:48 AM UTC
I bought this a few months ago to go with my 1/100 Heller HMS Victory as this is a model of the carronade located on the foredeck of the Victory. This monster fired a 68 pound shot that must have been just devastating. The kit is all wood except the cast cannon and a few other small bits that are metal. It went together quite easily, you will notice the white liquid in the fire bucket. That's a water based sealer called Mod Podge; when it dries it will be clear and look like water. I was gonna wait till it dried, but I'm bored – so I took the pictures – here they are…


YellowHammer
#513
Visit this Community
Alabama, United States
Joined: March 28, 2006
KitMaker: 554 posts
Model Shipwrights: 219 posts
Posted: Friday, August 04, 2017 - 08:08 AM UTC
Paul,
I'm not familiar with this company or kit but it looks spot on to me. Very nice detail and you've done a marvelous job constructing it. Did you use paints or varnishes for the wood finishes? Was the cordage included in the kit? I would definitely hate to be on the receiving end of this big boy! Well done!
John
DaveCox
Visit this Community
England - South East, United Kingdom
Joined: January 11, 2003
KitMaker: 4,307 posts
Model Shipwrights: 85 posts
Posted: Friday, August 04, 2017 - 01:50 PM UTC
It was known to the sailors as the 'smasher'. The Carronade was usually on the fo'c'sle of the ship because you would try and cross the enemies stern and fire that huge ball down the length of the other ships gundecks. It was even known to bring down masts!
pbishop
Visit this Community
Utah, United States
Joined: November 03, 2016
KitMaker: 116 posts
Model Shipwrights: 116 posts
Posted: Saturday, August 05, 2017 - 04:38 AM UTC
John,
I airbrushed the cannon, brush painted the gun elevation block, the ships side is tinted with Minwax dark oak, the rest is varnished with Minwax clear. I used the kit cordage for the blocks, but the recoil line was sourced from my spares box.
YellowHammer
#513
Visit this Community
Alabama, United States
Joined: March 28, 2006
KitMaker: 554 posts
Model Shipwrights: 219 posts
Posted: Saturday, August 05, 2017 - 07:41 AM UTC
Paul,
Thanks for the explanation. You've really got a masterpiece here. I'm going to have to try using the wood stains. It really looks the part.
John
RobinNilsson
Staff MemberTOS Moderator
KITMAKER NETWORK
Visit this Community
Stockholm, Sweden
Joined: November 29, 2006
KitMaker: 6,693 posts
Model Shipwrights: 70 posts
Posted: Saturday, August 05, 2017 - 04:32 PM UTC
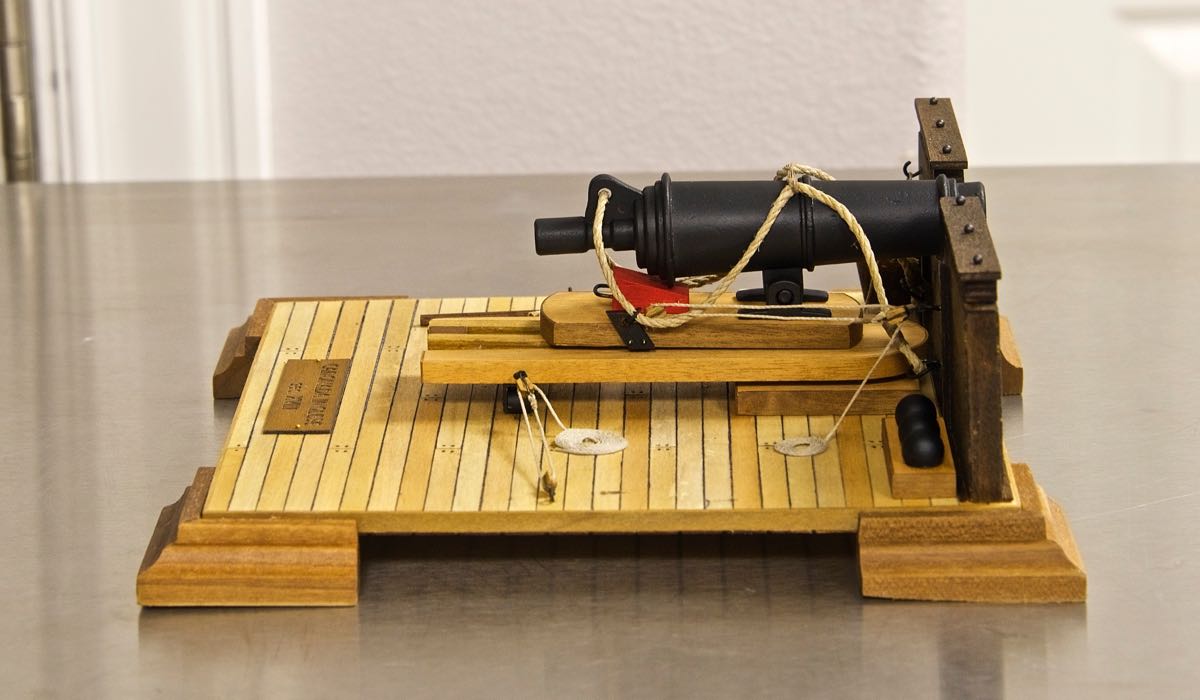
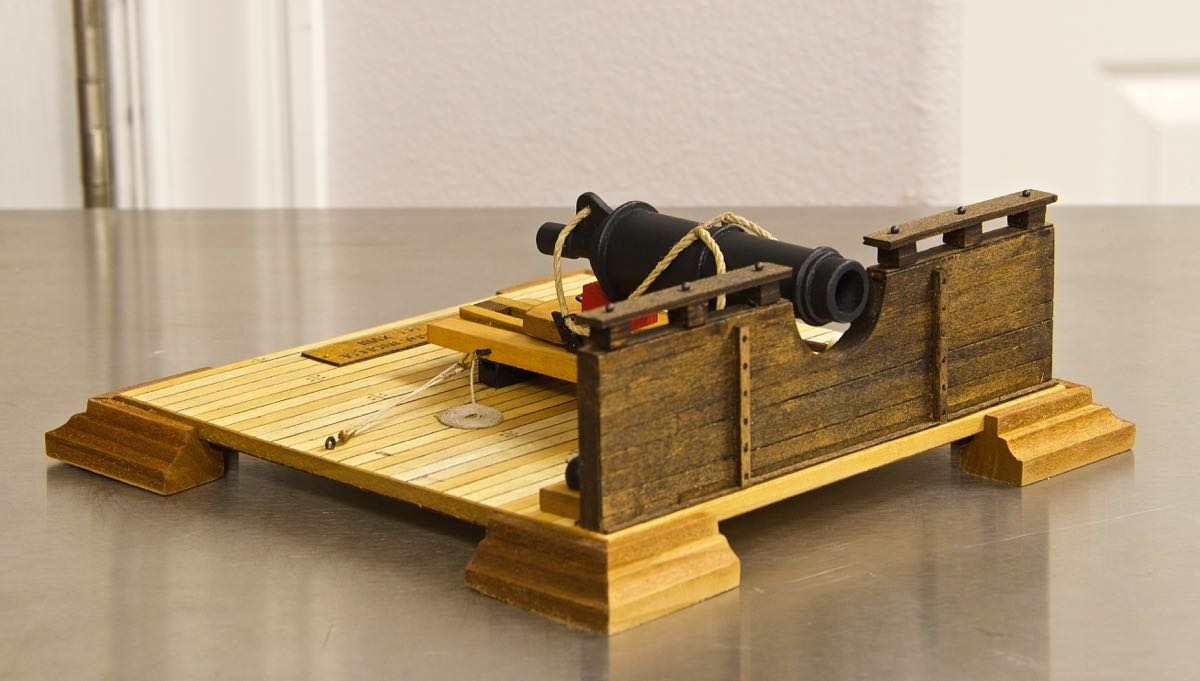
Very neat build and tidy presentation
A few thoughts from a non-sailor, absolutely no criticism intended since wouldn't have been able to do it any better myself.
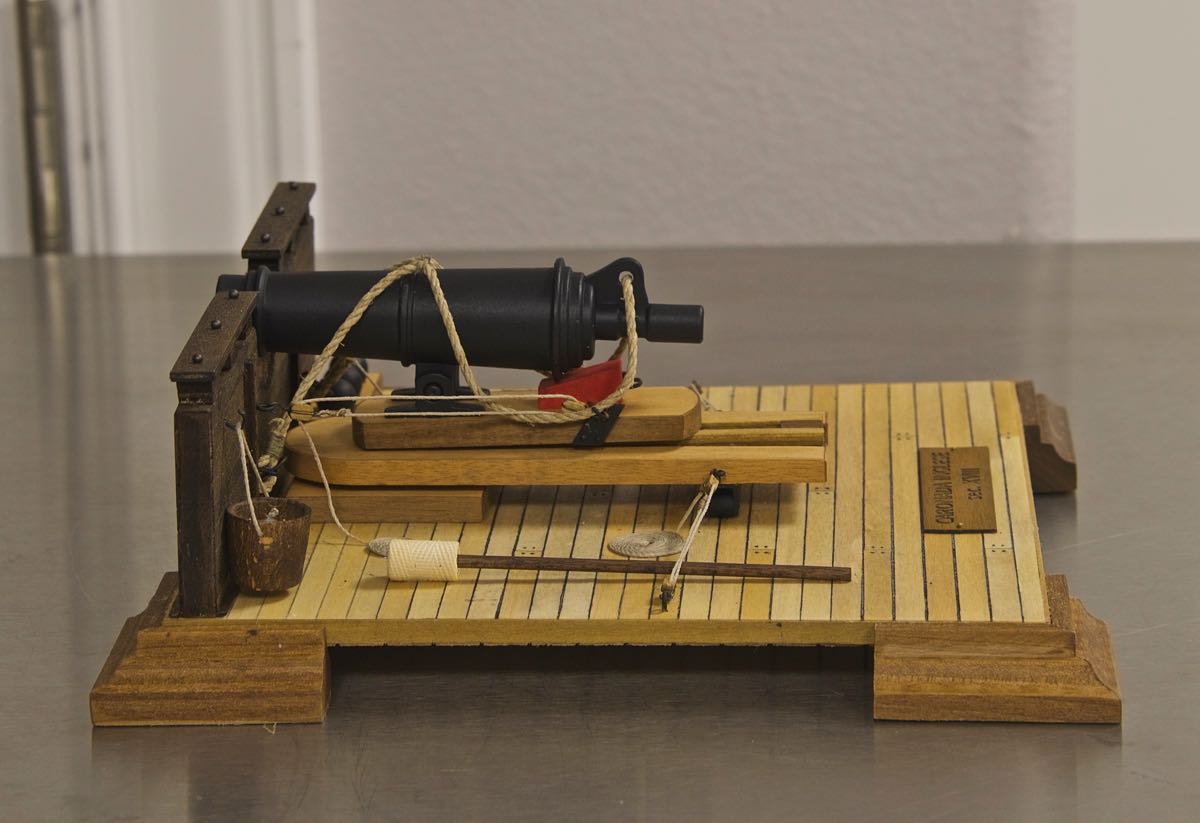
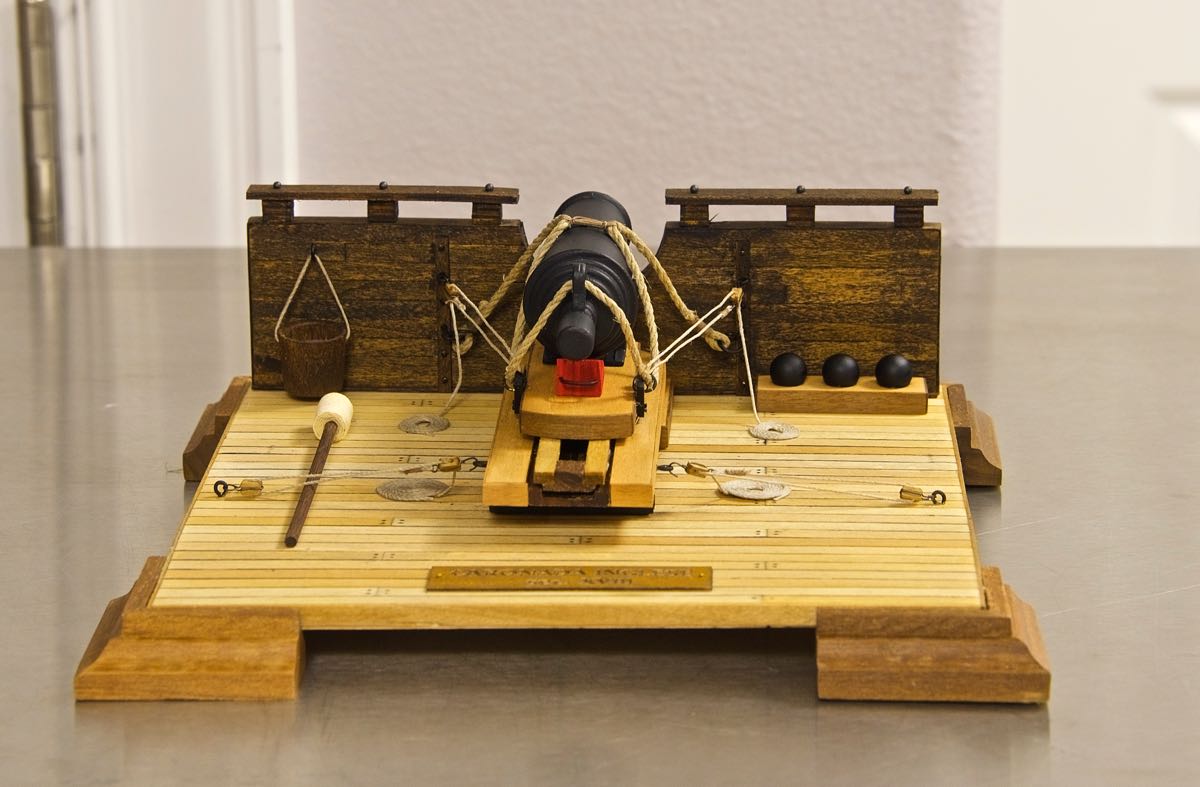
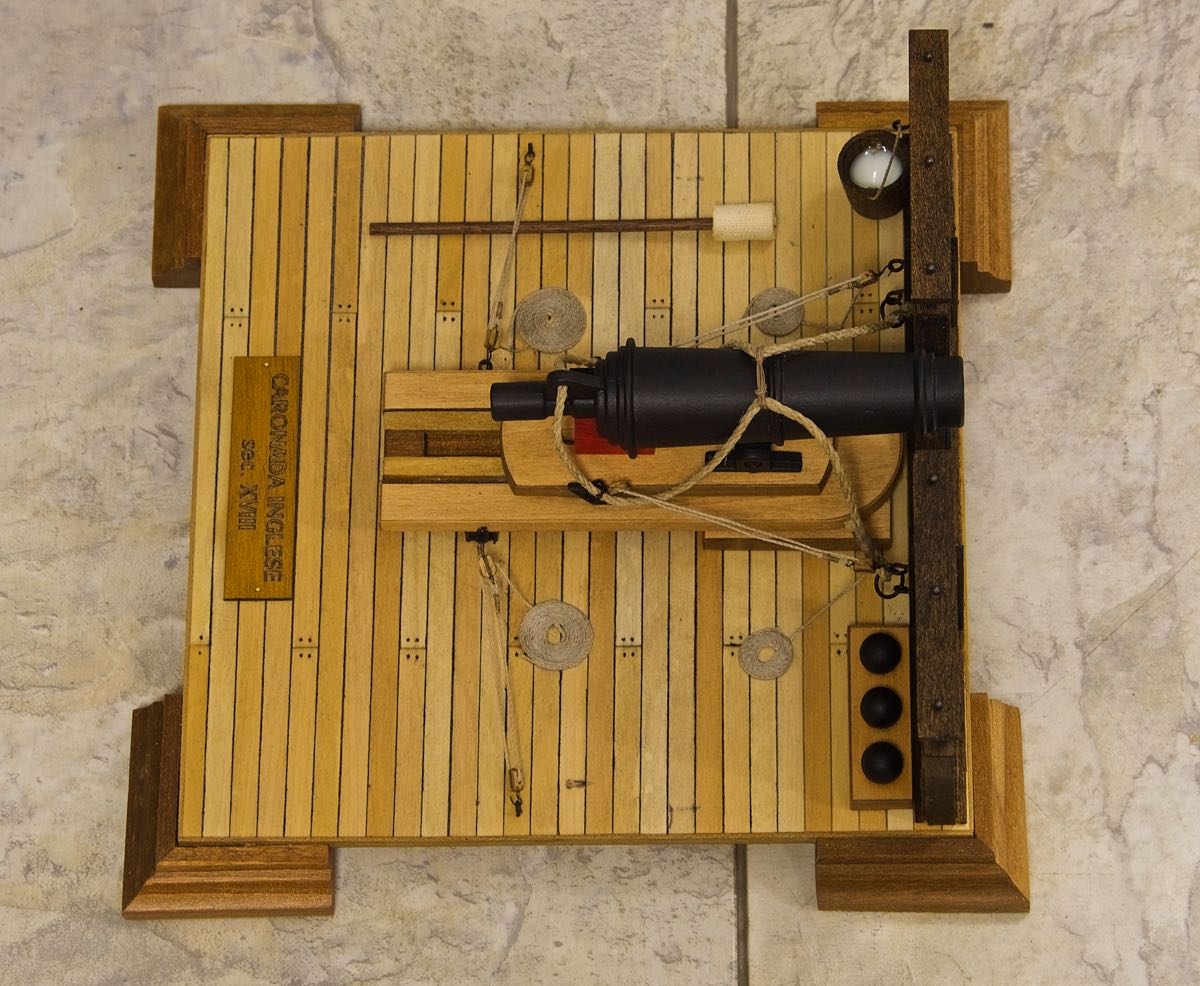
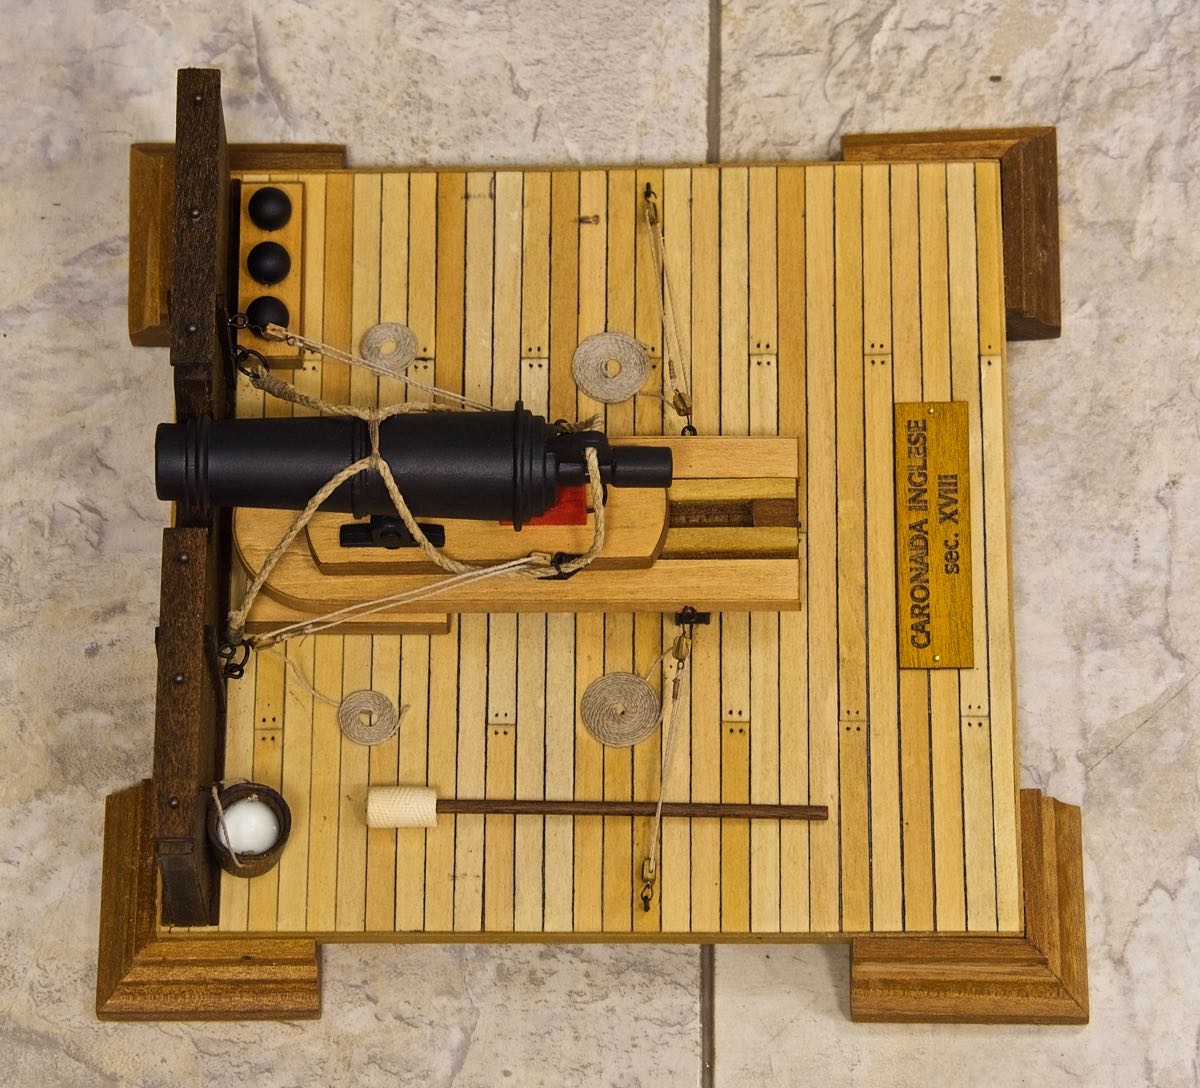
1. The nicely rolled up lines suggest that the weapon is "resting".
2. There is no crew present to be able to intervene if the carriage should start swivelling sideways.
3. The lines are used to swivel the weapon sideways and when in active use I presume that there is a least one member of the gun crew on each side keeping the lines stretched to keep the gun aimed and re-aim it when the direction to the target changes.

Question: Should those lines be belayed somewhere somehow ?

/ Robin


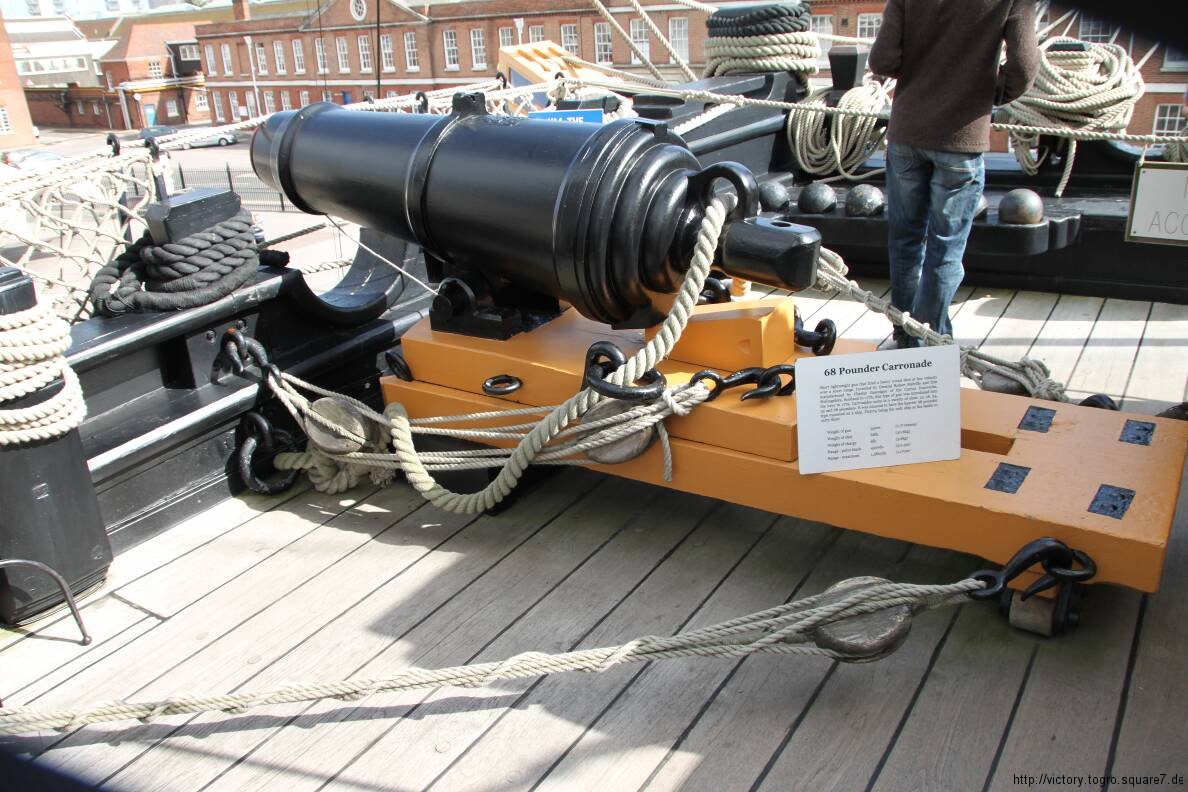
One possible solution, wrap the loose ends around the lines between the blocks/sheaves
pbishop
Visit this Community
Utah, United States
Joined: November 03, 2016
KitMaker: 116 posts
Model Shipwrights: 116 posts
Posted: Sunday, August 06, 2017 - 11:16 PM UTC
Robin,
You bring up some good points, however I have observed that very typical practice in ship modeling is to coil the breaching lines neatly around the gun carriages without regard to gun safety or security. This is a convention that has been in place for many years. Who am I to change it? LOL
Thanks for looking,
Paul
 _GOTOTOP