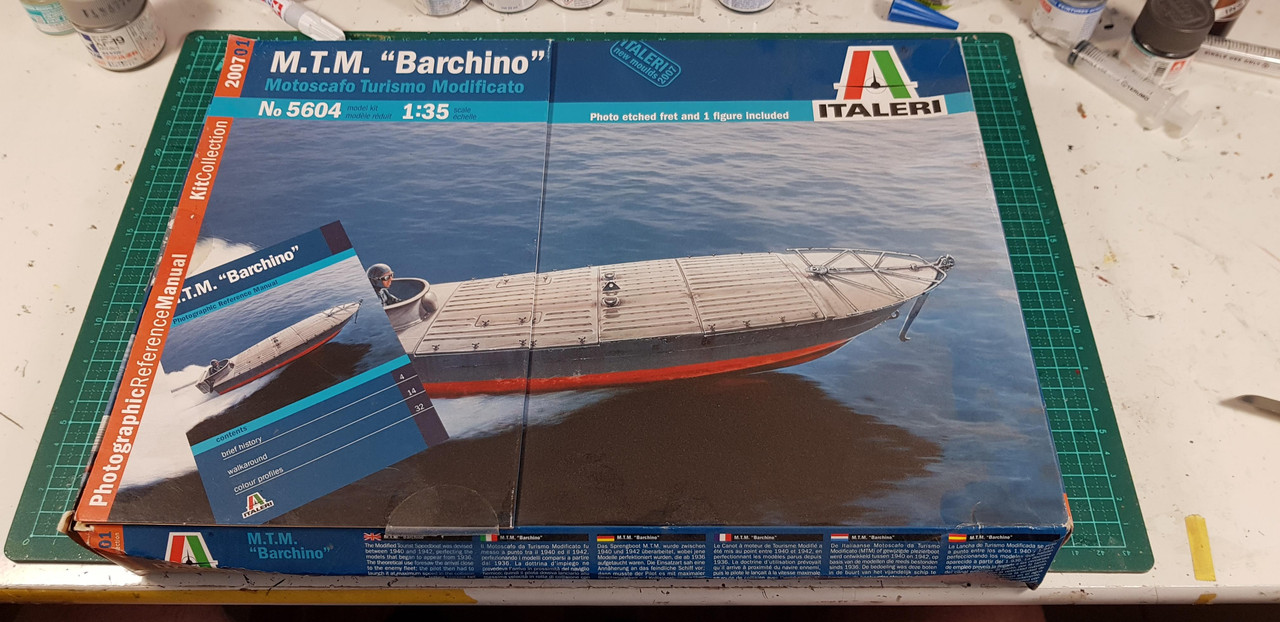
Well now that the Gearing is finished I was wondering what to build. I went out to the shed and looked around and noticed that the reference book for the MTM Barchino had come out of its box and was mixed up with some other things. Luckily the PE fret had become wedged in the book. Now we all know Italeri boxes are about as strong as a wet paper bag so I grabbed the horribly boxed kit and took a walk to the hobby cave inserting the book as I went.
And here it is!
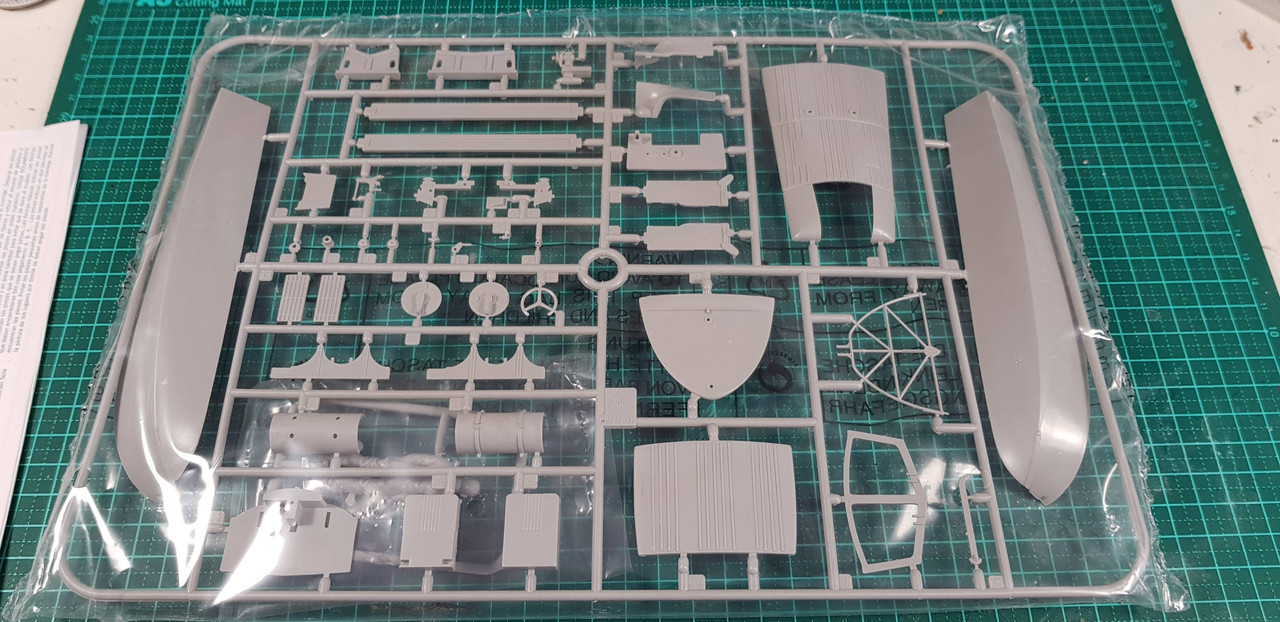
One sprue..
One instruction sheet..
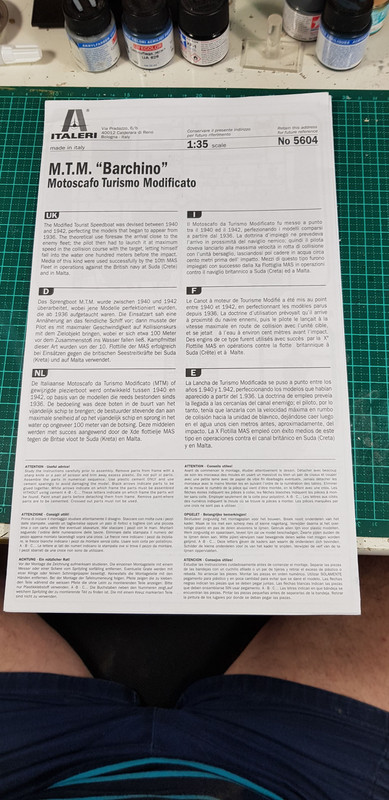
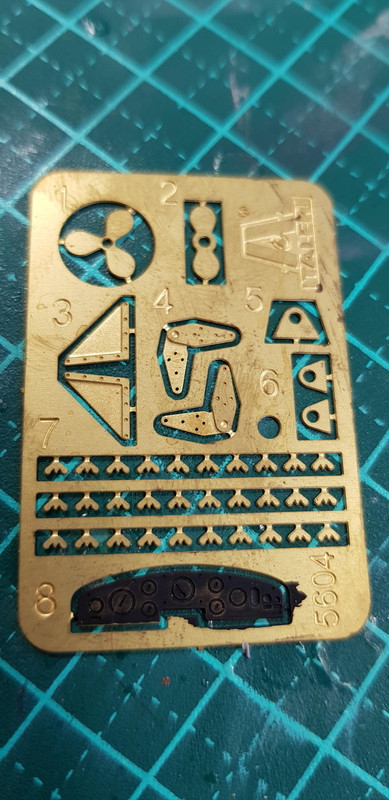
One reference book, one PE fret and one decal sheet..
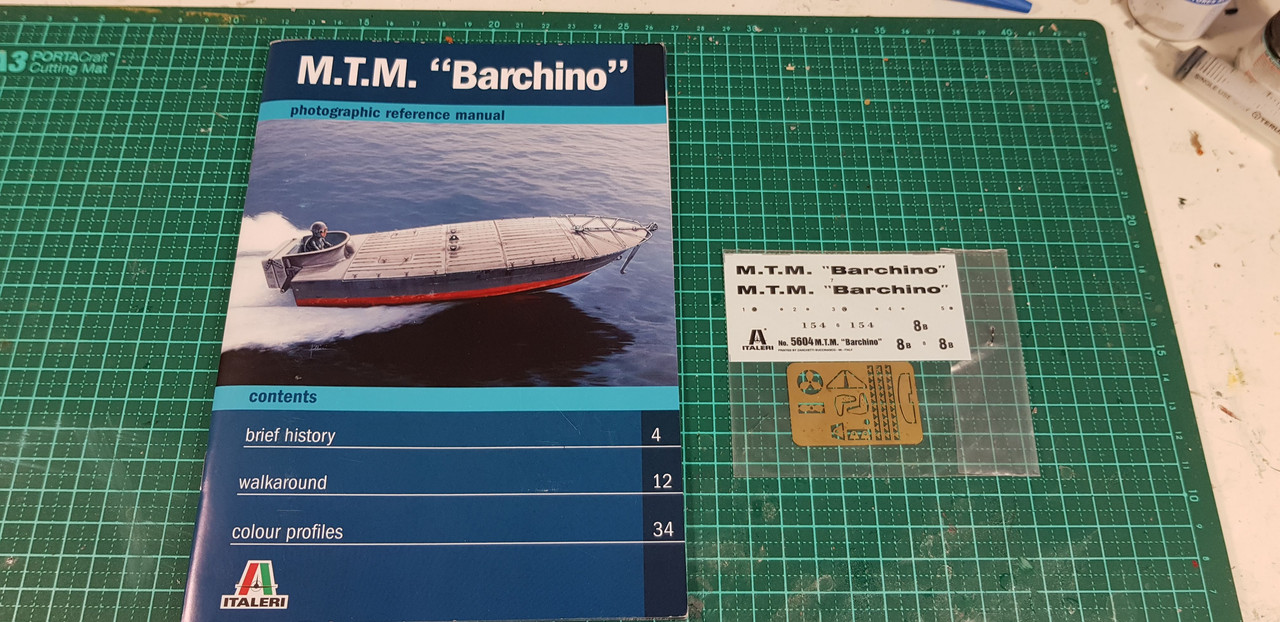
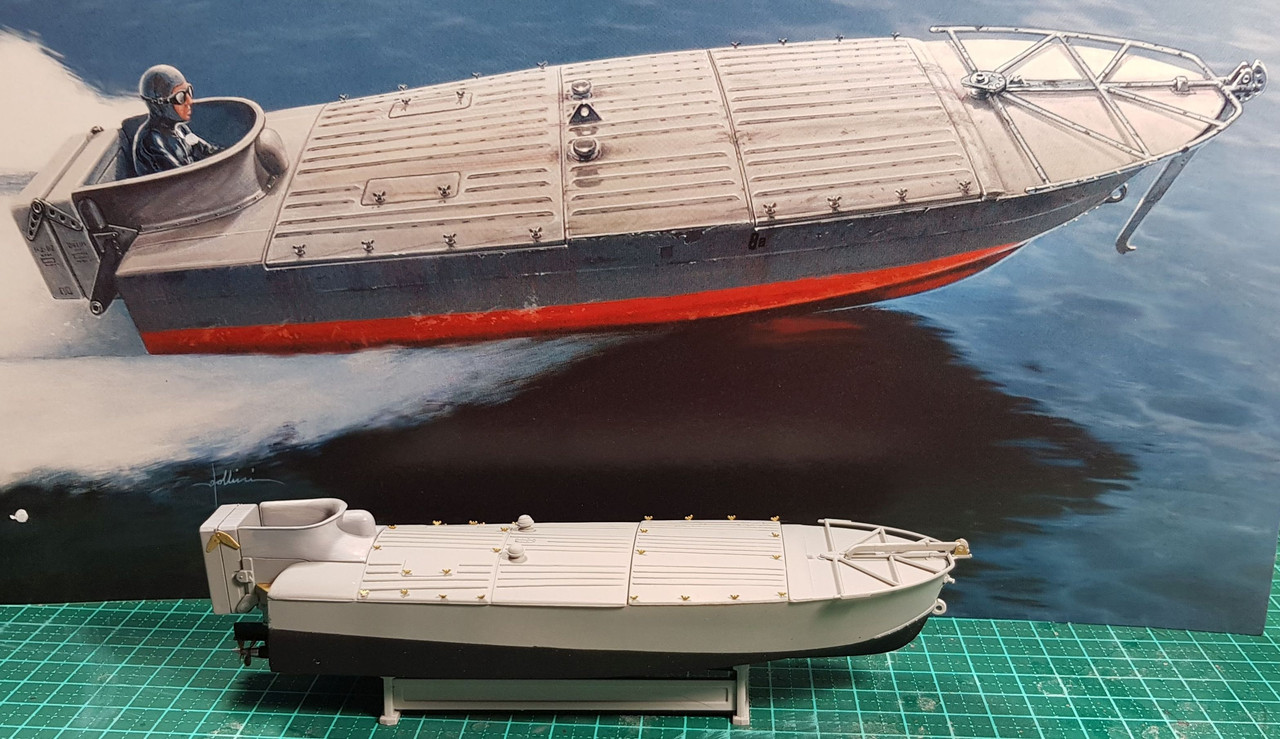
That's it! No 15 sheets of PE or vast hull mouldings here.. Just one sprue halding all the bits you need to build a Barchino, basically a big bomb in a small boat with a nutter sitting up that back that bailed after setting the boat on a collision course with the target. They were quit successful and sank some big ships. Now the instructions are not your normal Italeri line drawings but shaded 3D type one..
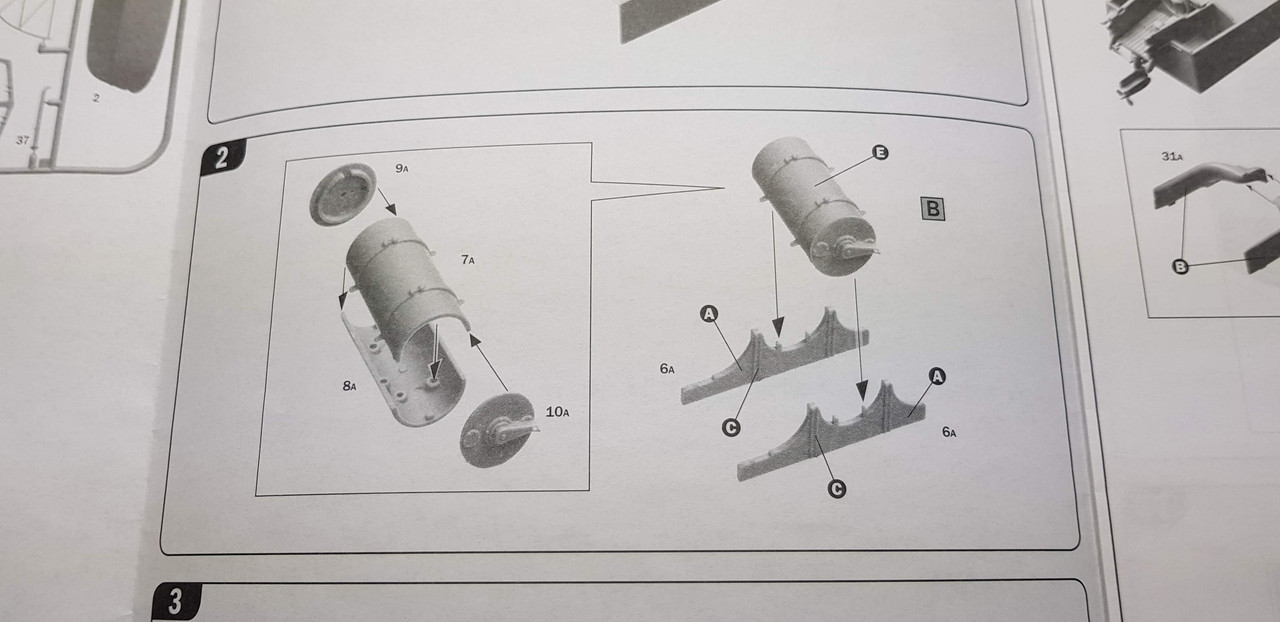
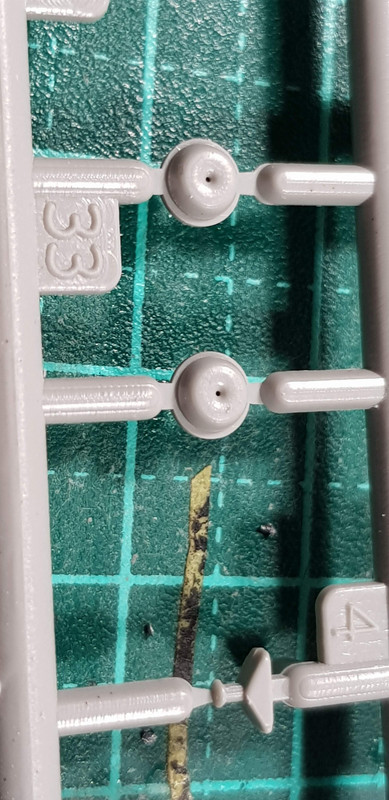
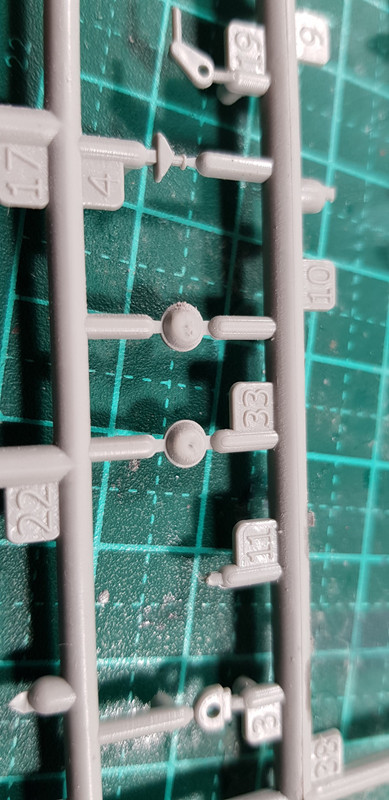
Clear enough I suppose but no one seems to be able to match Trumpeter and Eduard in clear instructions. A couple of shots of the sprue..
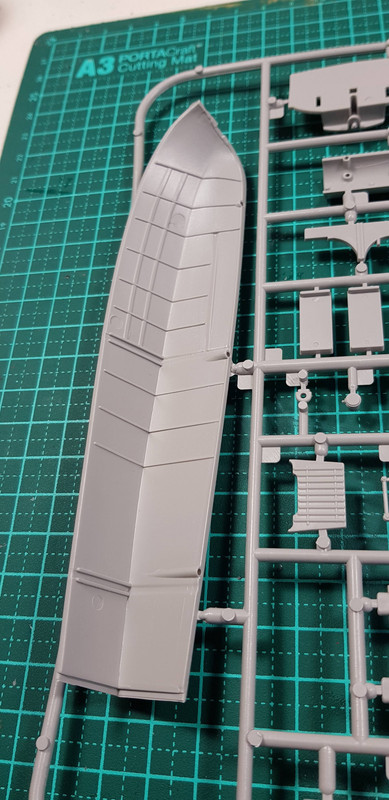
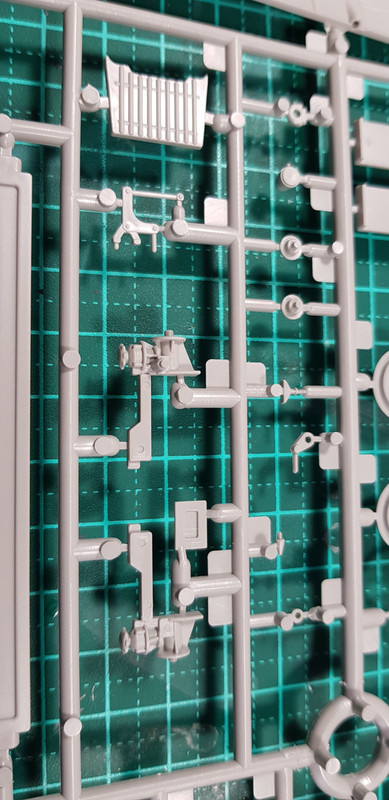
Nice and crisp but with a hint of flash here and there. It also comes with a figure of one of the loony pilots..
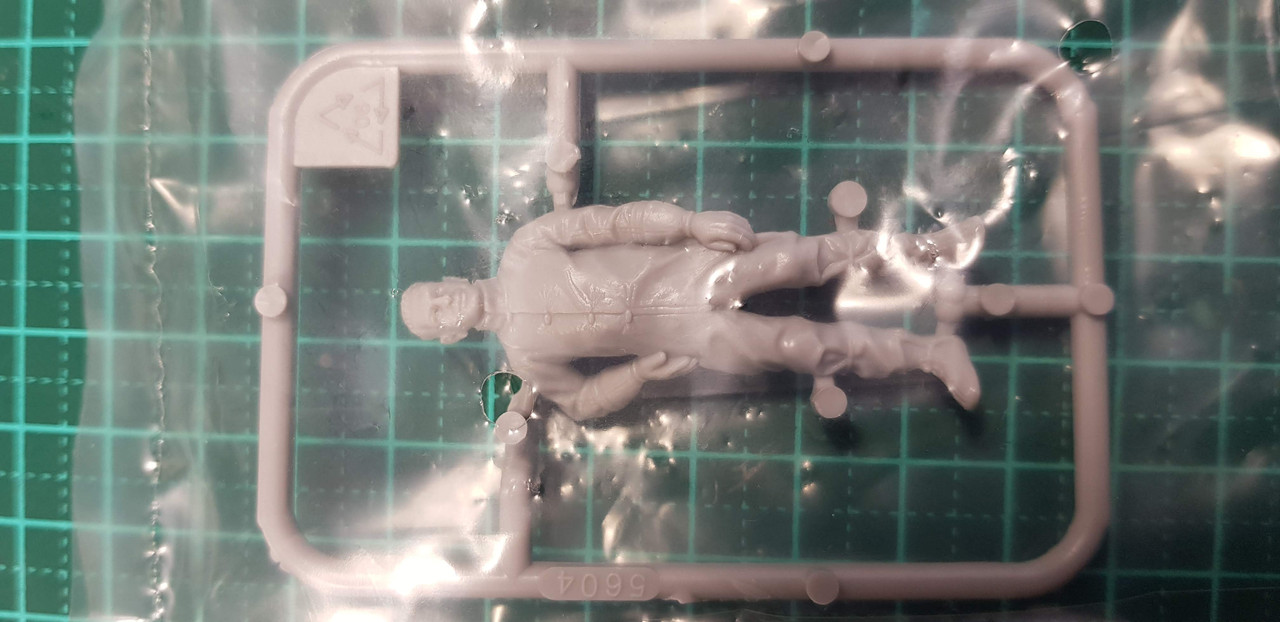
I don't like figures so he can stay in his plastic bag for the moment.
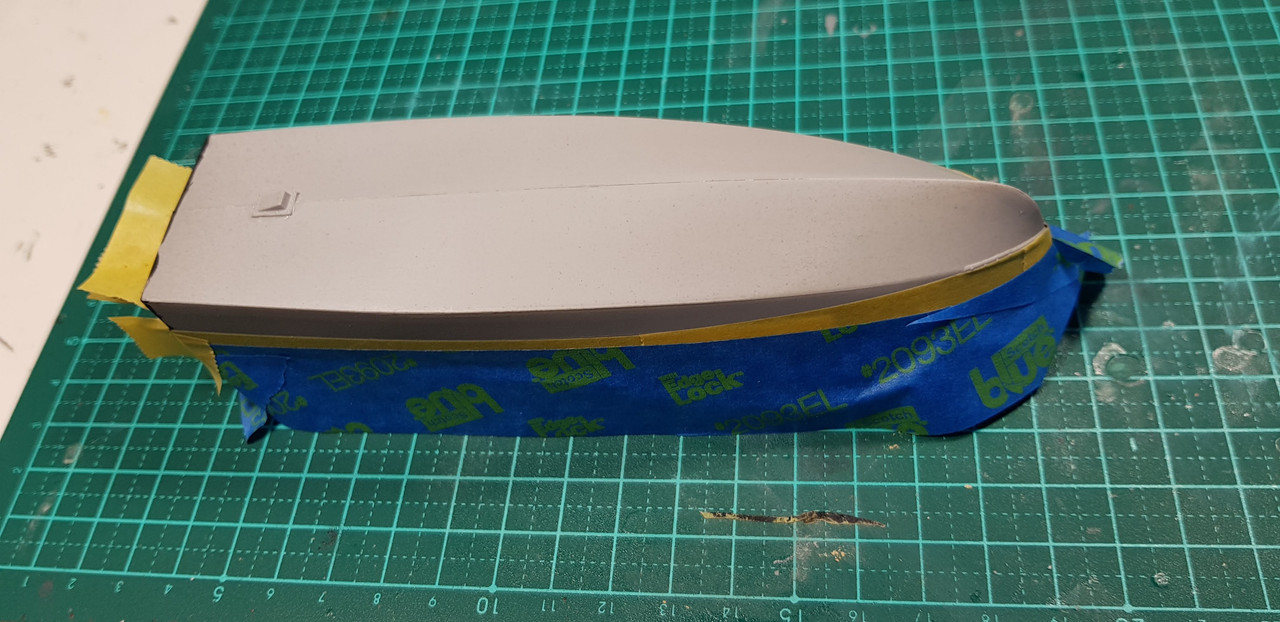
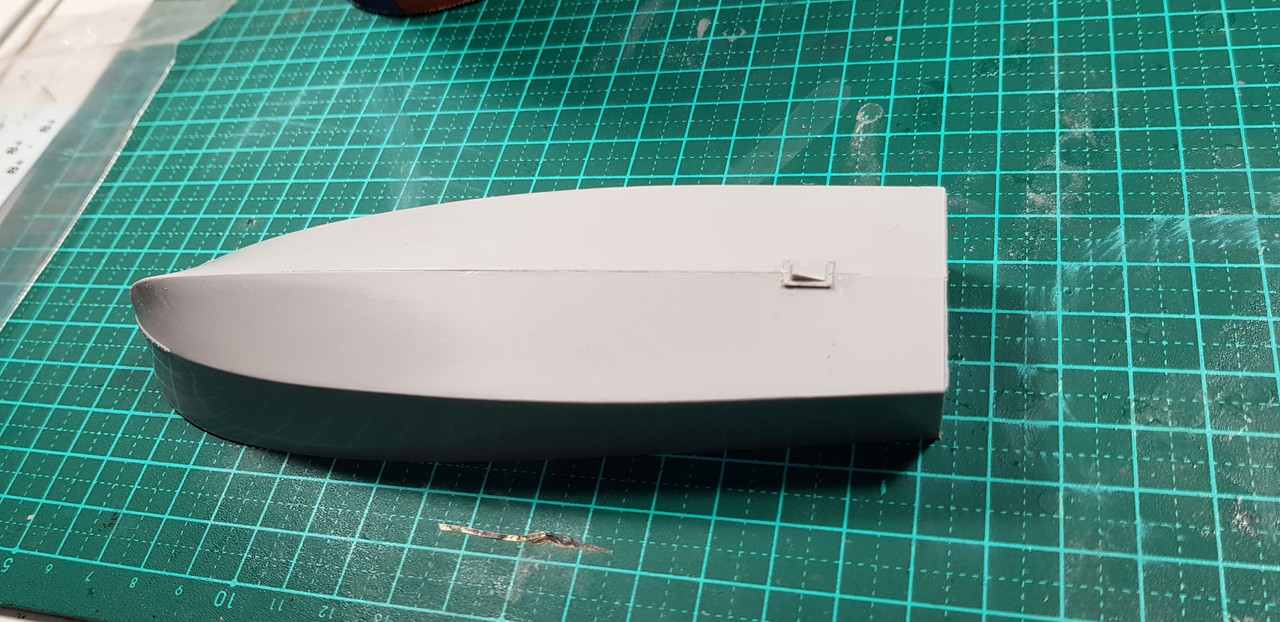
11 am and I cut the first hull half from the sprue.
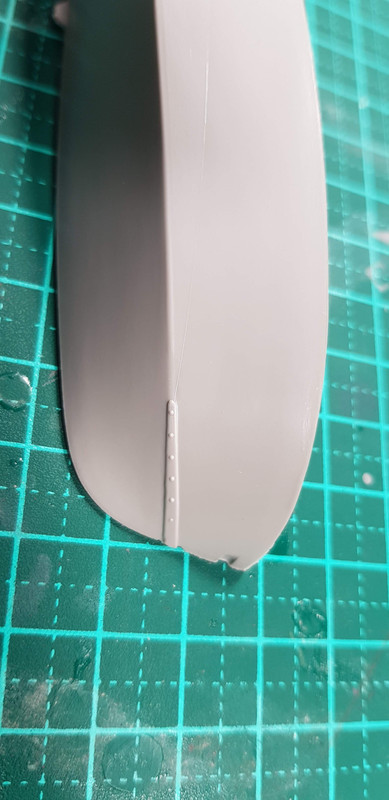
And then glueing them together.
Not the best fit in the world but a little brute-force and a mix of glues and Bob's your Uncle (which he is!)..
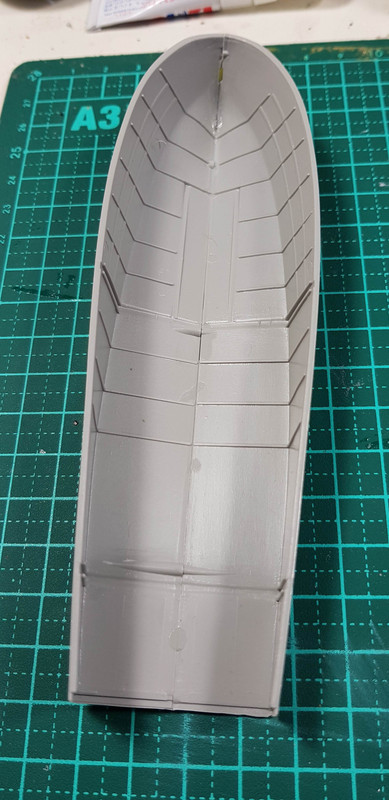
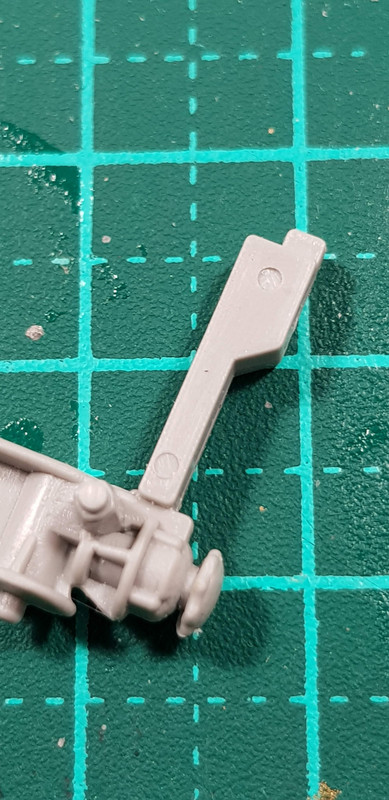
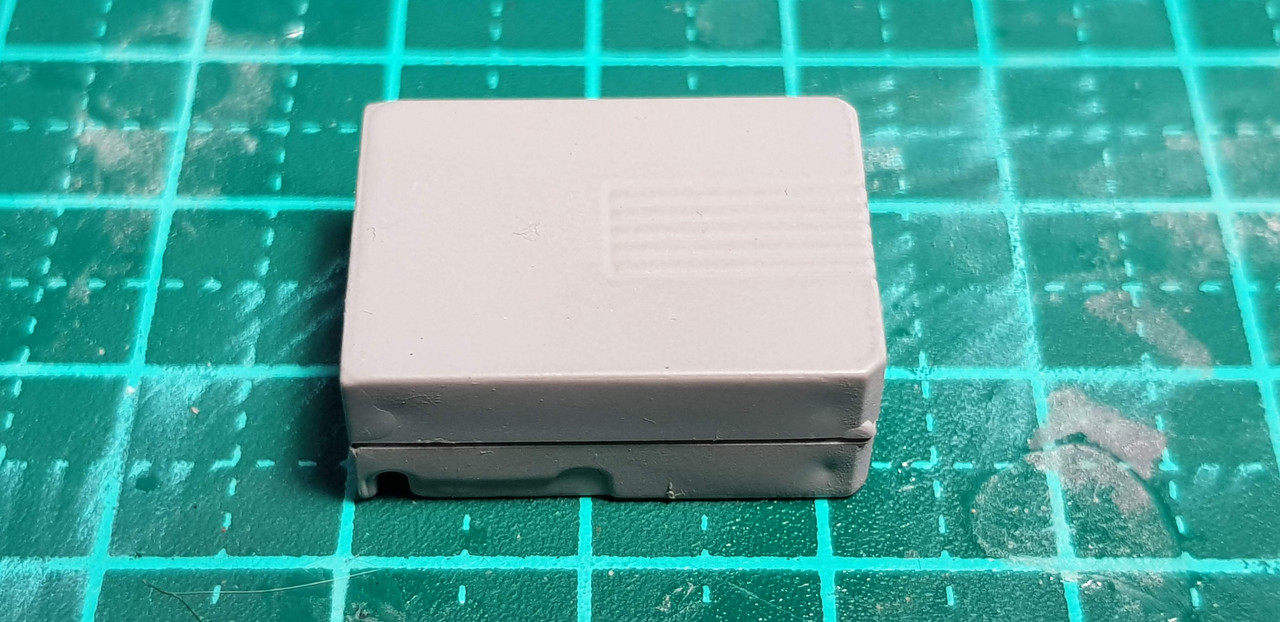
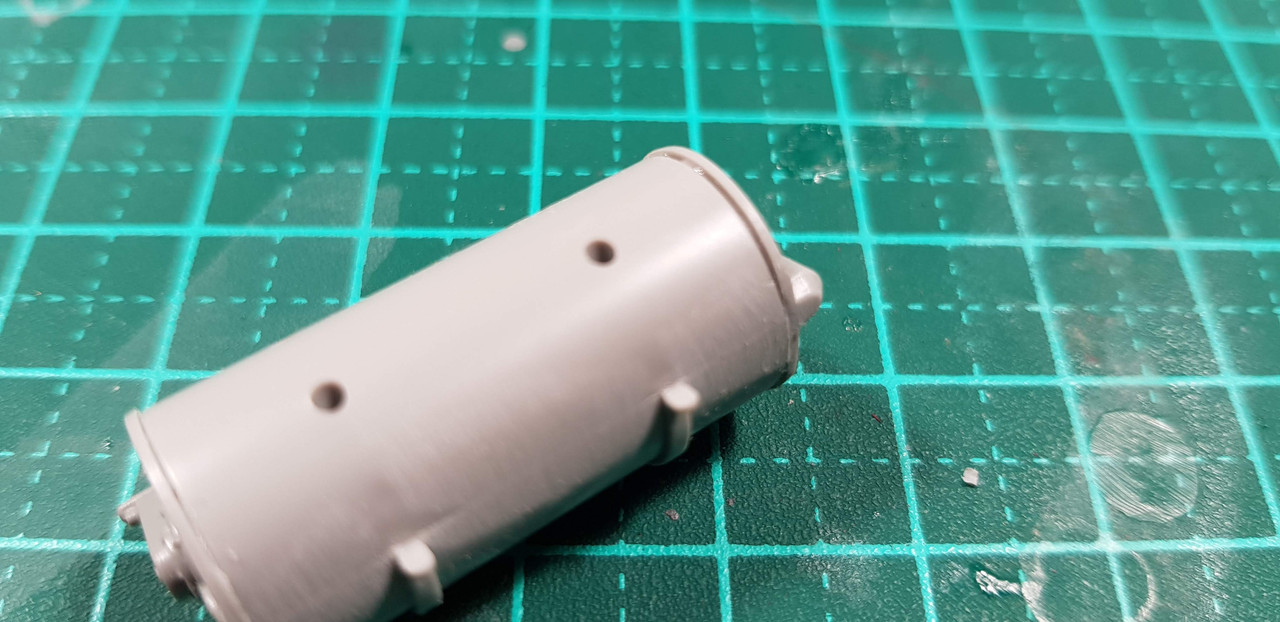
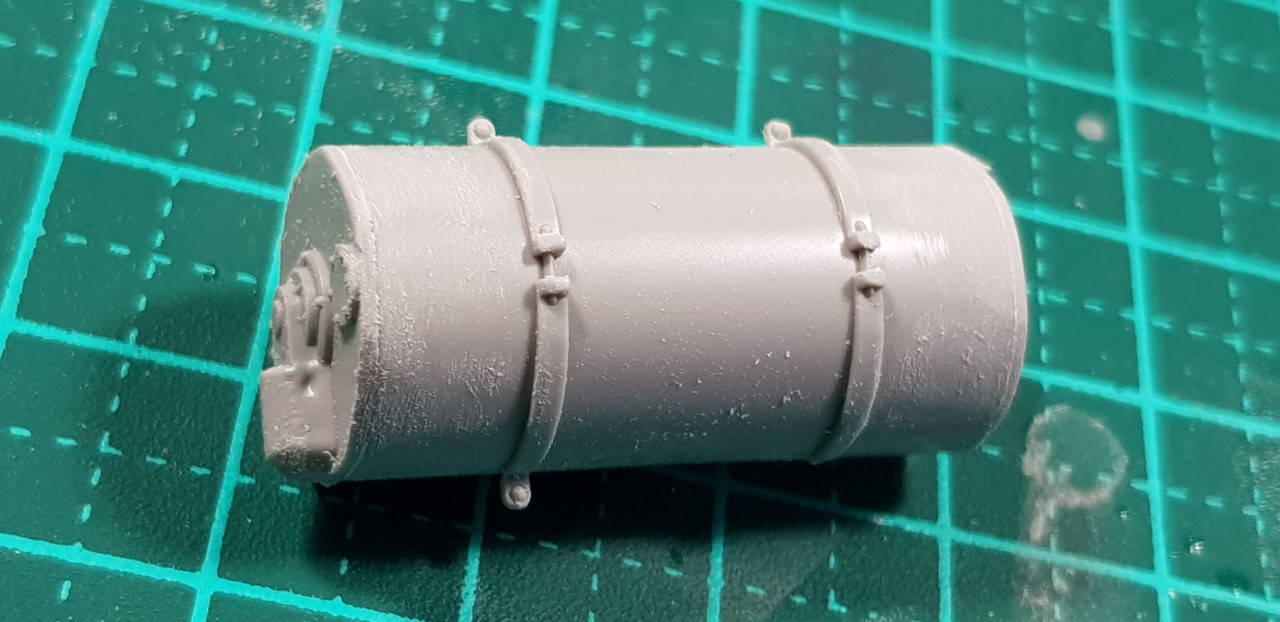
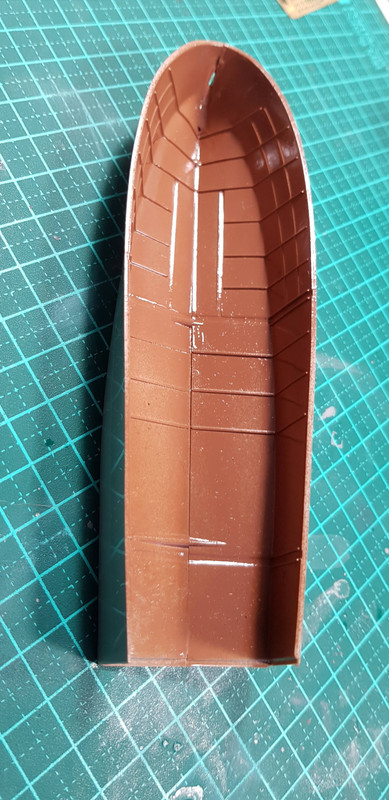
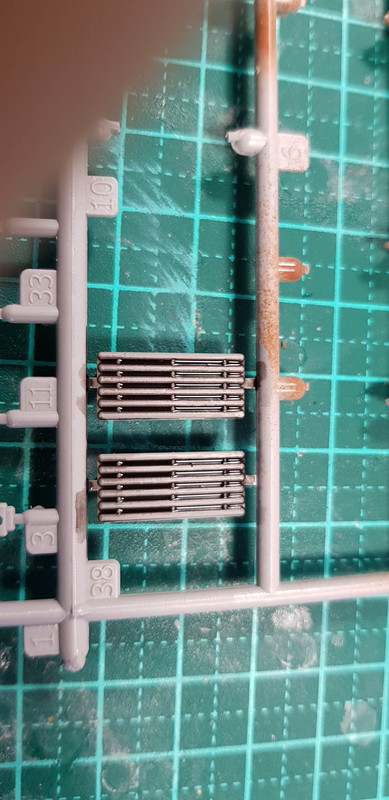
A little interior detail which you probably will never see once you finish the build. The second step had you gluing the bomba together, two halves and two ends..
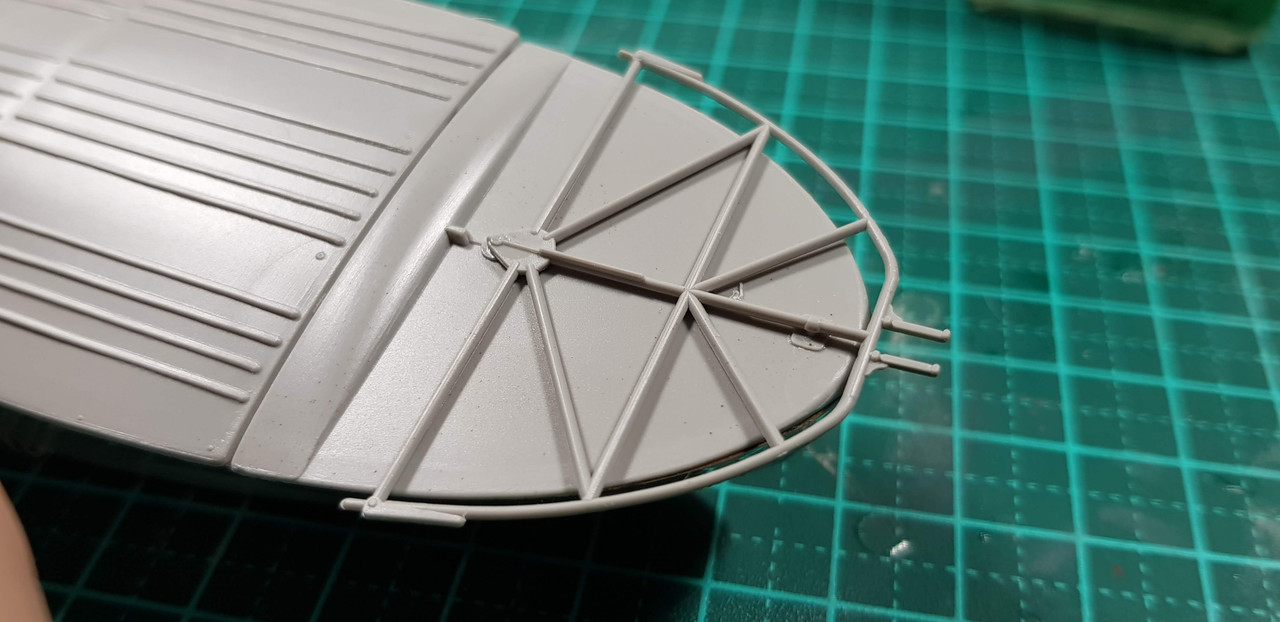
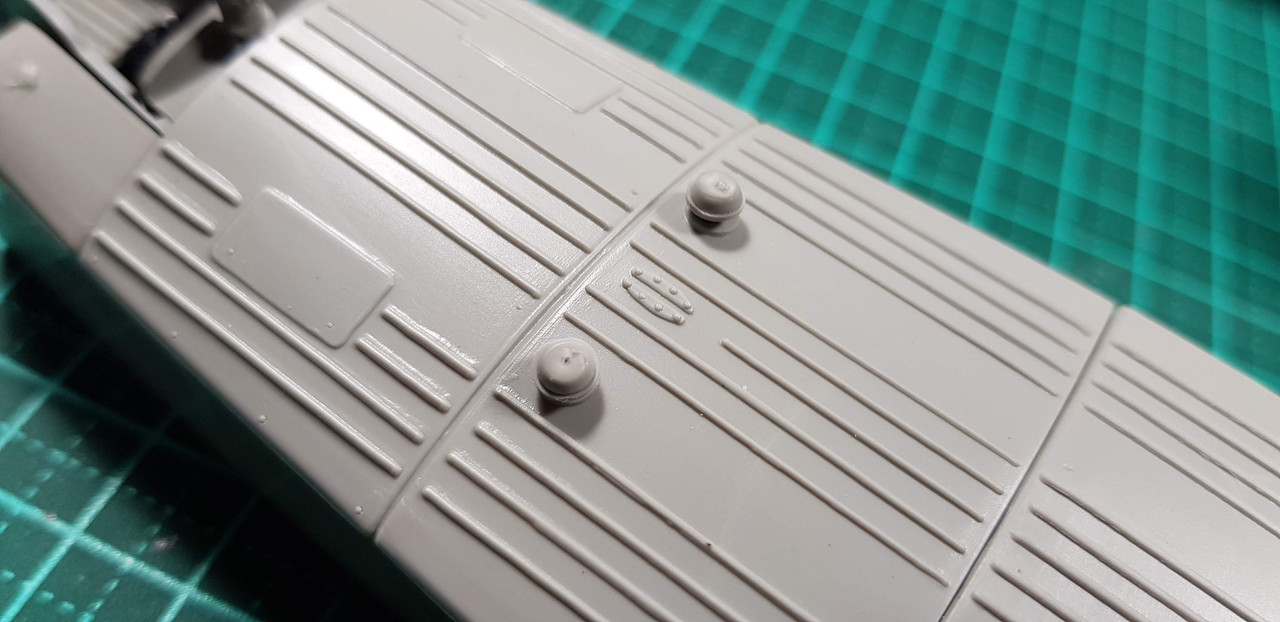
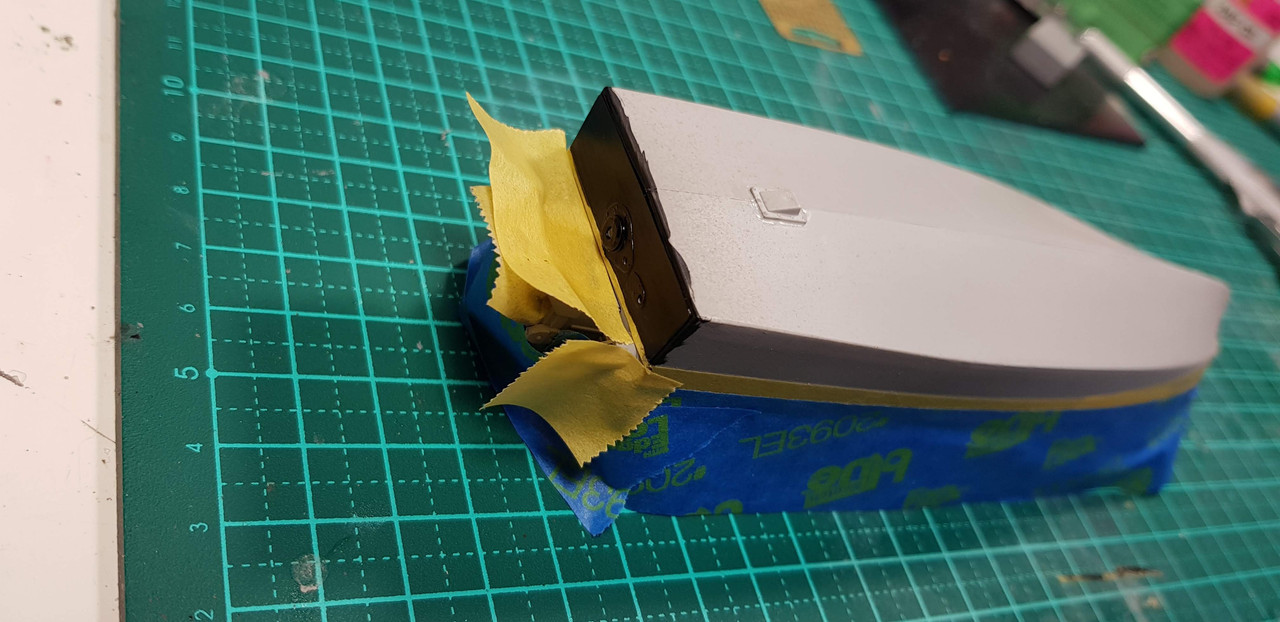
Next was sanding the bottom of the hull after filling some small gaps with super glue then attaching what looks like a small scoop..
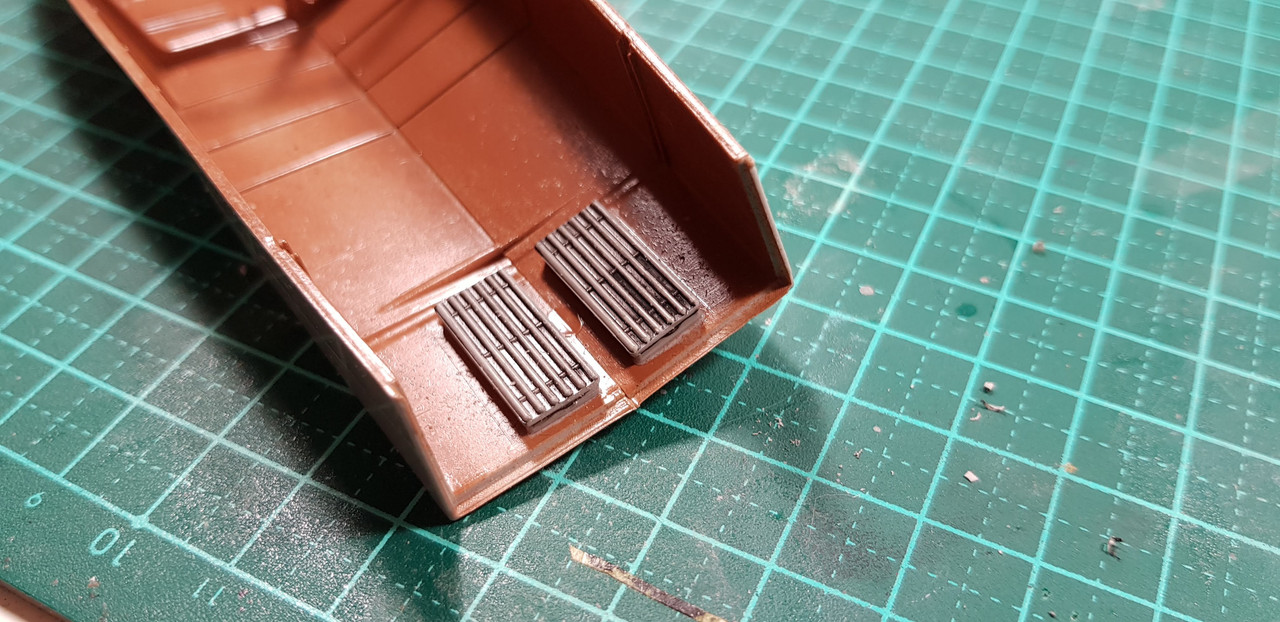
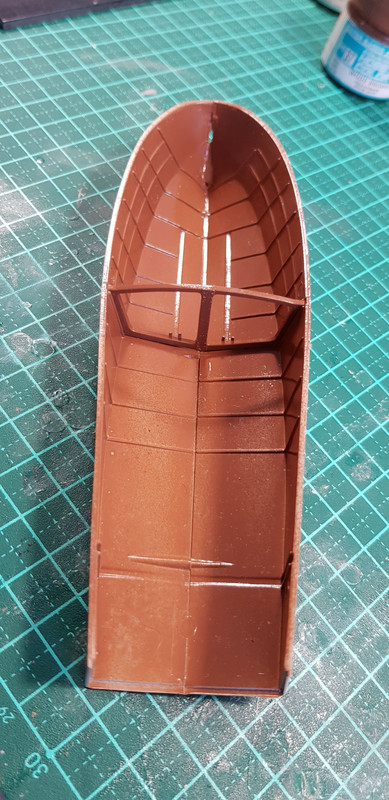
Then I painted the interior of the hull..
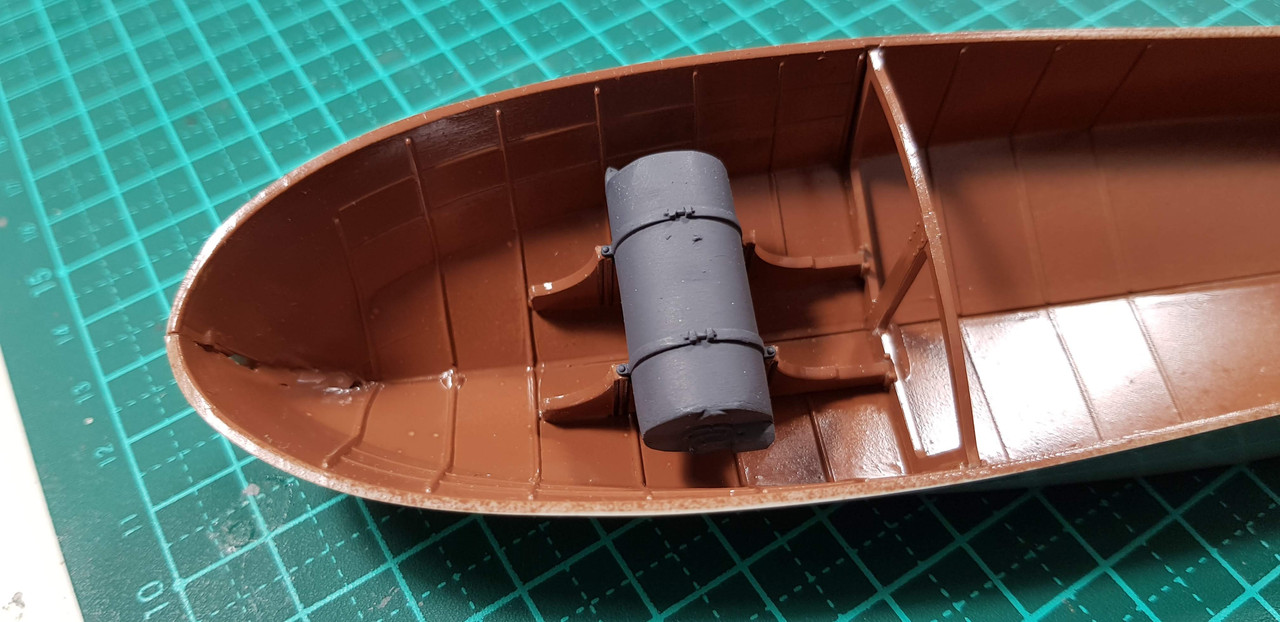
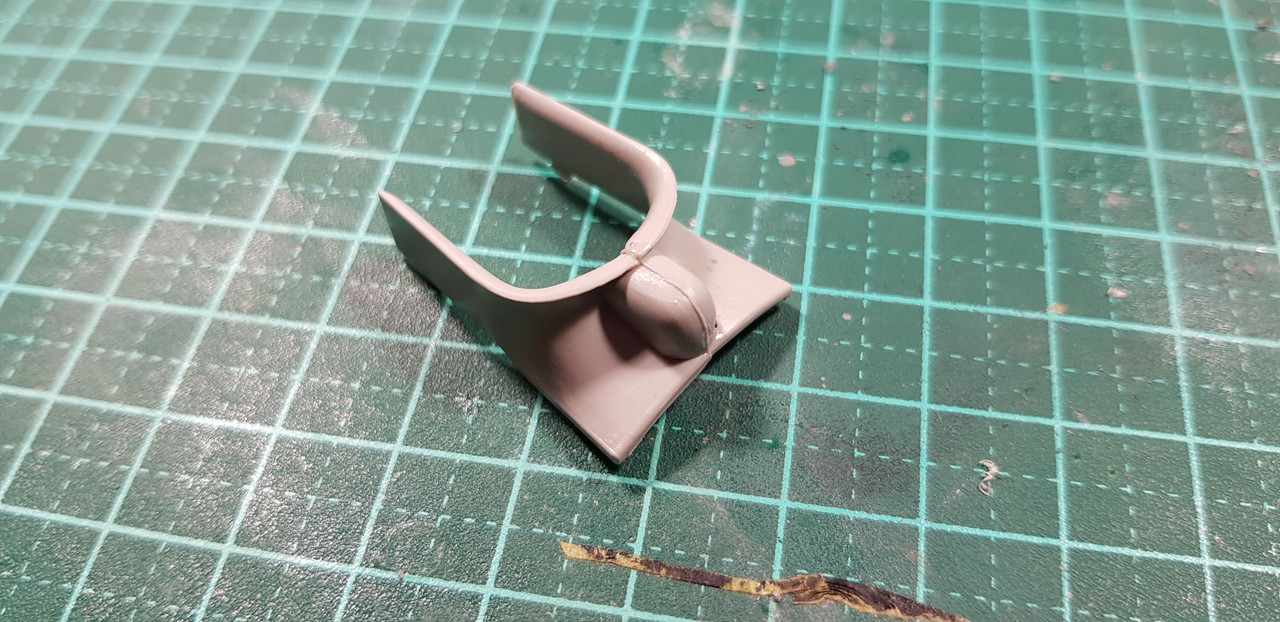
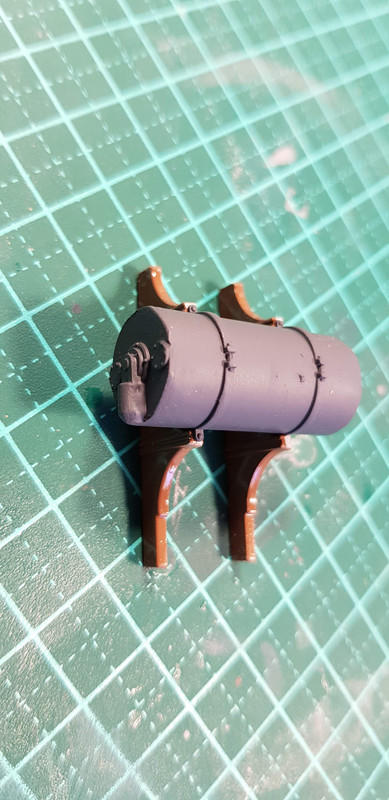
Mounted il bomba in its cradle..
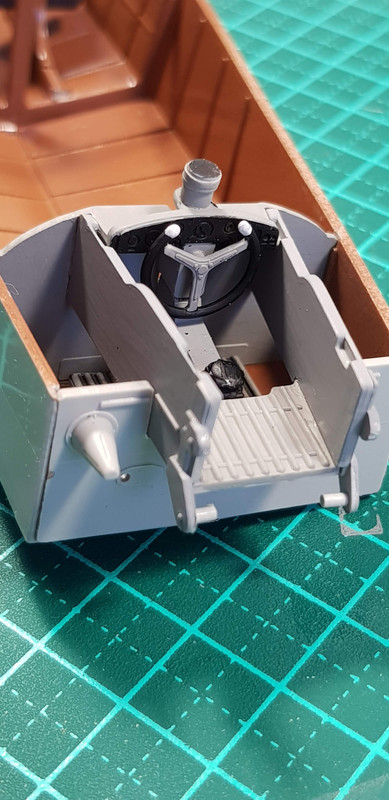
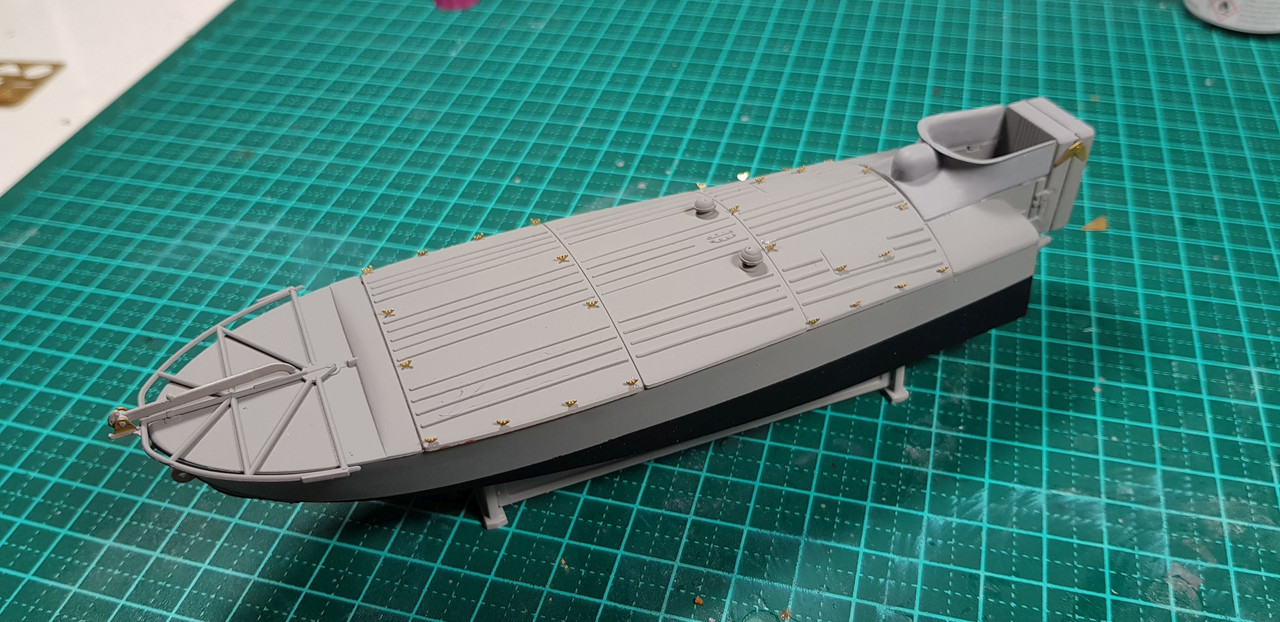
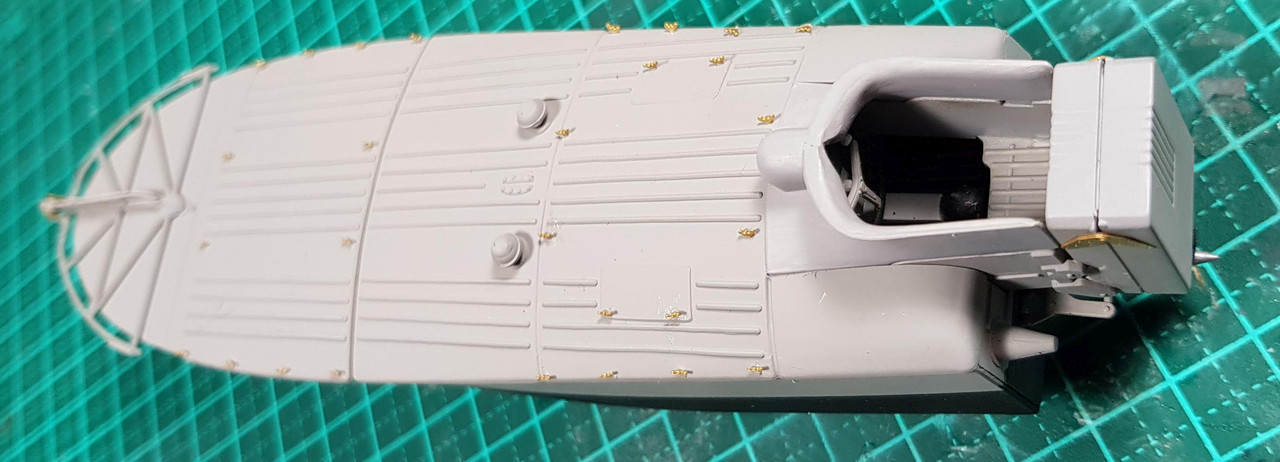
Painted the dashboard on the PE fret..
Then I painted the floor boards grey an added some black wash to simulate the gaps between the slats..
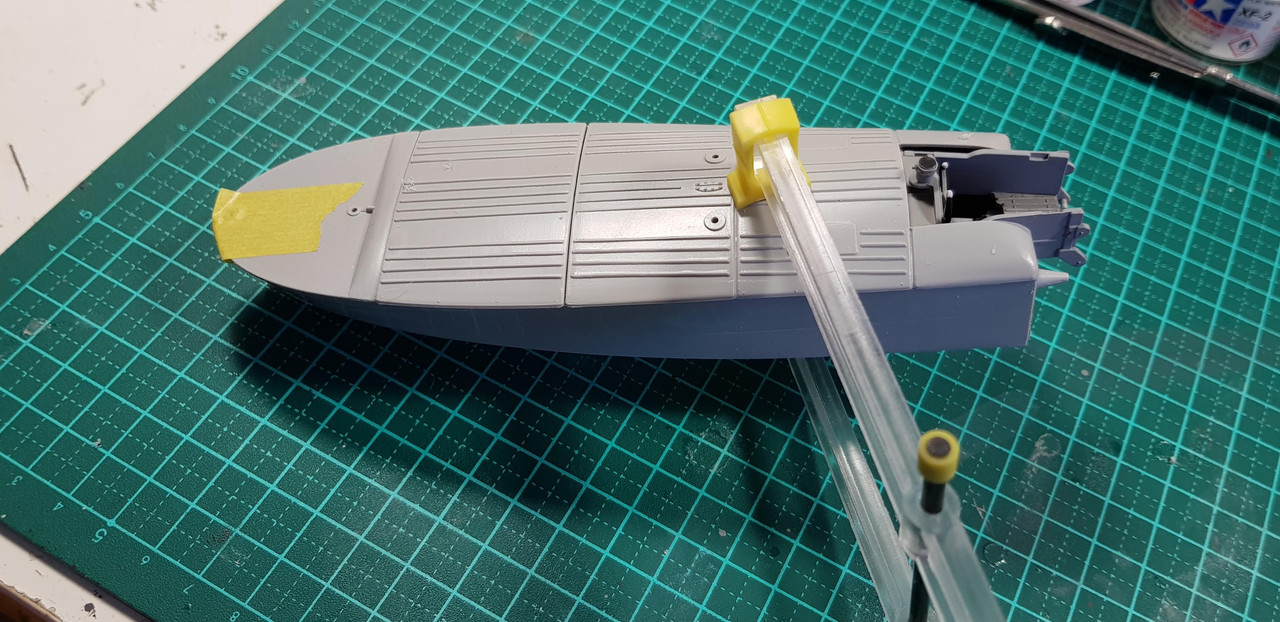
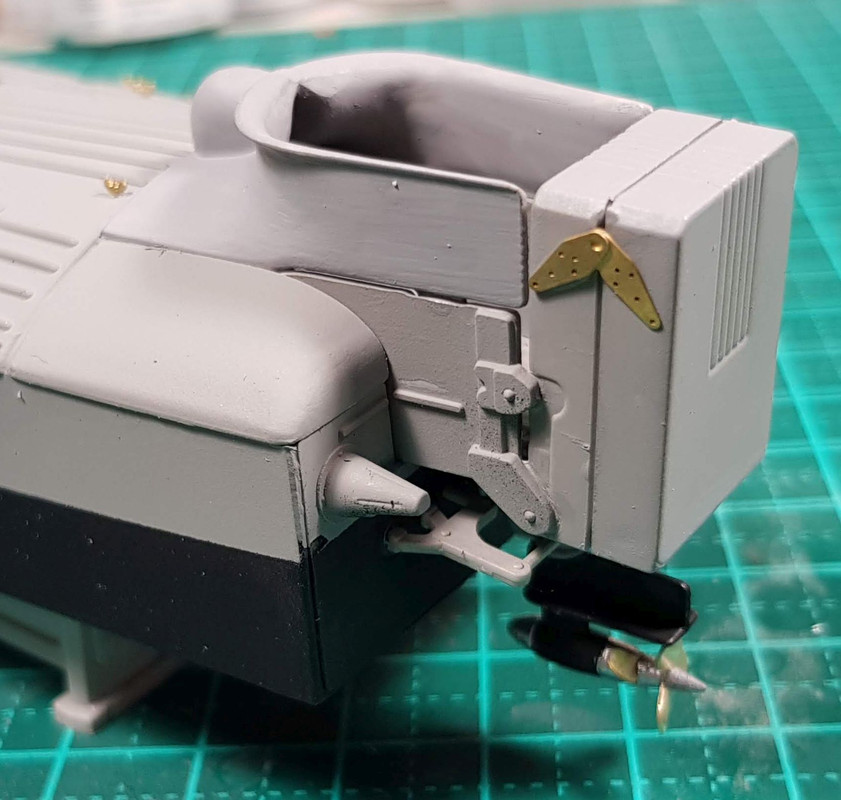
And finally, for today I installed the frame for the hull..
Apart from painting the steering wheel that is as far as I got in a few hours. A refreshing change from how log it would have taken to glue together one 20mm Pom Pom in a 1/200 ship.
I can feel my sanity returning!
Cheers
Warren