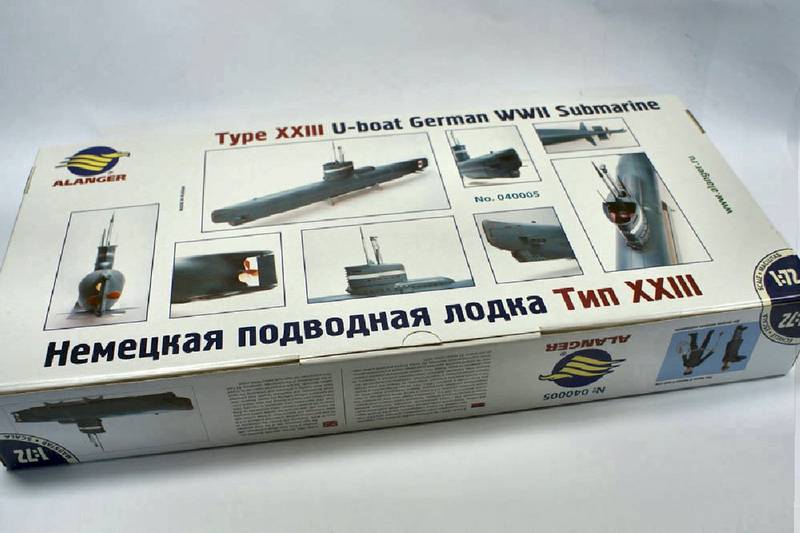
"This "inbox" review is of Alanger Models, 1/72 scale Type XXIII German Submarine, in plastic injection mould."
background...
Development and increasing losses gave ground for development of newer and more advance submarine designs to replace existing boats, and with basis in the Walther Designs, planning on the Type XXIII began simultaneously as planning on its much bigger sister, the XXI submarine.
It was soon decided that the Walther principle would not reach production on a foreseeable time schedule so designs progressed on the same hull configurations, with conventional engines but with a much increased battery capacity.
The XXI was meant to replace the bigger oceangoing VII and IX boats and the XXIII was to replace the Type II boats as a costal attack and training submarine.
The specs for the XXIII were to be:
Displacement of 234 tons
Hydrodynamic hull
2 forward torpedo tubes (torpedoes in the tubes, reload only with an external rig
Submerged speed of 12 knots
Improved listening device
Schnorkel
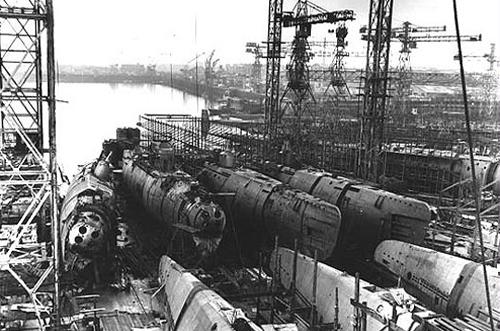
To speed up production both the XXI and the XXIII would be built in sections that were to be assembled at the shipyard.
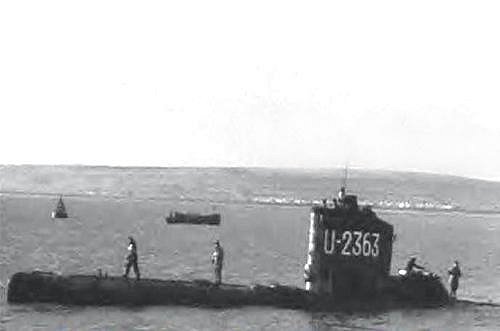
Orders where placed in September 1943 and in June 1944 the first XXIII was delivered. All in all about 60 XXIII were delivered before the war ended with only about 9 boats taking part in actual war patrols sinking 5 allied ships.
It is interesting to note that both the XXI and XXIII had a higher speed submerged than on the surface, and that they due to the snorkel and larger battery capacity was capable of operating submerged over a longer period the seen so far in submarines.
In a sense it can be claimed that the XXI and the XXIII was the worlds first true submarines being designed to perform at optimum submerged in contrary to existing U-boat that basically was surface vessels capable of diving in a short period of time.
Both the XXIII and its bigger sister came way too late to influence the outcome of the war, but the design and technology was a break with existing practise even if it basically wasnt new or groundbreaking. Circumstances forced the German submarine force to rethink its methods, and the results were 2 submarine designs that had the potential to give the allied problems countering the new treat.
The major drawback of the XXIII was that it was limited to carry only 2 torpedoes that had to be loaded from outside direct in the tubes utilizing a special rig. That limited reloading to a base operation or demanded very calm weather if reloading should take place off base.
in the box...
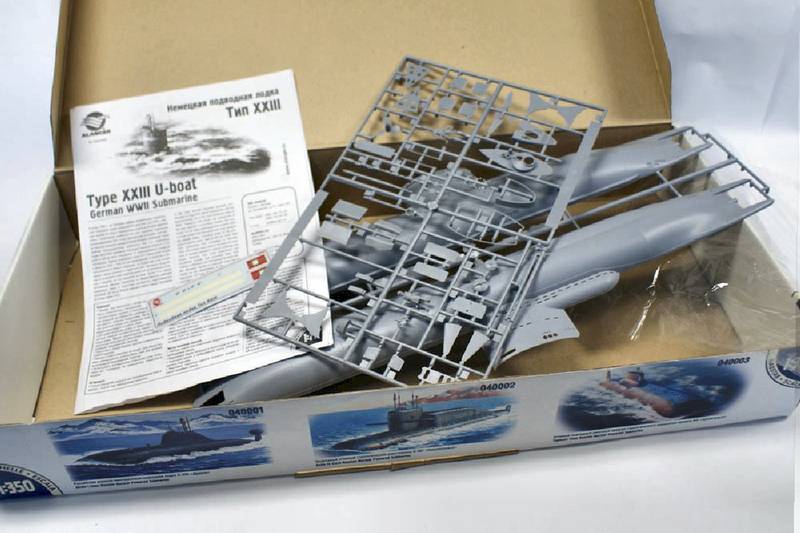
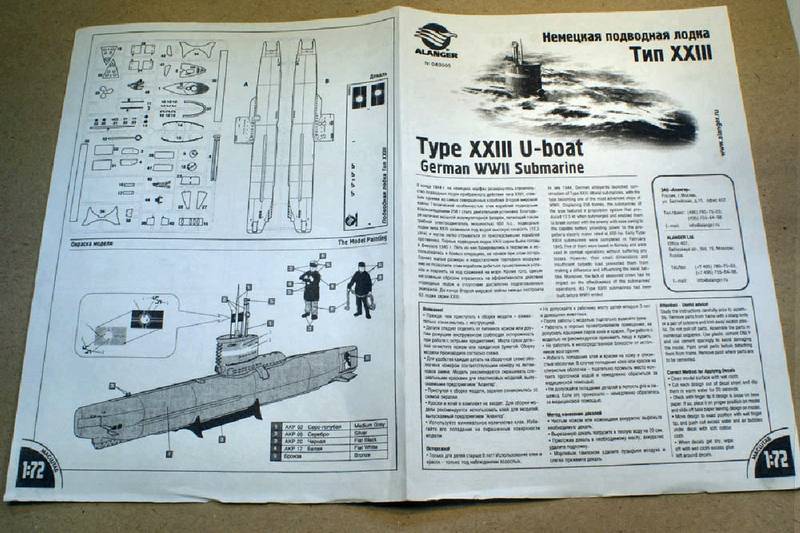
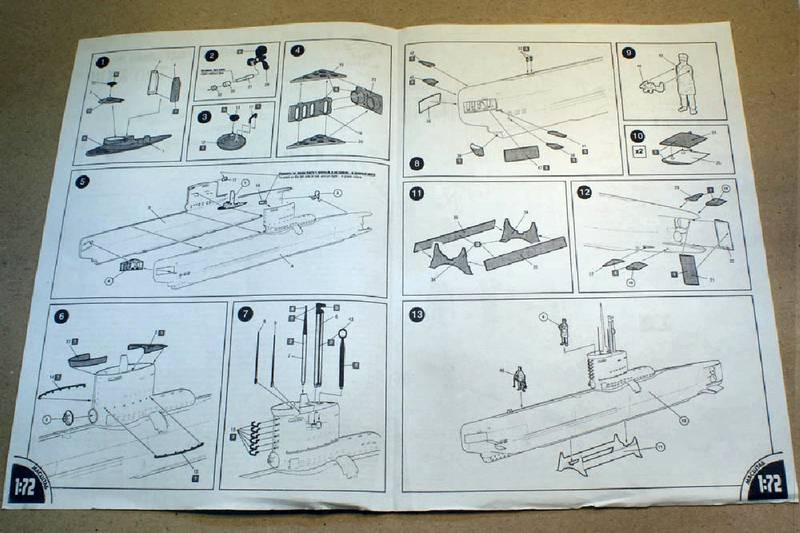
You get a rather large and sturdy box that for the most part contains air. Somewhere down in a corner you find 2 frets of plastic kit parts, a small sheet of decals and the instructions.
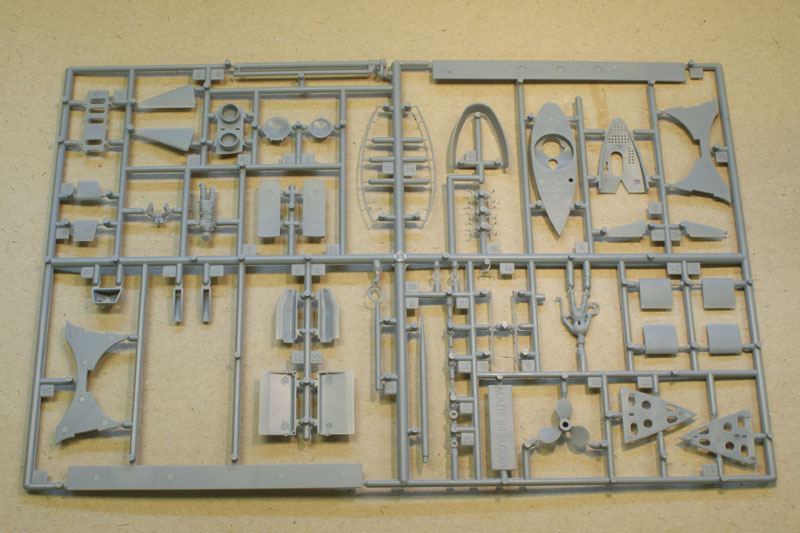
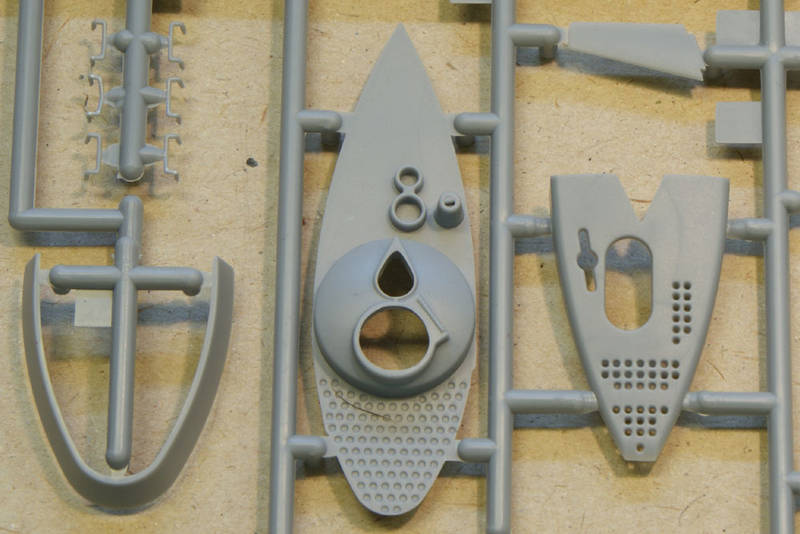
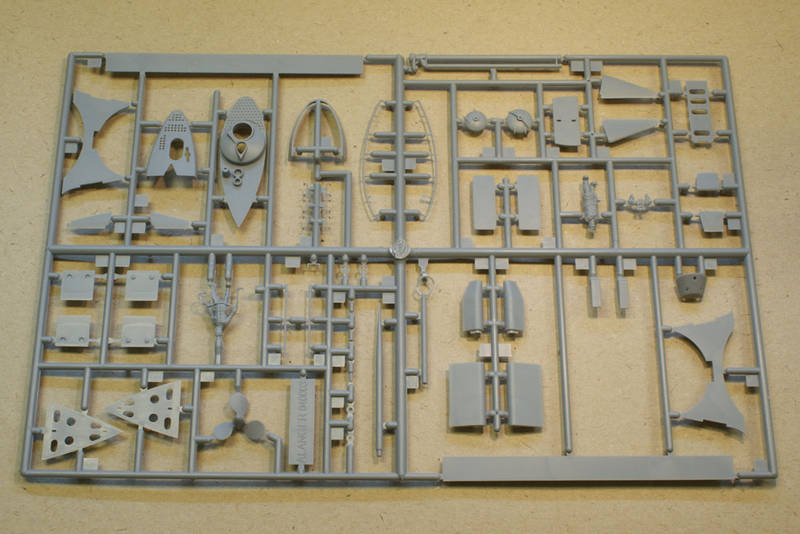
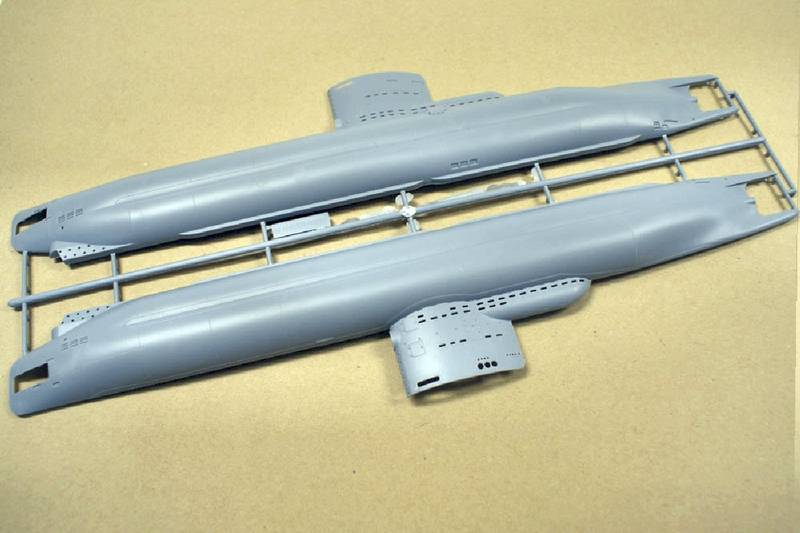
One fret contains the two hull parts with the sail moulded together and on the other fret are all the bits and pieces needed. All in all you get about 60 parts.
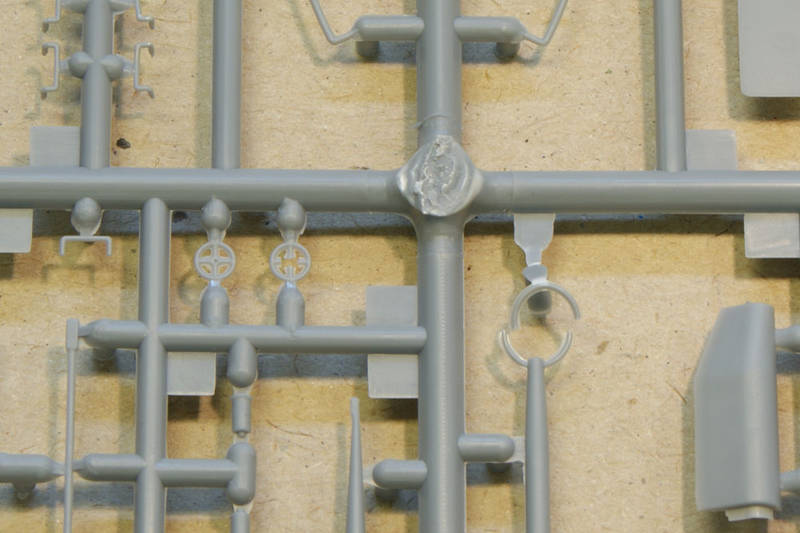
Moulding quality is a bit better than average with generally nice and well-defined details on the hull and larger parts, but flash is evident on smaller parts and the level of detail on the smaller parts is not up to par with what we get from the Far East.
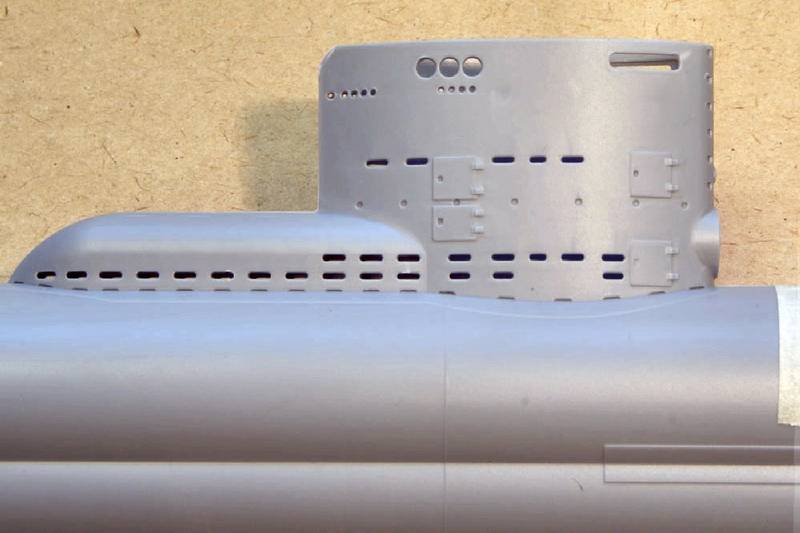
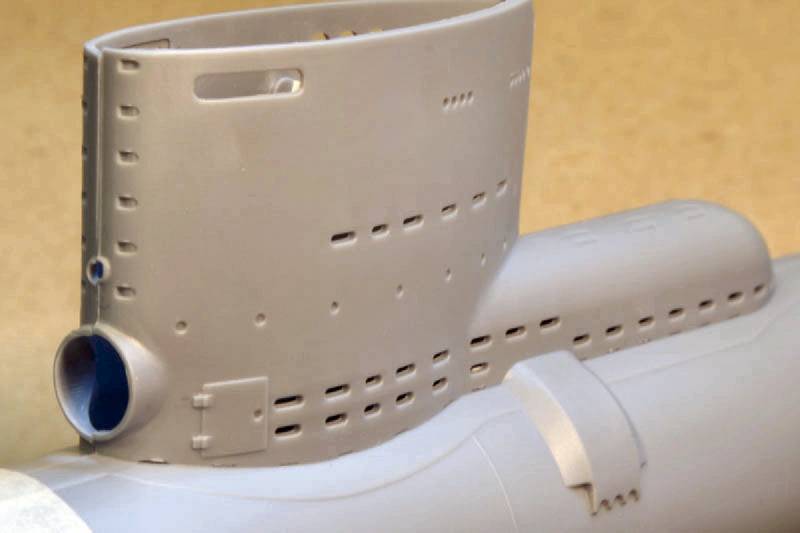
There is no slide-mould technology used on this kit, so details on the edge of rounded parts, like the hull sides, are marked by details that are more hinted then present; an example is the topmost flood holes on the casing behind the seal. These holes are only presented as week impressions in the styrene whereas sliding moulds would have left these open.
I had a hand wheel only partially cast in my sample, and the radio antenna was broken during transport, otherwise the kit was intact.
Sinkholes are present at the snorkel and on one of the crewmembers, and on the hull and other parts, there is knockout marks to contend with
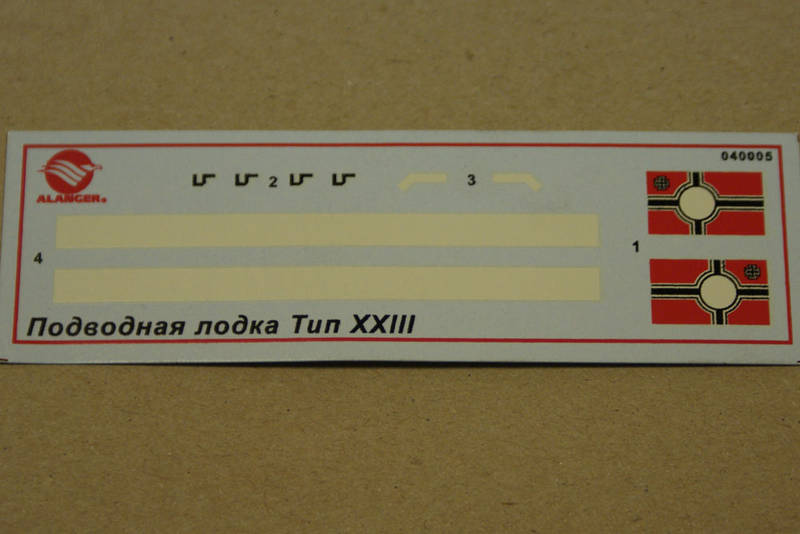
The decal sheet contains one Kriegsmarine flag withdo-it-yourself swastika and the white band to run around the sail.
Instructions a pretty simple, which goes hand in hand with the low part count, and there should be no surprises following the instructions.
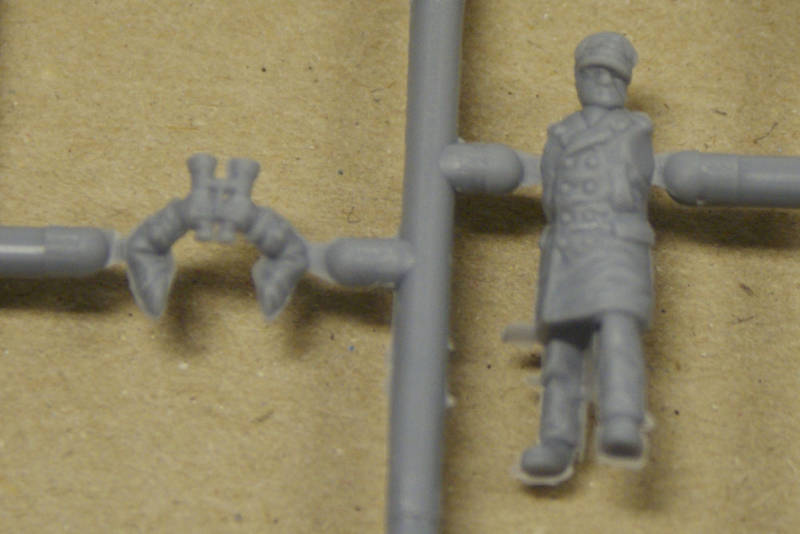
Two crew figures are included, but both are softly moulded with lack of sharp details, so if you want to crew your sub, you are better of seeking a crew from CMK, Hecker and Goros or Warriors.
Overall the impression is good, and this kit should build as a good representation of the real boat with a reasonable level of details.
dimensions and accuracy...
With my references Vom Original zum Model U-boat Typ XXIII by Eberhard Rössler and Fritz Köhl and U-bootwaffe From AJ-Press and the ruler, the kit scales out as follows compared with original.
Length of the boat is 34, 68 meters which scales out to 48, 17 cm, and the kit measures 50, 1 cm.
Height from keel to top of sail is 7,734 meters which scales out to 10, 69 cm and the kit measures 10, 50.
The sail is 5mm too low, sits about 10 mm too advanced on the hull and the hull aft of the sail is 20 mm too long since the error in length in not limited to the strait hull part but also inflicts the tapered end it will not be an easy job to correct this.
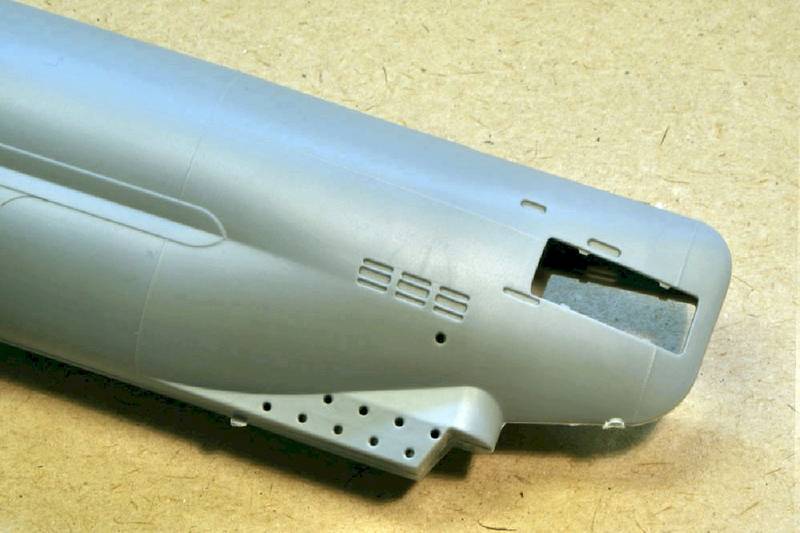
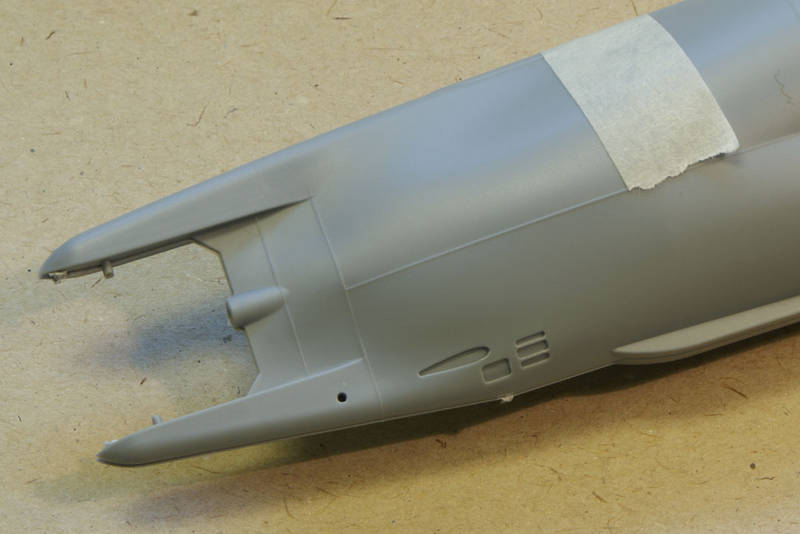
The sonar called the balkongerät sits 5mm too far from the stern.
The Hull is about 9 mm too low, but the width is ok.
The Kiel begins too far from the stern; it should begin about 5 mm. from where the sonar meets the hull.
So the kit is more or less a mess when it comes to measuring out scale wise, and it is going to be very difficult to tackle all these issues.
If we take a walk from stern to aft there are a number of detail issues to be aware of:
Flood holes: these are generally present, but as with all submarines build before and during WW II, these vary from boat to boat, either from the slip or as later modifications during service at the yard. If you are building the boat to represent the class, the included flood holes should be acceptable, except for two missing holes at the stern a few meters back and almost on the very top of the hull. If you are building a specific boat, you better check you references for the specific layout for said boat.
Some holes are moulded shut and other open end especially the holes on top of the casing behind the sail will benefit from being opened.
Torpedo tubes: You have the option to build these either opened or closed, But due to lack of details on the interior I would recommend building them closed which they were for the most part, except during reload or prior to engaging a target.
Structure on front deck: There is a small structure on the front deck, and I have
not been able to identify its name and function. Anyway the representation in the kit has very little resemblance to the real thing, and the part should have been moulded separately to ensure higher level of details and accuracy.
The same goes with the:
Exhaust: which is the small structure on the port side of the sail just where it meets the casing. Again a part that ought to have been moulded separately to facilitate the small openings where the cover meets the hull.
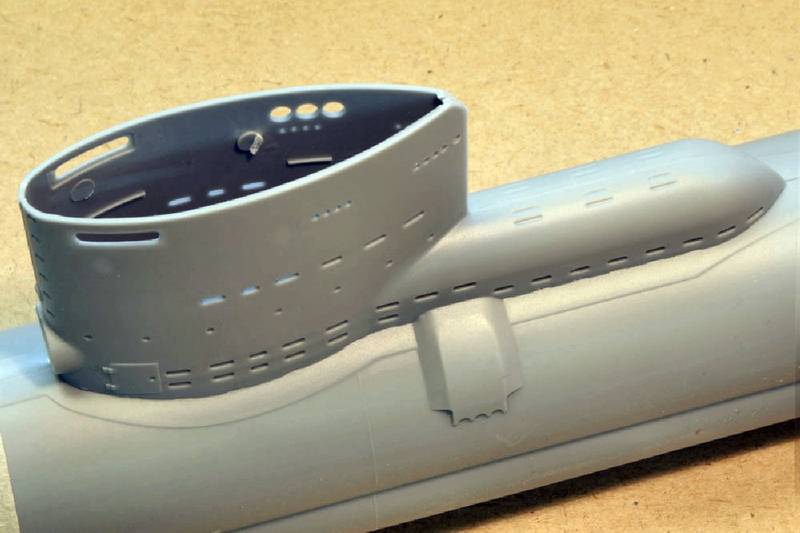
Sail: On the front of the sail there is a pressure hatch that seals a small compartment containing survival and rescue gear. The build up around the compartment is cylindrical in the kit, but ought to be tapered like in the reference picture probably to give a better flow.
The steps leading to the tower is better replaced with some crafted in wire.
Inside the tower, measurement show that the floor is placed about 2 mm too high and the pattern on the floor dont match my reference showing a wooden deck with square holes instead of the steel floor with round holes in the kit.
The area behind the bridge, under the deck that covers half the sail, is left open in the kit, but ought to be sealed of.
The moulded spring for the turret hatch is way too thin, and can be replaced with wound up wire.
The lanterns in the 2 square indentions on both sides of the sail, was actually covered with glass or Plexiglas and the lanterns themselves are really missing, so a little work with some leftover clear sprue is needed. The lantern boxes seem to protrude too far into the bridge area, references are scarce in that area but I would suggest cutting of about 1 mm.
Aft Lantern is missing.
Conclusion:
There is no doubt that this kit will look like a XXIII when built, but the keen eye will see that the dimensions is somewhat out of match, and the characteristic short end of this type has been evened out by de dimensional faults of the kit.
It is still a wonder to me, that somebody spends so much money on designing a kit, which includes so many dimensional errors that could easily have been adjusted with a few good references. I can excuse that there are missing details here and there, especially in the bridge area, that can be explained with lack of clear photo material, but both my reference books contains a number of original drawings in scale, so its hard to find any excuses for making a pattern that holds so many dimensional errors.
But, alas, it will still build ok out of the box, and you really can put your painting and weathering skills to test, but there still is a number of areas where a little extra would give a lot on the overall impression of the kit.
I have bought the Eduard photo etch, which although its made for Special Navys Type XXIII can be adapted for Alanger Kit. Even if the etch mainly addresses the conning tower, it still brings you a long way.
Aside for the etch there is, as mentioned above, a lot of areas you can address and with a little basic modelling skill, heighten the finish of the kit and overall impression of the kit.
If You really want to go to town, adding a basic interior to the sail like the conning tower, exhaust etc. will ad a lot visually since the flood holes permits a clear view of whats missing inside. But then again, if You want to give it the full treatment, then the Special Navy kit of the XXIII, even though more expensive, would probably be a better base for your efforts.
This is not a bad kit, and we should be careful not to be spoiled from the high moulding standard we have grown used to from Far East companies, and instead enjoy that somebody like Alanger tackles subjects like this. But more and better research could have taken care of some of the dimensional errors and a better and a little more thought out design would give some better details on some of the parts, including the inside of bridge.
Ed. Note
To watch this model built, click
here to be transported to Jan's "BLOG" (build log) where he is recording his progress...


Comments