_GOTOBOTTOM
Ships by Class/Type: Military Small Craft
For topics on PT boats, landing craft, Vietnam riverine, etc.
SMS Falke (k.u.k.) - 1/72 by Wiener Modellbau
elmarriachi
Visit this Community
Baden-Württemberg, Germany
Joined: December 26, 2009
KitMaker: 813 posts
Model Shipwrights: 304 posts
Posted: Sunday, August 23, 2015 - 02:17 PM UTC
Hello at all,

No... this won't be a fantasy of Jules Verne... this was a real ship, more then 100 years ago... coming from the Austro-Hungarian Navy...

The first one - SMS Falke was comissioned in September 1885
The 2nd one - SMS Adler folloed only few days later at 9th of October 1885.

41,14m long, 4,20m wide.... and full of 29tons of coal for their 1300hP locomotive steam engine which achieves about 22knots.
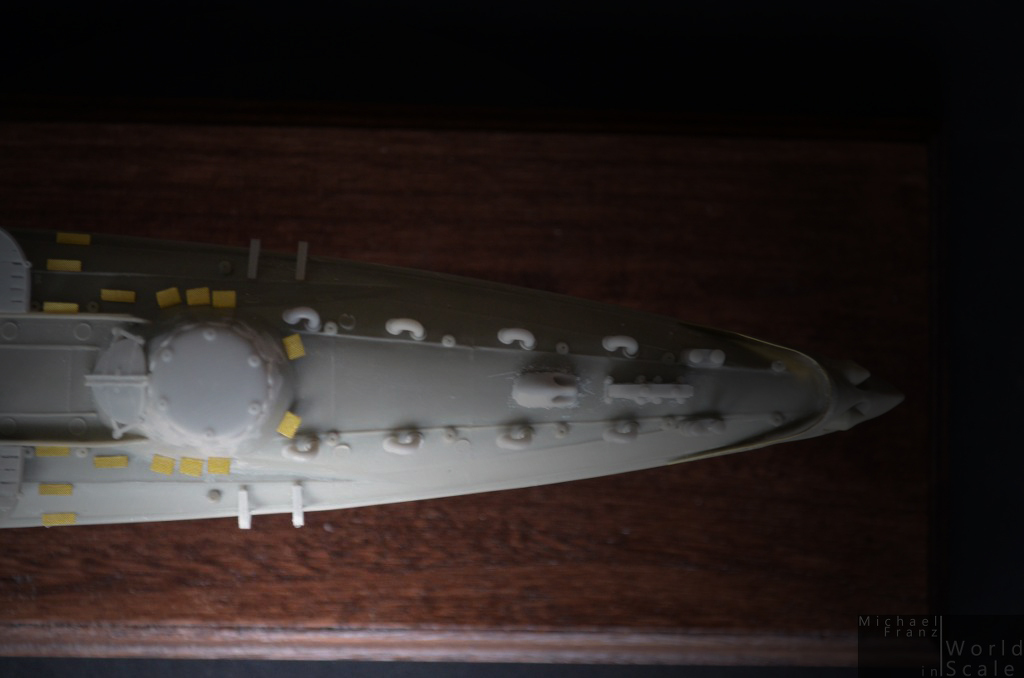
Both ships had 2 torpedos at the bow and 2 37mm L/23 Hotchkiss guns on board.....

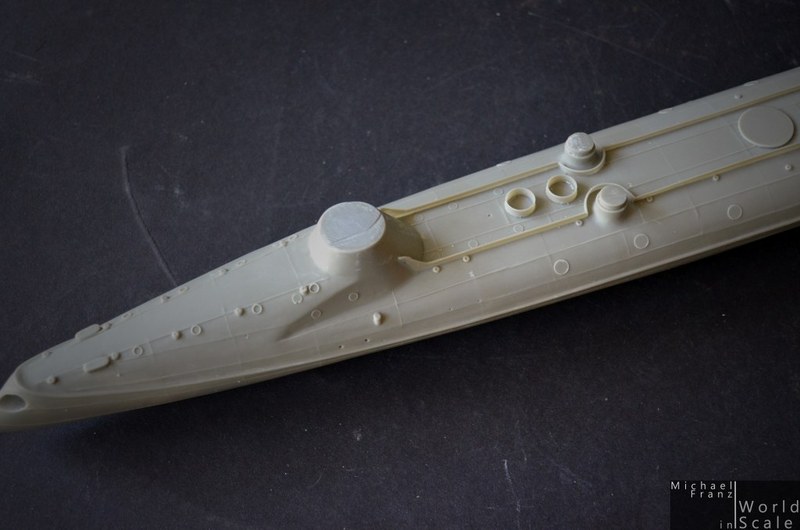
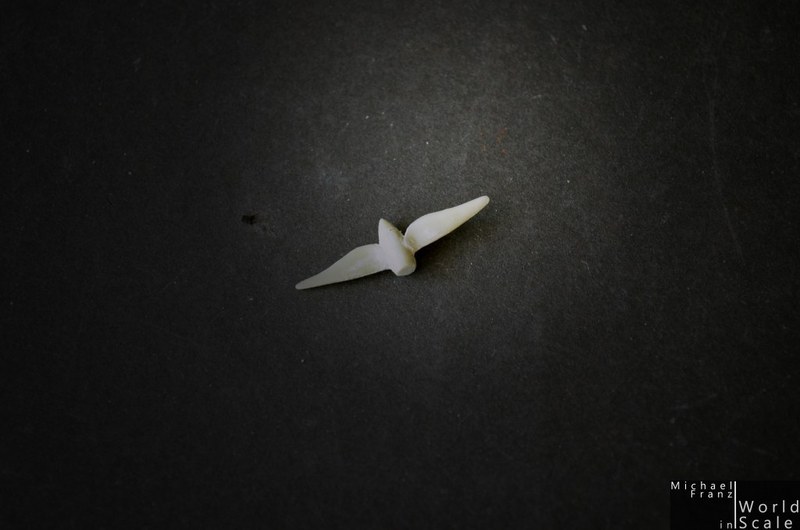
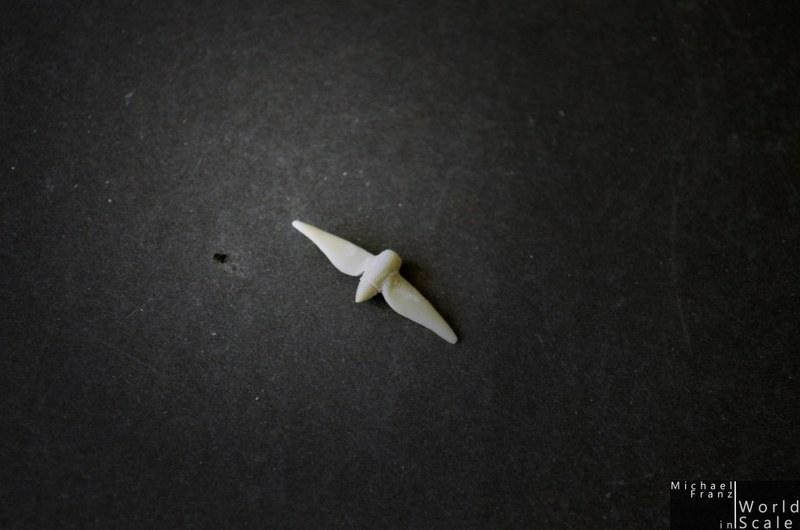
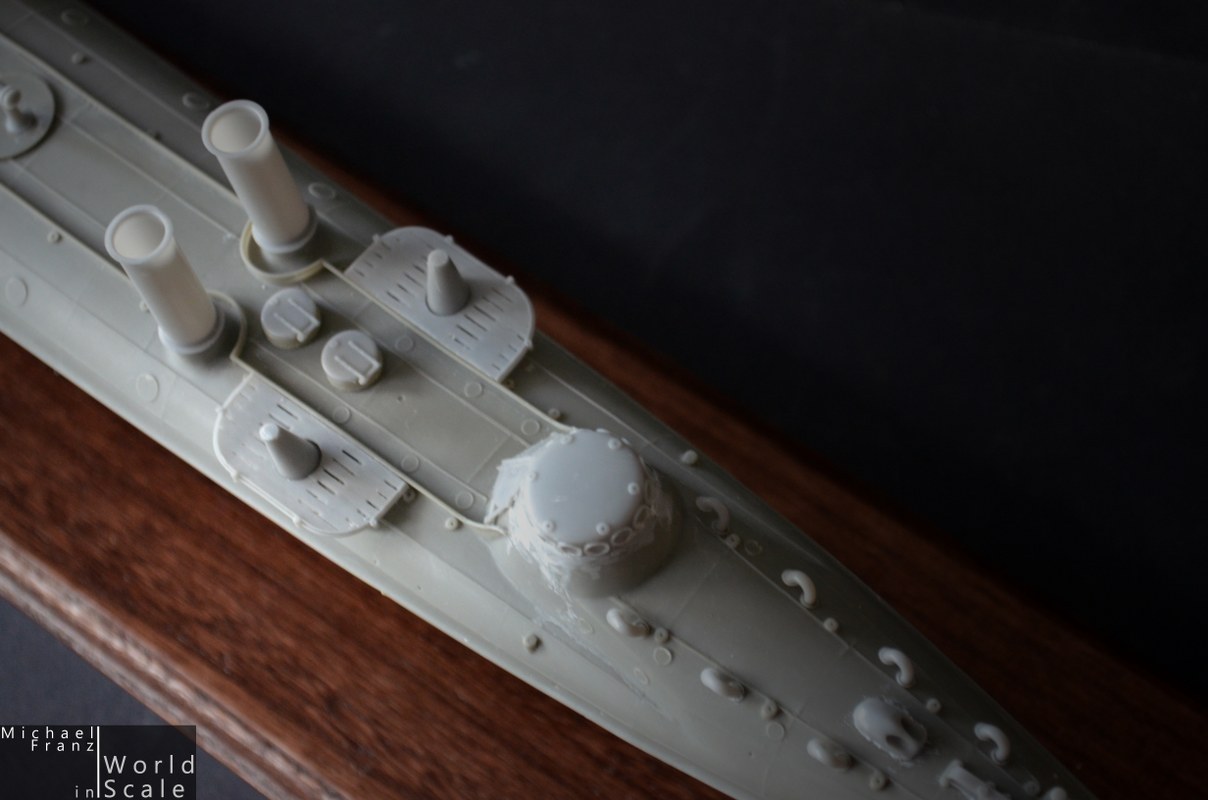
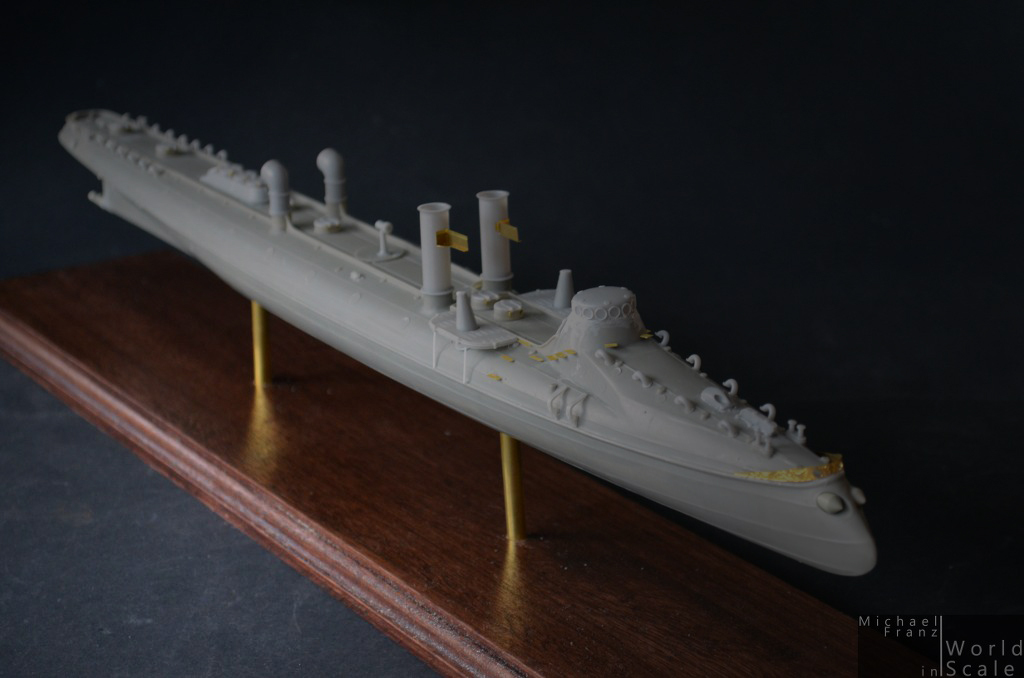
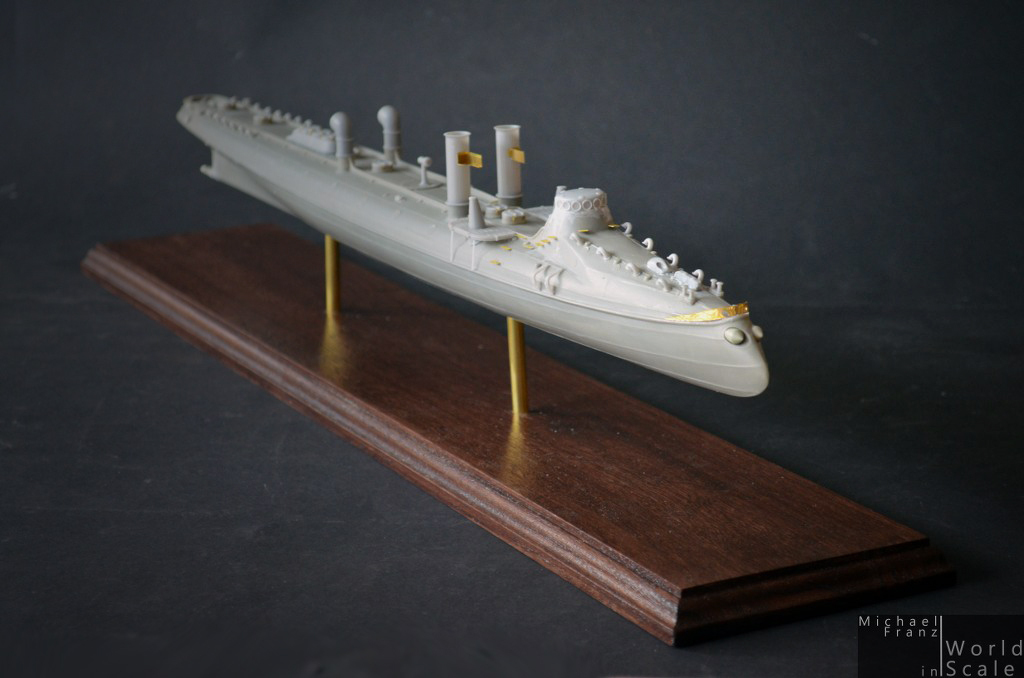
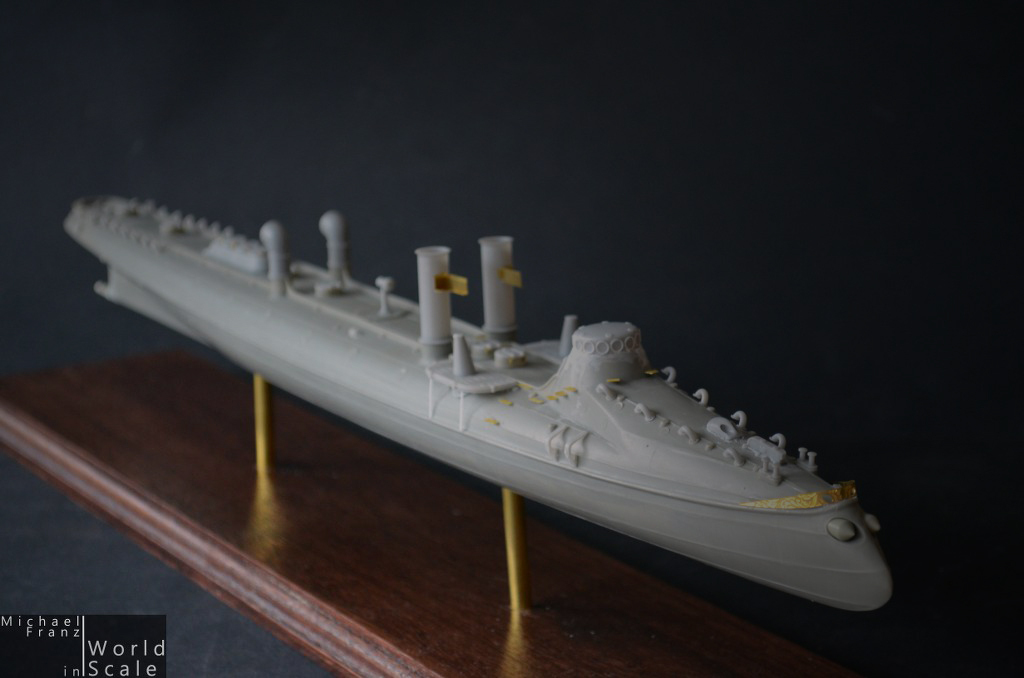
... and this is the wonderful ship, which we are talking about .....


THE KIT

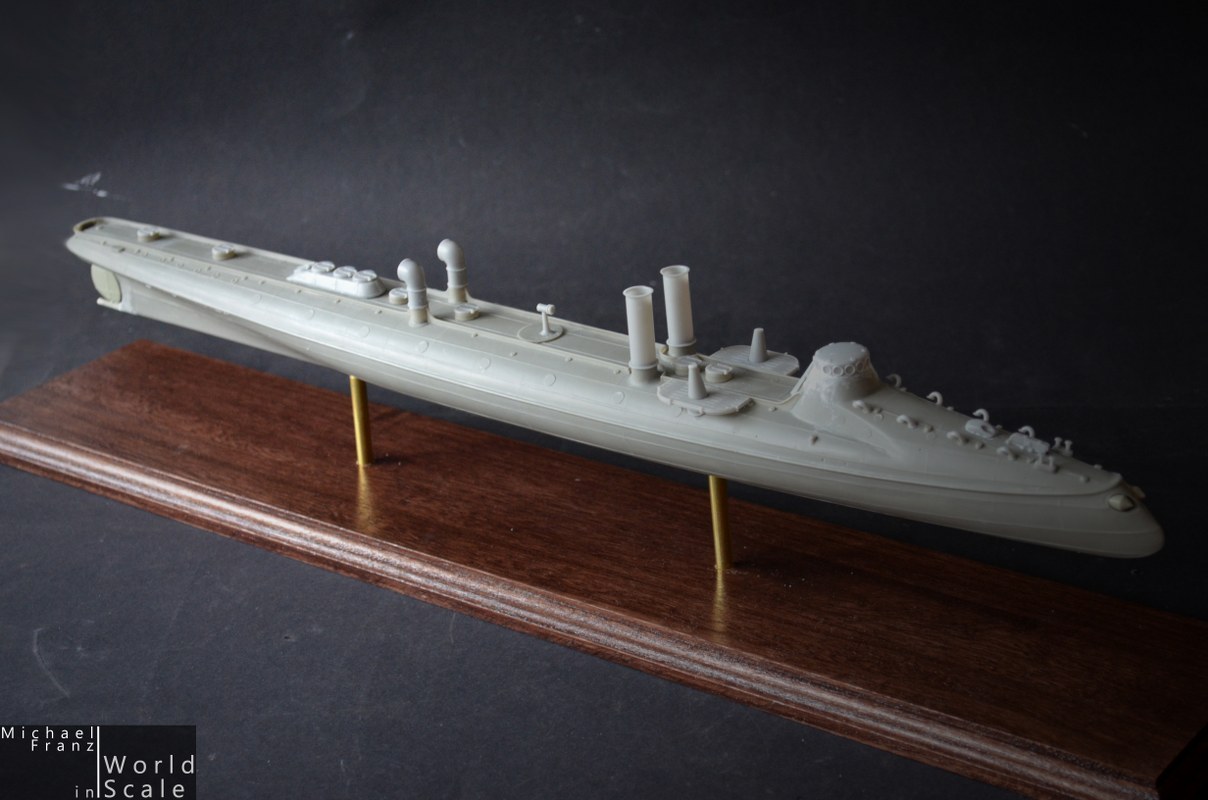
The Austrian company "Wiener Modellbau Manufactur" released a wonderful kit of these interesting ships in scale 1/72.
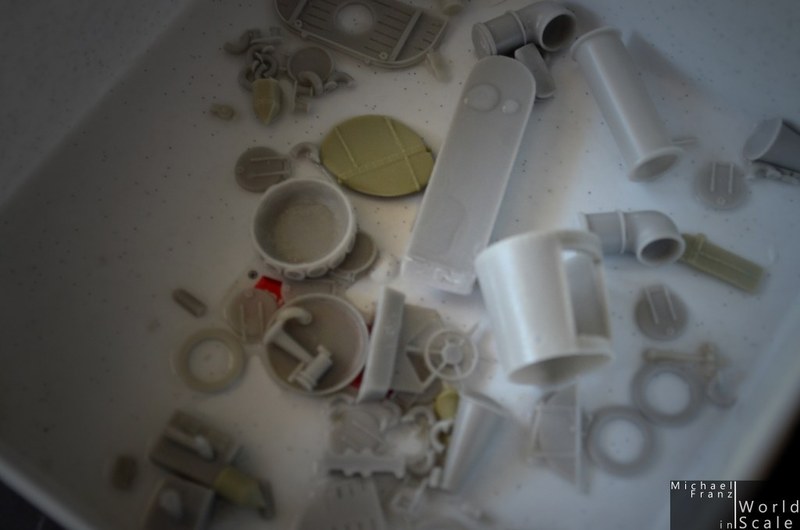
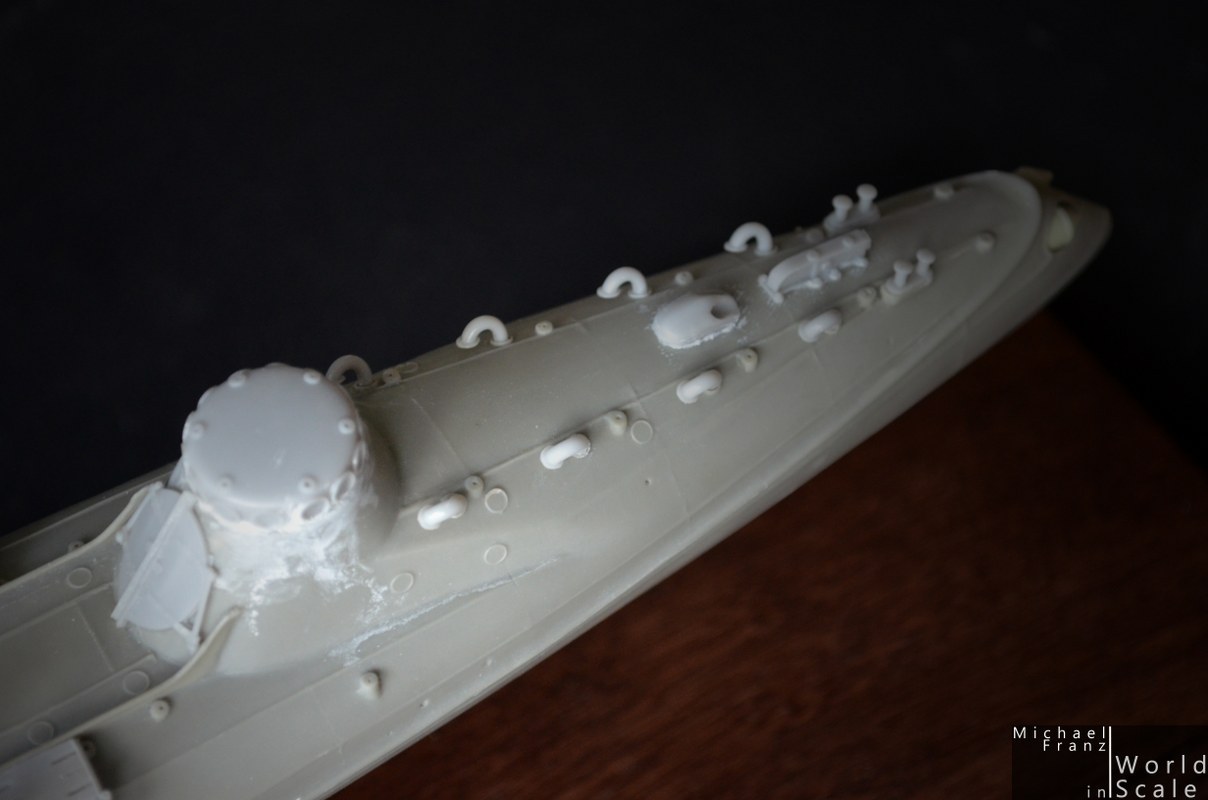
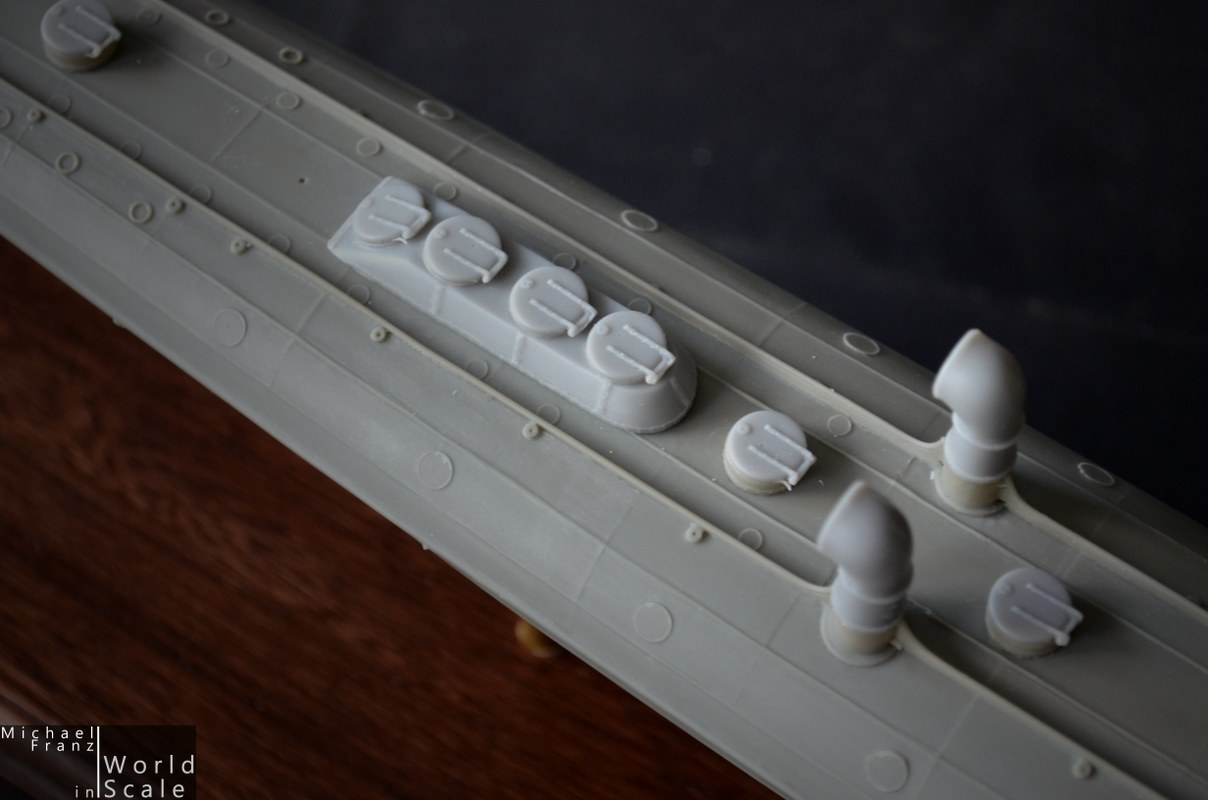
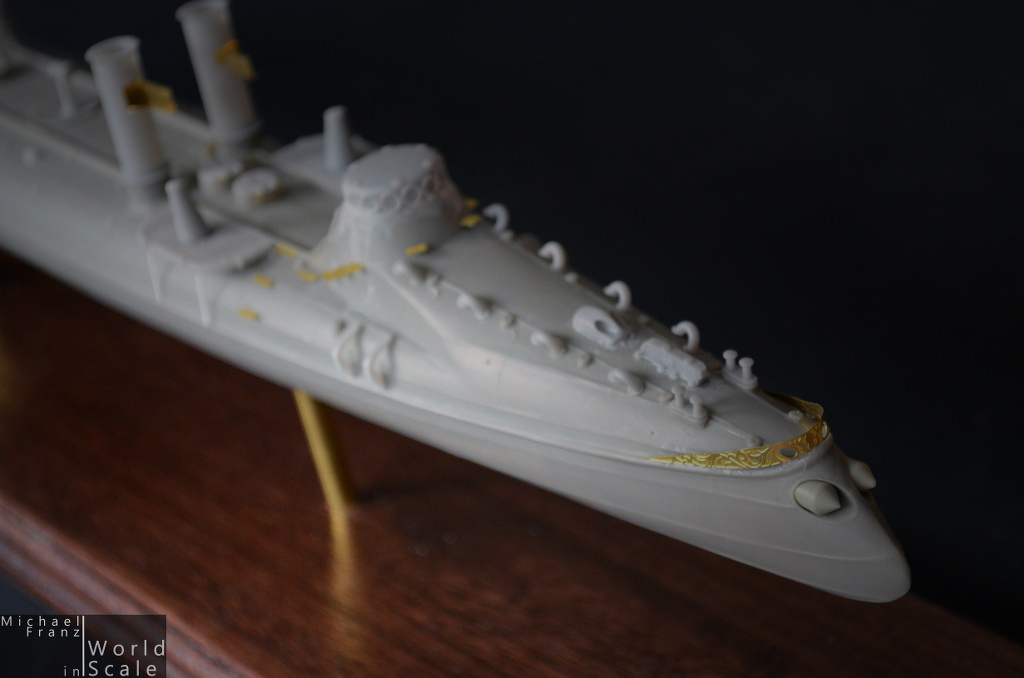
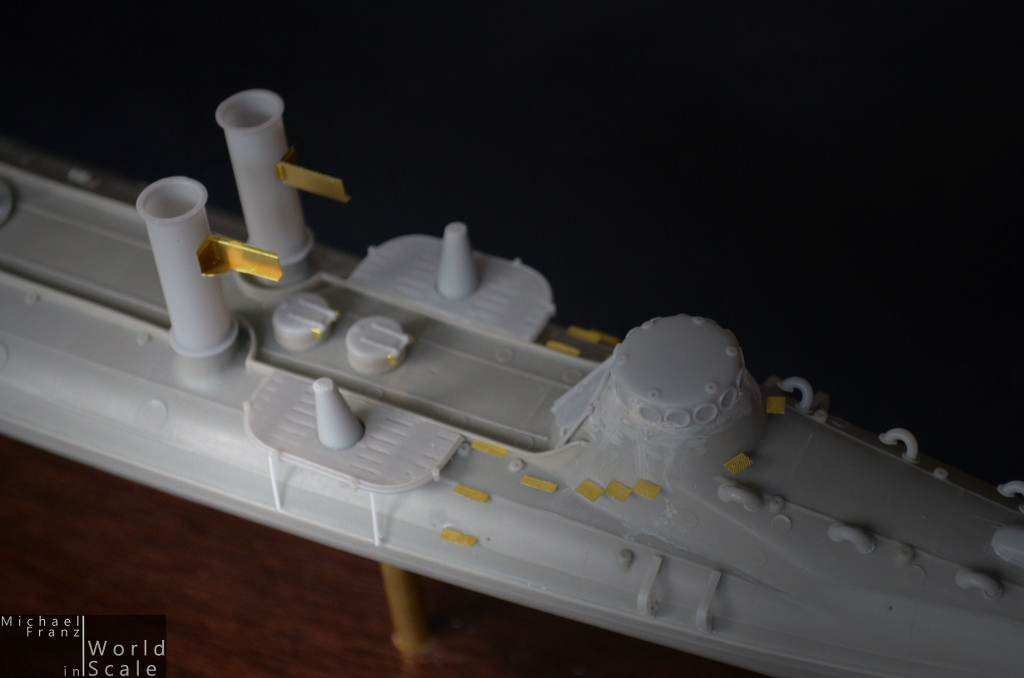
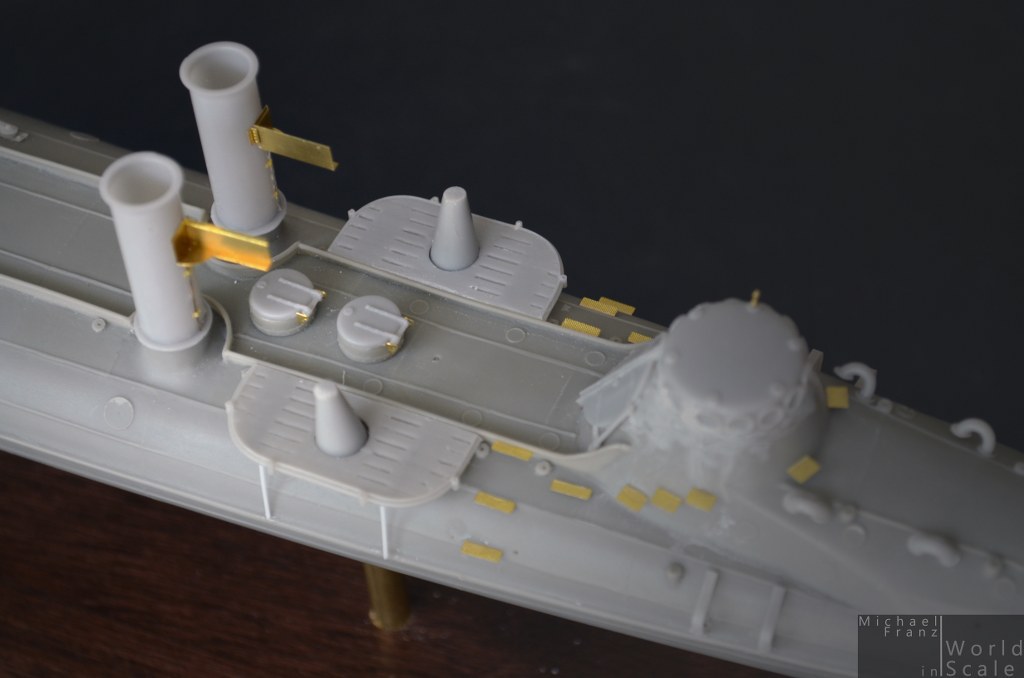
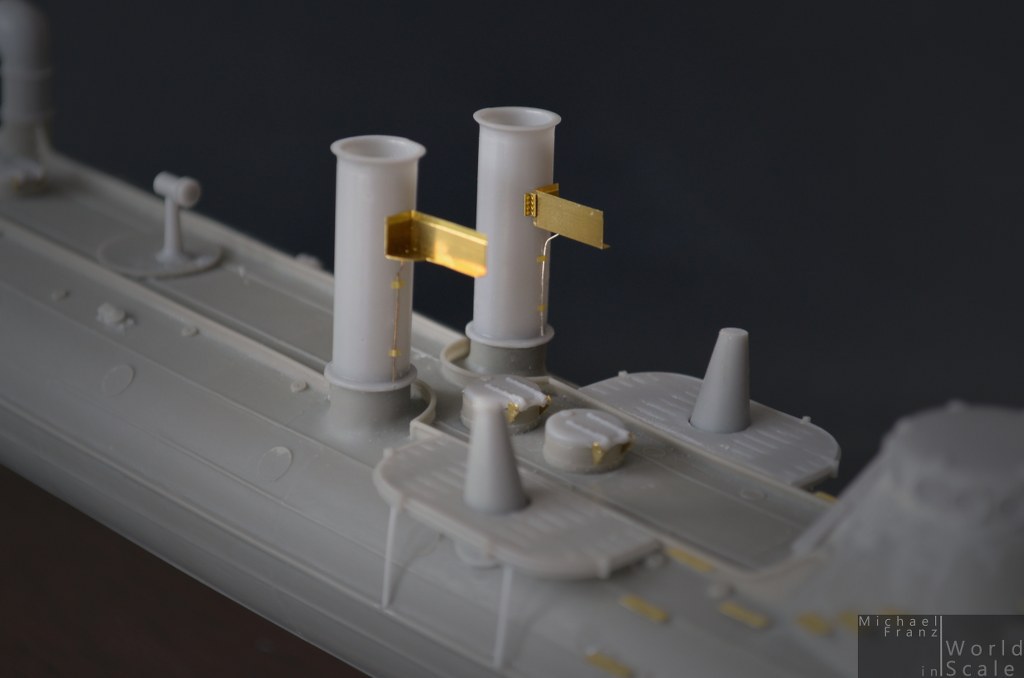
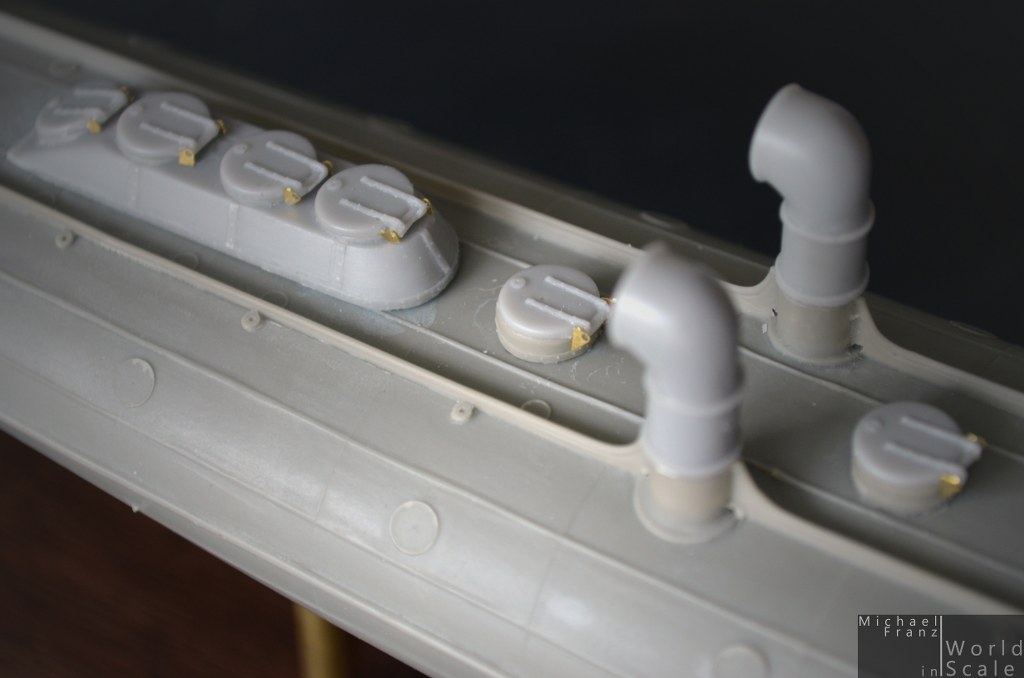
The kit comes in a big black box and consists of a big hull, made of resin as well as several other resin parts. Several turned brass parts, photo etched parts as well as wooden masts, decals, wire and more complete this kit.
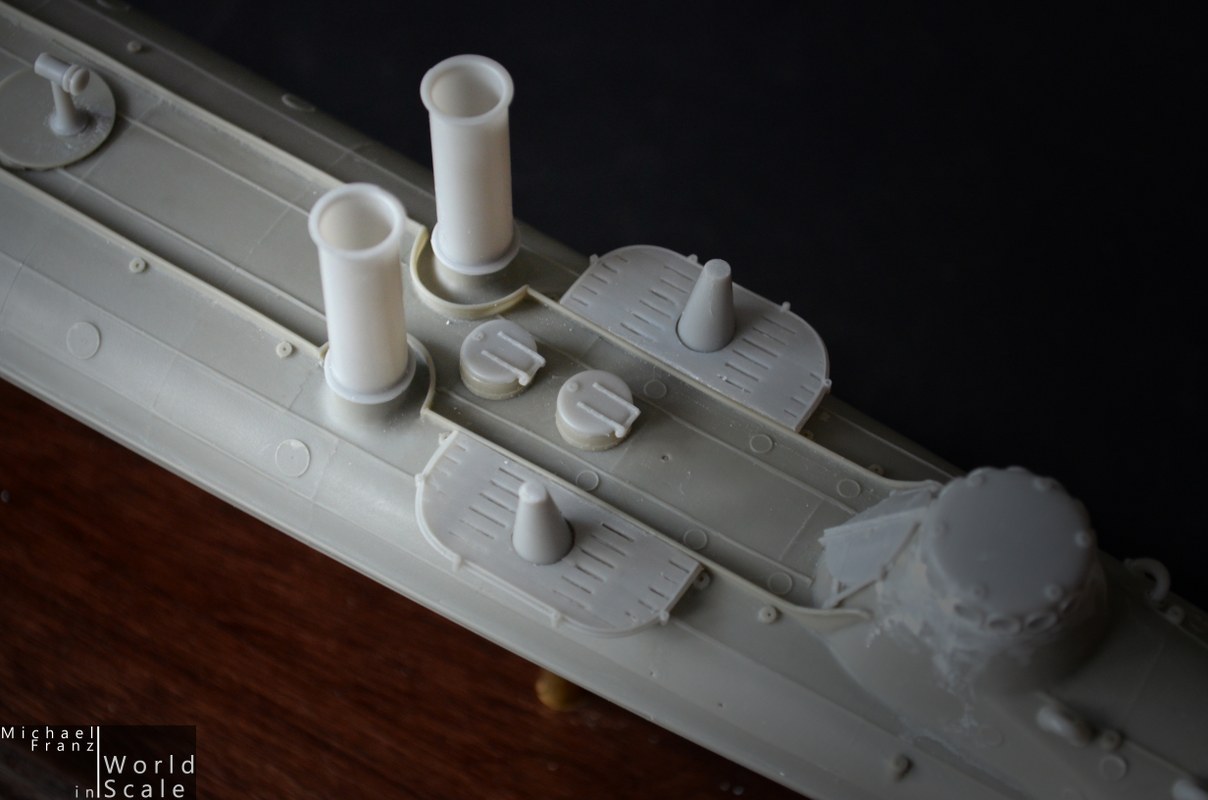
All parts were wonderful casted in a grey resin without bubbles, flesh and only very small sprues to remove.

Here is the kit of the Austrian company "Wiener Modellbau Manufactur":


I am shure that this will become a big project... which will need some time... but a very interesting project
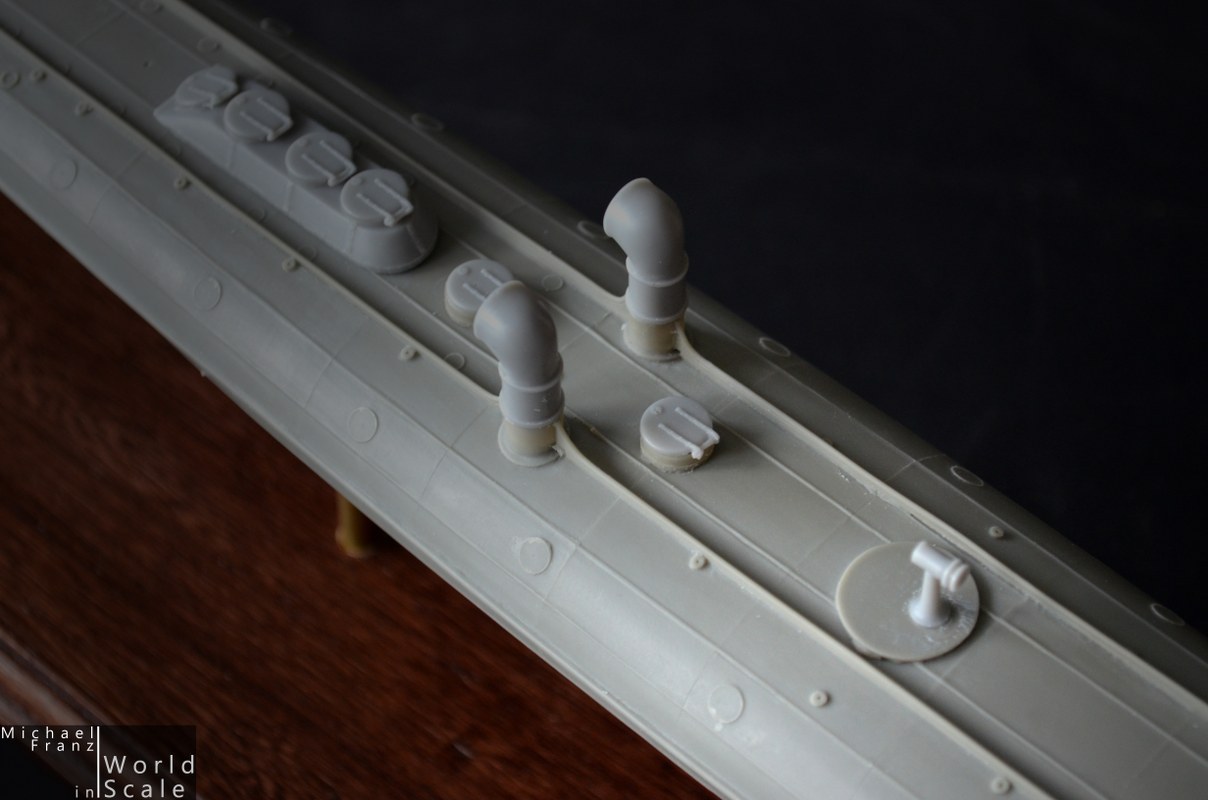


AND HERE WE GO!

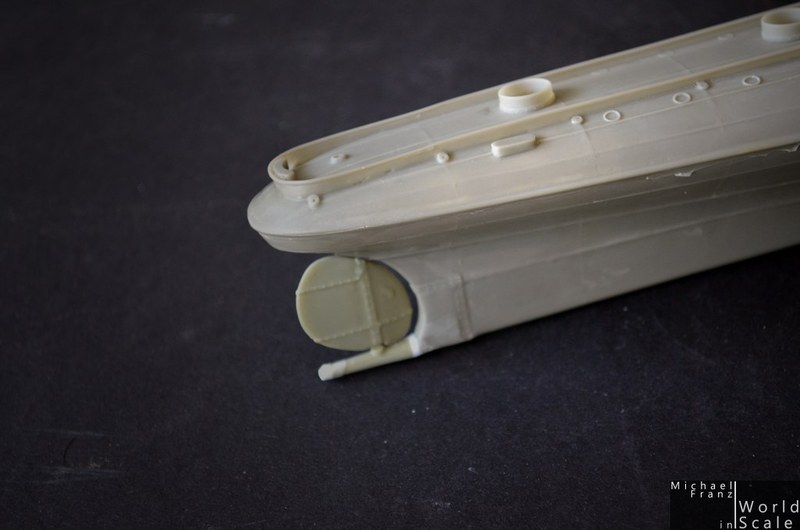
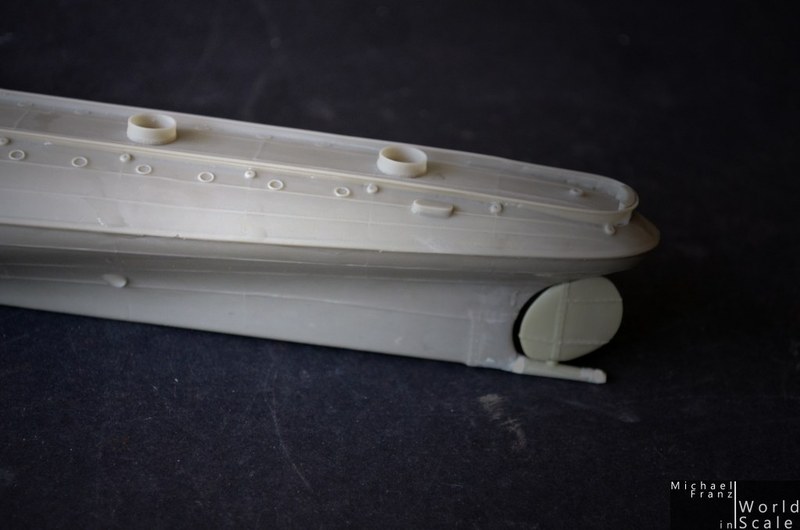
First step - finding a wooden base. Dark color, glossy finish.... drilling two holes inside the hull and the base....
Then cutting two brass tubes and inserting it in the base.... then putting the ship on it.

So far.... looking good.... I can already imagine the black/red/brass colored ship there .....


And that's it for the beginning.... Next update soon....

Cheers - Michael
Aurora-7
#360
Visit this Community
Connecticut, United States
Joined: June 18, 2003
KitMaker: 1,020 posts
Model Shipwrights: 630 posts
Posted: Sunday, August 23, 2015 - 07:09 PM UTC
Michael,

Very interesting subject and thanks for pointing out the manufacturer. I'll be keeping an eye on them for new products, as well as following your build.
elmarriachi
Visit this Community
Baden-Württemberg, Germany
Joined: December 26, 2009
KitMaker: 813 posts
Model Shipwrights: 304 posts
Posted: Sunday, August 23, 2015 - 07:21 PM UTC
HI Michael,
I have a short presentation of the kit's parts on my website ....
look here PEVIEW
Cheers
Michael
Black_sheep
Visit this Community
Bayern, Germany
Joined: December 11, 2009
KitMaker: 823 posts
Model Shipwrights: 551 posts
Posted: Sunday, August 23, 2015 - 09:22 PM UTC
Hey Michael,

oh boy what a beauty you have there! This is a very unusual and very nice subject you have chosen there. I will be watching your blog with great interest. Do you plan to add a crew for it too? I have seen over there on WMM´s website they also offer some different sets...

And I have to get this pricey Austrian submarine now because of you

Grüße aus dem Lebkuchenland!

Thomas
JJ1973
#345
Visit this Community
Niedersachsen, Germany
Joined: August 22, 2011
KitMaker: 1,835 posts
Model Shipwrights: 1,832 posts
Posted: Sunday, August 23, 2015 - 10:39 PM UTC
Hi Micha,

great subject!! I will definitely be following looking forward to your build log very much!!

Really something special and out of the beaten path! Fantastic!

Cheers

Jan
elmarriachi
Visit this Community
Baden-Württemberg, Germany
Joined: December 26, 2009
KitMaker: 813 posts
Model Shipwrights: 304 posts
Posted: Monday, August 24, 2015 - 11:33 AM UTC
Thanks a lot for your interest
Yes.... this company has several very interesting products.... unfortunately everything is a little bit more expensive then it should be... otherwise I would have ordered all of their things
elmarriachi
Visit this Community
Baden-Württemberg, Germany
Joined: December 26, 2009
KitMaker: 813 posts
Model Shipwrights: 304 posts
Posted: Saturday, August 29, 2015 - 08:46 PM UTC
Als nächster - vorbereitender Arbeitsschritt - werden sämtliche Resinteile von ihren Angüssen befreit und versäubert.


Zur einfacheren Bemalung wird die Schiffschraube von der Welle getrennt. Die beiden Flügel werden angeklebt und verspachtelt, nach dem Trocknen verschliffen. Anschließend wird die Welle, an der auch das Ruder befestigt wird, zwei mal verlängert. Die erste Verlängerung direkt am Anfang der Welle, da sonst das Ruder am Rumpf streifen würde. Die zweite Verlängerung erfolgt an der Spitze, wo später dann die Schiffschraube montiert wird. Ohne diese Verlängerung würde die Schiffschraube am Ruder streifen.


LG
Micha
Black_sheep
Visit this Community
Bayern, Germany
Joined: December 11, 2009
KitMaker: 823 posts
Model Shipwrights: 551 posts
Posted: Saturday, August 29, 2015 - 09:16 PM UTC
Mensch das sieht echt lecker aus! Bin mal gespannt wie´s weitergeht. Jetzt hab ich zumindest mal einen Weihnachtsgeschenkvorschlag für meine Frau für mich
elmarriachi
Visit this Community
Baden-Württemberg, Germany
Joined: December 26, 2009
KitMaker: 813 posts
Model Shipwrights: 304 posts
Posted: Sunday, August 30, 2015 - 07:15 PM UTC
I am sorry for the German language ...

thefore.... I have cleaned all the parts......

Next step - I have modified the tiller and the propeller area... The propeller consists of 3 parts - the axle and two propeller blades. I removed the center part of the propeller from the axle and added the blades to it. Then I fillered and sanded it. Later - painting in black, then brass... and polishing.
The axle has to be modified a little bit - otherwise the tiller would streak at the hull.... and the propeller at the tiller.
>>> I have extended the axle twice.

Cheers
Michael
TRM5150
Visit this Community
Massachusetts, United States
Joined: January 03, 2010
KitMaker: 2,159 posts
Model Shipwrights: 1,400 posts
Posted: Sunday, August 30, 2015 - 07:25 PM UTC
That is the beauty of good pics...tells the story no matter the language!! Things are really shaping up Michael! Keep up the good work!!
elmarriachi
Visit this Community
Baden-Württemberg, Germany
Joined: December 26, 2009
KitMaker: 813 posts
Model Shipwrights: 304 posts
Posted: Sunday, August 30, 2015 - 07:44 PM UTC
I think at the bottom I will have to do some more sanding ...


Cheers
Michael
Fordboy
Visit this Community
Auckland, New Zealand
Joined: July 13, 2004
KitMaker: 2,169 posts
Model Shipwrights: 1,597 posts
Posted: Monday, August 31, 2015 - 06:04 AM UTC
Ahoy Michael

This a superb subject and looks to be a great model.

Mouthwatering in fact!

I would love to get one but the price works out to be over NZ$500 plus freight to New Zealand.

I love it but not that much!

At around half the price I would consider getting one.

Cheers


Sean
elmarriachi
Visit this Community
Baden-Württemberg, Germany
Joined: December 26, 2009
KitMaker: 813 posts
Model Shipwrights: 304 posts
Posted: Wednesday, September 02, 2015 - 02:22 PM UTC
Hi Sean,
it is a wonderful ship and a really interesting and good made kit. In Germany it is 300,00 EUR for the kit plus shipping from Austria....
... I think it is my most expensive kit ever ....
elmarriachi
Visit this Community
Baden-Württemberg, Germany
Joined: December 26, 2009
KitMaker: 813 posts
Model Shipwrights: 304 posts
Posted: Friday, September 04, 2015 - 12:53 AM UTC
*** UPDATE ***

Nxt step.... adding several resin-parts to the hull.. beginning at the bow with the air vents and other small parts... the hatches to the interior. Both parts for the hatches were bent in hot water before gluing to the hull. The two funnels were added and other parts on the rear of the hull.....

NOTE: The two big vents at the left and rear side in the center of the ship.... I think it is a mistake in the mounting instruction as it shows both in the other direction as I have mounted it. I glued it in position with the opening to the rear of the ship as I saw it on pictures....


Nxt step.... further resin parts... then plastic parts and brass parts... and pe parts ....

Cheers
Micha
RedDuster
Visit this Community
England - South East, United Kingdom
Joined: March 01, 2010
KitMaker: 7,078 posts
Model Shipwrights: 6,649 posts
Posted: Monday, September 07, 2015 - 12:16 AM UTC
Very interesting subject, the kit looks pretty good too.

will be following with interest.

Cheers.

Si
JJ1973
#345
Visit this Community
Niedersachsen, Germany
Joined: August 22, 2011
KitMaker: 1,835 posts
Model Shipwrights: 1,832 posts
Posted: Monday, September 07, 2015 - 09:15 AM UTC
Micha,

I totally agree with Si! This is one very special build (but that's true for about all your builds you showed here so far... ), and the kit itself looks pretty clean and crisp, so it seems to be worth the money!

Looking forward to see it growing!

Cheers,
Jan
elmarriachi
Visit this Community
Baden-Württemberg, Germany
Joined: December 26, 2009
KitMaker: 813 posts
Model Shipwrights: 304 posts
Posted: Sunday, September 13, 2015 - 12:40 PM UTC
*** UPDATE ***

After having added most of the (bigger) resin parts I continued with the first photo etched parts on the ship. The stairways on the sides, some parts of the hatches, etc. etc.
Also the plattforms left/right received the pillars which I made of plastic instead of wire.
The big PE-parts at the bow was formed and glued on the hull.... making it look very noble I think.... later, after the black painting I will polish it I think...


Cheers - Michael
TRM5150
Visit this Community
Massachusetts, United States
Joined: January 03, 2010
KitMaker: 2,159 posts
Model Shipwrights: 1,400 posts
Posted: Sunday, September 13, 2015 - 03:39 PM UTC
Looking good Michael! Nice to see the shiny stuff going down!
RedDuster
Visit this Community
England - South East, United Kingdom
Joined: March 01, 2010
KitMaker: 7,078 posts
Model Shipwrights: 6,649 posts
Posted: Sunday, September 13, 2015 - 11:50 PM UTC
Looking good Michael.

Cheers,

Si
Fordboy
Visit this Community
Auckland, New Zealand
Joined: July 13, 2004
KitMaker: 2,169 posts
Model Shipwrights: 1,597 posts
Posted: Monday, September 14, 2015 - 07:37 AM UTC
Ahoy Michael

Very nice work to date.

Cheers


Sean
JJ1973
#345
Visit this Community
Niedersachsen, Germany
Joined: August 22, 2011
KitMaker: 1,835 posts
Model Shipwrights: 1,832 posts
Posted: Monday, September 14, 2015 - 09:15 AM UTC
Hi Micha,

looks definitely great with some brass on!!
- and I think you're right, shining the front brass might look really impressive and noble, I would say it's a good idea!

Cheers,

Jan
surfsup
Visit this Community
Queensland, Australia
Joined: May 20, 2010
KitMaker: 1,230 posts
Model Shipwrights: 1,212 posts
Posted: Monday, September 14, 2015 - 03:46 PM UTC
I love to see something different and this certainly fits the Bill. Great work so far also.....Cheers mark
elmarriachi
Visit this Community
Baden-Württemberg, Germany
Joined: December 26, 2009
KitMaker: 813 posts
Model Shipwrights: 304 posts
Posted: Saturday, September 26, 2015 - 10:24 PM UTC
*** UPDATE ***

Some PE-parts and some wiring at the signal lamps at the funnels later ....


CHEERS
Michael
Fordboy
Visit this Community
Auckland, New Zealand
Joined: July 13, 2004
KitMaker: 2,169 posts
Model Shipwrights: 1,597 posts
Posted: Monday, September 28, 2015 - 06:06 AM UTC
Ahoy Michael

Very nice work to date.

I love it!

I so wish they were a more affordably priced kit so I could also build one.


Cheers


Sean
elmarriachi
Visit this Community
Baden-Württemberg, Germany
Joined: December 26, 2009
KitMaker: 813 posts
Model Shipwrights: 304 posts
Posted: Monday, September 28, 2015 - 11:39 AM UTC
Hi Sean,
thanks a lot .... yes it is too expensive.... but I wanted it ... I definitily wanted that thing (and I survived my wife)
Now I am drilling the windows ....
Cheers
Michael
 _GOTOTOP