This weekend's progress.
Quite a bit of progress too.
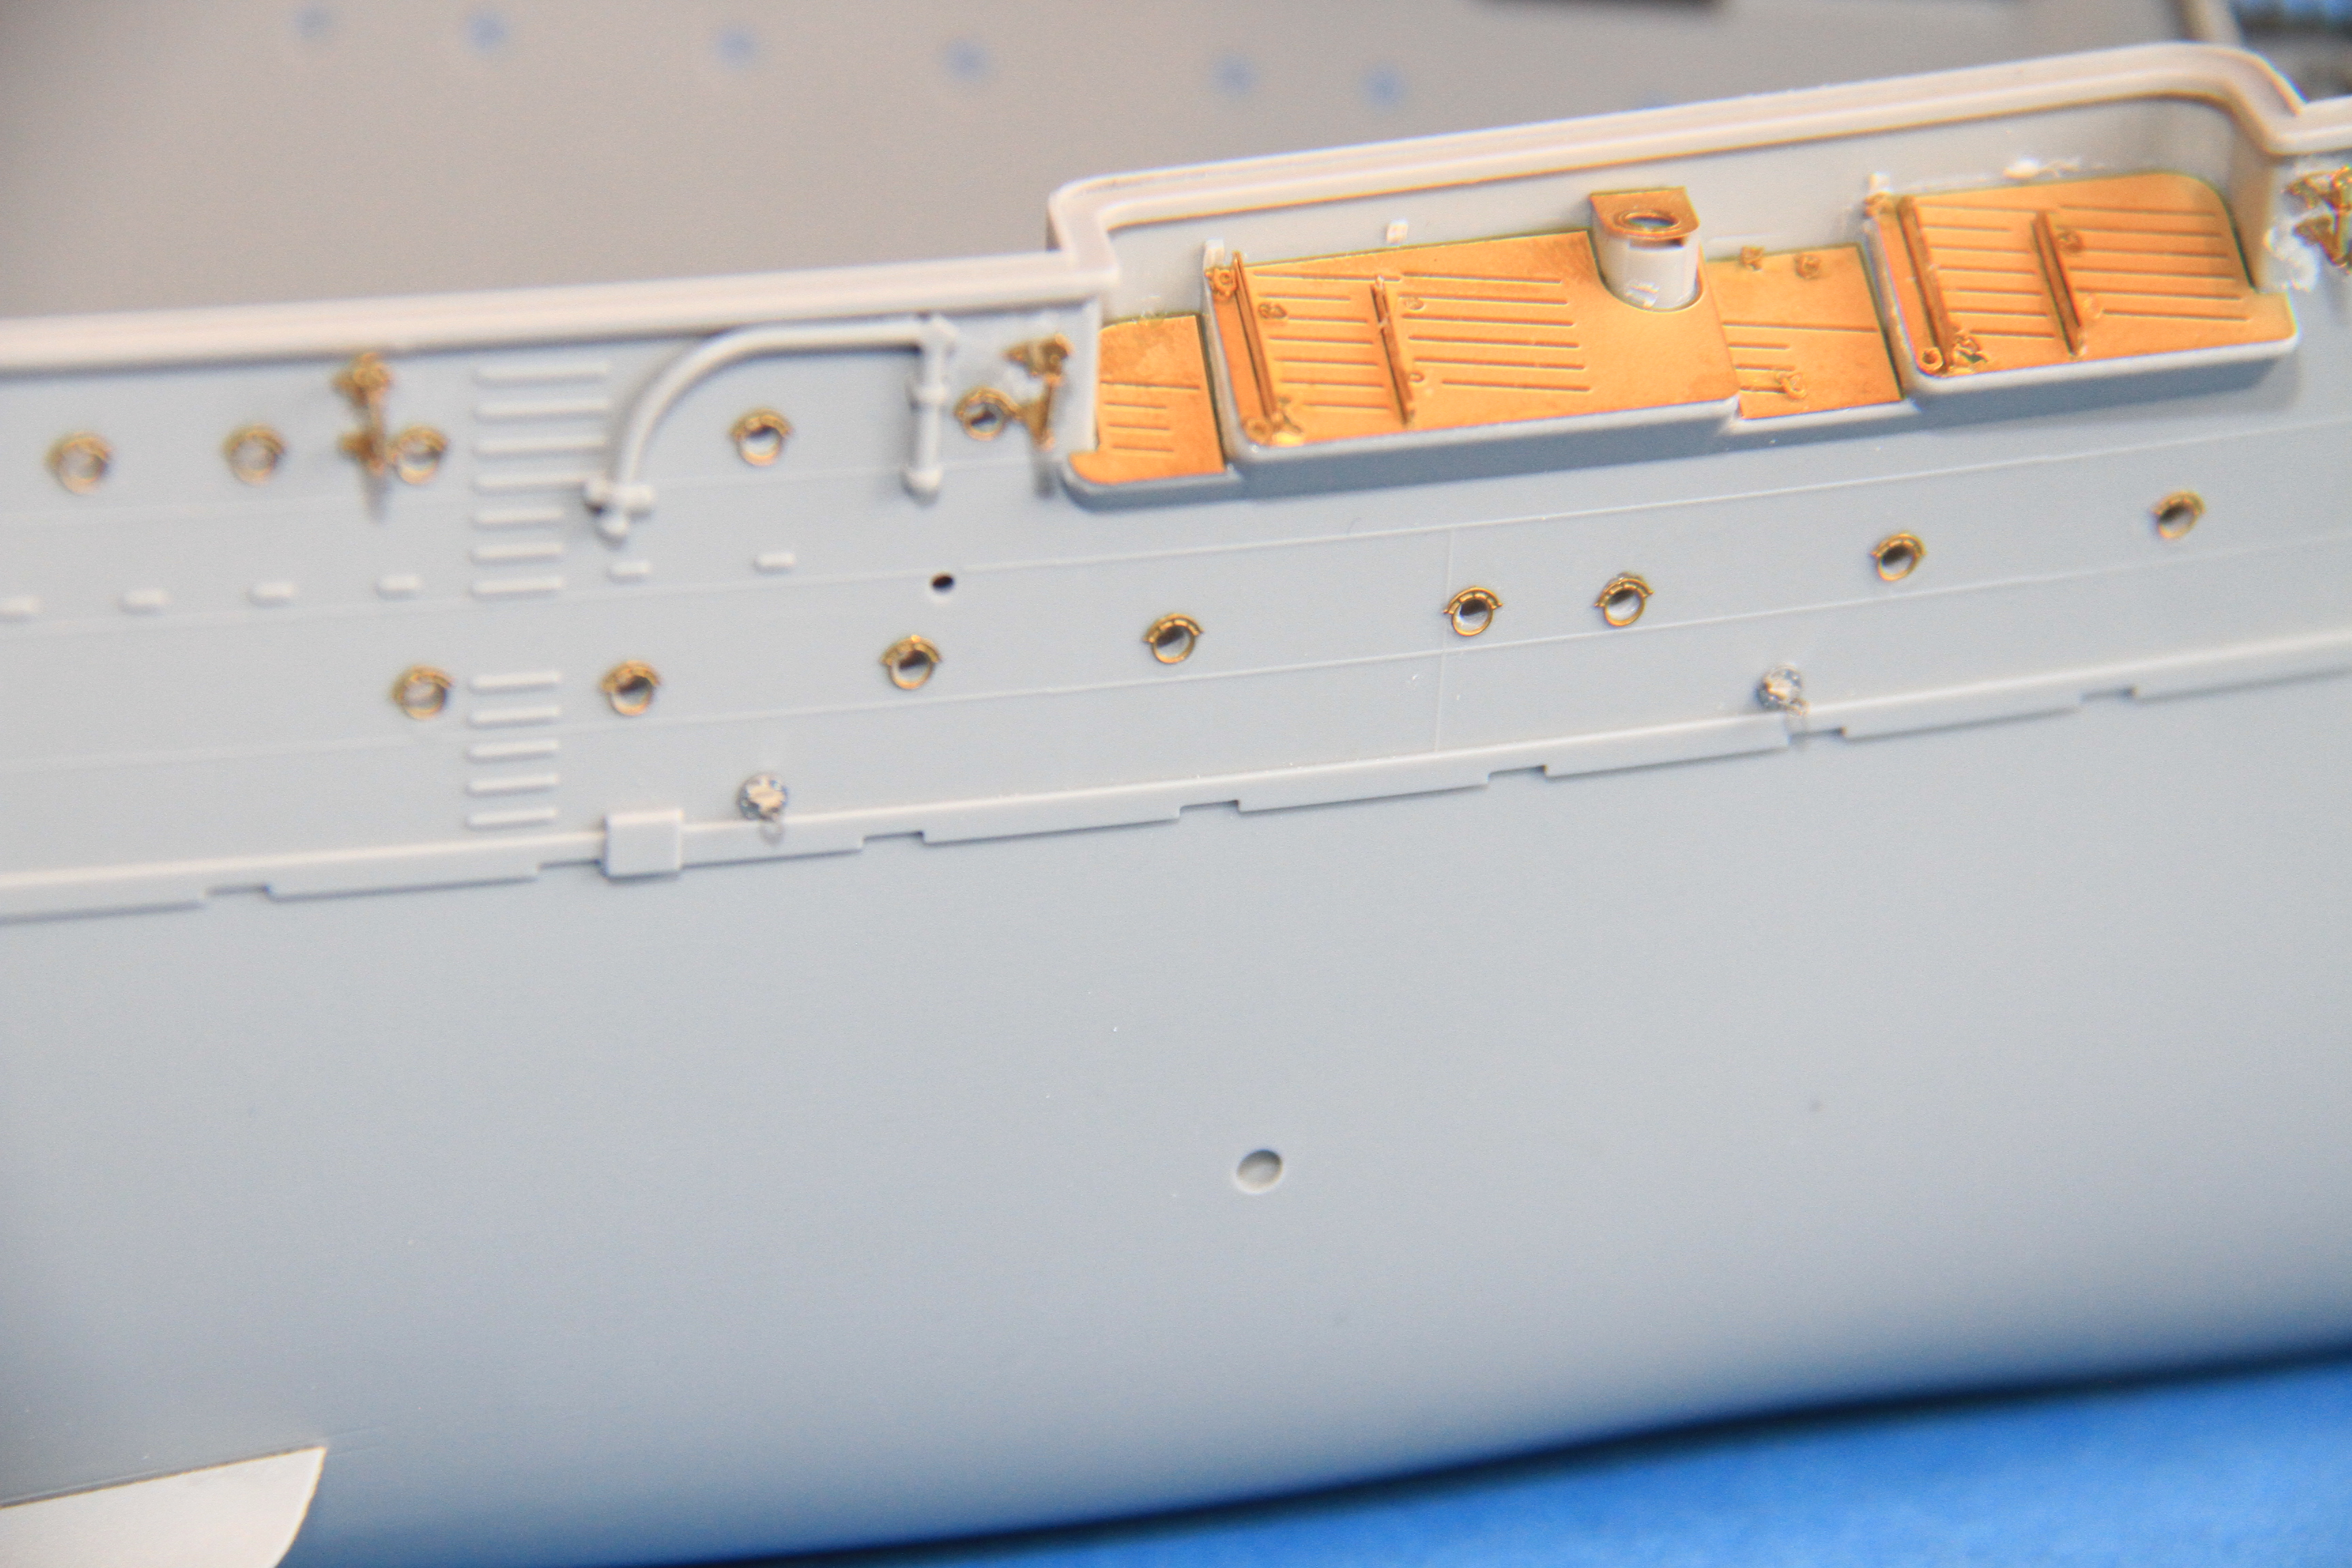
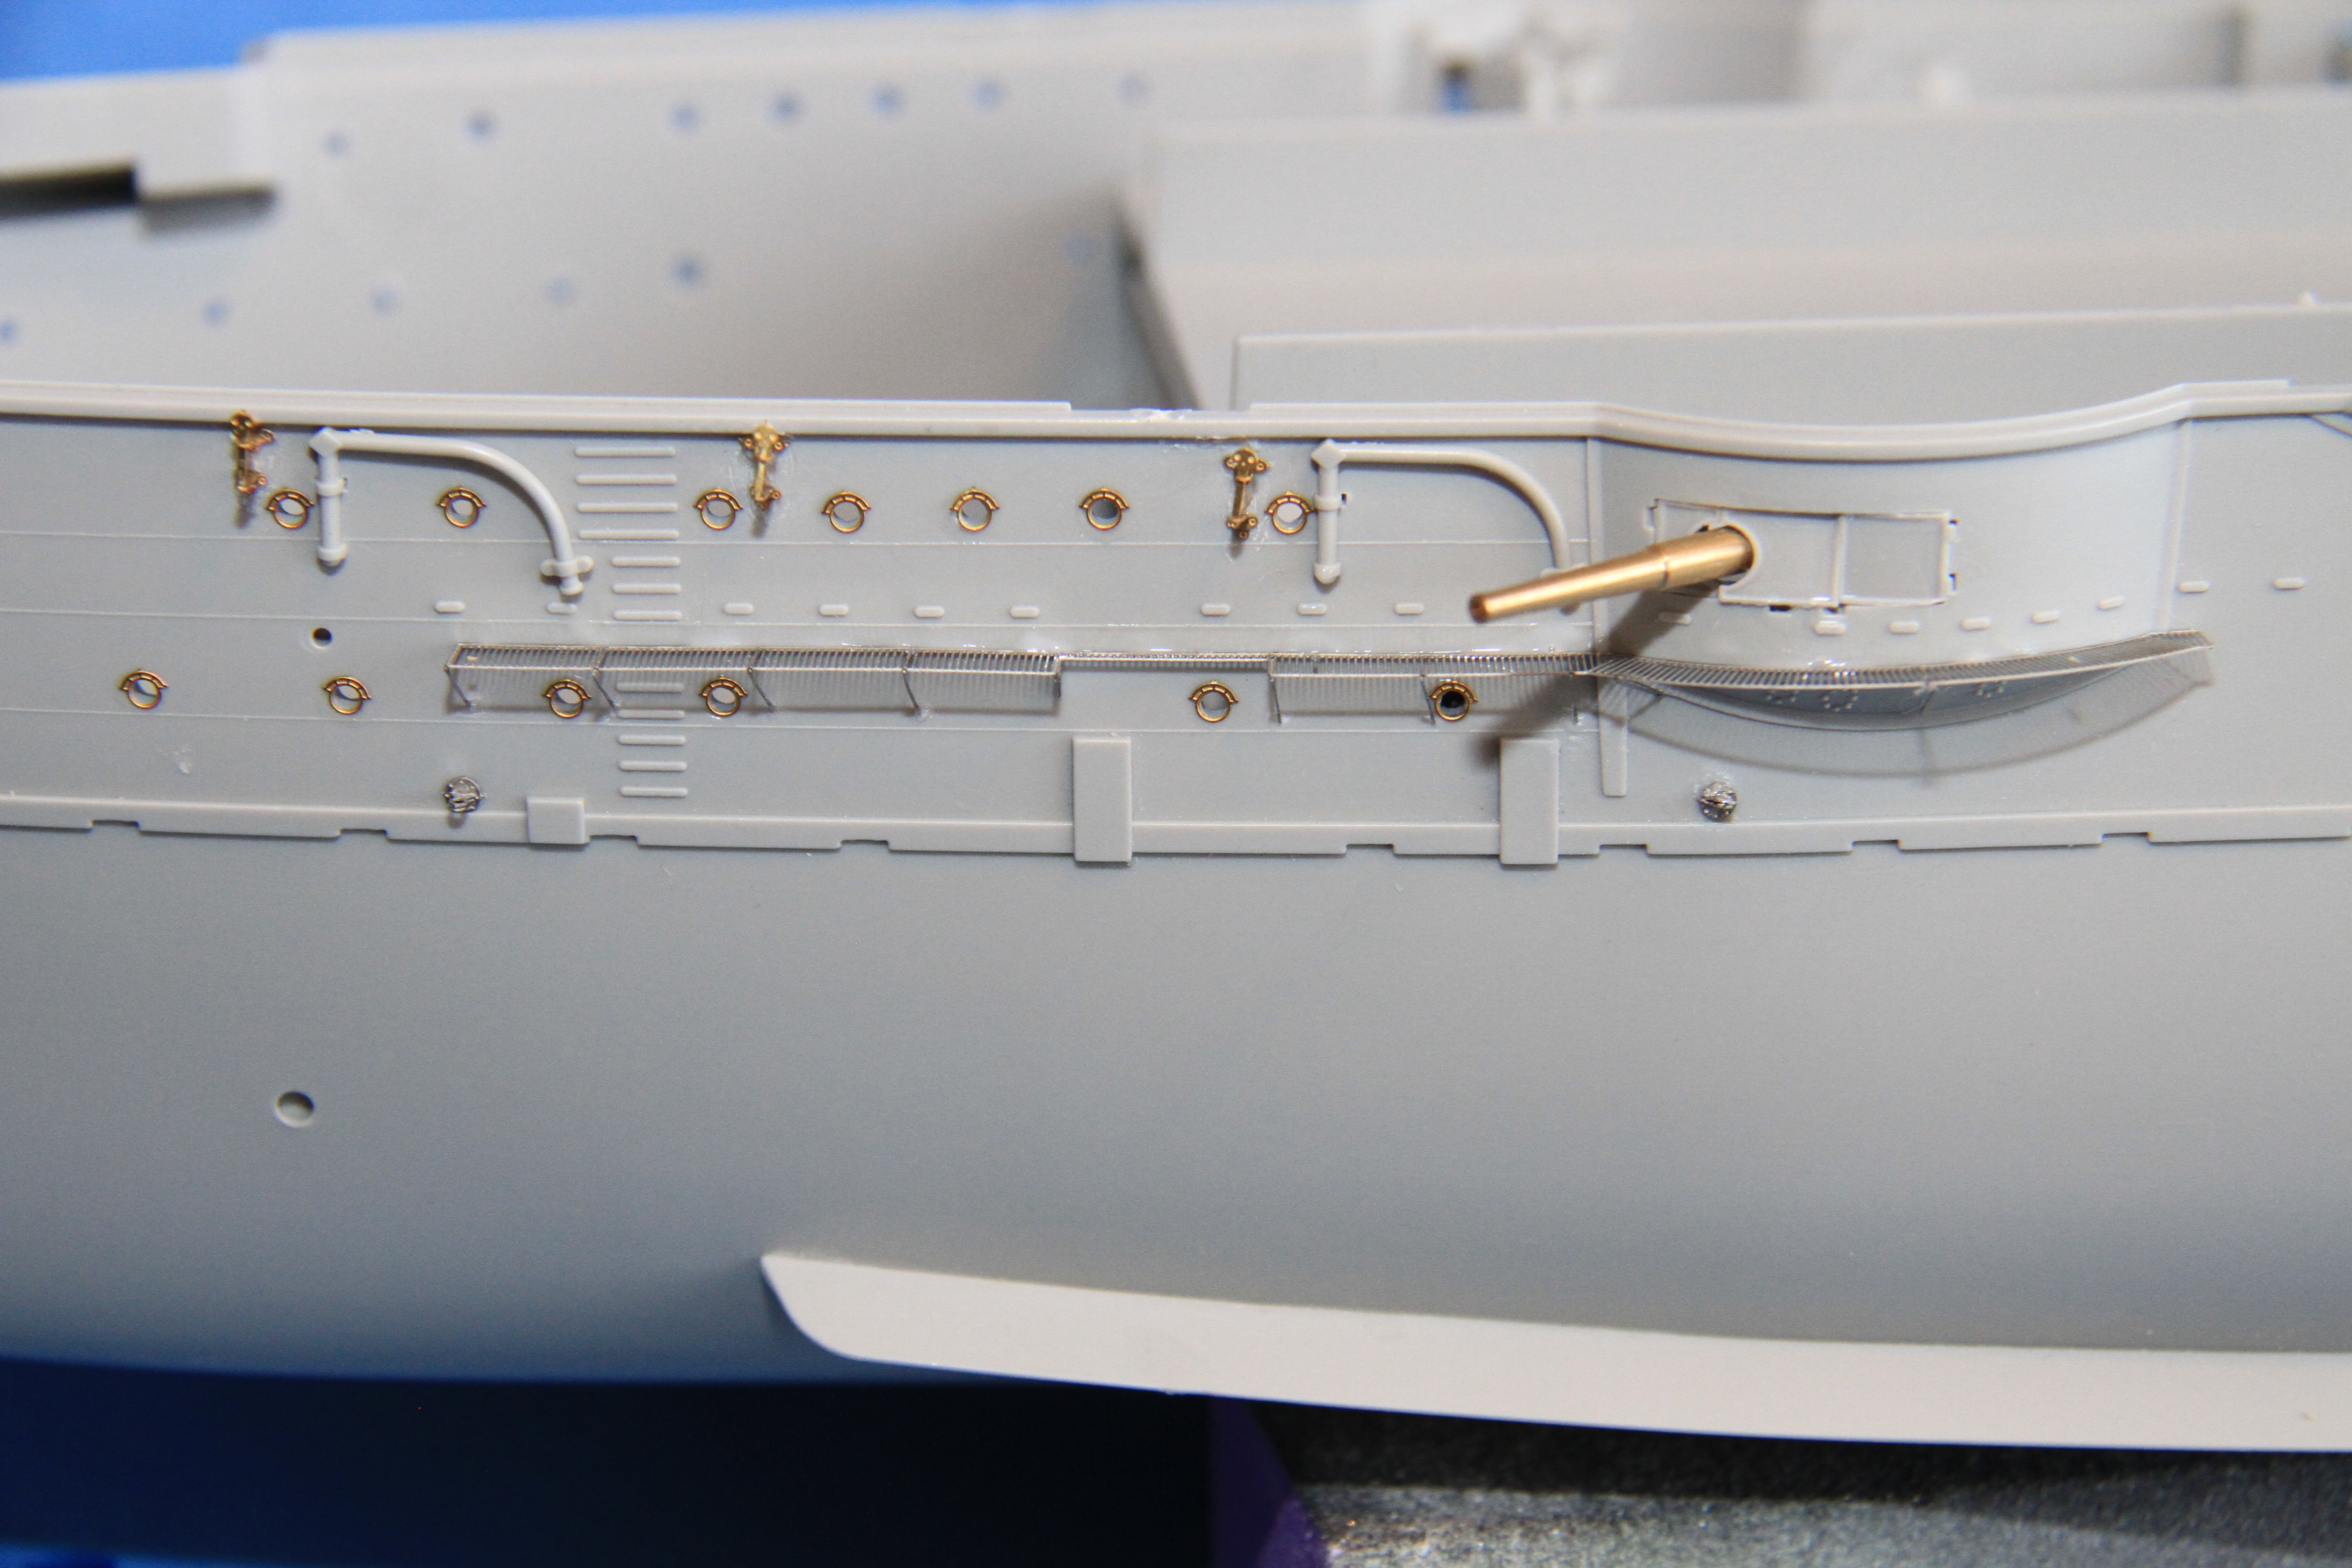
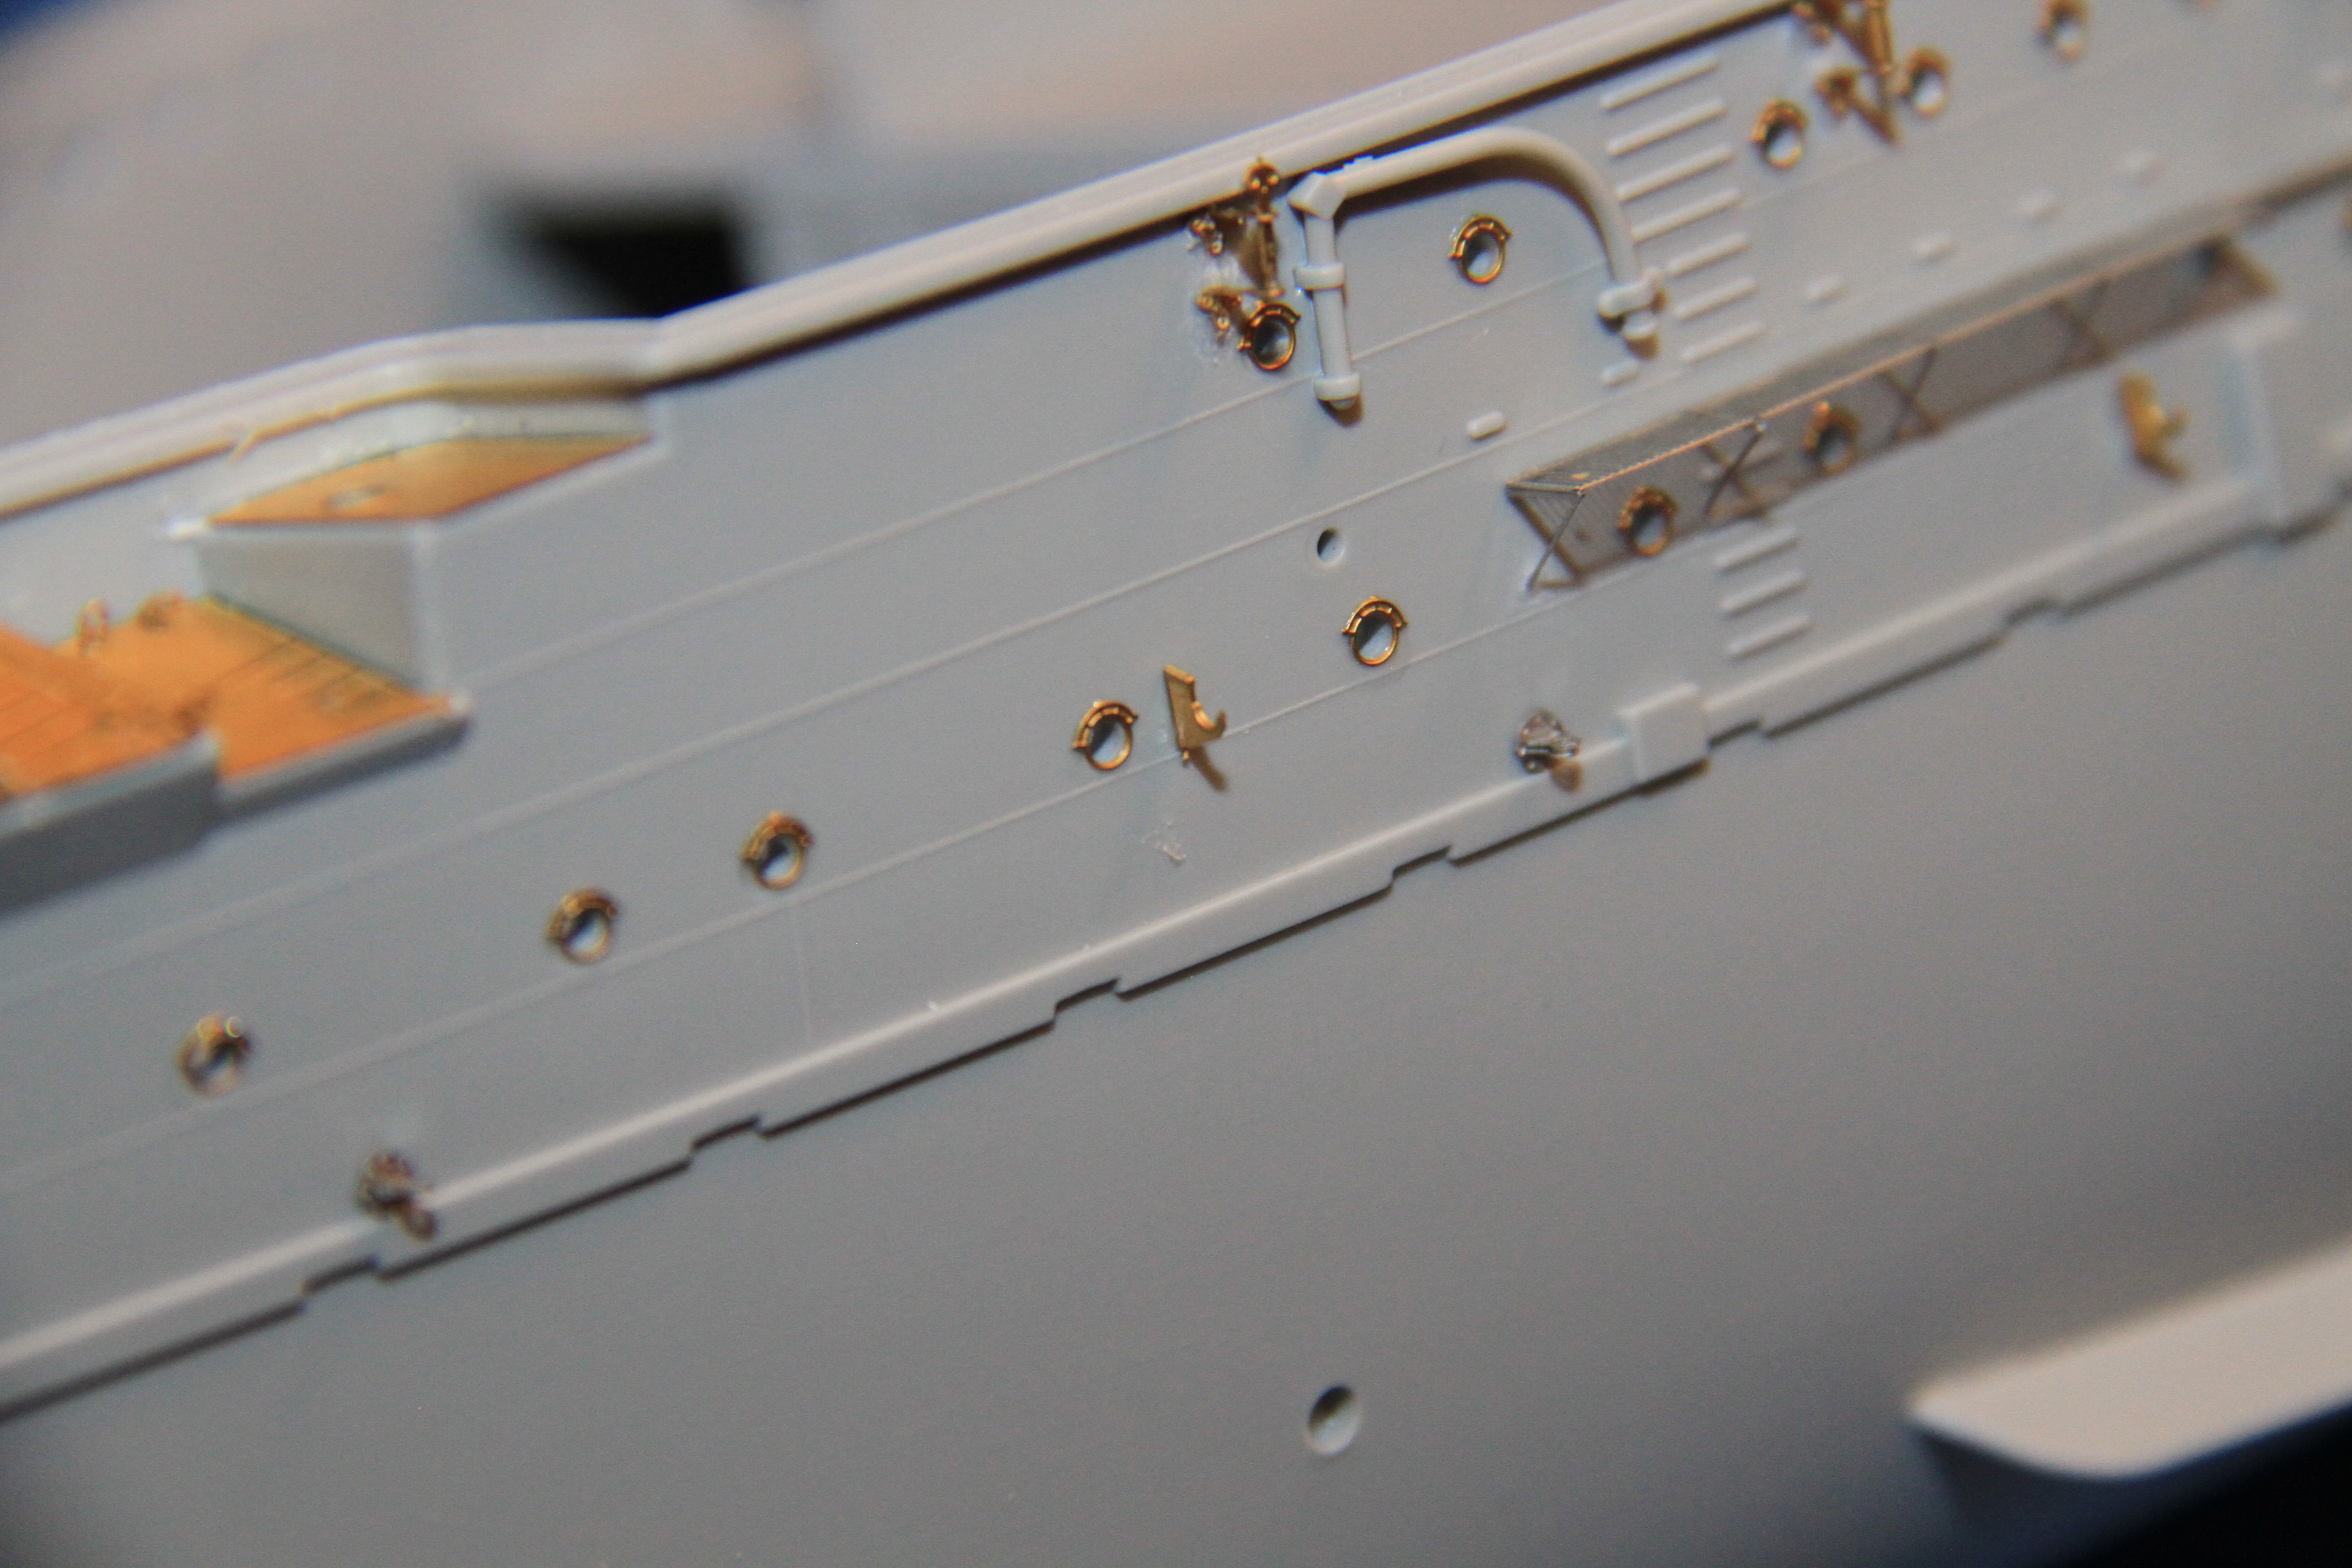
Brackets on the walk.
Fitted in place.

Ready for paint.
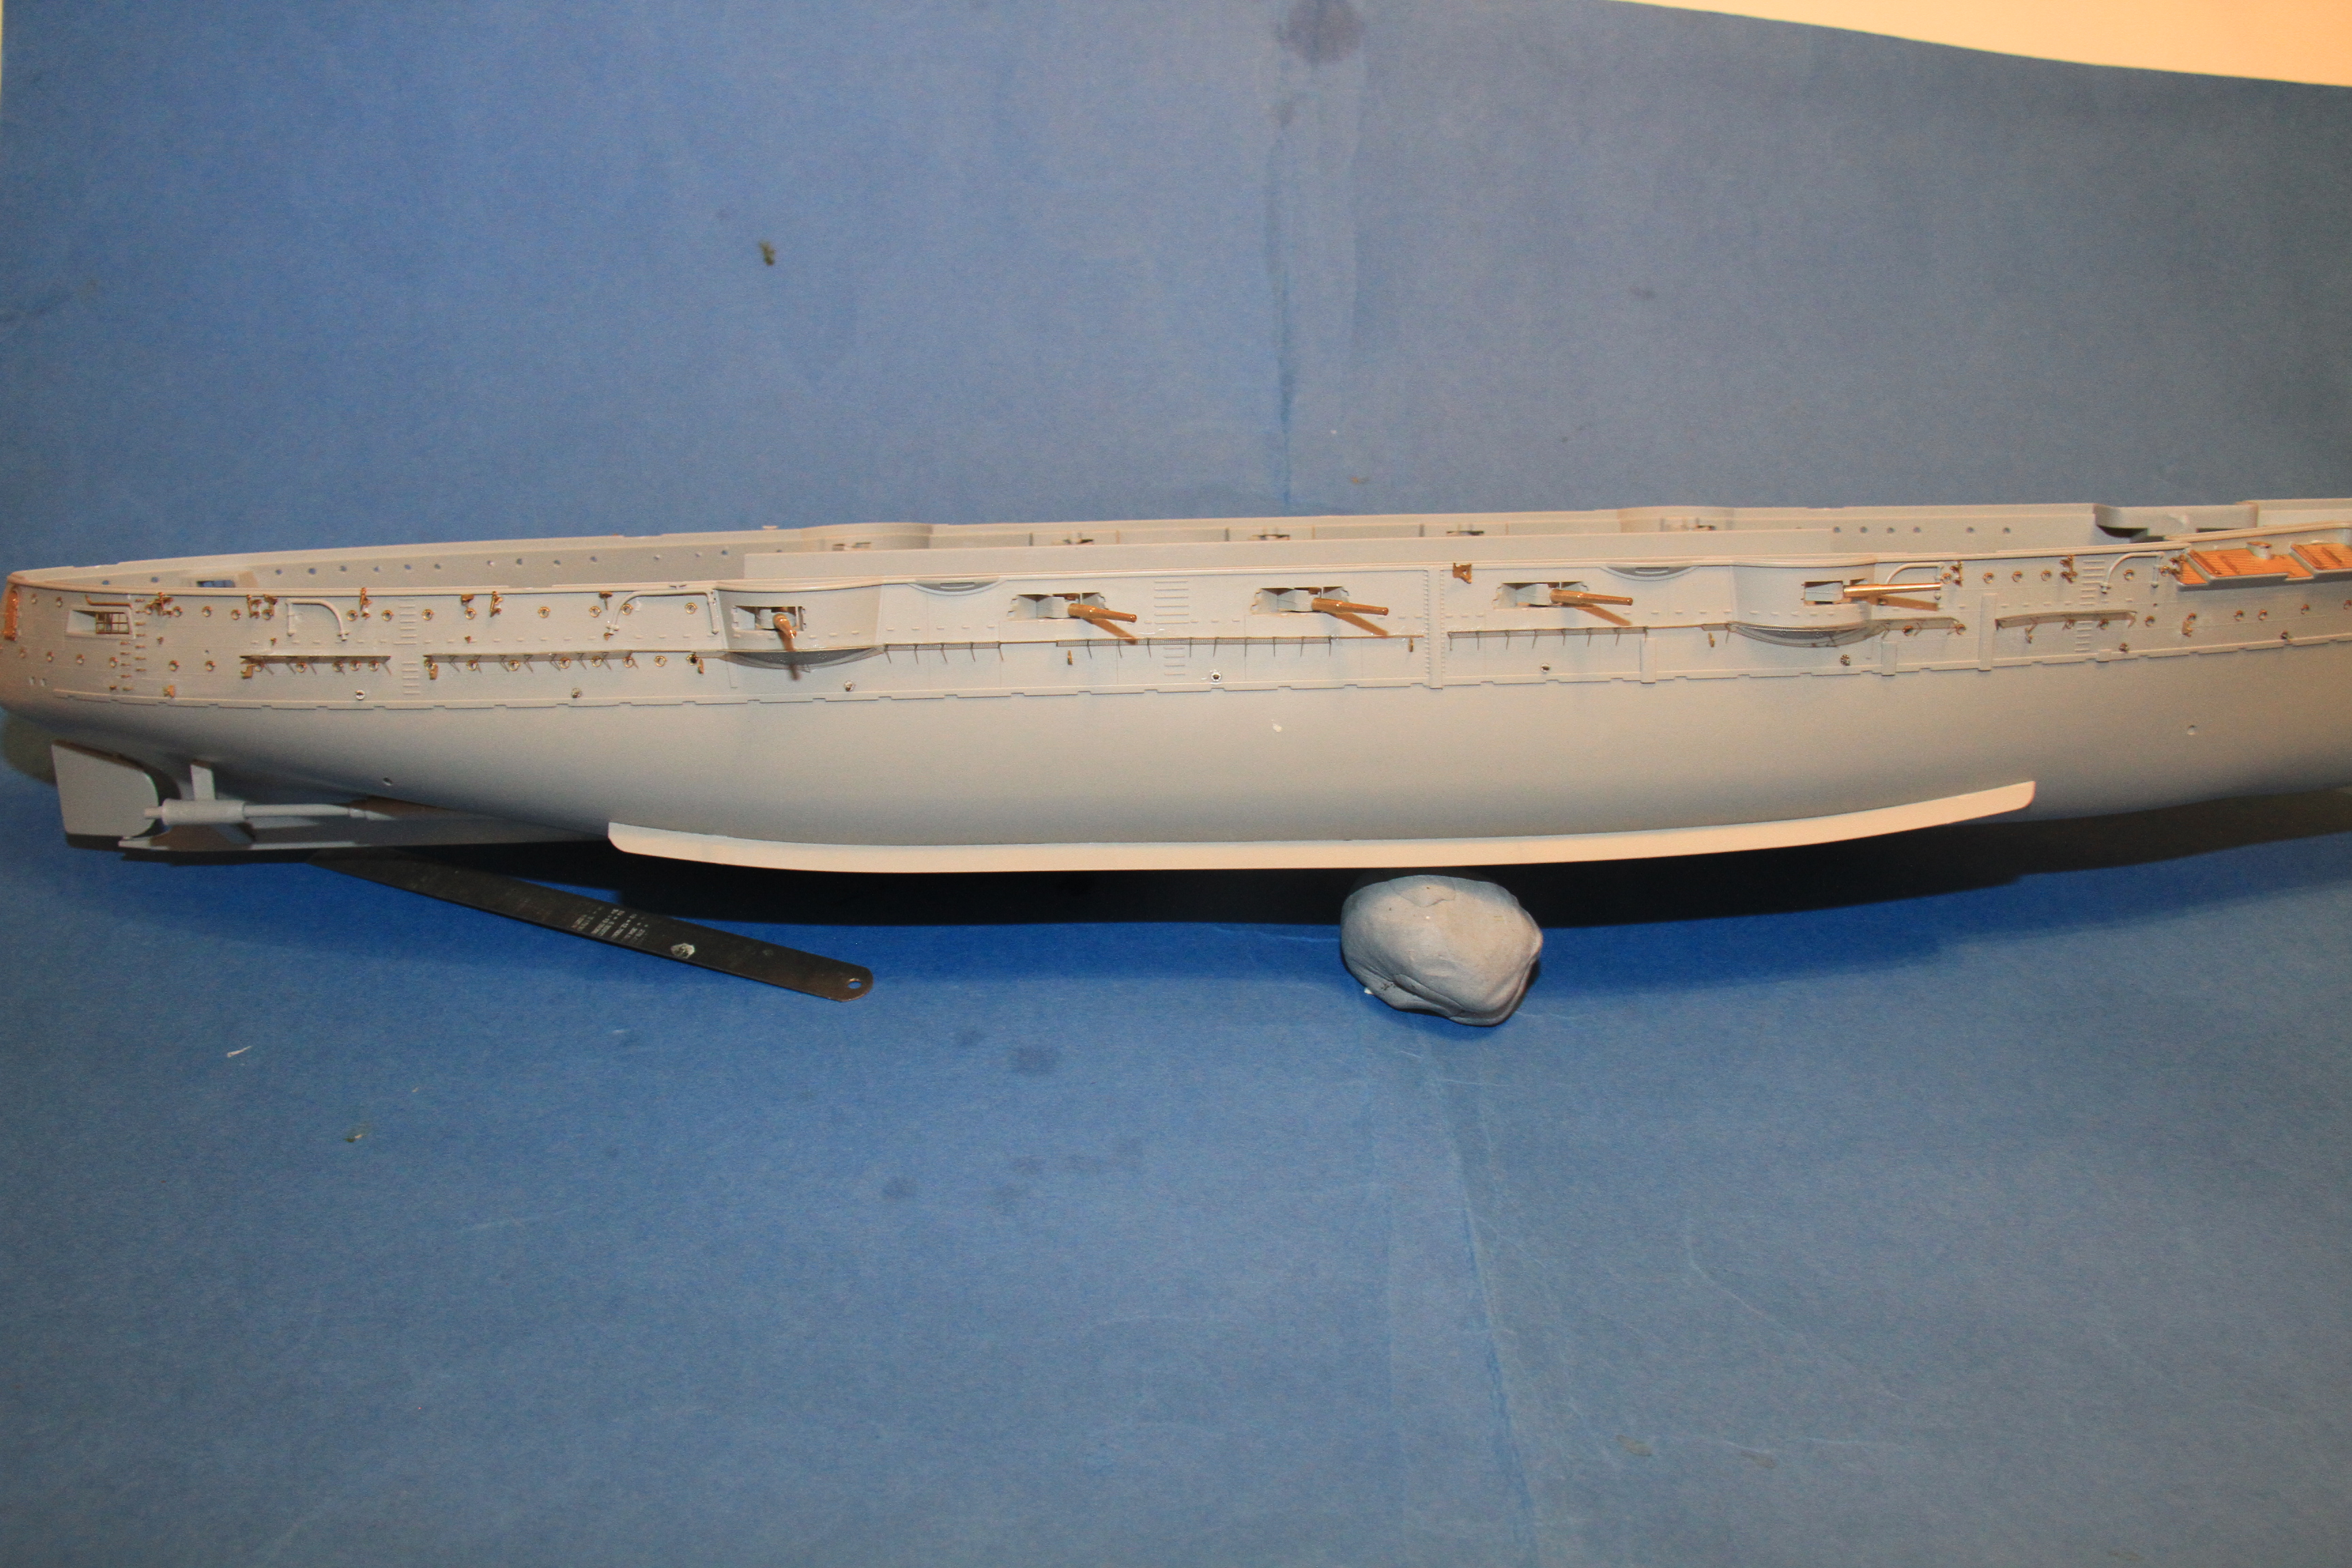
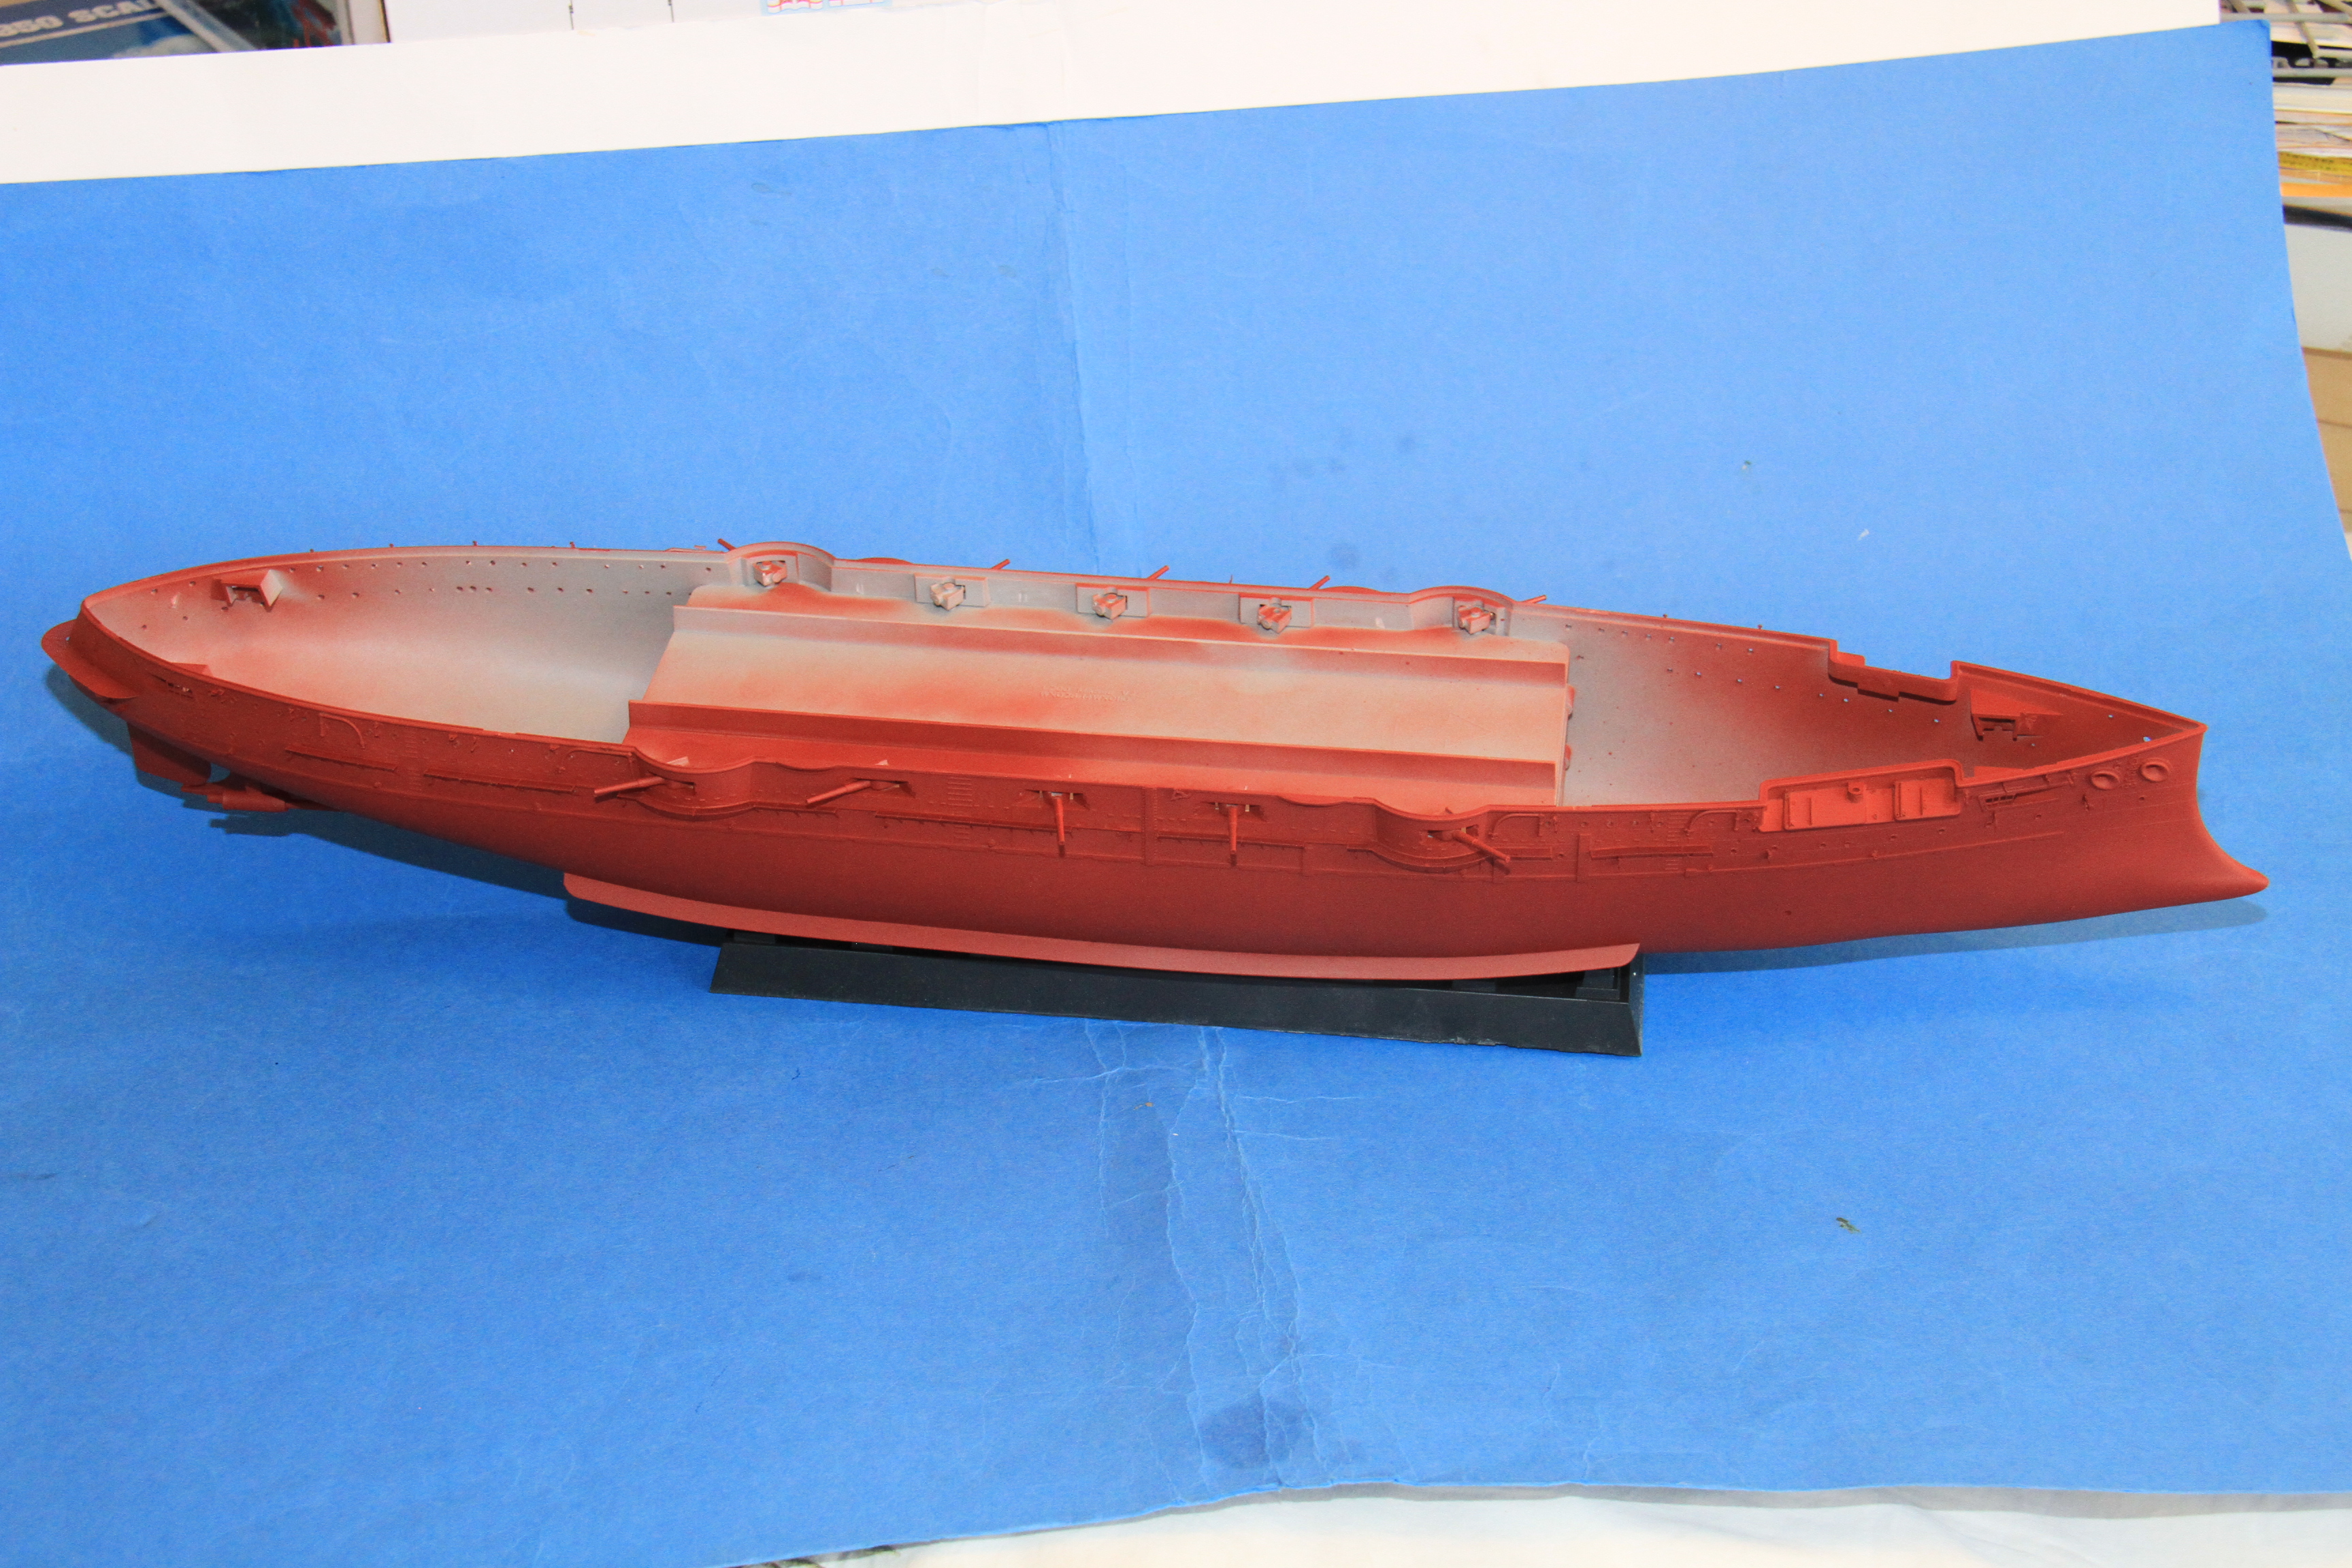
Primer coat on.
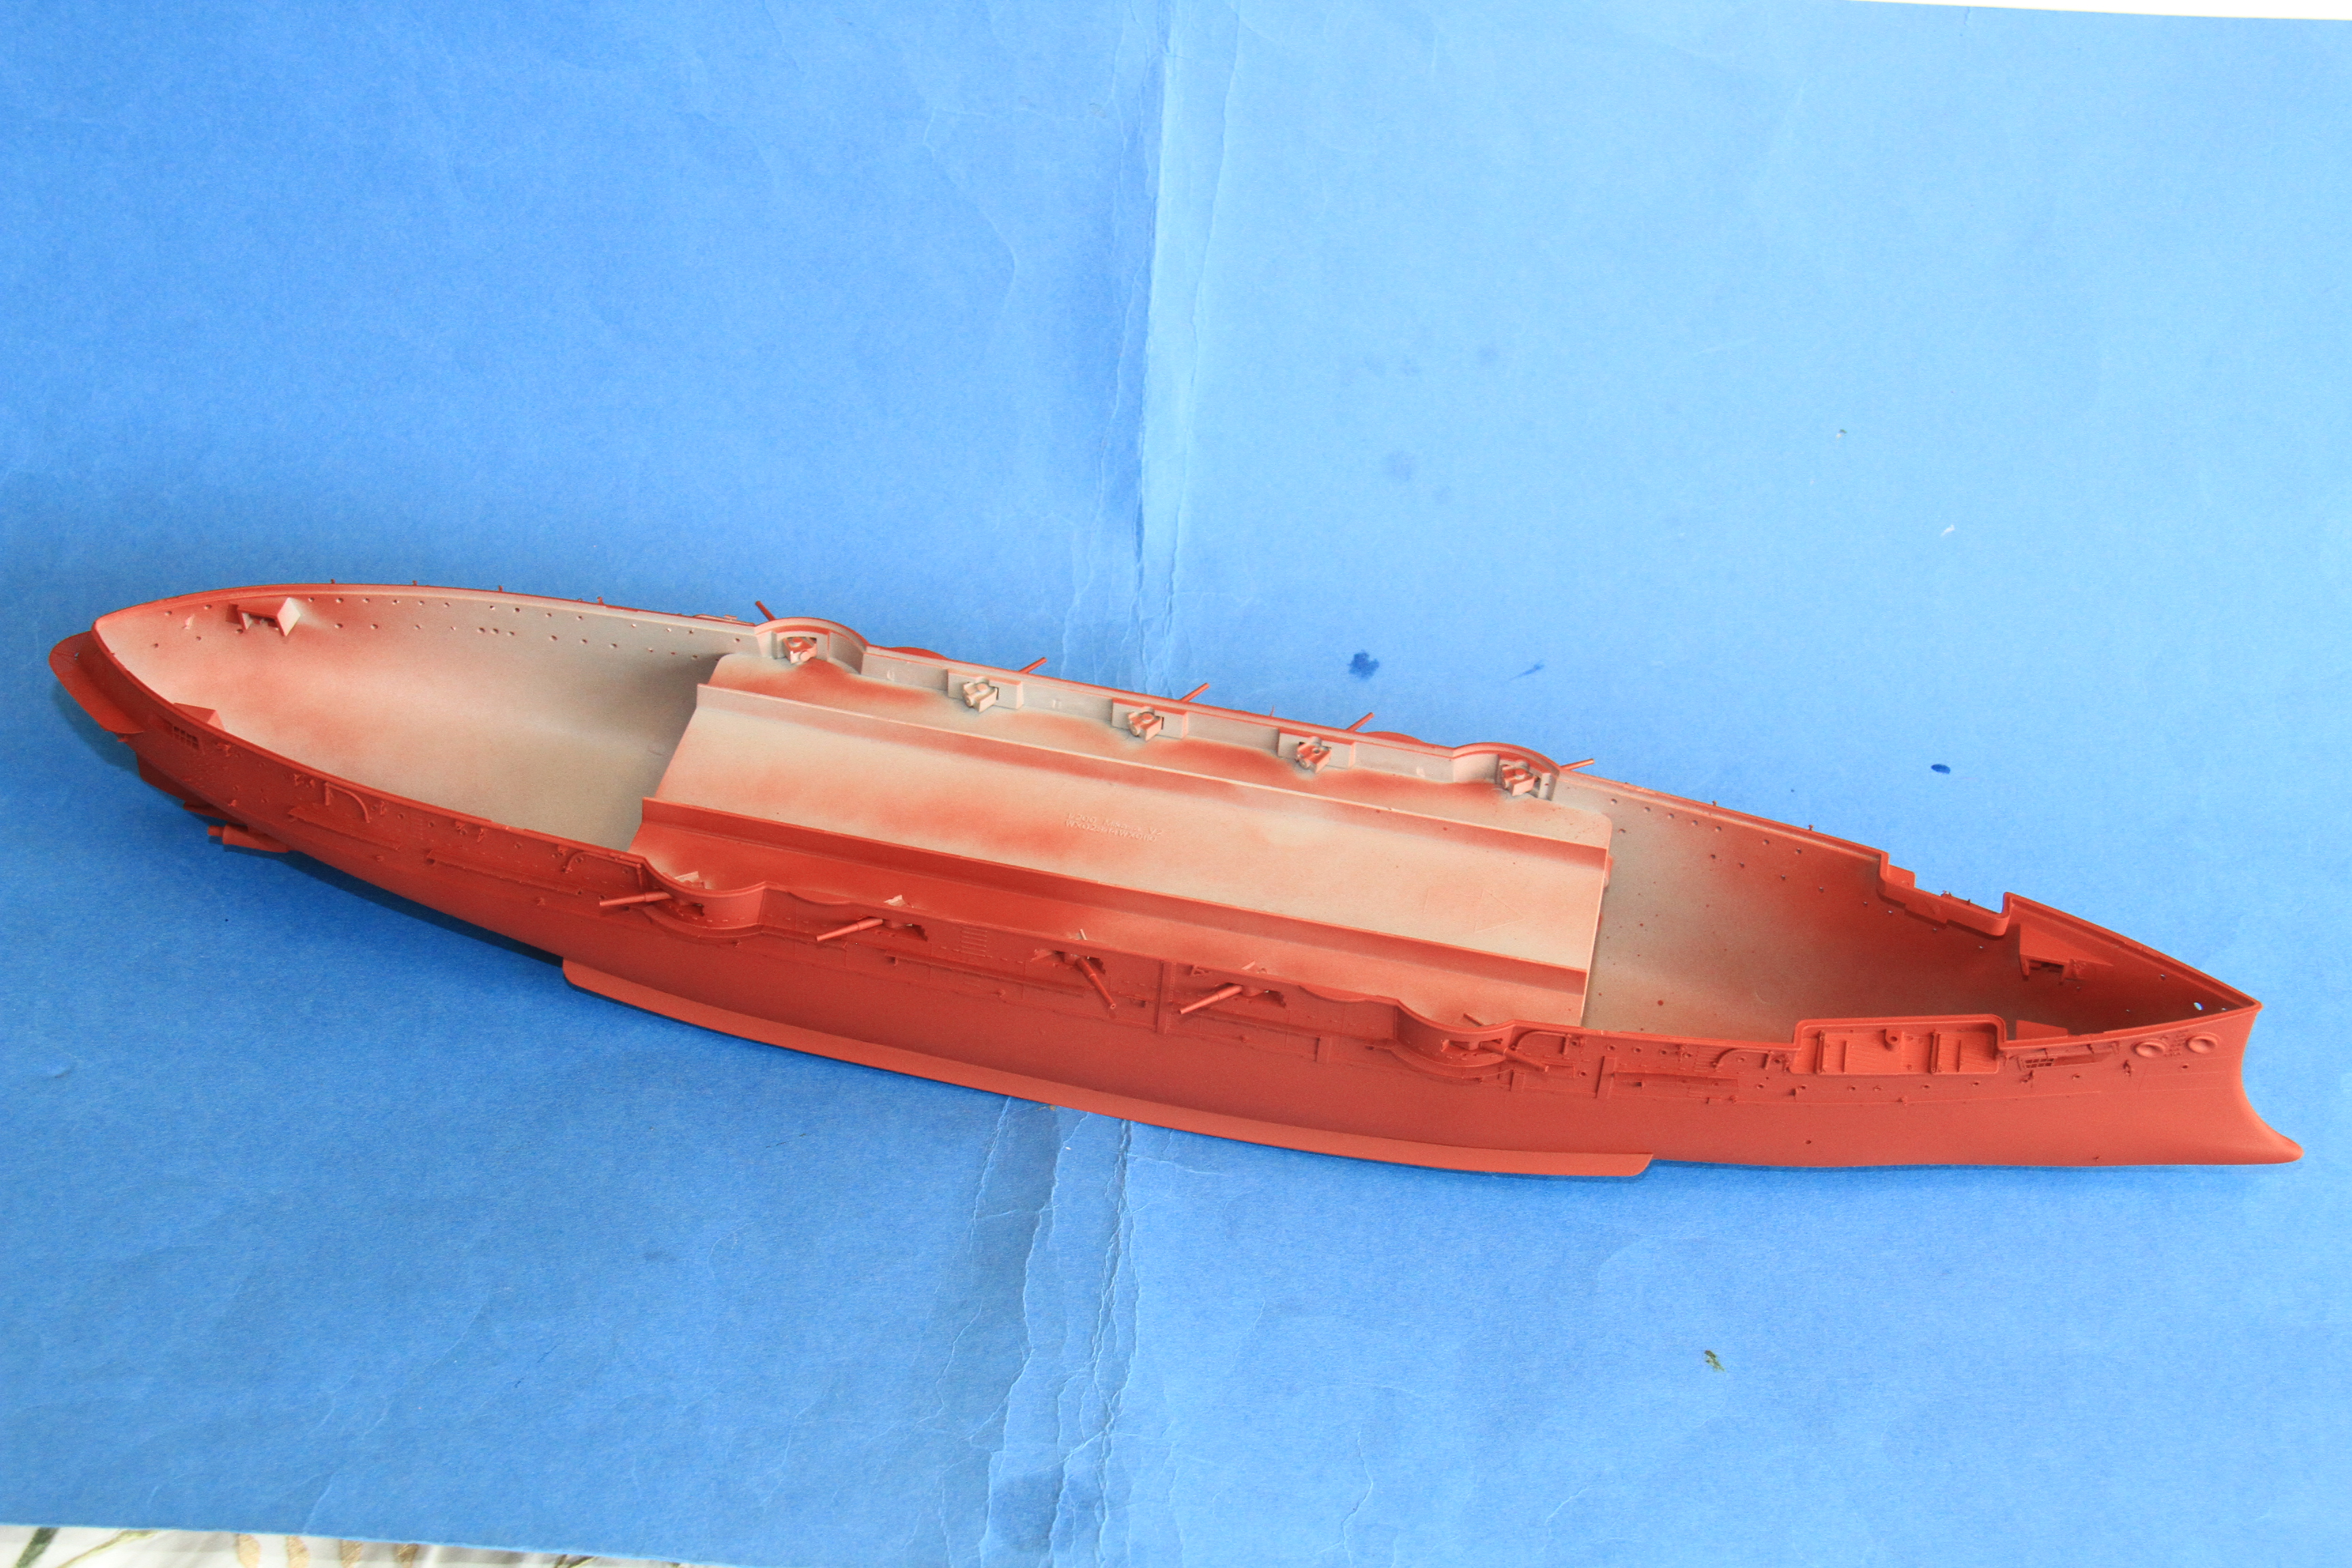
Anti fouling (Tamiya TS33) sprayed, doesn't look a lot different in shade from Halford's red primer.
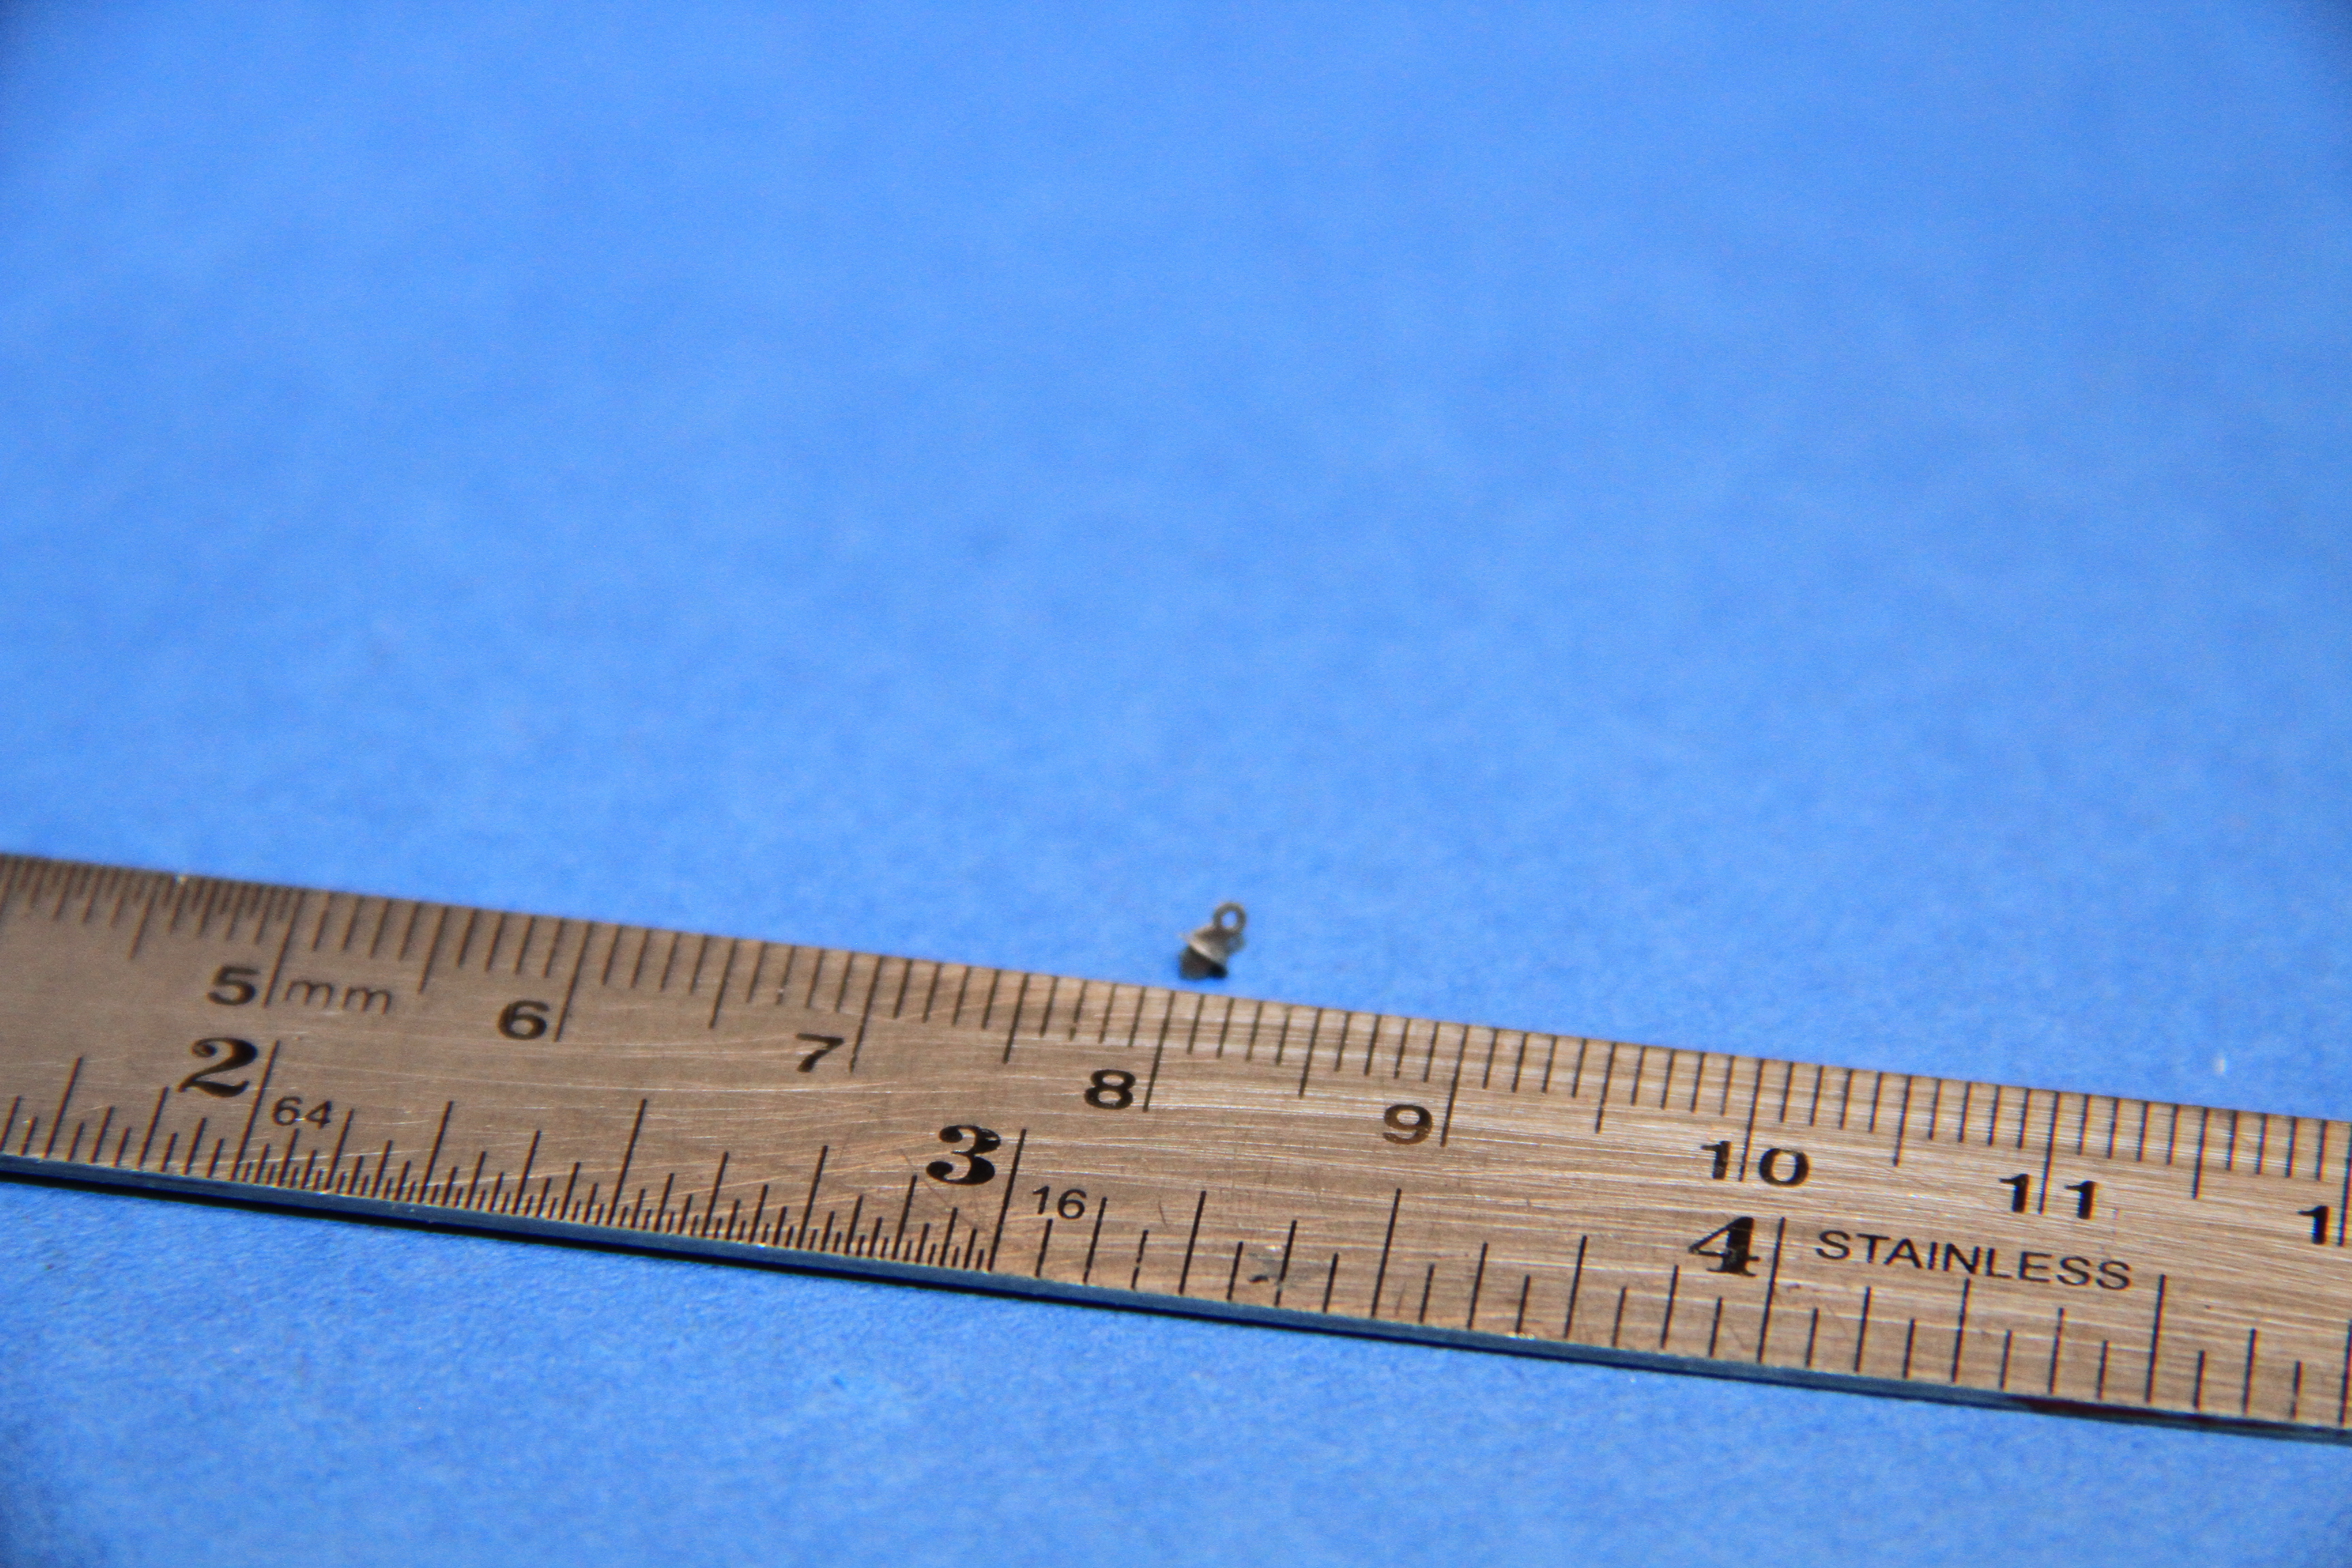
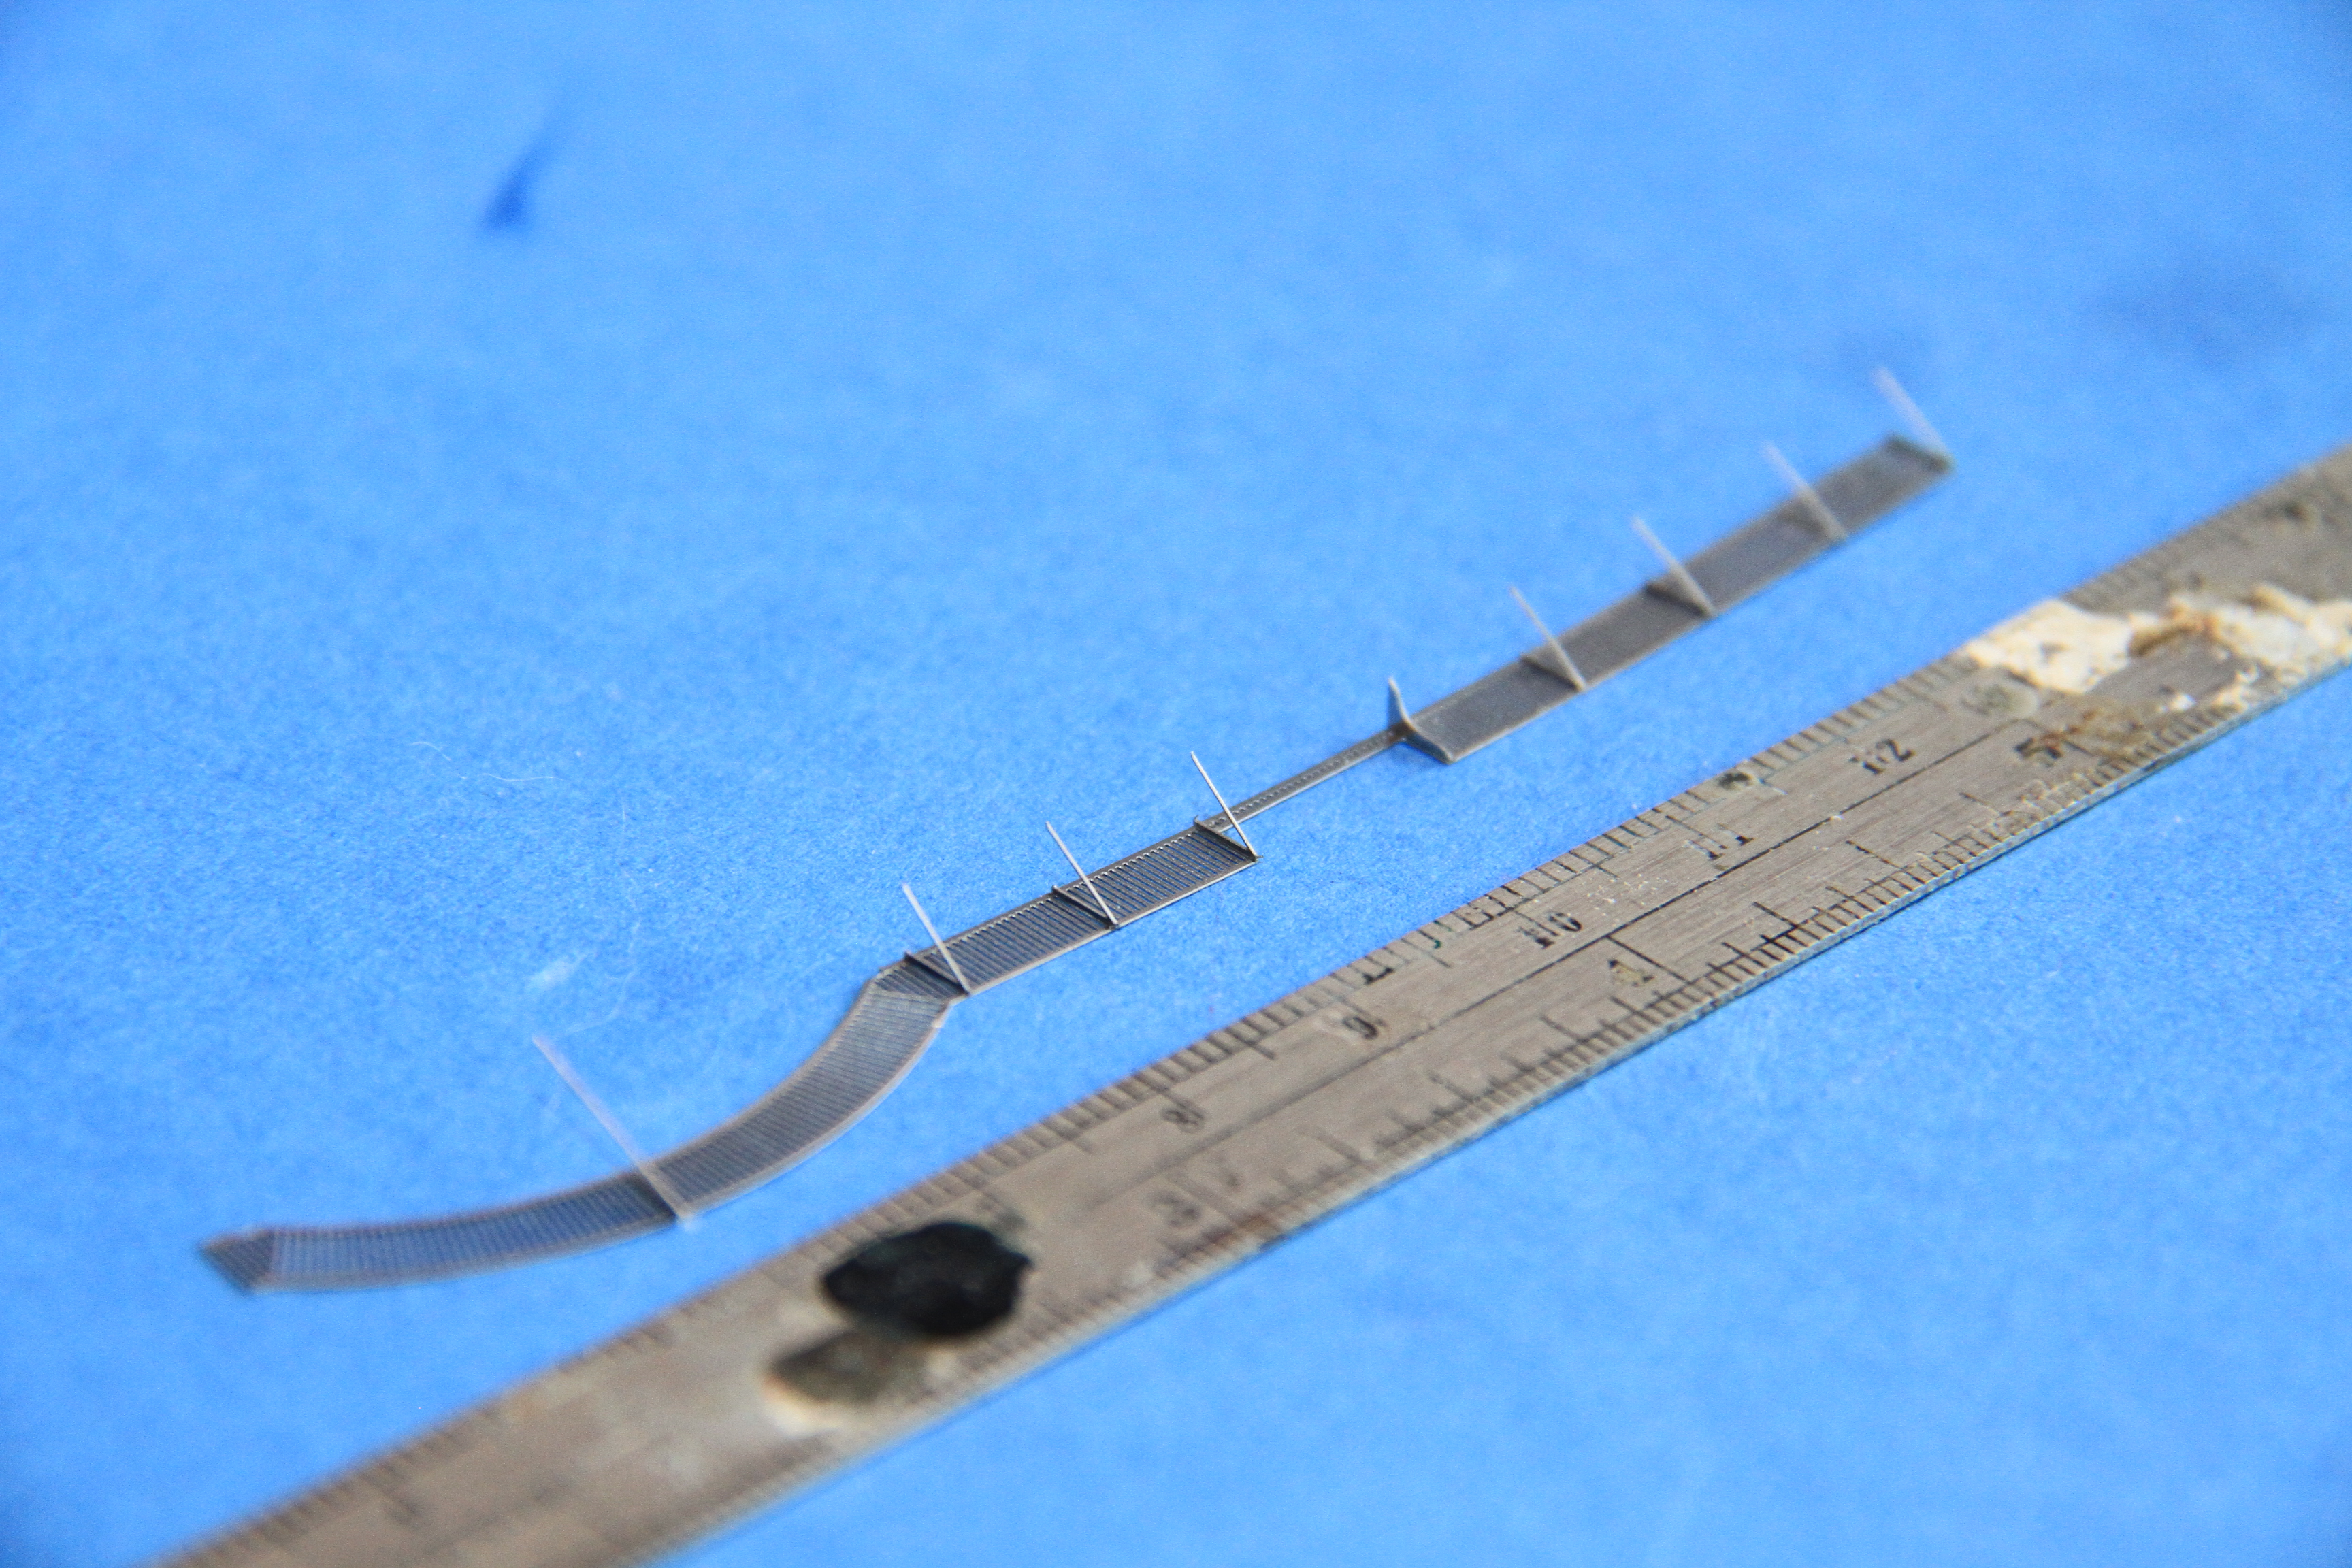
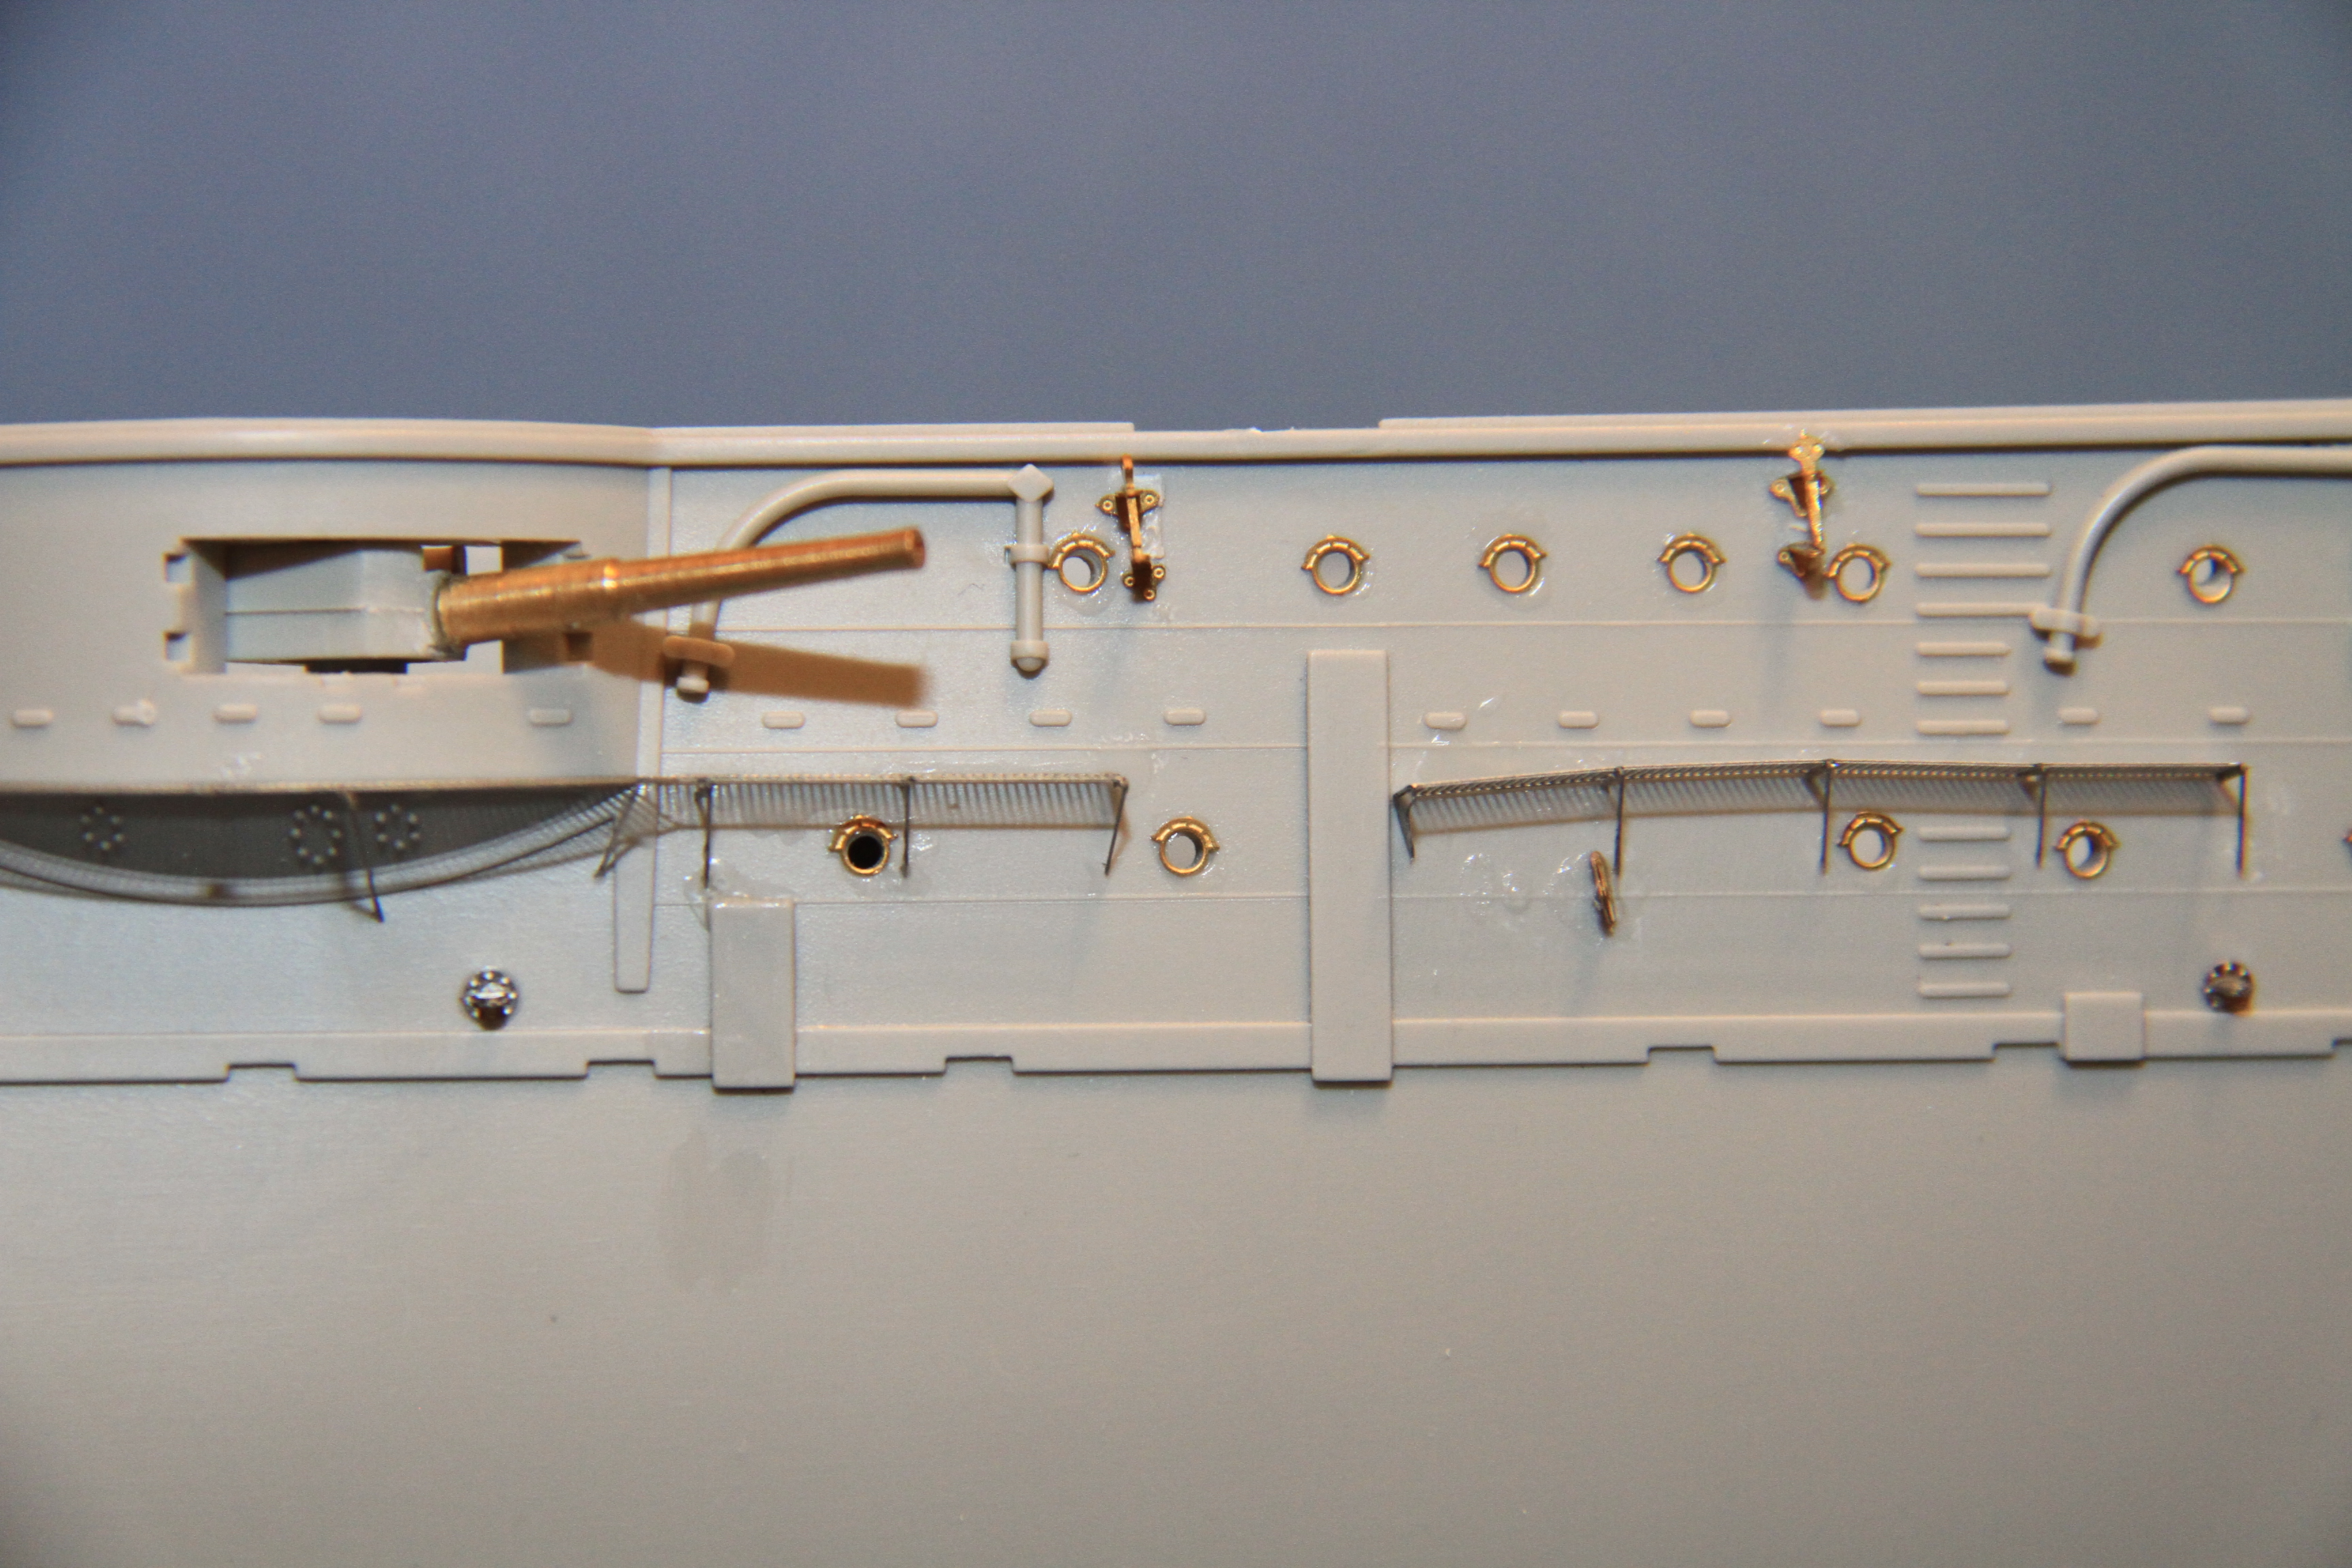
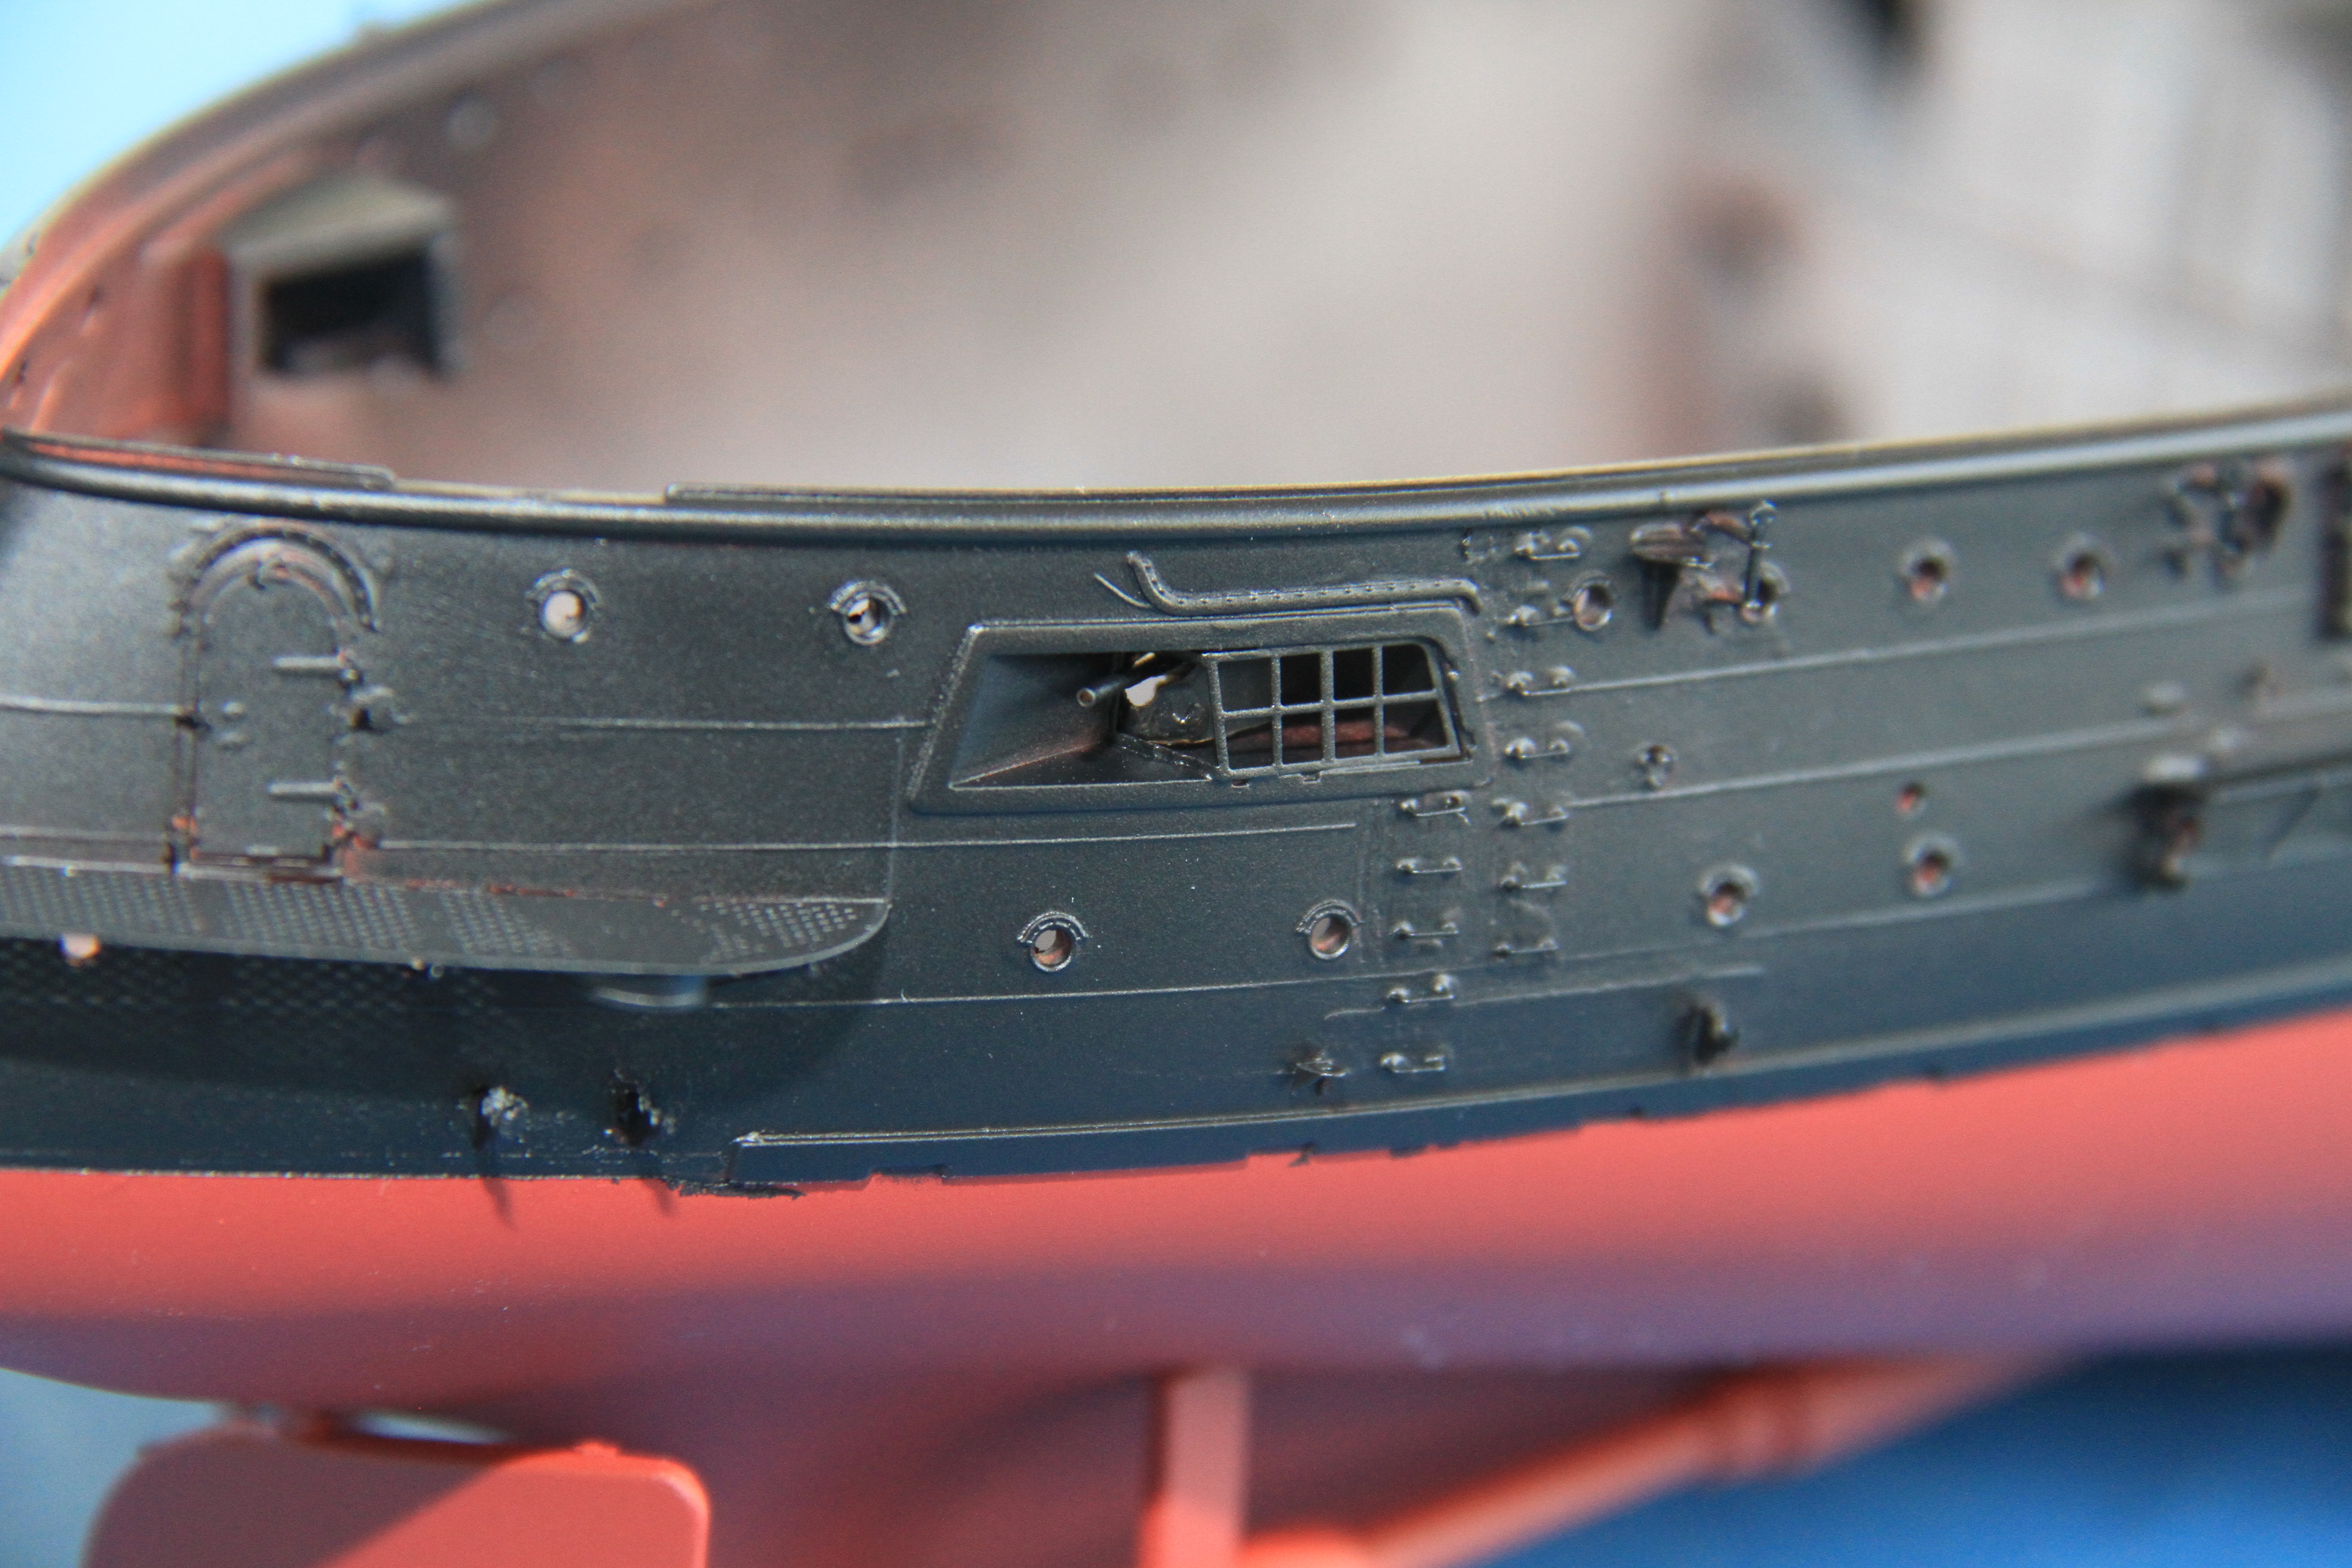
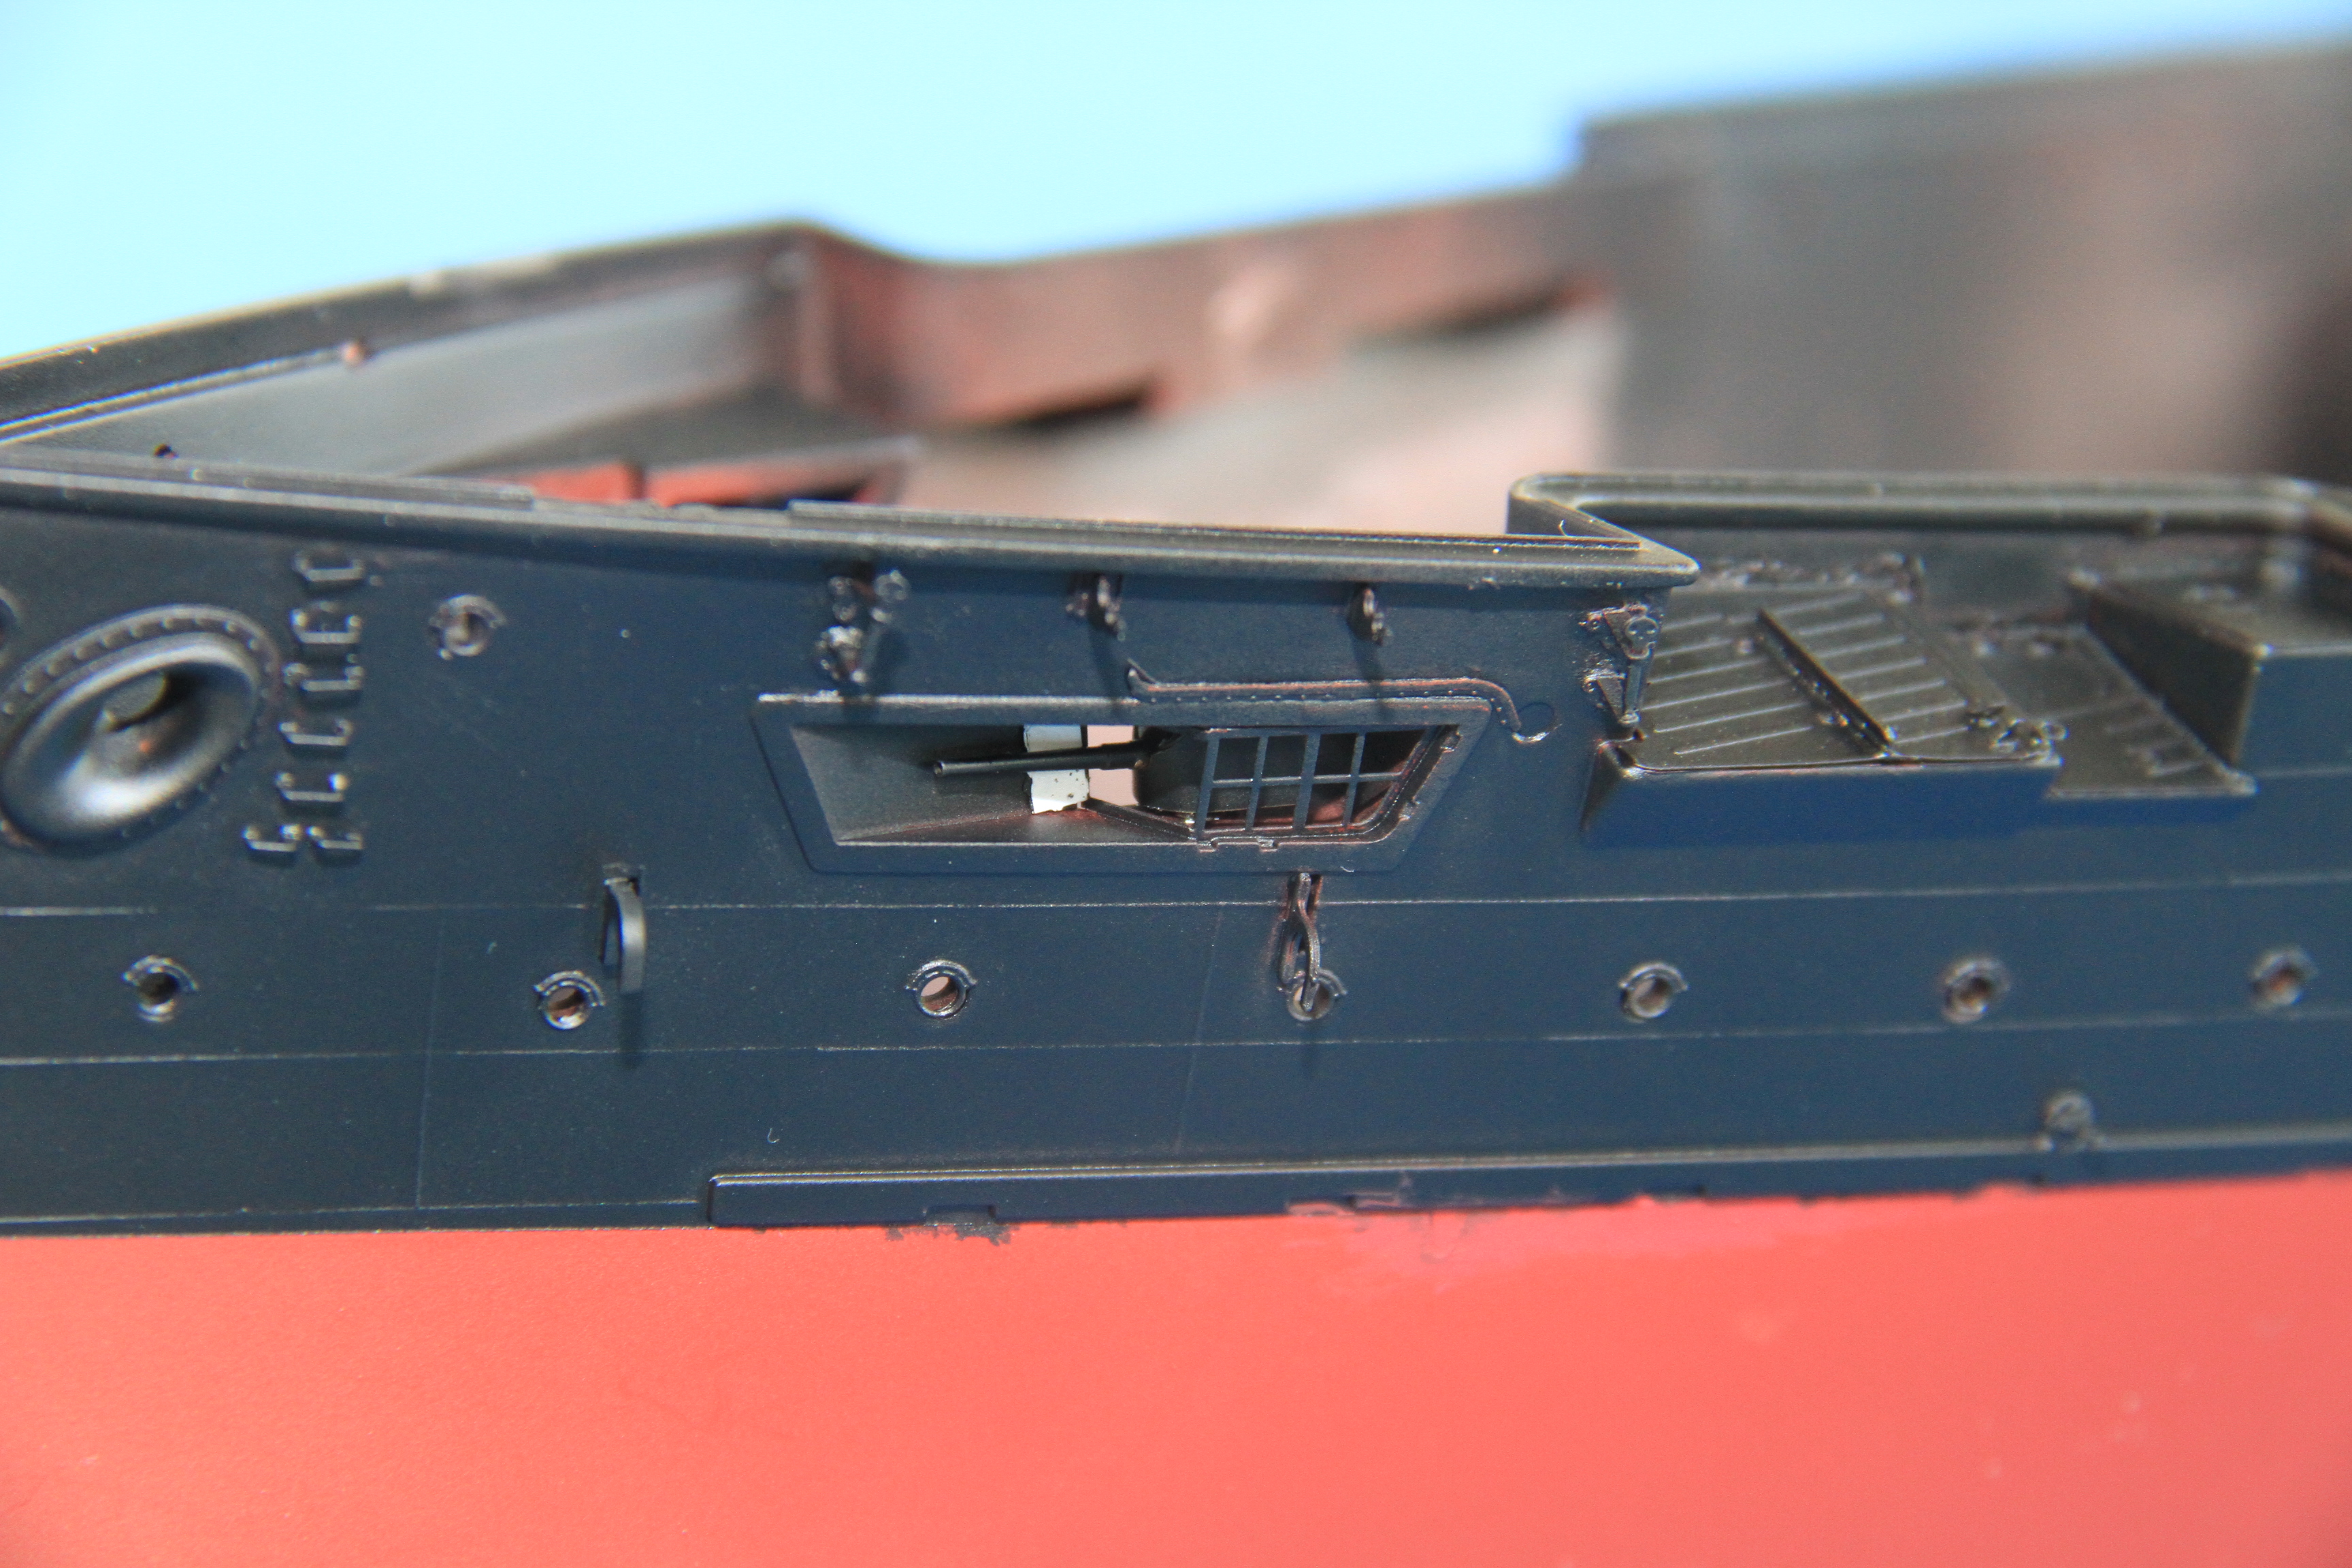
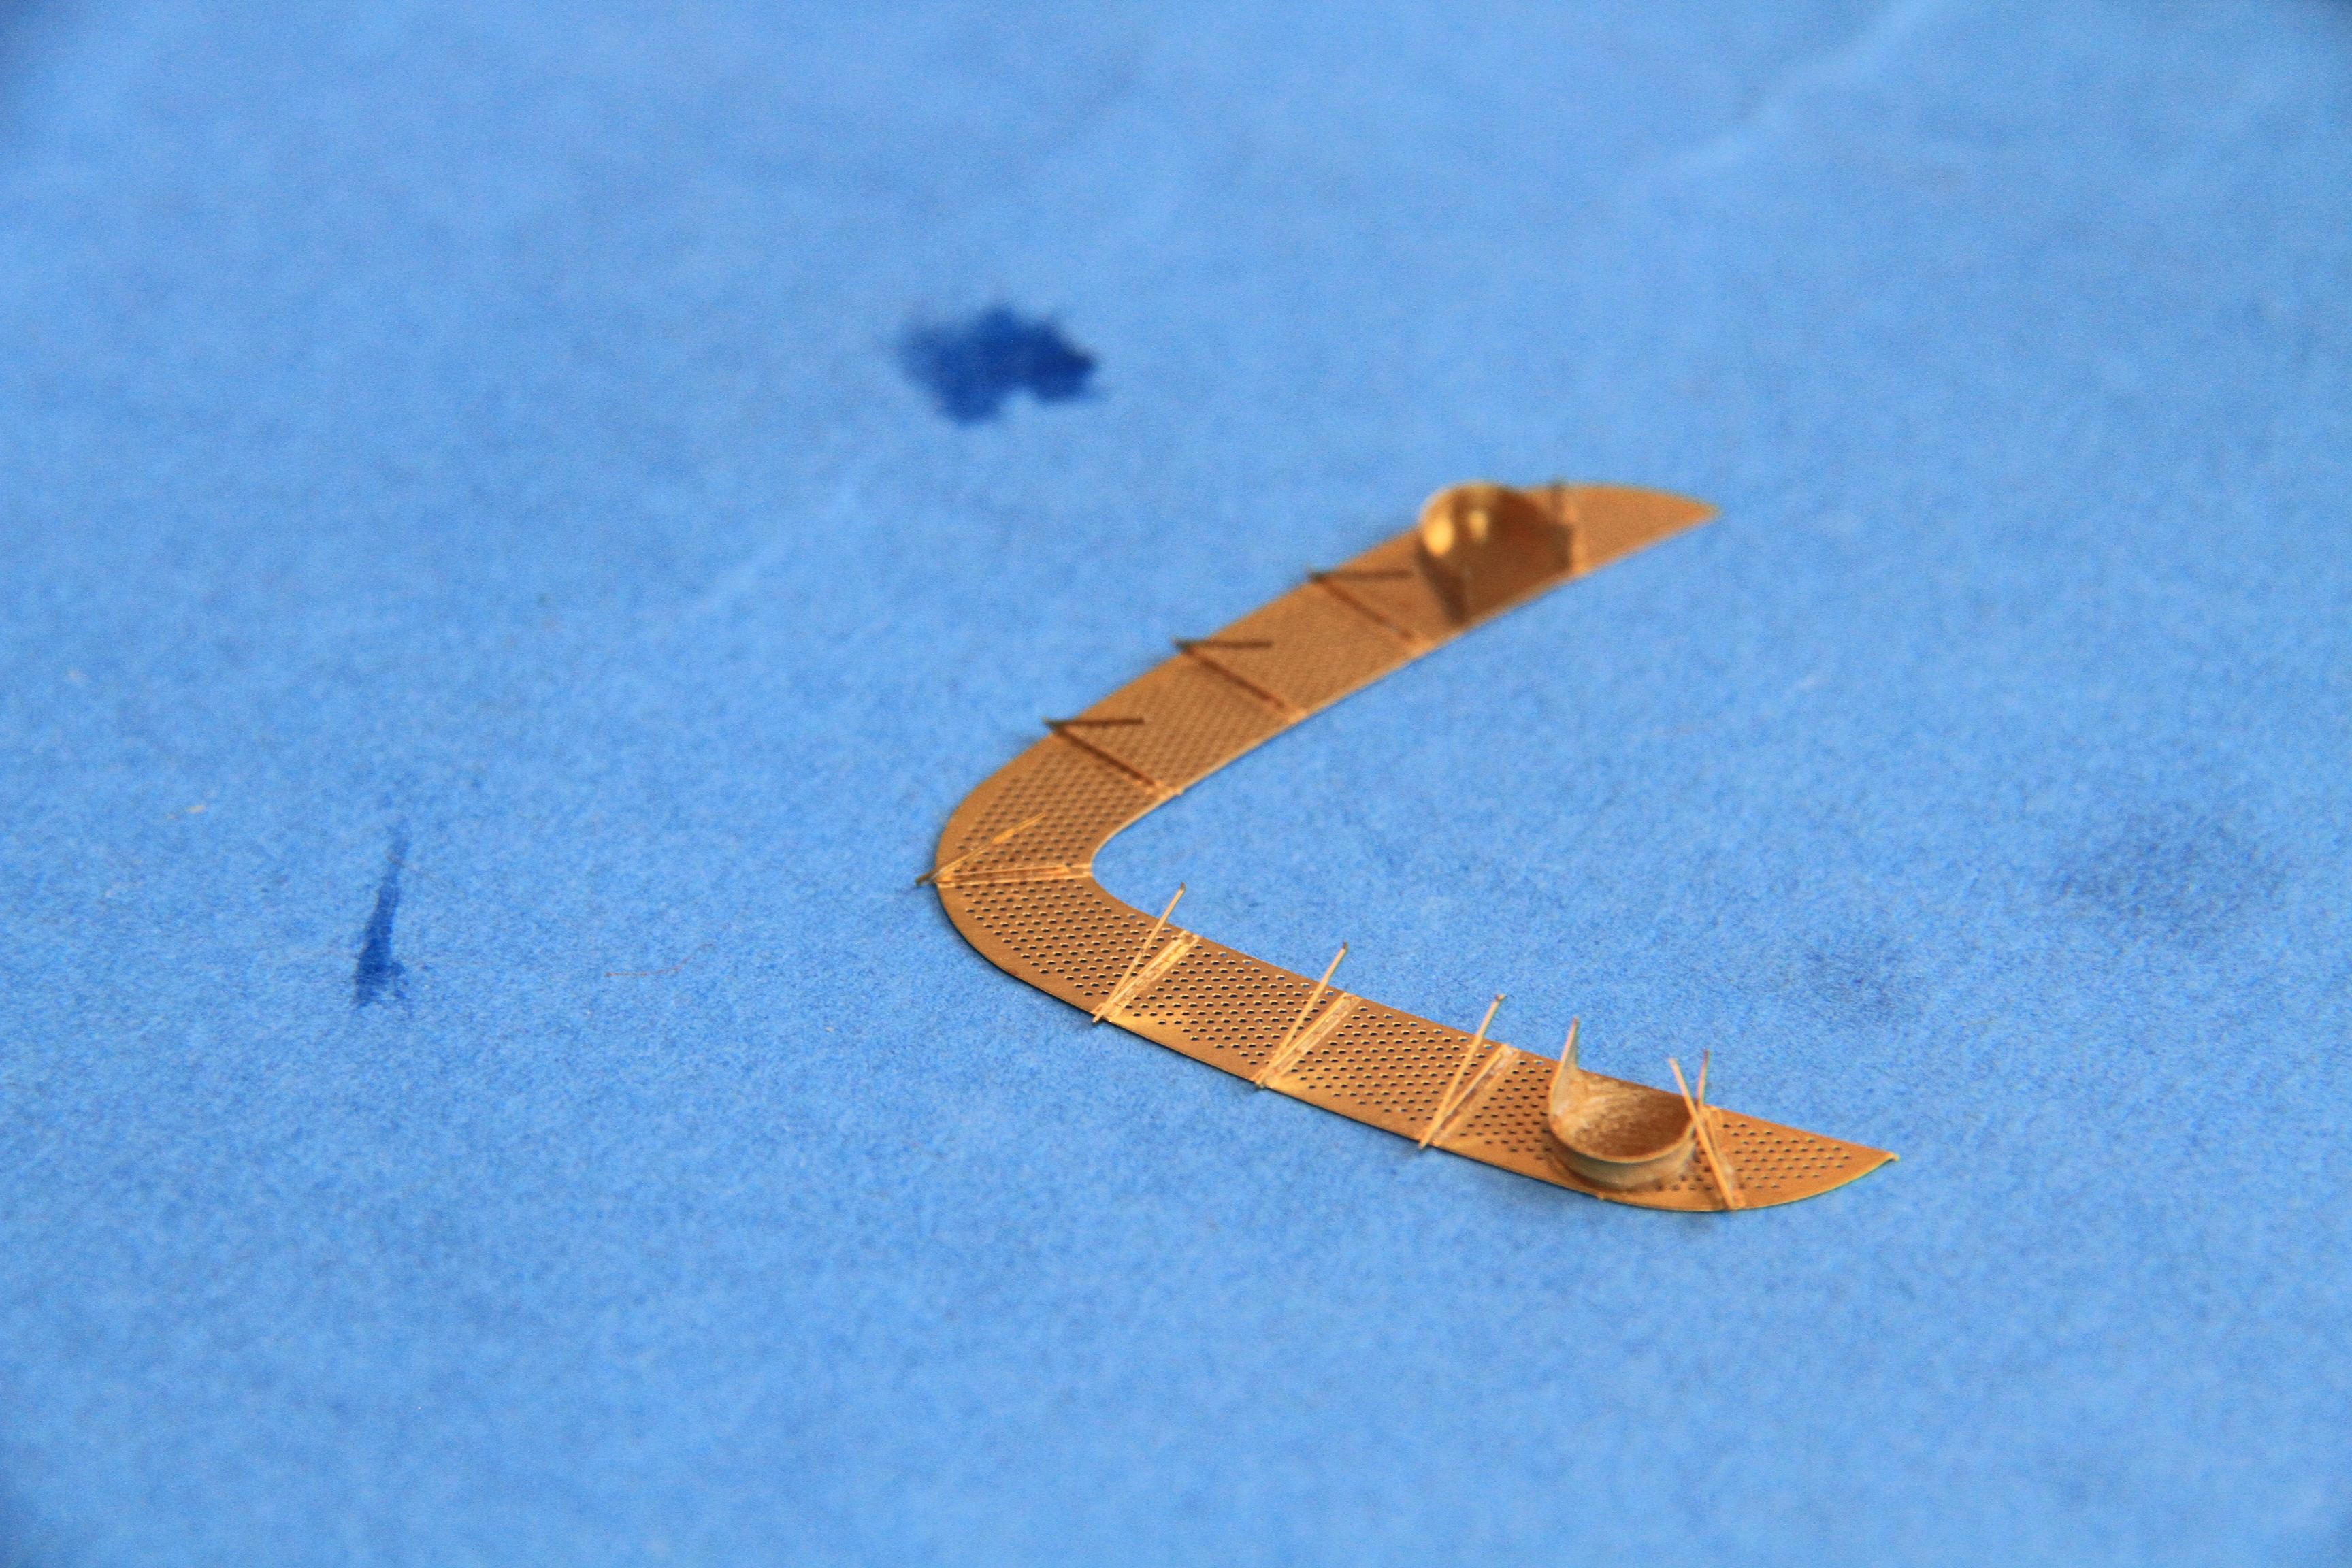
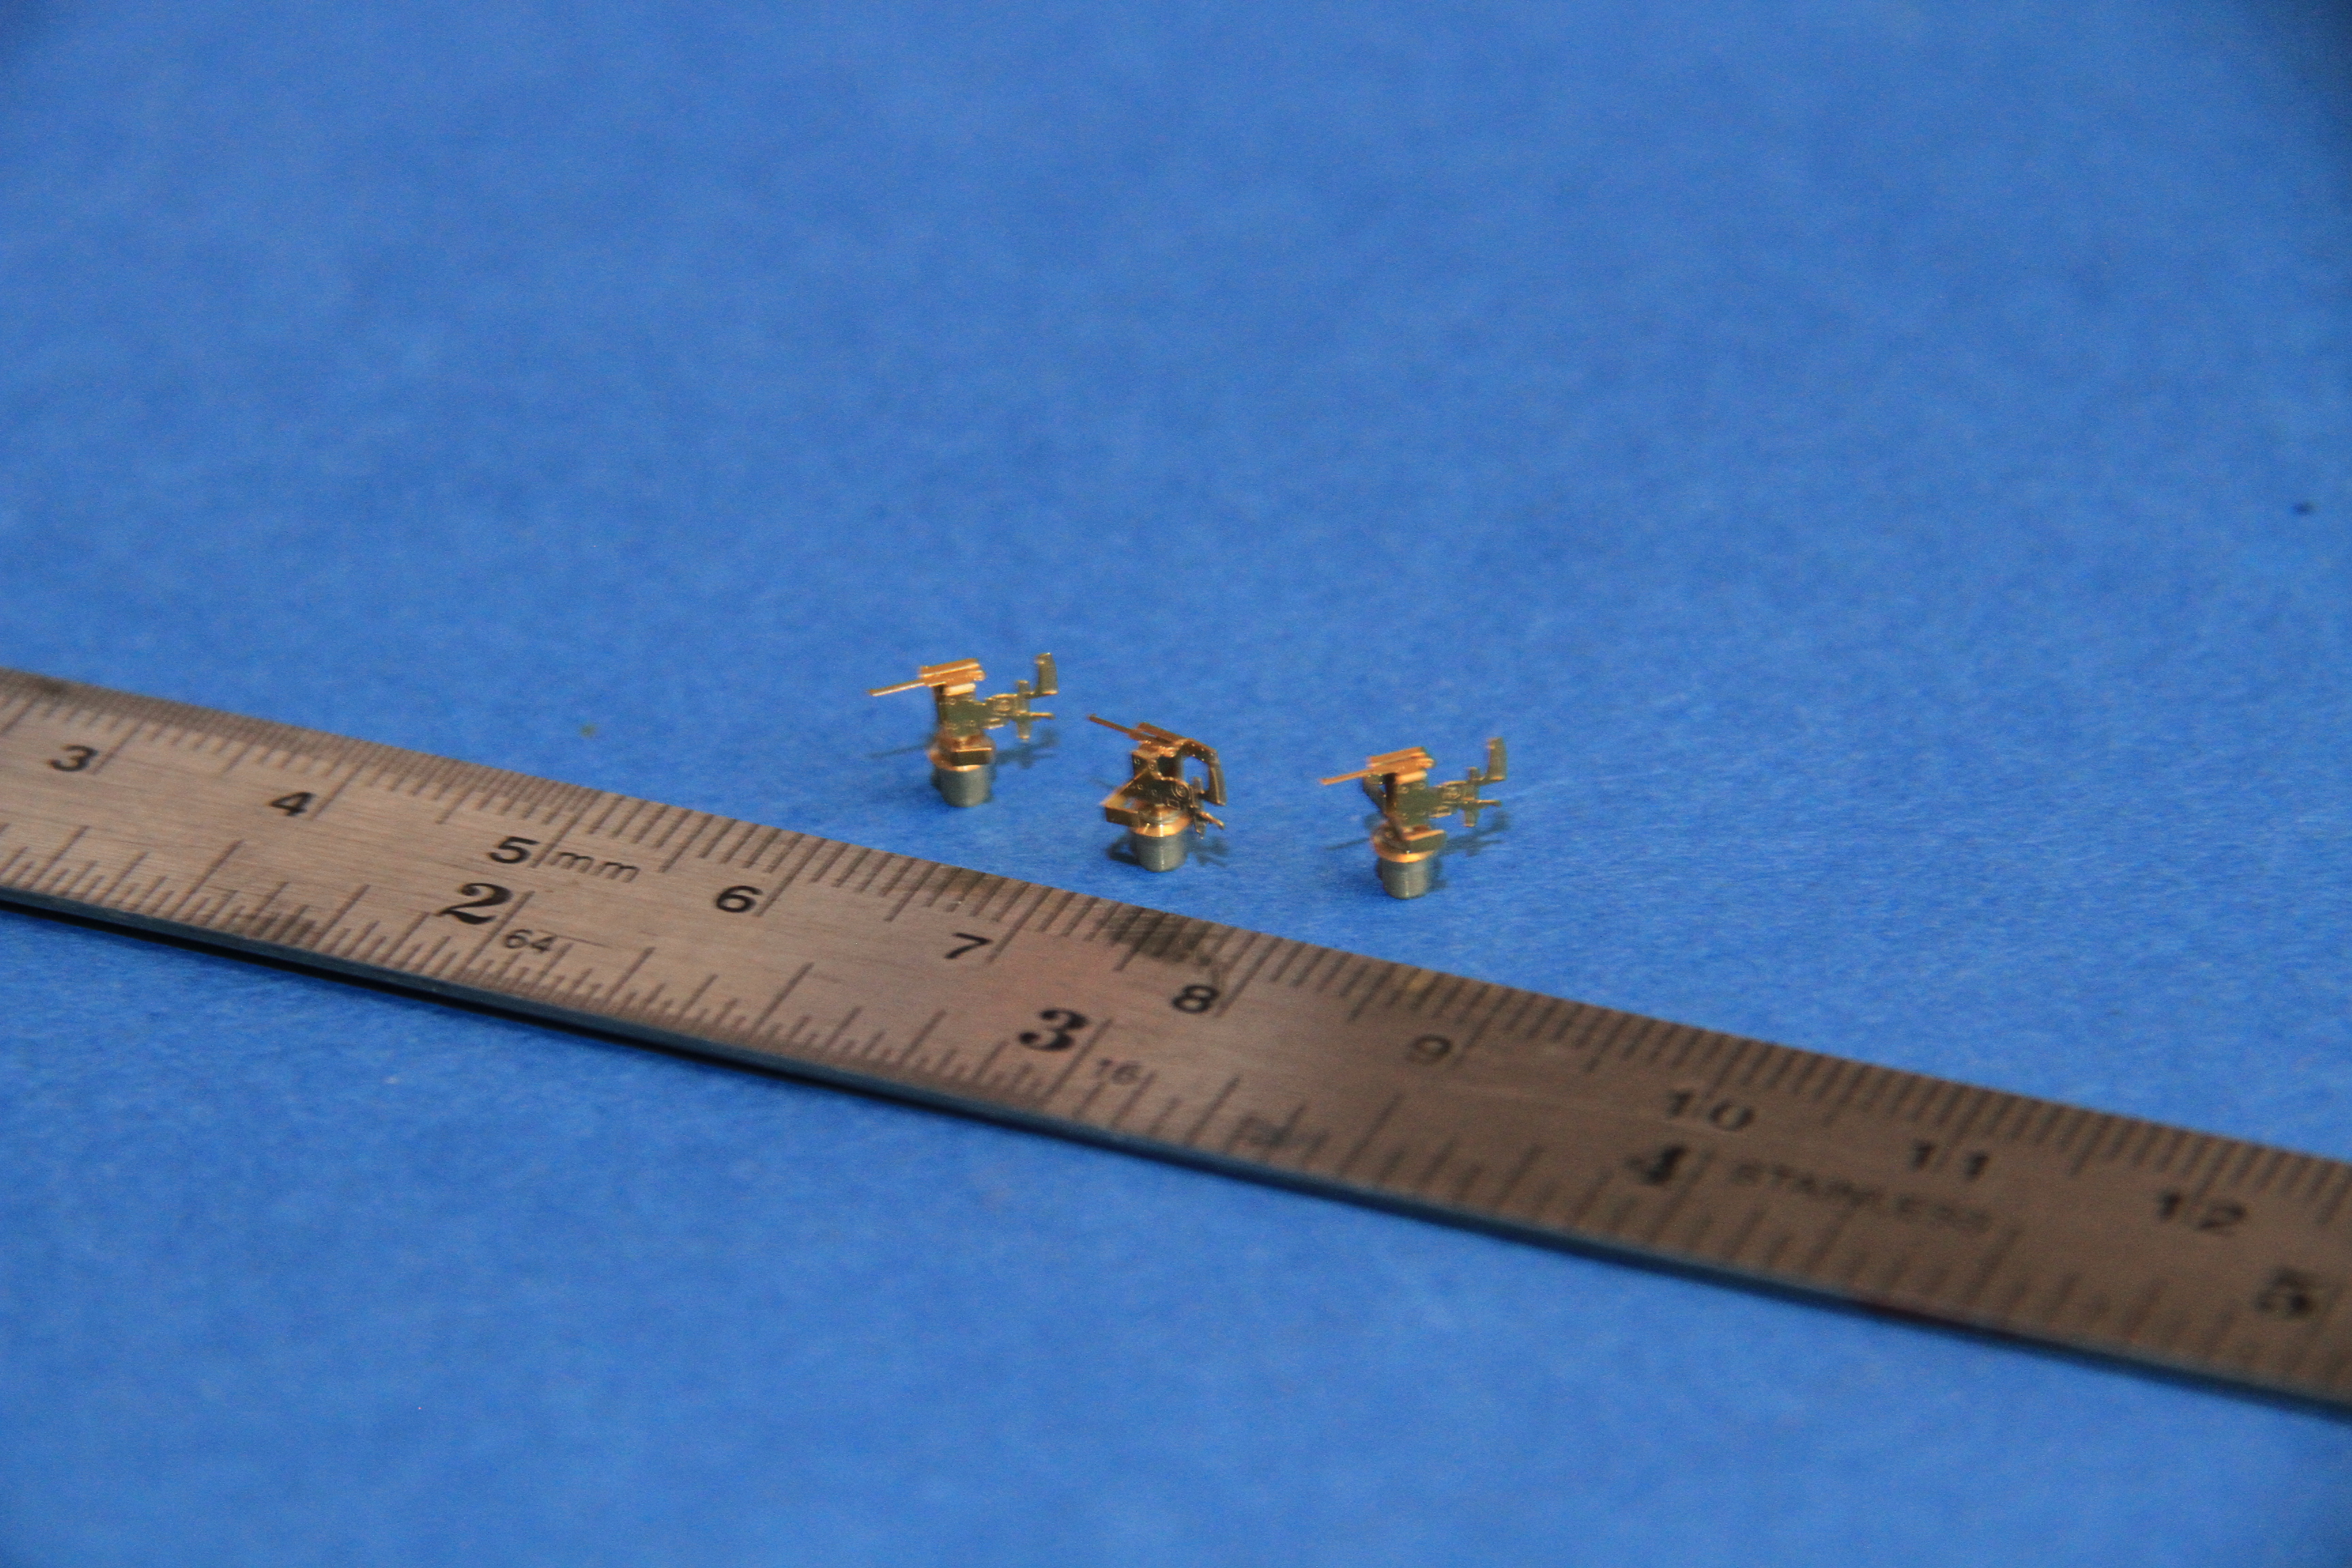
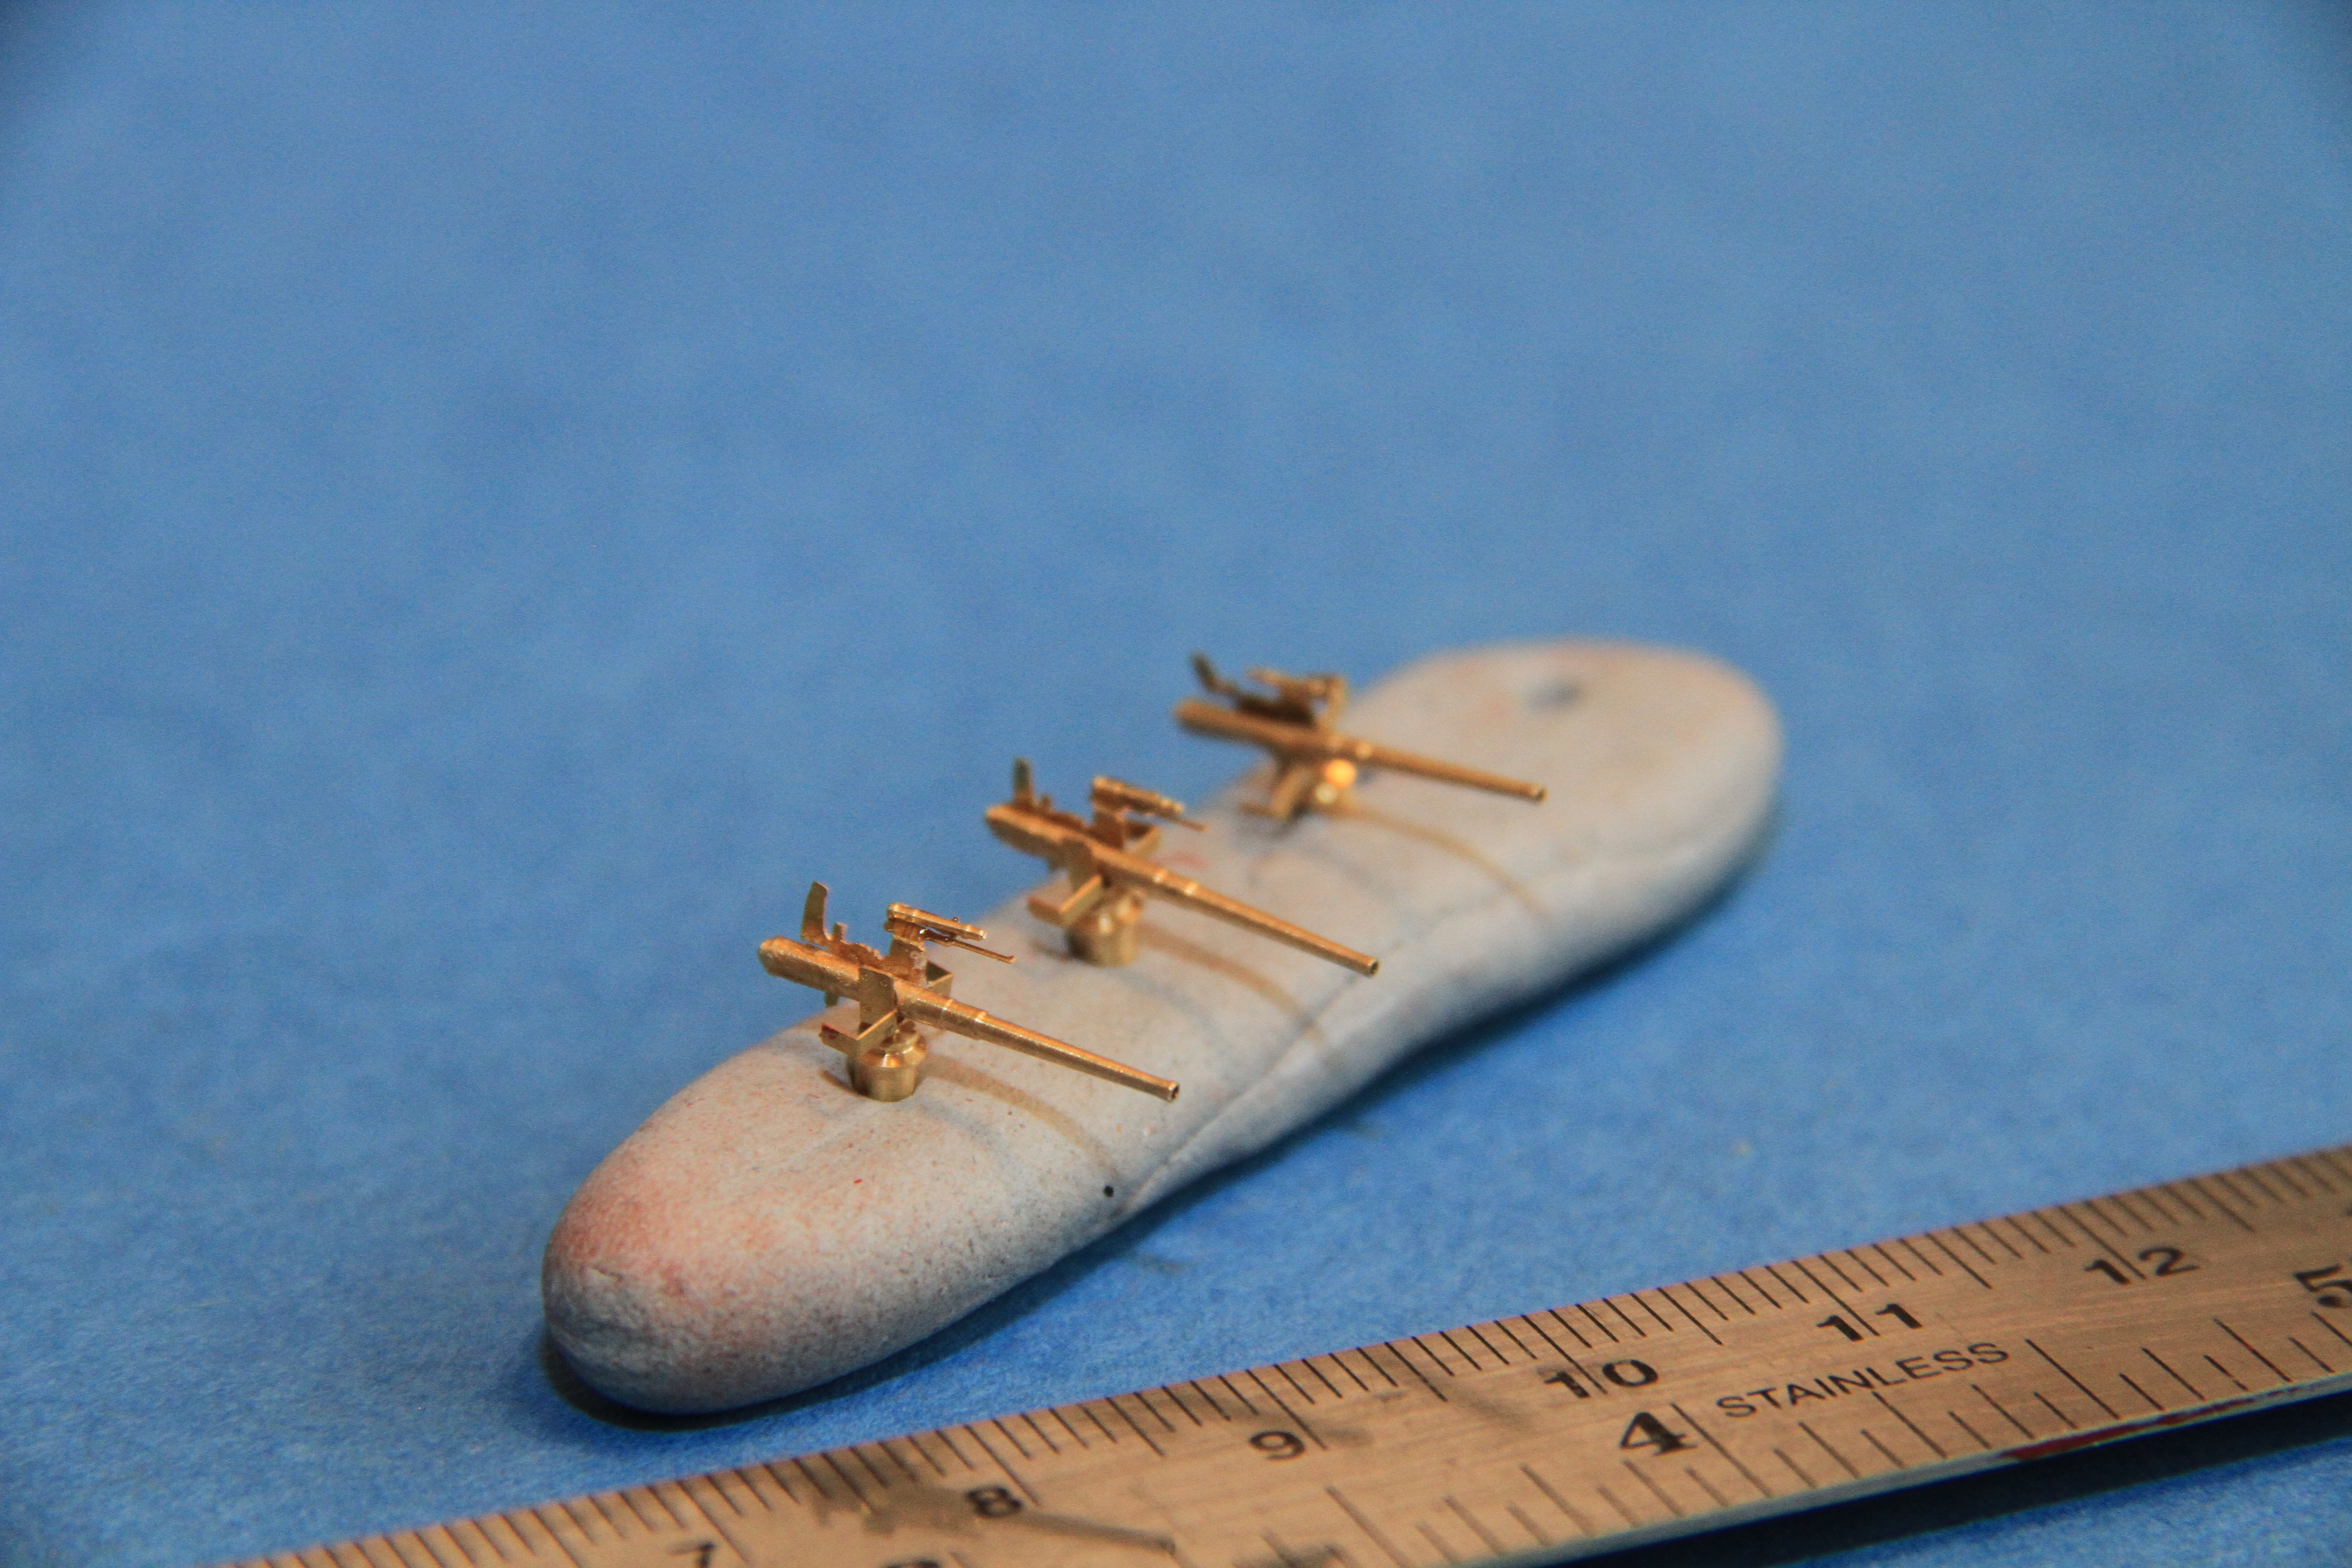
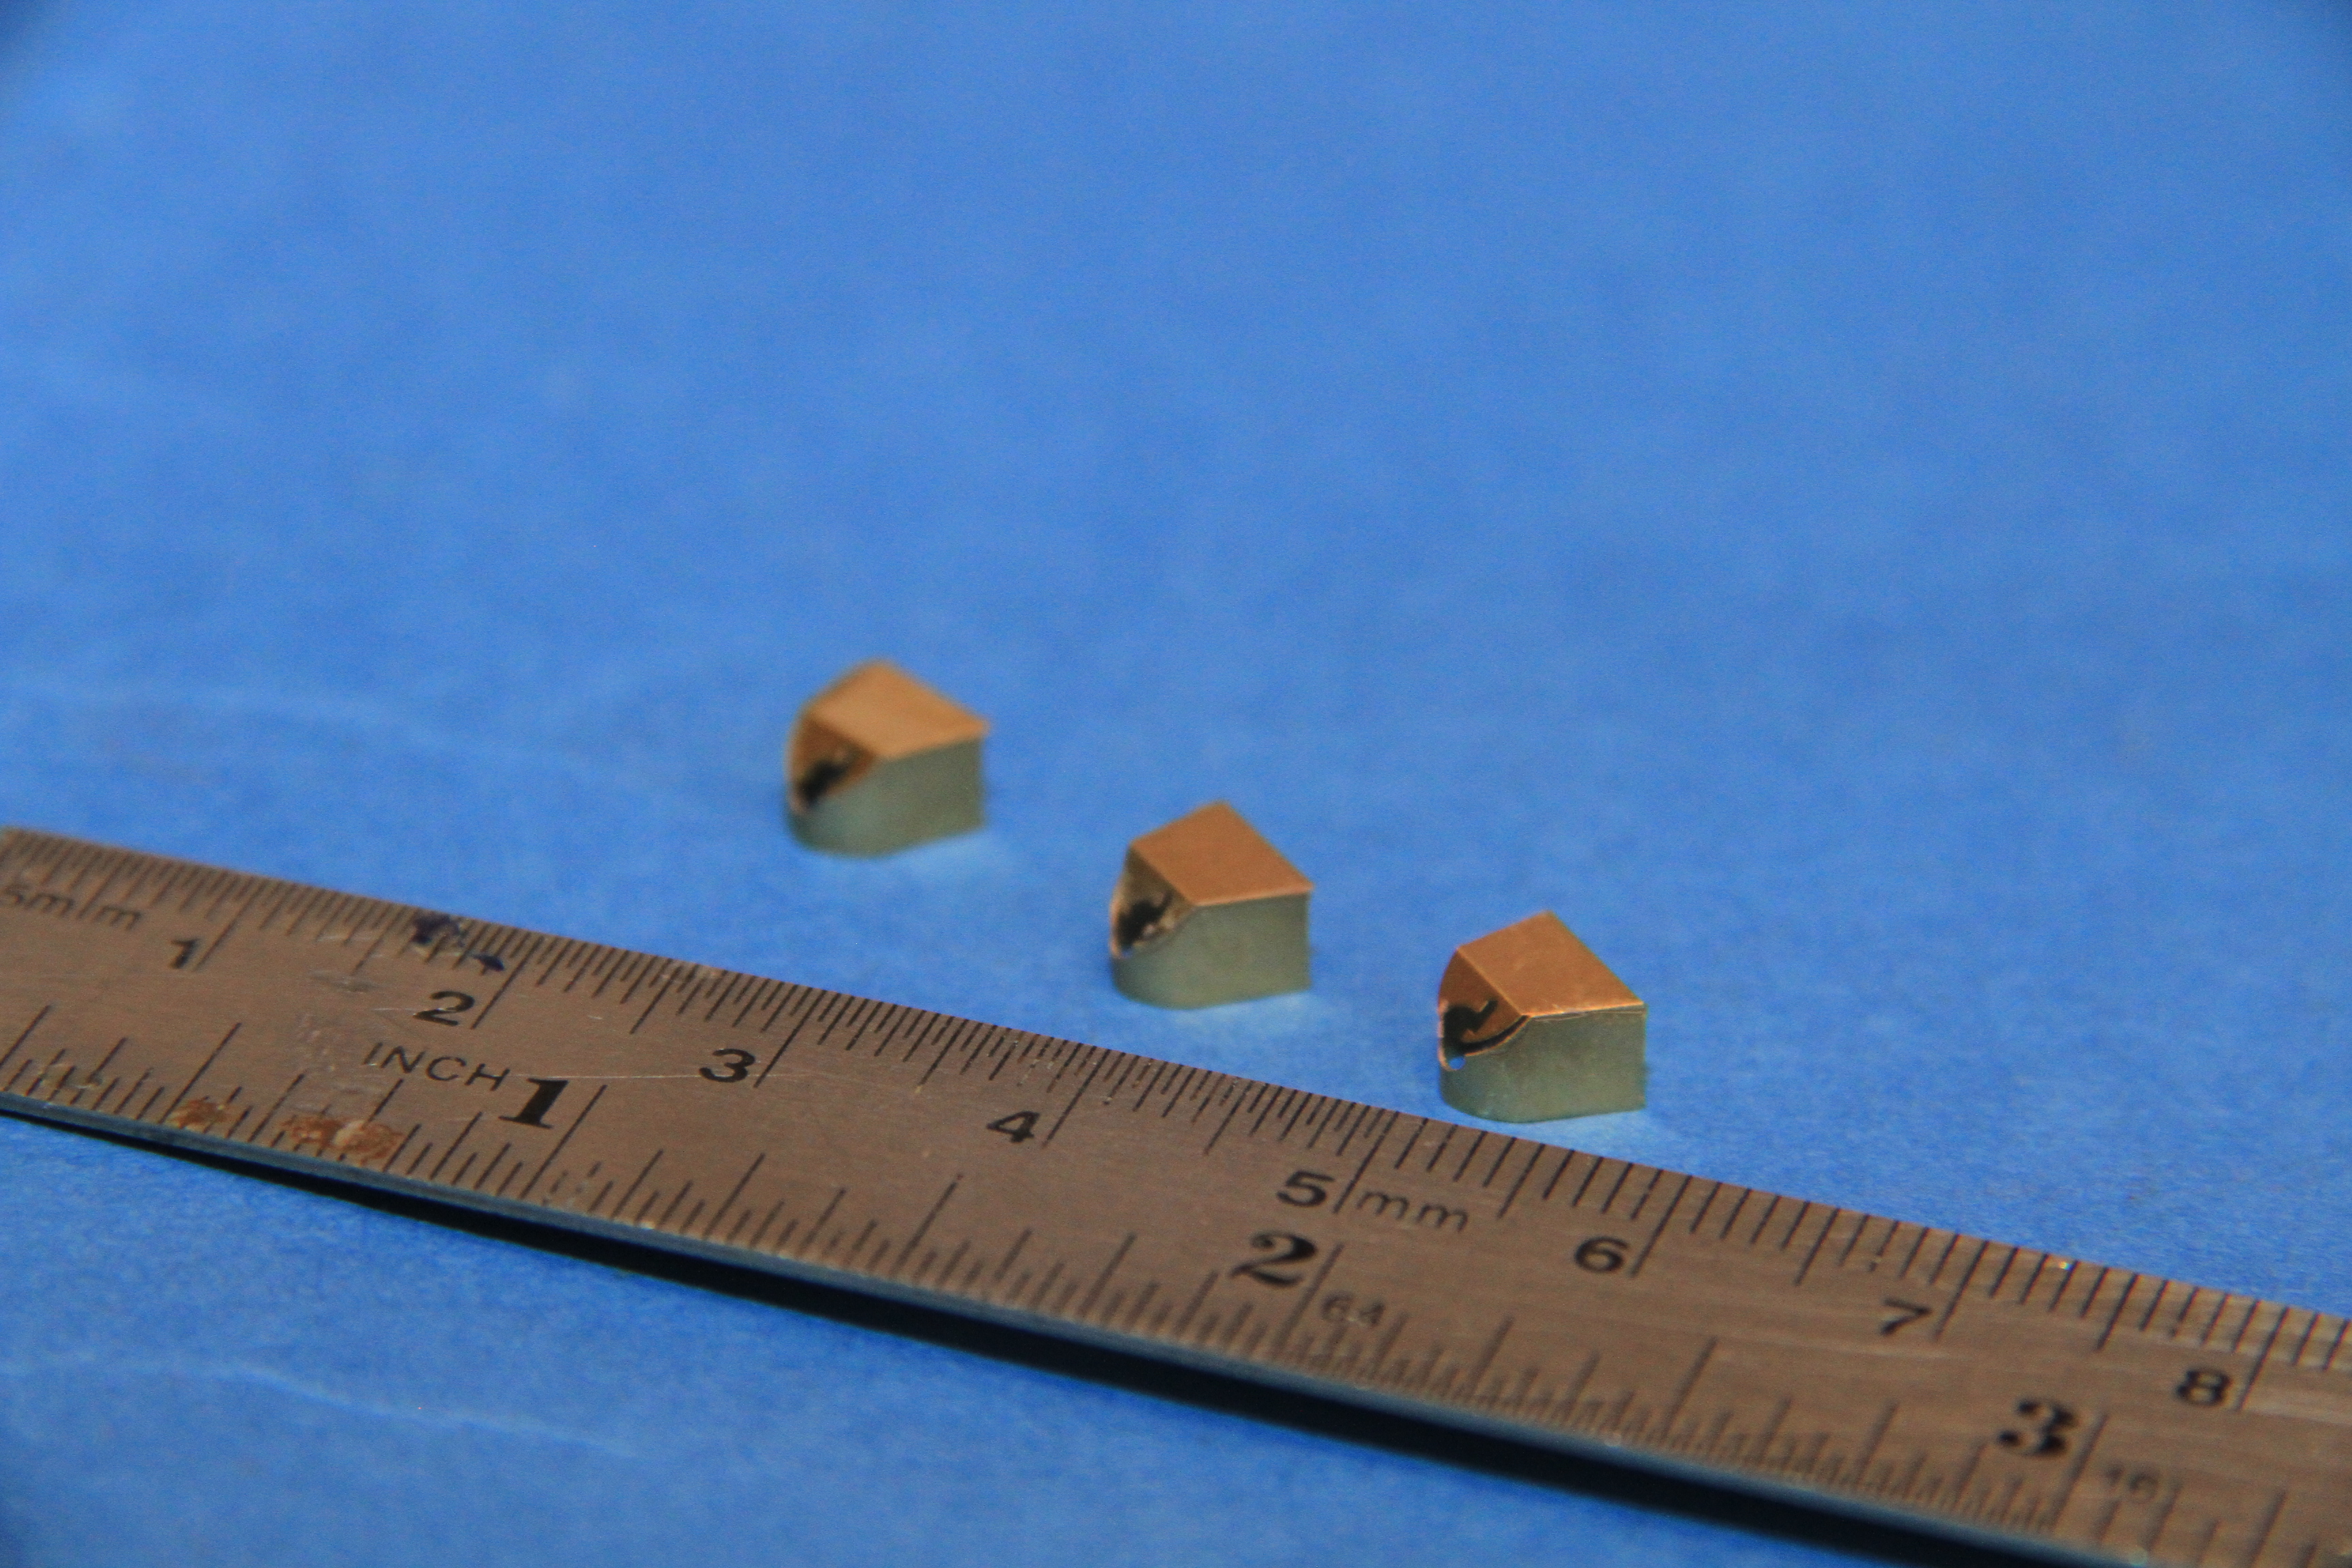
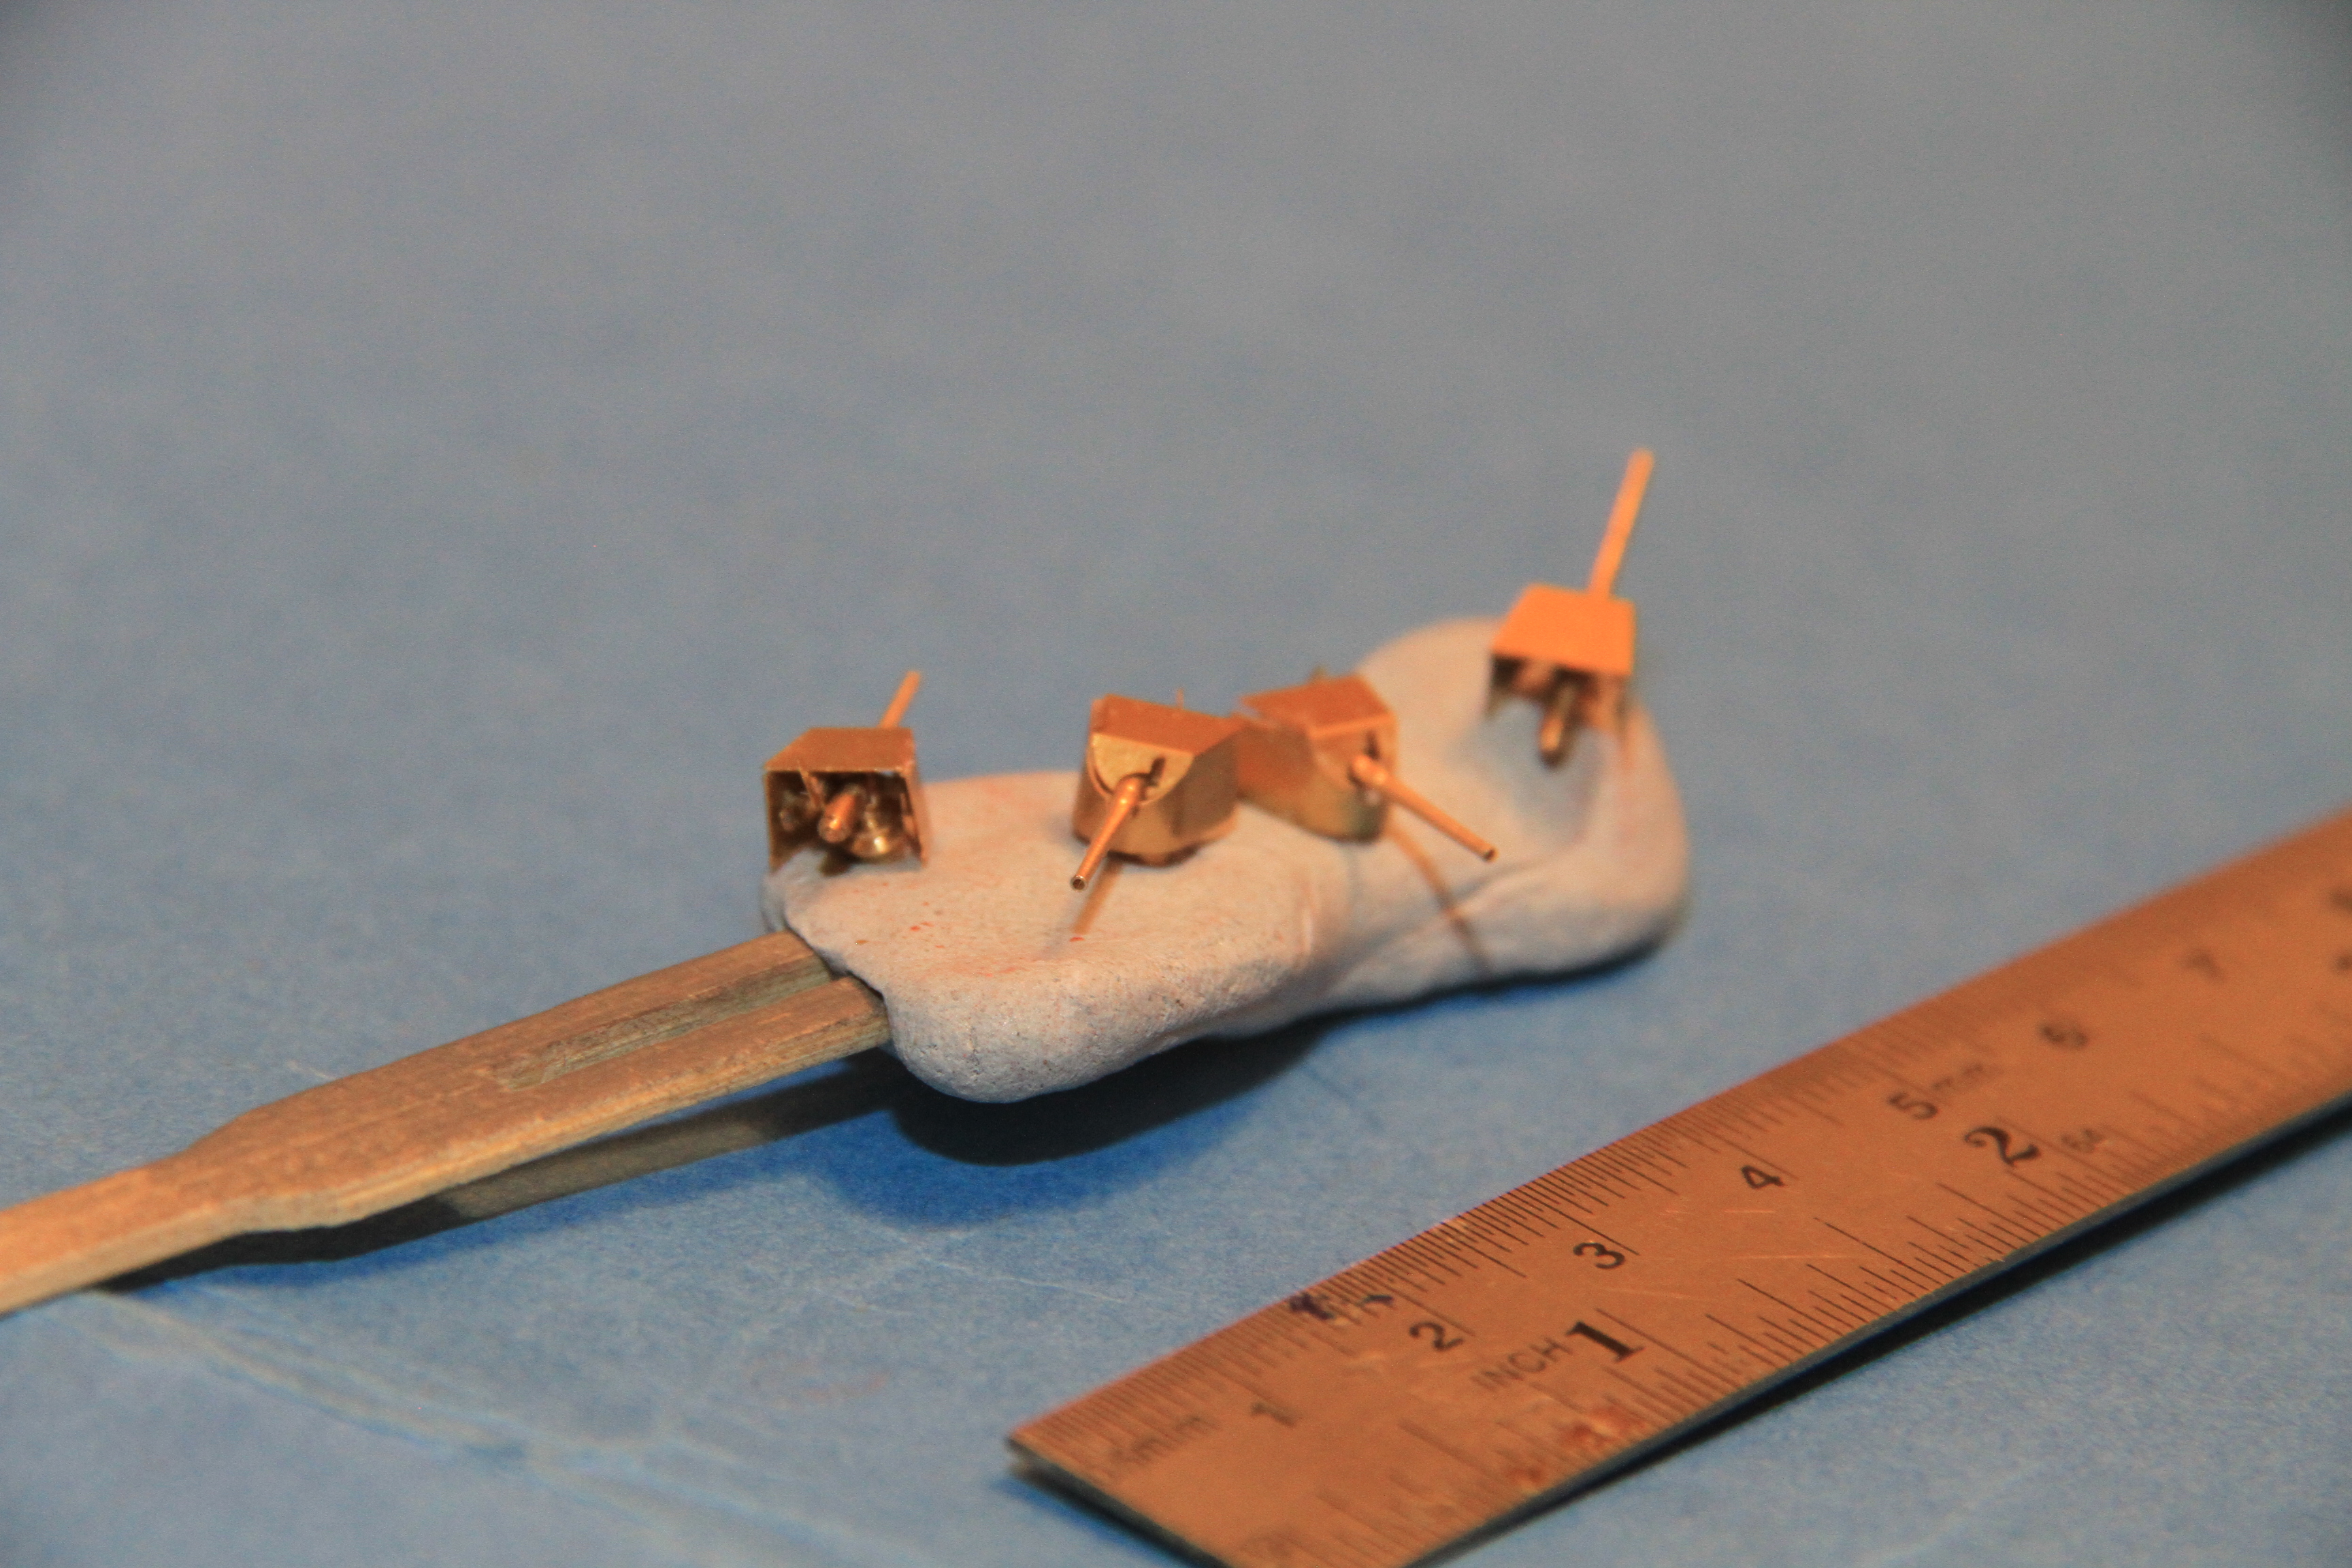
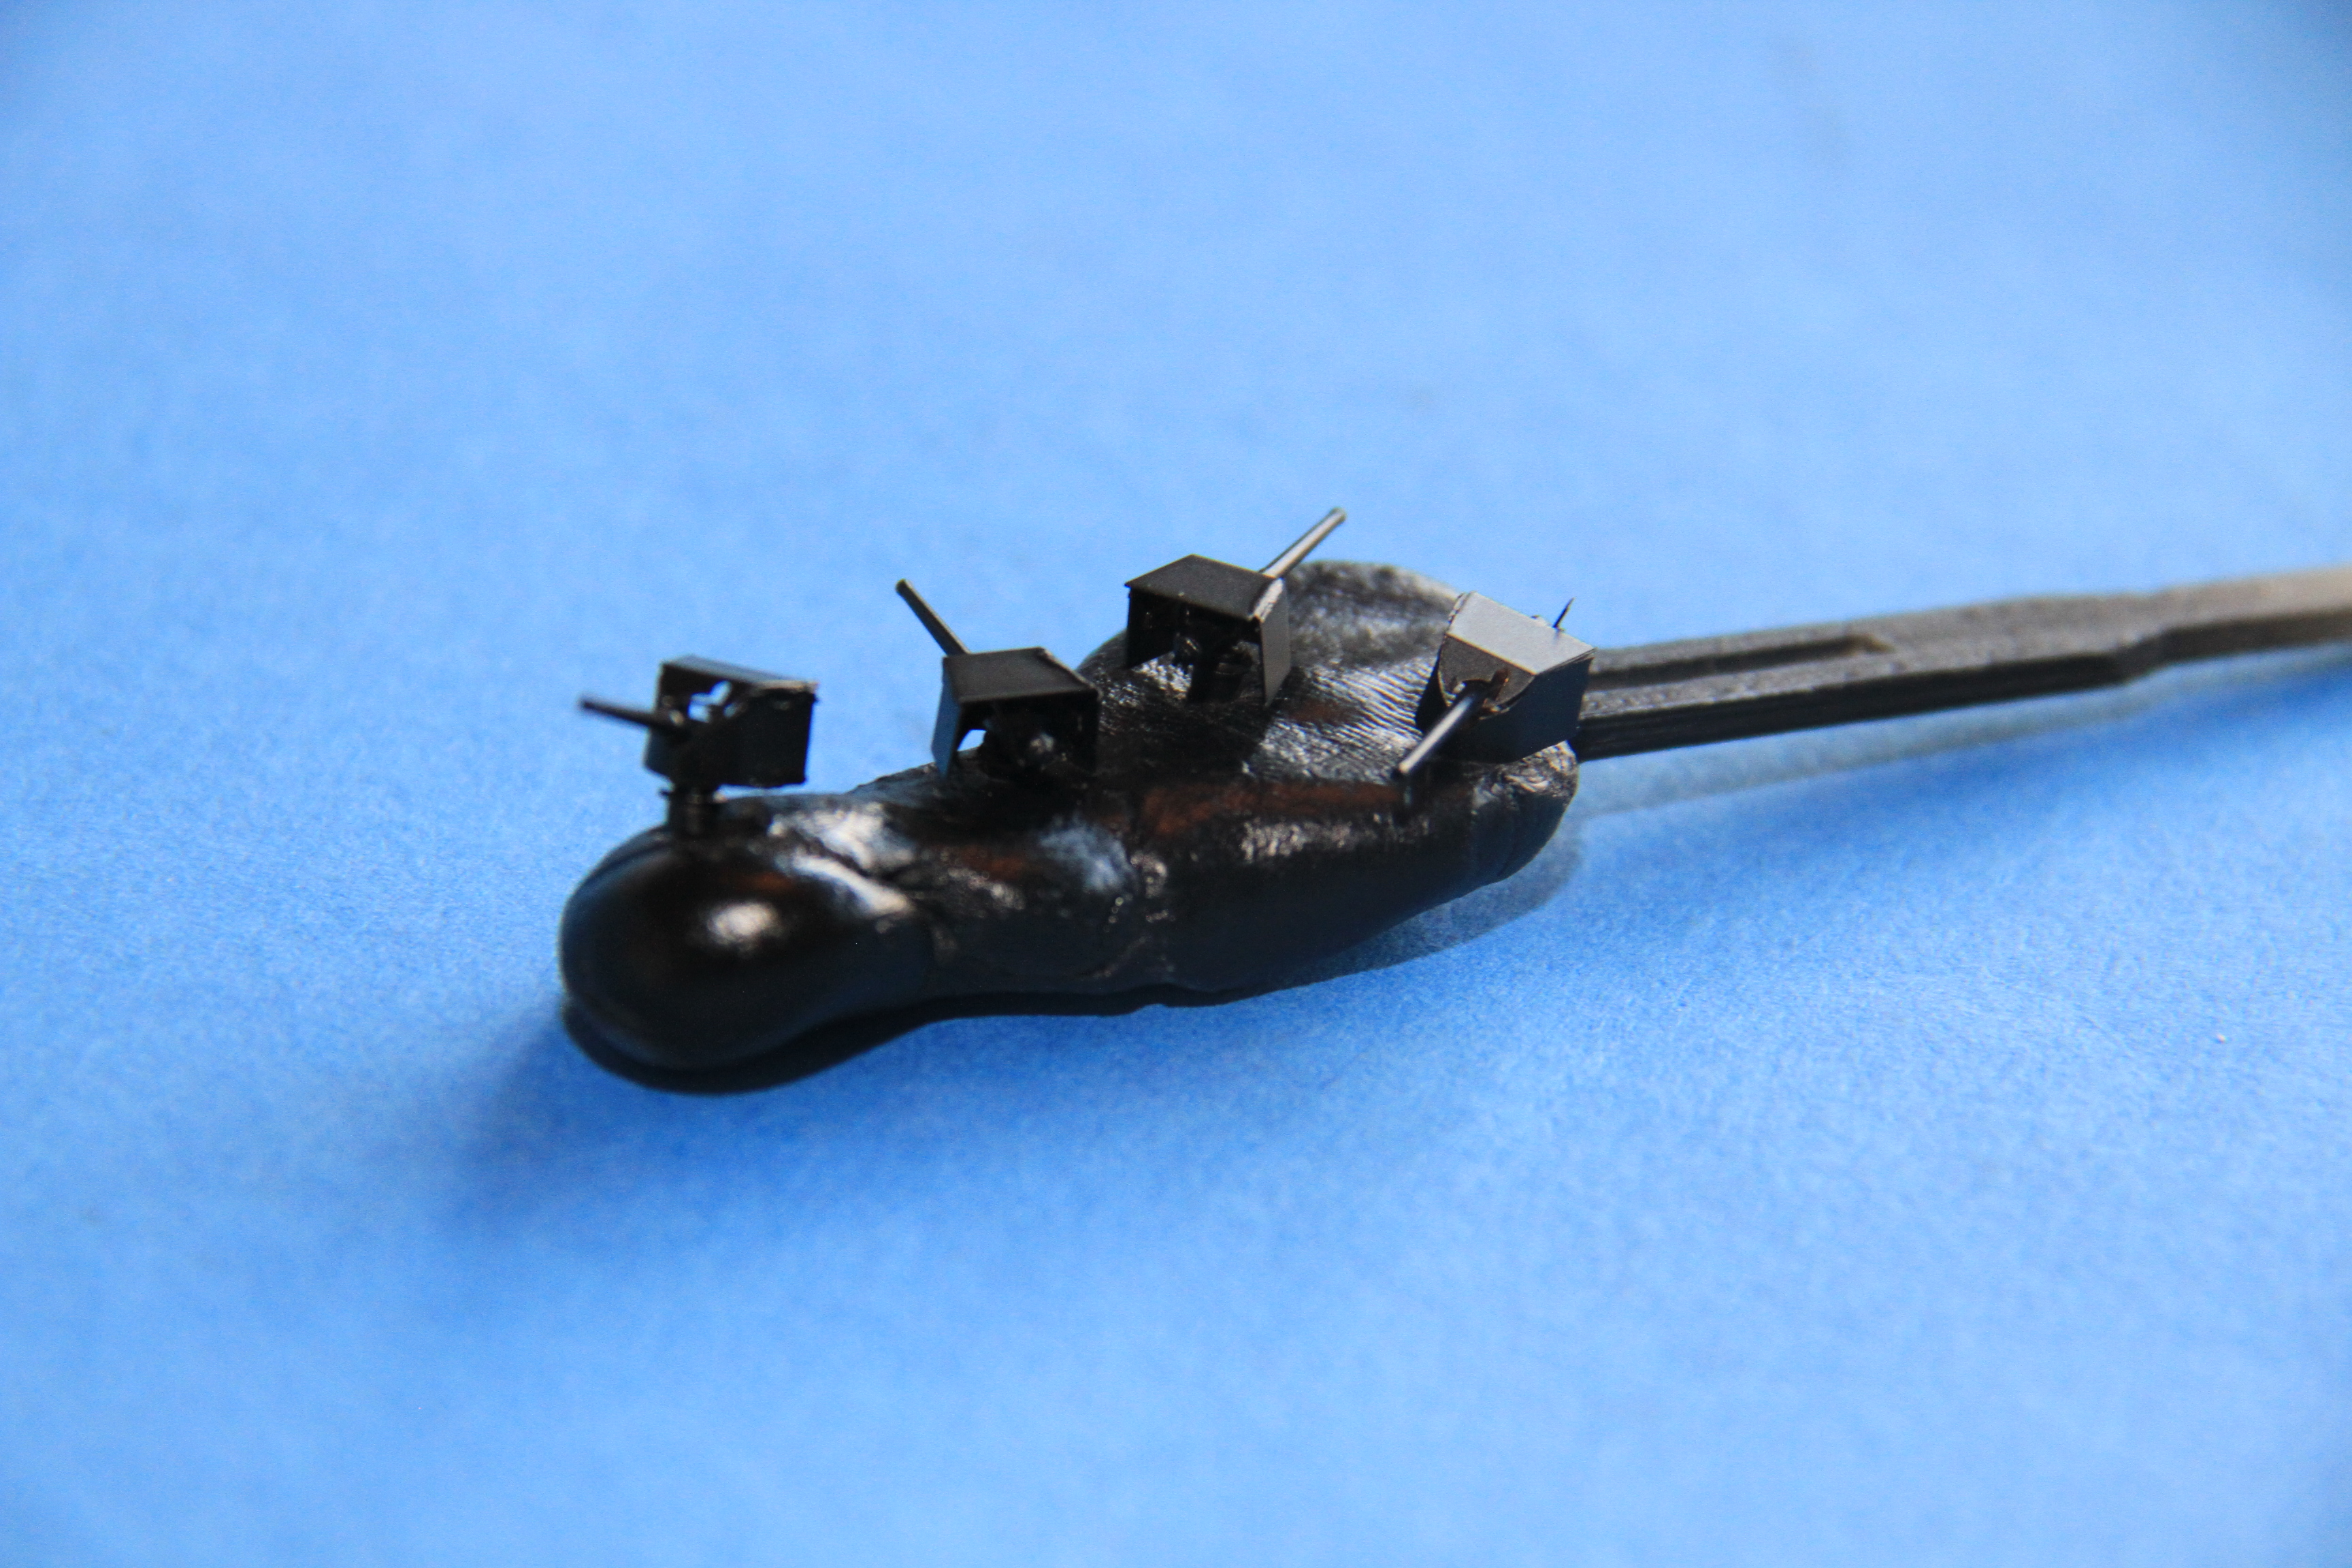
Whilst this lot is drying, building the other three 3" bow & stern chase guns.
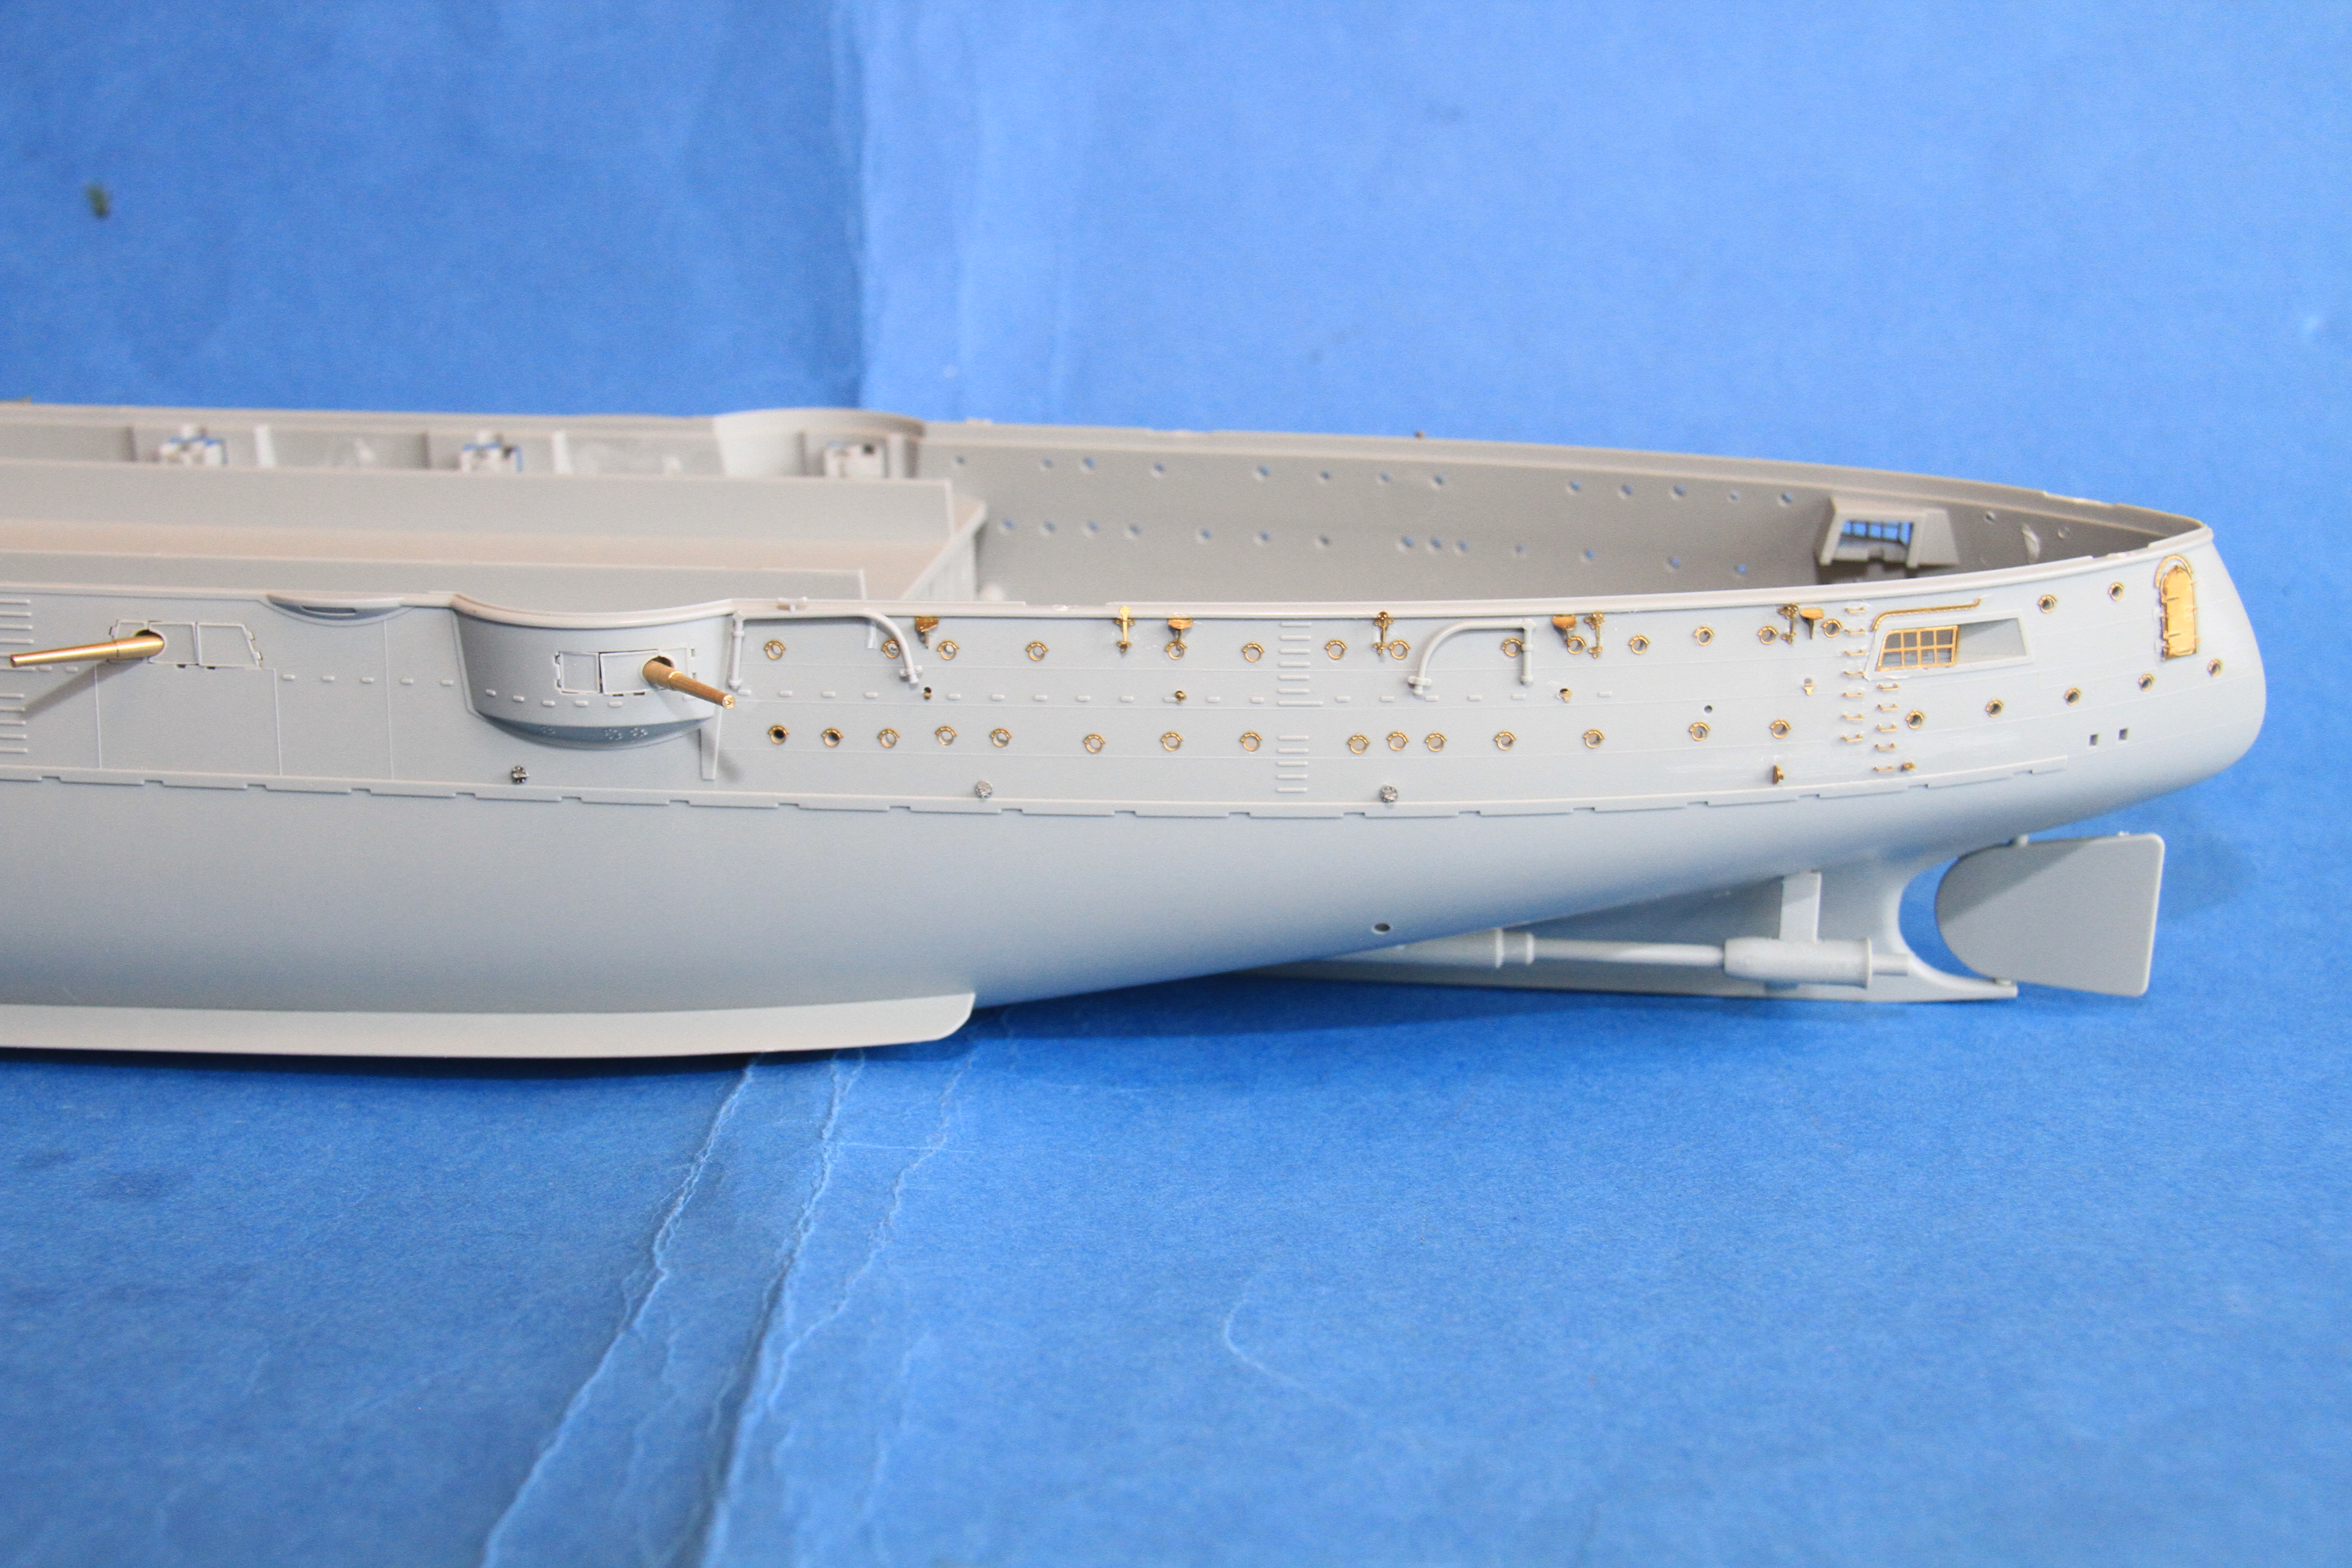
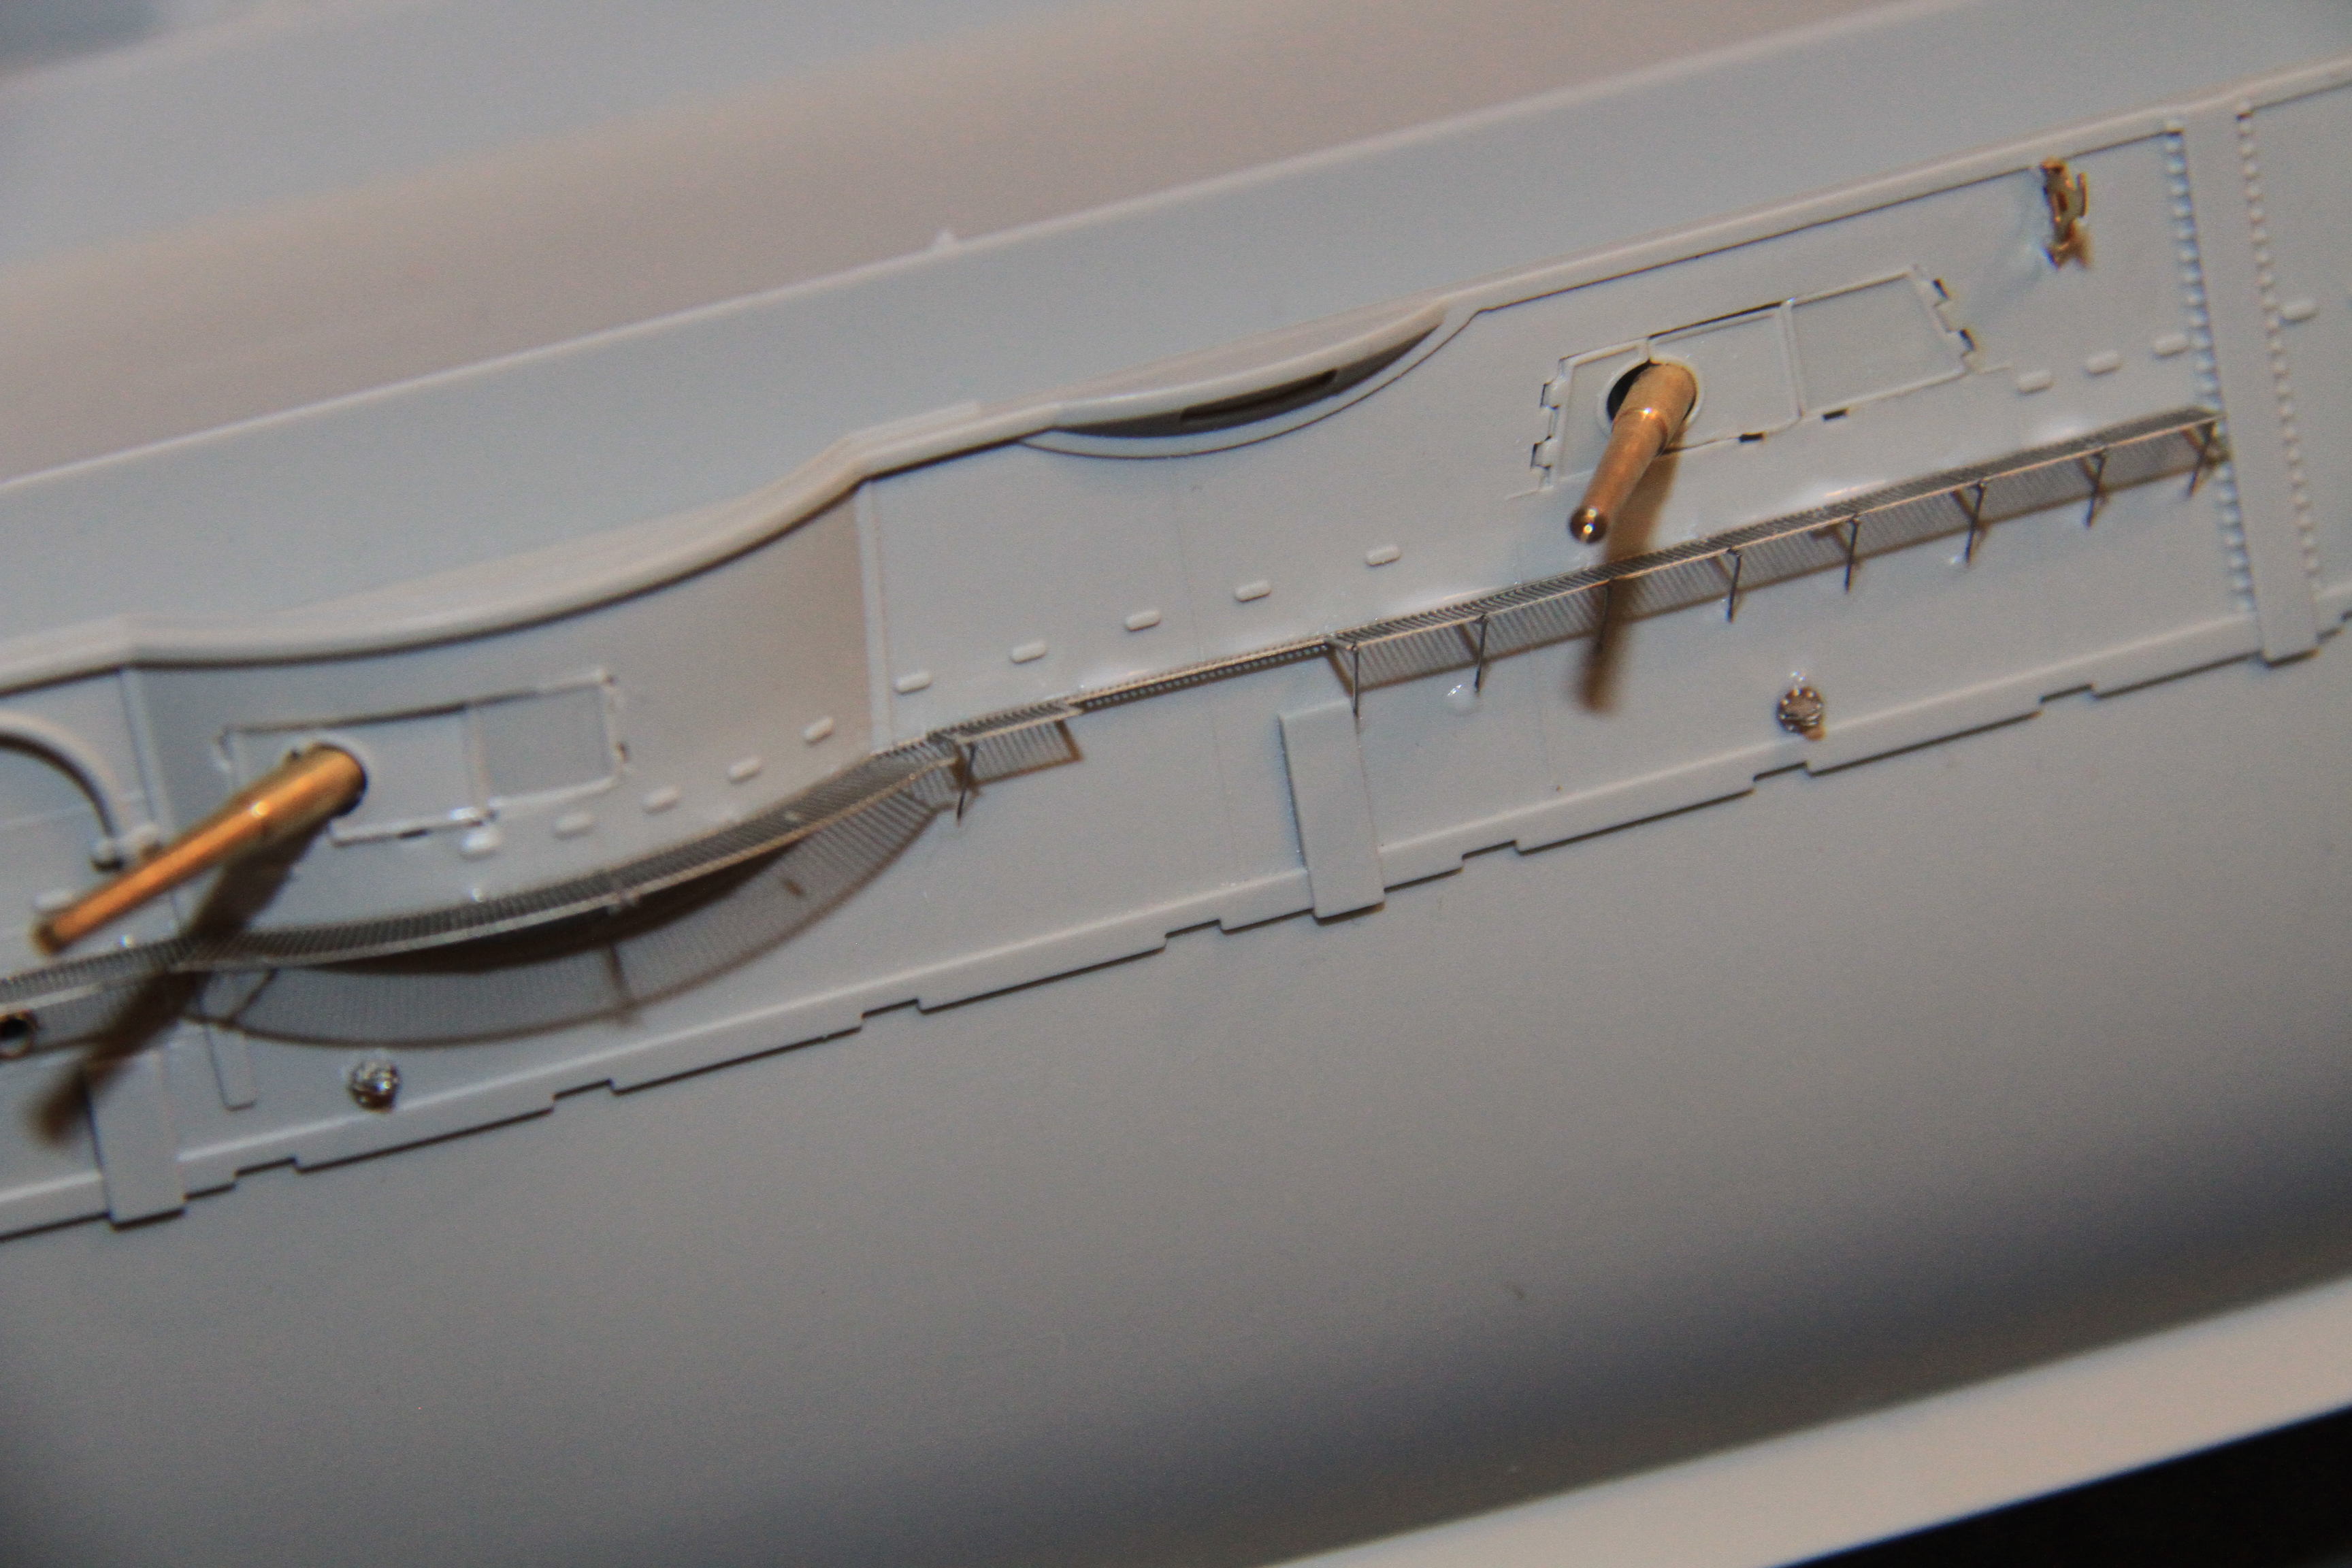
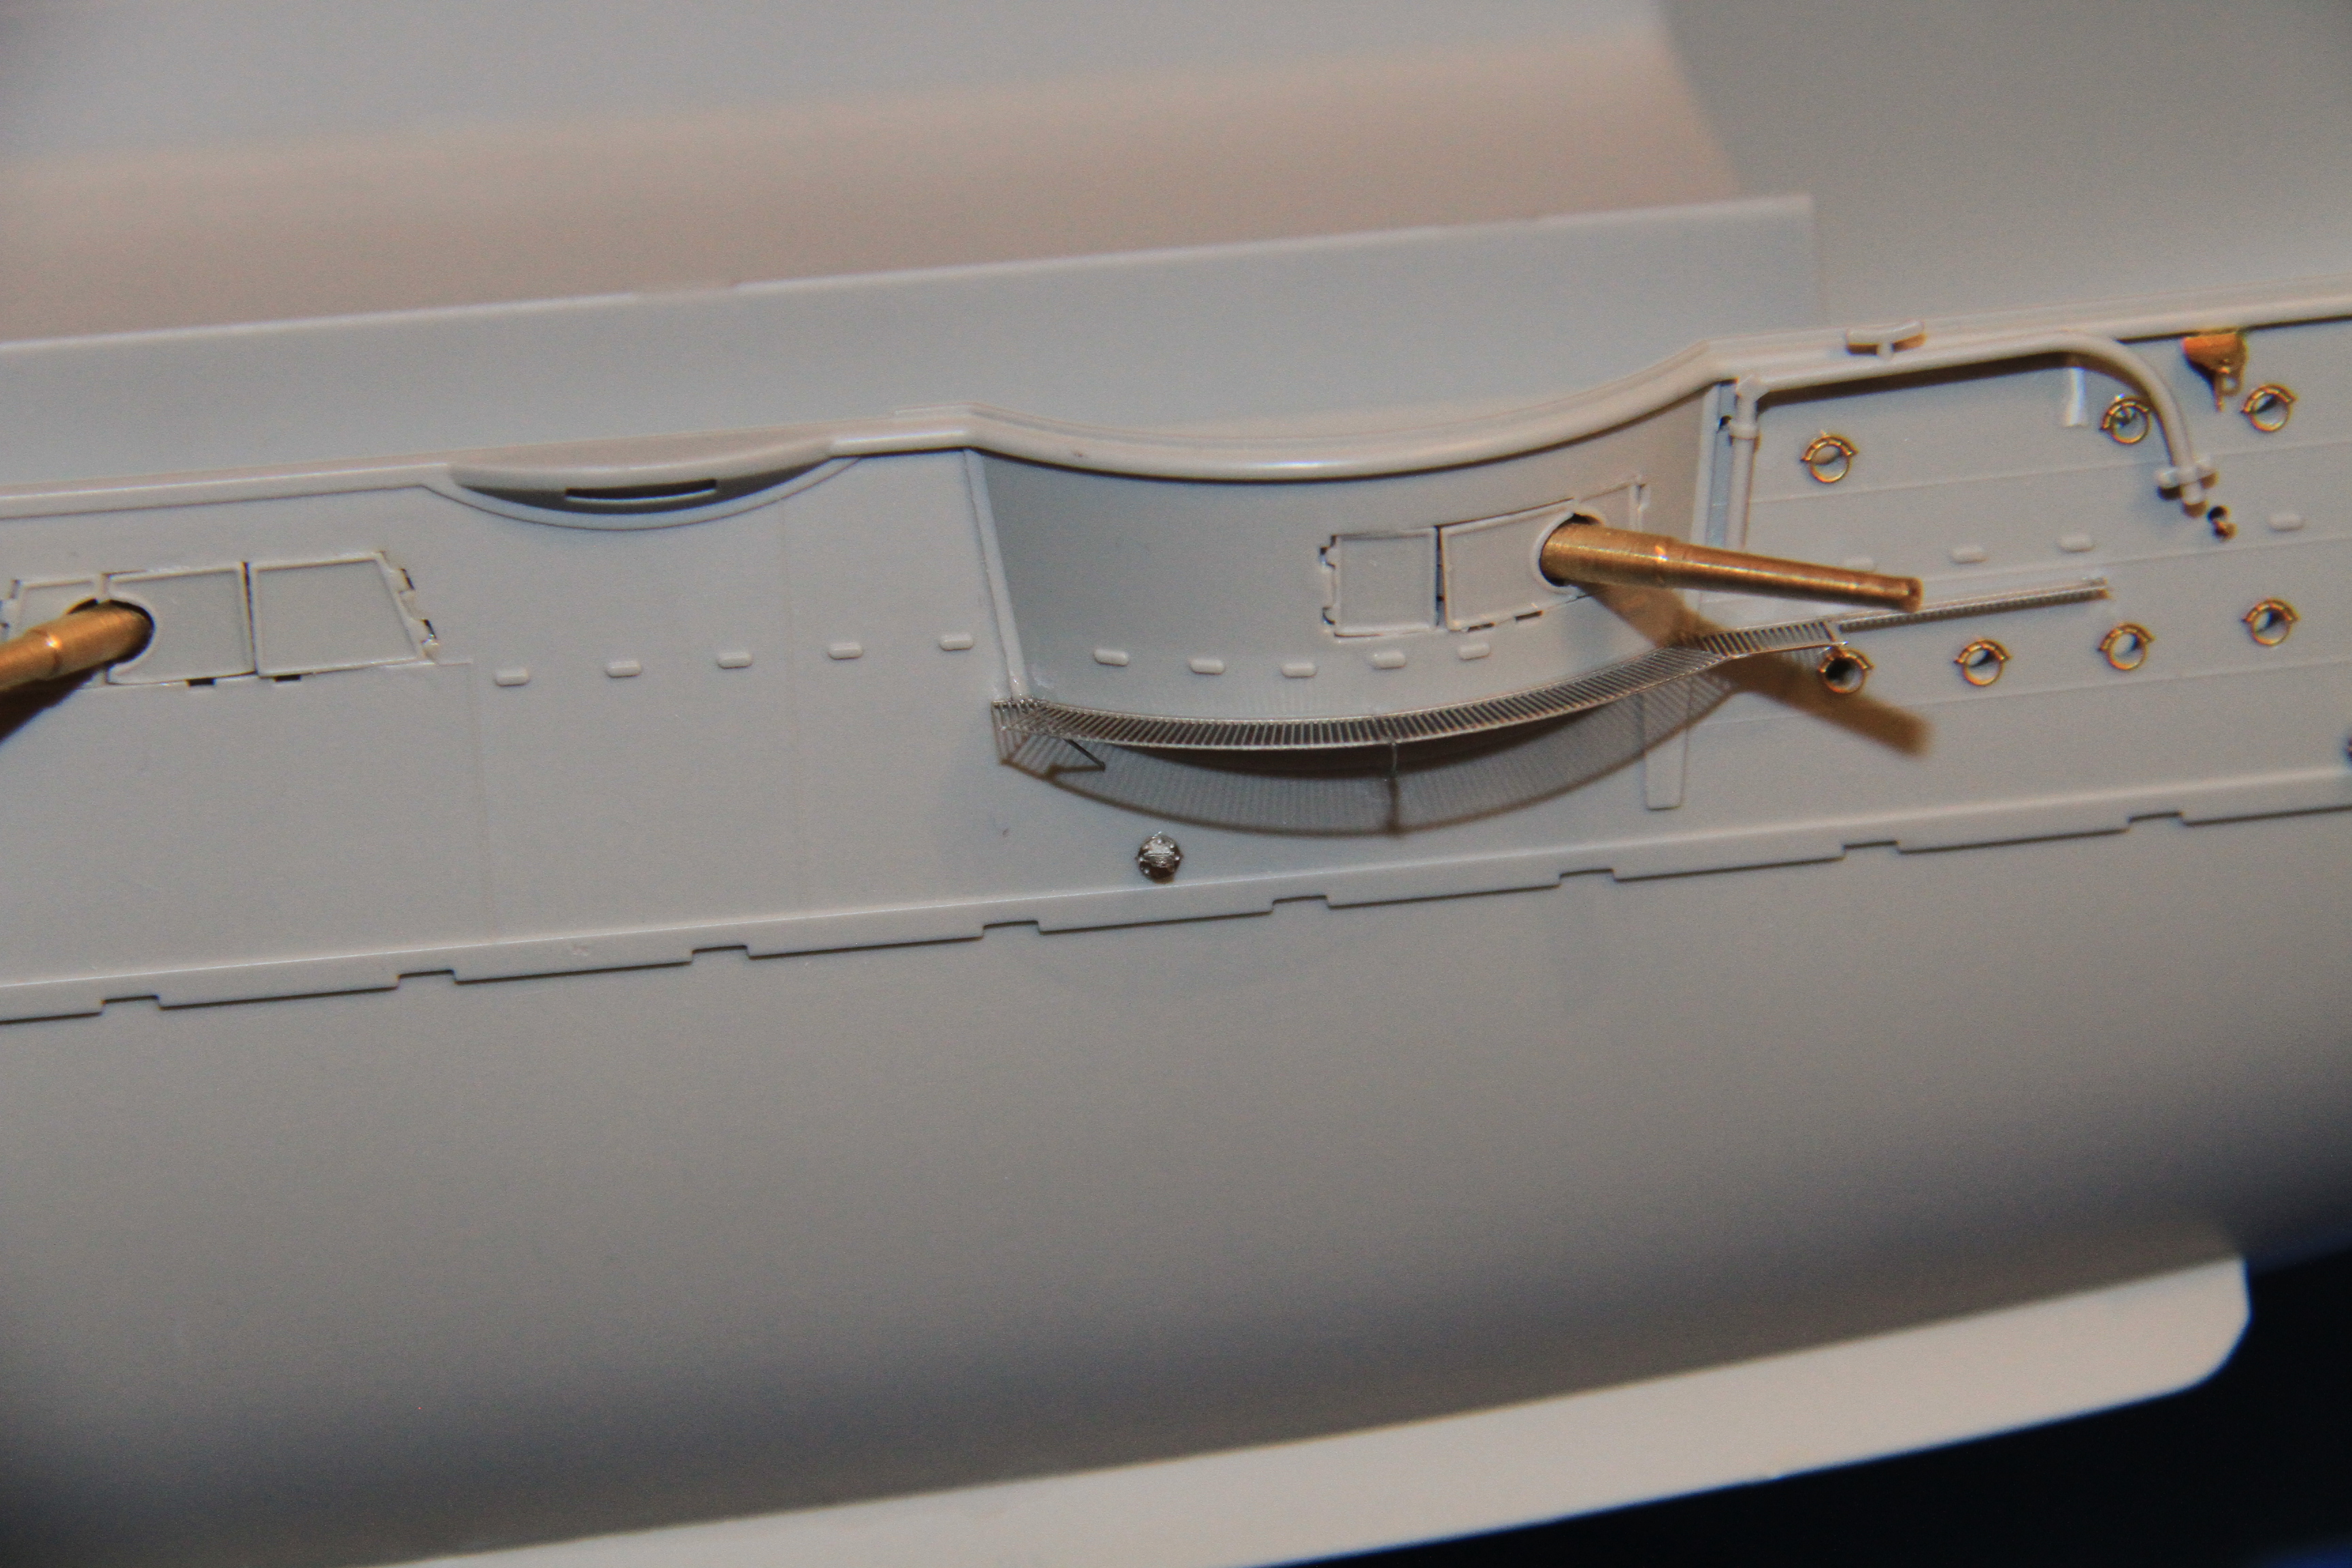
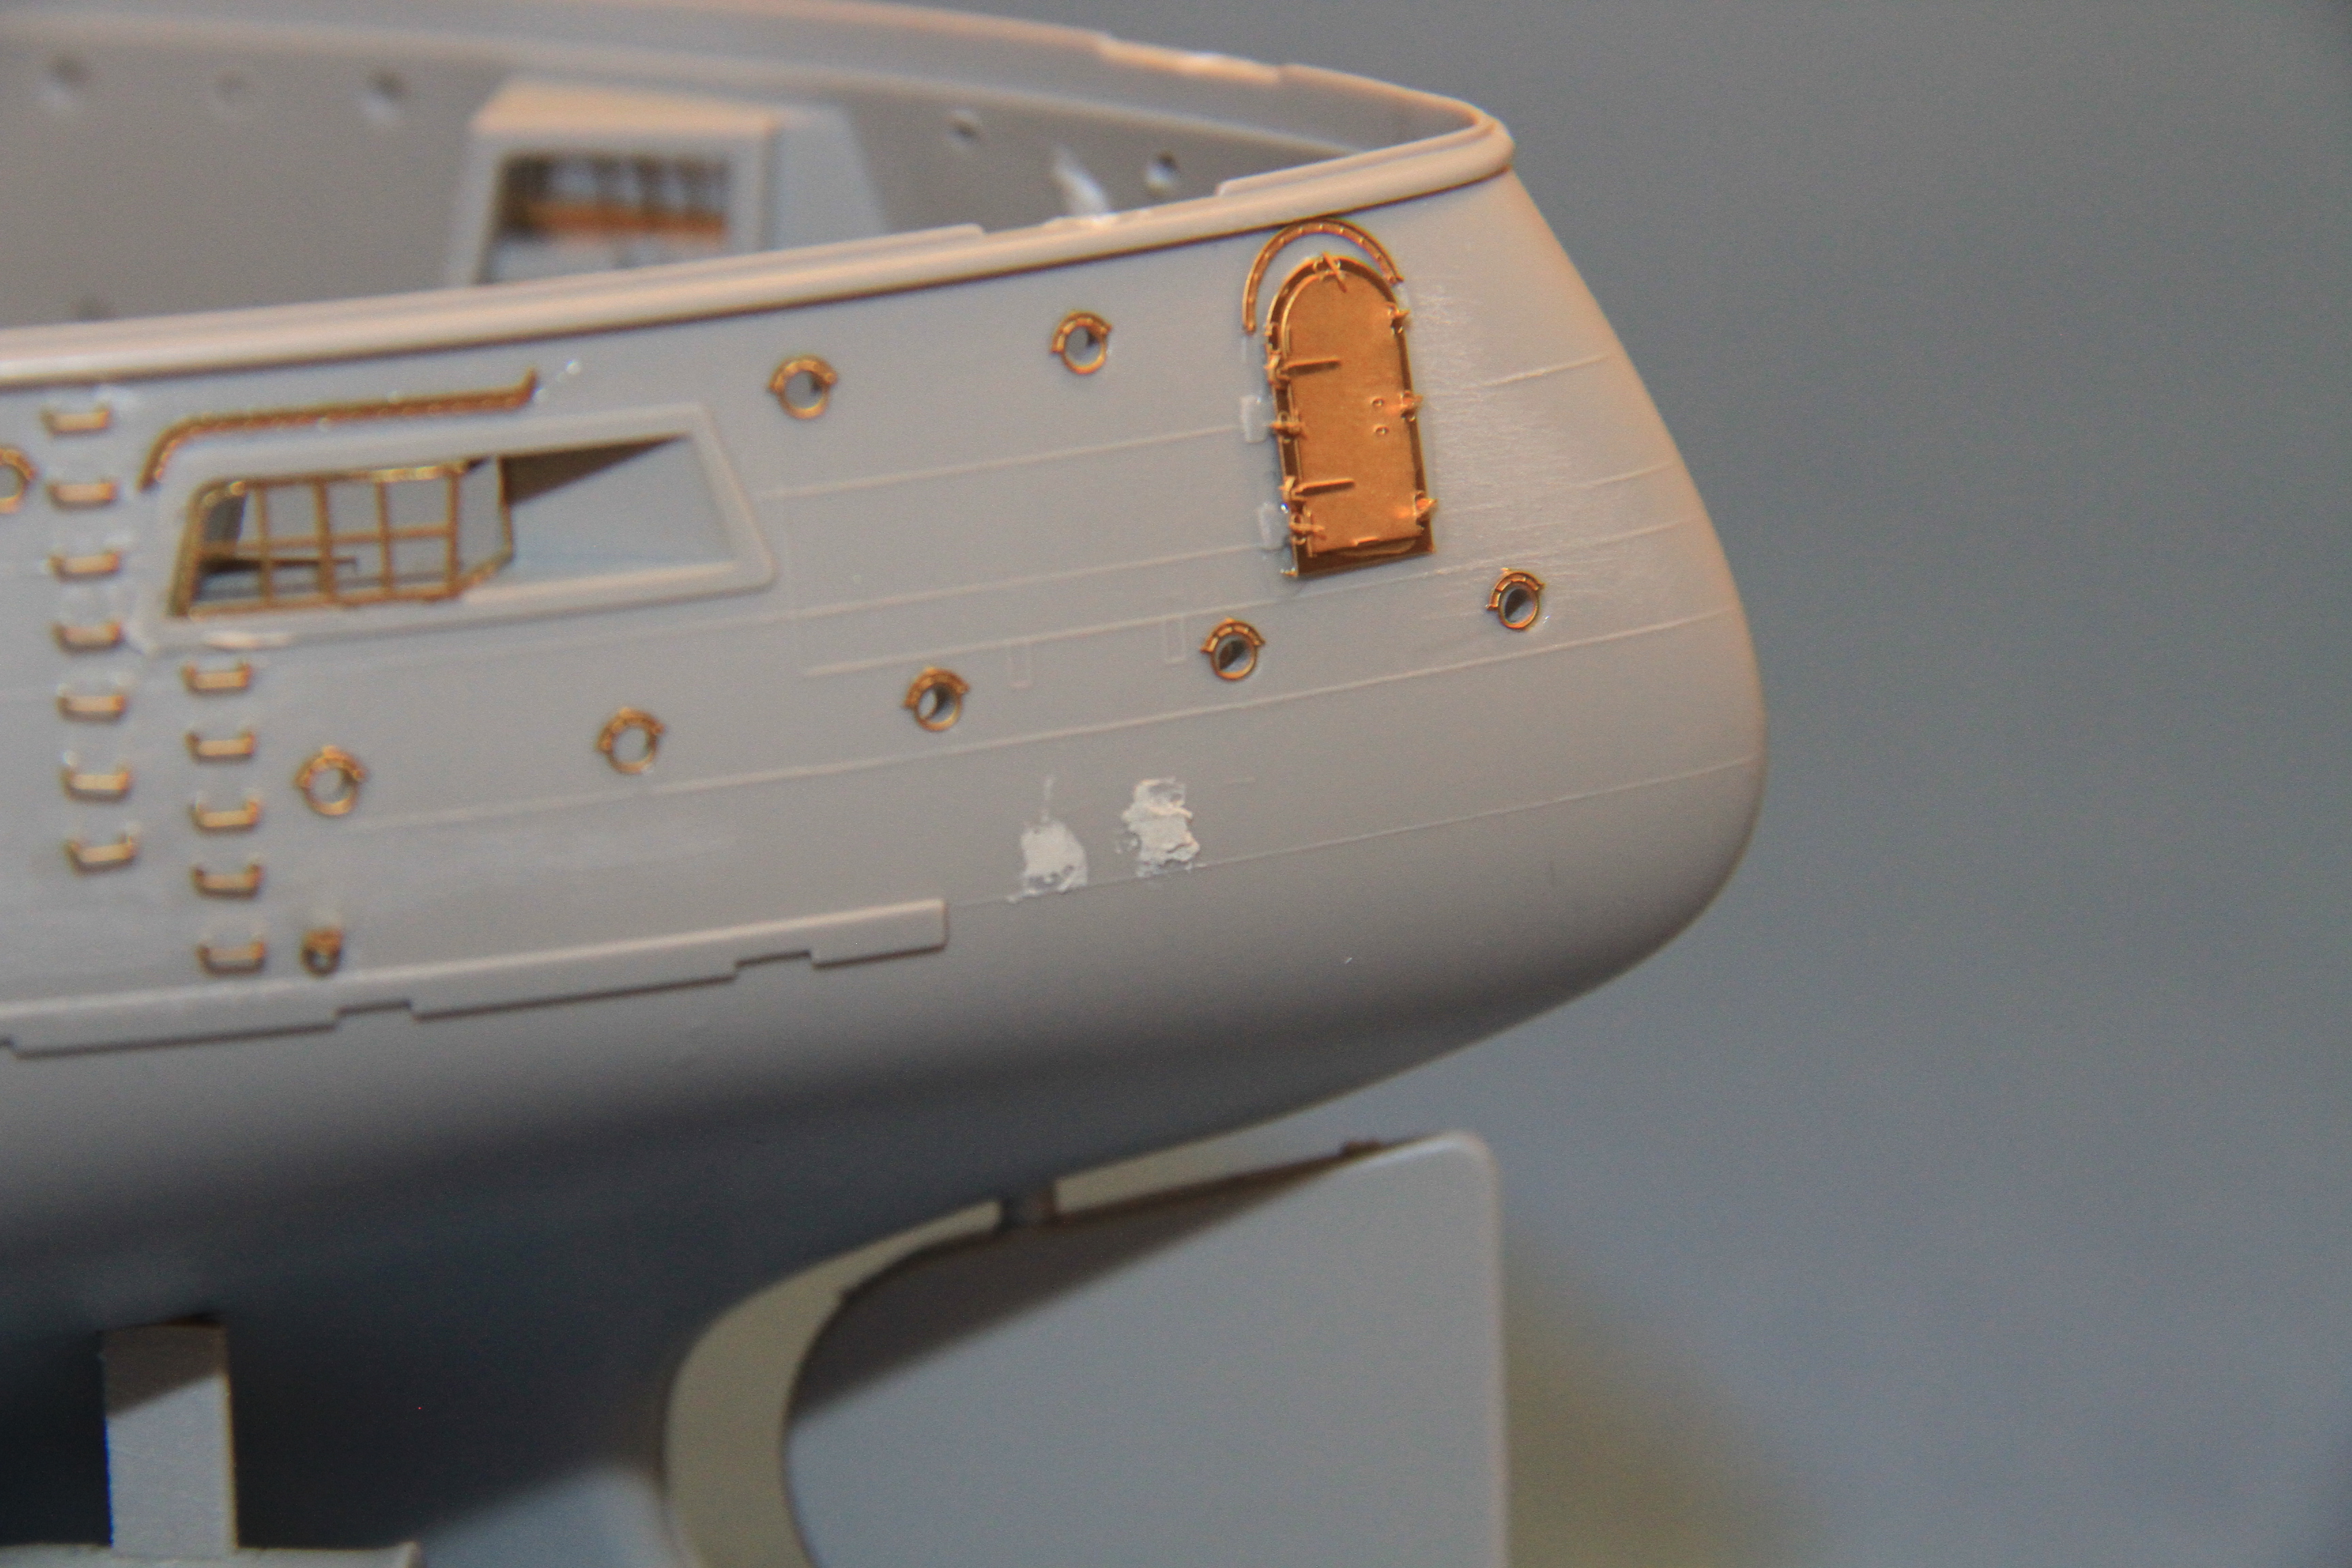
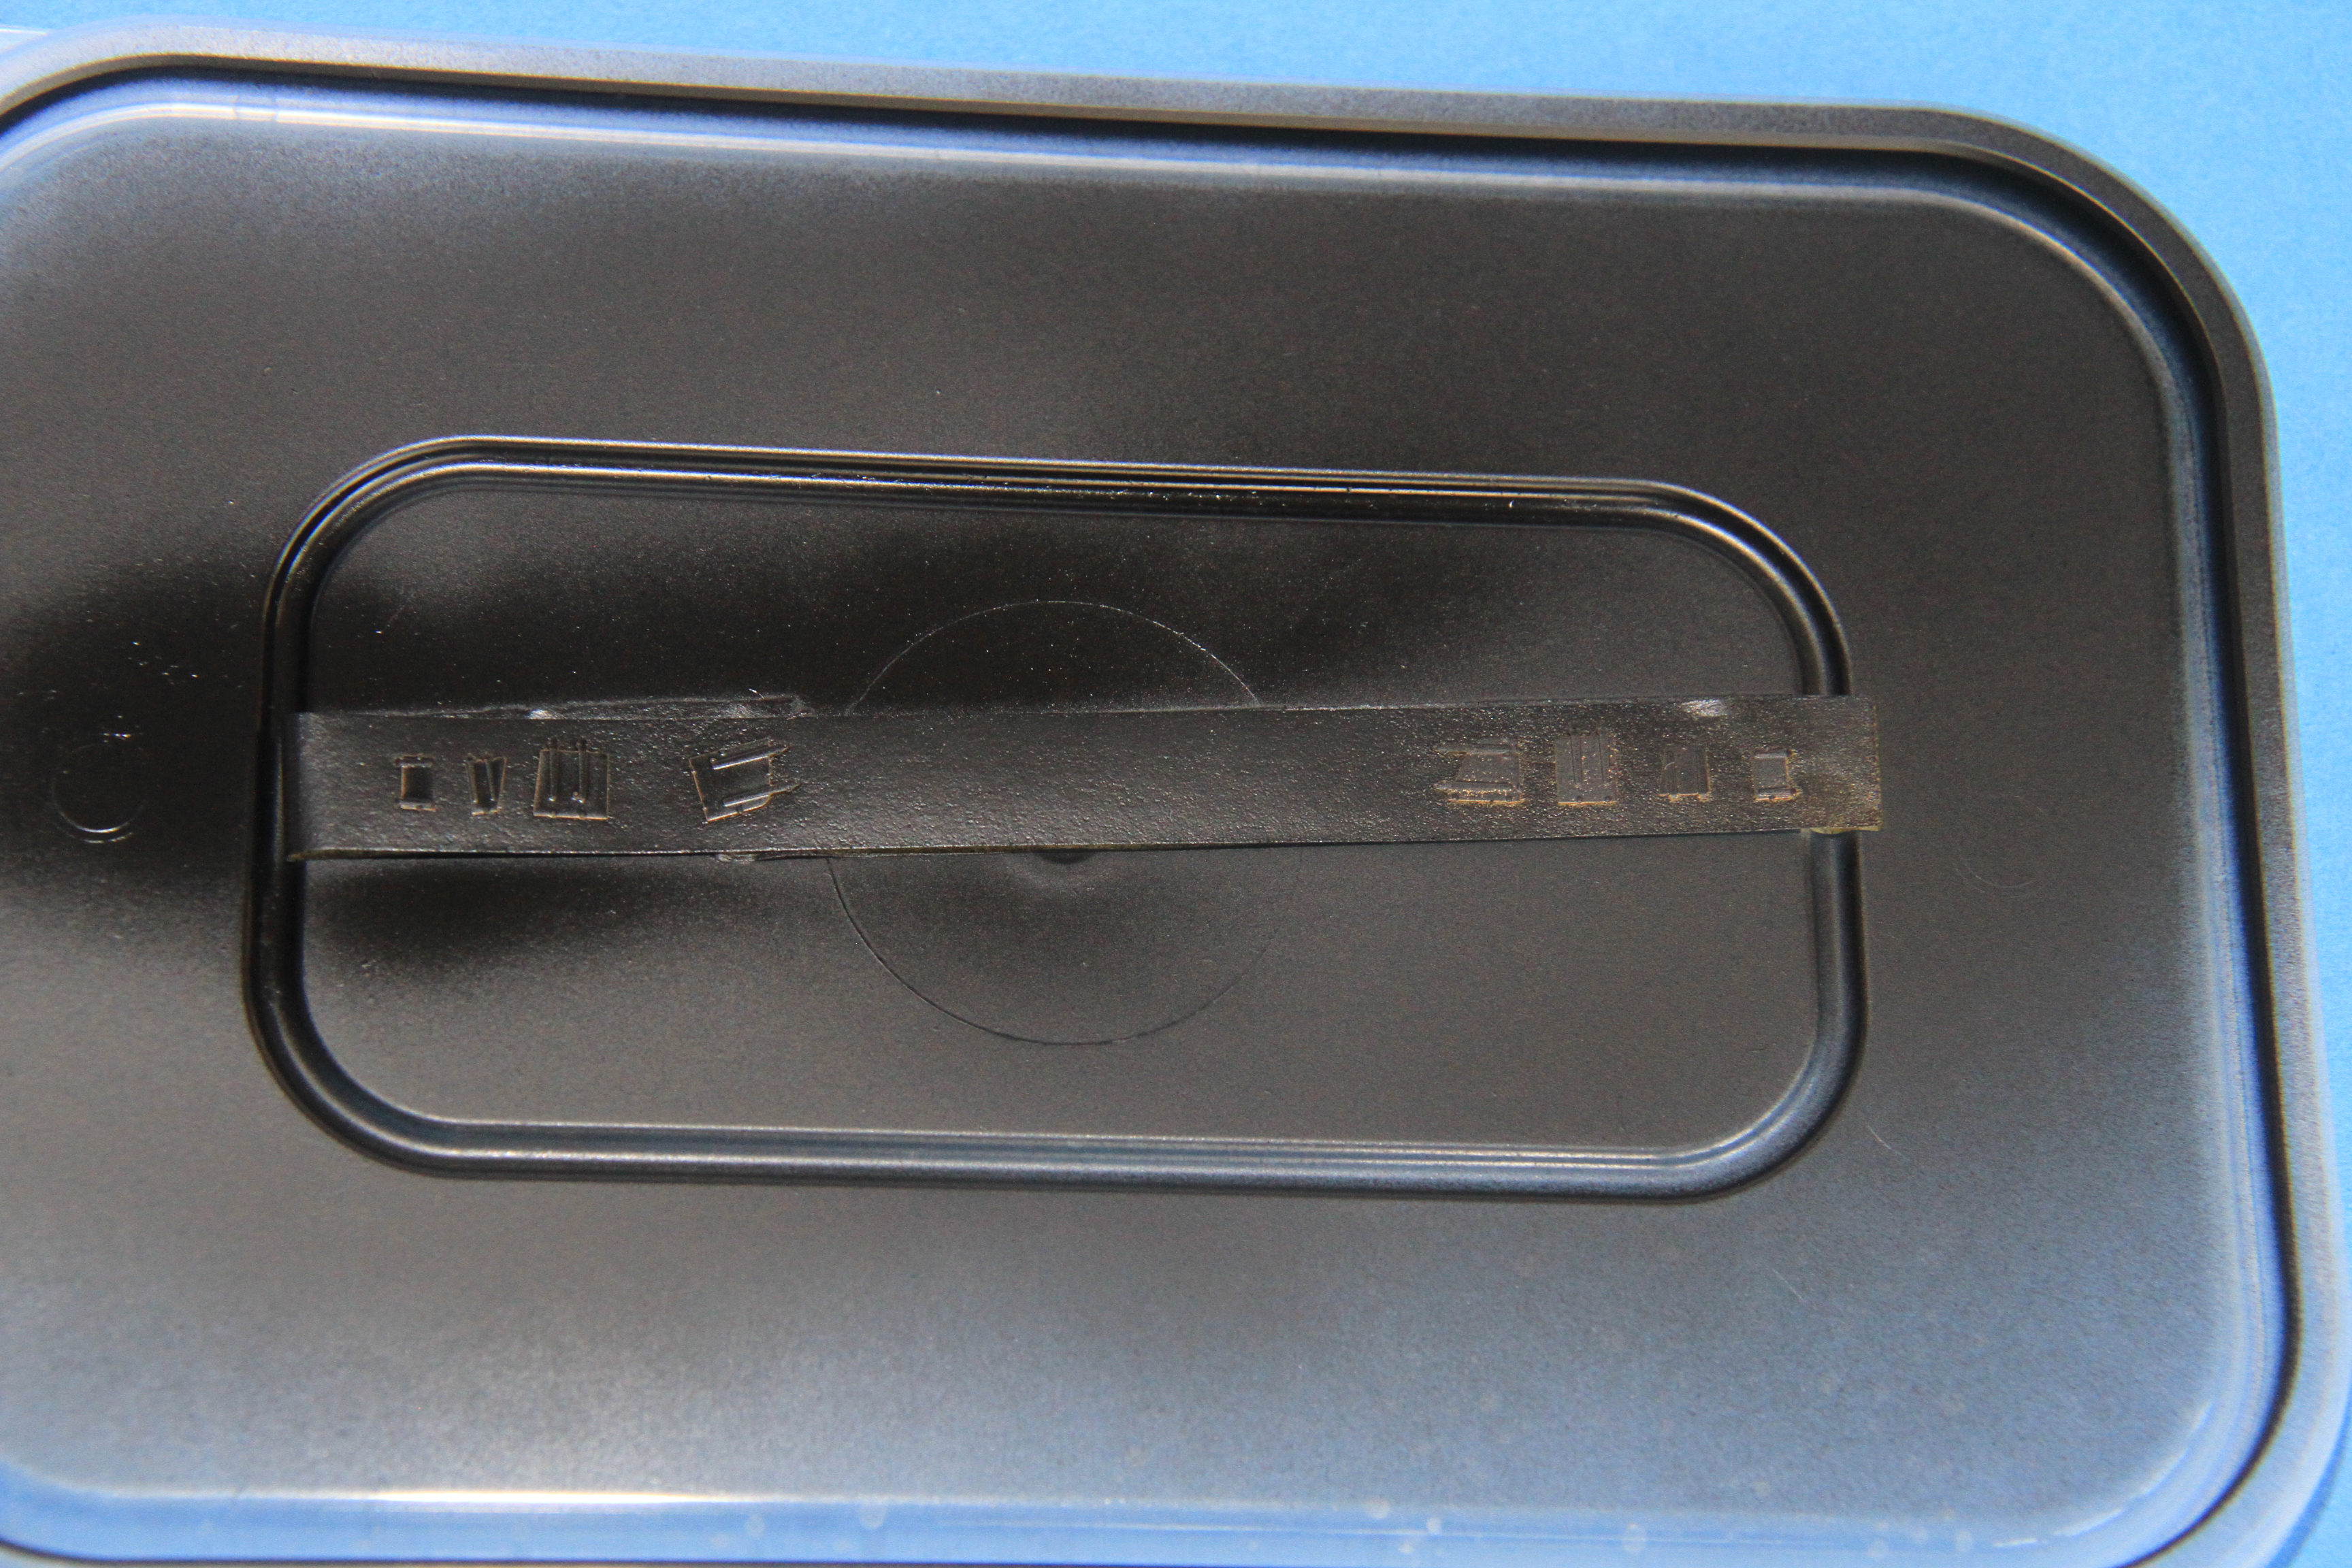
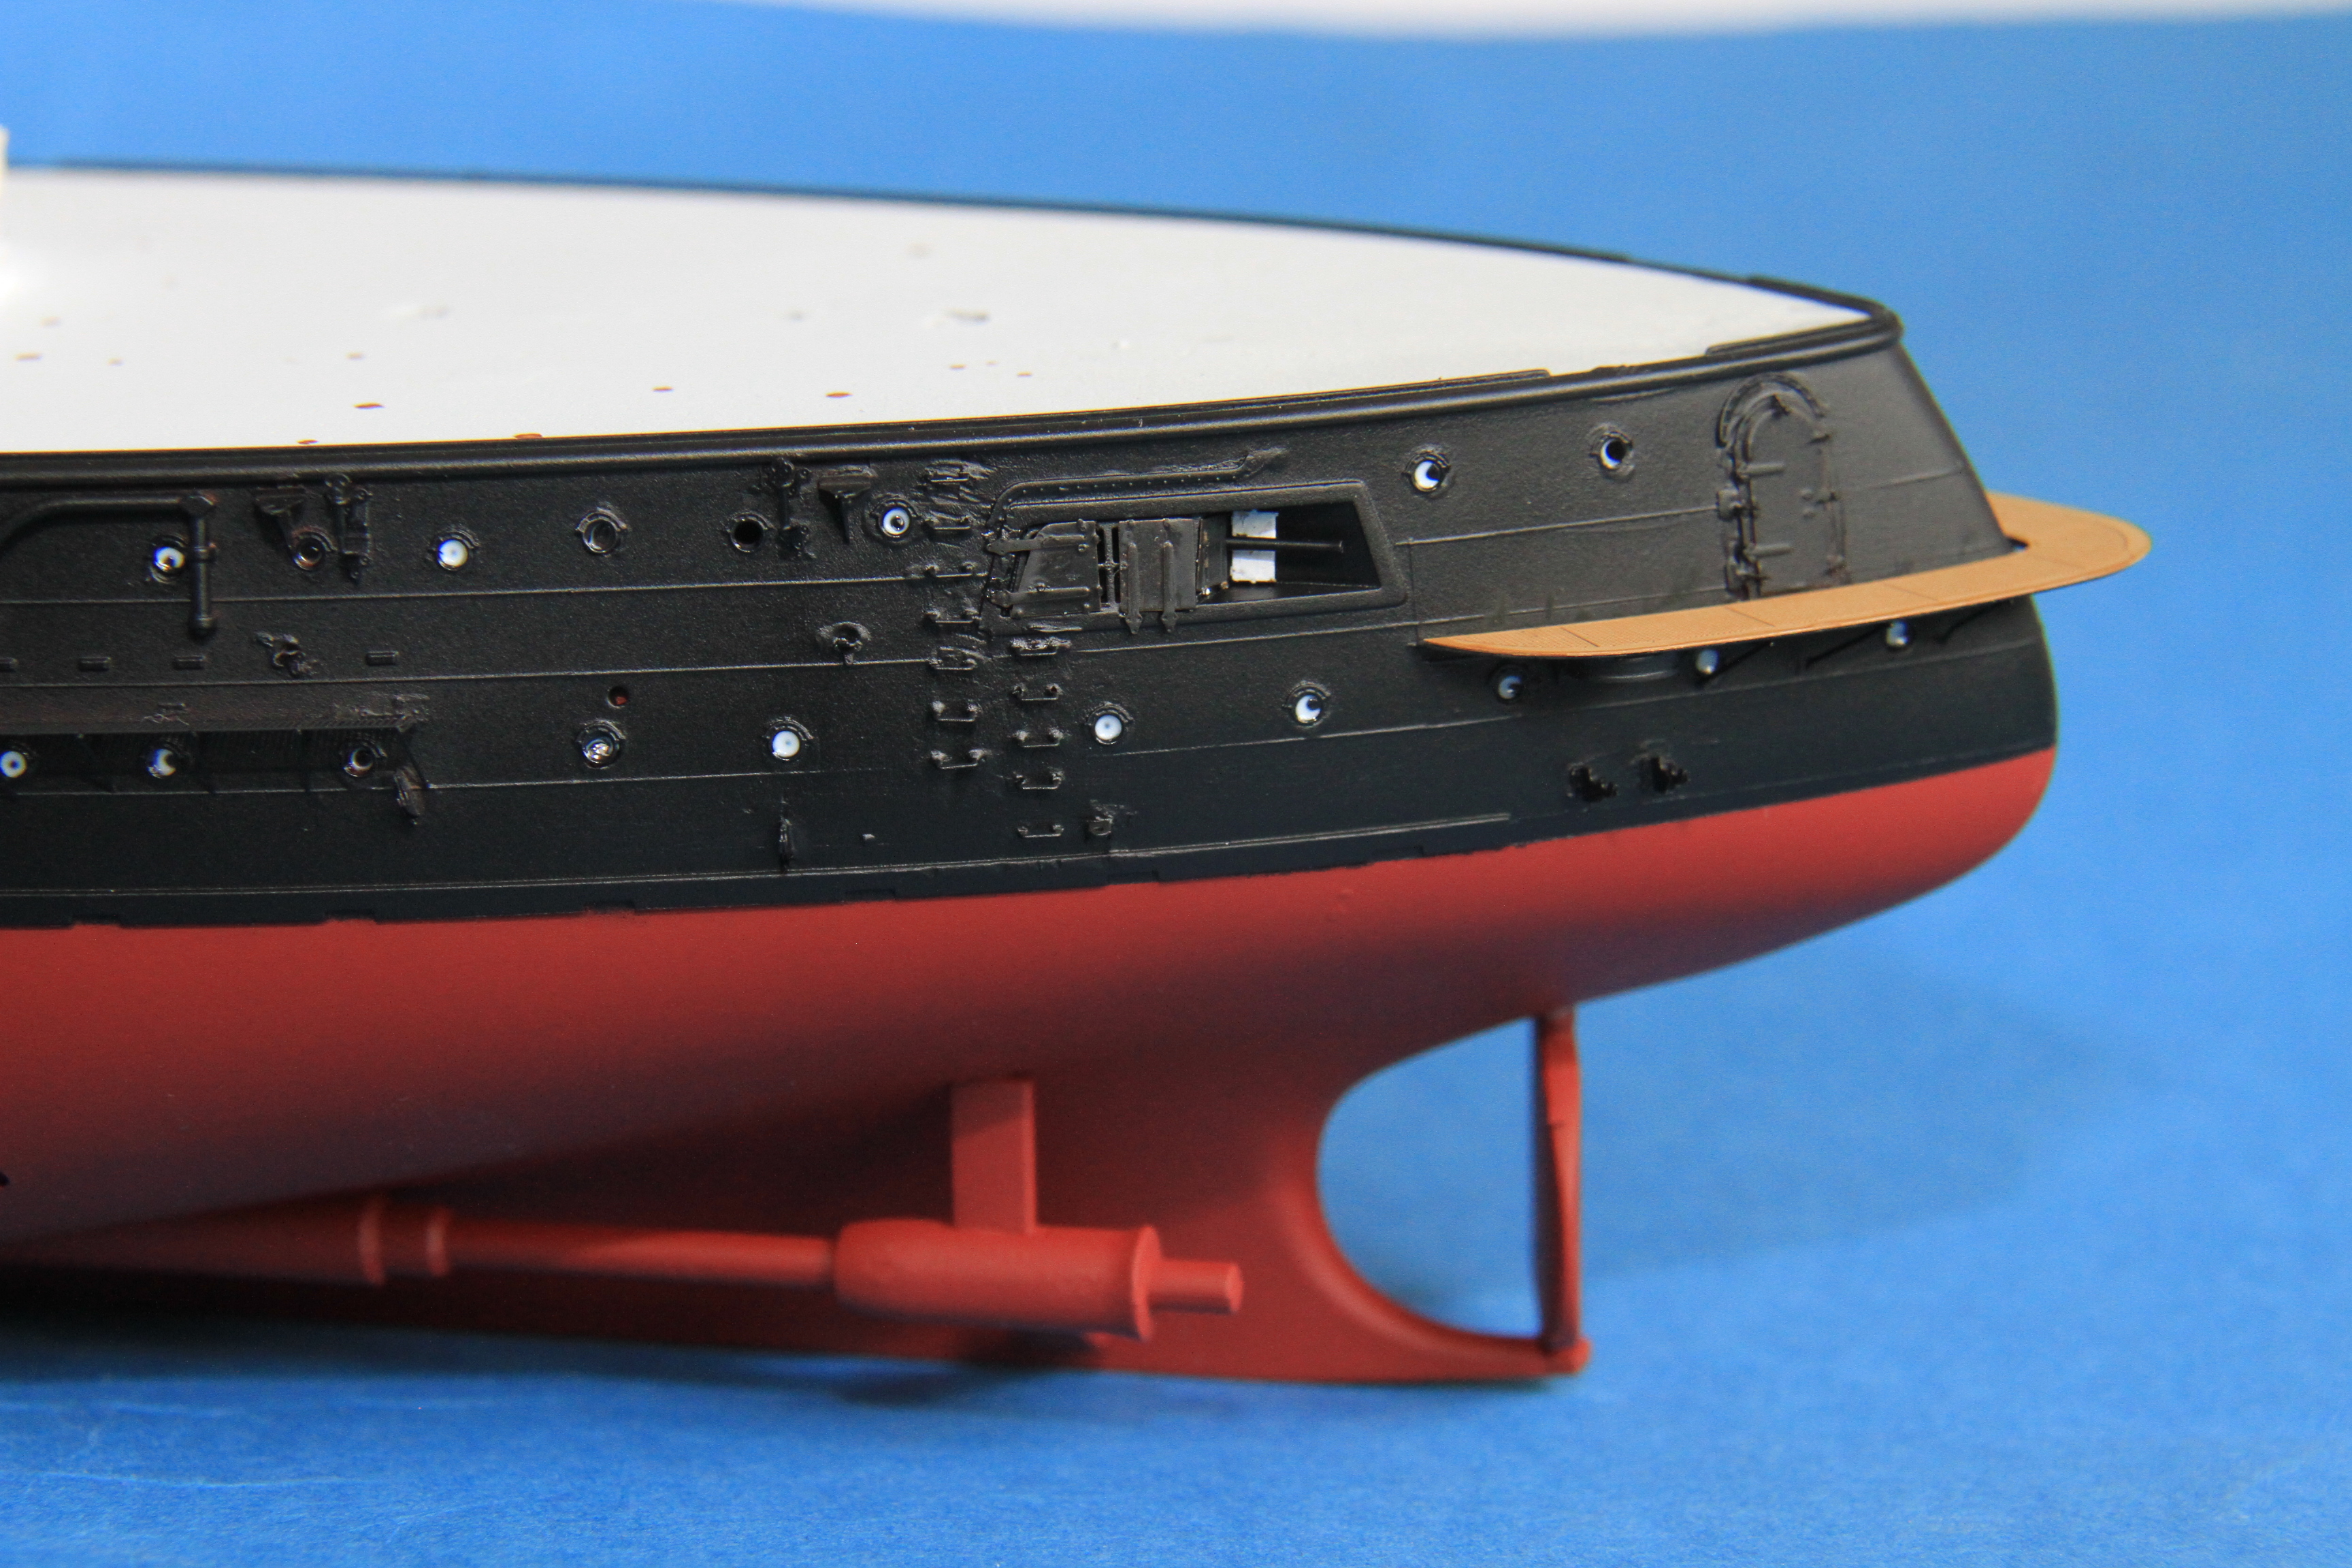
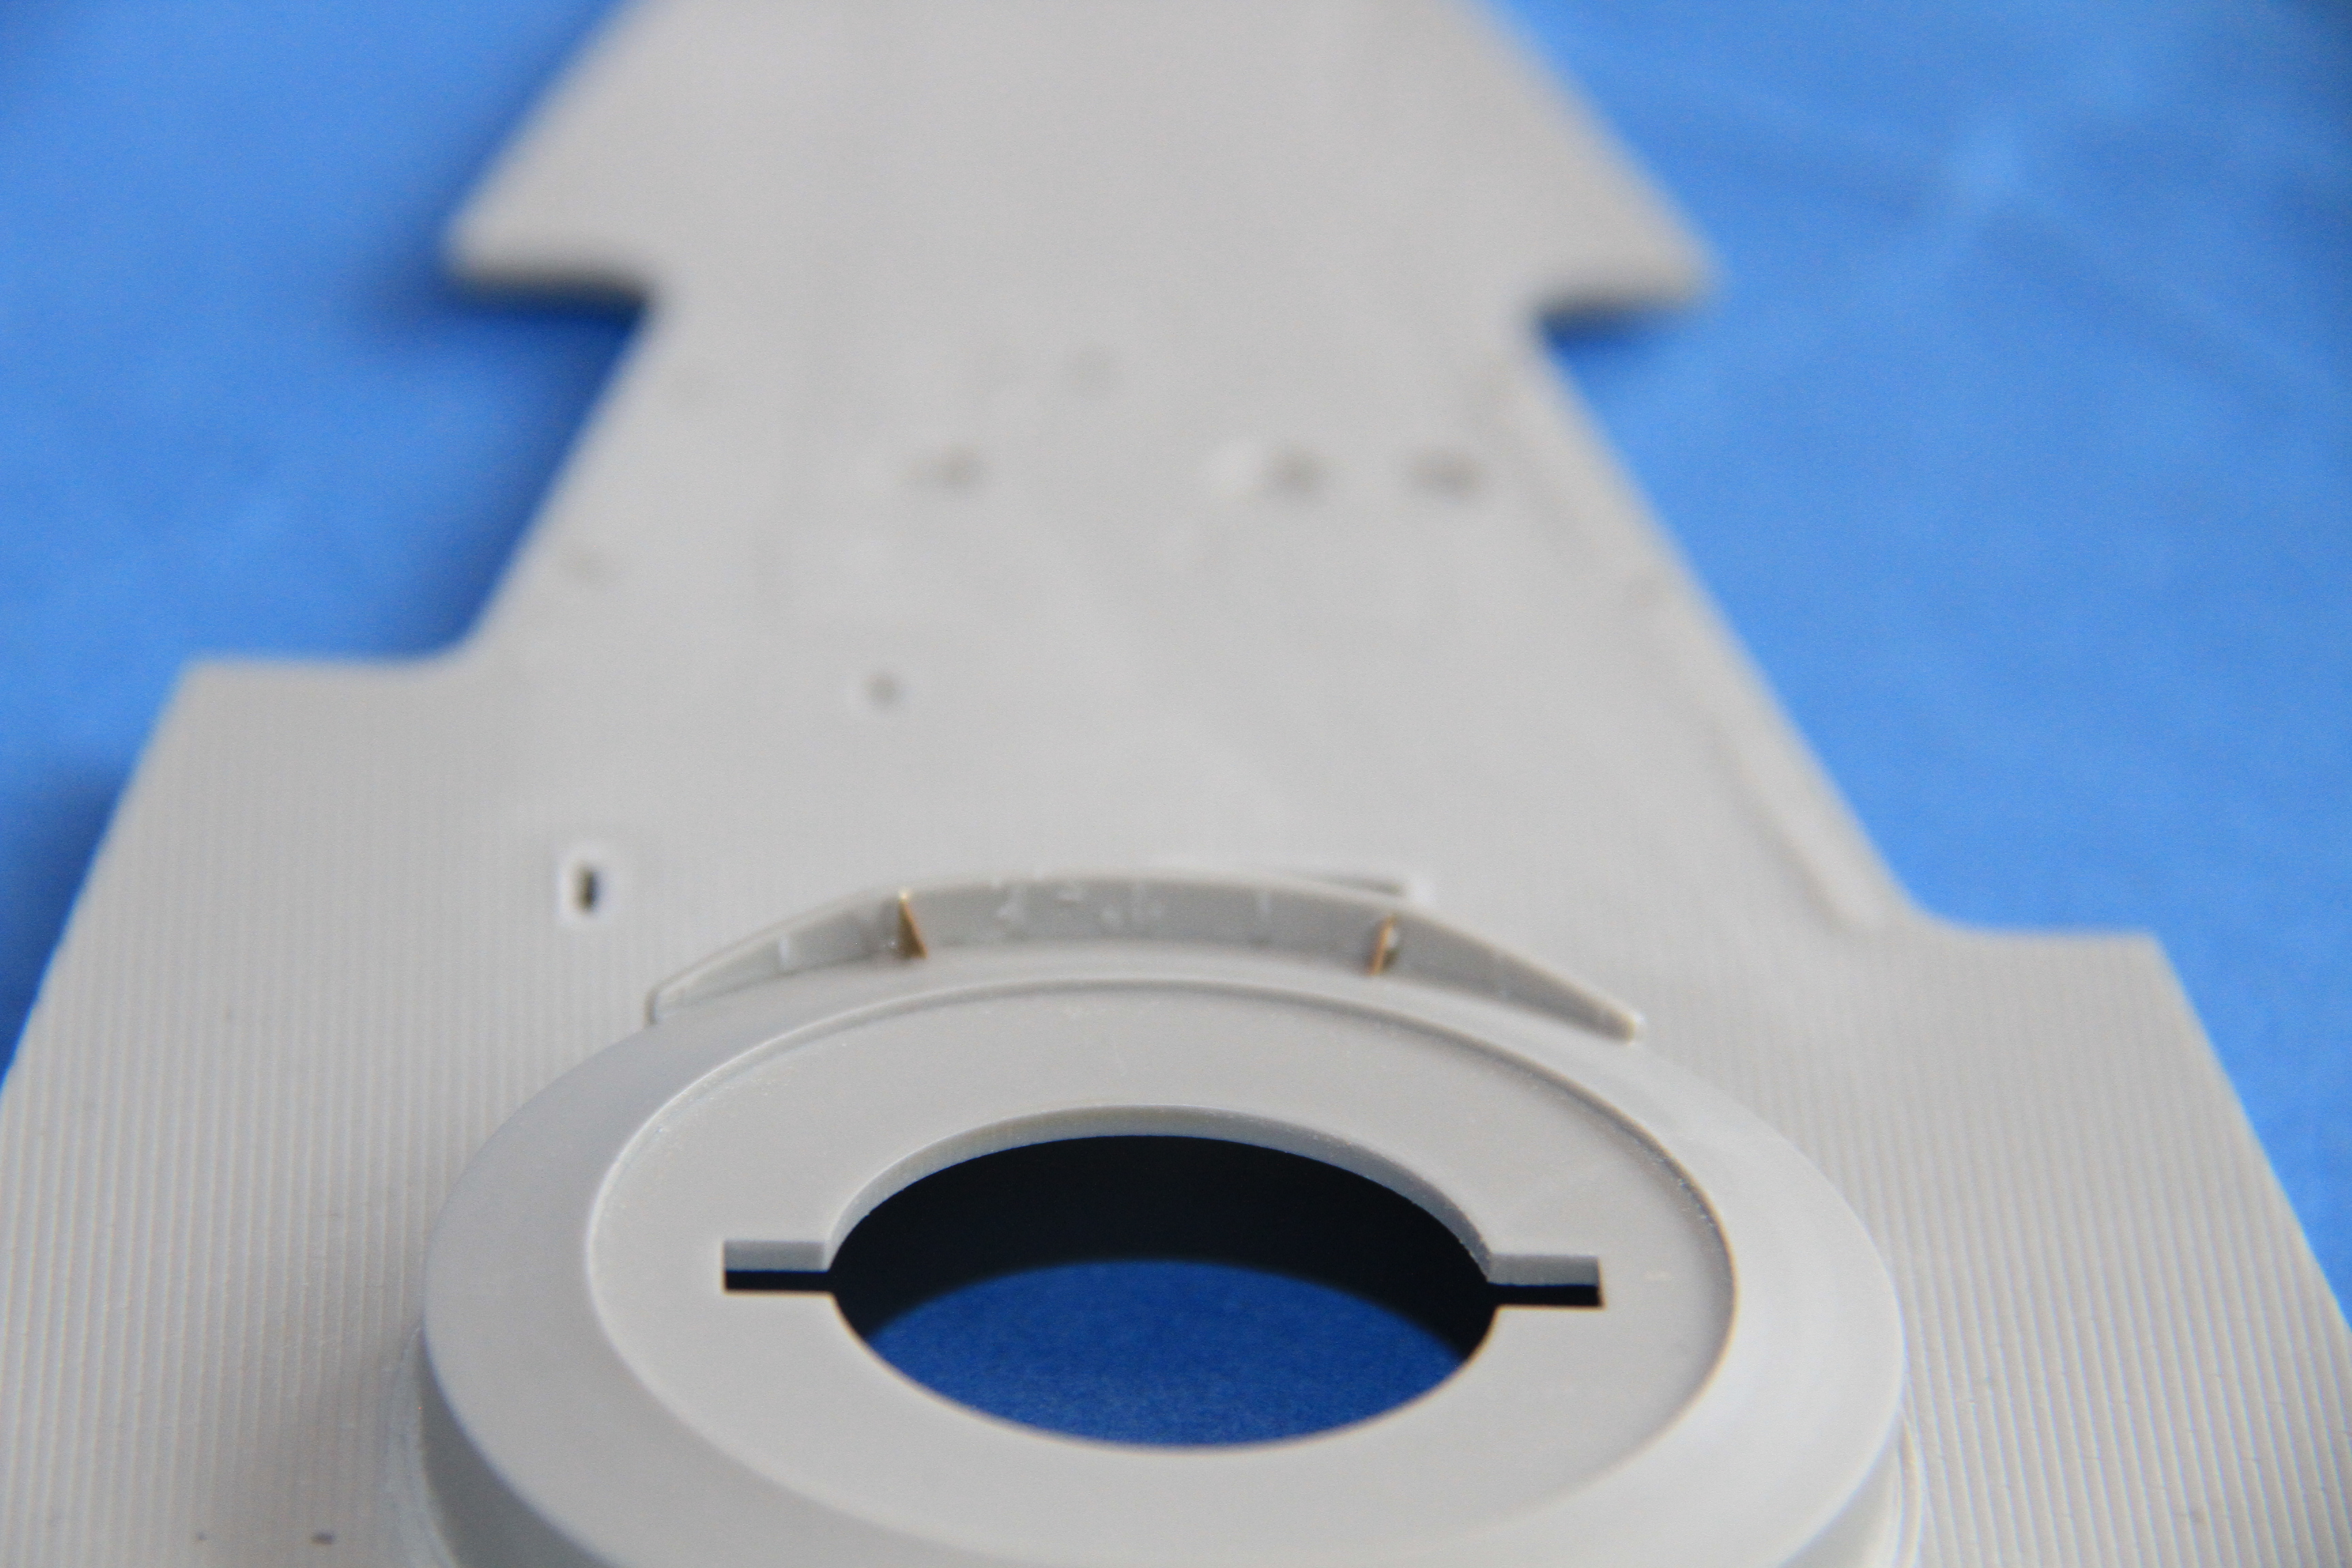
Barbette breakwaters, as moulded.
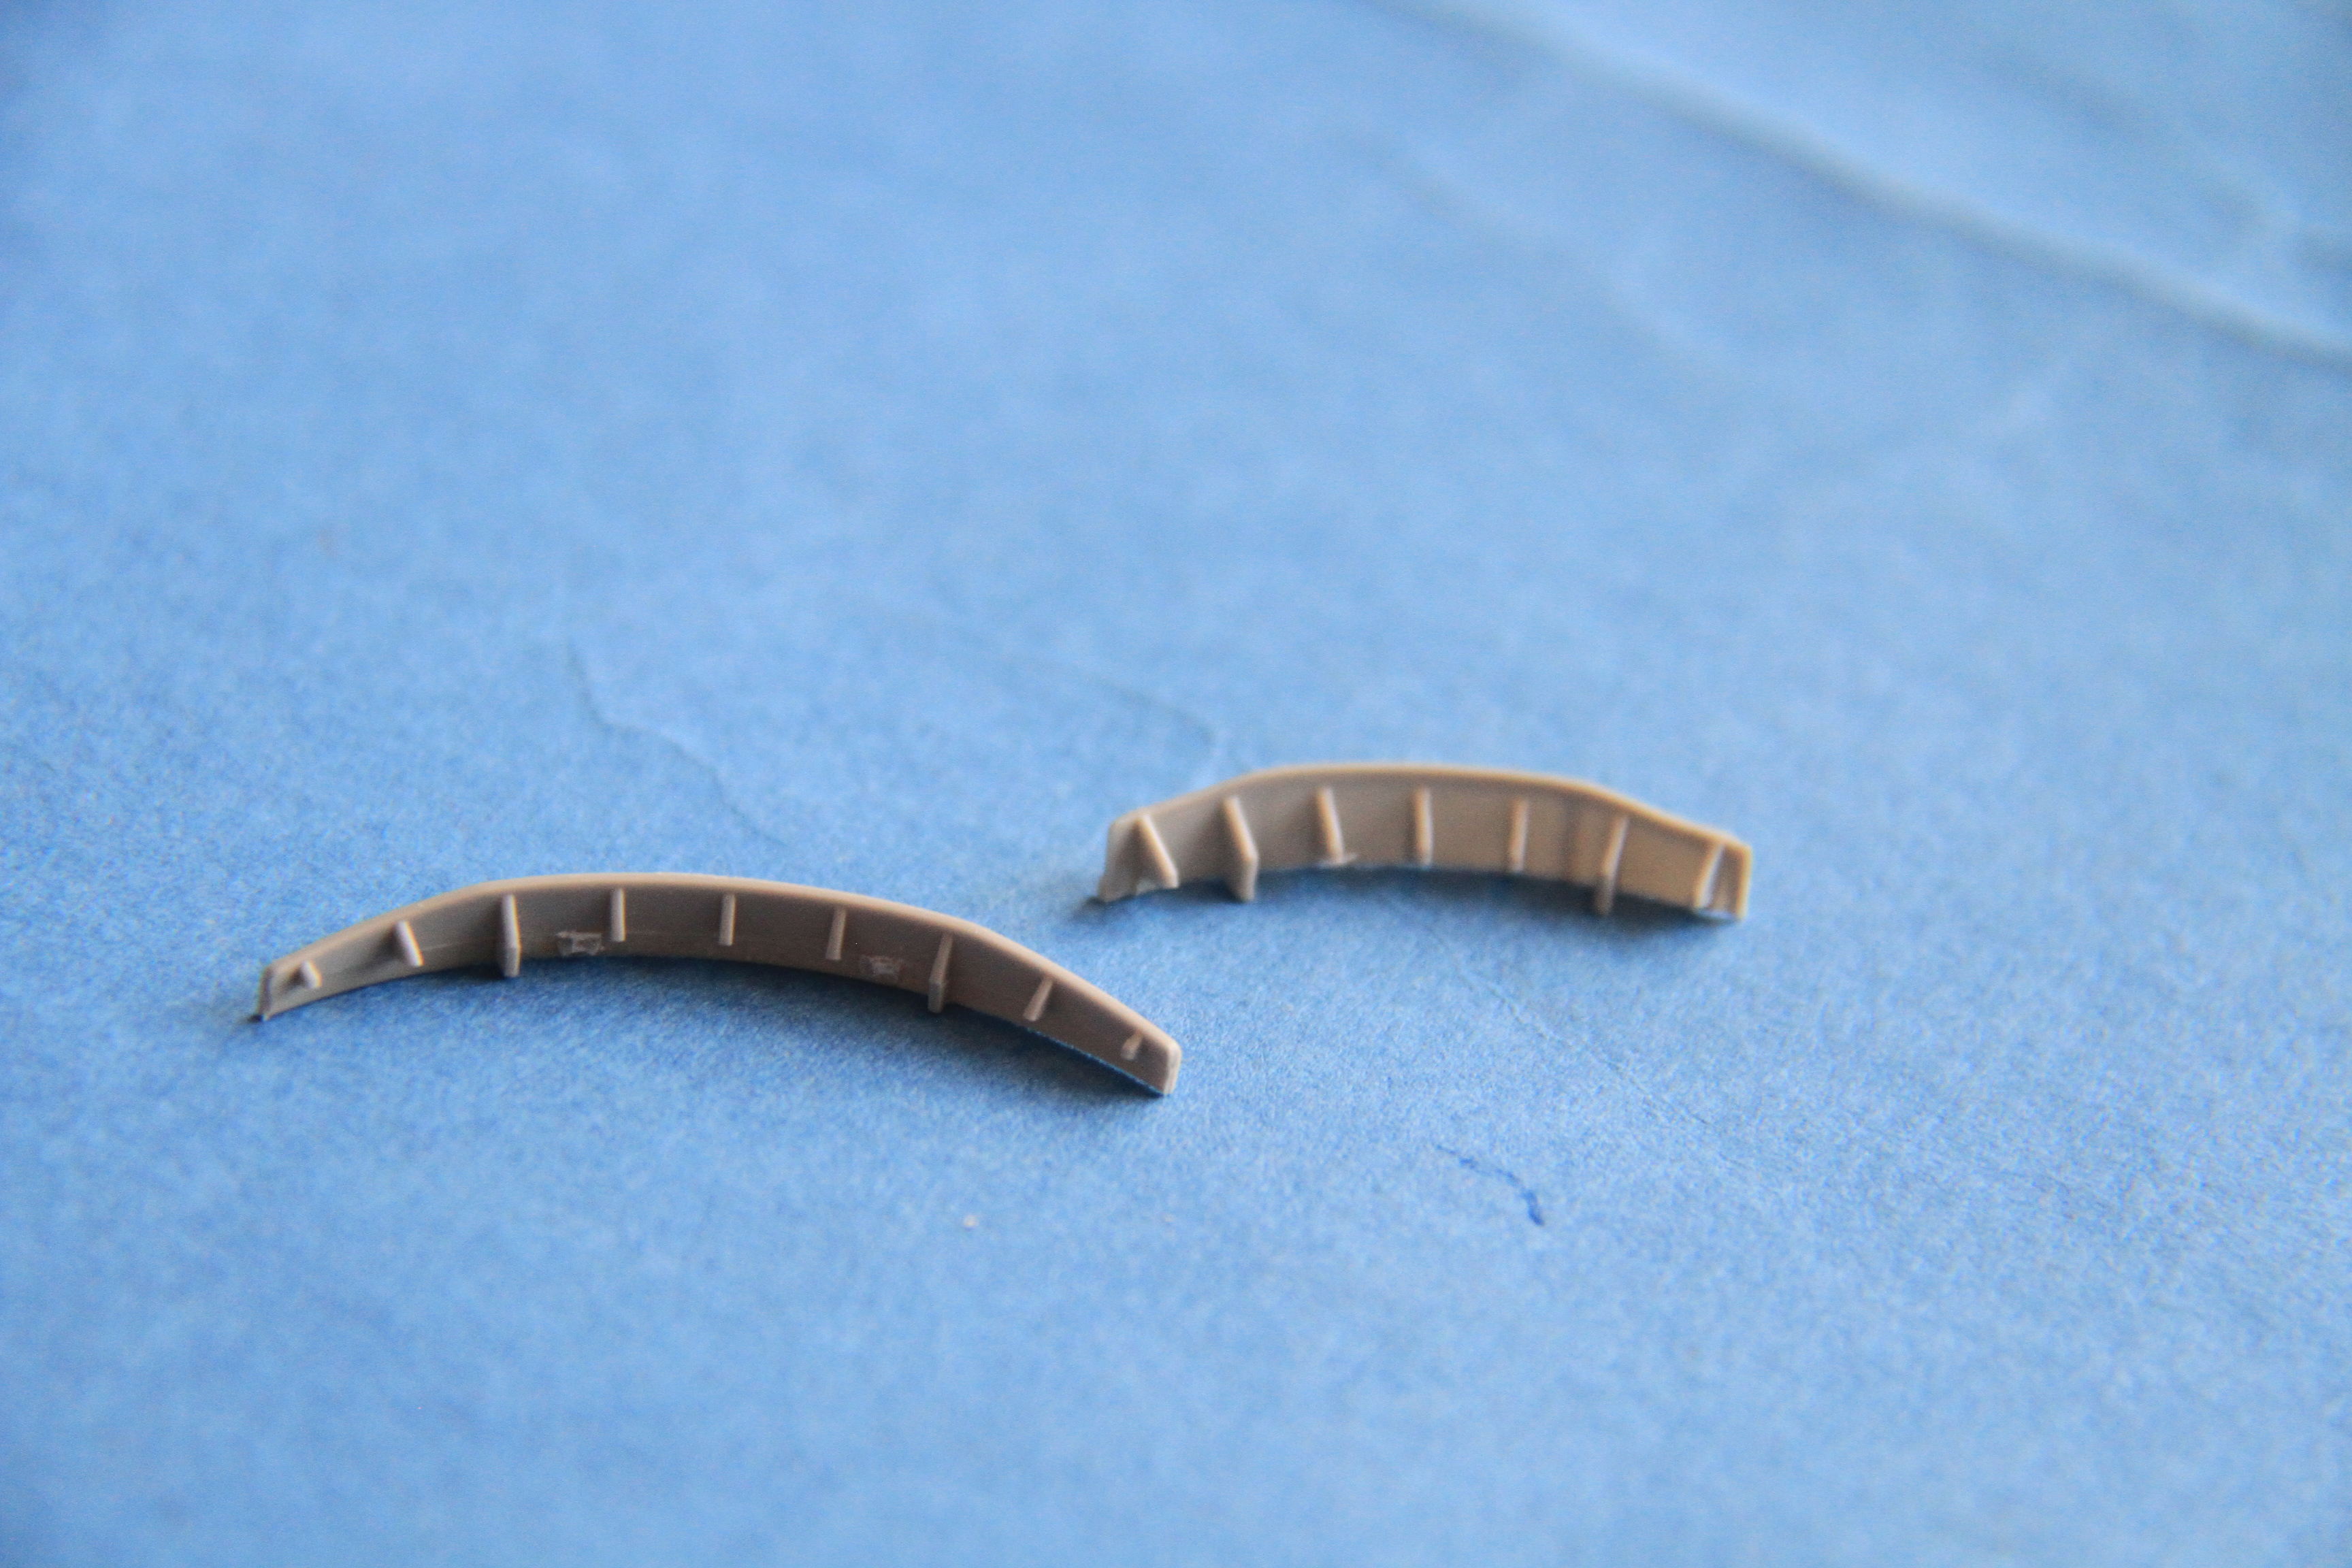
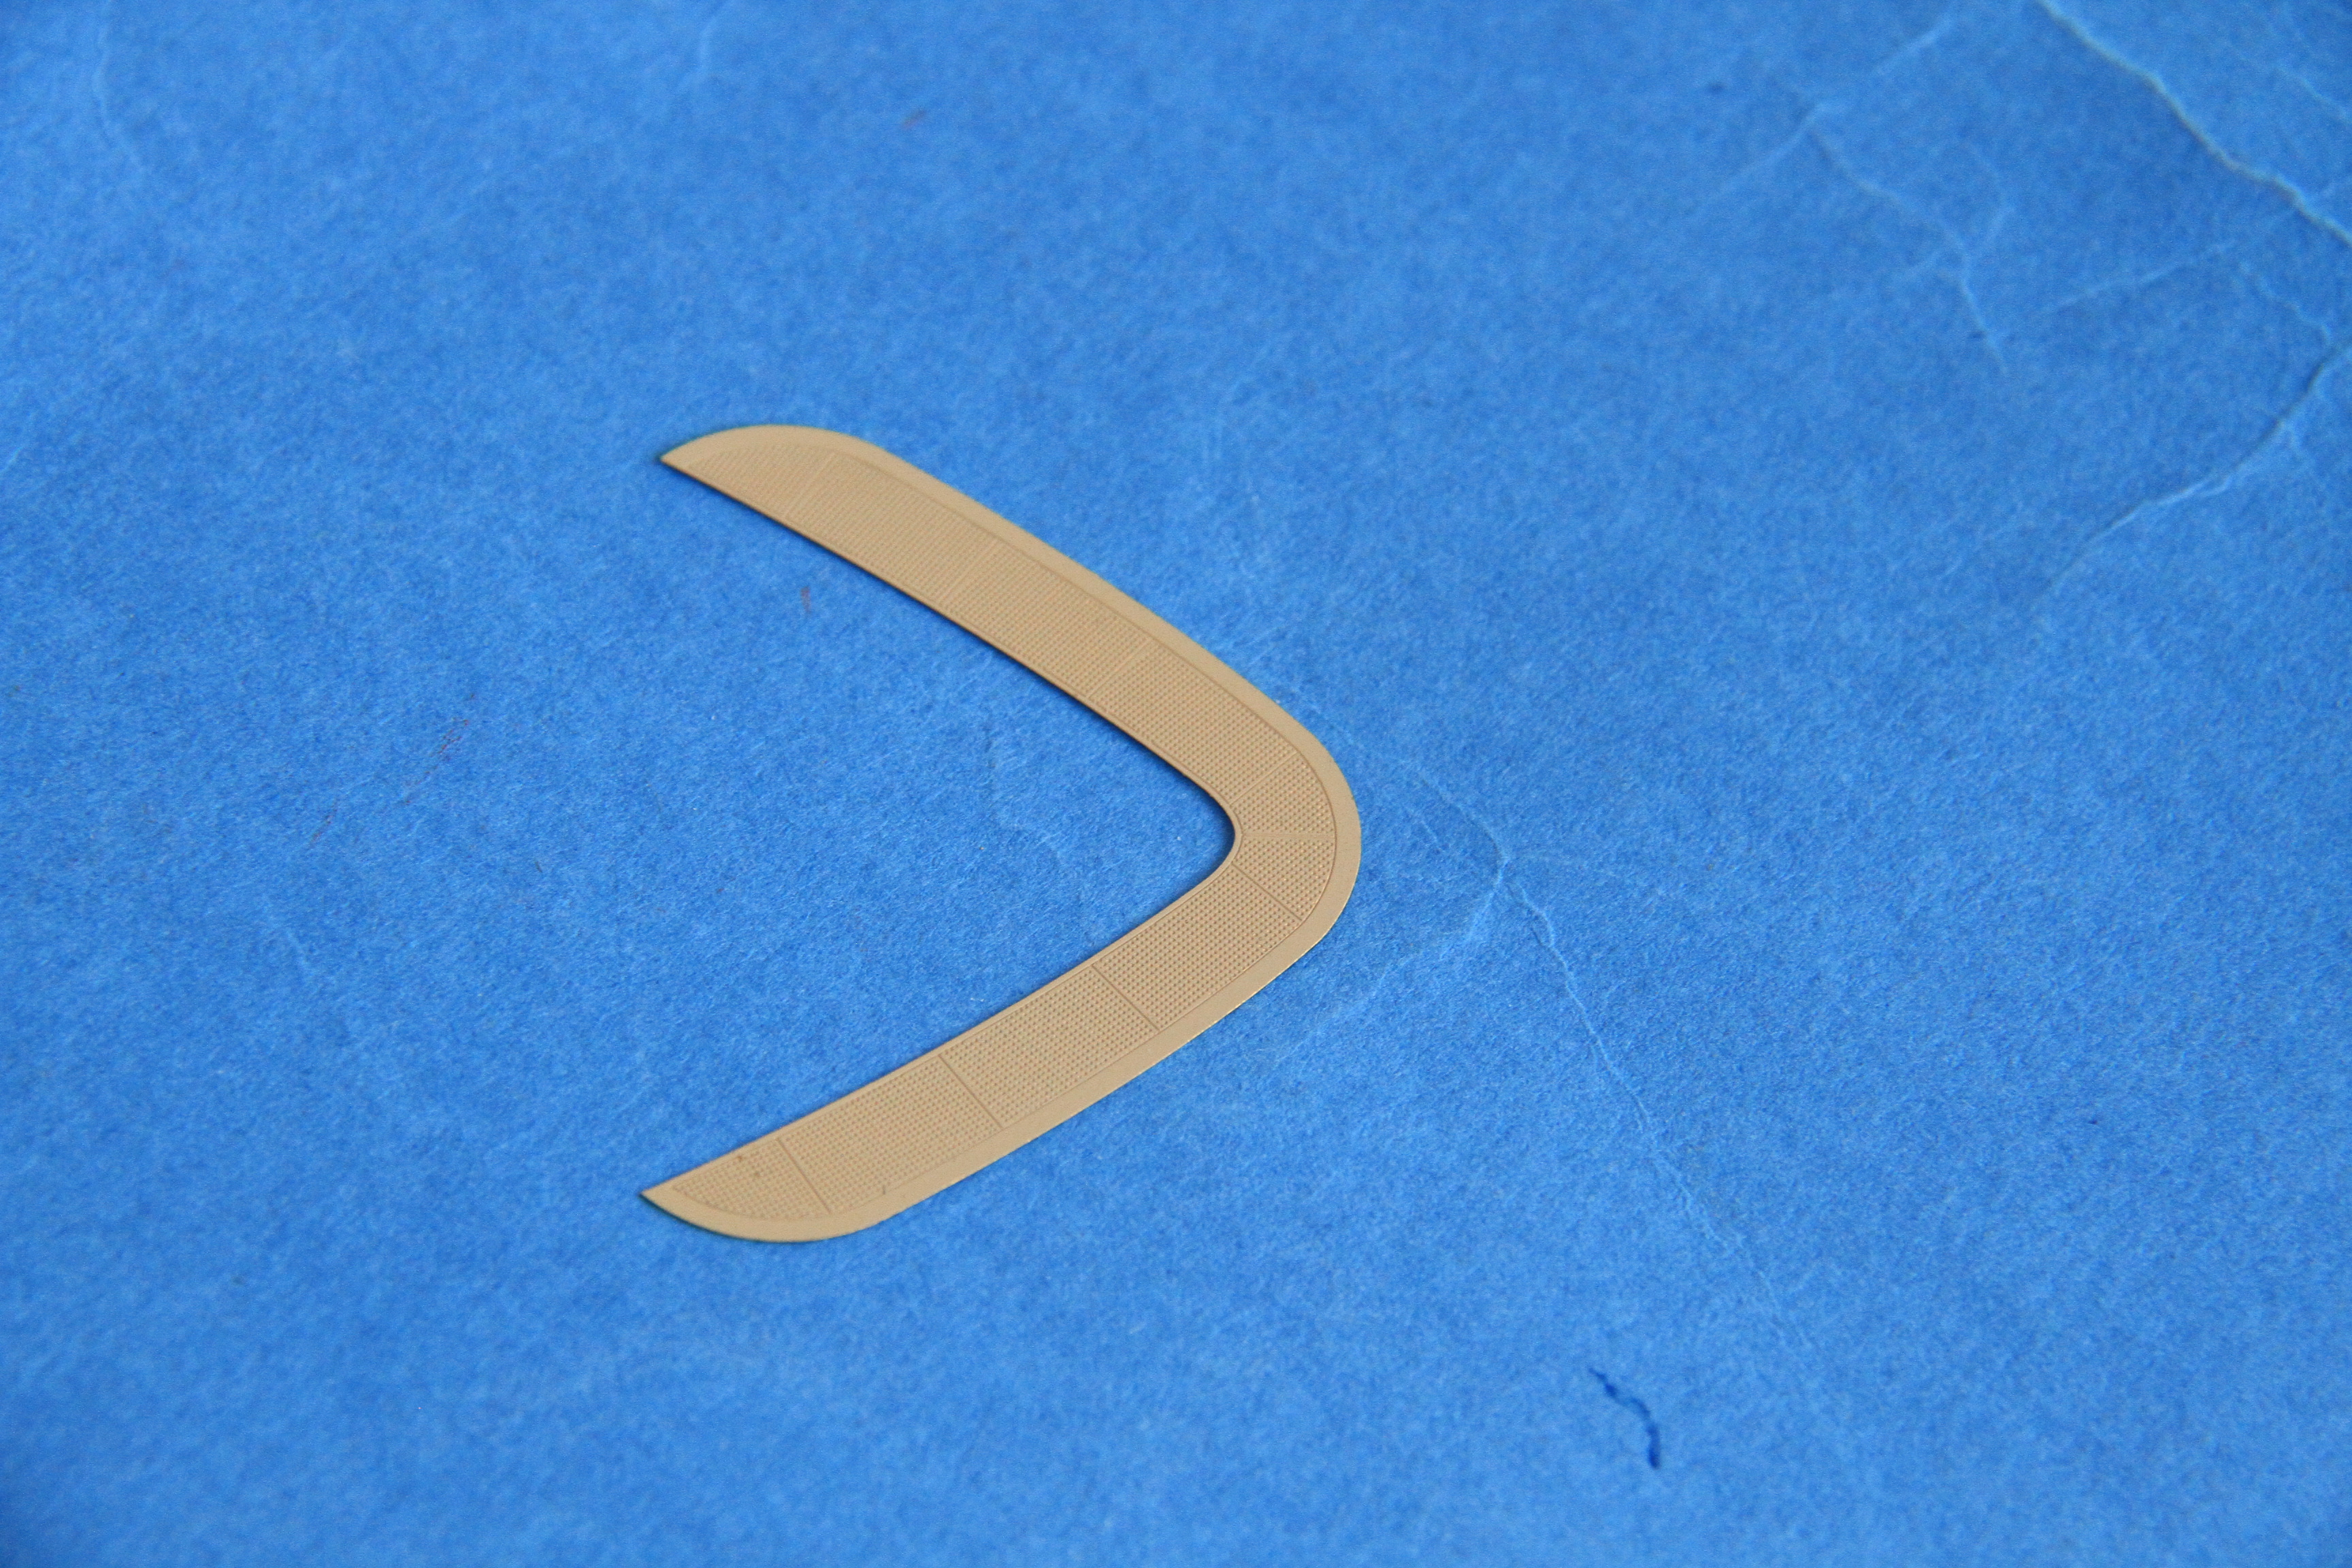
moulded detail removed, and fitting under way (on the larger forward unit).
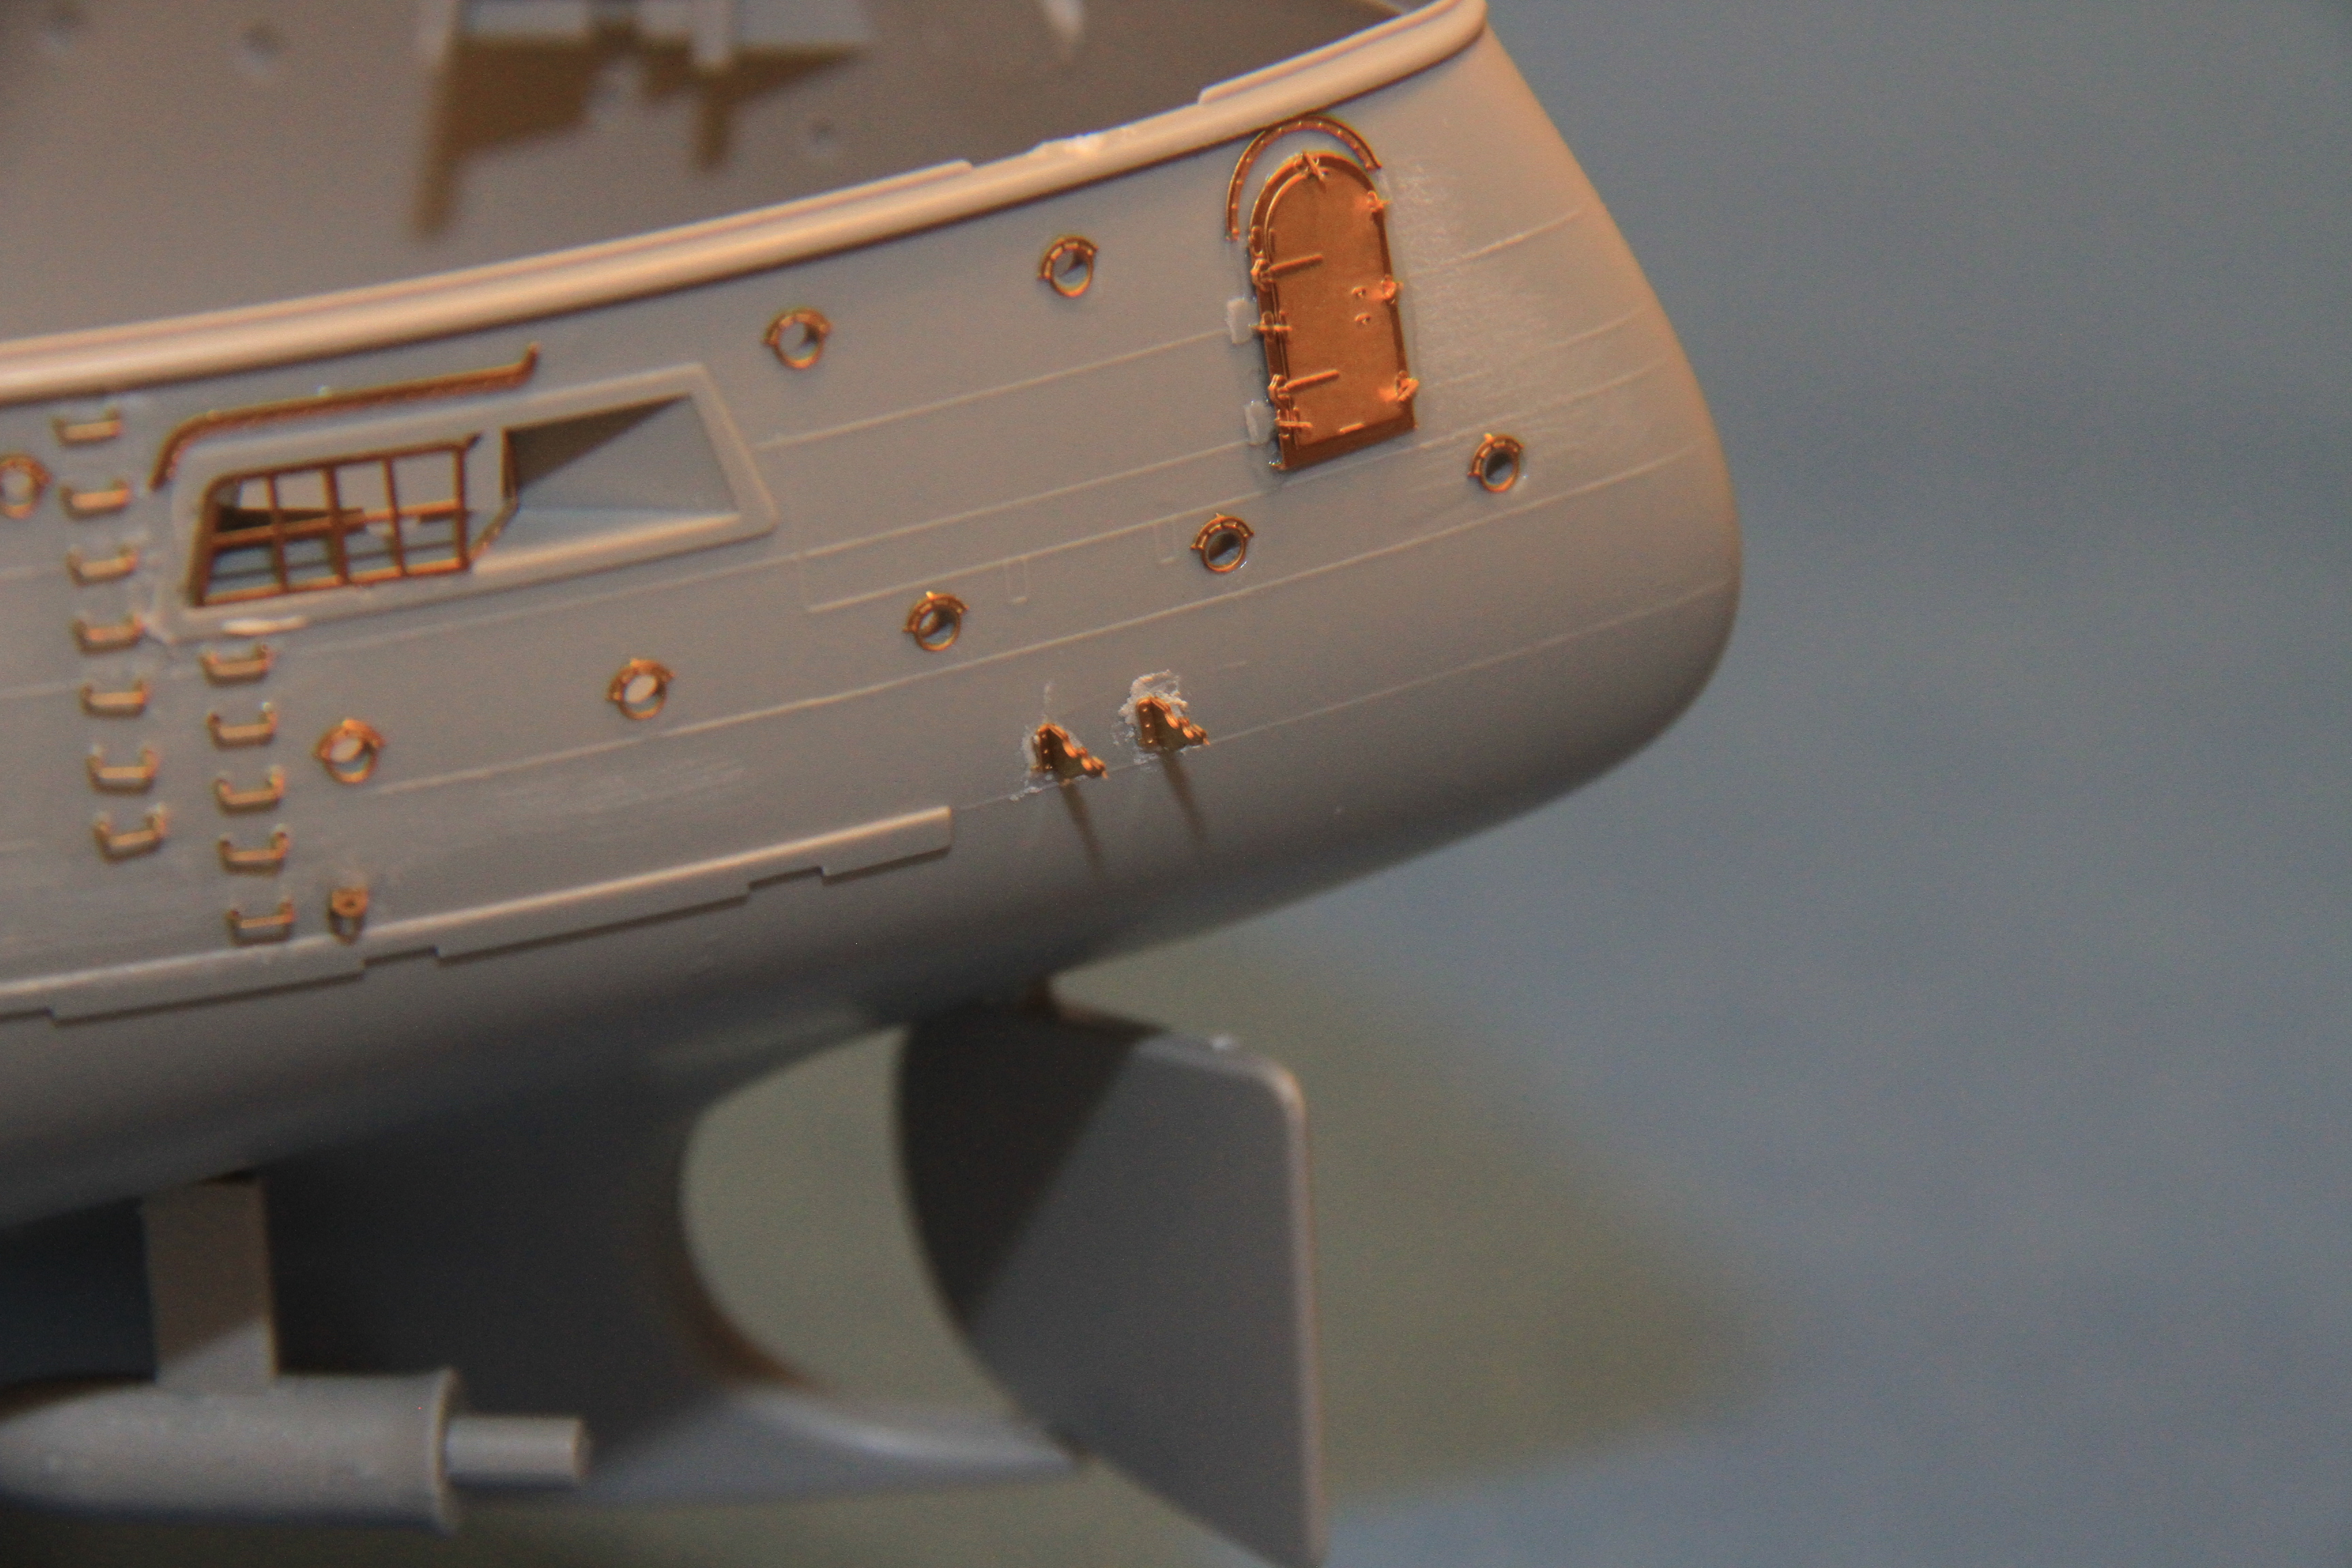
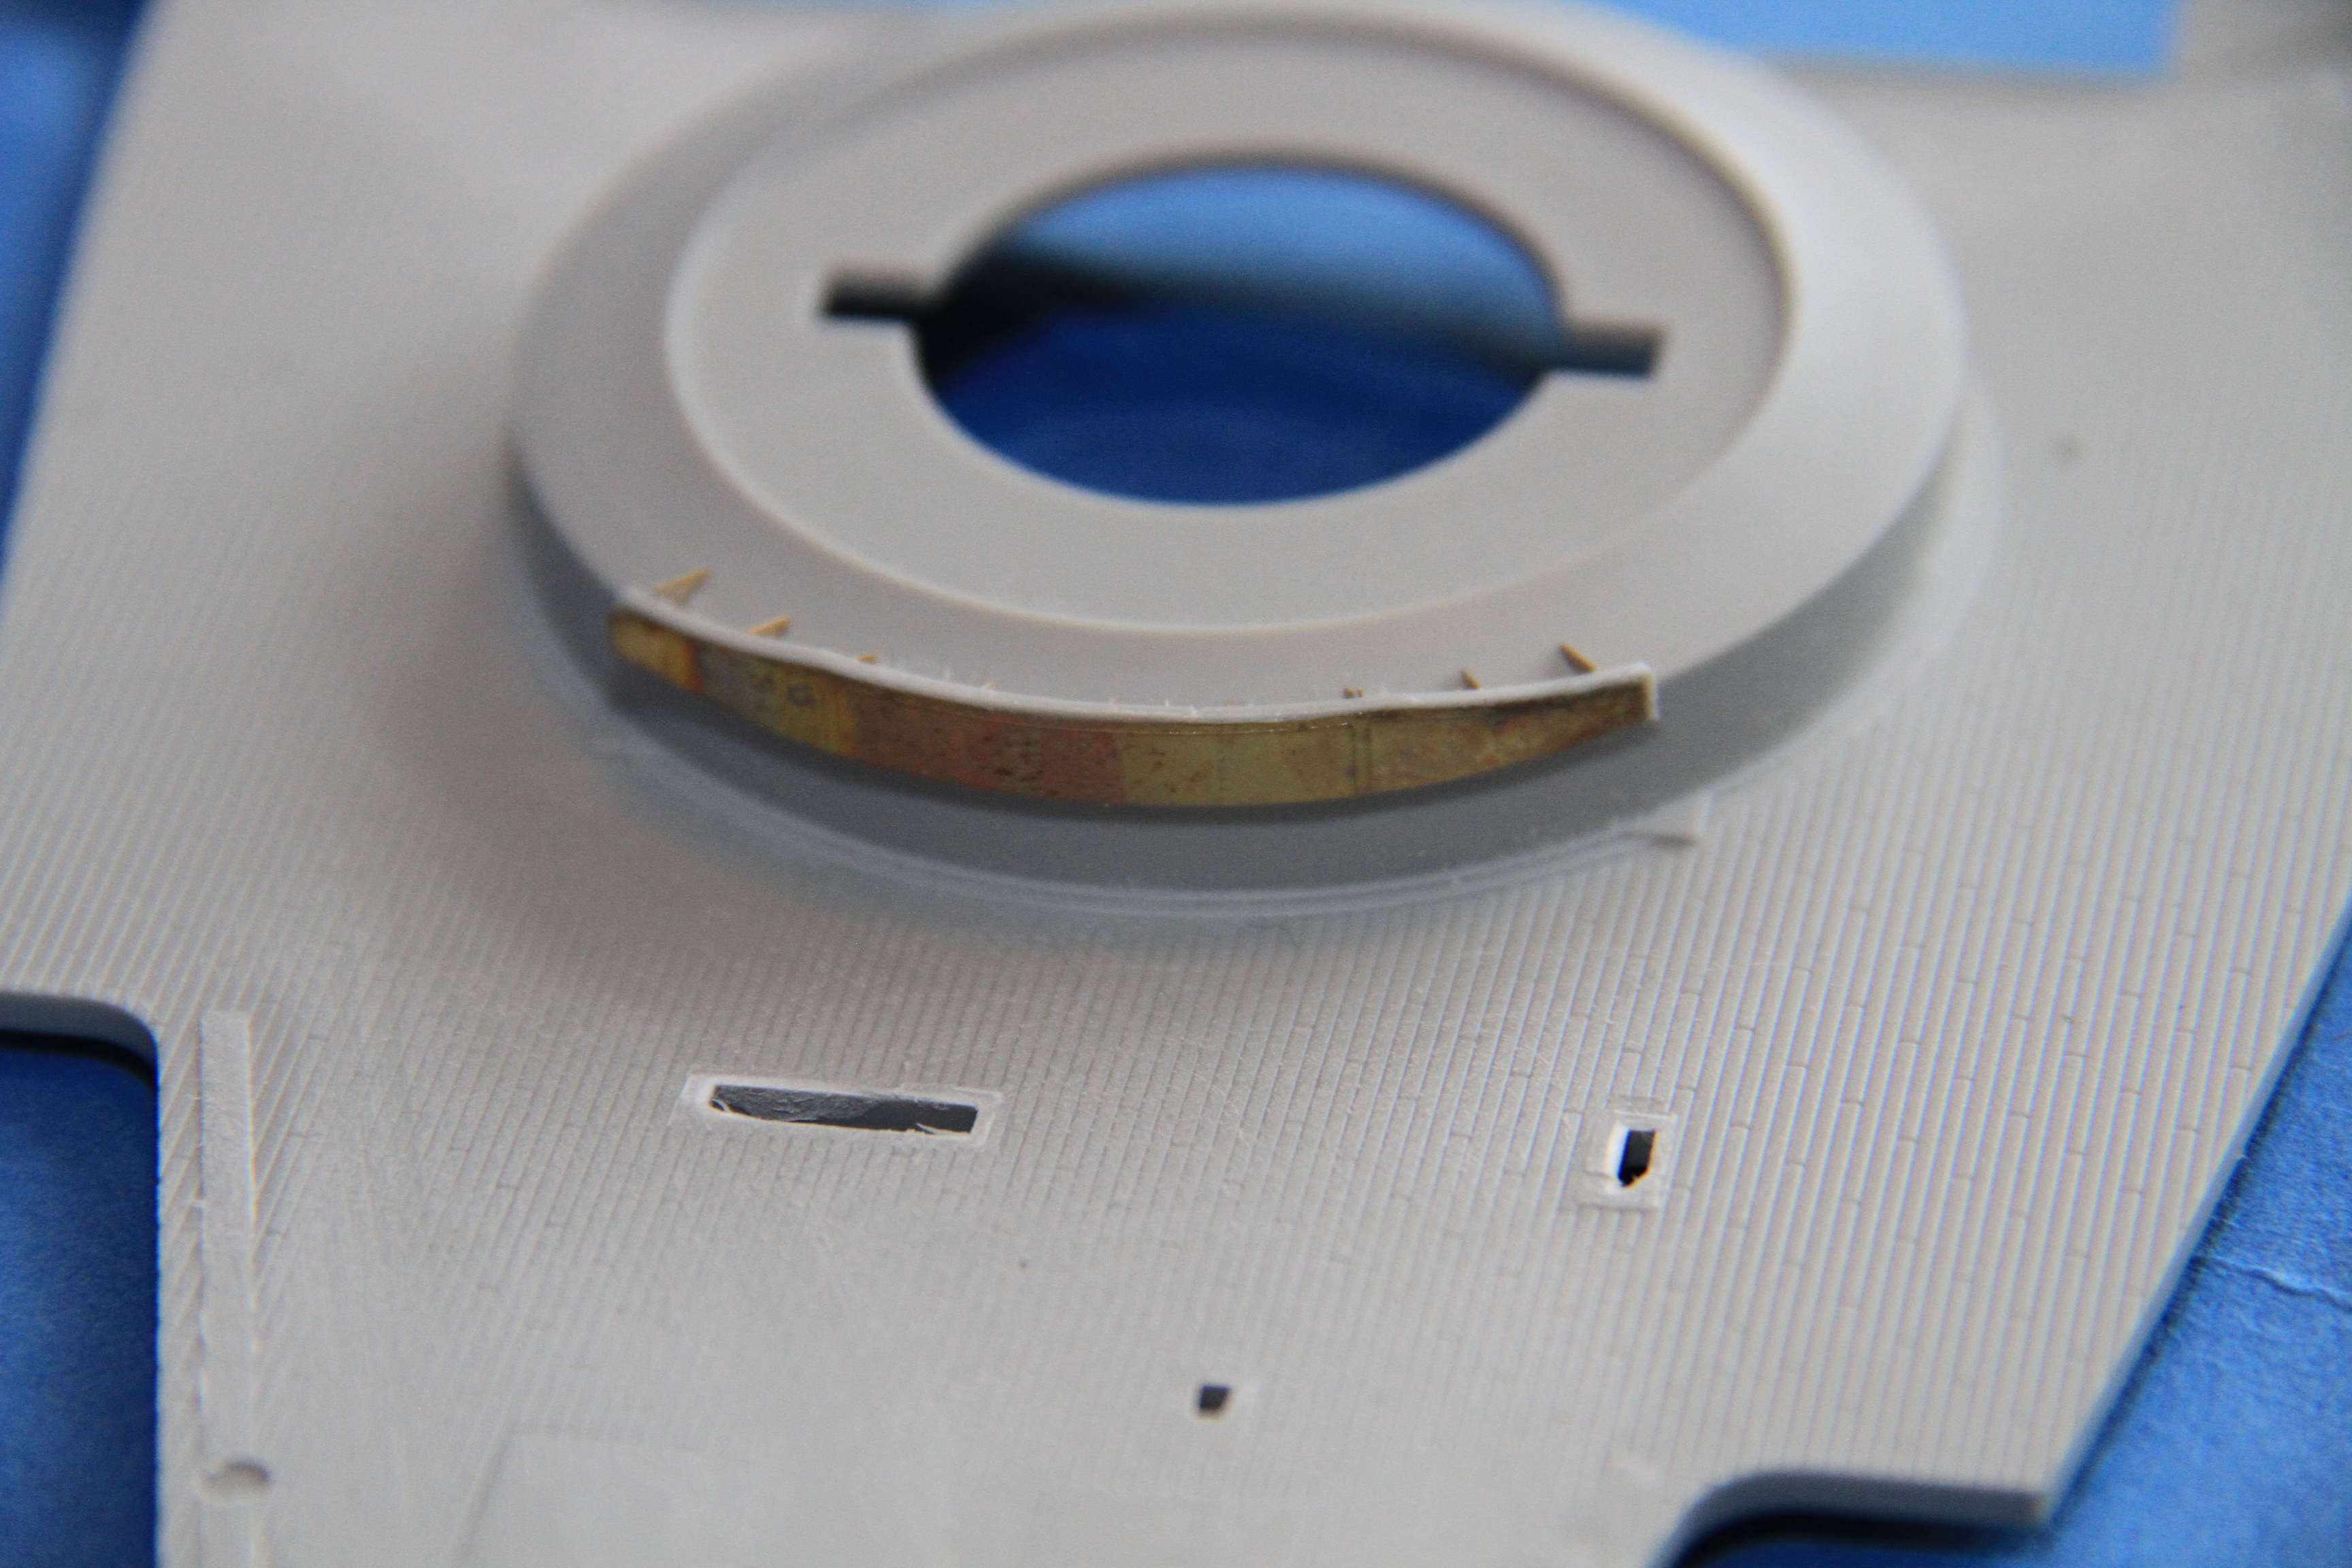
The after breakwater completed.
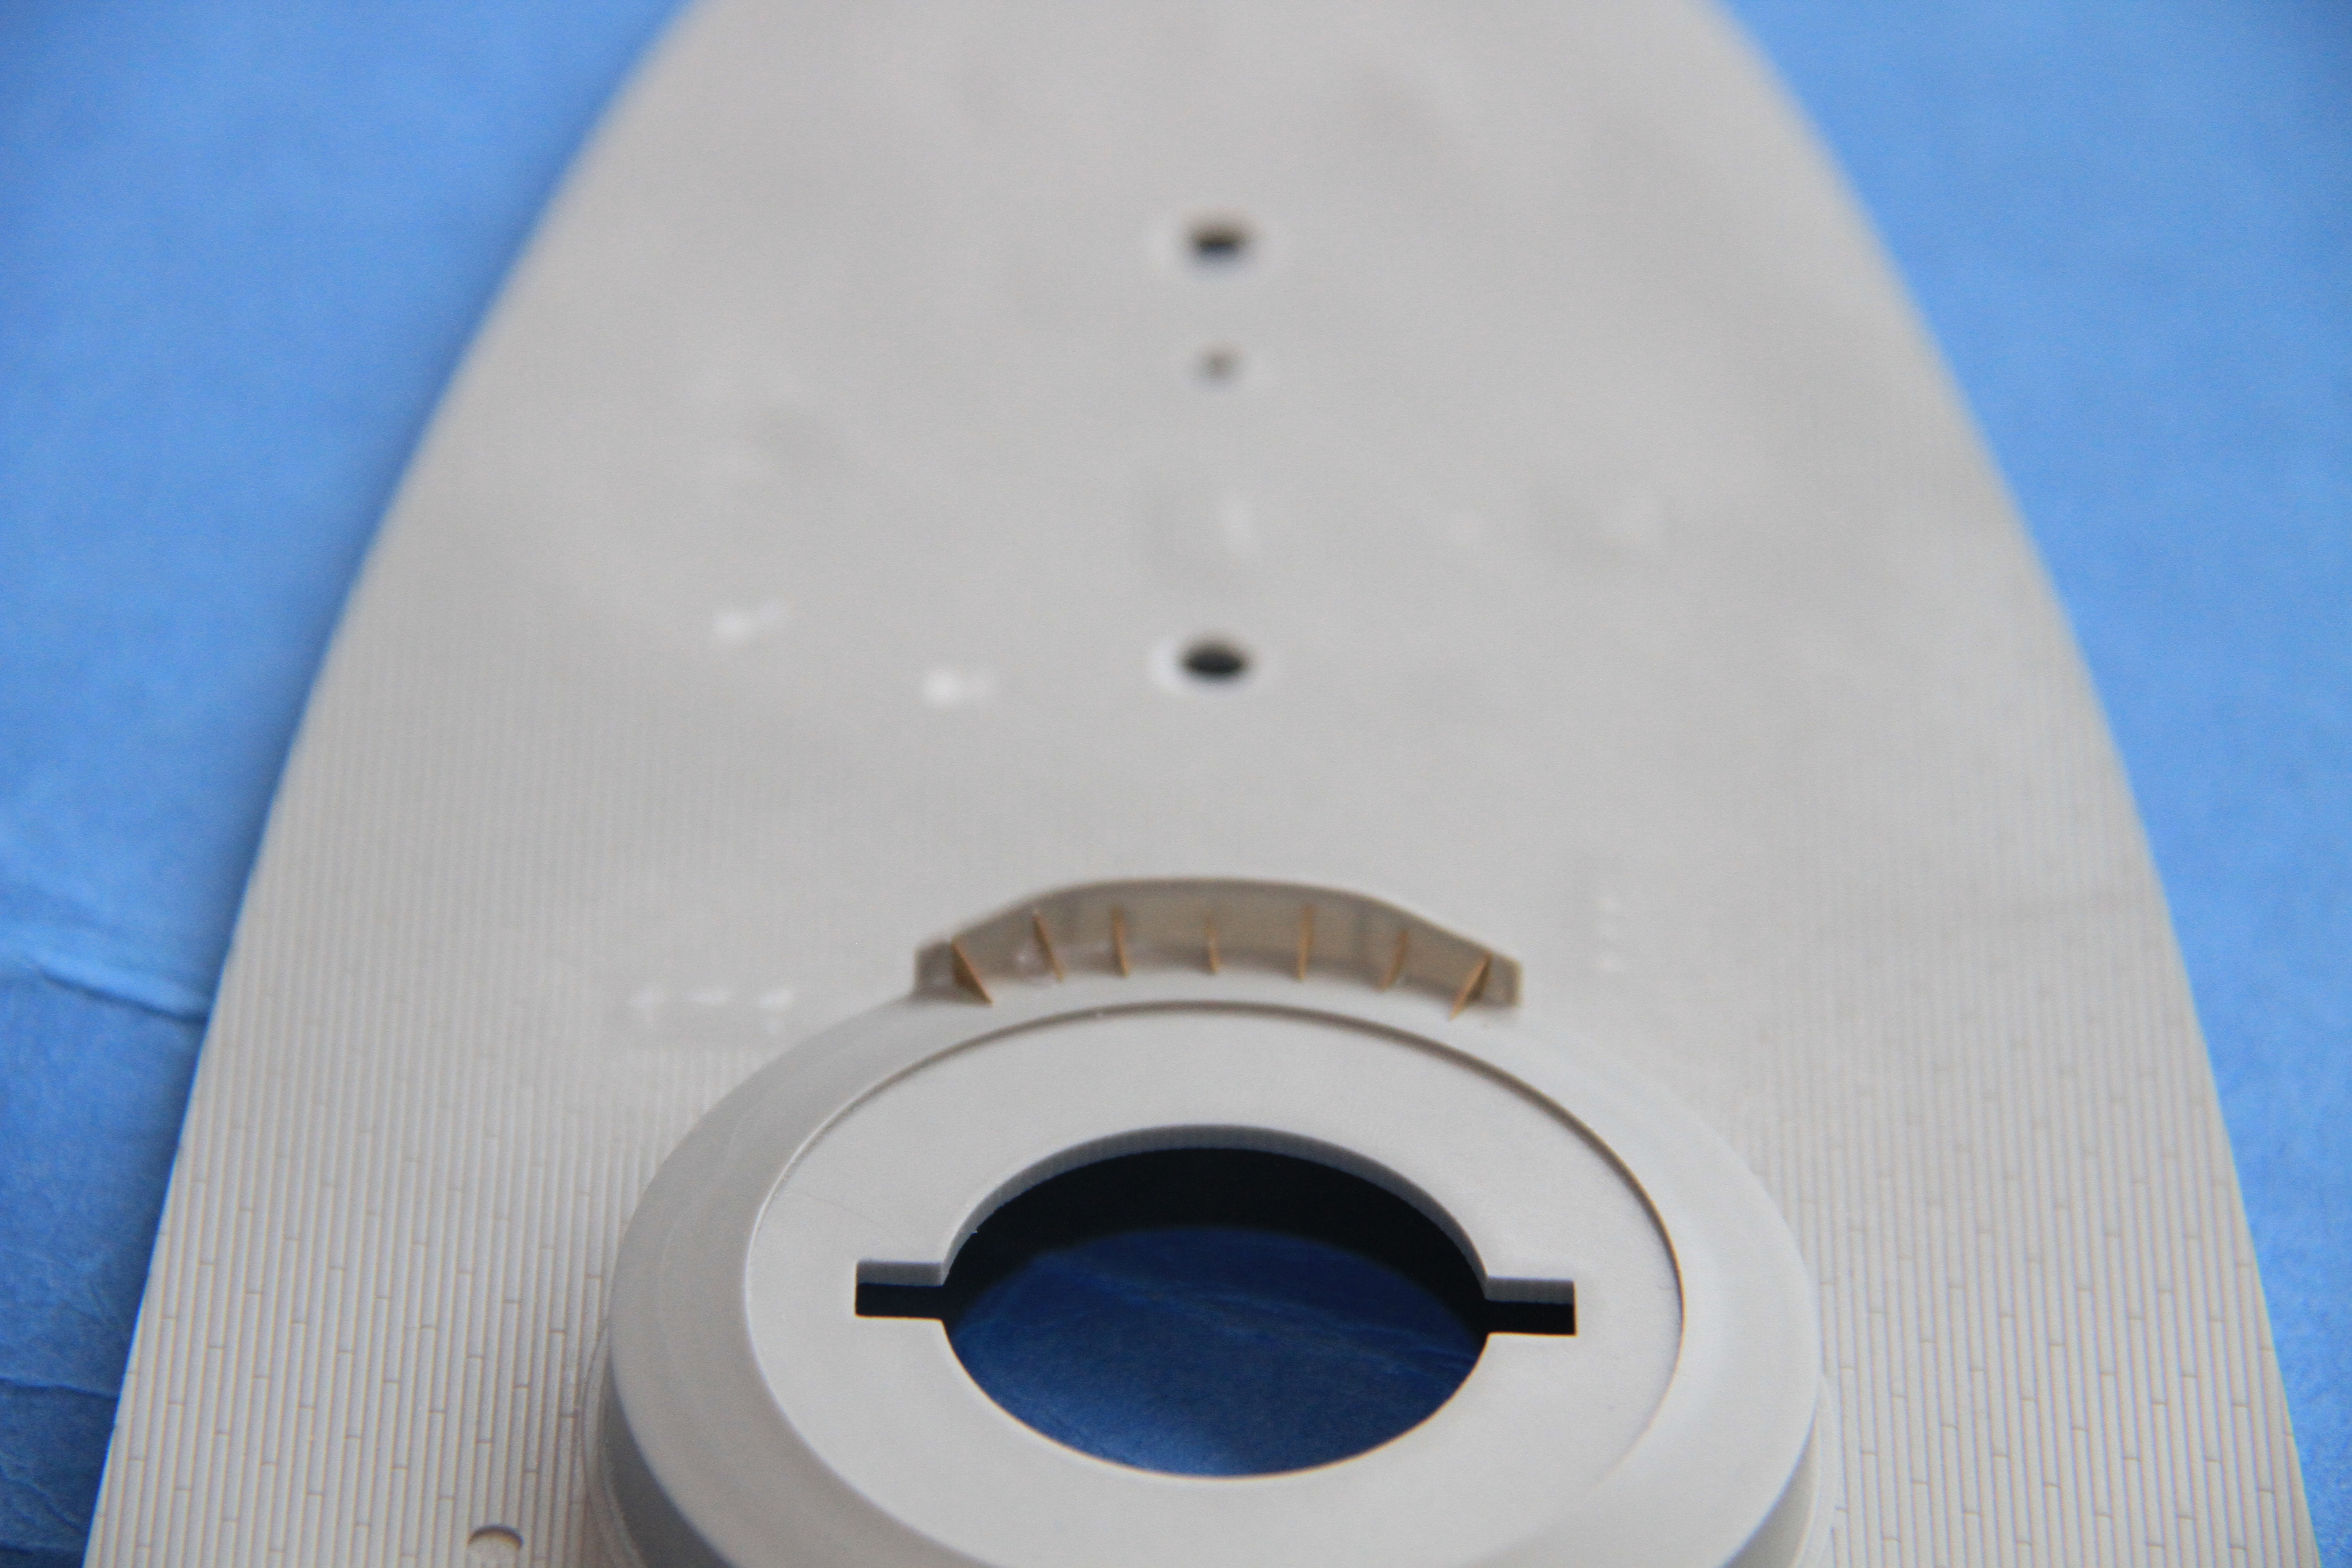
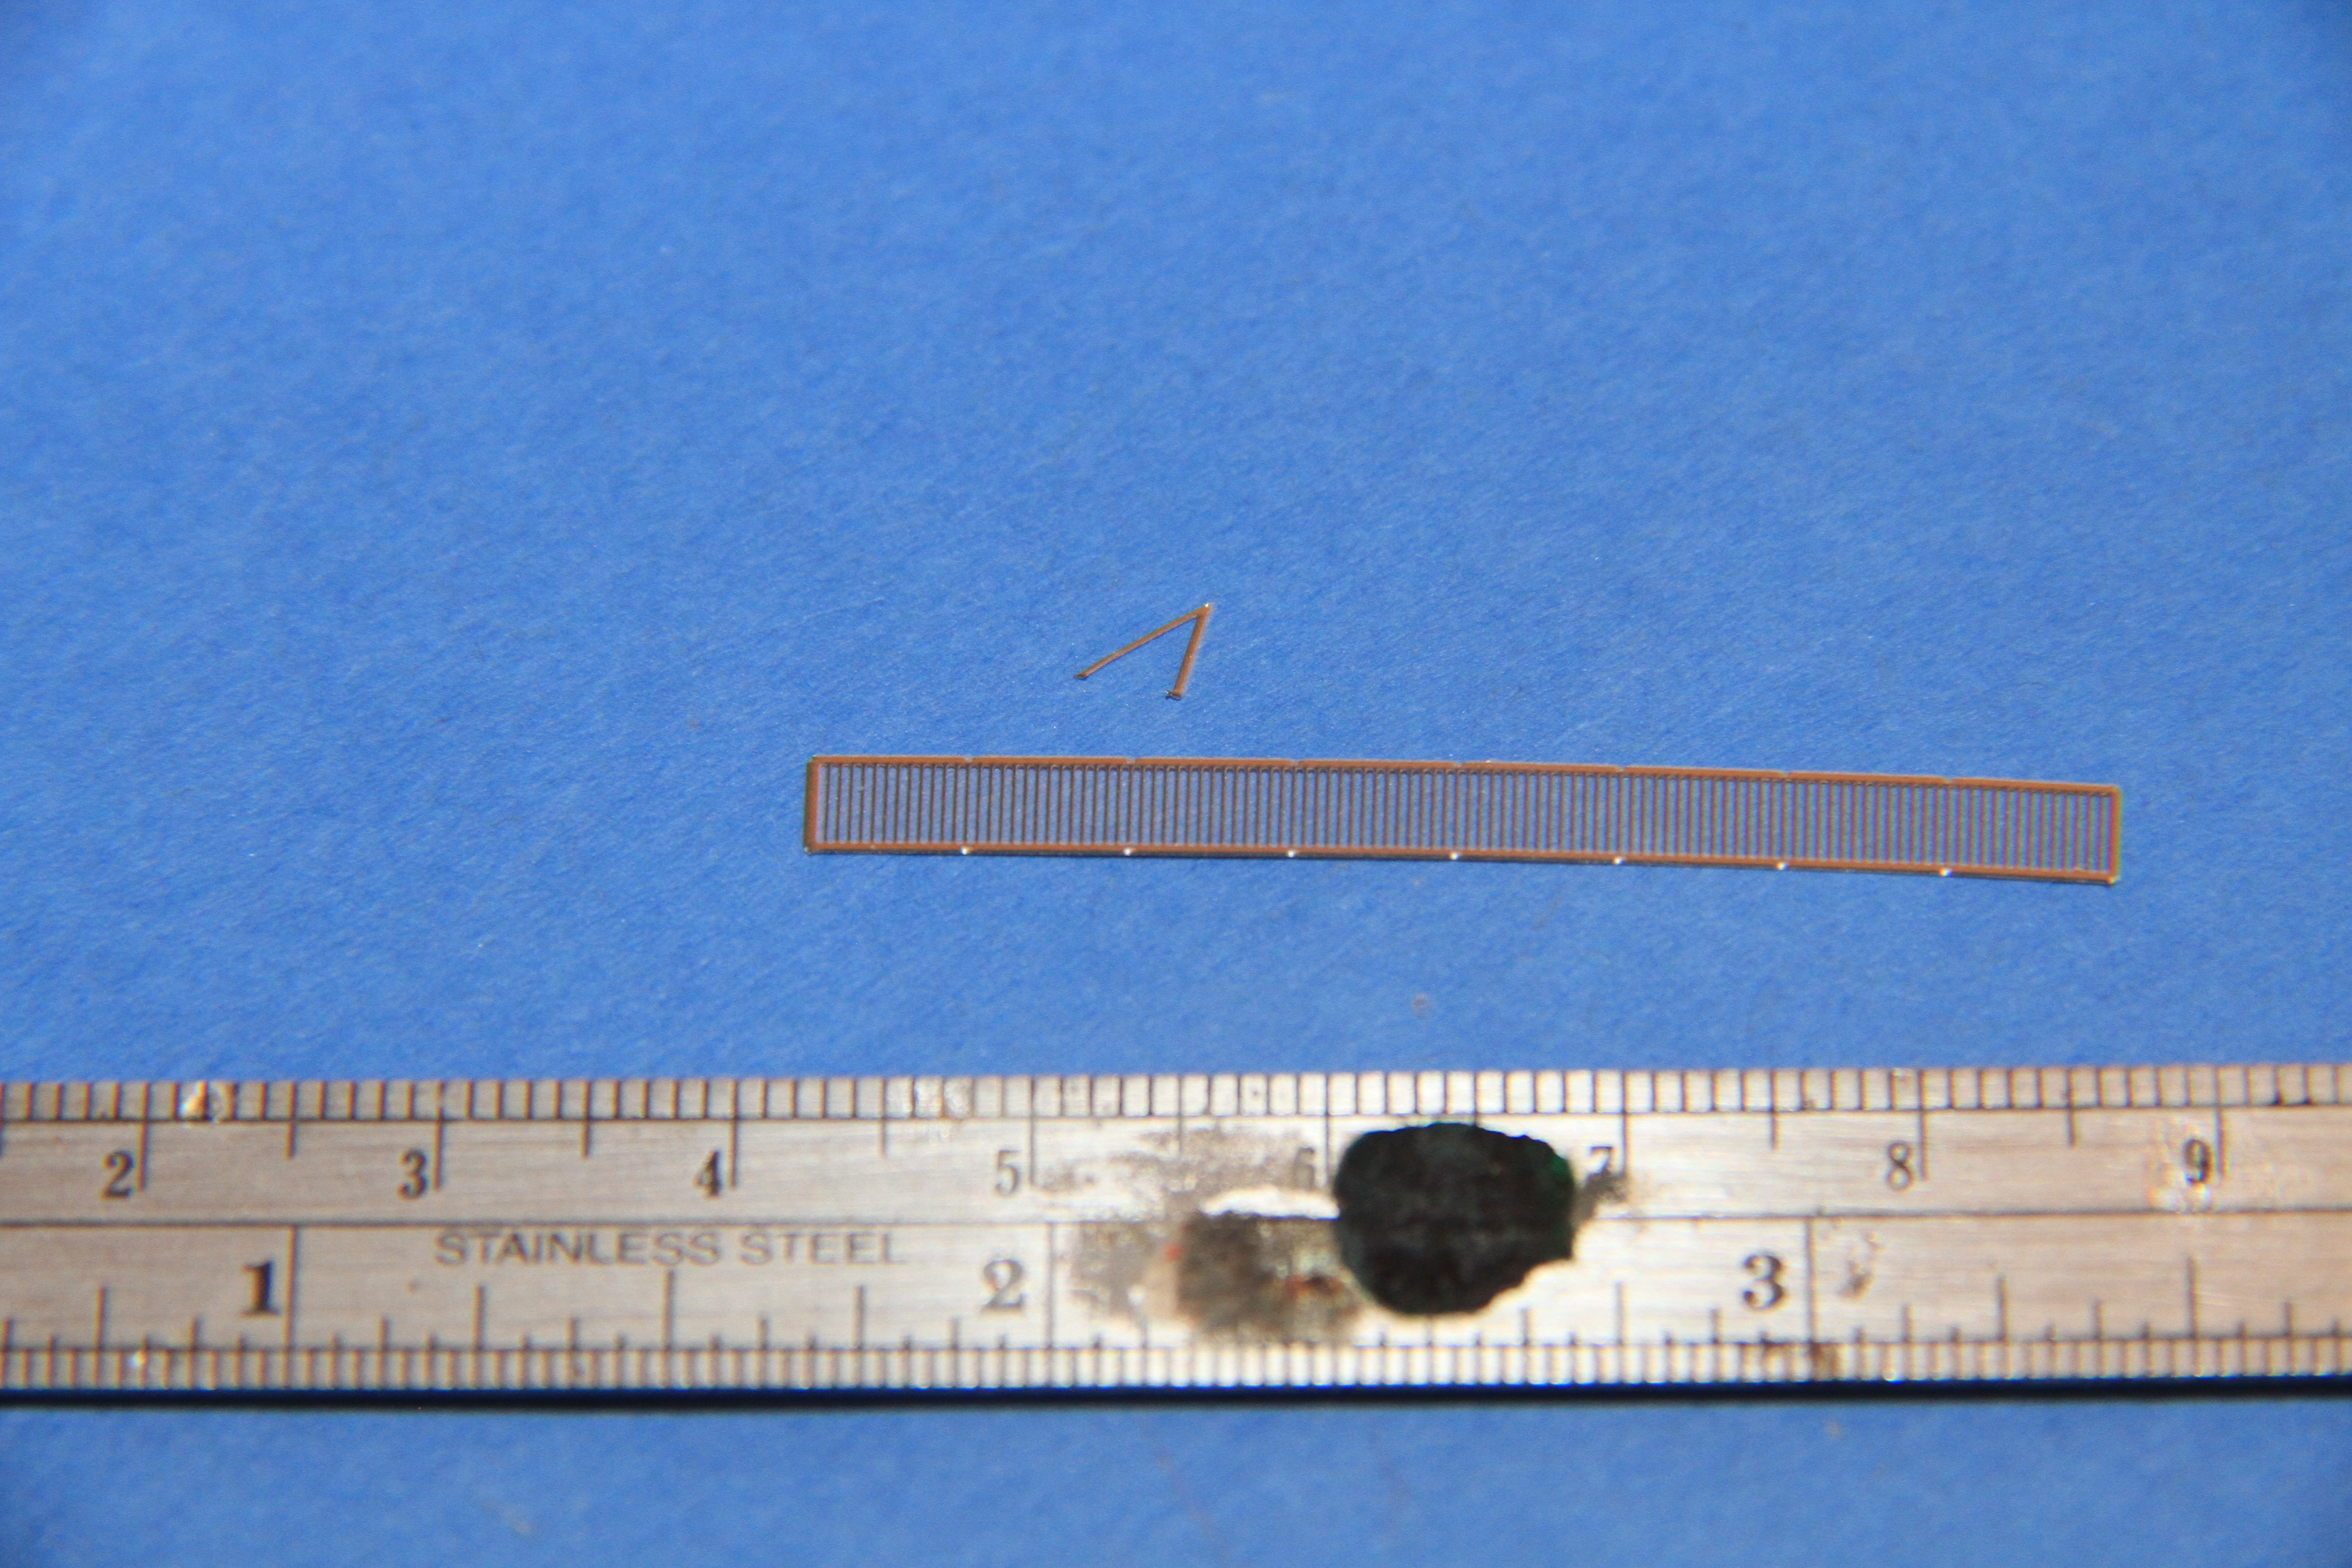
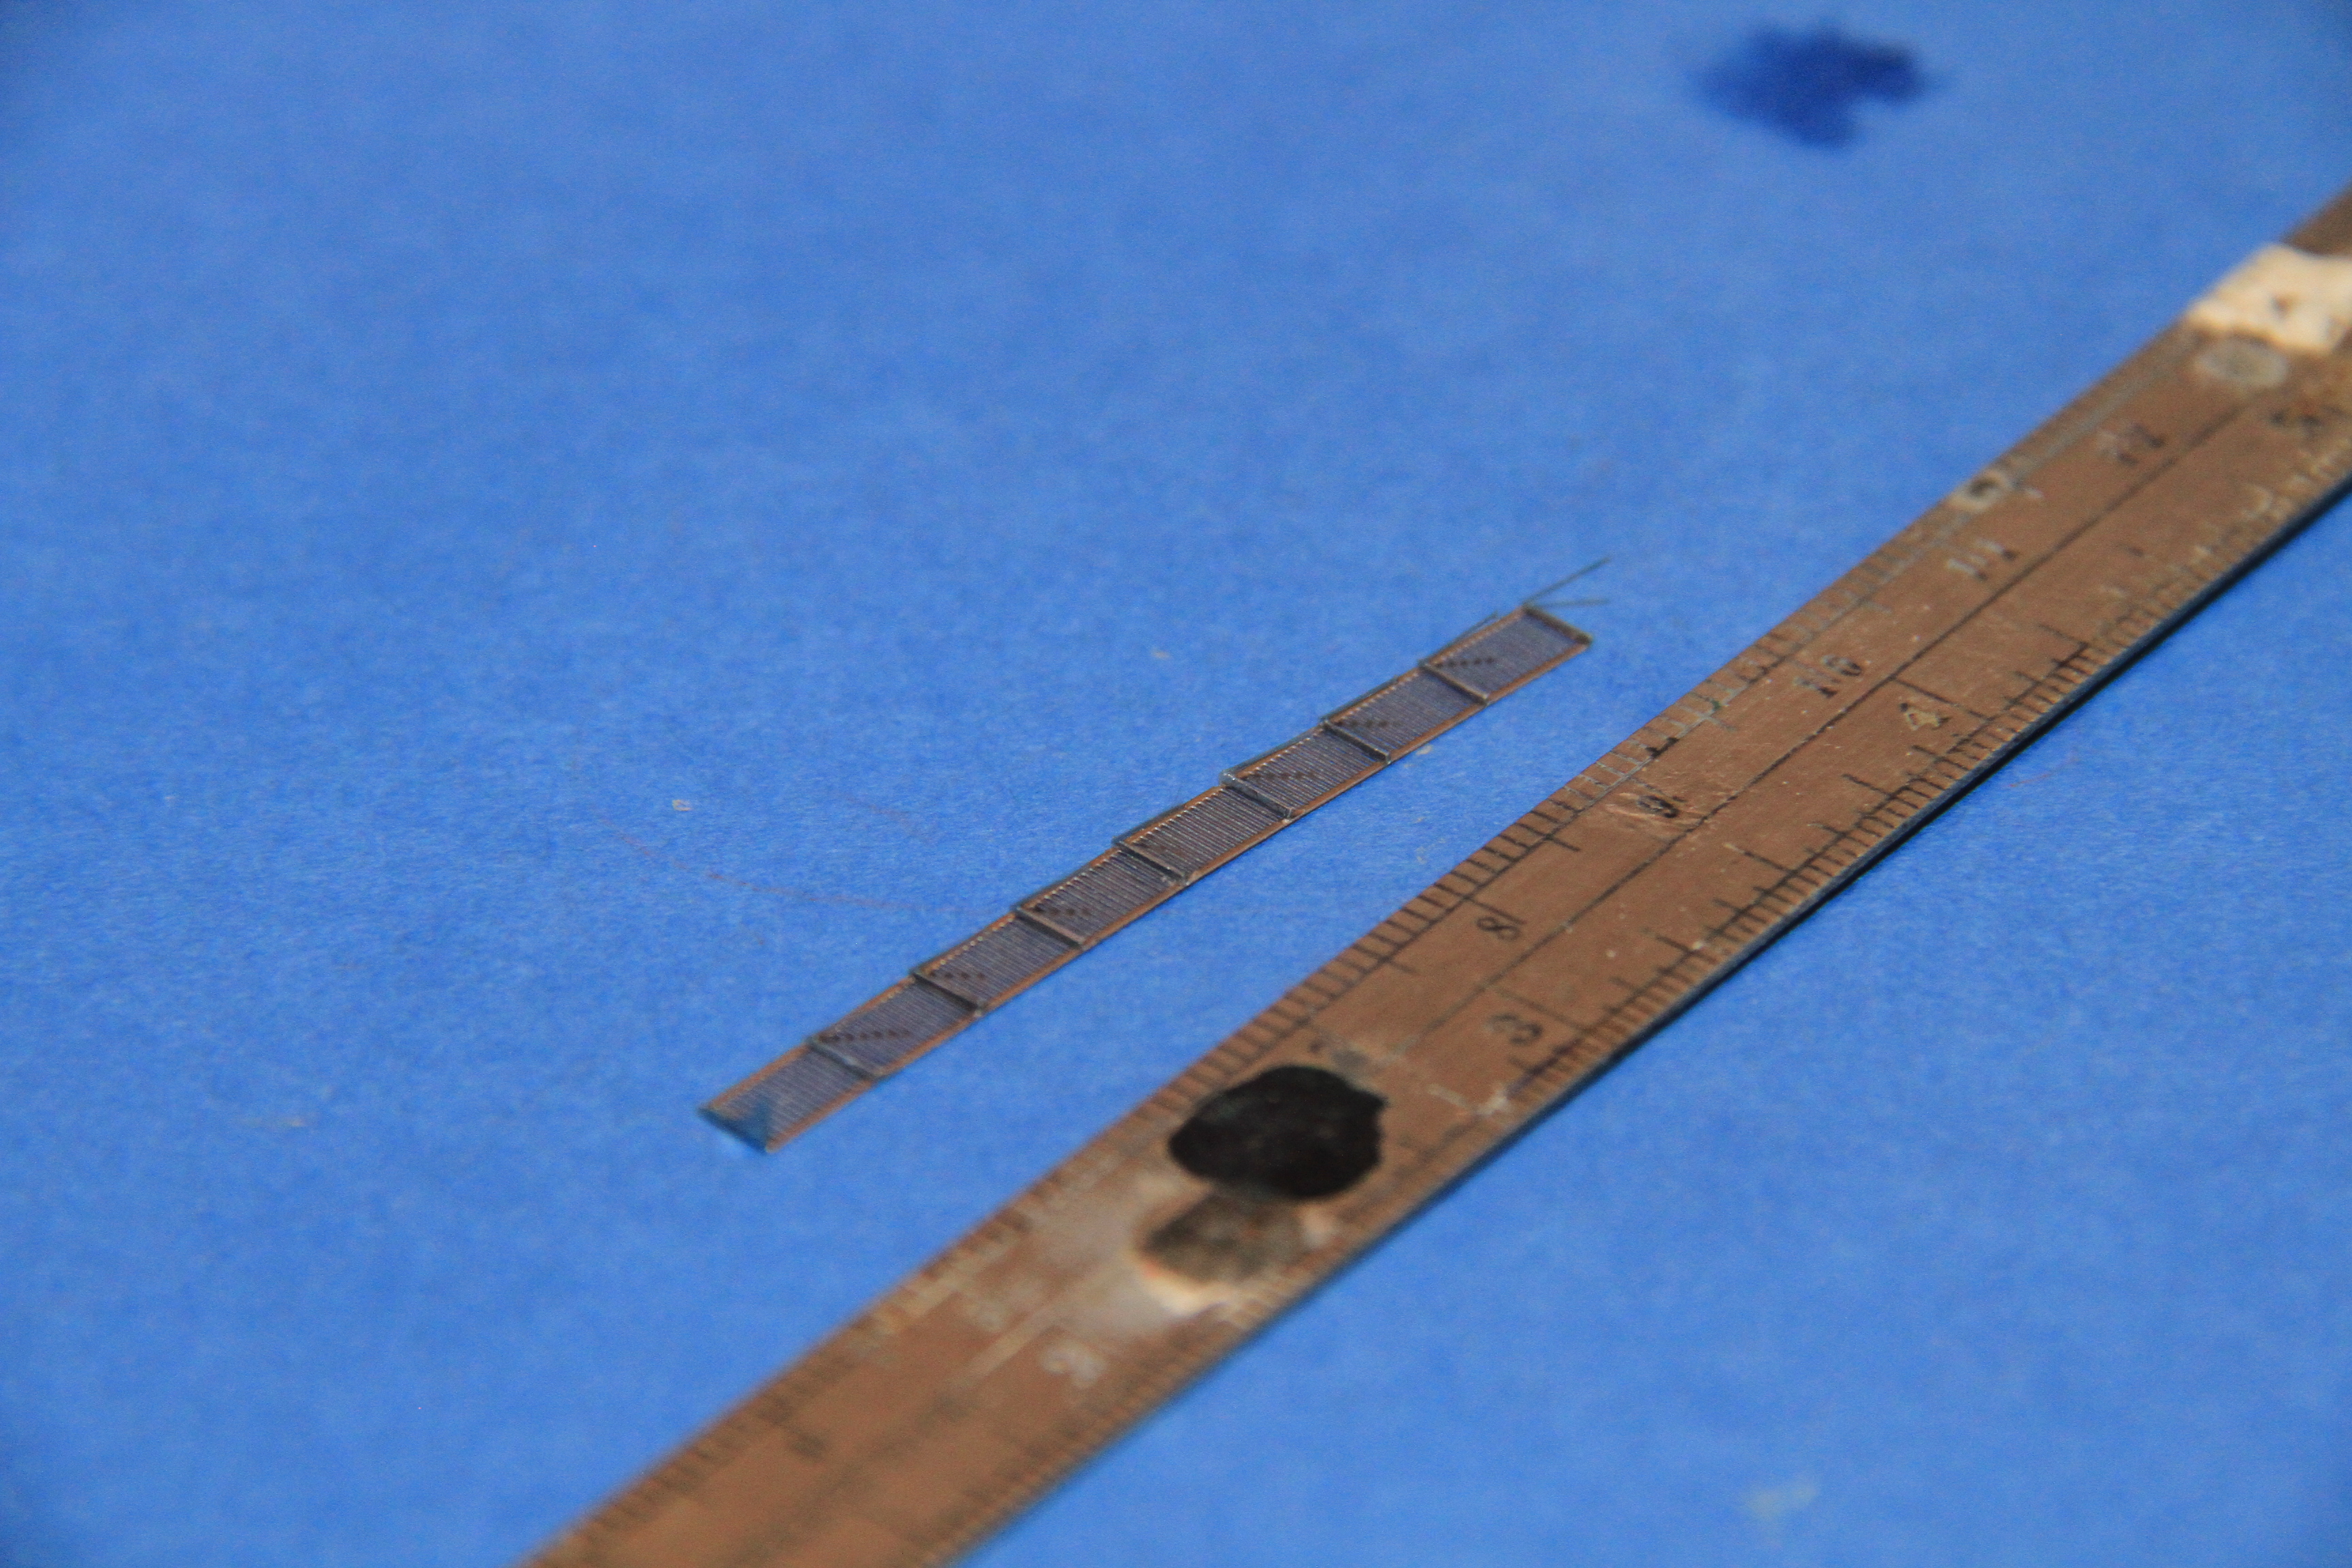
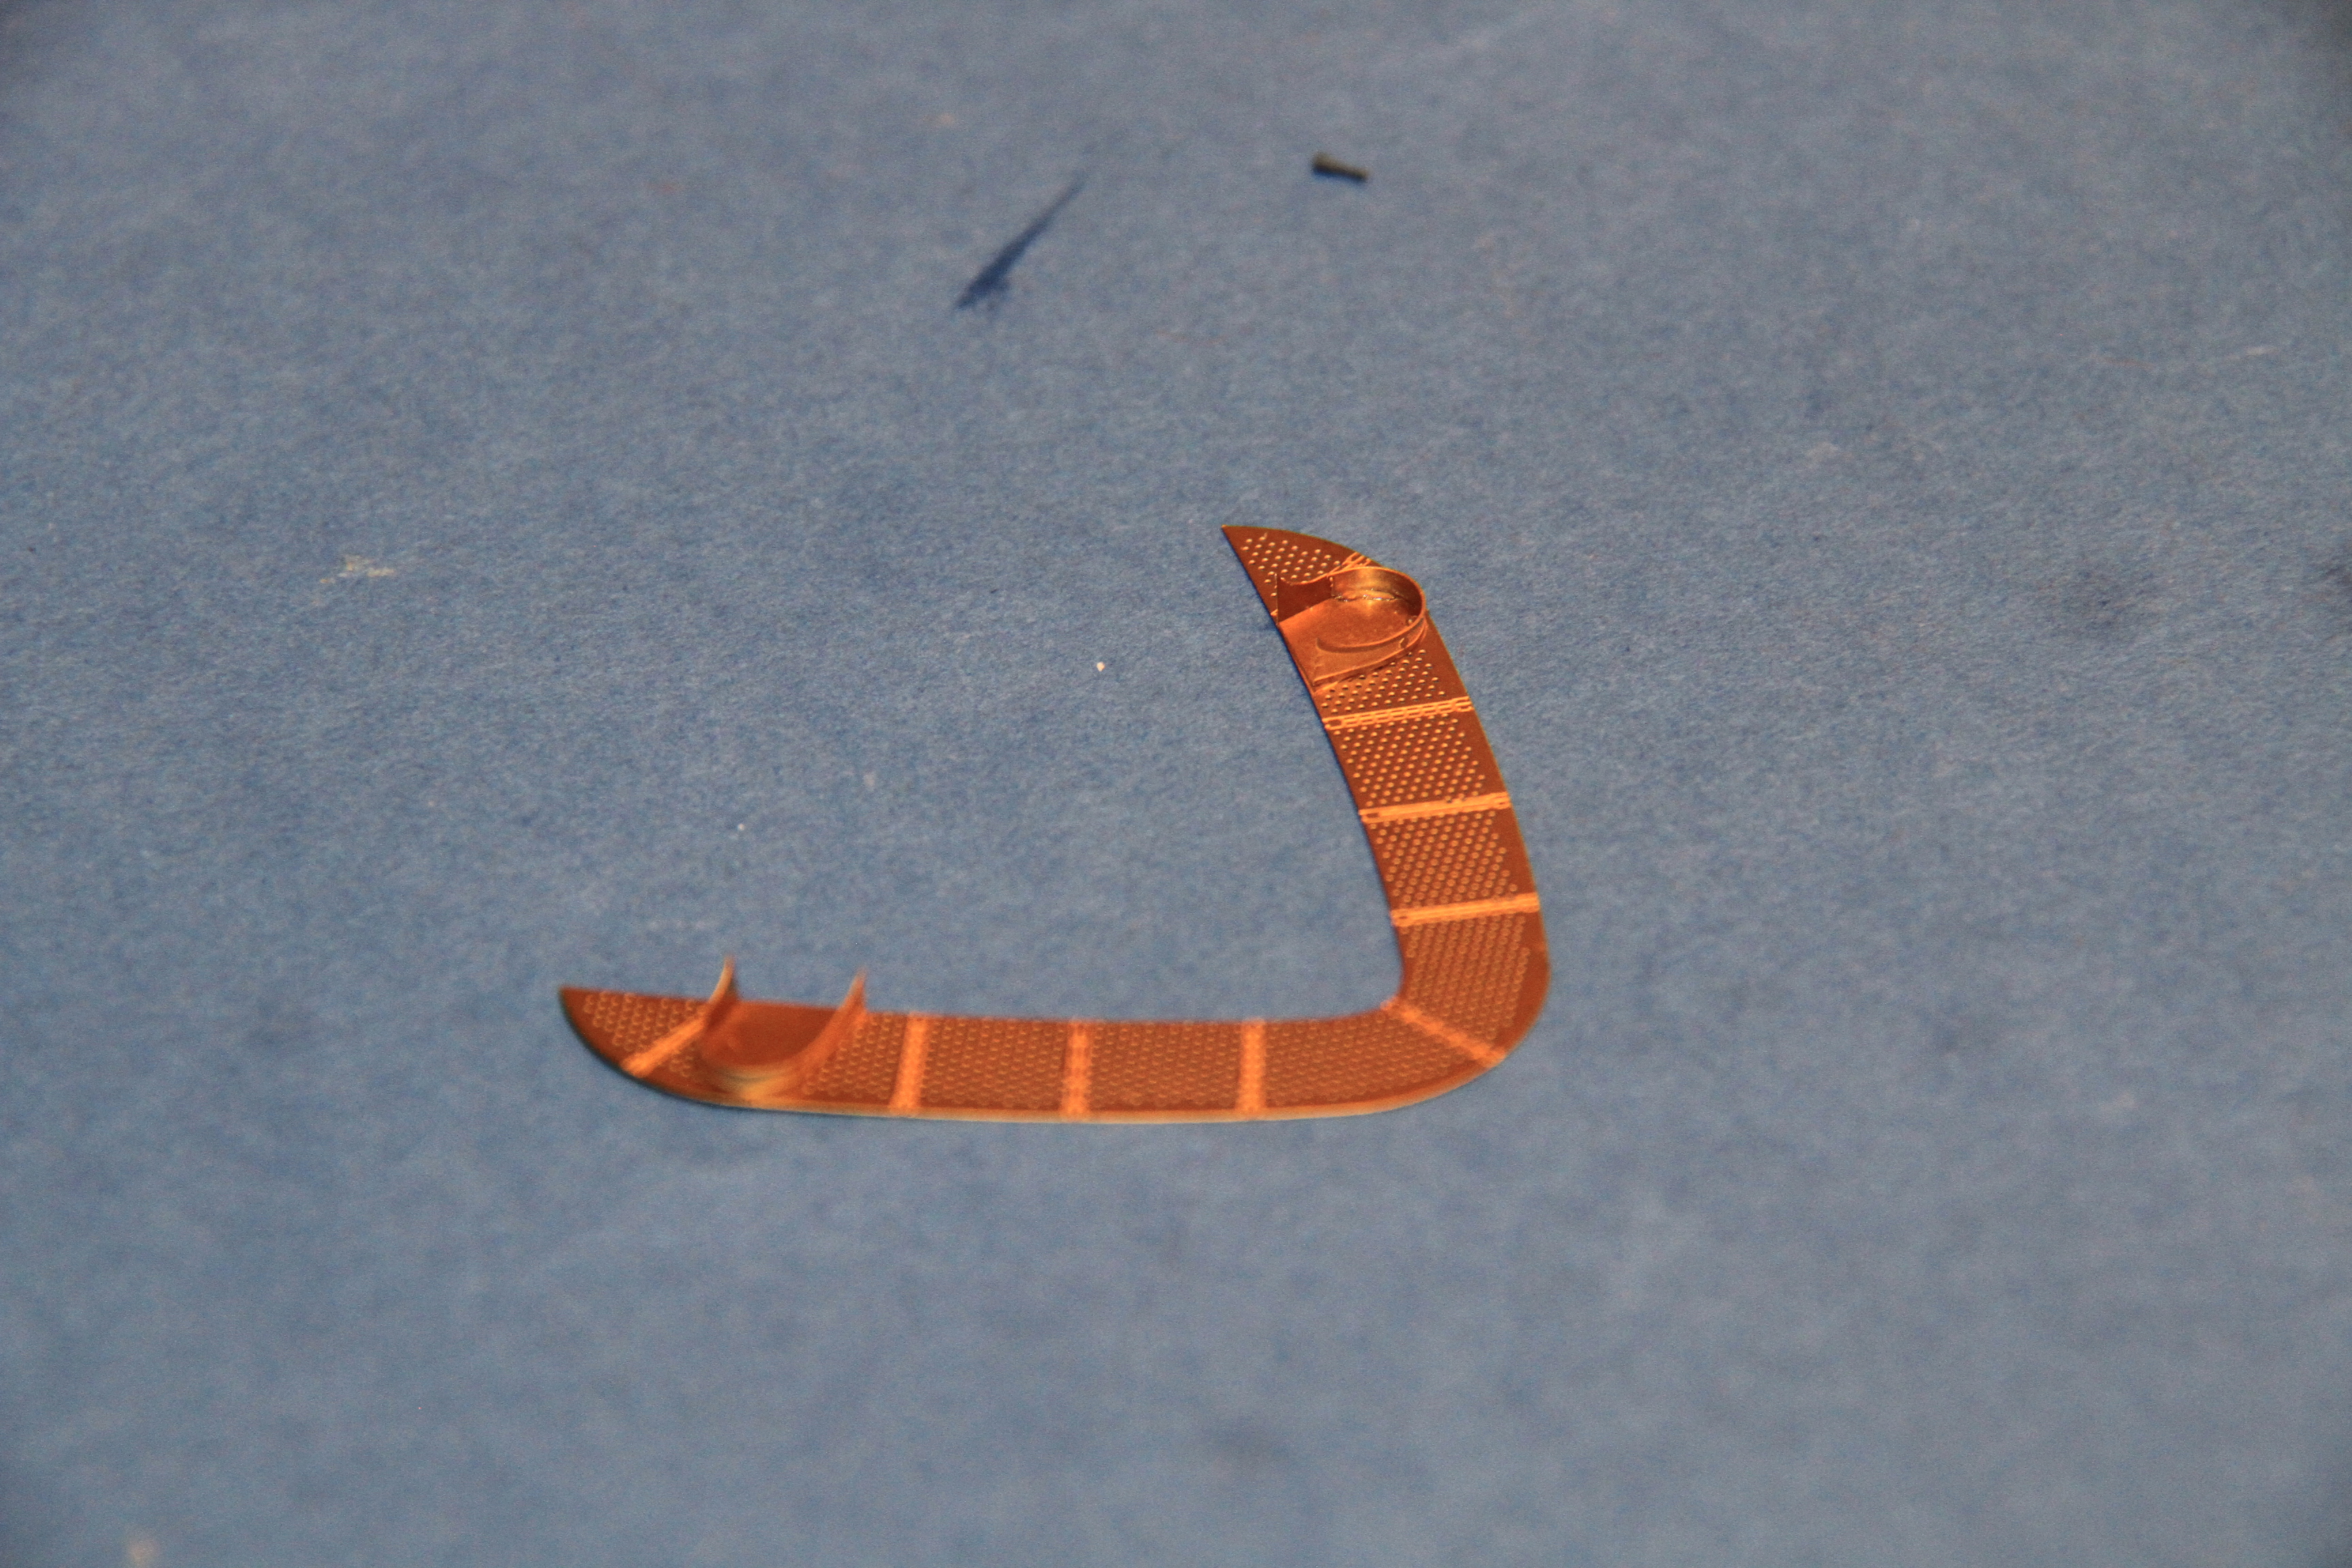
The etched detail added to the forward breakwater, it did have to be annealed to get it bend. That is the discolouration on the brass.
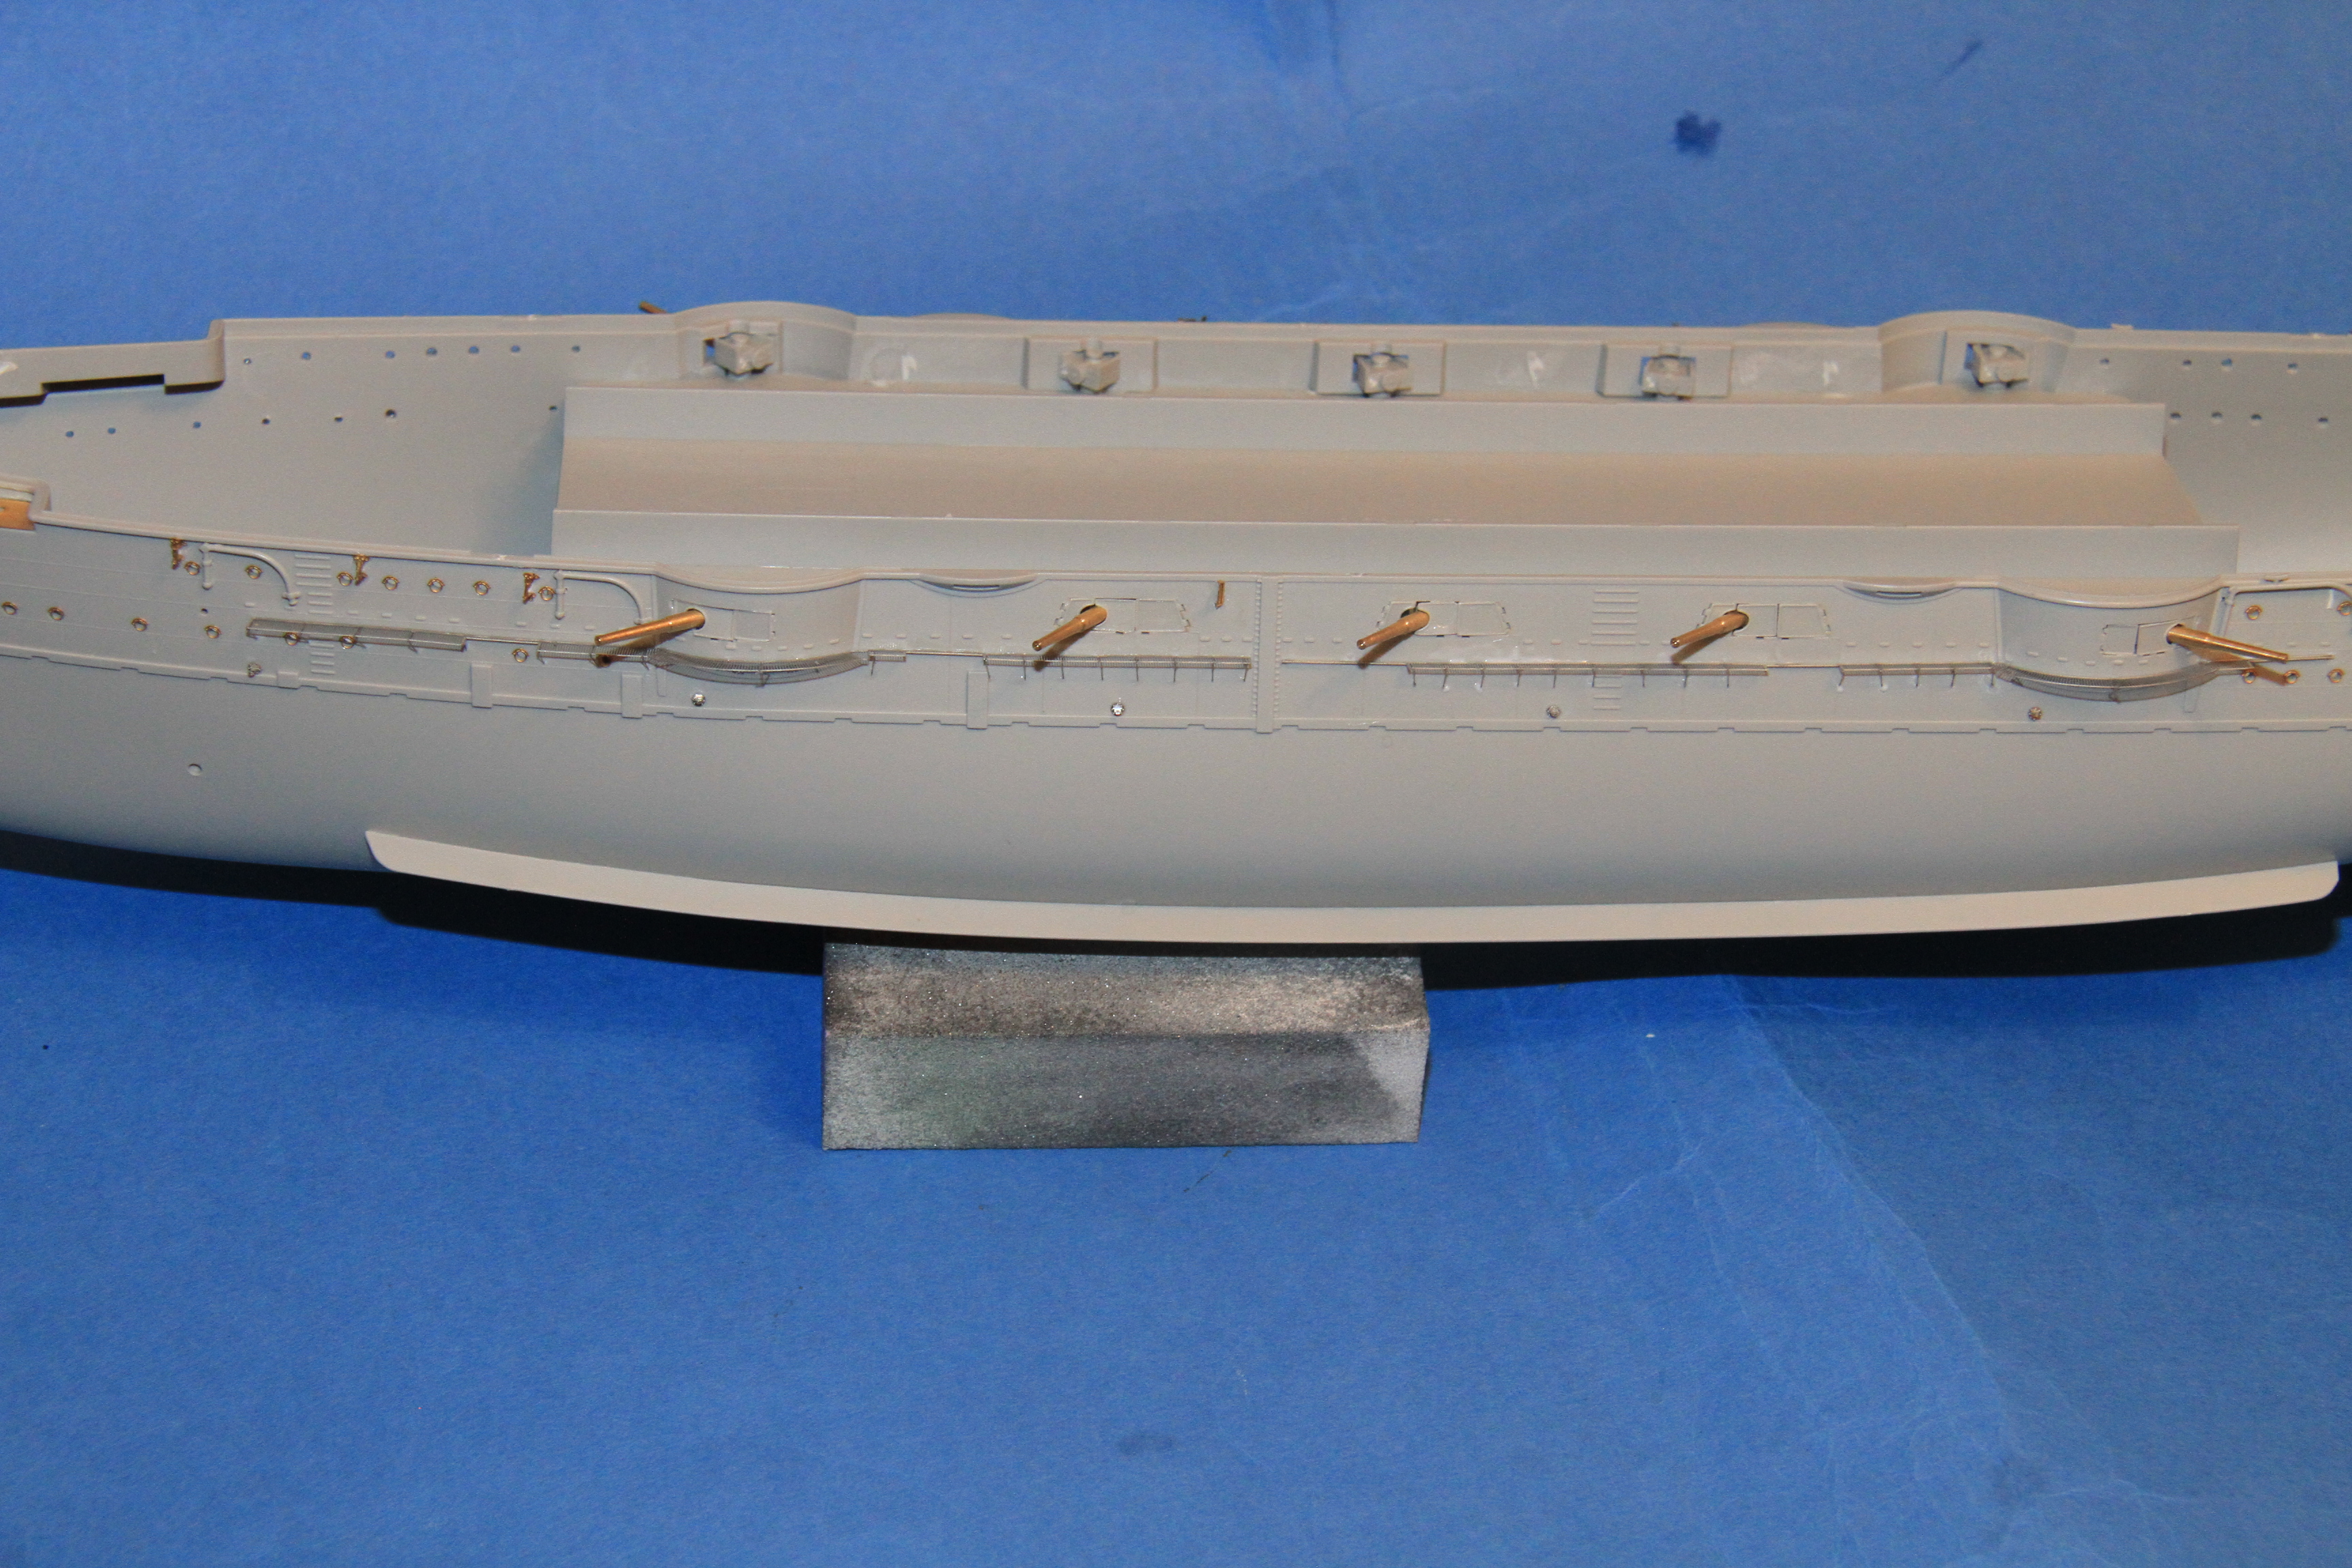
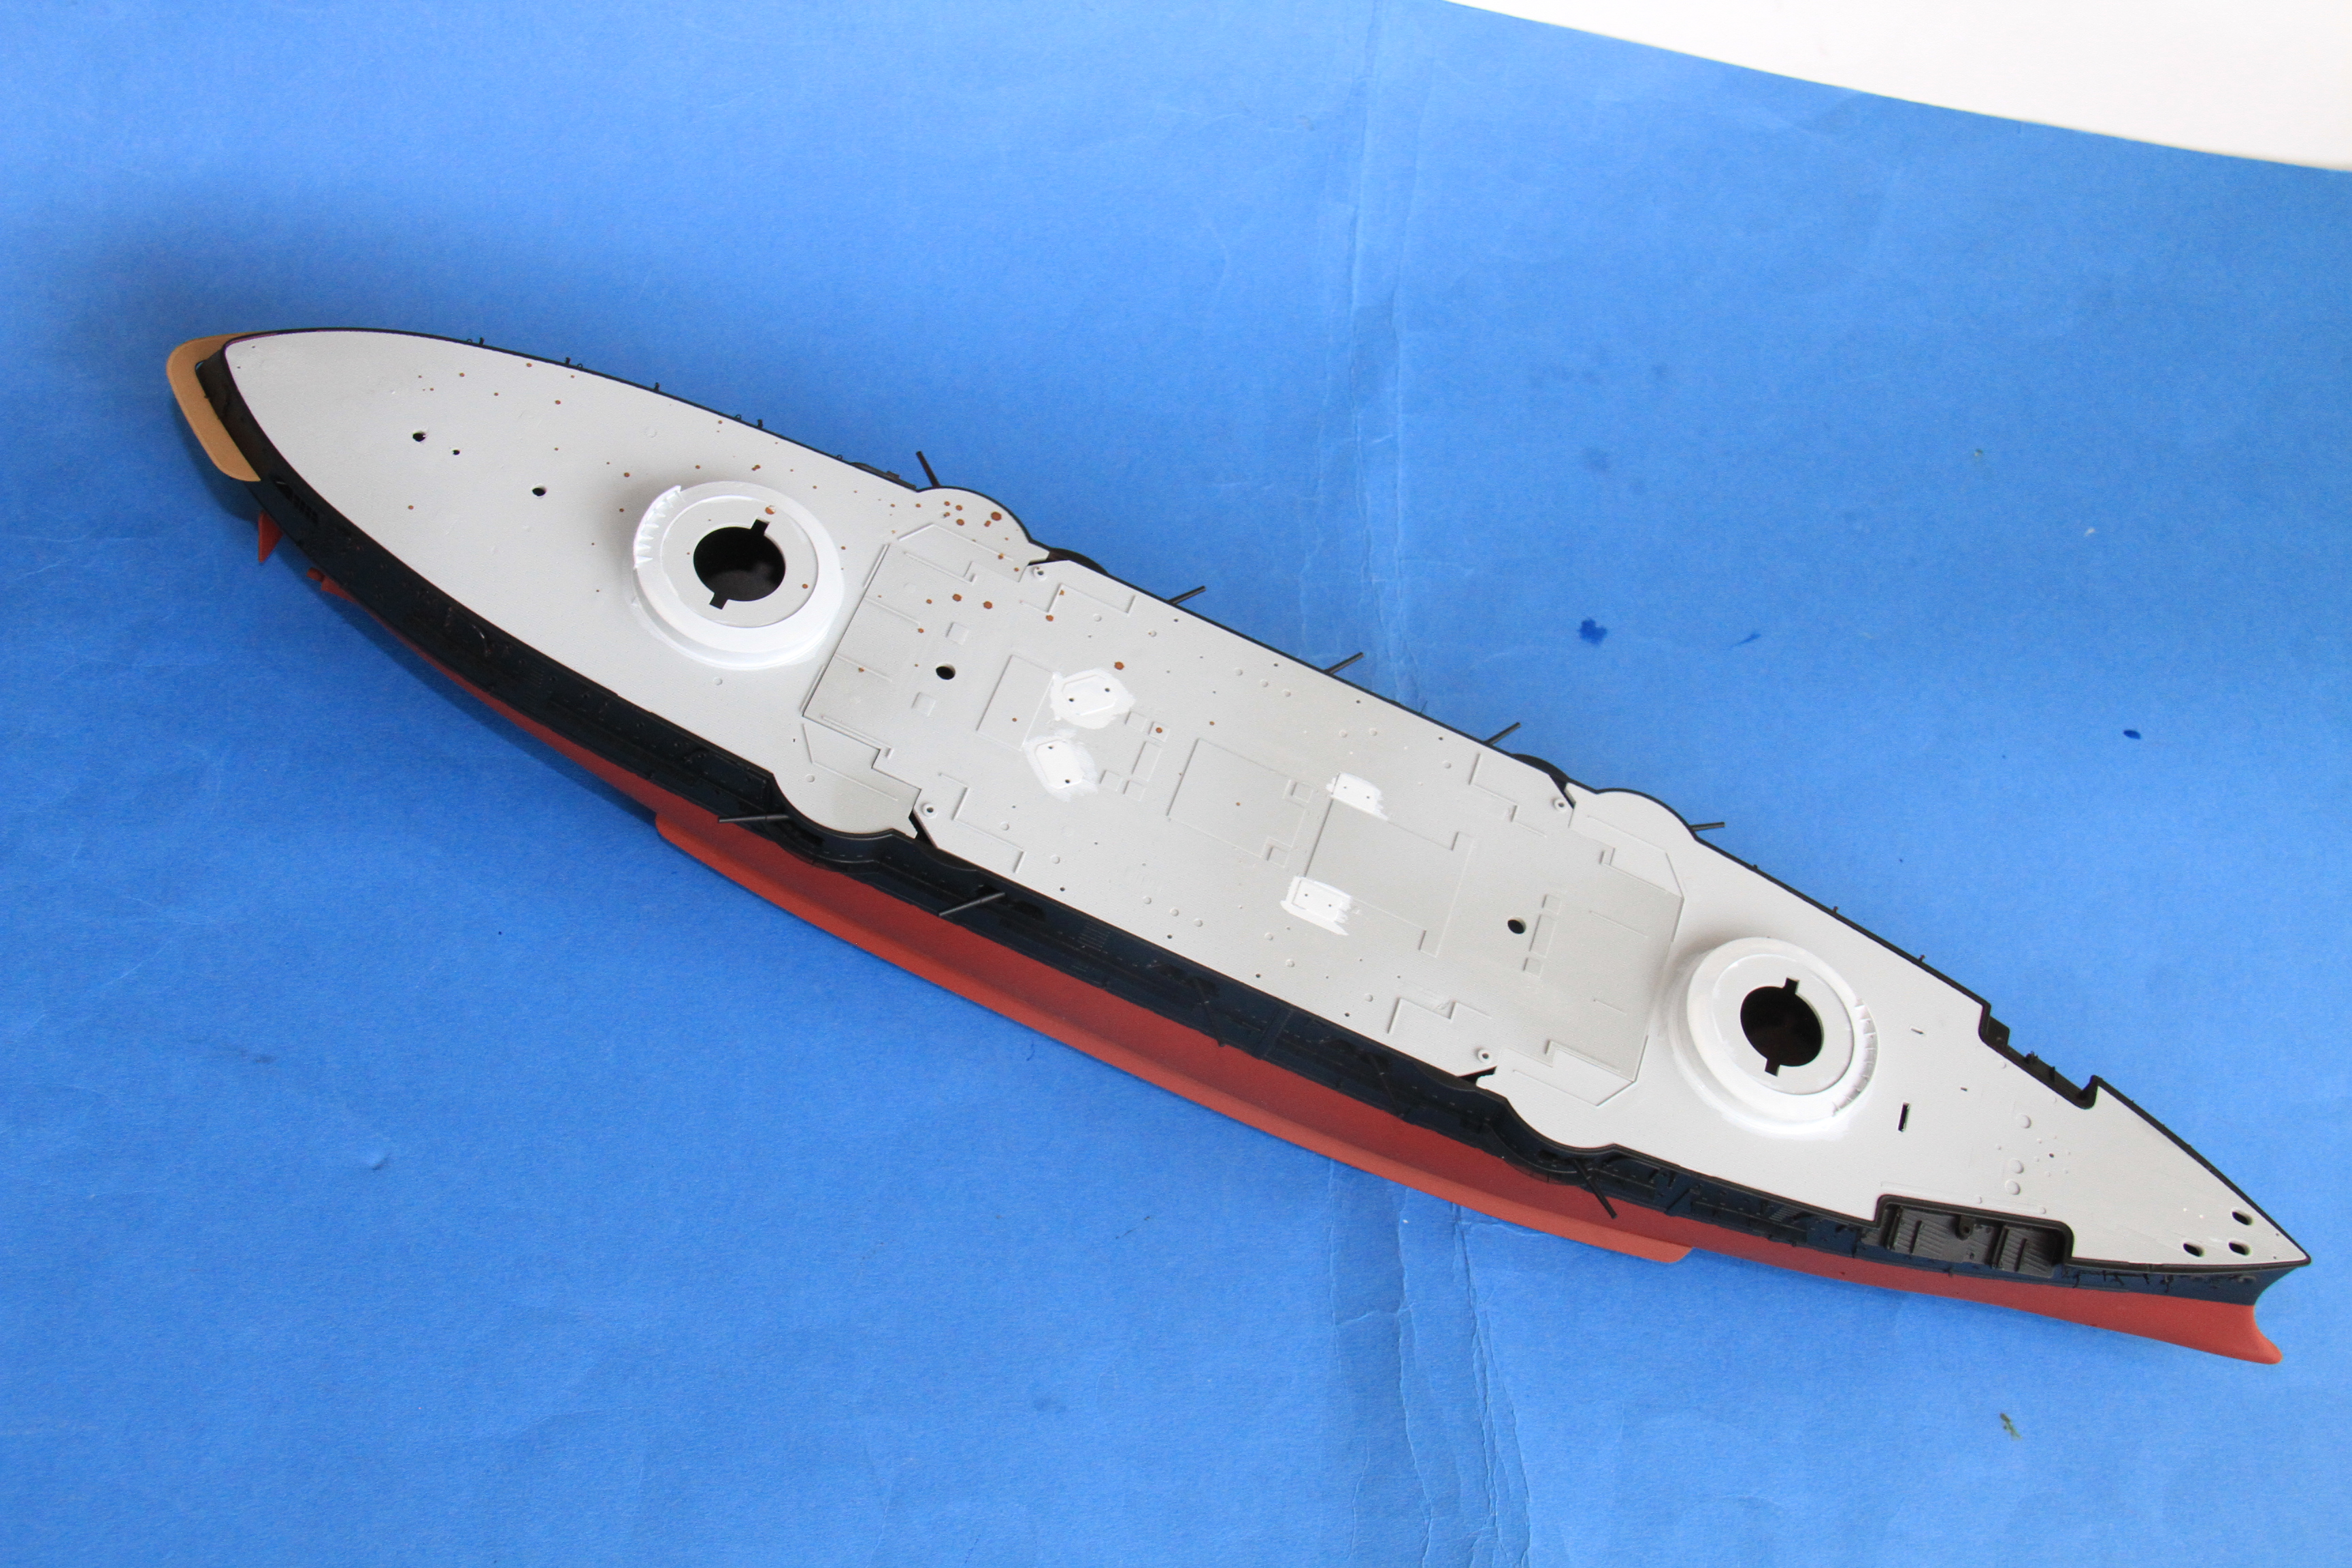
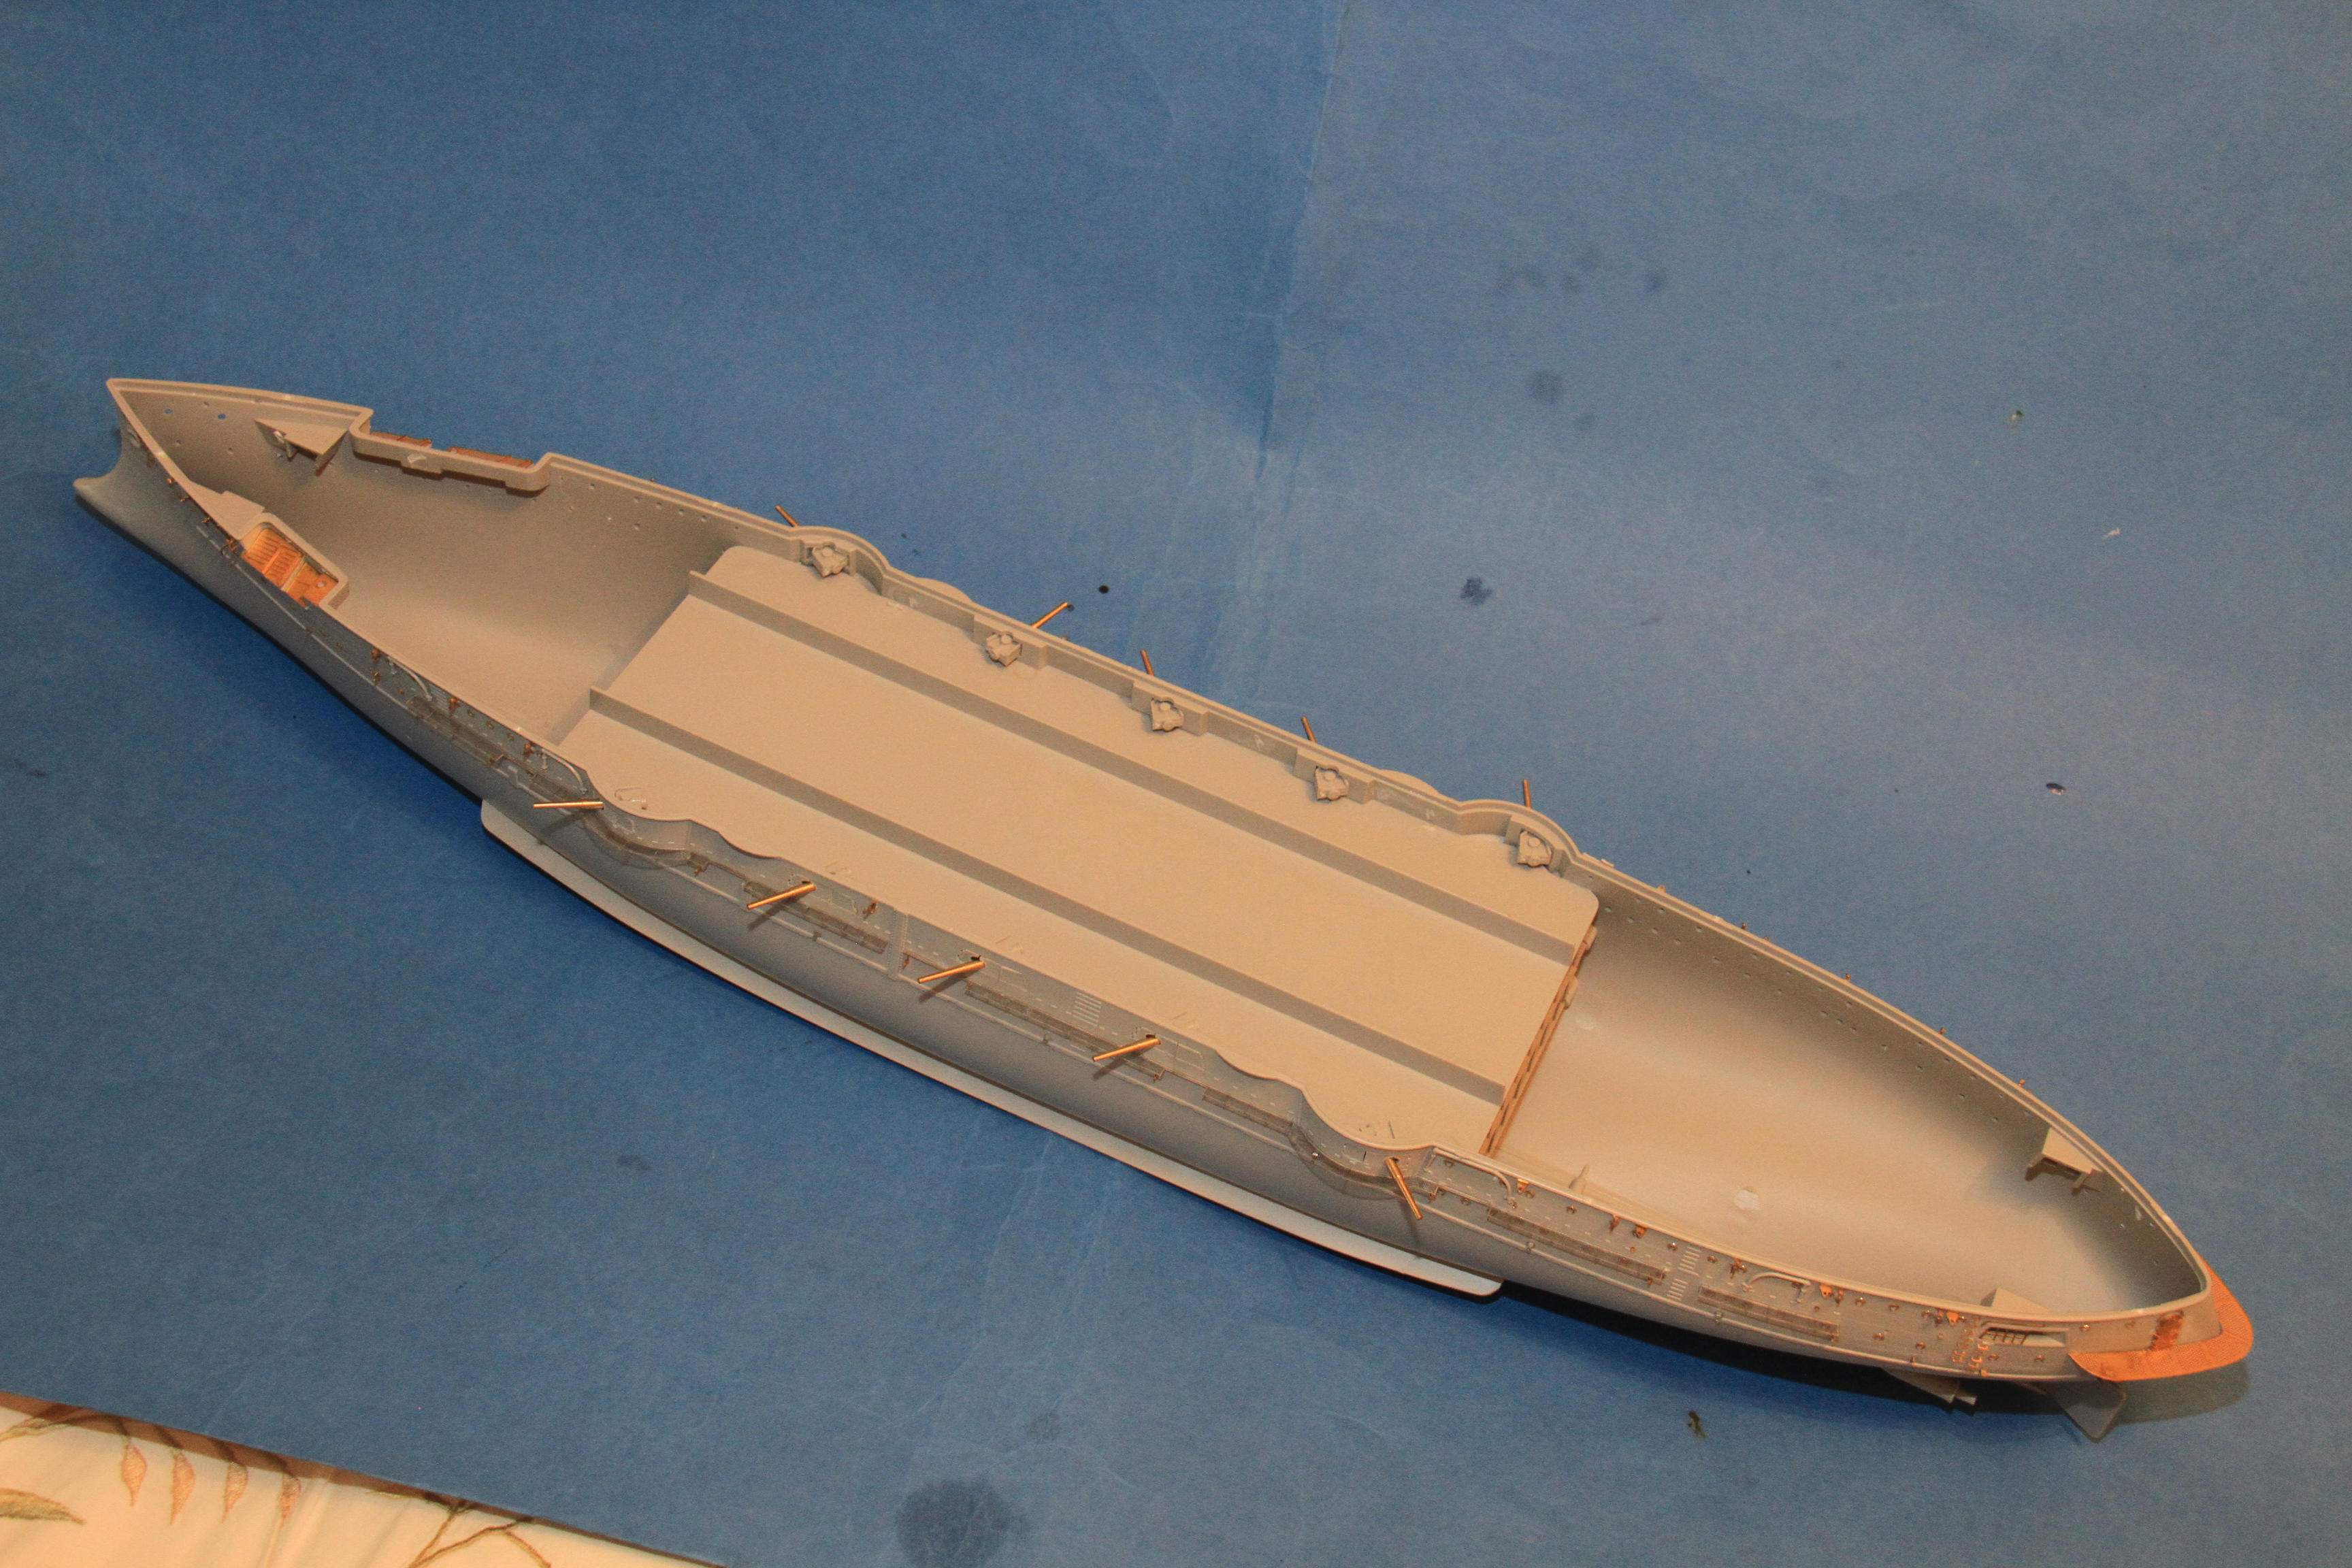
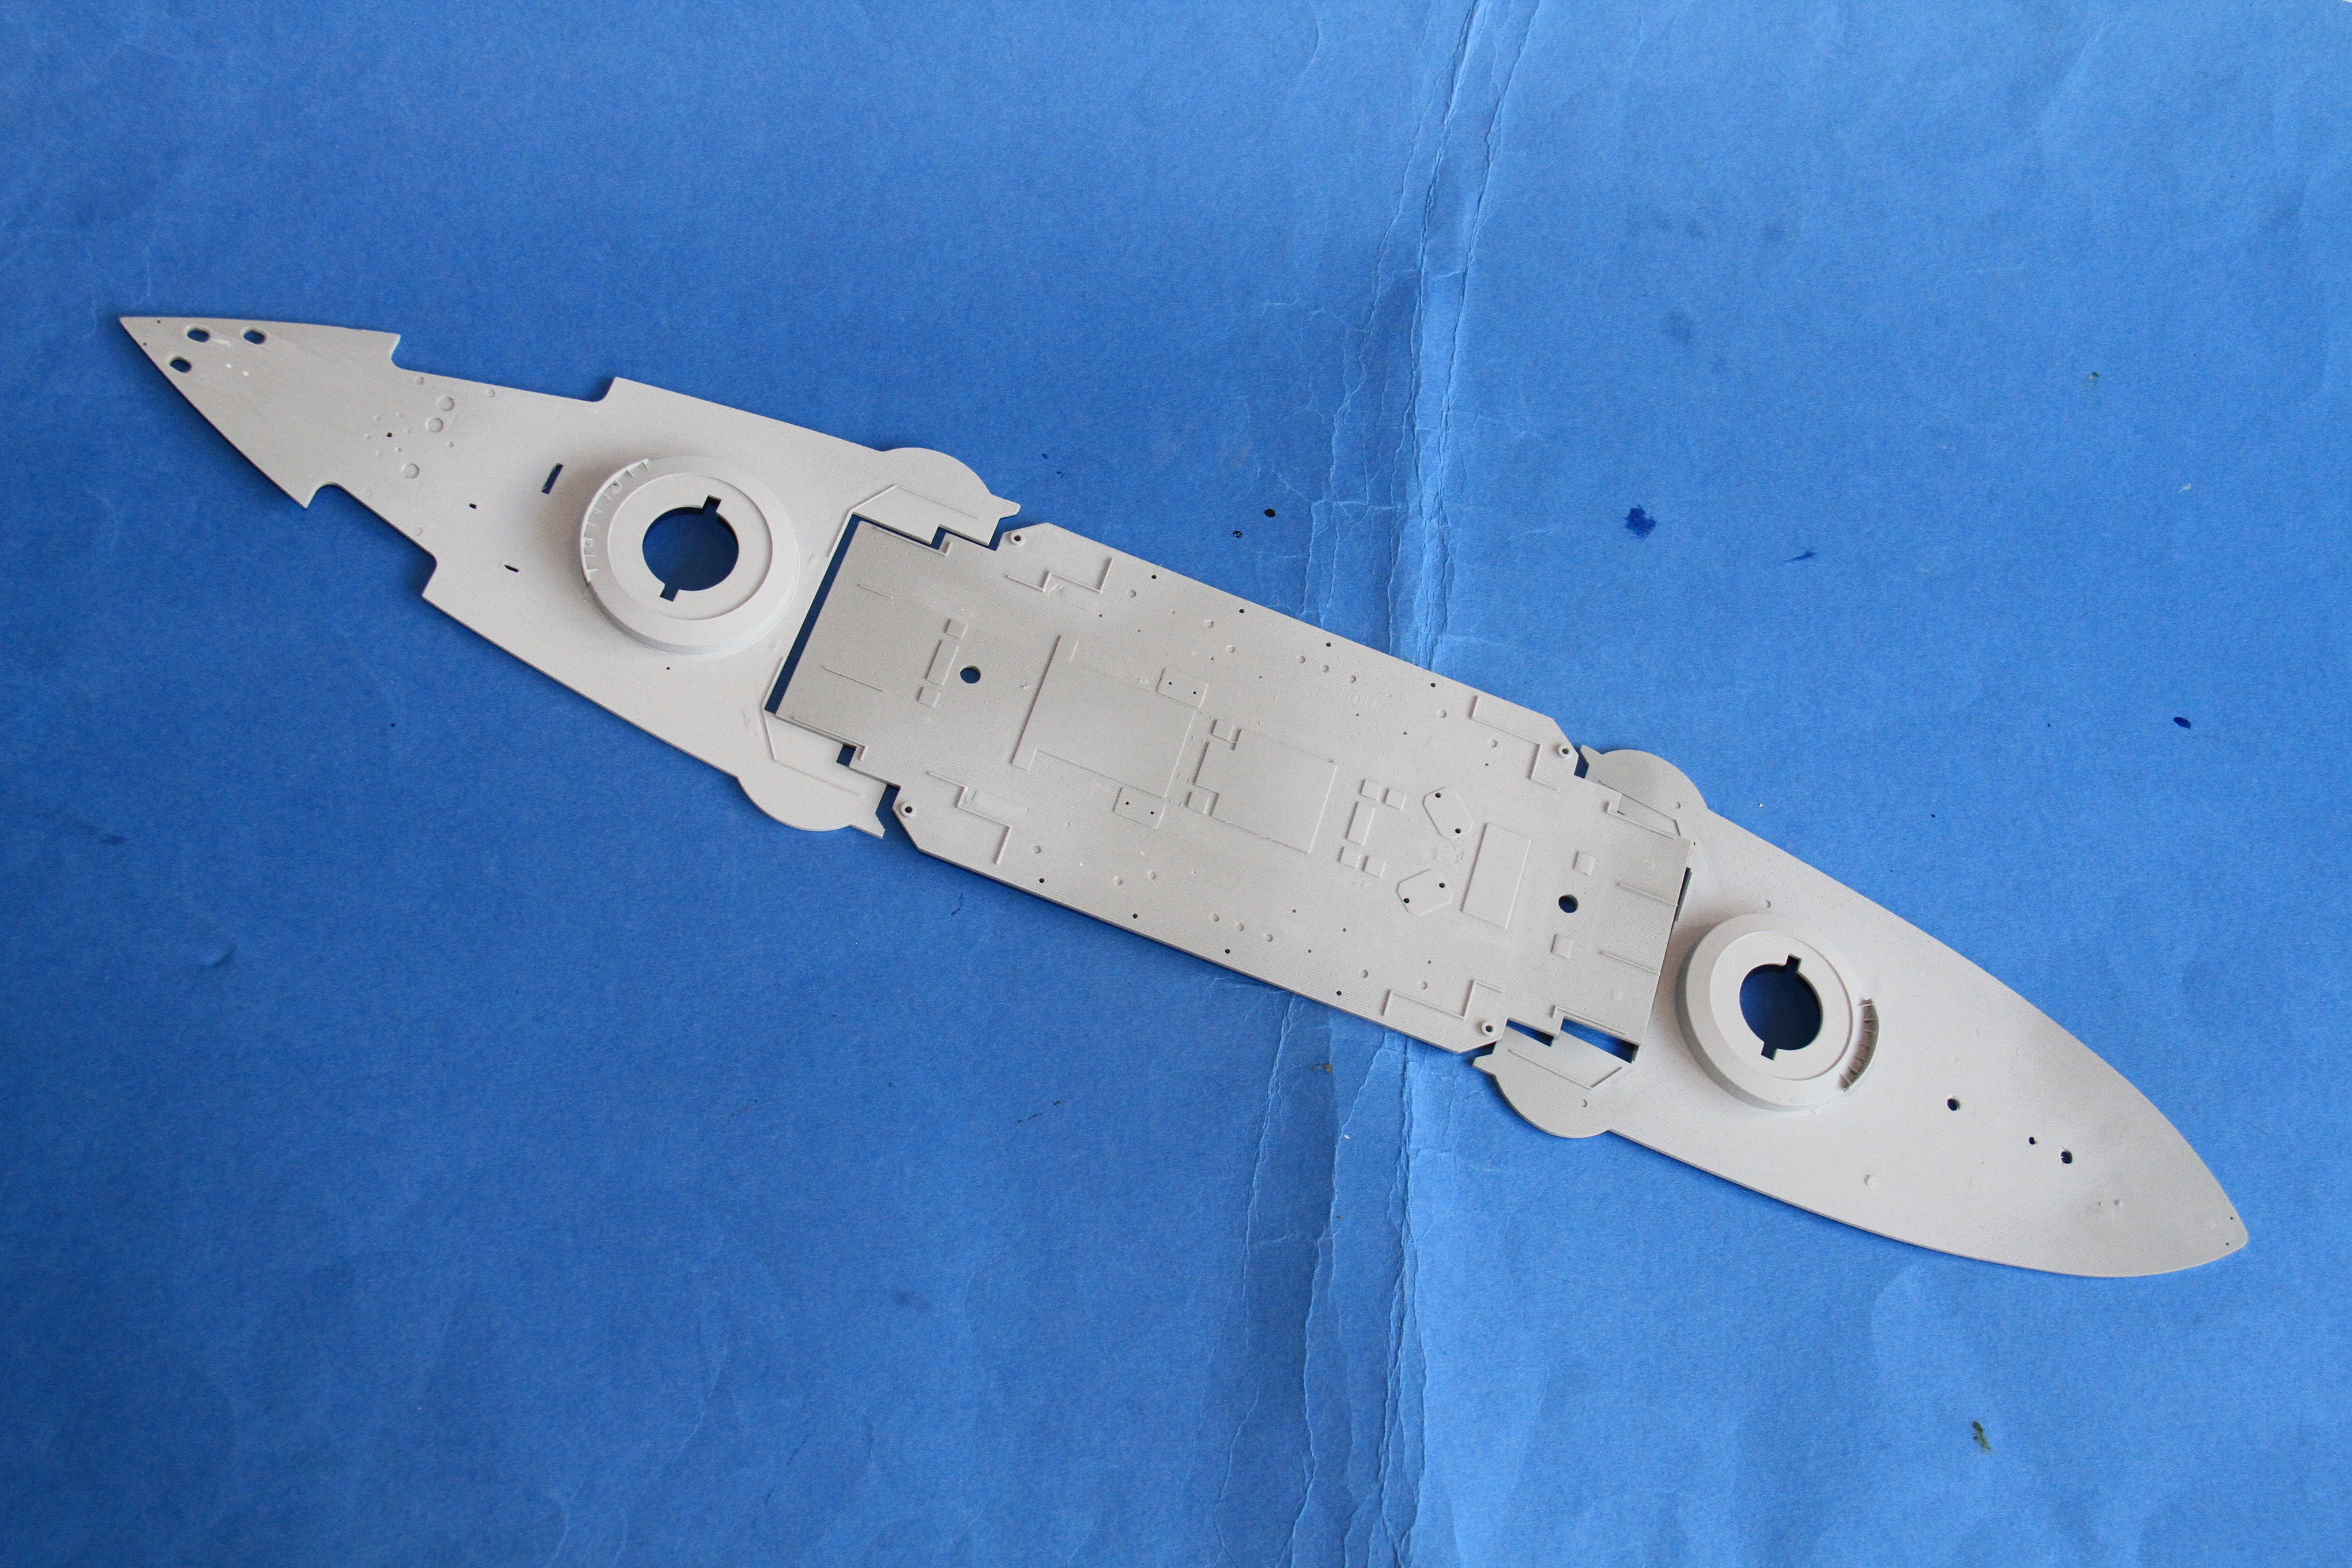
The lower hull masked, ready for spraying.
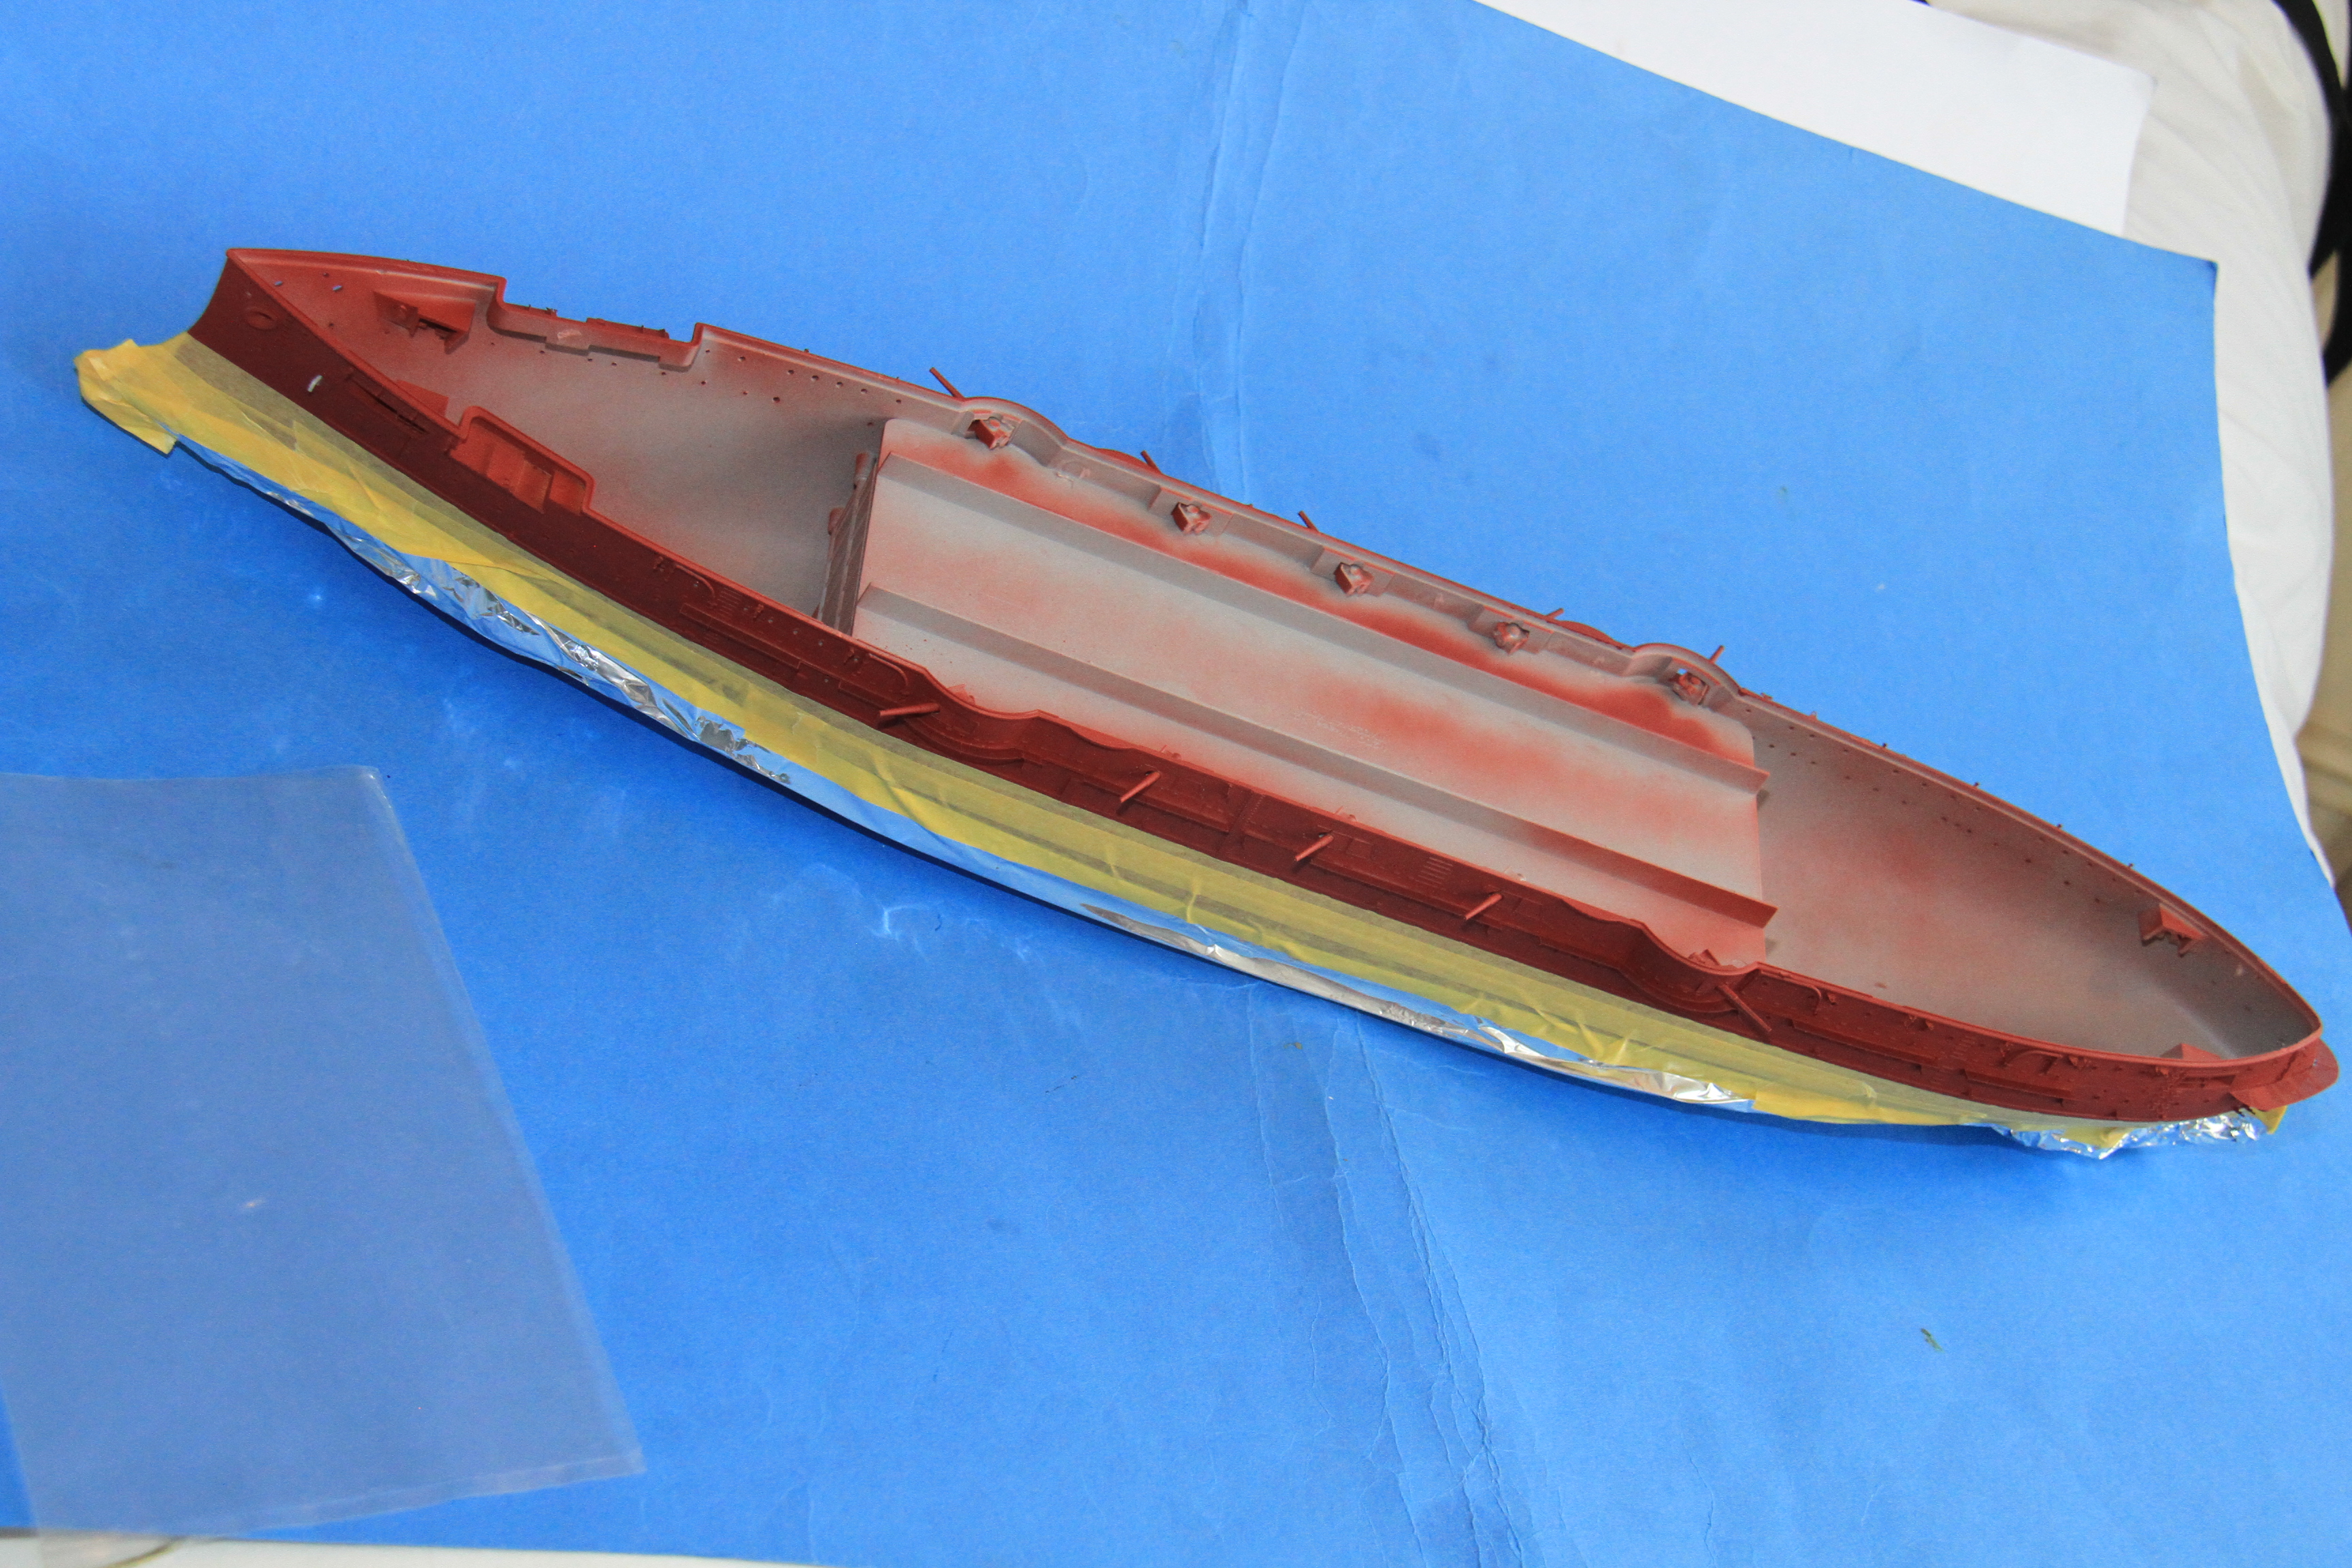
Sprayed.
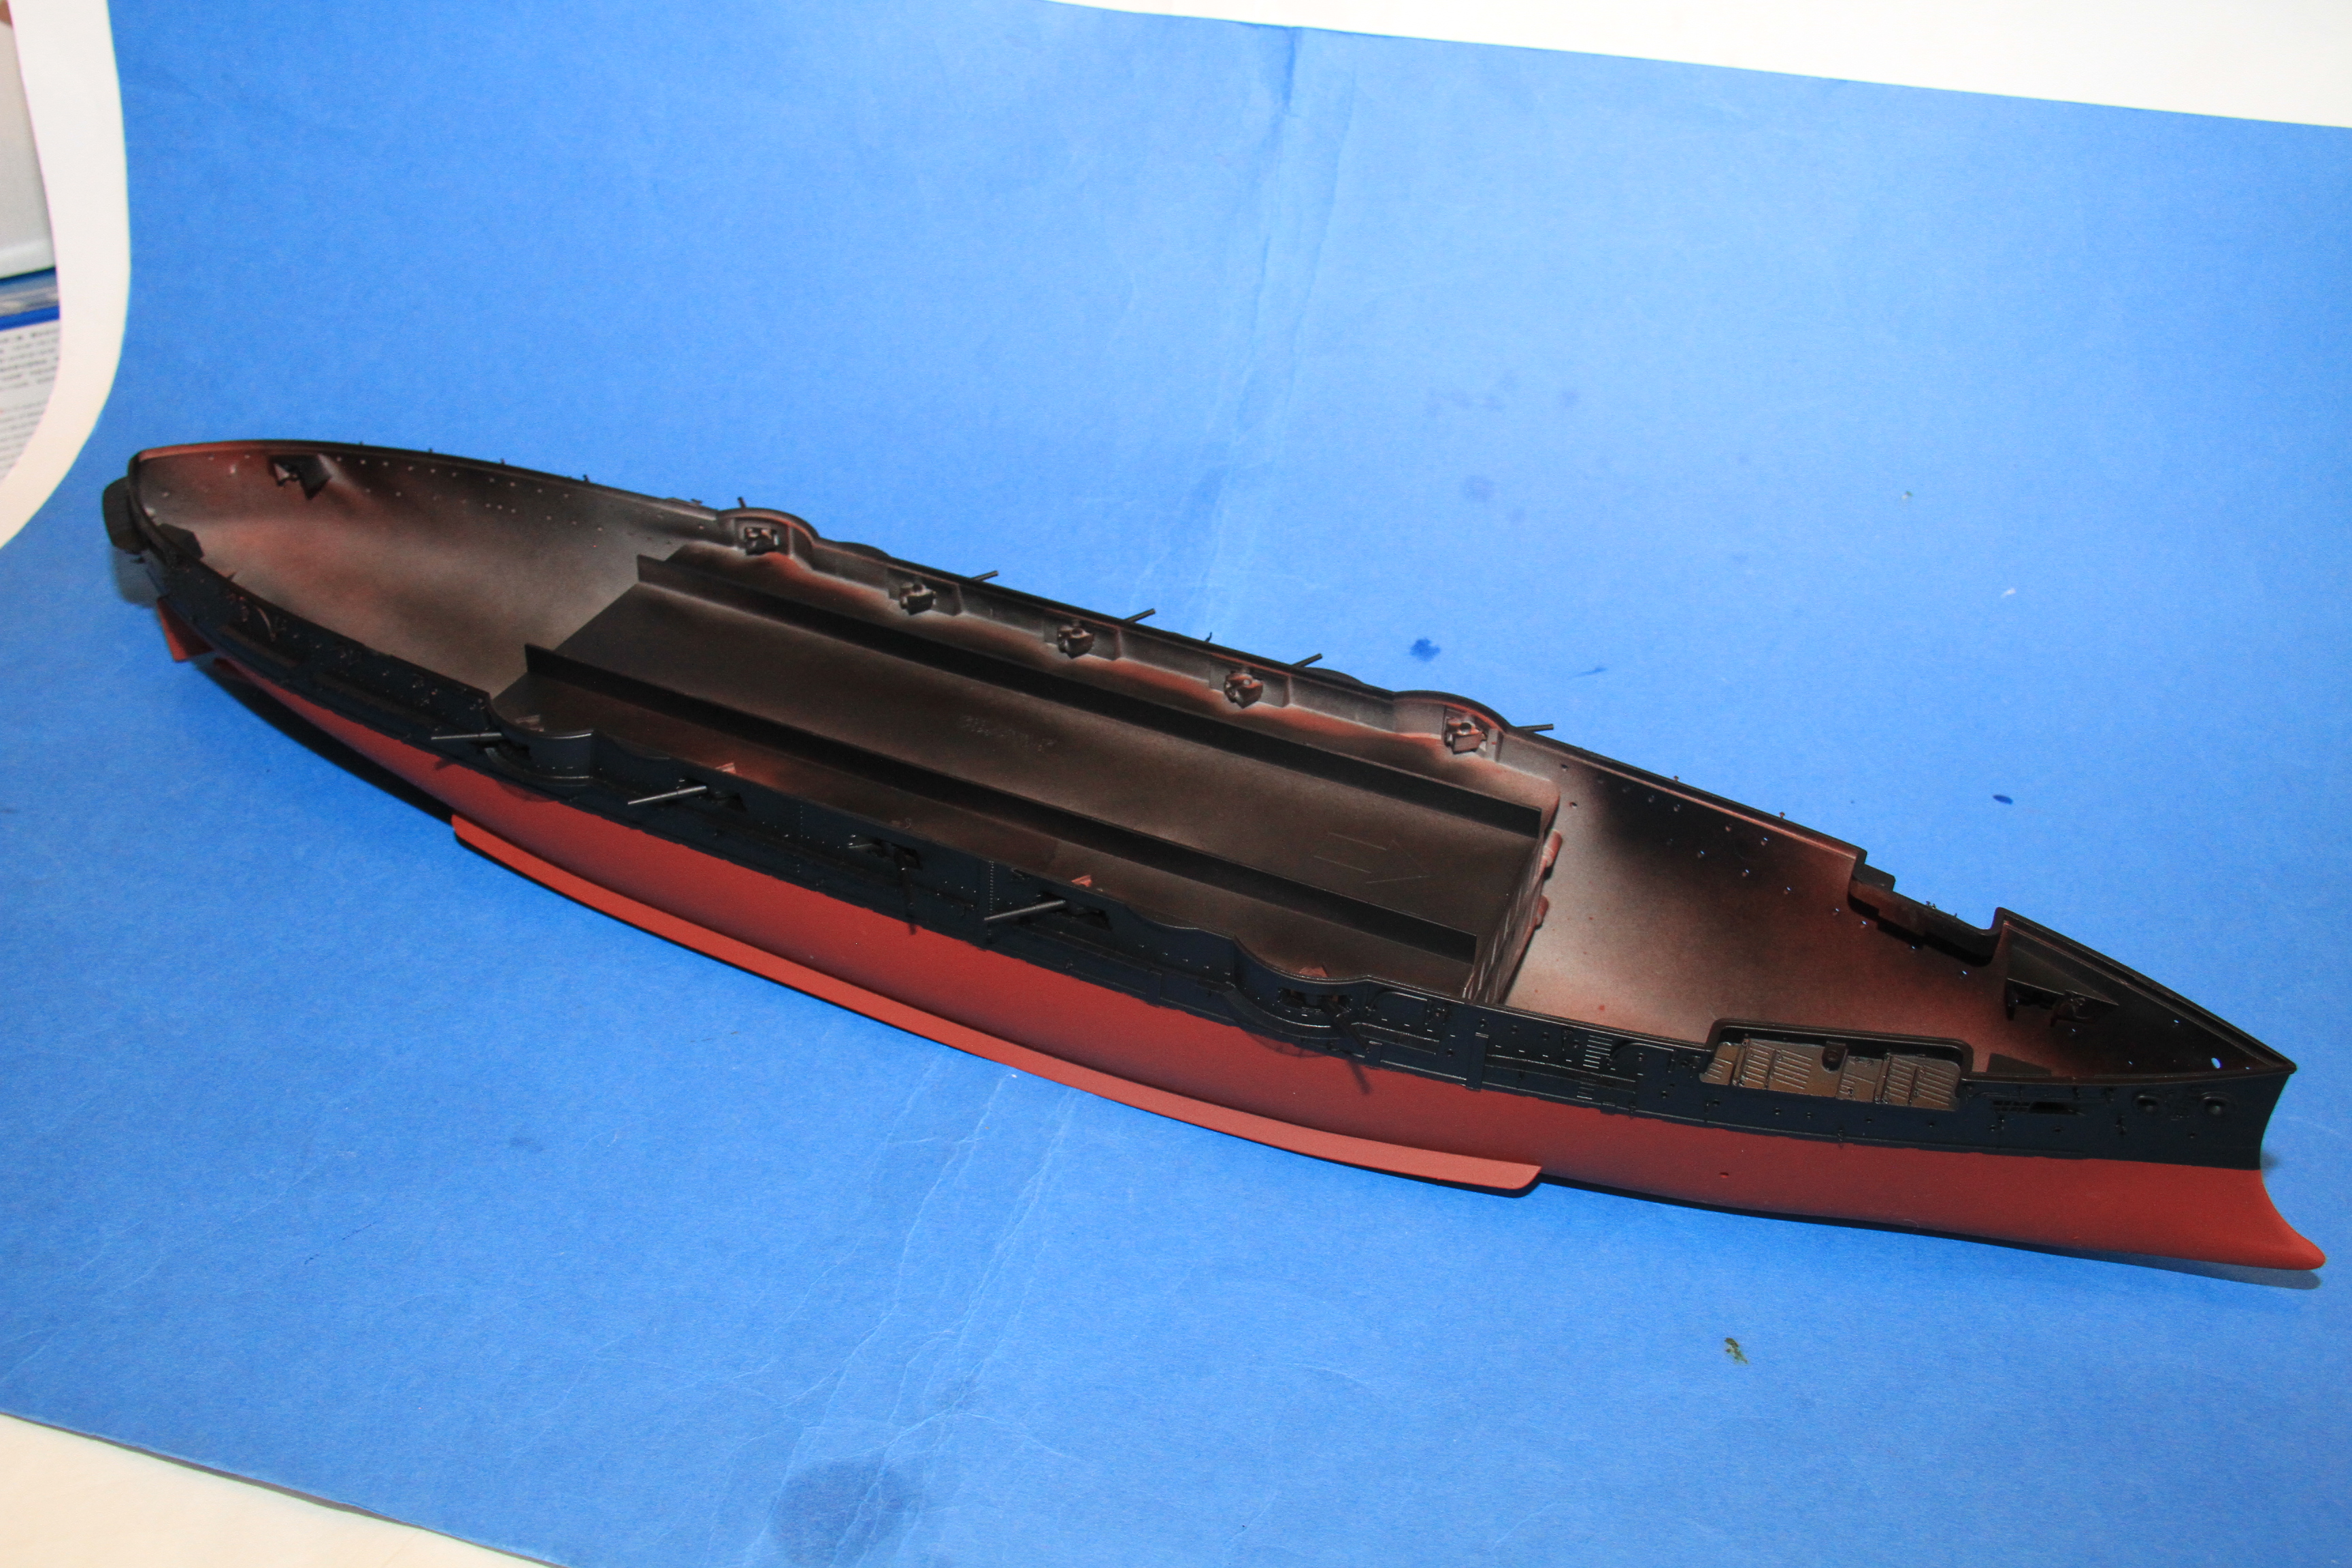
along with the 3" guns.
The barbettes and other deck areas not covered by wood sprayed white.
Next jobs, fitting the 3" guns then the maindeck.
More soon.
Cheers
Si