

Go to modelshipwrights.com for the current dynamic site!


1⁄35Building the Oktabriskaya Revolutsia
1
Comment
The forward bulwarks adjacent to the anchor windlasses were made of paper infused with CA, as were the chainways and the fwd breakwater. The main capstans and windlasses were made of modelrailway locomotive washout plugs on 4mm scale( OO/Ho and 2mm ( N-scale) scale respectively. One should never underestimate the value of a trawl through a well stocked modelrailway shop, for brass bits as well as alternative PE parts--many of which have great 'crossover' value.
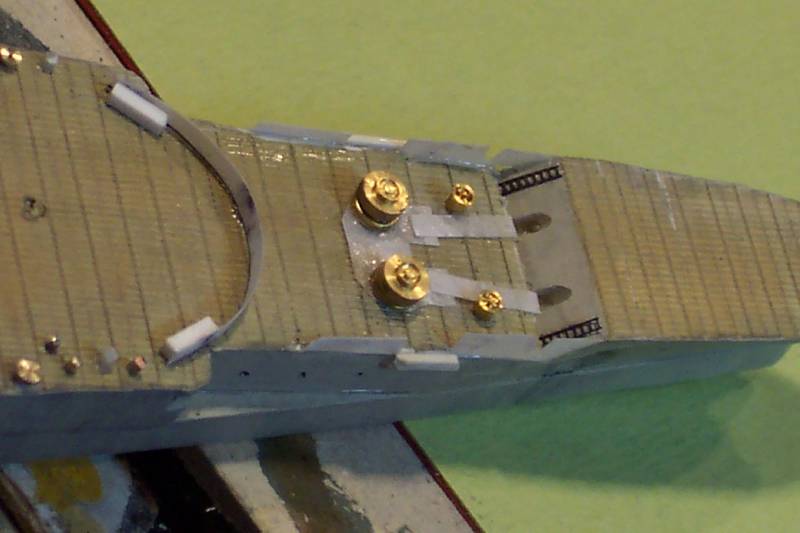
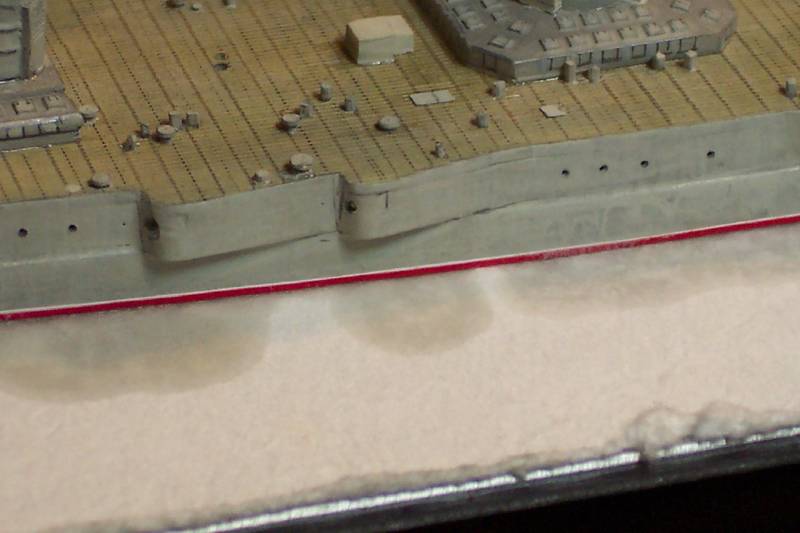
The Breakwater supporting gussets were added later using small pieces of stretched sprue then infilled with thinned white glue--this saves lots of trial and error with ever decreasing triangles. The side armour belt extended forward adjacent to the anchor handling area, this was replicated using the RC Cammet self adhesive tape for a sharp and crisp effect .
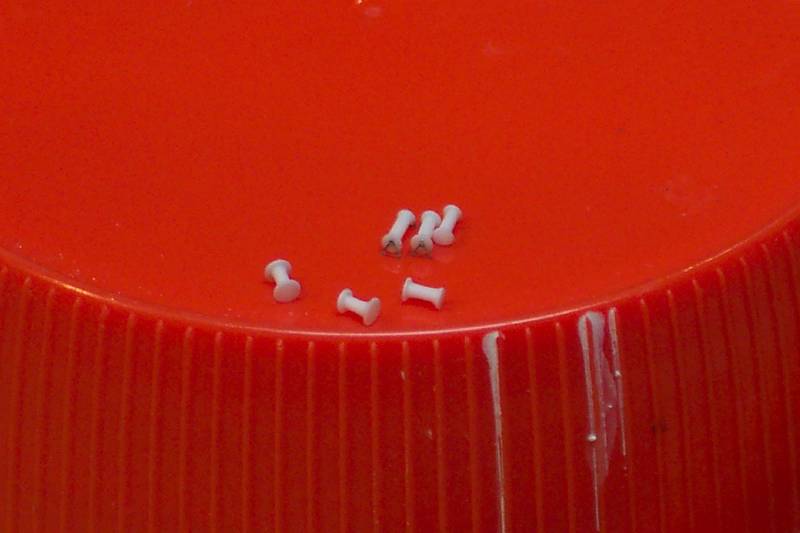
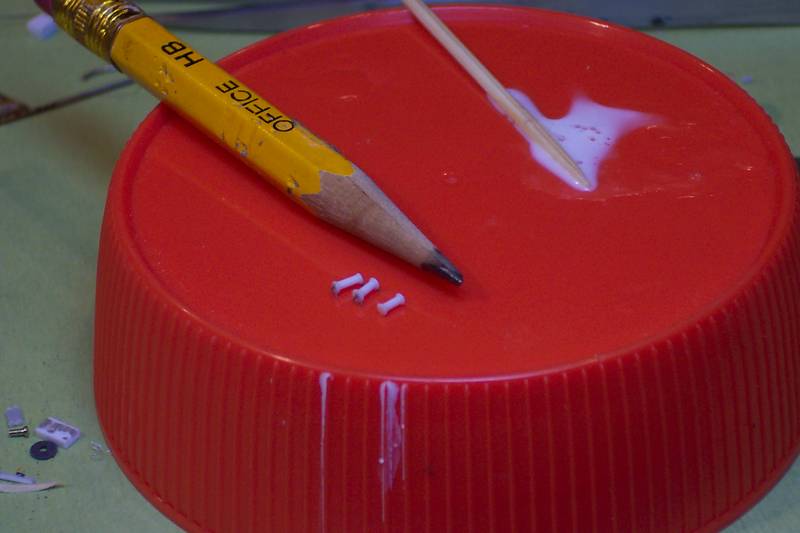
Alongside the breakwater, vertically beside the forward and aft bridge structure there were required large cable reels-of un-usual proportions compared to European/US types. I made the drums and ends by placing a heated smooth knife blade to styrene rod and allowing to cool before removing. These items then had their support legs added using scrap handrail parts folded into a triangle; both easy and effective in a small scale.
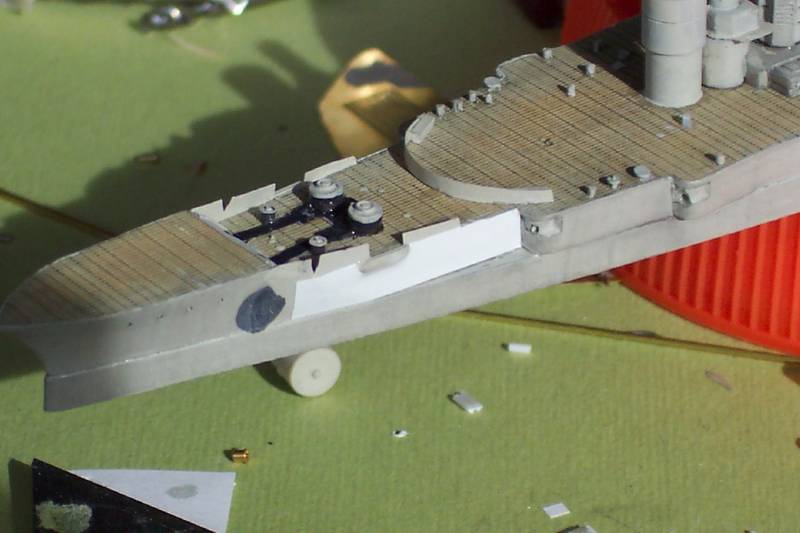
Having painted the hull and done some prelimenary weathering I applied the underwater with bootop trimline this was effeceted by first appliying some white RC Cammett tape and then covering with a strip of narrower red. The edge on the underside of the hull then had runny CA applied so as to prevent any subsequent slippage or distortion.
The Breakwater supporting gussets were added later using small pieces of stretched sprue then infilled with thinned white glue--this saves lots of trial and error with ever decreasing triangles. The side armour belt extended forward adjacent to the anchor handling area, this was replicated using the RC Cammet self adhesive tape for a sharp and crisp effect .
Alongside the breakwater, vertically beside the forward and aft bridge structure there were required large cable reels-of un-usual proportions compared to European/US types. I made the drums and ends by placing a heated smooth knife blade to styrene rod and allowing to cool before removing. These items then had their support legs added using scrap handrail parts folded into a triangle; both easy and effective in a small scale.
Having painted the hull and done some prelimenary weathering I applied the underwater with bootop trimline this was effeceted by first appliying some white RC Cammett tape and then covering with a strip of narrower red. The edge on the underside of the hull then had runny CA applied so as to prevent any subsequent slippage or distortion.
About the Author


Comments

Another one of my JB favourites, always a treat to study this build.
Peter F
AUG 06, 2007 - 07:56 PM
Copyright ©2021 by Jim Baumann. _OPINIONS Model Shipwrights, KitMaker Network, or Silver Star Enterrpises. Images also by copyright holder unless otherwise noted. Opinions expressed are those of the author(s) and not necessarily those of Model Shipwrights. All rights reserved. Originally published on: 2007-07-20 00:00:00. Unique Reads: 7686

WEB HOSTING BY


Copyright ©2021 Model Shipwrights and Kitmaker Network, a subsidiary of Silver Star Enterprises
All Rights Reserved. Please read our Conditions of Use and Privacy Policy.
All Rights Reserved. Please read our Conditions of Use and Privacy Policy.