

Go to modelshipwrights.com for the current dynamic site!


Roman Warship, 50BC
10
Comments

"MSW crew-mate Arthur Macon (ArthurSC) shares a gallery of images of his latest build, Academy Models Roman Warship, 50BC, in this "On Display" Feature!
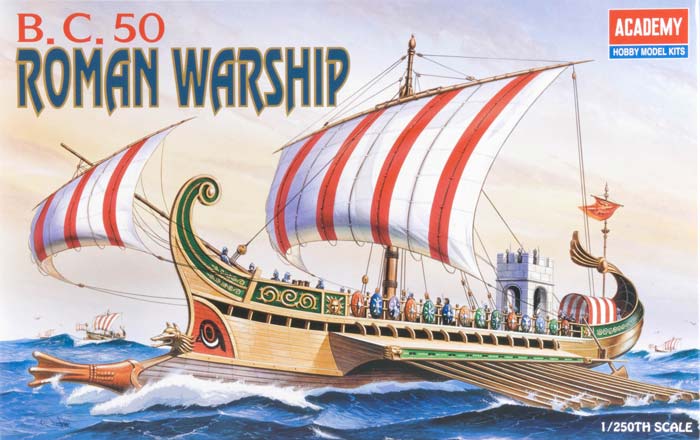
Base Kit- Academy Models, 1/250 scale, Roman Warship, 50BC, #1401
Model Length: 13" (33cm)
Model Width: 3-1/2" (8.7cm)
Model Height: 11" (27.8cm) (approximately)
Roman warships were fearsome weapons, and a major factor in the expansion of the Roman Empire. The ships were powered by sails and oars, and armed with the spears and swords of the soldiers on board. Protection was provided by many removable shields along the sides of the craft.
A unique "proboscus" on the front of the ship was a reinforced ram, often used to spear enemy ships. In the event an enemy ship remained skewered to the Roman ship, the soldiers would leap aboard and engage in hand-to-hand combat.
I added brailing lines and rings (painted shinny bronze) which hold the lines on the sail before attaching to the main mast. The rings were made from sewing needles, curved around a needle-nose pliers, cut and installed with Gator Grip Glue. Brailing lines were not included with the kit, so I had to build a post to attach them to the deck. I also used Bob Kerr's dead-eye rigging tool on my kit.
A great kit to learn how to rig a ship. (My first time rigging a sailing ship)...


About the Author


FROM: SOUTH CAROLINA, UNITED STATES
My first model was a WW I four stack destroyer, the maker I have long forgotten but the ship I will always remembered. This was about 1960 and my grandfather was working on the naval base at Pensacola Fl. After that I was hooked on building and have never given up trying to make better models. I ...
Comments

That is really nice and totally different from recent ships. Thank you for sharing Arthur.
JAN 31, 2009 - 11:07 AM


Thanks, it was fun to do something different, and learn a few new tricks along the way.
FEB 01, 2009 - 09:52 AM


I was very glad to see this. I have the same kit and have been trying visualize how it would look. Thanks for sharing!
FEB 05, 2009 - 07:32 AM
Hey Steven
No real issues for the build, the oars are a bit of a pain because the Testors liquid glue is very aggressive on Academy styrene. You might want to use super glue when setting them in place. Forget about it being to scale because its not. I figured it out to be closer to 1/100 than 1/250. So just have fun with it and forget about any accuracy issues. I enjoyed it and I think you will too.
If you have any question feel free to write, Ill be happy to help.
FEB 05, 2009 - 03:24 PM
First question: what colors did you use to get that nice deep brown (almost stained look)?
FEB 06, 2009 - 11:42 AM
That was a mix of Testors enamel brown (the small bottle) and MM leather. It was thinned so it could be used in my airbrush but I hand pained it using a #1nylon brush. Light coats each time.
My base coat on the model was MM Dark Tan 30219, and then hand brushed the mix on till I got the shade I wanted. I gave it a final wash with heavily thinned acrylic black to bring out the wood grain.
What looks like black on the outriggers and bottom is a mix as well, with 50% MM 34102 medium green with 50% MM gloss black. What that did was bring a bit of green shading to the dark areas just to keep it from being a pure black. That keeps the viewer guessing that maybe their eyes are playing tricks on them seeing a little green tint when they thought it was just black.
FEB 06, 2009 - 02:48 PM
Great! Thank you for sharing your technique. Again, it does look very nice.
FEB 09, 2009 - 04:33 AM
Copyright ©2021 by Arthur Macon. _OPINIONS Model Shipwrights, KitMaker Network, or Silver Star Enterrpises. Images also by copyright holder unless otherwise noted. Opinions expressed are those of the author(s) and not necessarily those of Model Shipwrights. All rights reserved. Originally published on: 2009-01-31 00:00:00. Unique Reads: 21739

WEB HOSTING BY


Copyright ©2021 Model Shipwrights and Kitmaker Network, a subsidiary of Silver Star Enterprises
All Rights Reserved. Please read our Conditions of Use and Privacy Policy.
All Rights Reserved. Please read our Conditions of Use and Privacy Policy.