Not being able to wait 10 months or so before my first campaign of the year, I've decided to join an exsisting one. Here is my 350th Hasegawa Soya Antartica Observation ship/ Icebreaker. I think Skipper is building the same ship, his being the 700th Sealsmodel kit, so I hope he doesn't mind sharing the ice flows.
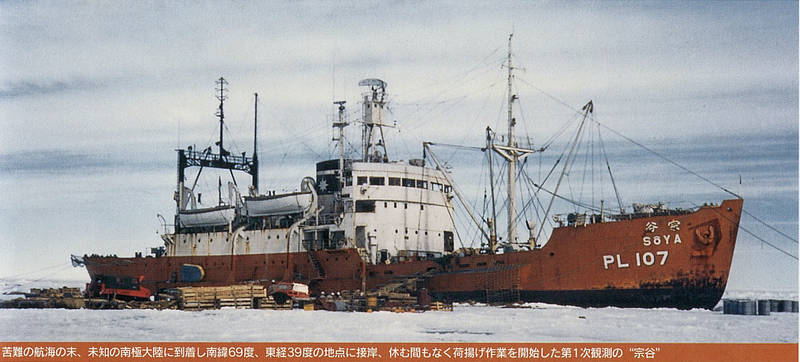
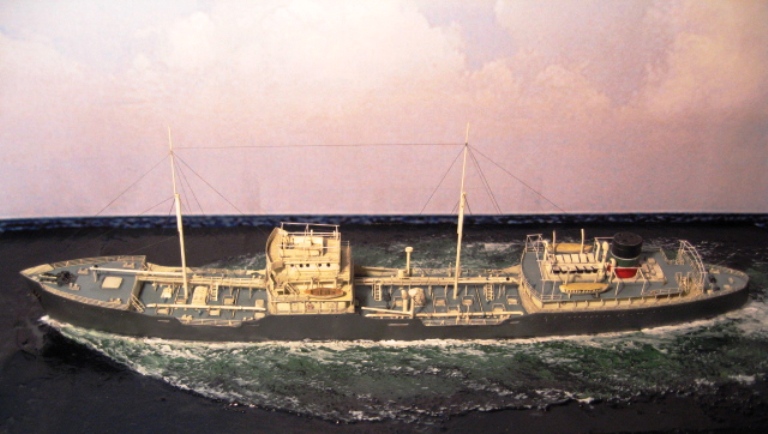
The kit comes with a 48 page book with over 100 colour and b&w photos taking the modeller through the history of the vessel, which if I can decipher correctly through the mostly Japanese text, begins in 1936. The Soya was originally built in 1936 for the Soviet government as the Borochavets, but due to constant tensions with Russia, was never transferred over, she was kept by the Japanese and christened the Chiryomaru in June 1938. In 1940 she was renamed as the Soya.The book is a great source for possible dioramas. The middle of the book shows the progression from 1938 through to 1962 with 12 different colour profiles including a couple of war time profiles. She saw a substantial overhaul in 1956 to ready it as a South Pole research ship,making six trips to the south pole through to 1962. From 1962 to 1978, she served as an icebreaker rescue ship in Hokkaido. The end of the book shows the current status of the ship at the Museum of Maritime Science.

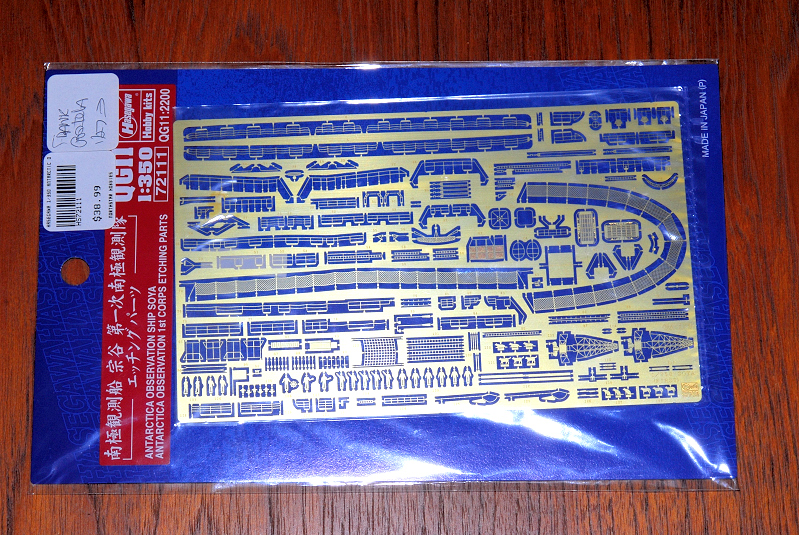
Hasegawa's dedicated P.E. set (QG11) provides all you need to spice up the model. It includes a multitude of crew members, penguins, dogs and even a cat. This together with the two pewter tracked carriers and the float / ice skid plane, will give you plenty of diorama possibilities.
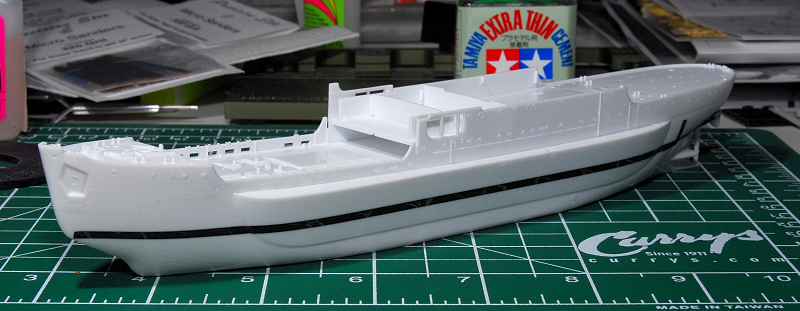
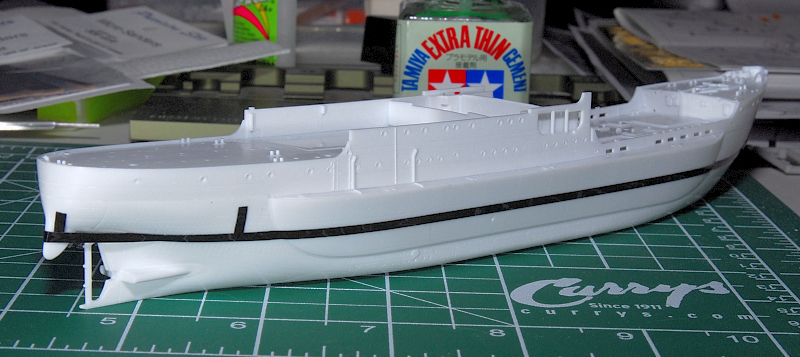
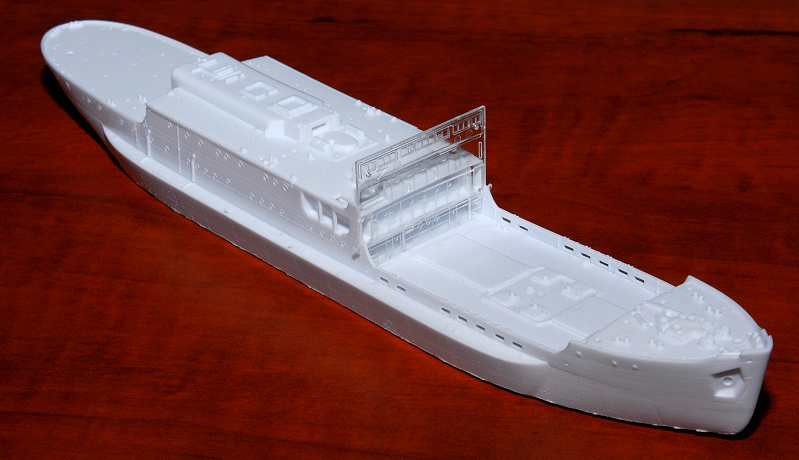
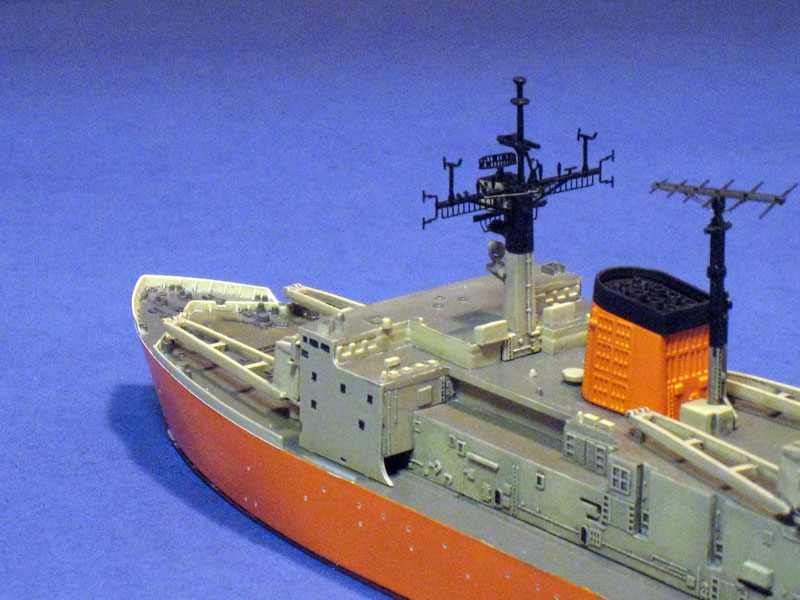
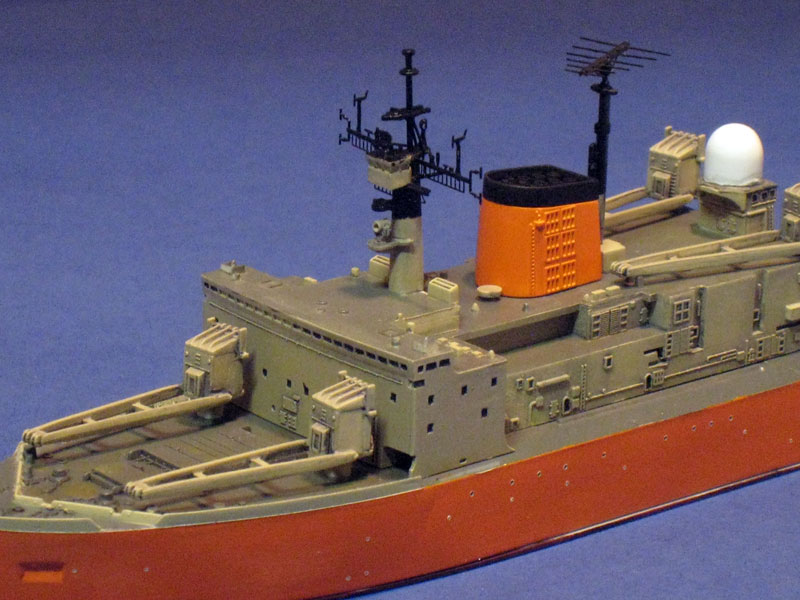
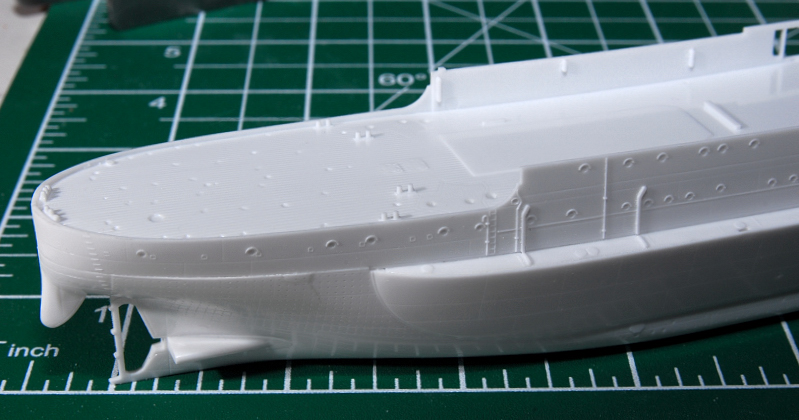
The kit itself is molded in white plastic, which isn't my preferred choice. The hull is reinforced with 5 bulkheads, which unfortunately do not contour the hull as well as it should. Cross member B2 (aftmost) is best left glued to one side only, if you try and force it to glue to both hull sides, you will break apart the soft plastic,.. as I did.


The next hurdle comes from the segmented hull in step 2. Hasewaga has given us an upper and a lower hull, unlike most ship models, this cut is not straight, it takes a meandering path that makes no sense. This really could have been better engineered. The bottom line is that plenty of care must be taken to assure a correct fit. Once this headache is overcome, the rest of the main hull components fit quite handily.

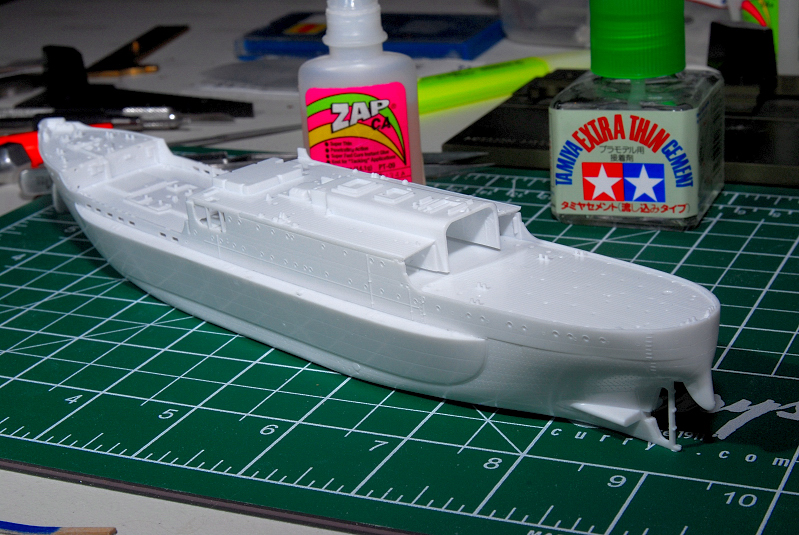
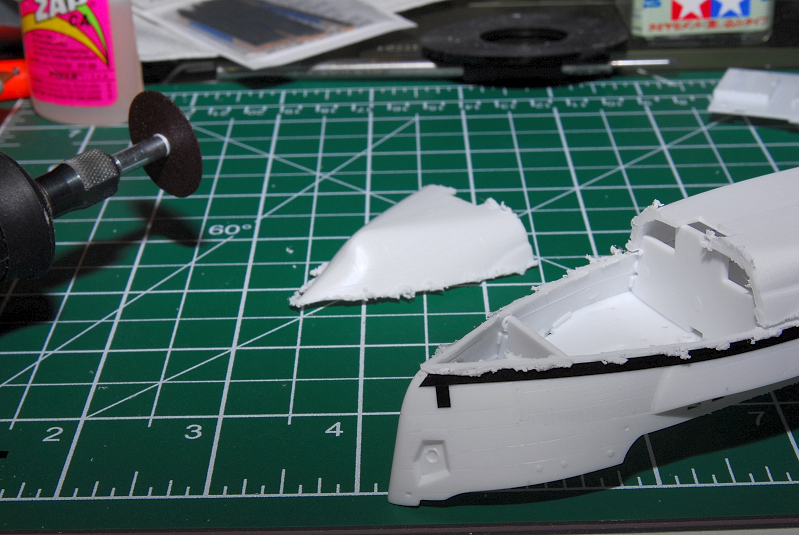
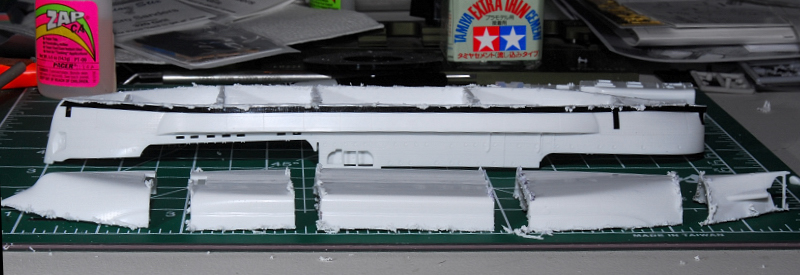
At this stage the plane hangar and visible inner portions of the vessel will have to be painted, in addition to my breaking out the dremel to chop it down to waterline,... or is that iceberg line?
Frank


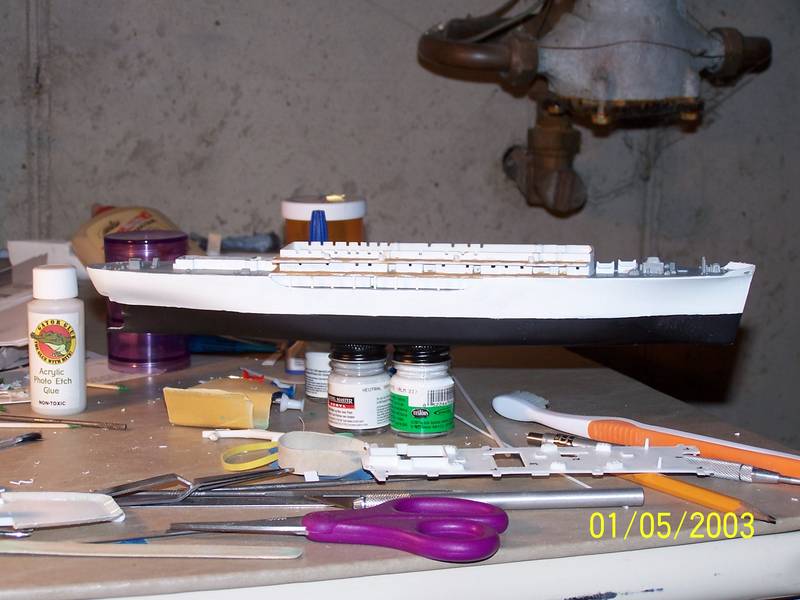


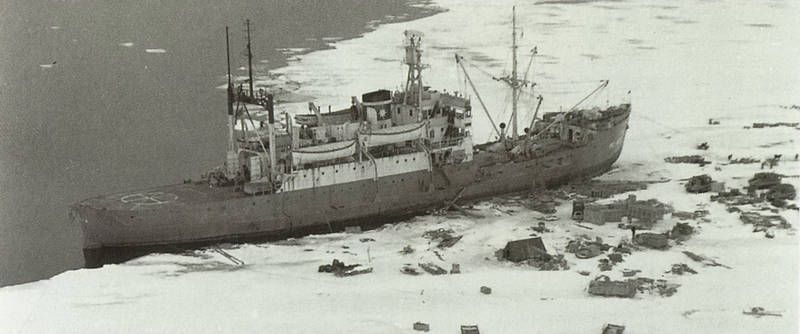
 I'll still have something left to correct. The guide book has great reference photos of the ship anchored on an ice shelf, perfect for figuring out the cut line. I use Graphic illustrators tape to deliniate the cut line.