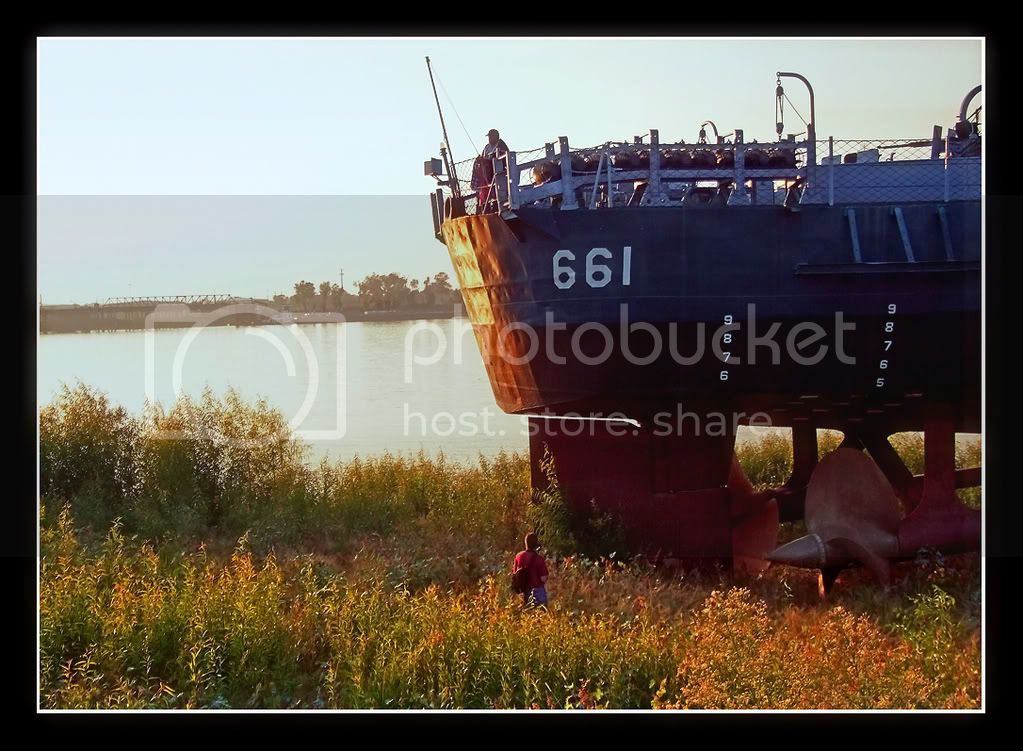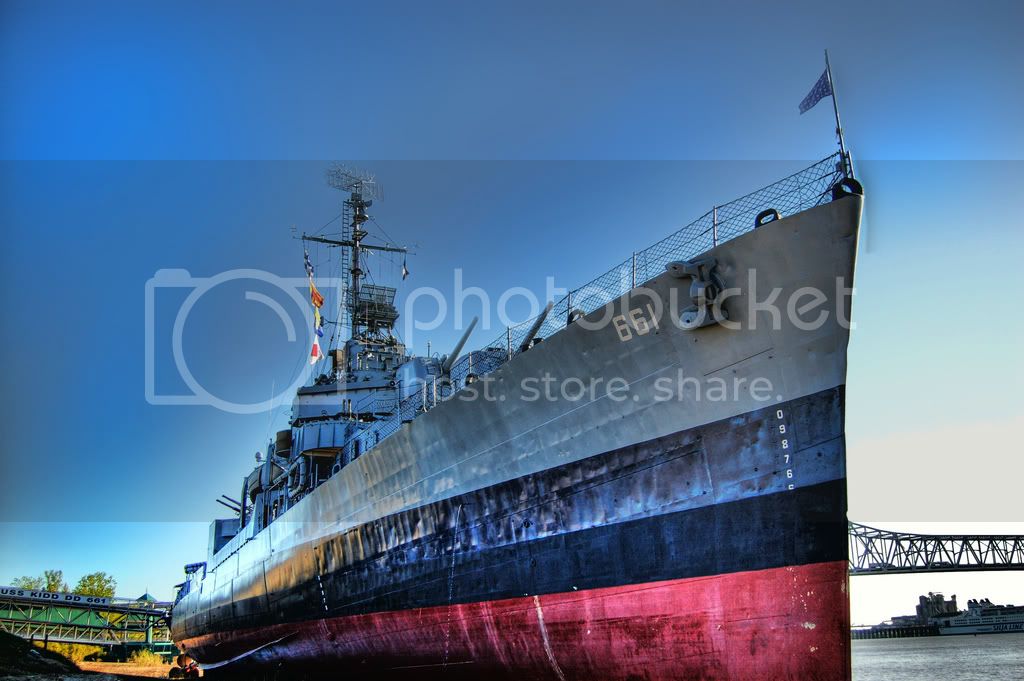


I have already given an In box review of this kit, so I wont go into the details of the ship nor the kit. Suffice to say that the kit is an early round bridge Fletcher so the choices are somewhat limited. The exact ship, I dont know just yet. I would love to do a post war Fletcher but thats for a different time.
The Review is on MSW:
http://modelshipwrights.kitmaker.net/review/3836
Also, this is the FIRST ship I have done since I was a kid and that was many moons ago. Have done a "few" helicopters and WWII planes. Here is my basic plan:
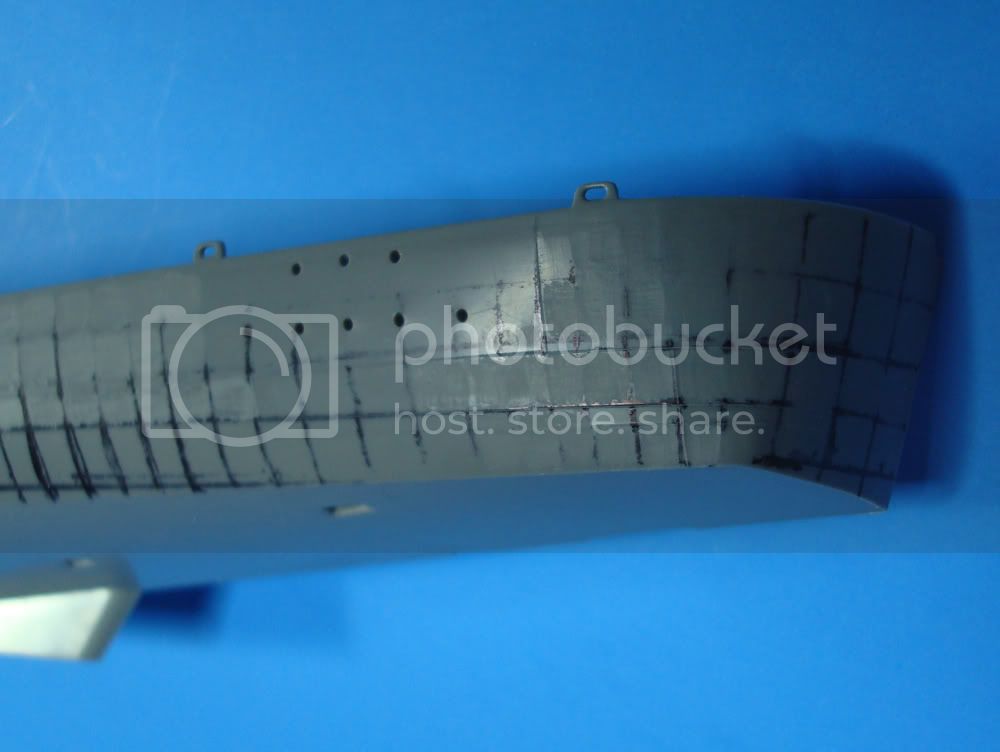
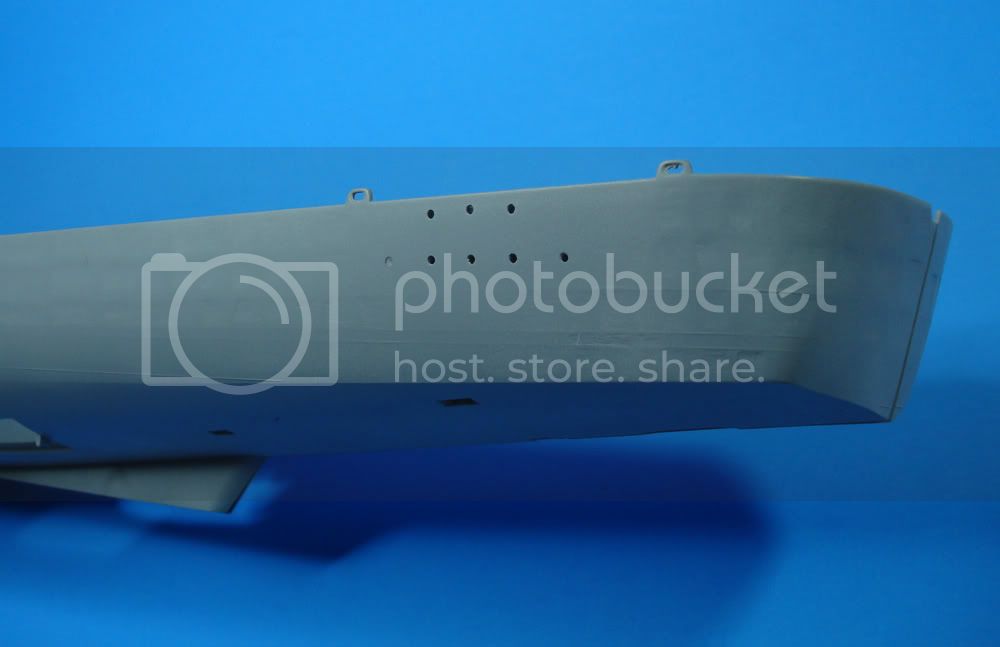
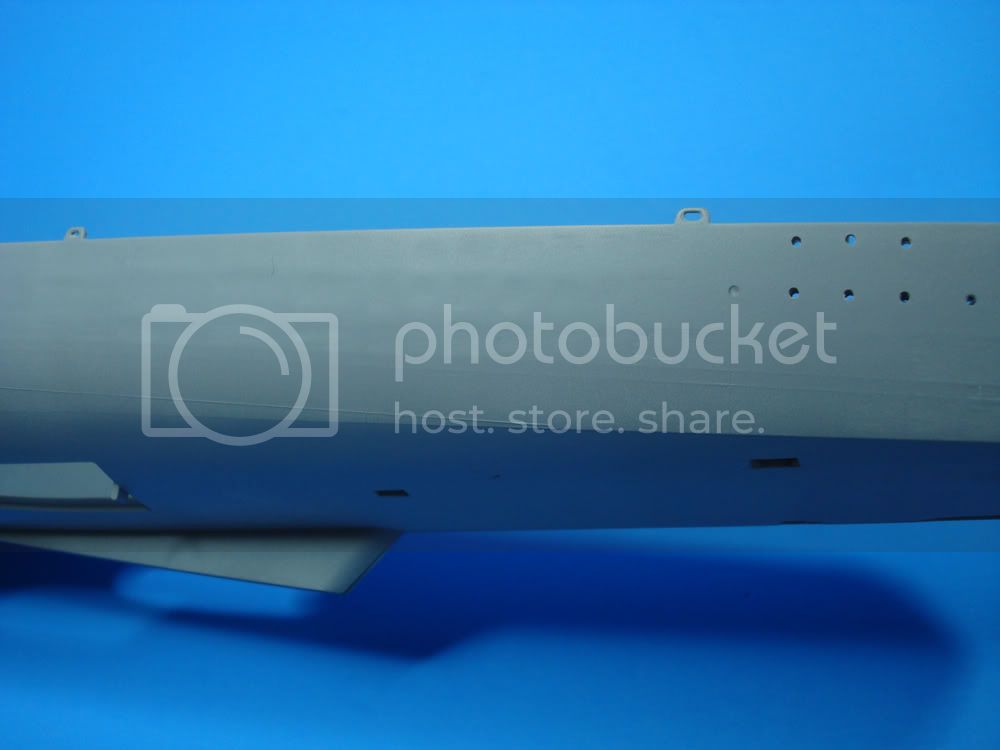
1. I want to work on my oil canning techniques.
2. I want to scratch build most of the Hull openings, such as the Condenser Intakes and Discharges.
3. I am waiting for a company to do a comprehensive PE set for the Fletcher as the kit is good, but basic.
4. I want to open most of the hatches.
5. Working on other ideas.

6. This might take 6-8 months.
I have already been doing my research on the basic ship and posted some photos of my first iteration of the hull oil canning. Ill just bring those photos along to get this thread started.
Ive been taking photos of my work in progress for a while now as the hi-res photos show all the flaws better than my eyes can pick them out. They are sometimes very scary.
As always, comments and suggestions are welcomed.
Here is a shot of the New hull

I did testing before I cut into the kit.
Research and Marking the hull to be modified
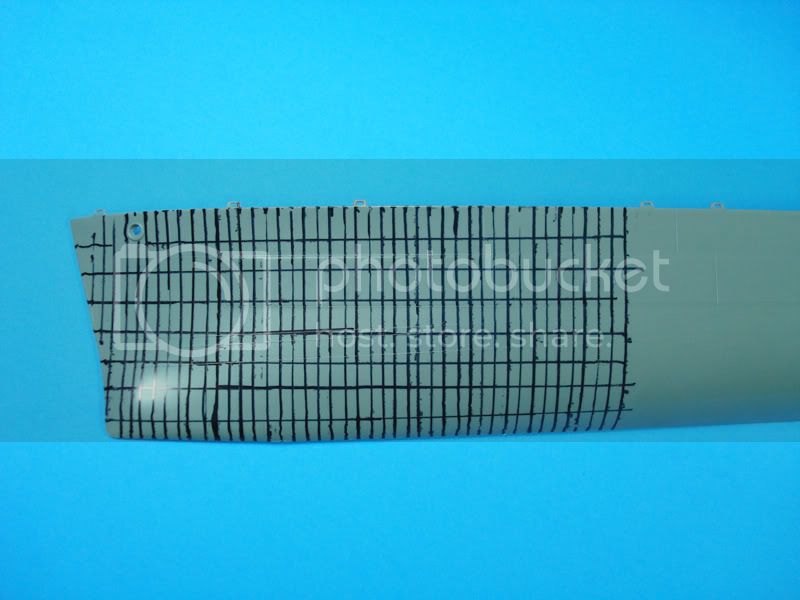
Cutting

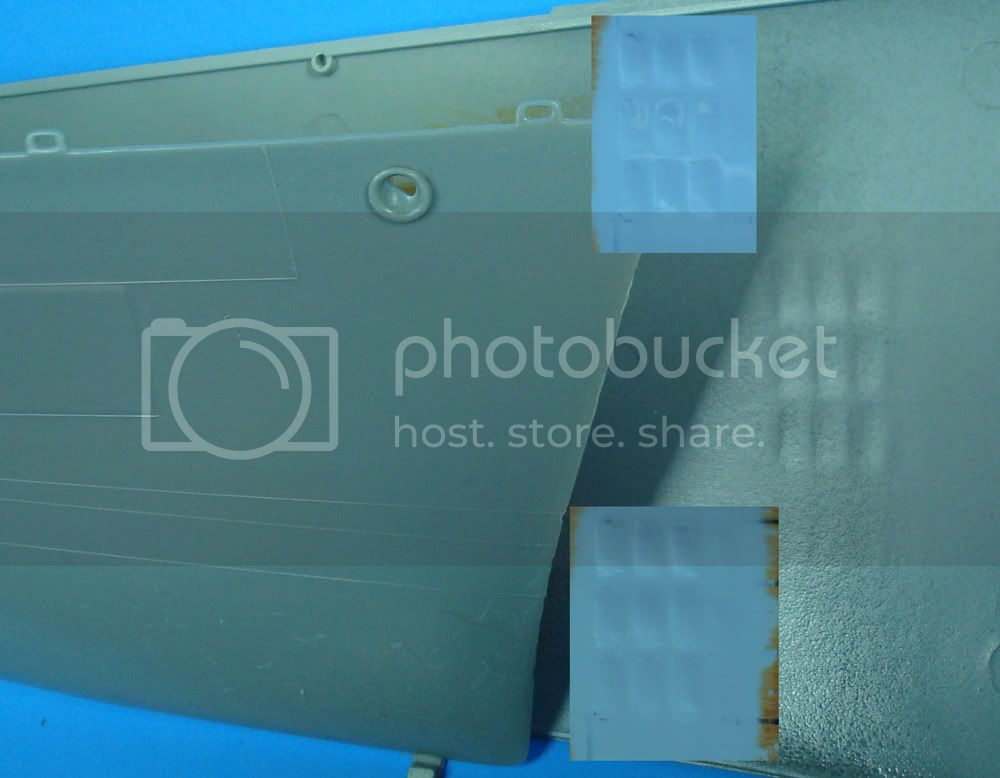
Each individual square sanded, polished, and the primed. Those squares are awfully small and the polishing would not standup to a bare metal finish but I think will do nicely under primer and paint.

Just a note about the sanding process. I found that if I sanded it all at one time, I wore down the edges of each square and did not get INTO the bottom of the square. That required going back and scraping more. It was just a bit of a pain (and time consuming).
Now comes the stern.

Regards
Steve