Greetings and Happy Thanksgiving everyone! Here's my latest build for your viewing pleasure (I hope!) A brand new, futuristic looking US Navy ship, the USS Independence. Here are the kit contents:
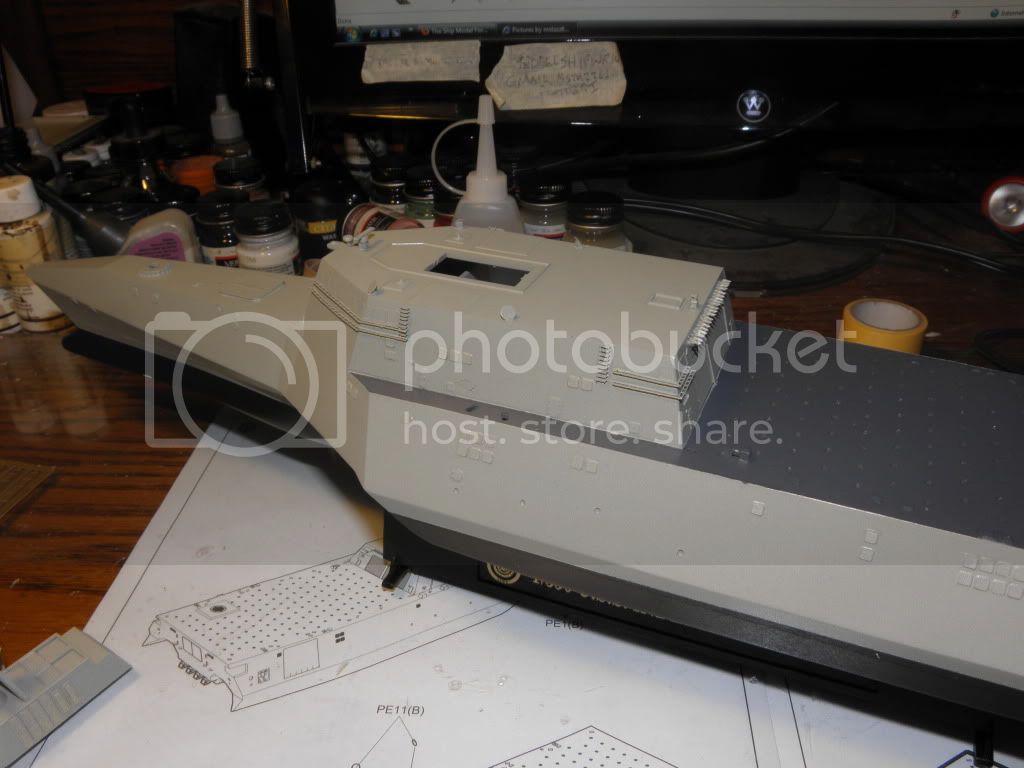
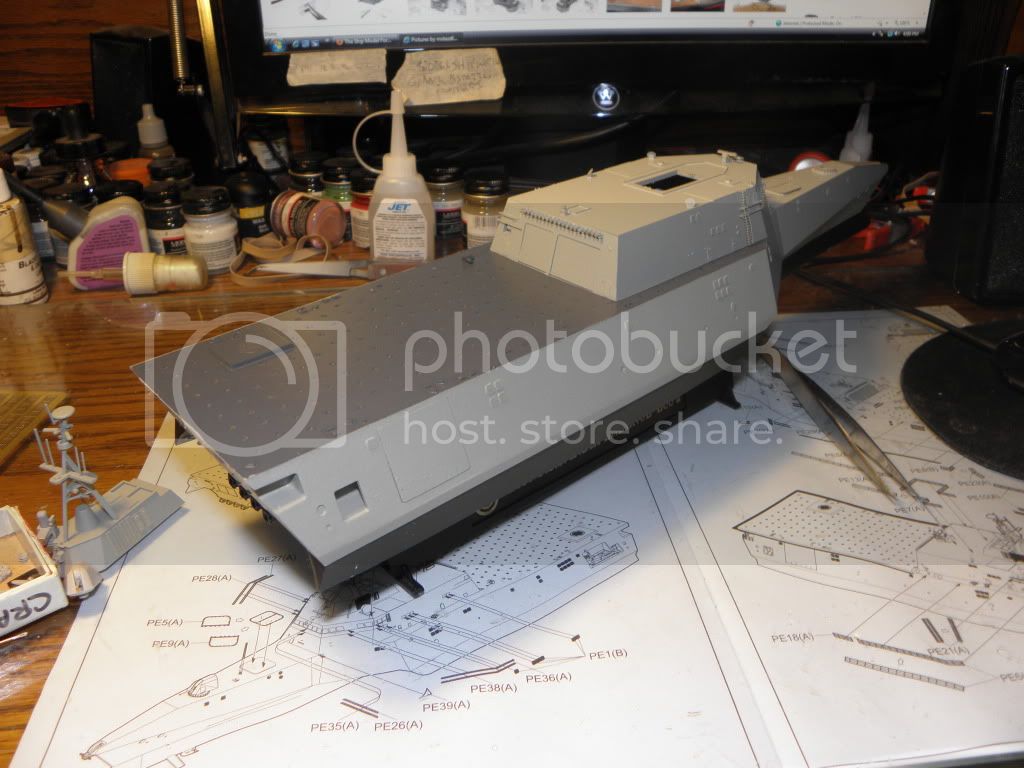
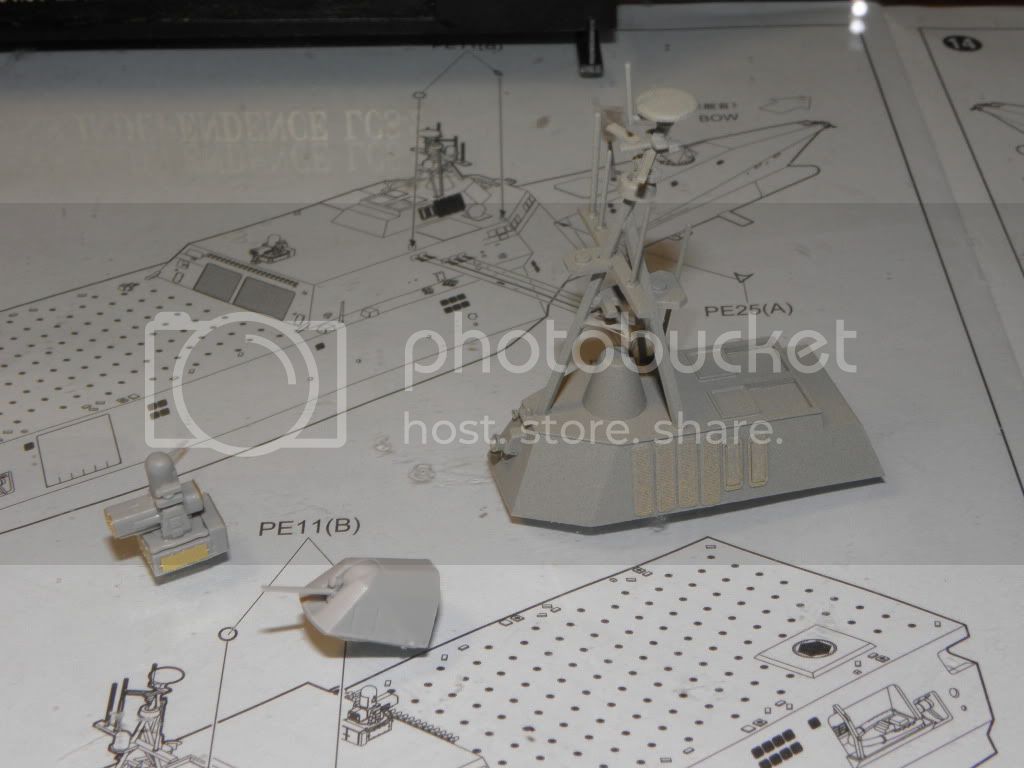
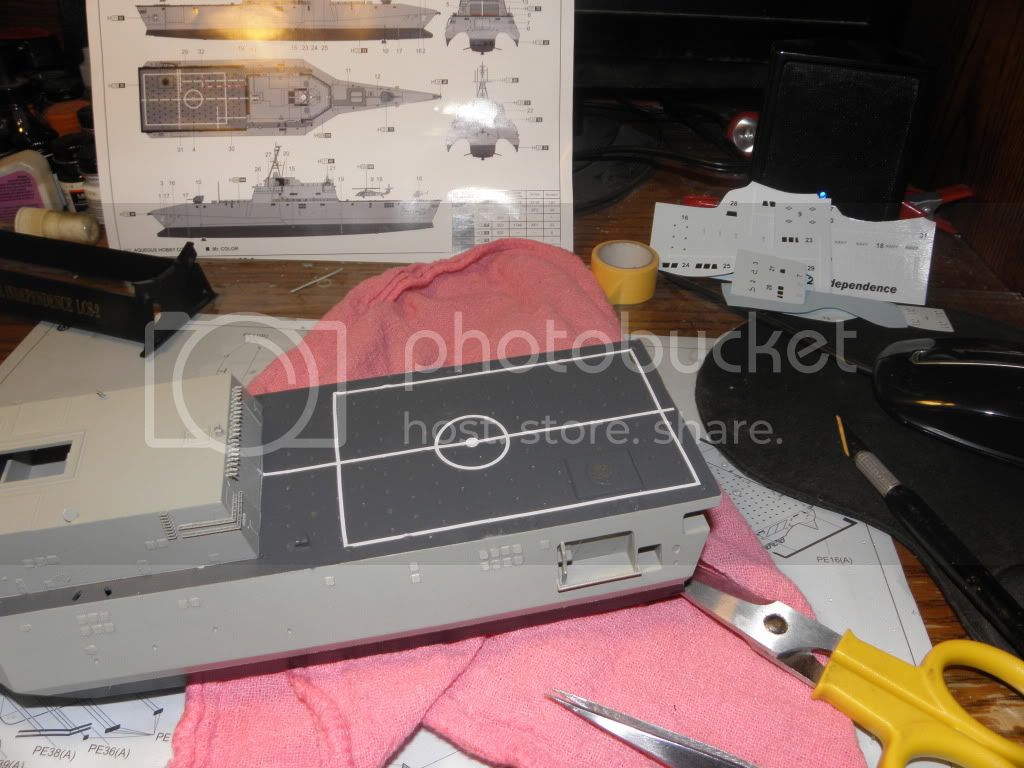
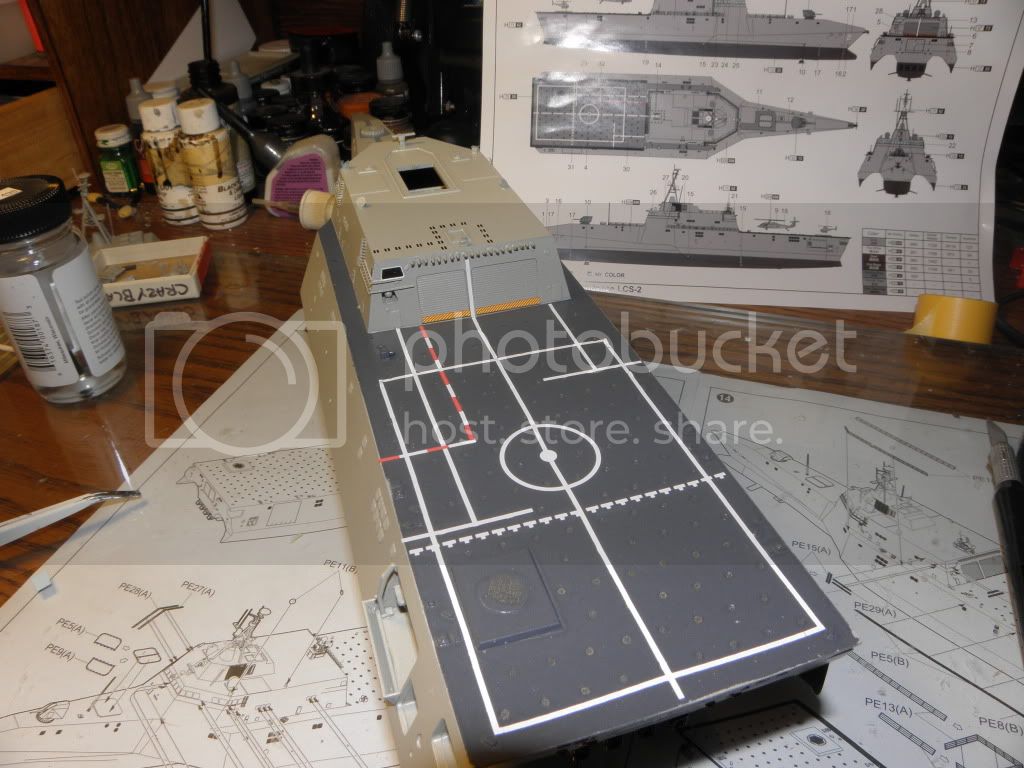
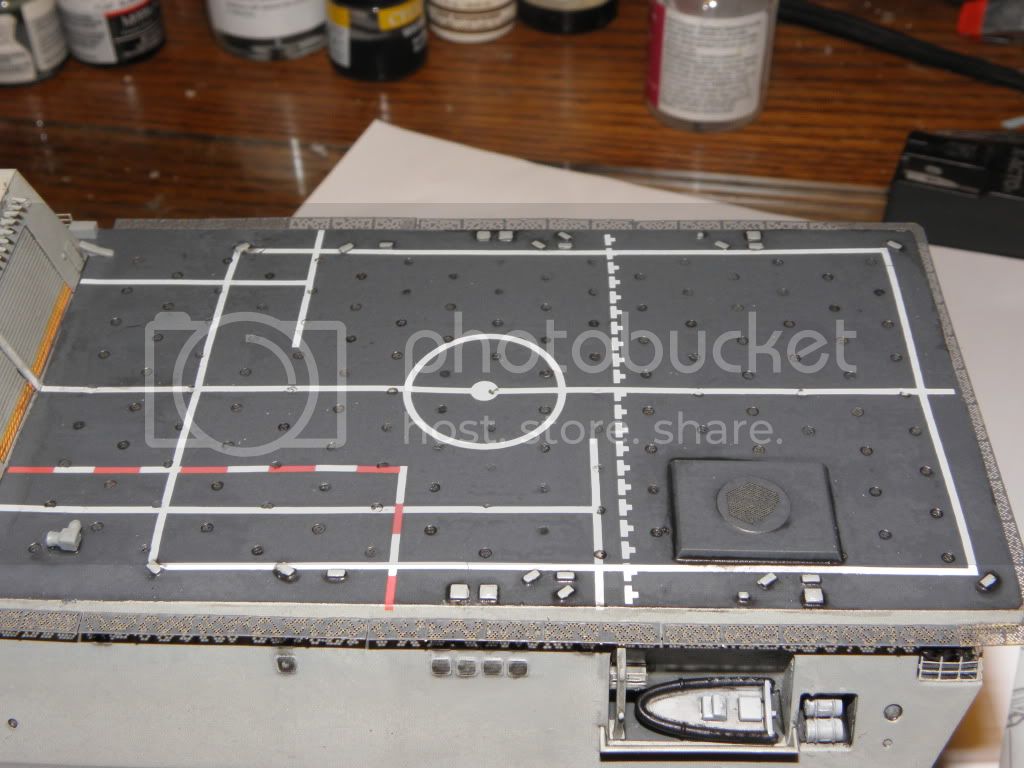
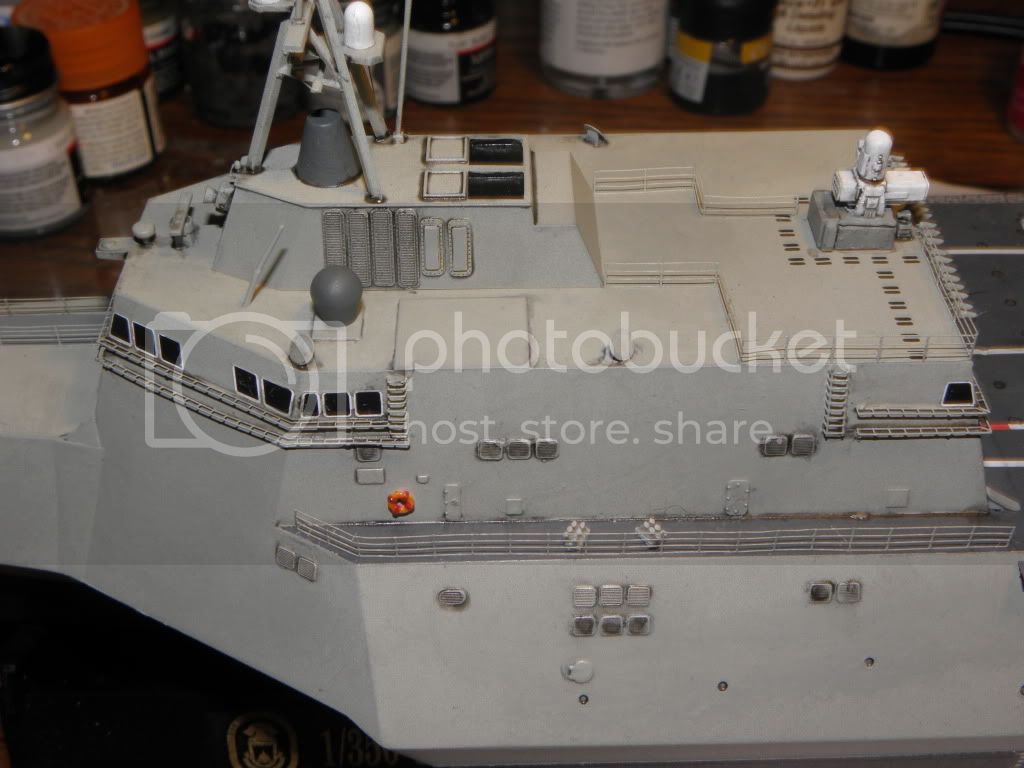
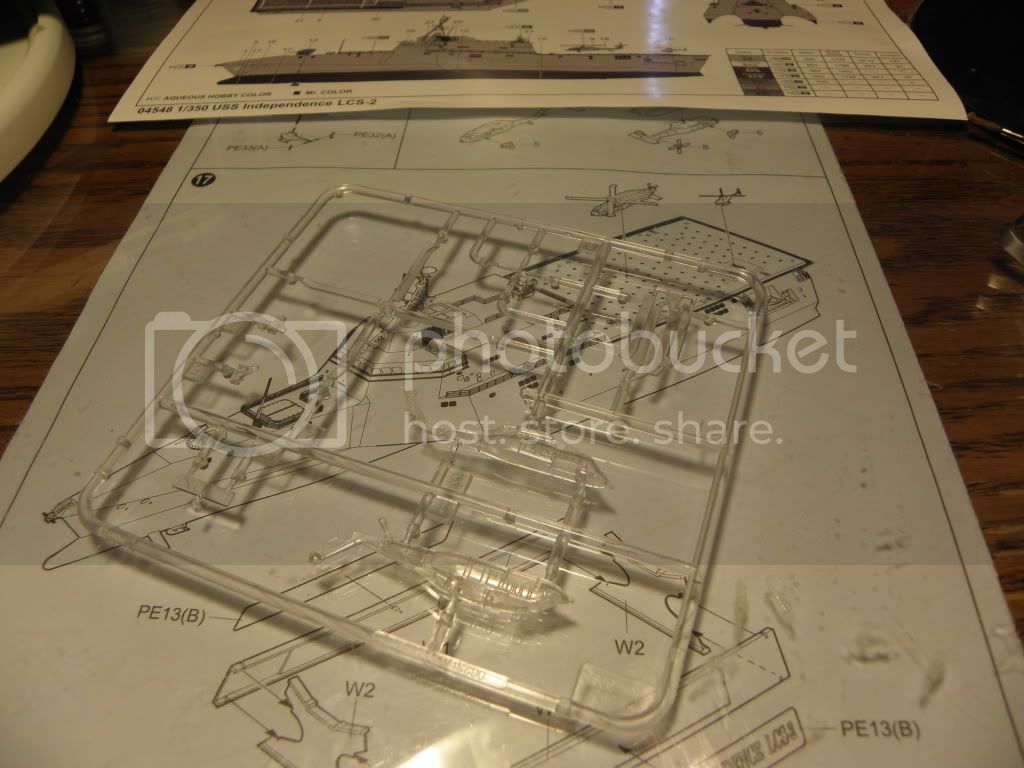
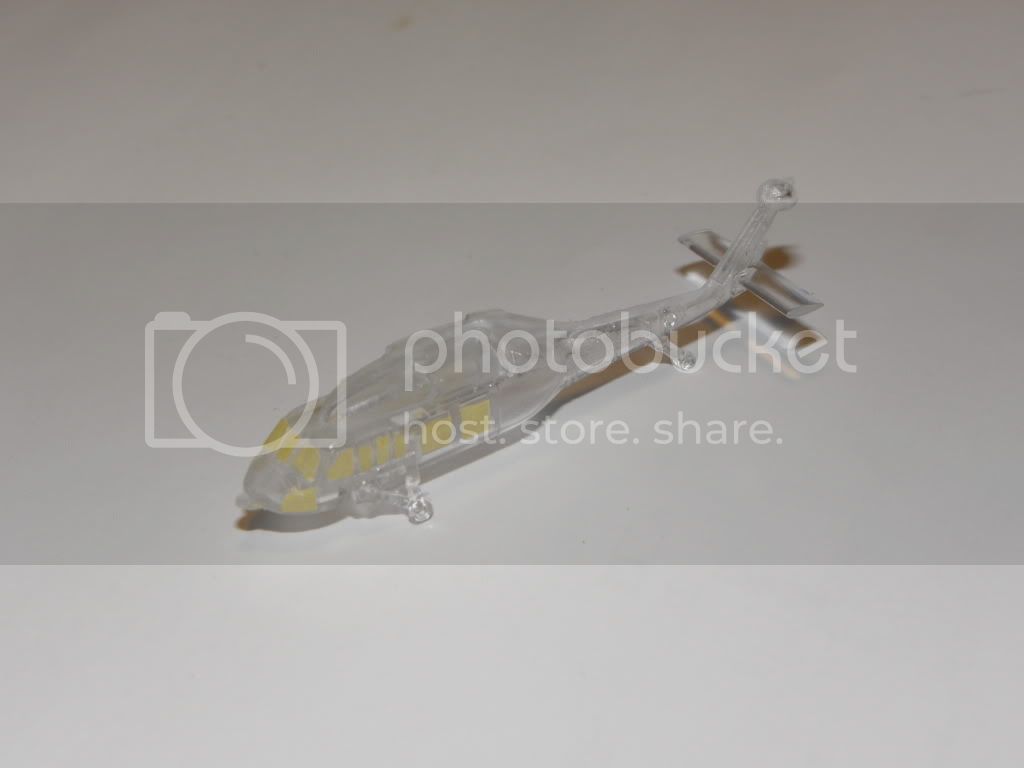
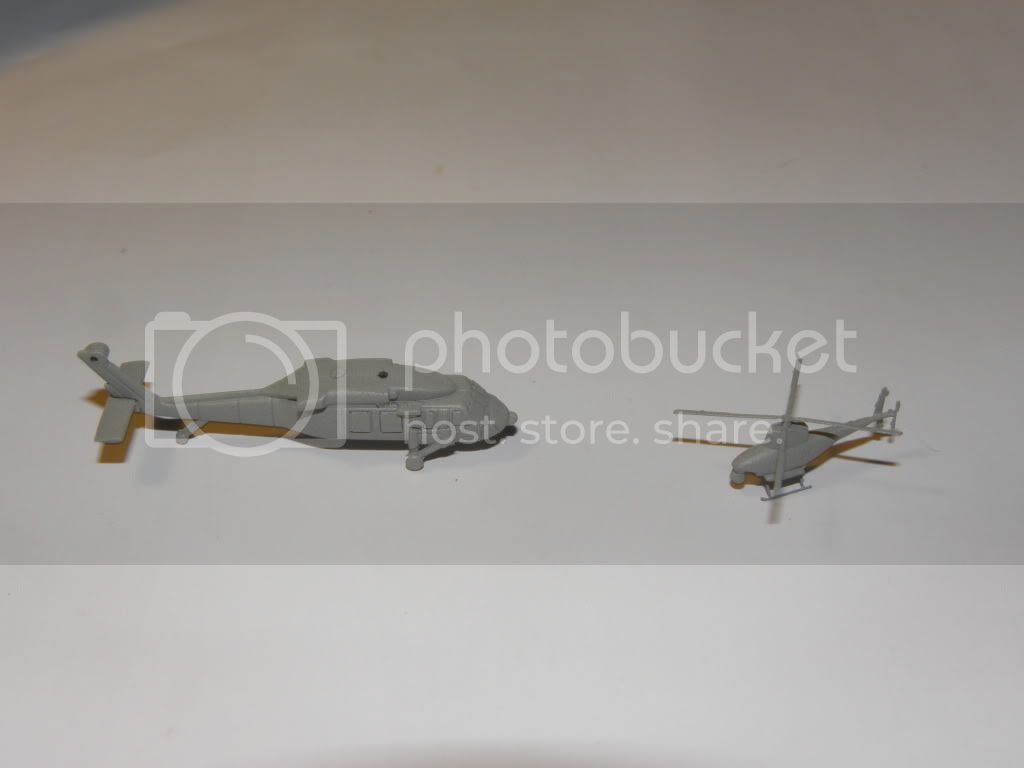
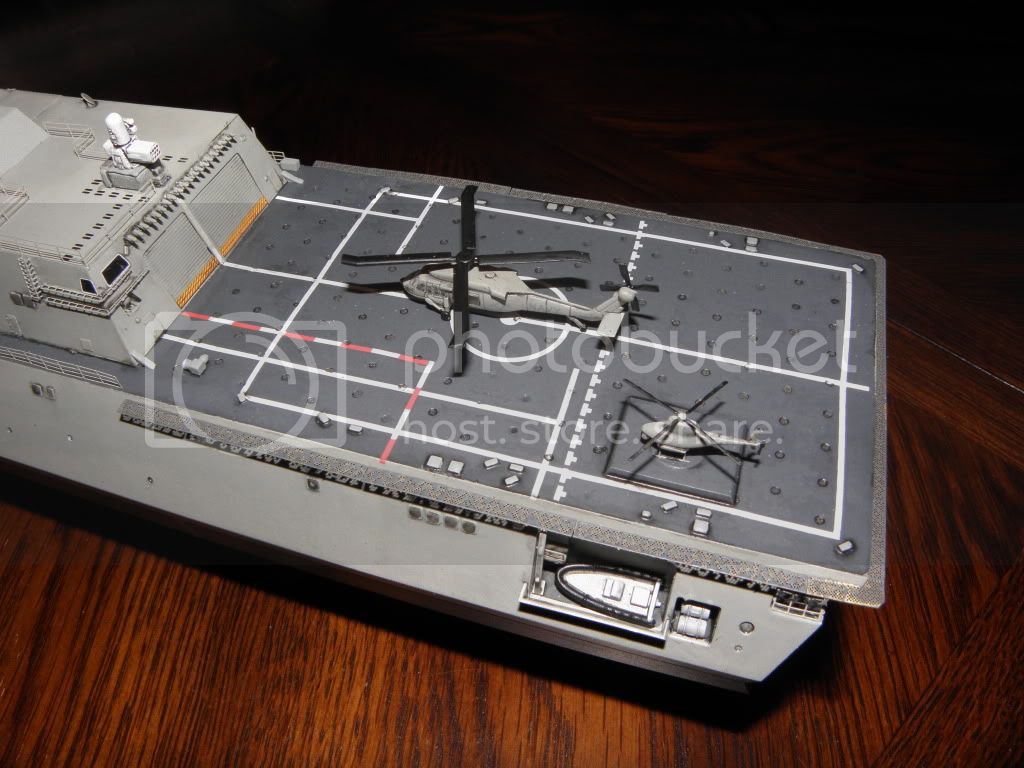
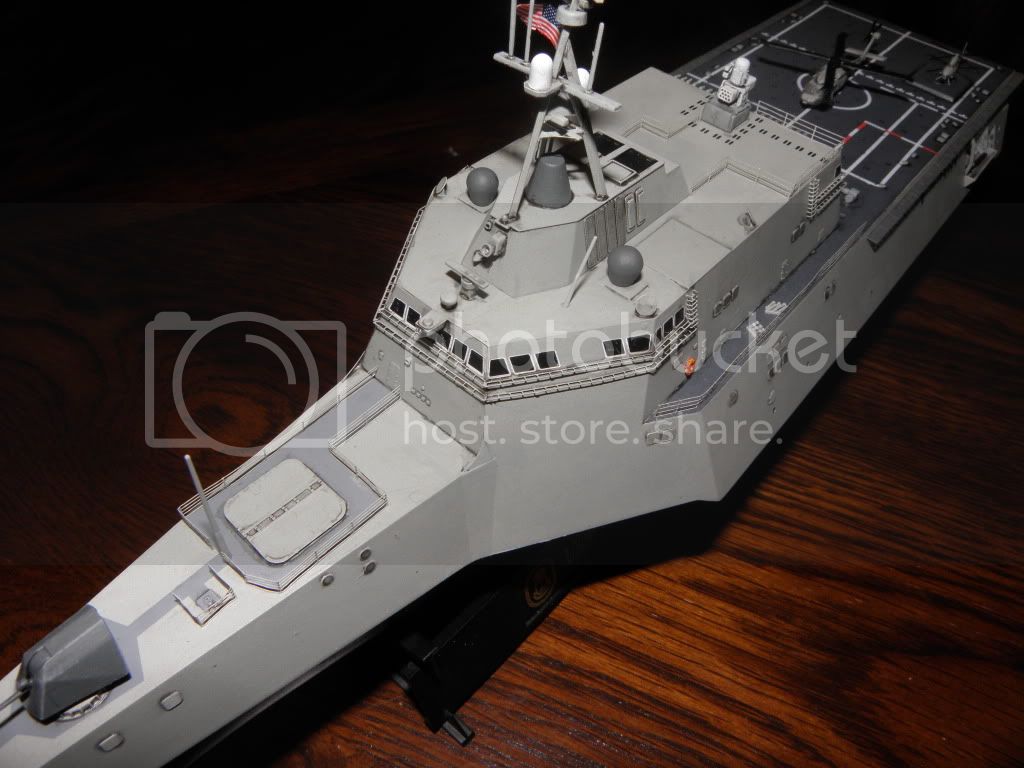
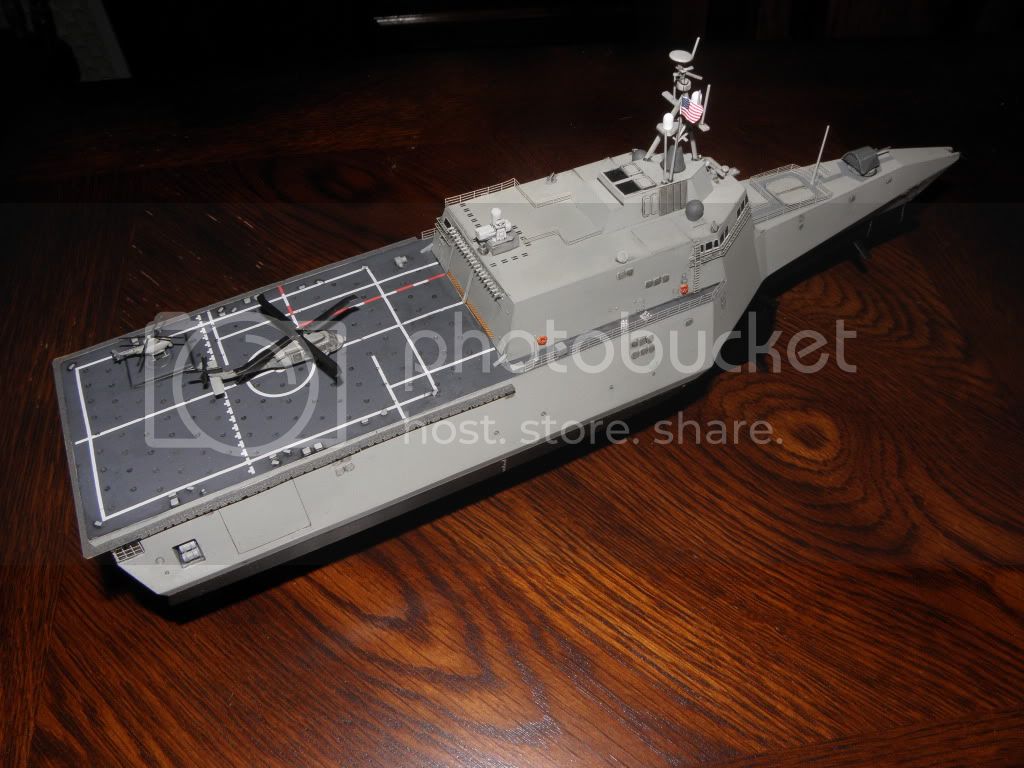
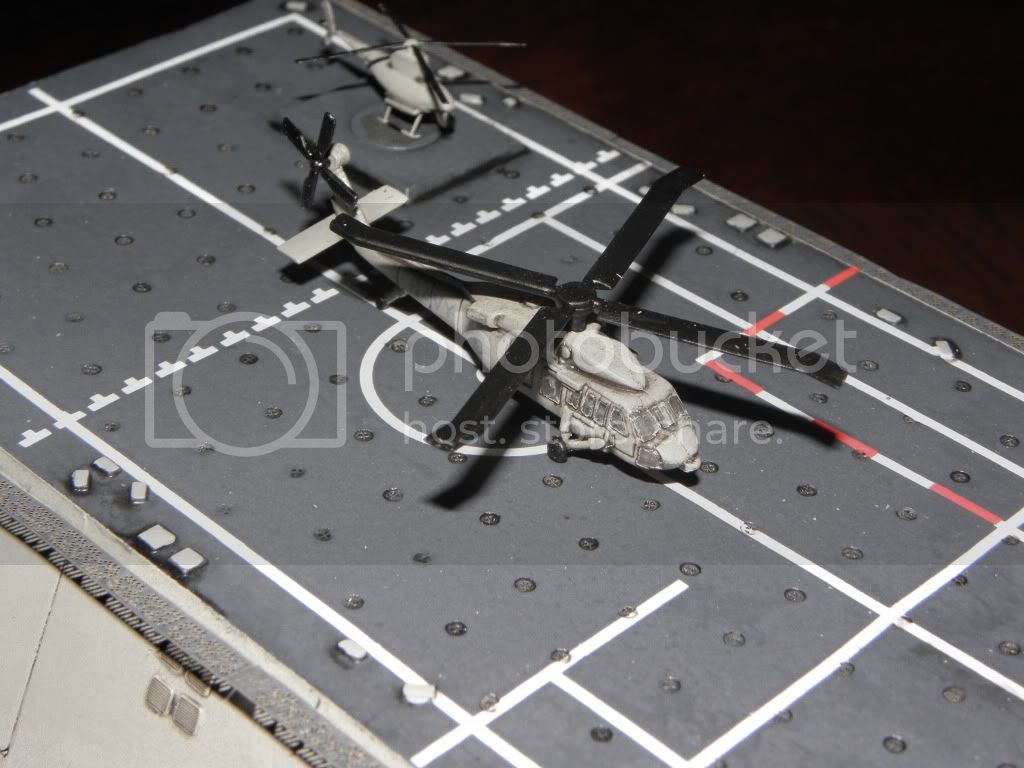
It's got a low parts count but a lot of P/E tie downs for the flight deck:
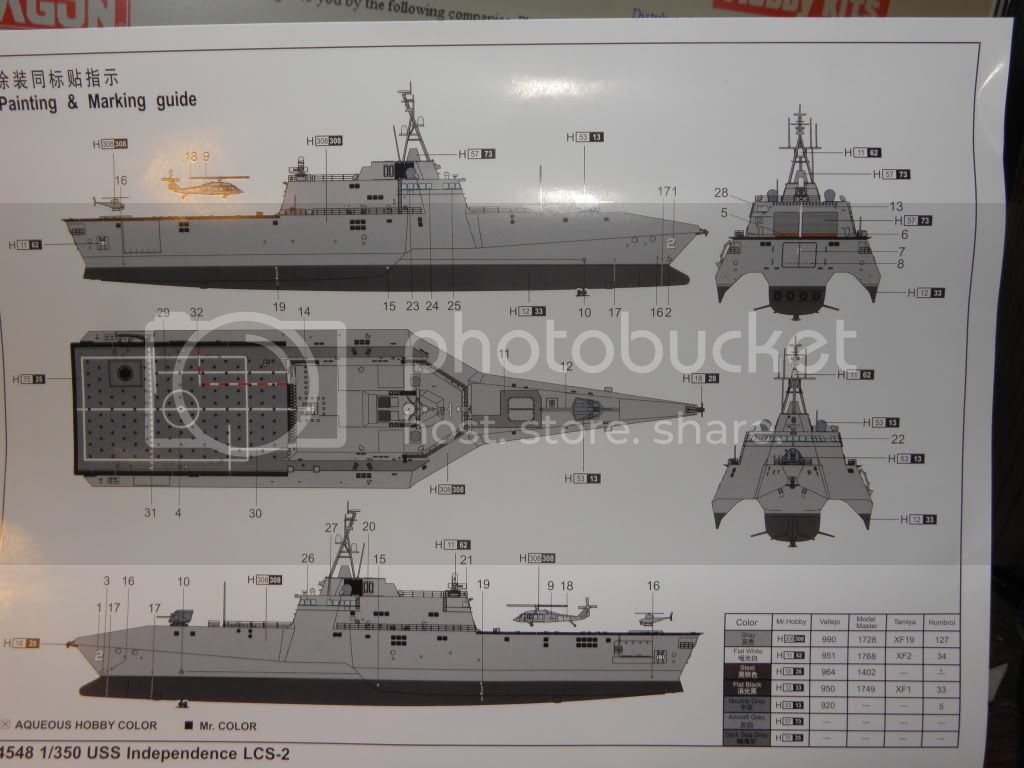
Here is the painting guide:
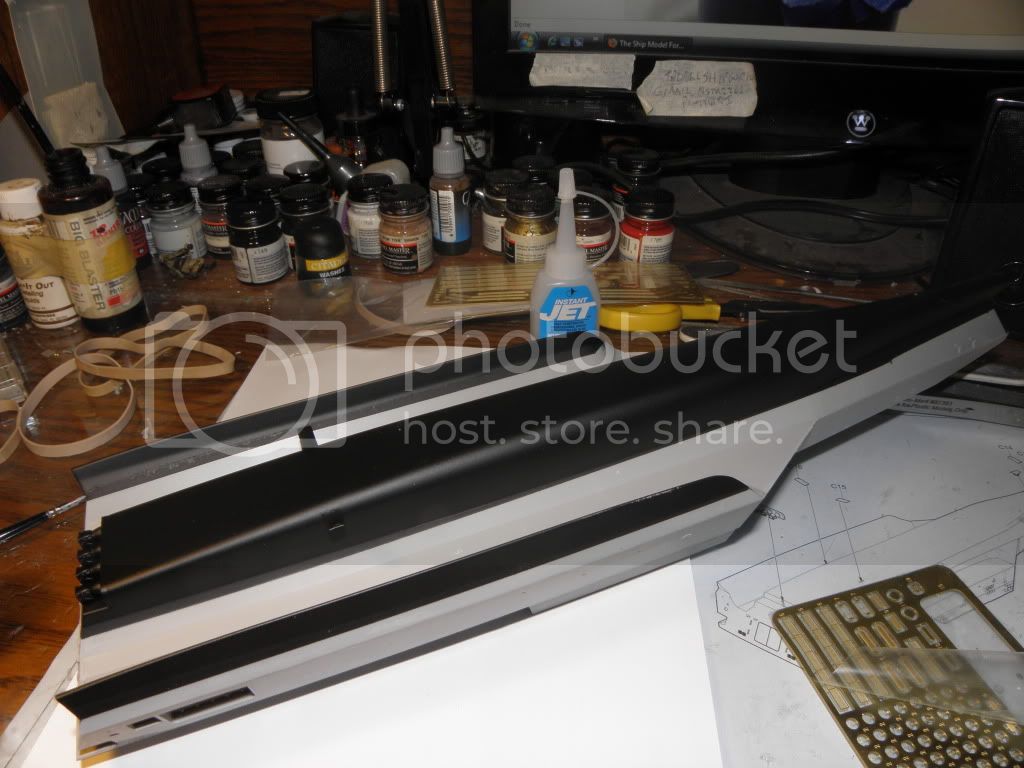
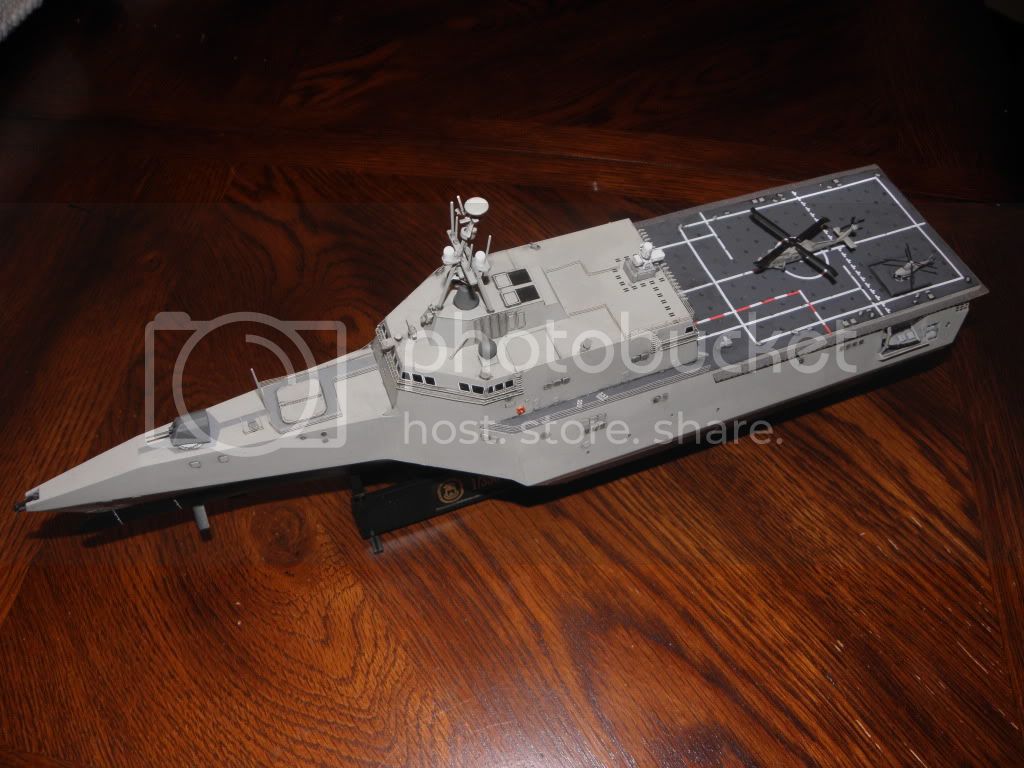
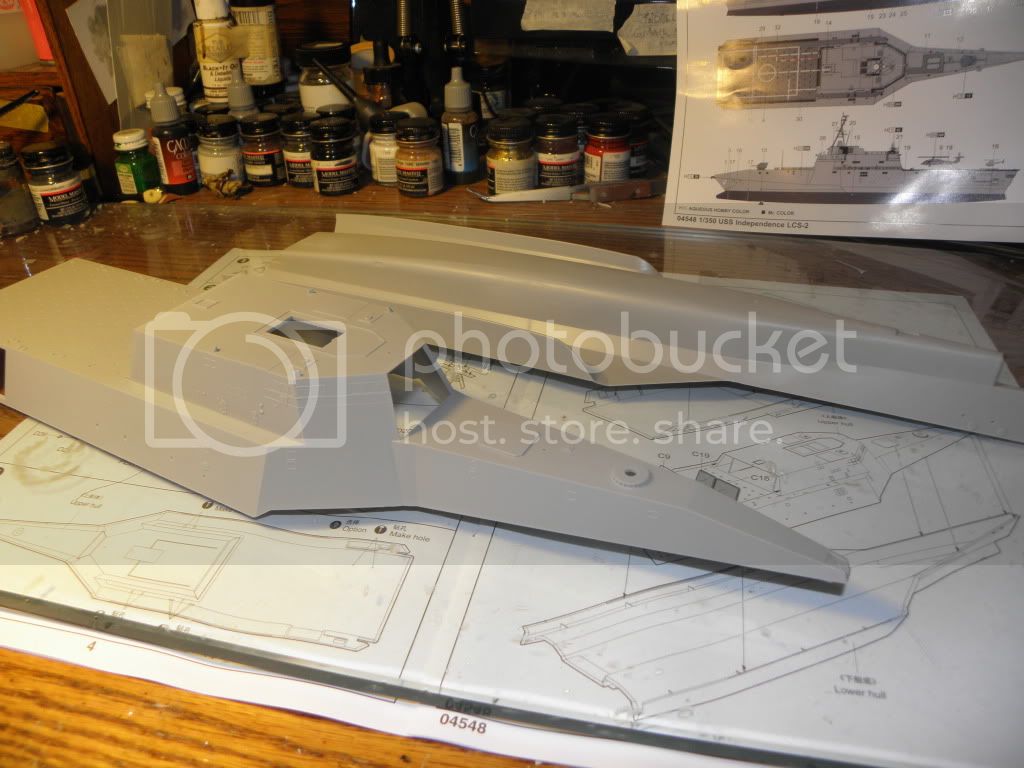
The hull is divided into upper and lower halves, with a one piece rear bulkhead:
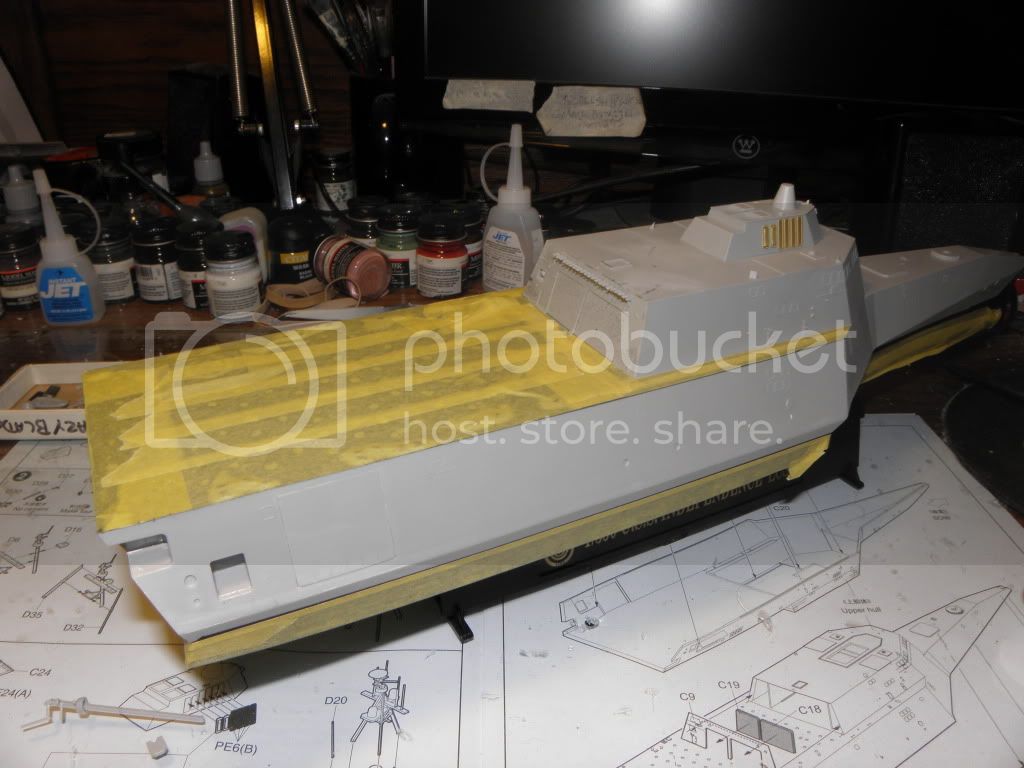
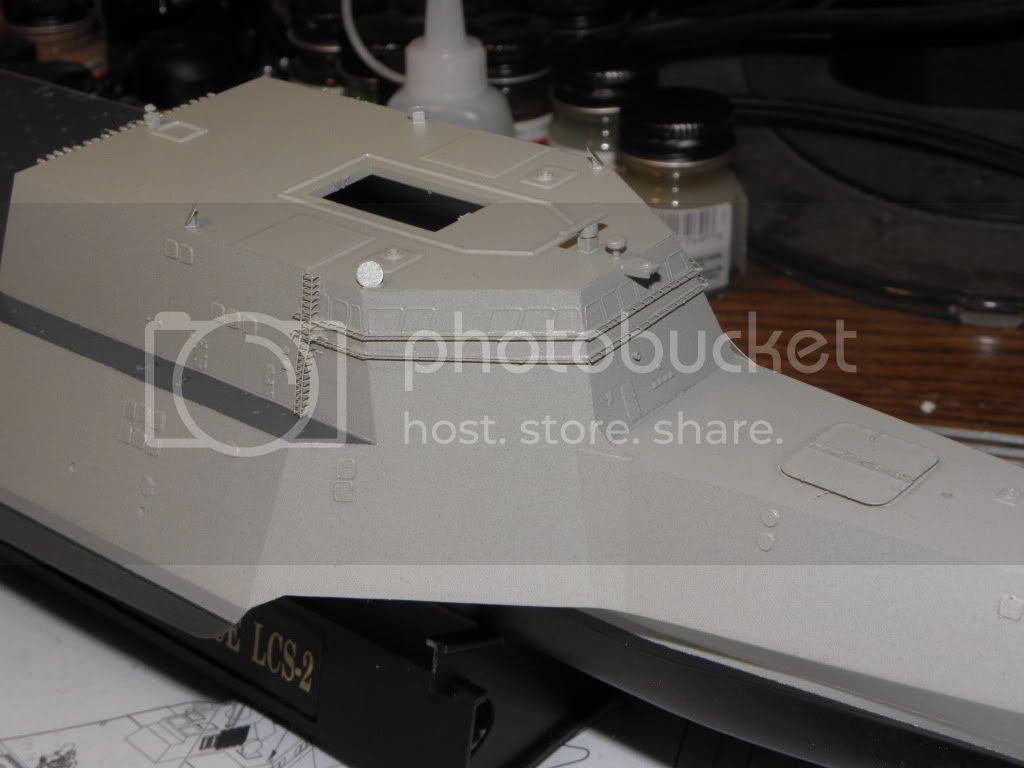
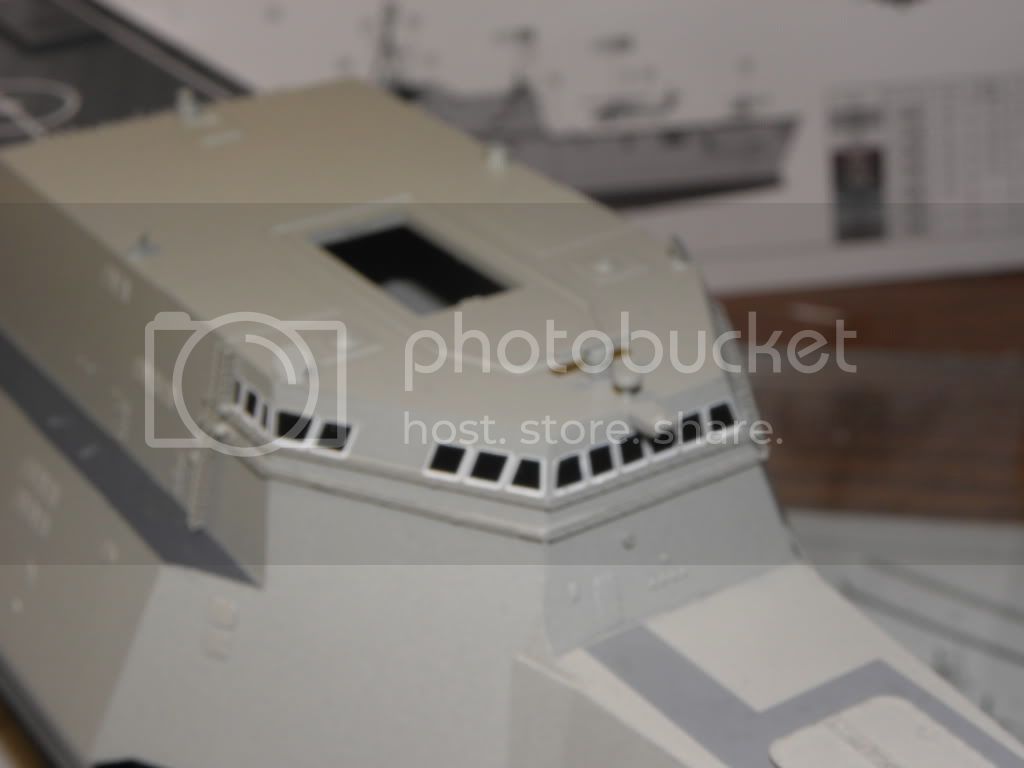
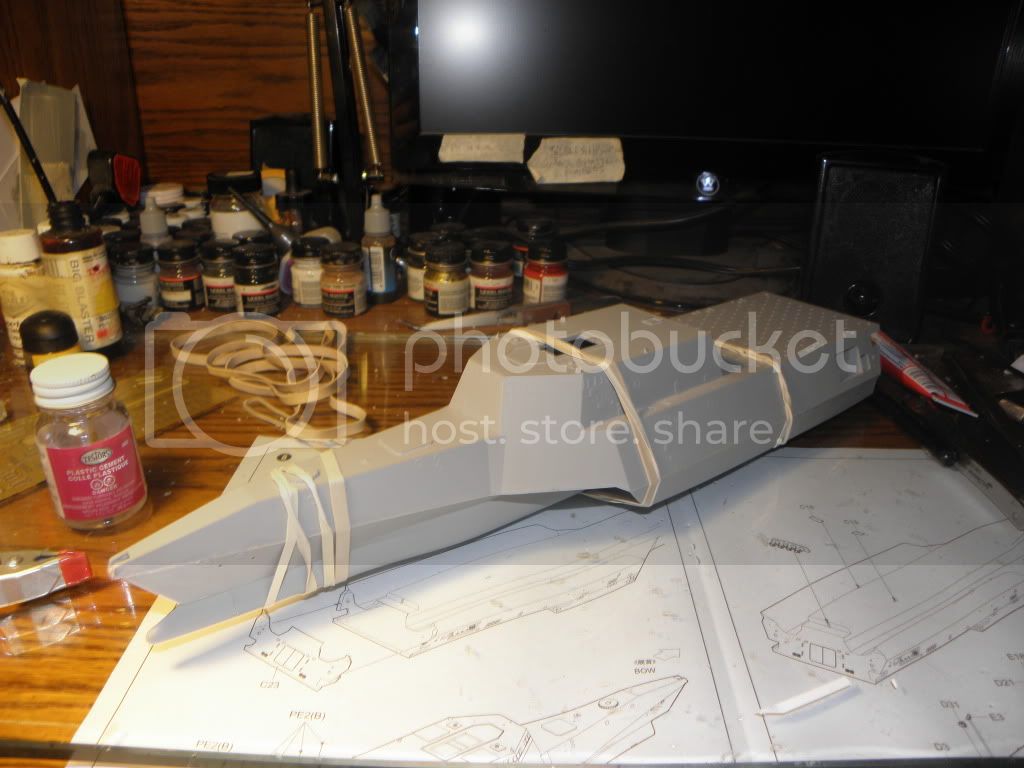
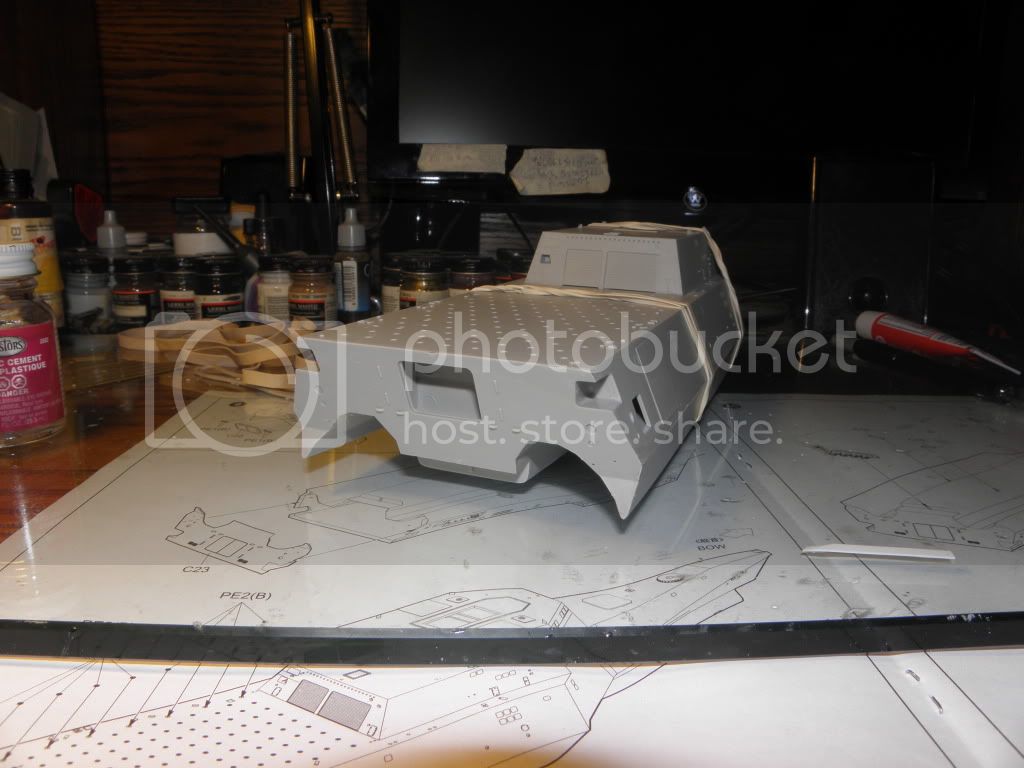
Construction started with the upper hull. it has several inner bulkheads which make up the hanger for the choppers. I only used the floor (part #D1) as a stiffener as I was closing the hanger doors. There's no detail here - if you decide to open the doors you're gonna need to add some interior detail:
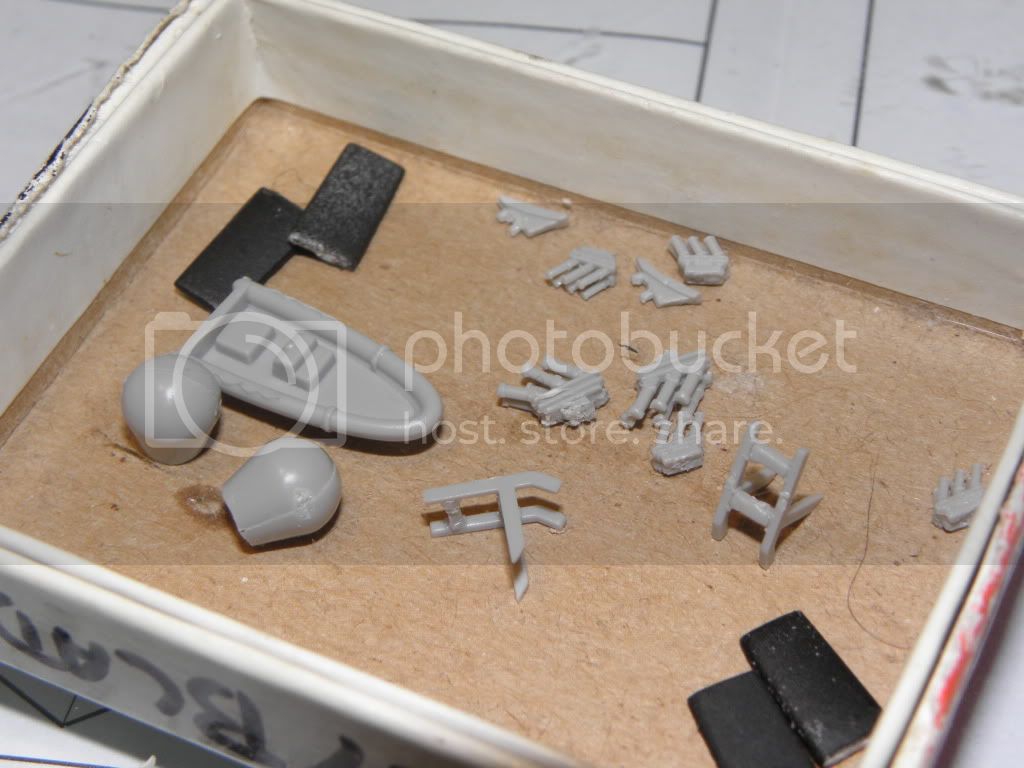
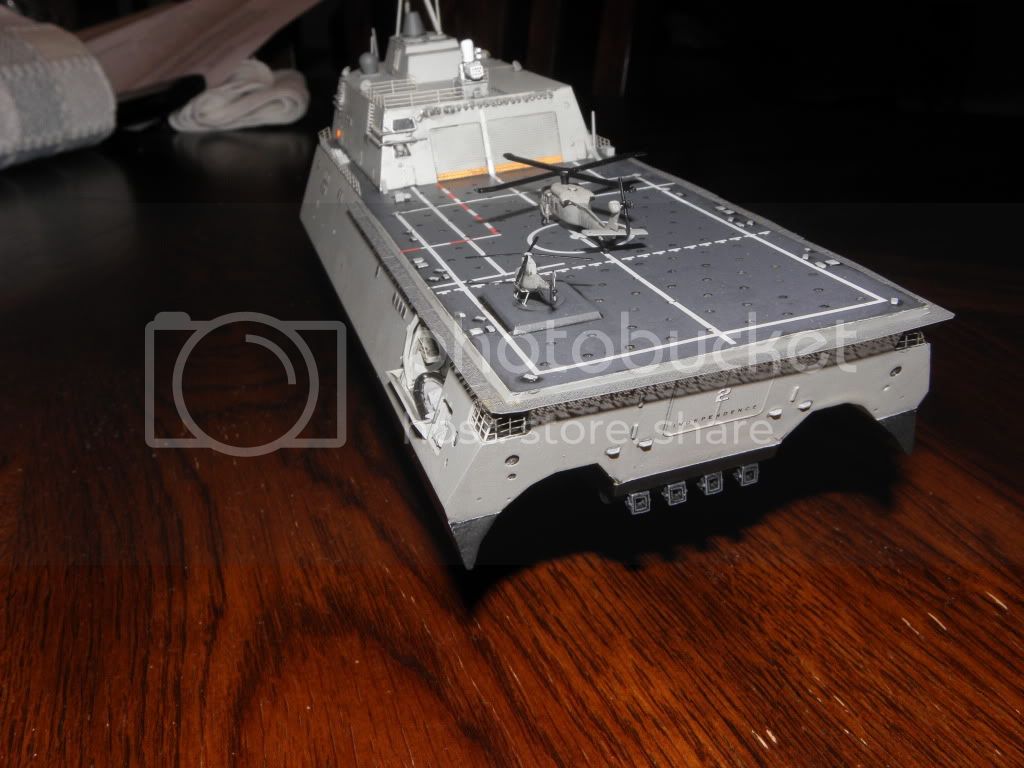
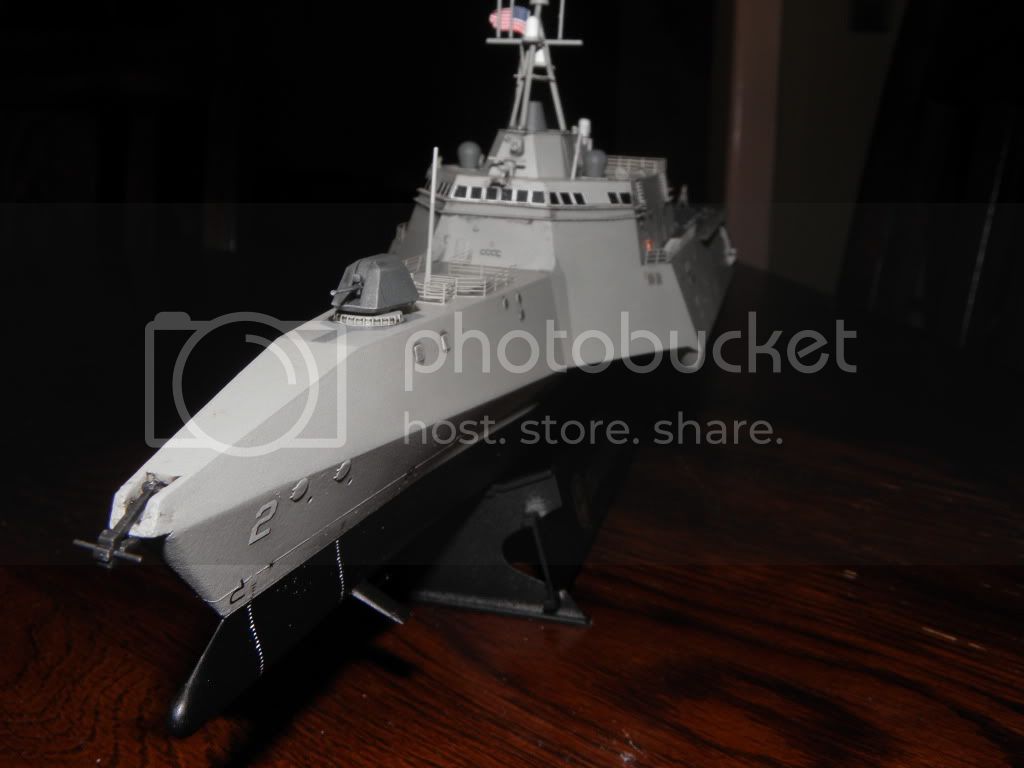
The two recessed bays at the stern had large, hard to remove ejector pin marks, and they did not fit very well:
The upper and lower hull DID fit beautifully, they needed only a light pass with a sanding stick to clean up:
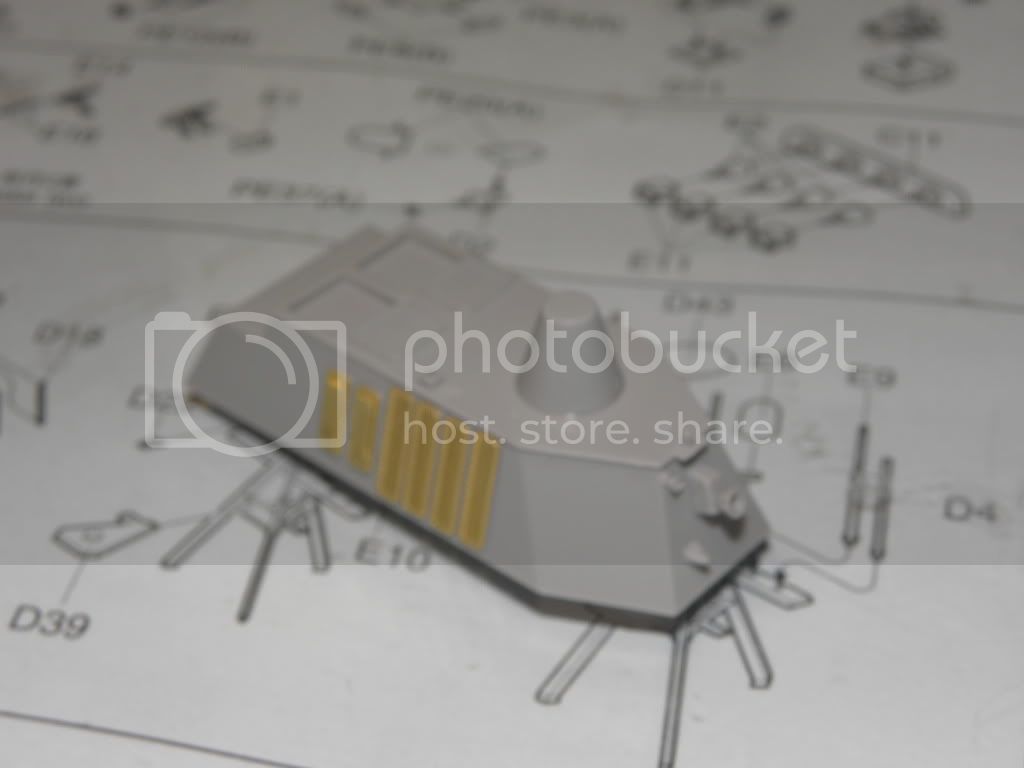
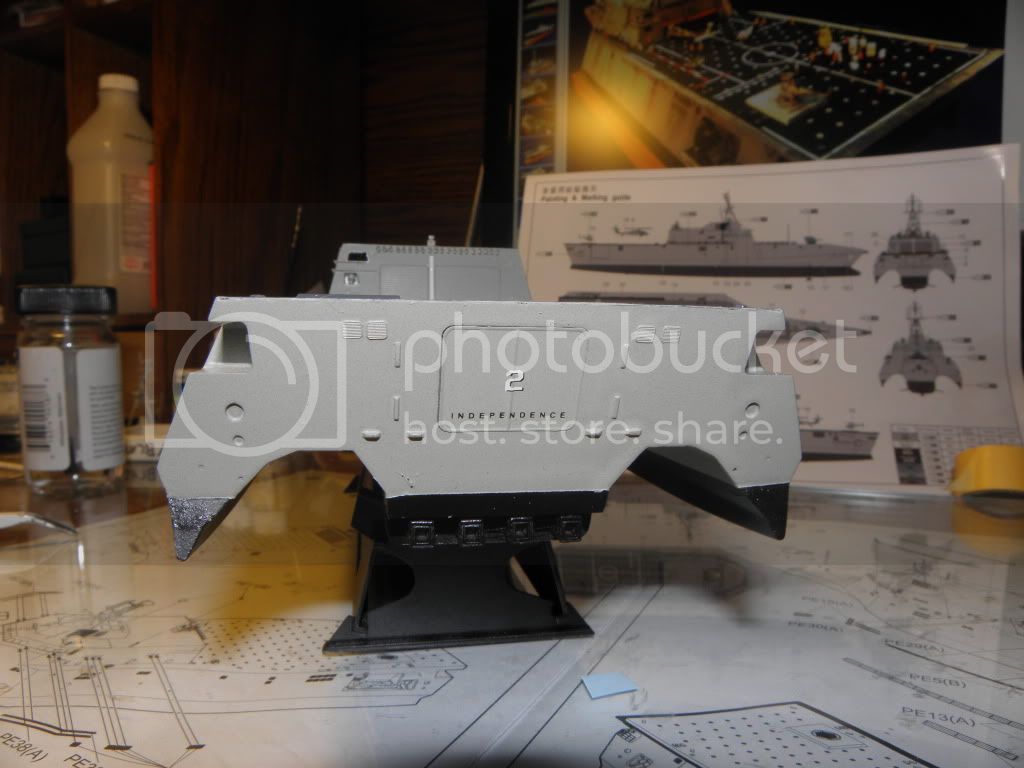
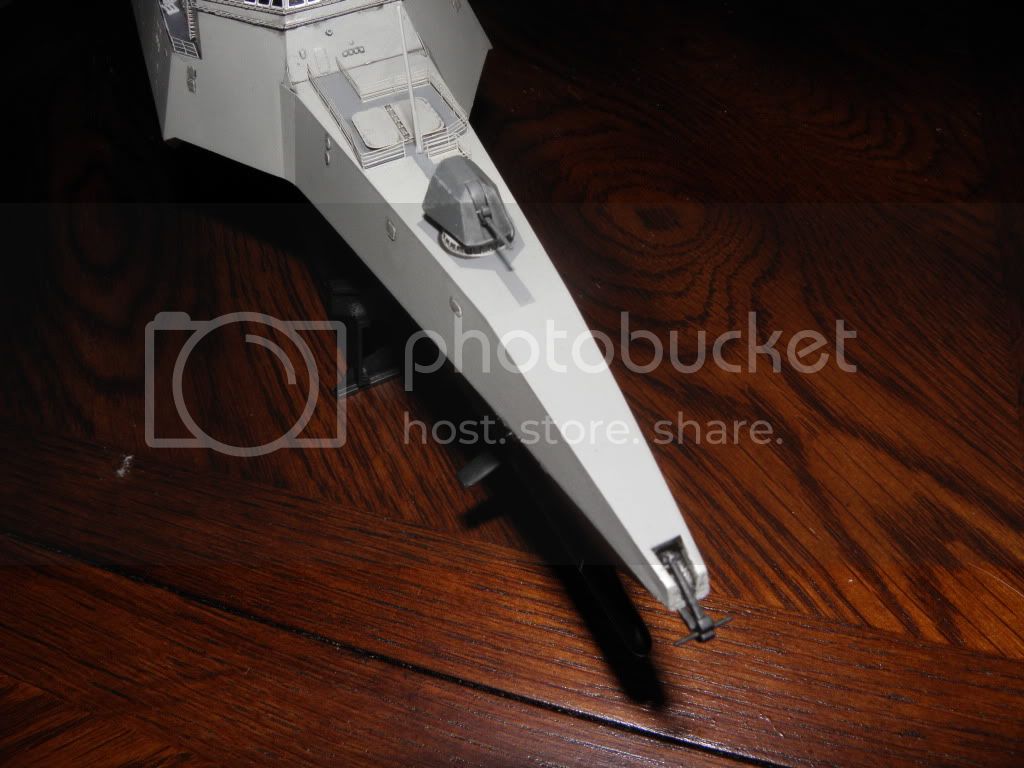
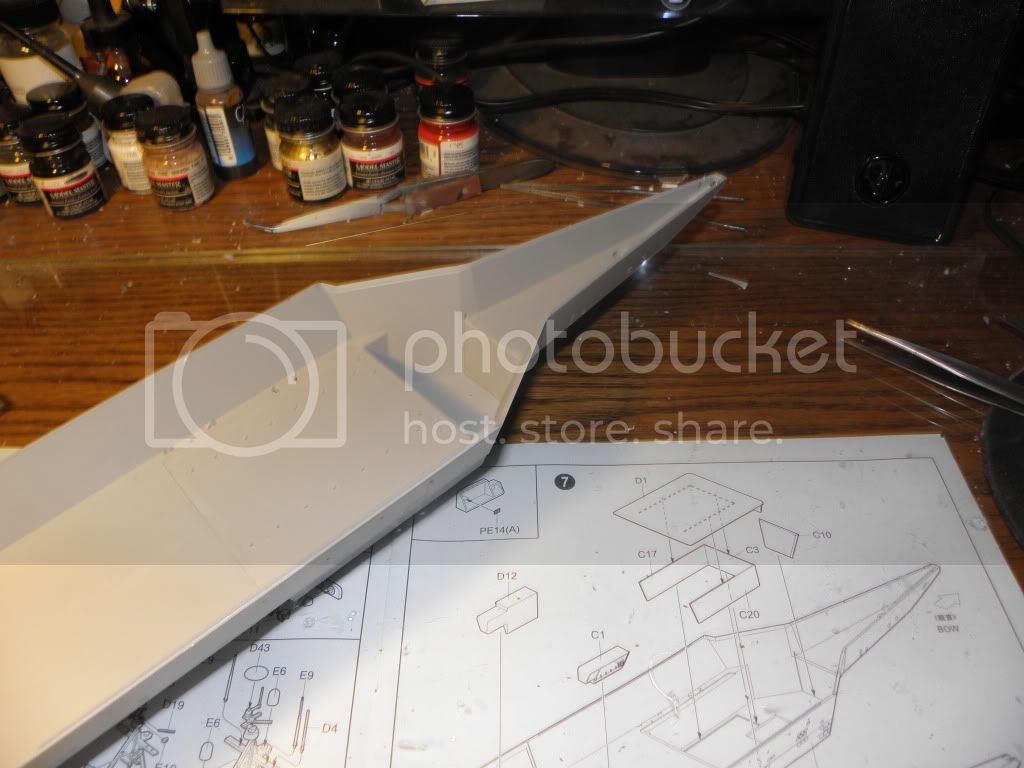
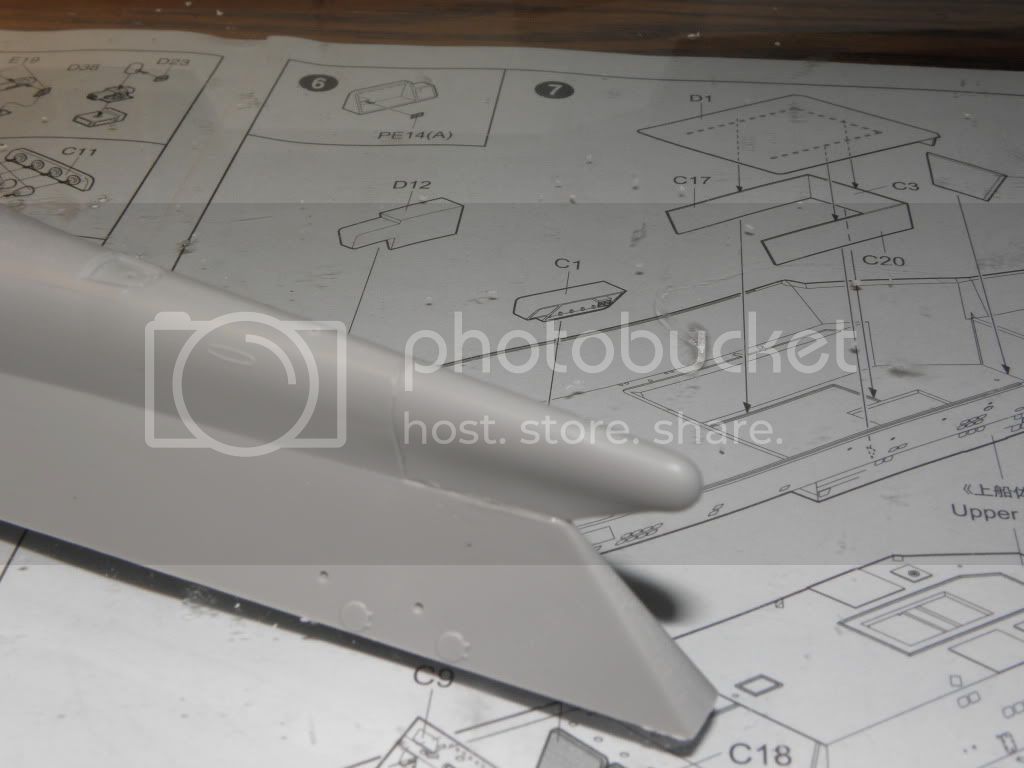
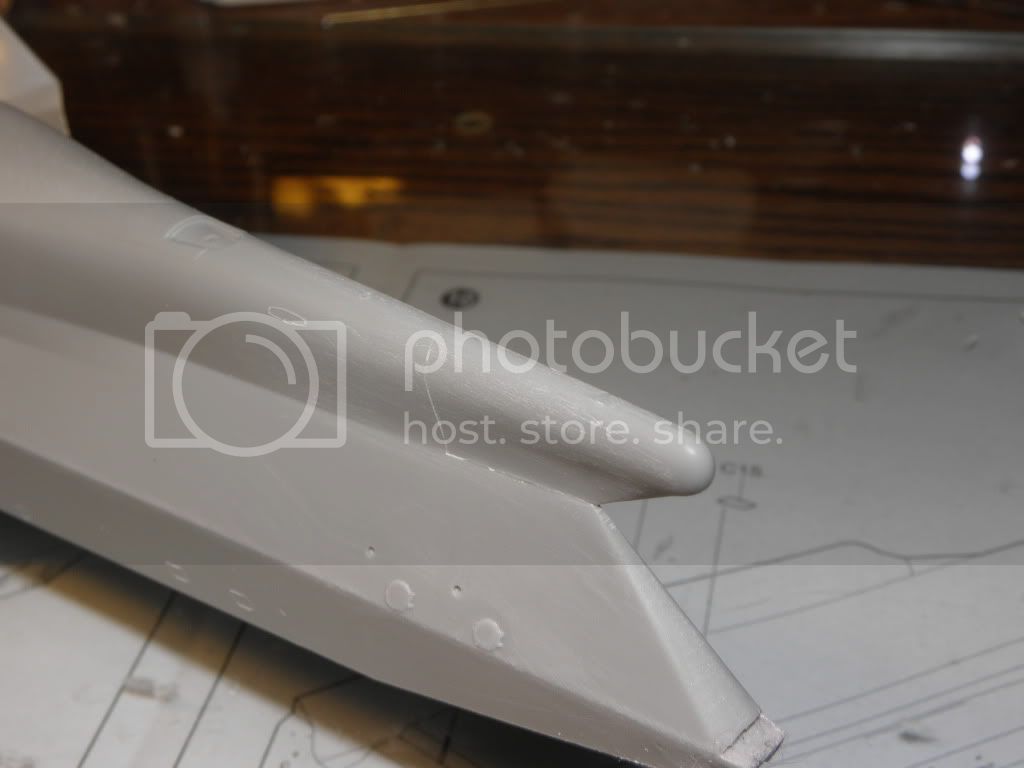
The bow radome was fussy too. After some careful sanding it blended into the hull:
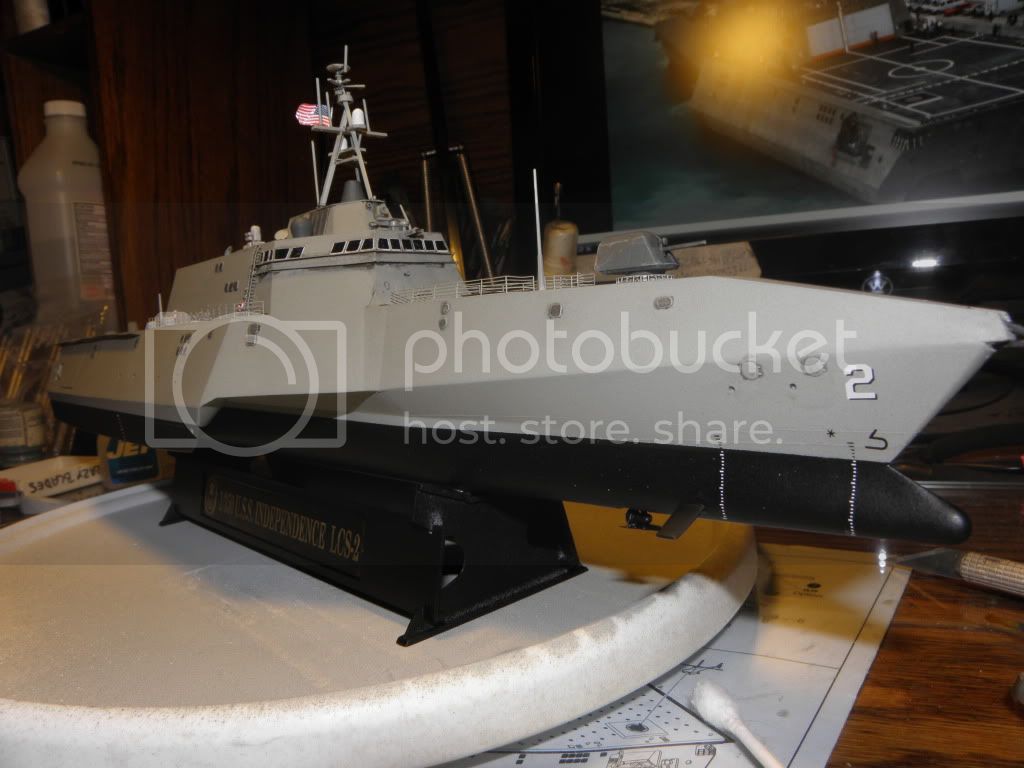
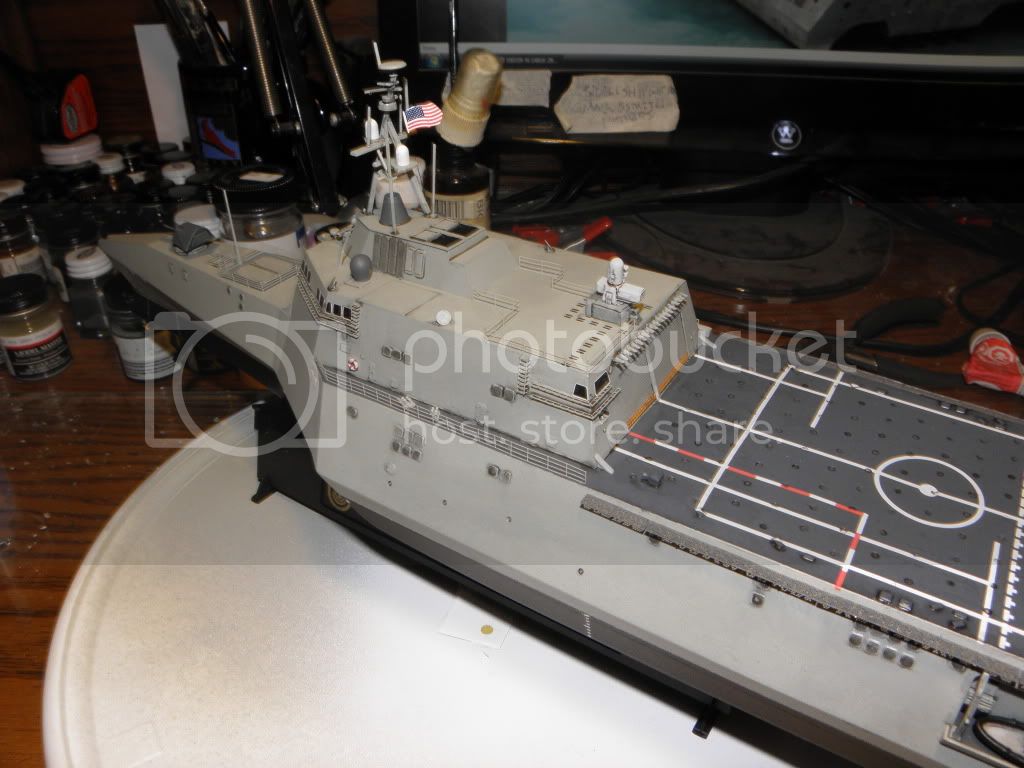
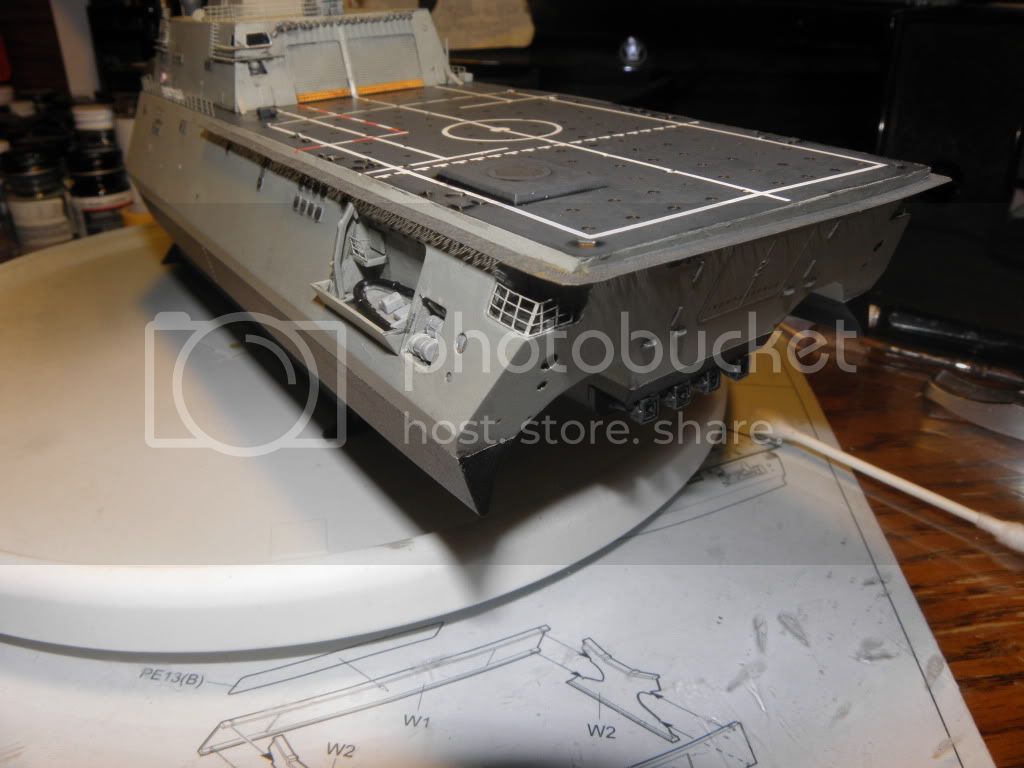
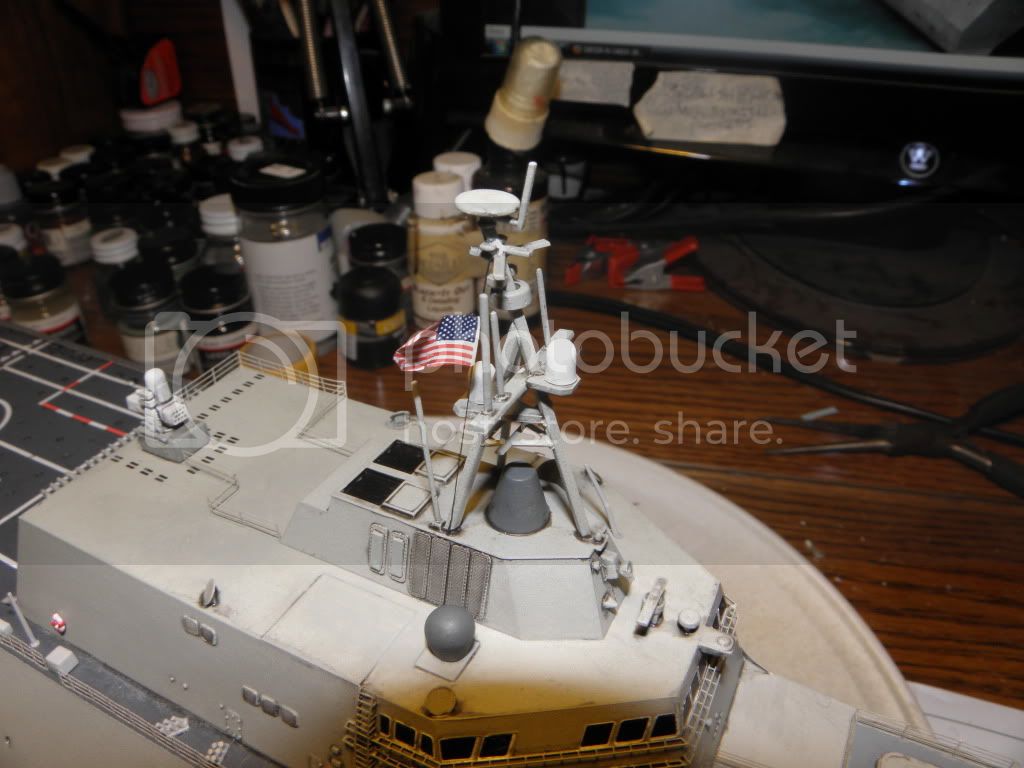
That's it for now. Gonna work on her some more after turkey and pumpkin pie!
Thanks for lookin' and comments/critiques always welcomed!
Happy Thanksgiving and happy modeling
Mark
You are viewing the archived version of the site.
Go to modelshipwrights.com for the current dynamic site!
General Ship Modeling
Discuss modeling techniques, experiences, and ship modeling in general.
Hosted by Jim Starkweather
Trumpeter's 1/350th Scale USS Indepenence LCS
mstazzz62
New Jersey, United States
Joined: January 07, 2010
KitMaker: 34 posts
Model Shipwrights: 31 posts
Joined: January 07, 2010
KitMaker: 34 posts
Model Shipwrights: 31 posts
Posted: Thursday, November 25, 2010 - 09:14 AM UTC
RedDuster
England - South East, United Kingdom
Joined: March 01, 2010
KitMaker: 7,078 posts
Model Shipwrights: 6,649 posts
Joined: March 01, 2010
KitMaker: 7,078 posts
Model Shipwrights: 6,649 posts
Posted: Thursday, November 25, 2010 - 10:05 PM UTC
Hi Mark
Looking good so far.
by the by on the etched fret with the name plate on, what are all the small peices above the name plate look interesting.
Si
Looking good so far.
by the by on the etched fret with the name plate on, what are all the small peices above the name plate look interesting.
Si
JMartine
New Jersey, United States
Joined: October 18, 2007
KitMaker: 1,698 posts
Model Shipwrights: 1,514 posts
Joined: October 18, 2007
KitMaker: 1,698 posts
Model Shipwrights: 1,514 posts
Posted: Wednesday, December 01, 2010 - 12:53 AM UTC
Look forward to your build! I have this coming from Lucky models, should arrive in the spring or thereabouts
cheers
cheers
mstazzz62
New Jersey, United States
Joined: January 07, 2010
KitMaker: 34 posts
Model Shipwrights: 31 posts
Joined: January 07, 2010
KitMaker: 34 posts
Model Shipwrights: 31 posts
Posted: Sunday, December 05, 2010 - 01:51 PM UTC
Thanks for the relpies gentlemen!
Simon - Those pieces are some kind of vent cover. There's a lot of 'em ,too!
Read on for some more P/E madness!
Continuing construction with the display base and nameplate. I was a bit unsure how to paint the nameplate. I attached it to a piece of stiff cardboard with some tape, sprayed it and the base flat black, and after it dried I took a sanding stick and CAREFULLY sanded away the paint from the raised lettering. i am happy with the result:
I also painted the lower hulls:
After these dried I began to attach the P/E tie downs on the flight deck. There are 145 of 'em to go:
I like the way Trumpeter encloses the P/E fret with adhesive film. The parts stay put when you cut:
That's it for now. I gotta get back to that flight deck!
Thanks for lookin' and happy modeling!
Mark
Posted: Sunday, December 05, 2010 - 03:50 PM UTC
I'm watching this build closely. I love the look of the ship.
blaster76
Texas, United States
Joined: September 15, 2002
KitMaker: 8,985 posts
Model Shipwrights: 3,509 posts
Joined: September 15, 2002
KitMaker: 8,985 posts
Model Shipwrights: 3,509 posts
Posted: Sunday, December 05, 2010 - 07:19 PM UTC
INteresting ship. Seems the NAvy is toying with the idea as the second ship in class was cancelled, then reordered.
JMartine
New Jersey, United States
Joined: October 18, 2007
KitMaker: 1,698 posts
Model Shipwrights: 1,514 posts
Joined: October 18, 2007
KitMaker: 1,698 posts
Model Shipwrights: 1,514 posts
Posted: Saturday, December 11, 2010 - 12:15 PM UTC
Great WIP... nice job on the nameplate. Looks like a great kit, cant wait to get mine!
cheers
cheers
mstazzz62
New Jersey, United States
Joined: January 07, 2010
KitMaker: 34 posts
Model Shipwrights: 31 posts
Joined: January 07, 2010
KitMaker: 34 posts
Model Shipwrights: 31 posts
Posted: Wednesday, December 29, 2010 - 10:07 AM UTC
Greetings fellow modelers! Hope you all had a great Christmas! I finally got back to work my Independence, finishing up all the P/E except for the railings. Here is the upper works:
Decks and hulls masked, ready for paint:
I was so eager to get paint on her I didn't get any pics of the hull P/E mounted. Oh well, next time! Here she is painted, masks removed:
The railings around the bridge were tricky to mount, but came out OK:
While the paint dried I assembled the little details and armament:
She's got a coat of gloss on her and tonight I am applying decals. I'll get some more pics up soon, so stay tuned!
Thanks for lookin' and as always, comments/critiques very welcomed!
Mark
mstazzz62
New Jersey, United States
Joined: January 07, 2010
KitMaker: 34 posts
Model Shipwrights: 31 posts
Joined: January 07, 2010
KitMaker: 34 posts
Model Shipwrights: 31 posts
Posted: Thursday, December 30, 2010 - 01:30 PM UTC
It's decal time! Applying decals is not my favorite step in modeling but they can really make or break a model. trumpeter's decals are nice, but are really fiddly to apply.Starting off with the bridge "windows" I was a bit concerned how they would look, but I actually think they look pretty good.I had to trim the carrier film very close to the frames or it would lay across the foot rails:
Next was the gray areas on the bow. I think they are nonslip walkways:
The biggest challenge was the flight deck. The first piece to go on was large and the carrier film was only around the image area. It was a nightmare to try and slide it off the paper onto the model. After much prodding and coaxing (and lot of cursing) I got it in place:
The rest of the flight deck lines went on fairly easily:
Here's a view of the stern:
Whew! Decals are done! I'm moving on to mounting the railings, weaponry, and all the remaining details. Tomorrow I'll start on the Helo and the drone.
Hope to have some more pics up soon. Happy modeling and please keep thse comments/critiques coming!
Mark
TracyWhite
Washington, United States
Joined: January 18, 2005
KitMaker: 527 posts
Model Shipwrights: 464 posts
Joined: January 18, 2005
KitMaker: 527 posts
Model Shipwrights: 464 posts
Posted: Thursday, December 30, 2010 - 08:14 PM UTC
I don't know how much this matters to you, but the Navy has revised Independence's deck painting. The models mainly show the builder's trial pattern; at some point after that and before the Navy trials the darker non-skid was extended and added. Look to these photos for the new areas on the top two deck levels above the bridge:
http://www.navy.mil/view_single.asp?id=83742
http://www.navy.mil/view_single.asp?id=83743
http://www.navy.mil/view_single.asp?id=83742
http://www.navy.mil/view_single.asp?id=83743
goldenpony
Zimbabwe
Joined: July 03, 2007
KitMaker: 3,529 posts
Model Shipwrights: 2,419 posts
Joined: July 03, 2007
KitMaker: 3,529 posts
Model Shipwrights: 2,419 posts
Posted: Friday, December 31, 2010 - 01:52 AM UTC
The window decals do look nice, that was something I was wondering how it would turn out.
Good work Thus far!
Good work Thus far!
mstazzz62
New Jersey, United States
Joined: January 07, 2010
KitMaker: 34 posts
Model Shipwrights: 31 posts
Joined: January 07, 2010
KitMaker: 34 posts
Model Shipwrights: 31 posts
Posted: Monday, January 03, 2011 - 08:28 AM UTC
Greetings fellow modelers! It's the home stretch now. P/E has been mounted and final assembly has begun. The small details on the flight were picked out in light sea gray:
Here's some shots after a coat of Testors Dull coat:
I also added a flag:
Now all I've got left is the airwing. Trumpeter includes a nice Seahawk and an unmanned drone:
The helo halves glued and clamped:
Lots of windows to mask:
Here's the helo and drone base coated:
I should be done in a day or so and I'll post some pics. Thanks for taking the journey with me and please, hang in for the end!
Thanks for lookin'
Mark
Posted: Monday, January 03, 2011 - 12:01 PM UTC
I already have one, so I'm itching to see how this ends up
mstazzz62
New Jersey, United States
Joined: January 07, 2010
KitMaker: 34 posts
Model Shipwrights: 31 posts
Joined: January 07, 2010
KitMaker: 34 posts
Model Shipwrights: 31 posts
Posted: Thursday, January 06, 2011 - 07:49 AM UTC
Greetings fellow modelers! She's finished - may I present Trumpeter's 1/350th scale USS Independence:
All in all not a bad kit - the main components fit well. The high number of P/E parts was a bit daunting, but the low point of the kit was the decals (IMHO). They were a challenge to apply, but in the end they look the part. I'm happy with my Indy and would recommend the kit. I haven't seen the Dragon or Hobby Boss versions so I can't really comment on any comparisons between them.
Thank you all who joined me on my modeling adventure and thanks for the comments, suggestions and kind words throughout - you guys are the BEST!
Mark
Posted: Thursday, January 06, 2011 - 09:22 PM UTC
Wow! I must have missed this one, even though I'm more of a lurker on MSW... Certainly a different looking ship and you've done a great job with it! Congrats!
Cheers!
Stefan
Cheers!
Stefan