_GOTOBOTTOM
General Ship Modeling
Discuss modeling techniques, experiences, and ship modeling in general.
1/350 Yamato w/ Lionroar
HalseysBeard
Visit this Community
New Brunswick, Canada
Joined: March 17, 2011
KitMaker: 137 posts
Model Shipwrights: 135 posts
Posted: Friday, June 03, 2011 - 06:54 AM UTC

Quoted Text

super-duper...esp. the glue-work. What was your technique?


pm sent, now you know... 
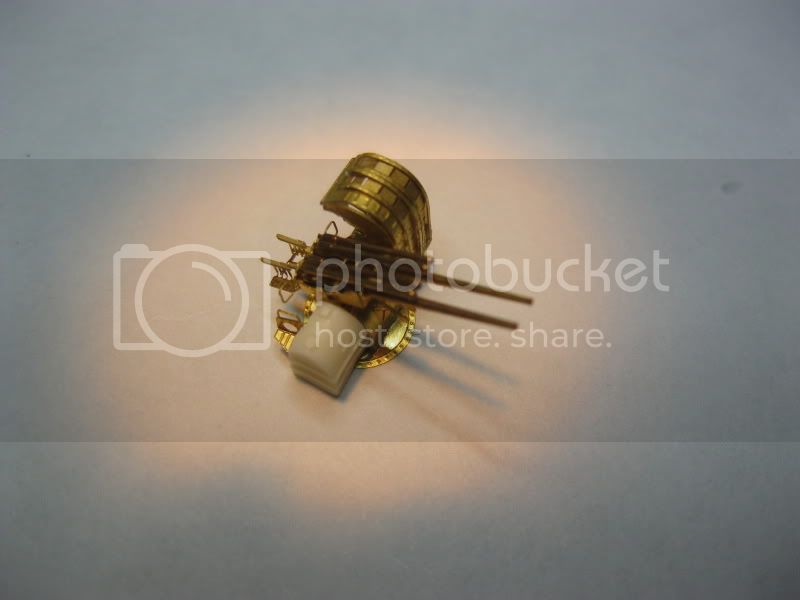
pe app will look great

Tojo72
Visit this Community
North Carolina, United States
Joined: June 06, 2006
KitMaker: 4,691 posts
Model Shipwrights: 258 posts
Posted: Friday, June 03, 2011 - 09:33 AM UTC
You have really completed a museum piece,fantastic work.
HalseysBeard
Visit this Community
New Brunswick, Canada
Joined: March 17, 2011
KitMaker: 137 posts
Model Shipwrights: 135 posts
Posted: Monday, June 06, 2011 - 01:09 PM UTC

Quoted Text

Going back to the Nagato....i saw where someone had gotten a spray can of Mr Surfacre 1000 and sprayed it on the hull then sanded down a bit to even it out. That is the method i plan to try


Well, I have been experimenting (on the flat bottom of the hull) and I think I have found a somewhat easier (for me) solution to the Nagato hull prob. Pls see pics below for test.

-I painted a small section (2"x2") with Mr. Surfacer 500 (bottle), waited 20 seconds for a light set, wiped the section with a cotton ball moistened with nail polish remover and...viola! (took about 2 minutes, i think the entire hull will take less than an hour). I dont know if this pic is sufficient to illustrate, but anyway:


Let me know what you think!
blaster76
Visit this Community
Texas, United States
Joined: September 15, 2002
KitMaker: 8,985 posts
Model Shipwrights: 3,509 posts
Posted: Tuesday, June 07, 2011 - 05:20 AM UTC
Looks great.....acetone (nail polish remover) is what i use to clean tools and to replenish when it gets dried out.
HalseysBeard
Visit this Community
New Brunswick, Canada
Joined: March 17, 2011
KitMaker: 137 posts
Model Shipwrights: 135 posts
Posted: Tuesday, June 07, 2011 - 05:56 AM UTC
It works on Mr Surfacer too as well as tools I guess Steve ...i just painted the test section to test visablility of the cad lines once paint has been applied. Will let dry and take a couple of pics and post results tonight...
McIvan
Visit this Community
New Zealand
Joined: November 18, 2009
KitMaker: 64 posts
Model Shipwrights: 4 posts
Posted: Tuesday, June 07, 2011 - 11:59 PM UTC

Quoted Text


Two other questions...can Mr Surfacer be used in an airbrush? I would think it would tend to clog badly, but I have no idea (and yes, I'm too lazy to go test it myself)
and...would the coarser or finer grit Surfacer be your first choice for this app?


You can use it through an airbrush, but it needs heavy thinning with lacquer thinner.....I was shooting Surfacer 1000 and had to use about 2/3 thinner to 1/3 surfacer to avoid clogging.

Makes a beautiful primer. Those fumes tho....
HalseysBeard
Visit this Community
New Brunswick, Canada
Joined: March 17, 2011
KitMaker: 137 posts
Model Shipwrights: 135 posts
Posted: Wednesday, September 14, 2011 - 10:22 AM UTC


viper29_ca
Visit this Community
New Brunswick, Canada
Joined: October 18, 2002
KitMaker: 2,247 posts
Model Shipwrights: 54 posts
Posted: Wednesday, September 14, 2011 - 05:29 PM UTC
Nice case you have for it!! Your B24 with all the goodies is still sitting here for you!
MrMox
Visit this Community
Aarhus, Denmark
Joined: July 18, 2003
KitMaker: 3,377 posts
Model Shipwrights: 985 posts
Posted: Wednesday, September 14, 2011 - 06:22 PM UTC
Congratulations on a beautiful build and a very classy presentation!

Solid work

Cheers/Jan
mermaid
Visit this Community
United Kingdom
Joined: July 01, 2011
KitMaker: 21 posts
Model Shipwrights: 16 posts
Posted: Monday, September 26, 2011 - 01:40 PM UTC
Beautiful work! It is interesting what glue has been used for such a clean P.E. job?
Is there a special technique?
Torchy
#047
Visit this Community
England - East Anglia, United Kingdom
Joined: September 13, 2005
KitMaker: 2,016 posts
Model Shipwrights: 72 posts
Posted: Wednesday, September 28, 2011 - 07:35 AM UTC
Tim, words fail me mate,truly stunning
Thanks for posting
Andy
HalseysBeard
Visit this Community
New Brunswick, Canada
Joined: March 17, 2011
KitMaker: 137 posts
Model Shipwrights: 135 posts
Posted: Tuesday, October 04, 2011 - 08:32 AM UTC
Konstantin: pm sent re: glue. Sorry for delay in getting back to you.


in the meantime, one of the AA guns:


parts cut off sheet, but not yet folded


rolled, fold


main barrels added (toothpick is to set barrels parrellel as glue sets)


4 (are these recoil cylinders?) added

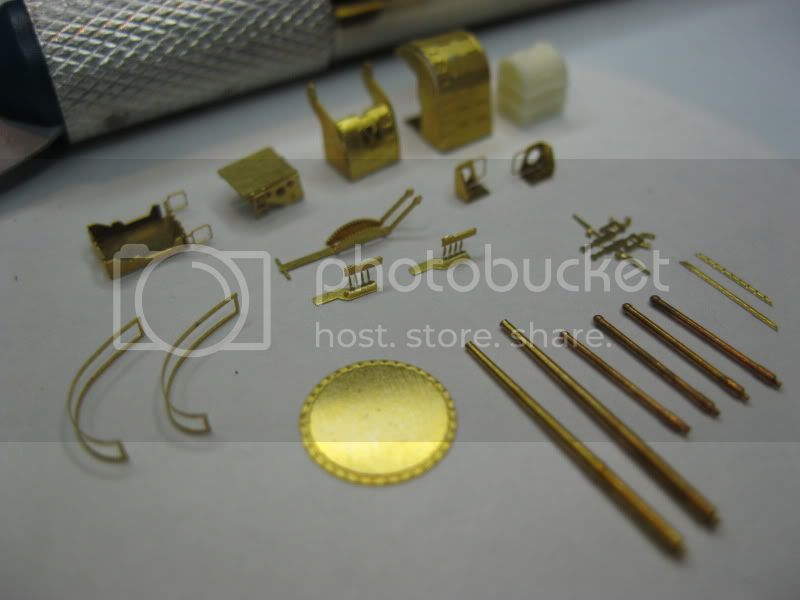
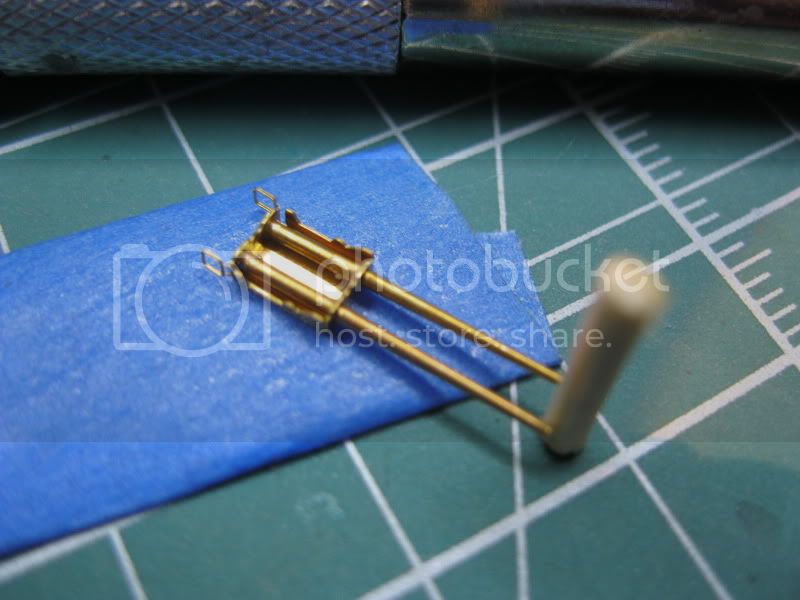
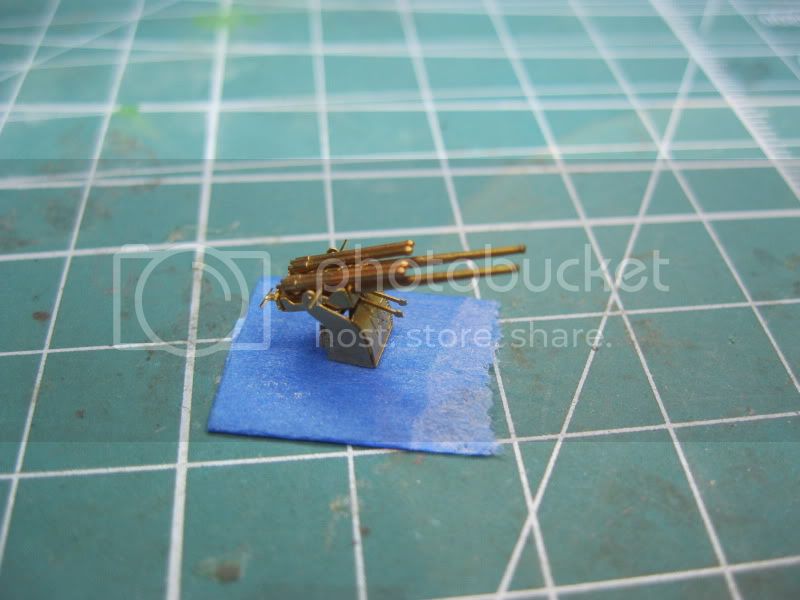
elevation gear added underneath


adjustments needed

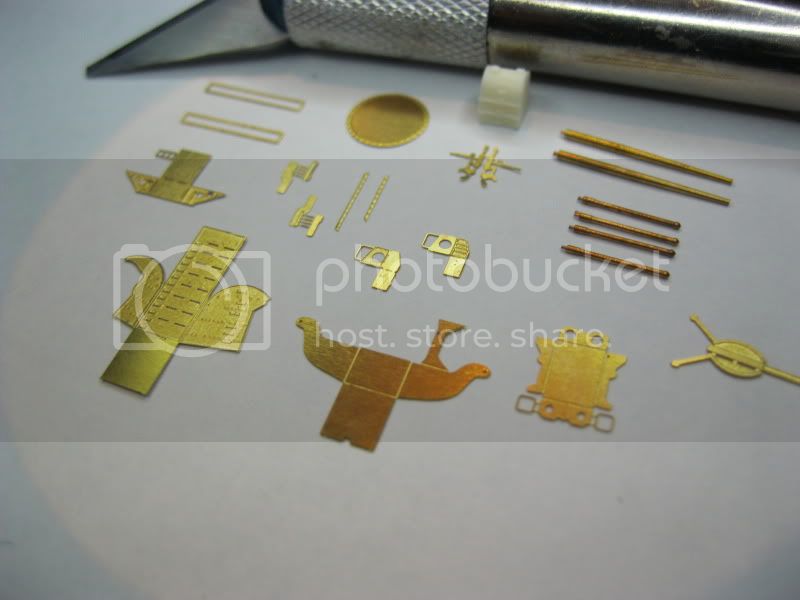
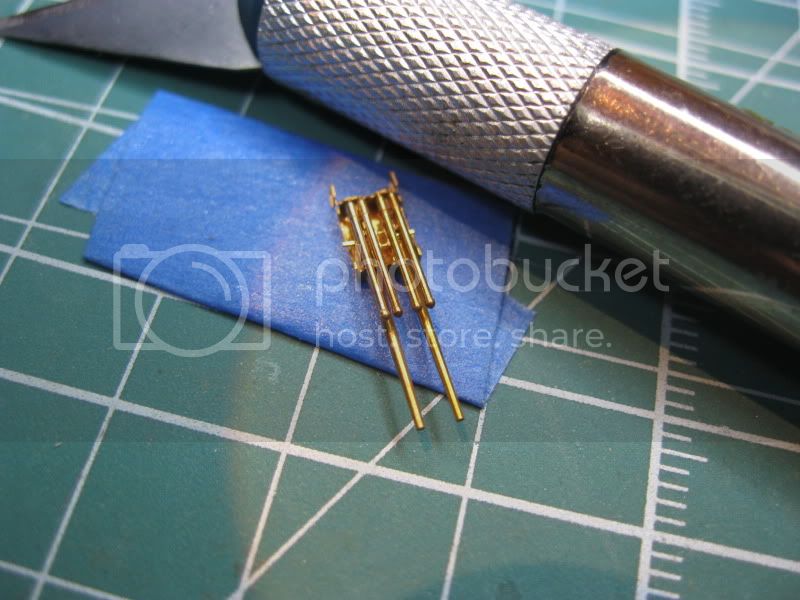
pic makes the parts look copper. maybe its the dirty mat


completed. 22 parts/ 3 hours. sometimes I think I'm nuts. well...more than sometimes. Its pretty much 24/7 with me I guess.

Thanks for viewing my post! -Tim
mermaid
Visit this Community
United Kingdom
Joined: July 01, 2011
KitMaker: 21 posts
Model Shipwrights: 16 posts
Posted: Tuesday, October 04, 2011 - 03:28 PM UTC
Another beautiful and effortless assembly by Master Tim. And not a sign of glue anywhere! May be it should be diluted with water? But then it shall not have any viscosity... Your skill is still unsurpassed!
HalseysBeard
Visit this Community
New Brunswick, Canada
Joined: March 17, 2011
KitMaker: 137 posts
Model Shipwrights: 135 posts
Posted: Friday, October 21, 2011 - 06:43 AM UTC

Quoted Text

Beautiful work! It is interesting what glue has been used for such a clean P.E. job?
Is there a special technique?


no special technique really, here is what I use for pe:

Glue:
i use very small amounts (its amazing how little is required) applied with a toothpick or sewing needle. i always look for an application spot for the glue that will hold the part in place... but not be visable once installed. once cured, it remains flexible and practically disappears. One caveat in using pva glue: if the Gator ever becomes frozen (in transit or elsewhere) the glue is ruined. it will become clumpy, lose adhesion and smell funky


Magnifier: I use MG Electronic's LUX-520 Diopter Fluorescent Magnifier:


the folding tool I use:


Cut-off set:

the acrylic sheet and its black background color is perfect for seeing the pe clearly and making a precise cut possible without bending the piece downwards or dulling your blade unnecessarily. rarely have I ever had to file off a brass attachment stub on a pe piece using this method

and this the rolling kit i use (very helpful for smooth rolls):


recommend: dont go cheap on your magnifier! the extra money for a good one will be well spent!


 _GOTOTOP