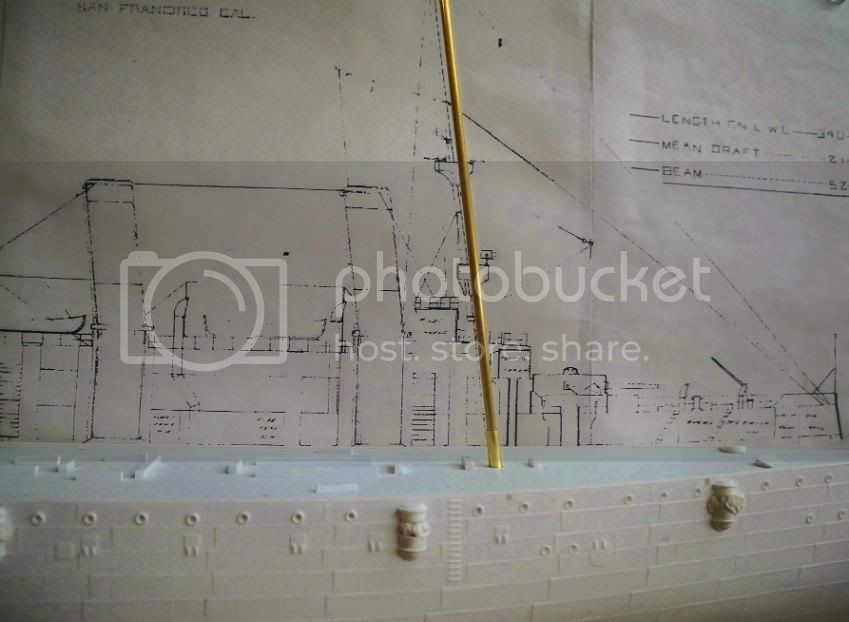
I too have abandoned using the plastic kit masts, Bill, as they never seem quite round enough for me, and when rigged lack the strength of brass and bend under the weight of rigging.
I agree with both Tim and Tom's telescoping methods which work great, but can get a little pricey, so I've been looking for ways to turn up my own masts.
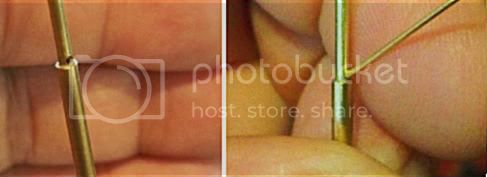
For the spars, I use brass wire loaded into a drill or dremel, then, use a block of wood to apply pressure, and gently 'sand' it down on some 240 paper.
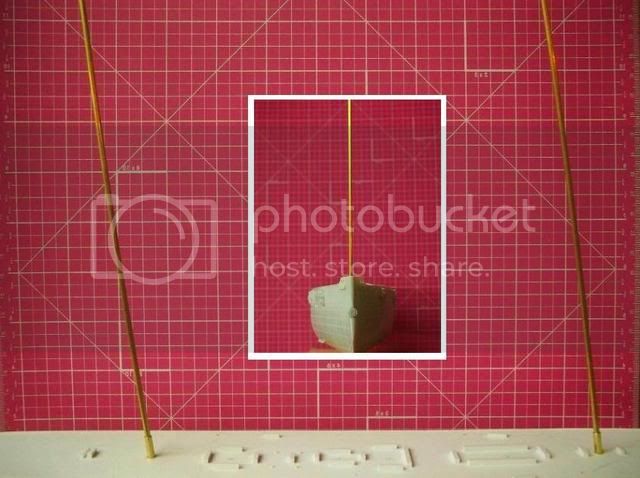
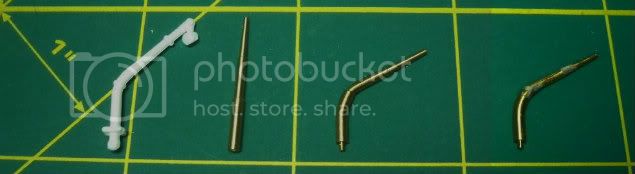
For the masts themselves I recently tried using brass stock and had a friend turn them down on his lathe to the dimensions I specified. I did this becasue i didn't want to commit to purchasing a lathe without knowing if it would work.
Here's the brass stock next to the original plastic masts and some plastic tube replicas I had been building and the resulting turned masts:

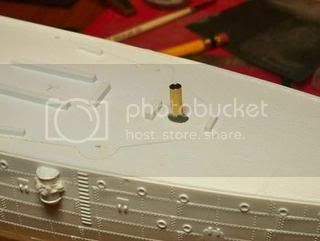
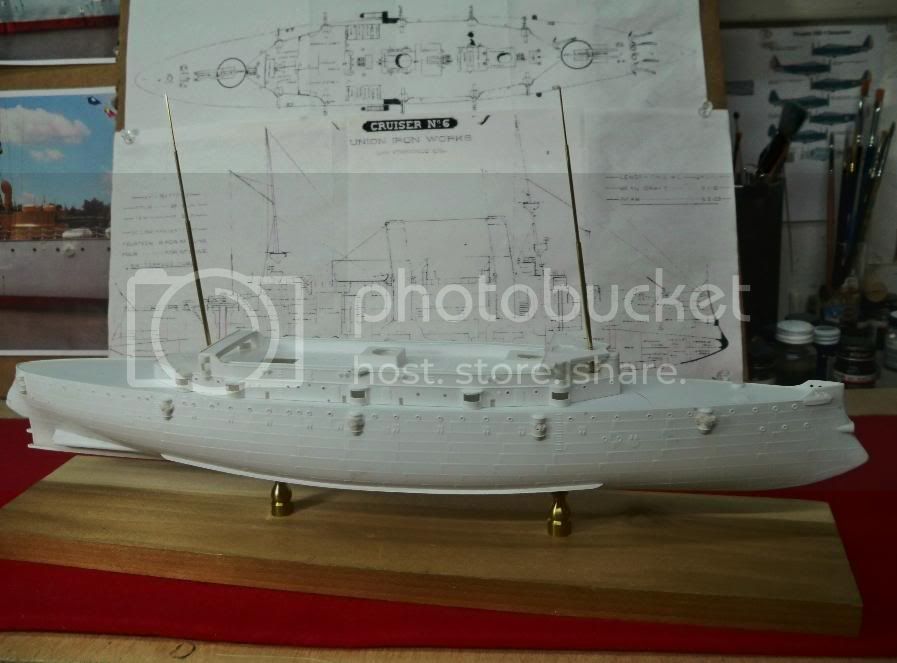
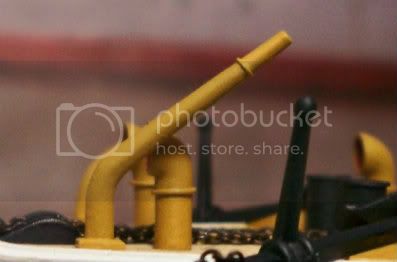
Here are the masts built up with the turned spars:

Looks far better than the kit parts. Solder the joints on the bigger diameter stuff. 2 part epoxy works well on the smaller diameters.
Having been more than happy with the result I found this on ebay, and thought i'd give it a try:

Whichever way you chose to build your masts Bill, remember, it's all for the fun!