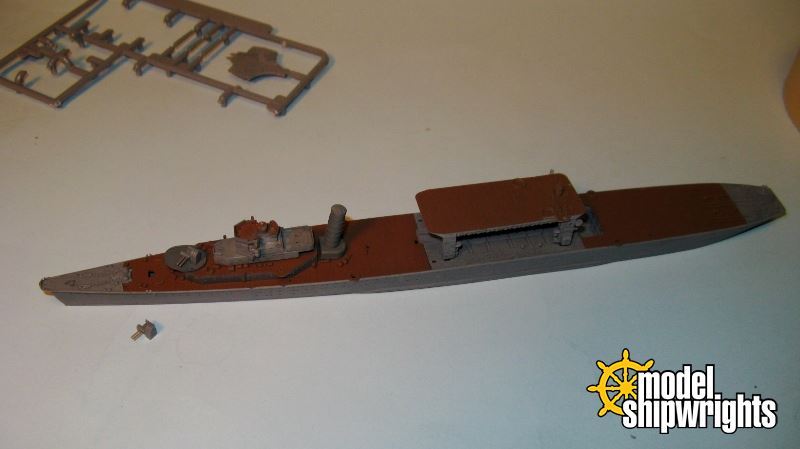
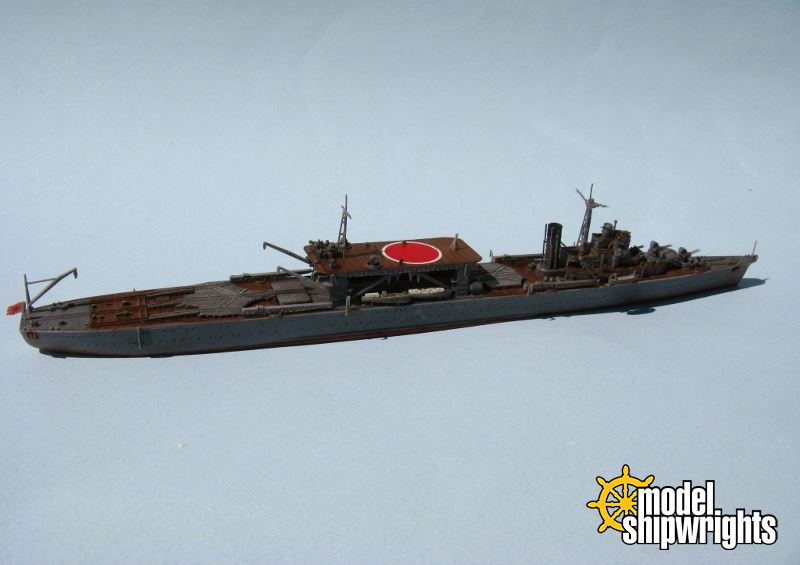
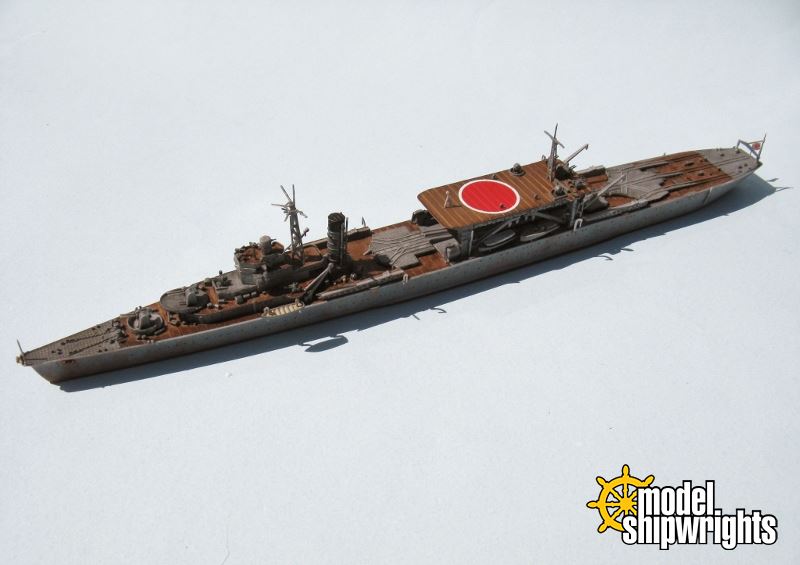
Here we go, the final dash!
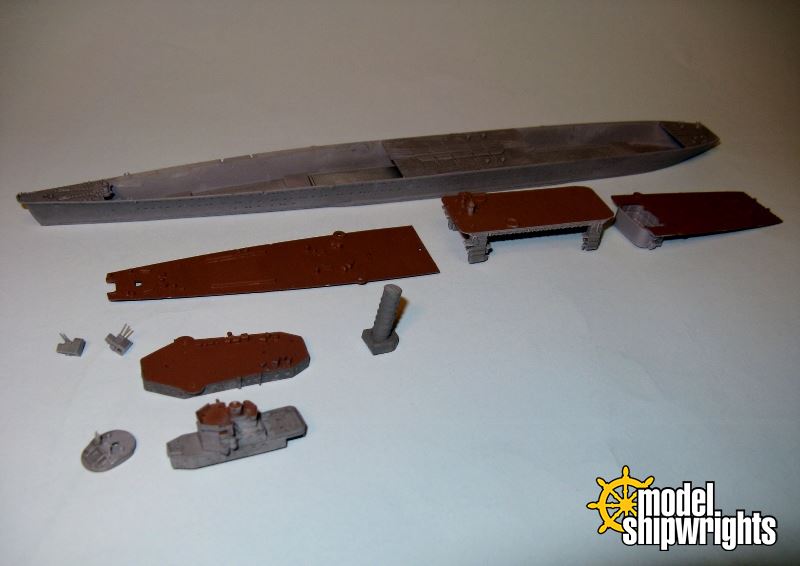
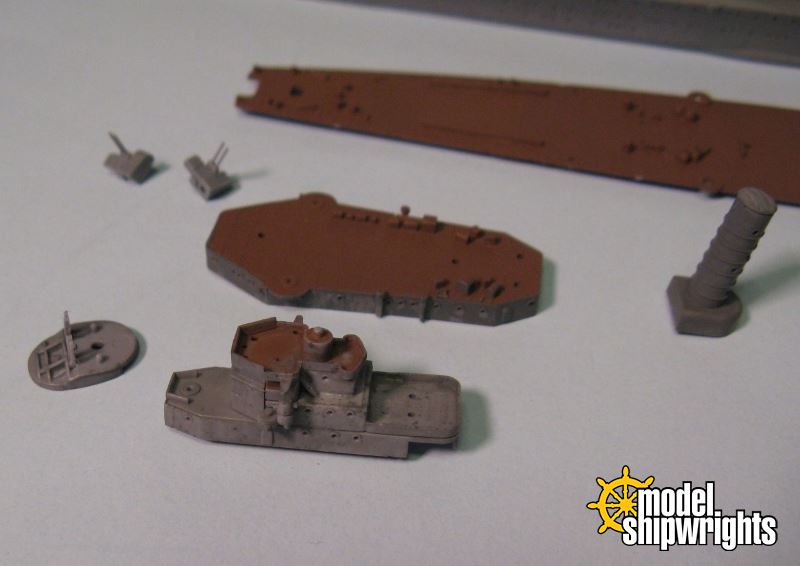
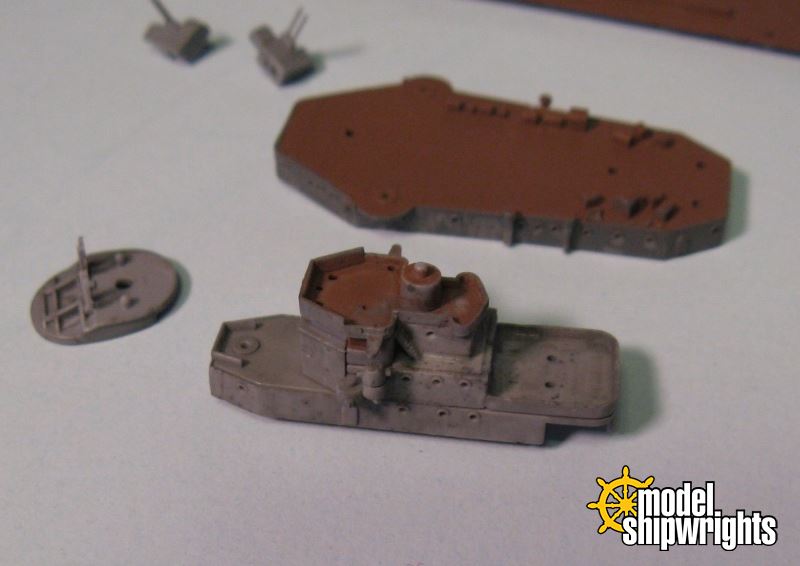
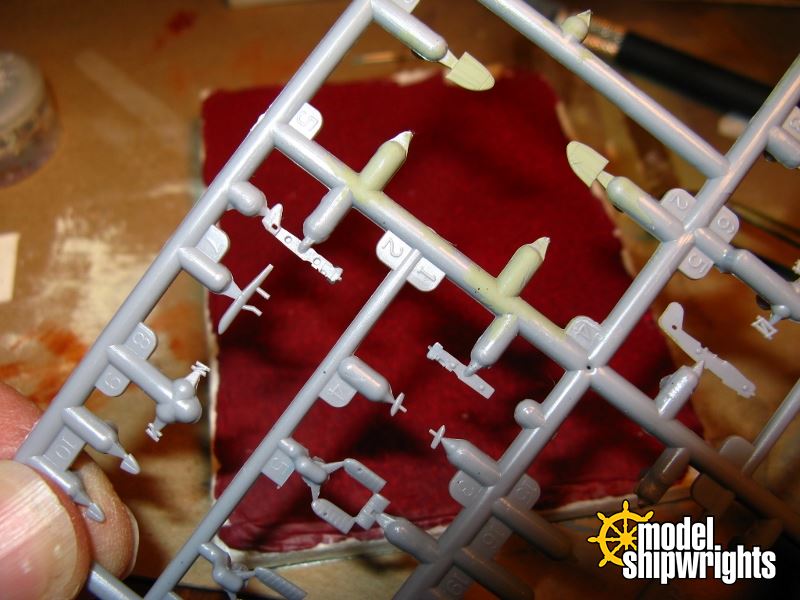
After the towers and elevated deck are attached, the major ship structure is complete. Now comes the “fiddly” parts. Cranes, catapults, antennas, parevanes, light flak guns, masts, search lights, launches – dozens of items.
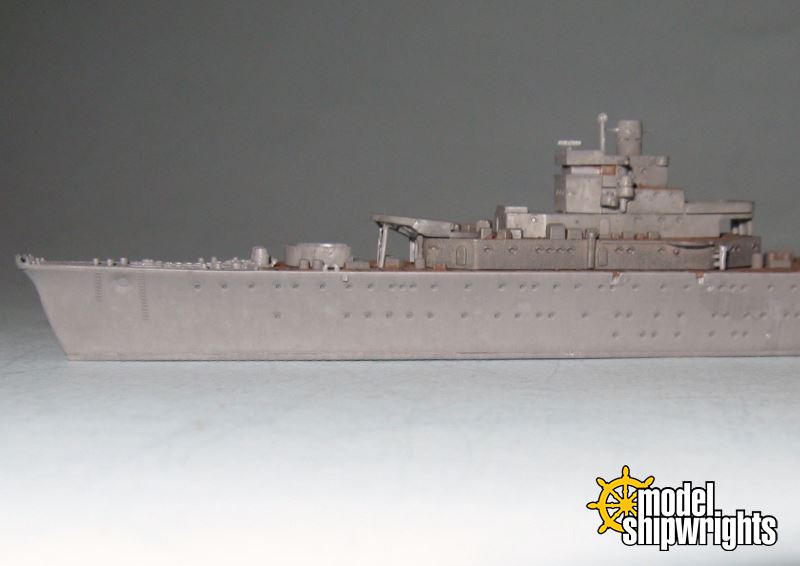
Many of these parts are very tiny and delicate. I did not follow the steps in the instructions religiously as I would have had trouble holding the model. So starting at the bow and moving aft, attach the 16-petal chrysanthemum emblem,
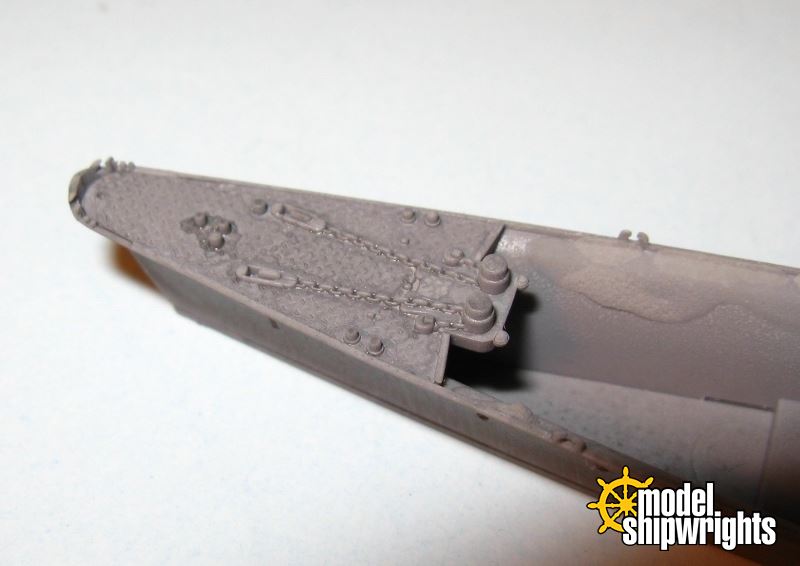
kiku mon, symbol of the Japanese imperial house, followed by the foremast.
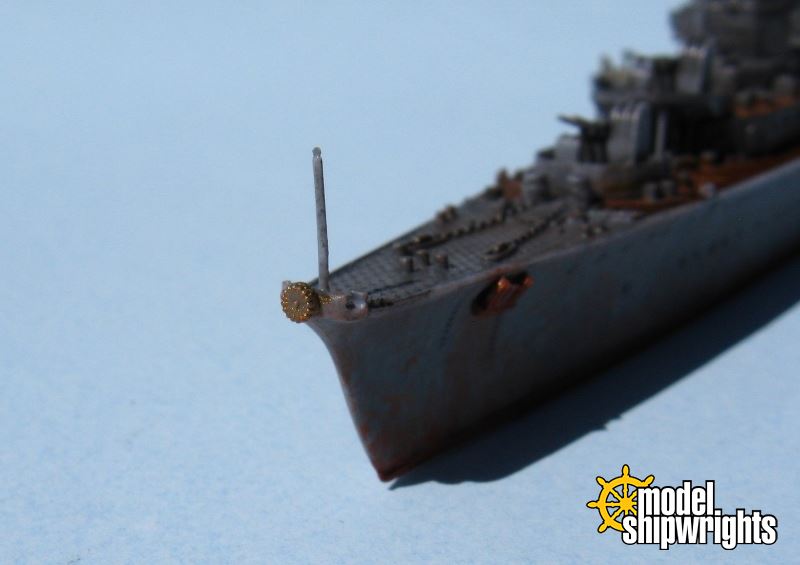
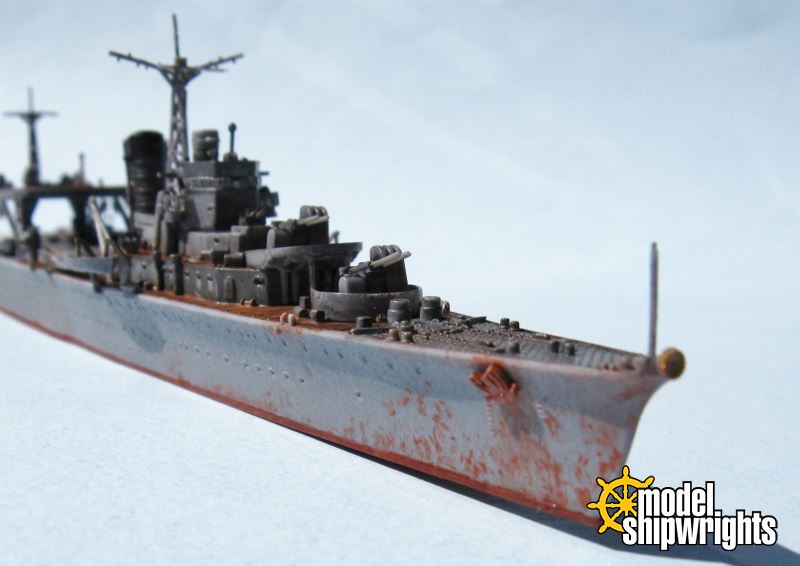
Oh, and I didn't forget the anchors!
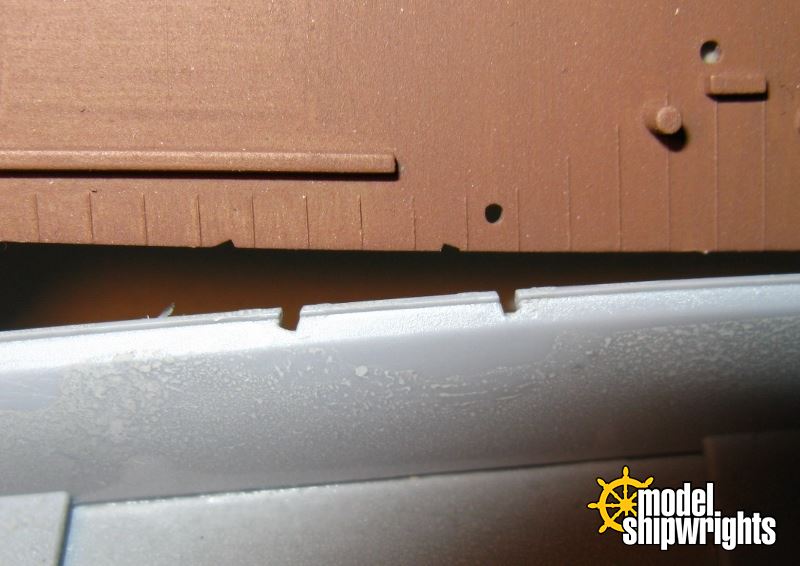
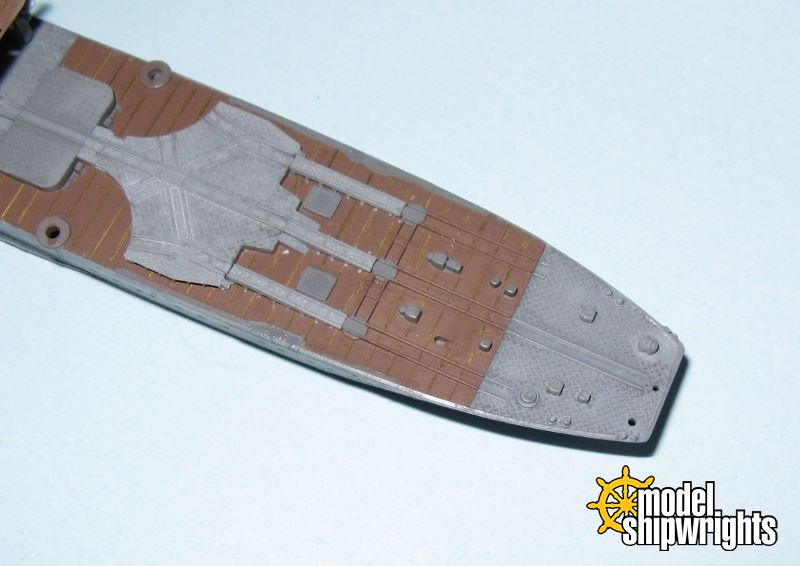
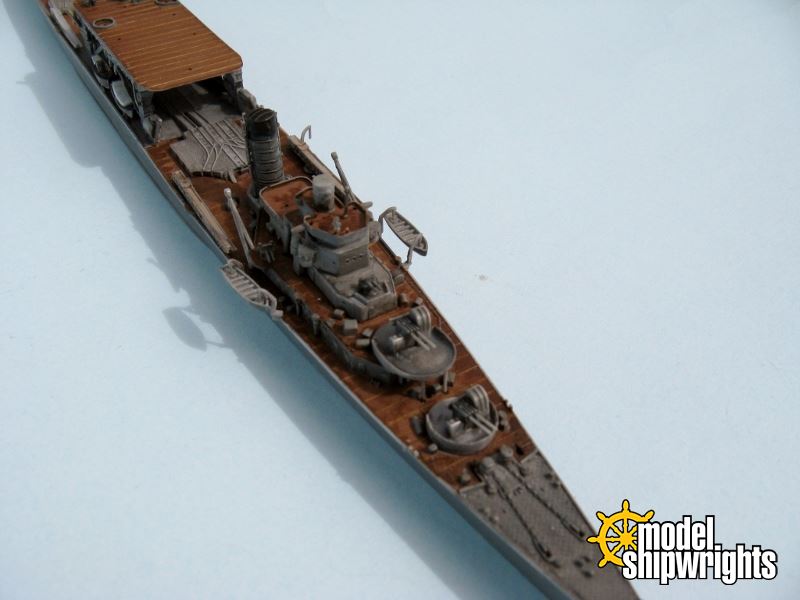
The Type 89 guns and mounts have been installed so I mounted the 25mm AA guns on the forecastle along with boom cranes. This is also when I attached the davits holding the 9m cutters to each side of the gunwales. These davits have generous tabs which fit into slots molded into the ship sides and weather deck.
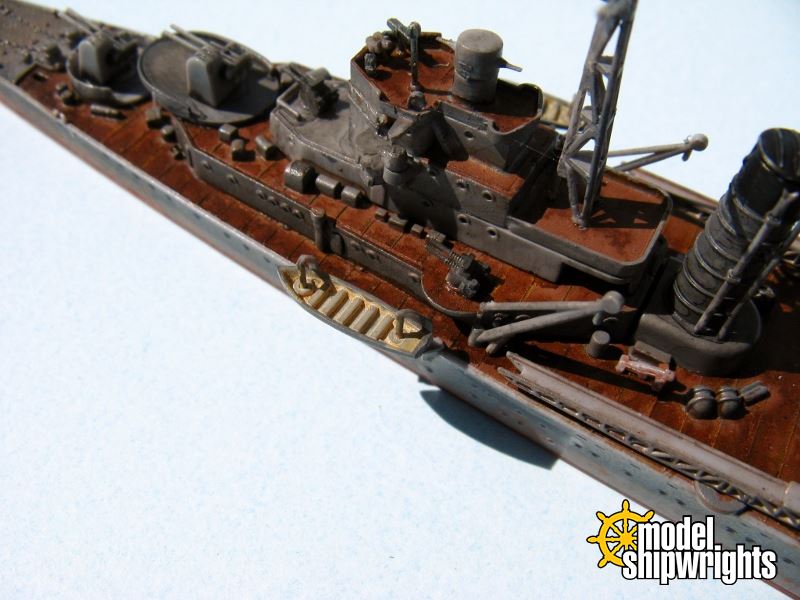
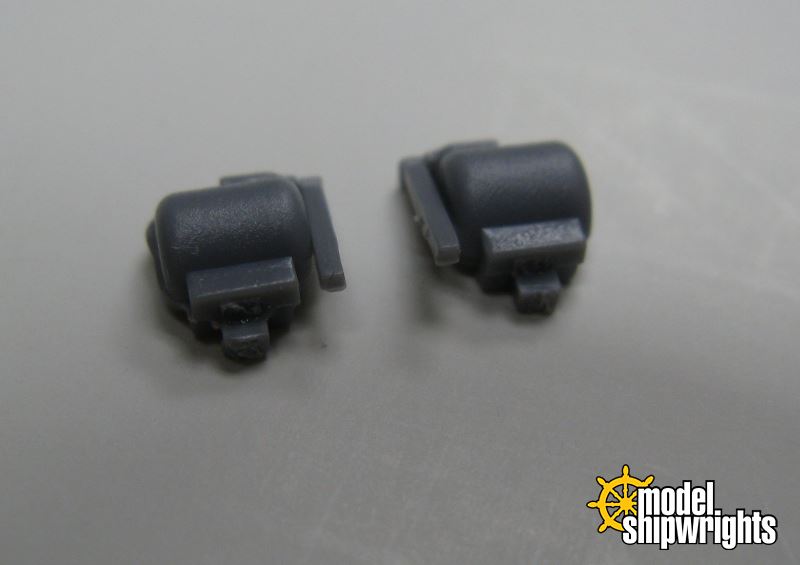
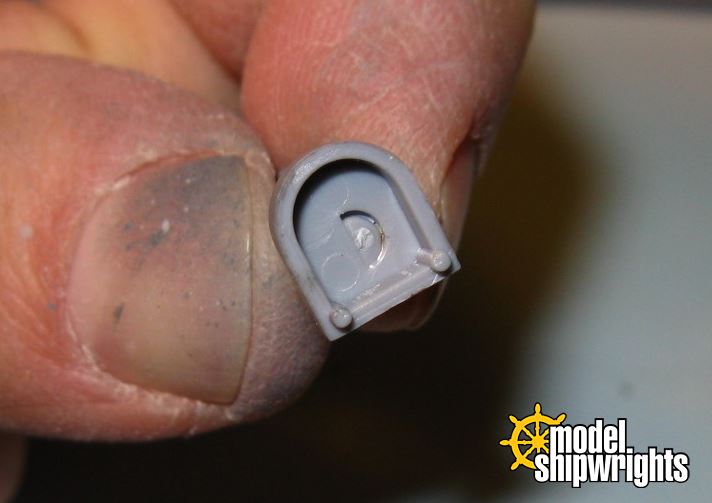
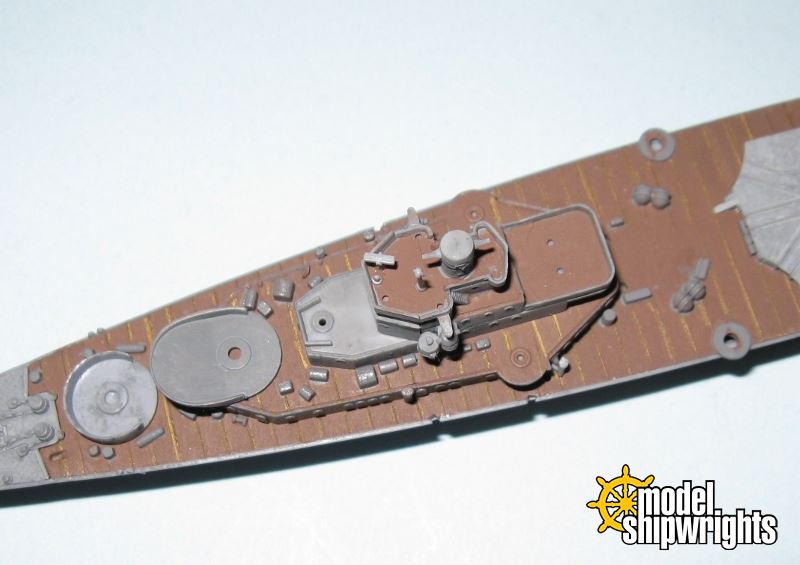
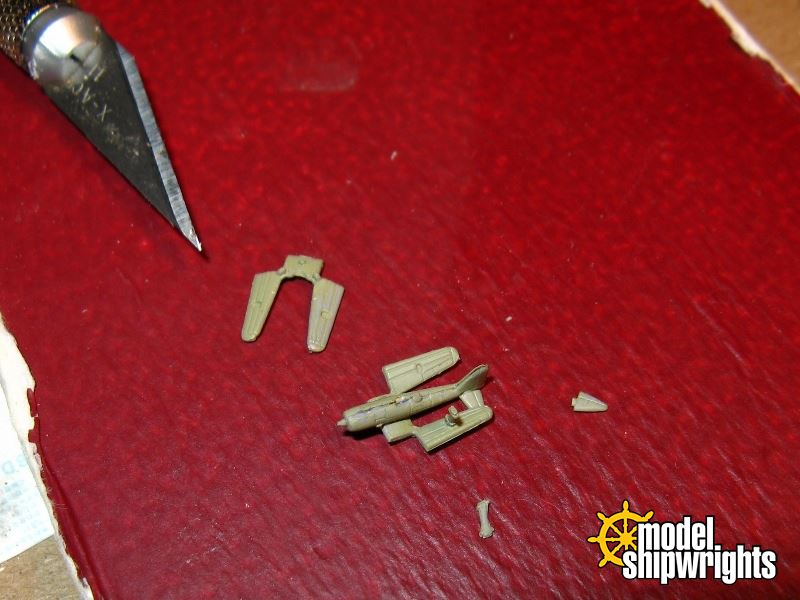
Next I moved up to the top of the superstructure to the flying bridge and finished adding the very tiny items (pelorus & binnacle?), including the searchlights. Just how small are those pieces? Take a look!

Two paravanes are secured to the deck on both sides of the stack. After all of the above is added,
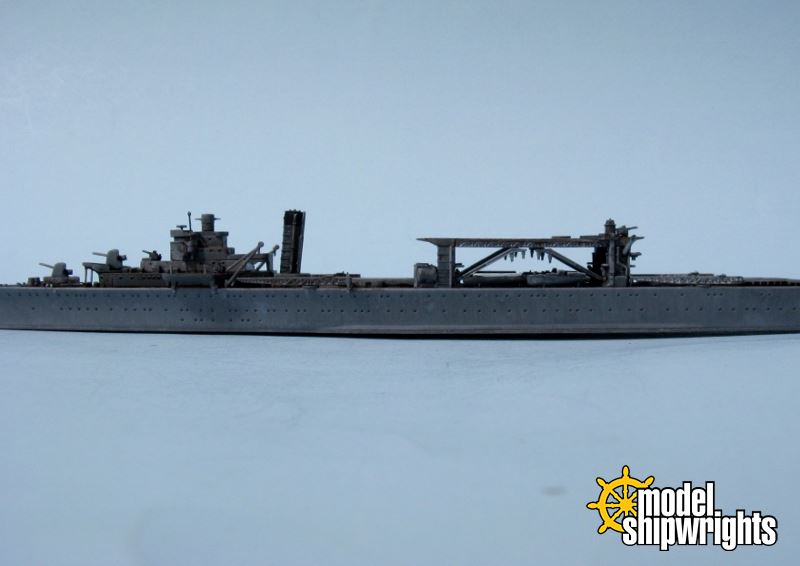
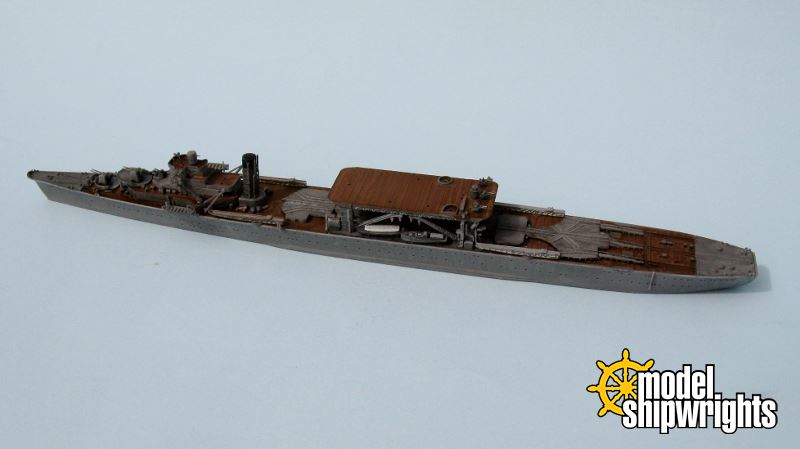
Chitose is starting to look complete!
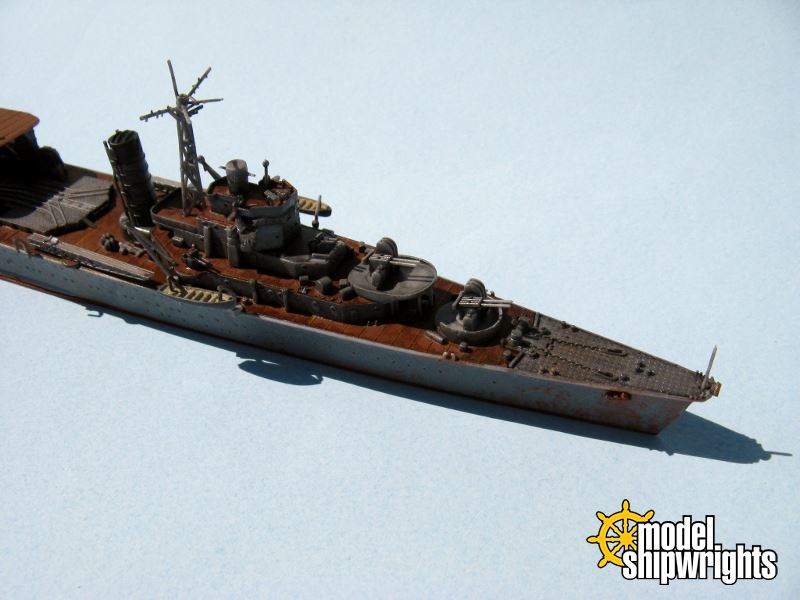

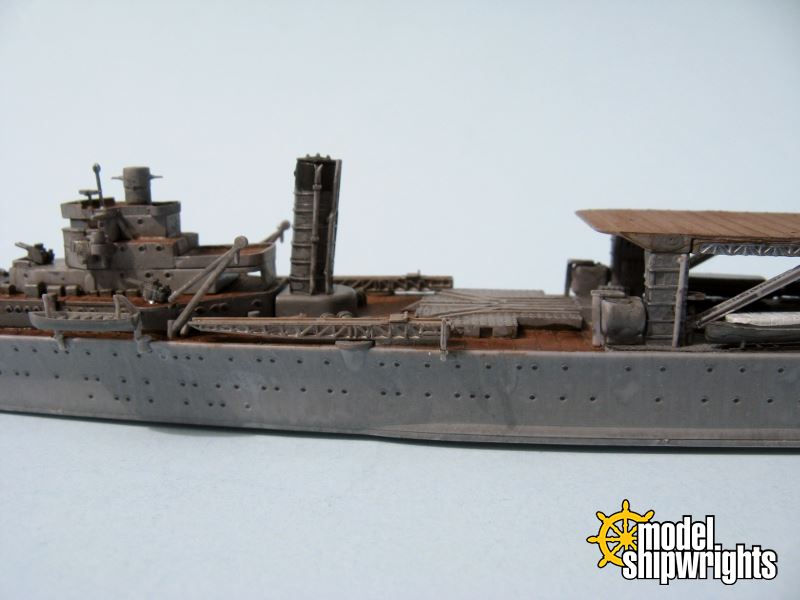
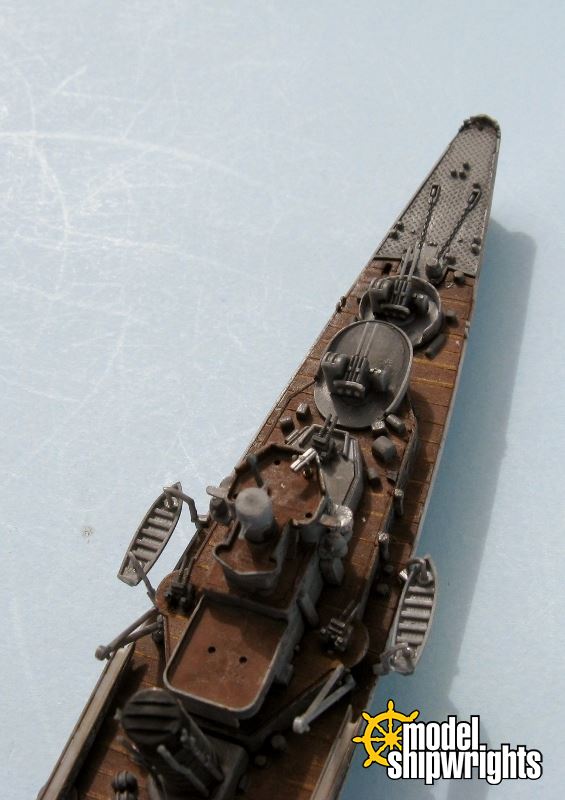
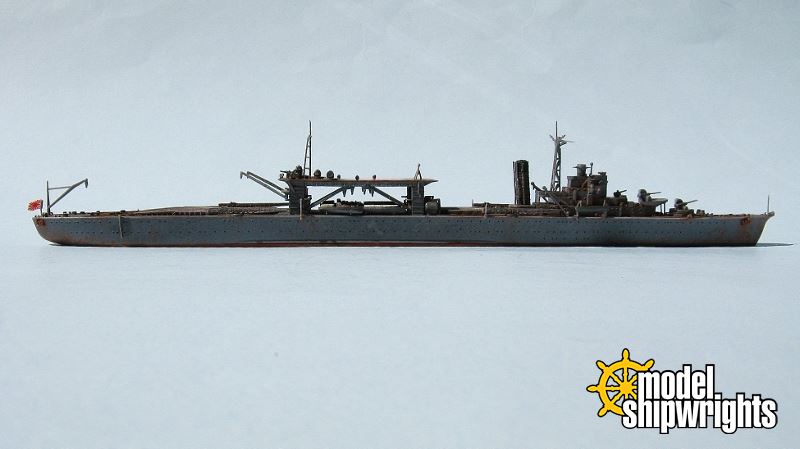
Now I attached the masts. The mainmast is five fine pieces. One part is the first I broke, a small V-shaped support for the yardarm. I pirated a similar piece from all of those wonderful small parts left over from the Aoshima I-365 sub kit! This image is also a good view of the stack. Four separate fine pipes run up the stack, attaching via their tabs into holes in the stack. Maybe it was the late of the evening but those little parts were an absolute challenge to mount and secure. They are meant to hang away from the stack, yet they kept trying to fold flush with it.

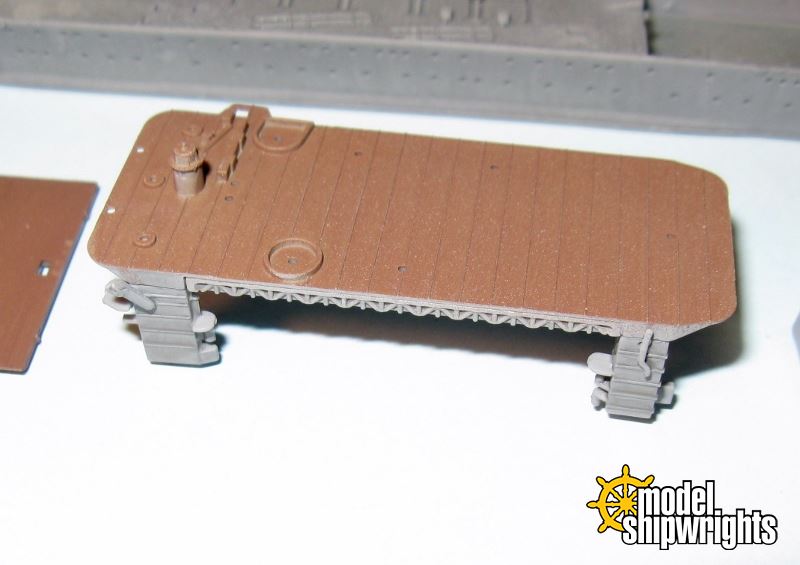
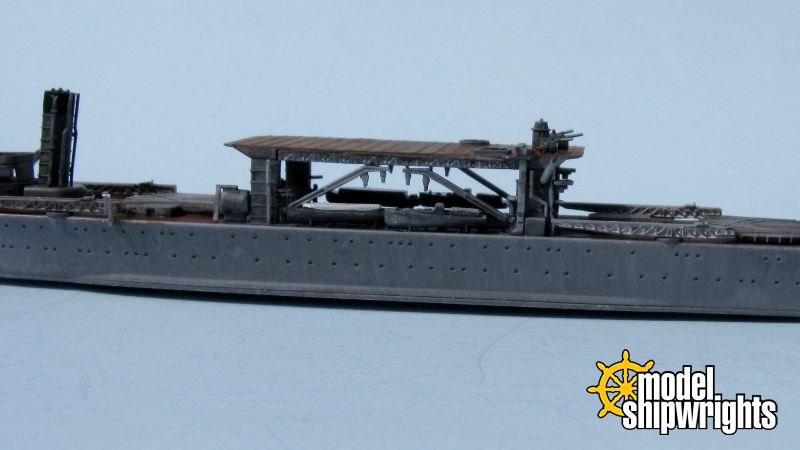
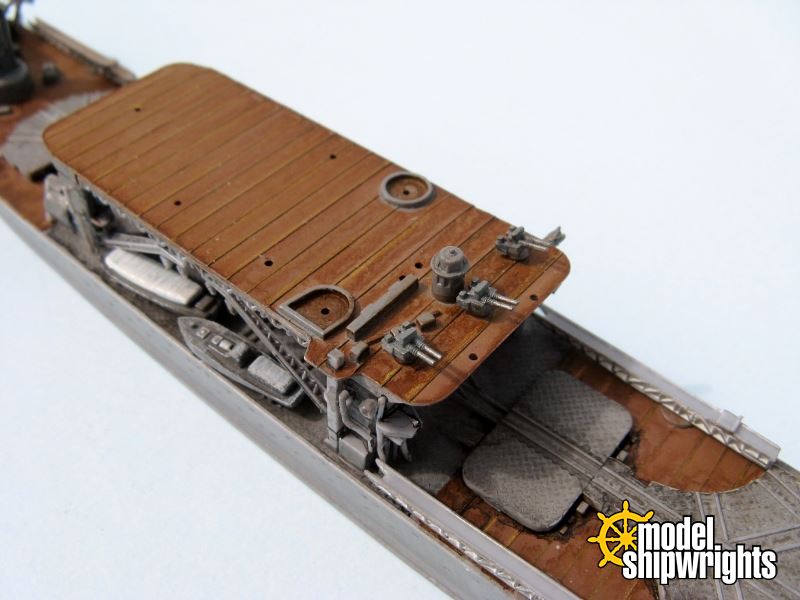
Moving amidships I focused on installing the remaining cranes and launches between the weather deck and elevated deck. With the Hinomaru adding a touch of color, the deck is ready for the final parts. The following image also clearly reveals the molded detail of the cranes, as well as the lack of open air in the rear mast assembly. Try as they might - and they are fine - Aoshima just could not get those pieces small enough.
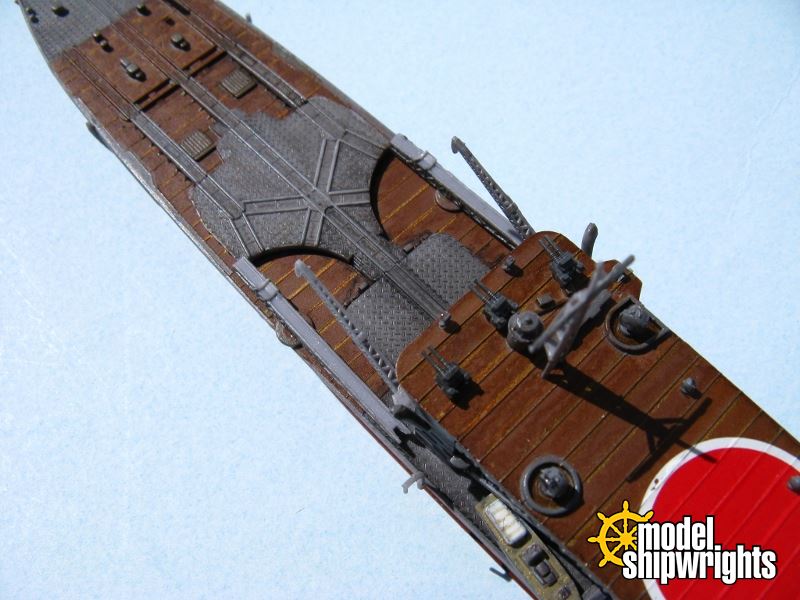
Two large searchlights and five small lights mount into holes in the upper deck. Again, just how small are the small ones?

The lights were easy to paint - just keep them on their sprue and pass a brush of ship color across the sides, top and back, leaving one face untouched. The clear styrene looks like glass. I did not get too fancy like I do with aircraft landing lights, e.g., paint them silver and then cover that with the exterior color. The small two-part DF antenna is attached. Be wary - the pieces are so thin and delicate that they bend. After the CA dried, I noticed it set at an angle. Regardless, this area is becoming ship-shape!
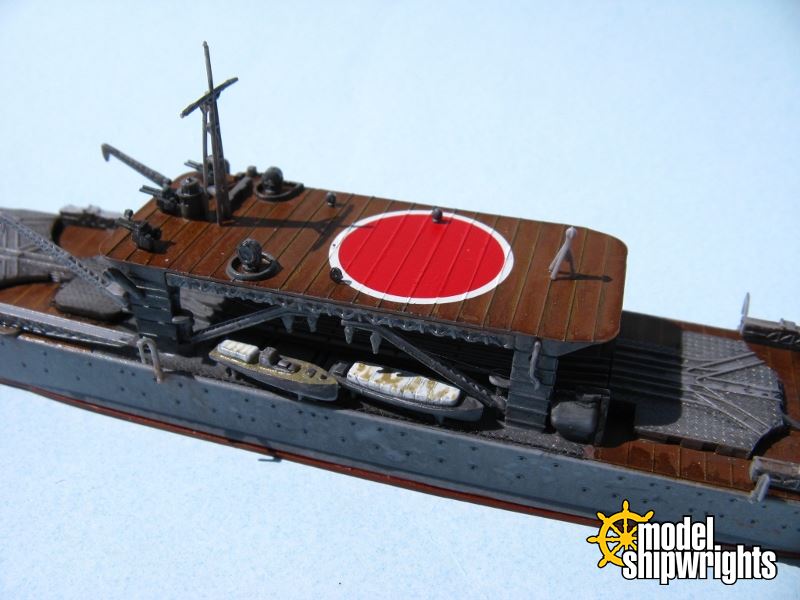

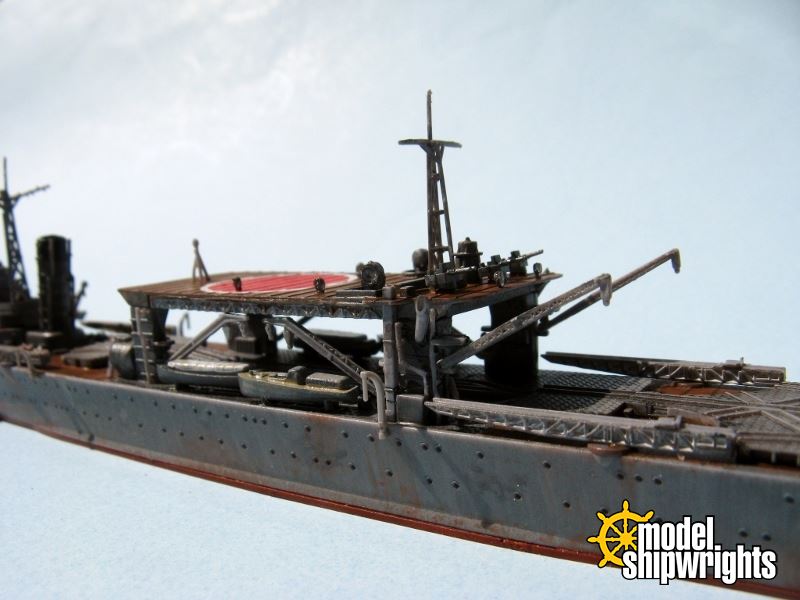
Not much is left abaft. I added the stern mast and another crane.

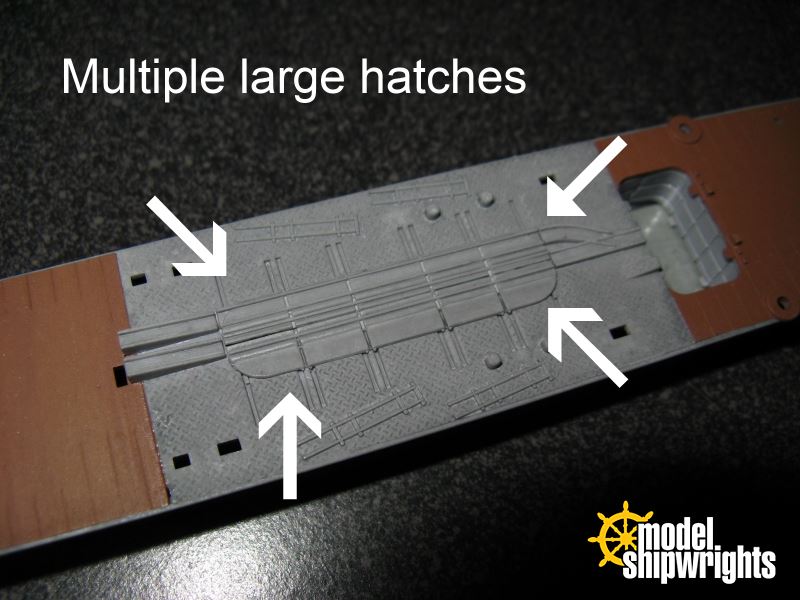
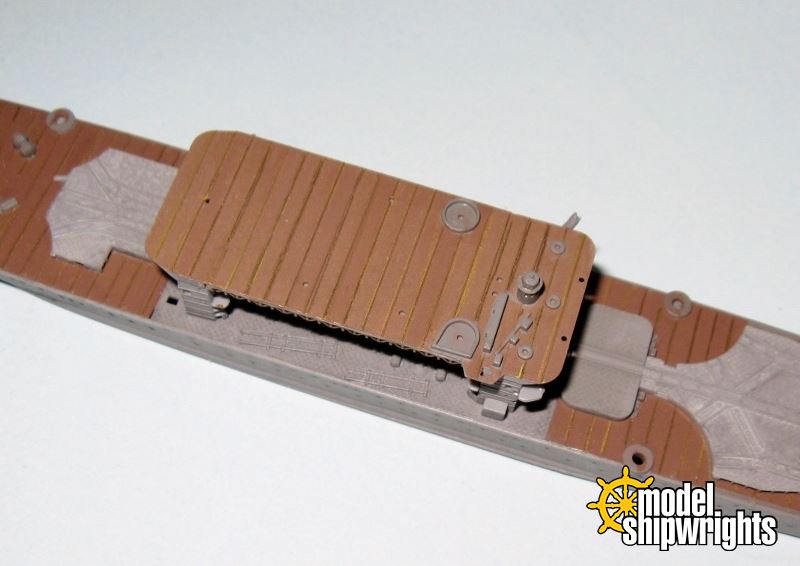
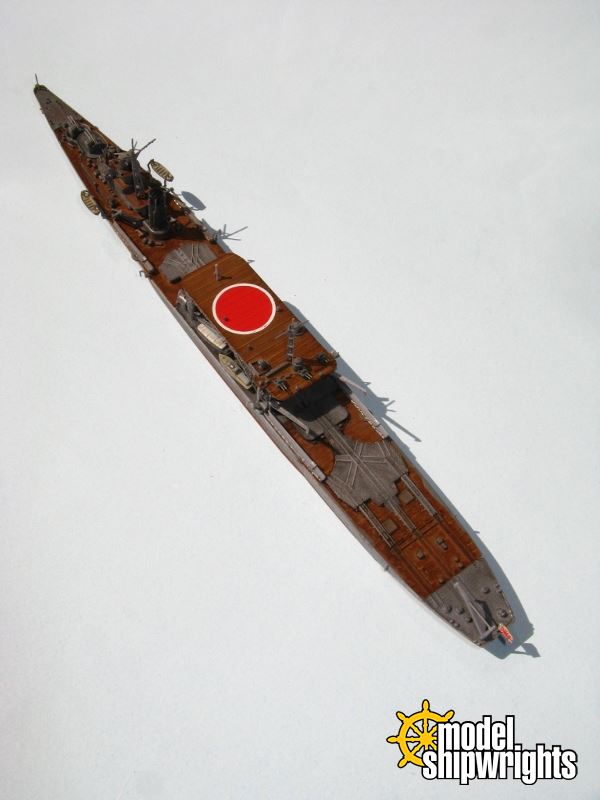
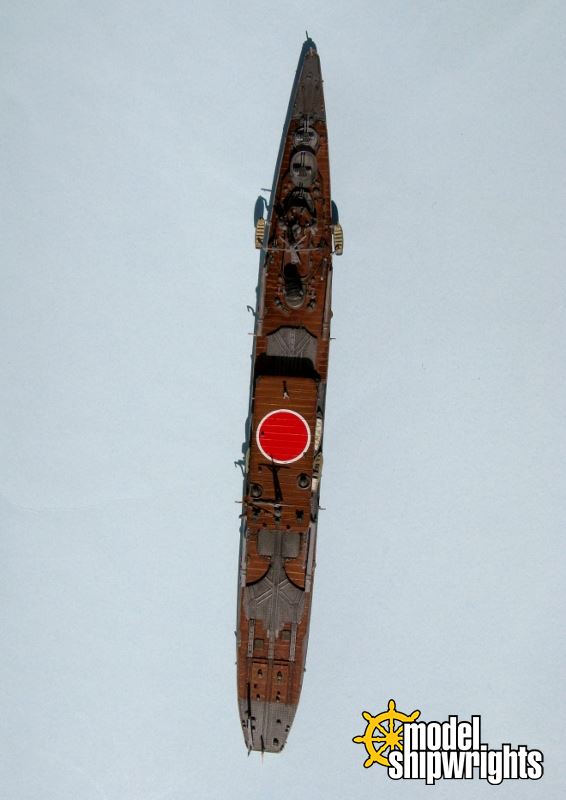
Before adding the parts atop the elevated deck I attach four widely spaced davits. These have no slots to mount them into. Almost imperceptible marks are molded on the ship sides below the gunwales. One must simply glue them and attach them butt joint style. They are very small parts. I lost one while cleaning the sprue burr from it. Thus, I did not de-sprue the other, instead I used two different davits from another it. These four parts are spaced wide enough that handling the model is not risky, just in need of awareness. You can spot those little rascals in this dive bomber-view.
The final touches next!

