


 [/URL]
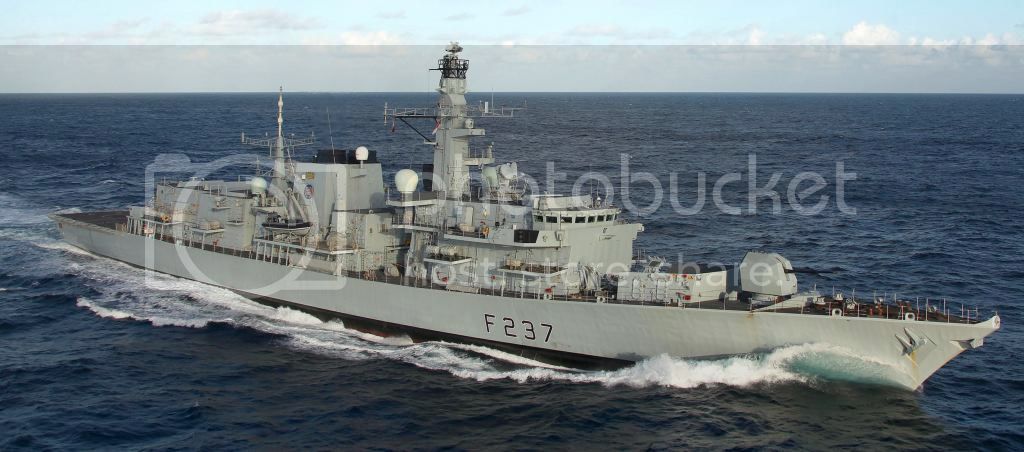
The kit depicts the ship prior to its 2009 refit, where the 'Kryten' turret was fitted as well as new 30mm guns that could be controlled indirectly. First look in the box is promising with a small etched fret alongside some well moulded sprues. For me the only negative comment to make at this stage is the lack of railings, which in my opinion should really be in there. The only alternative is to buy the update set from WEM, which doubles the cost of the kit!! That aside, I'm looking forward to getting her built.
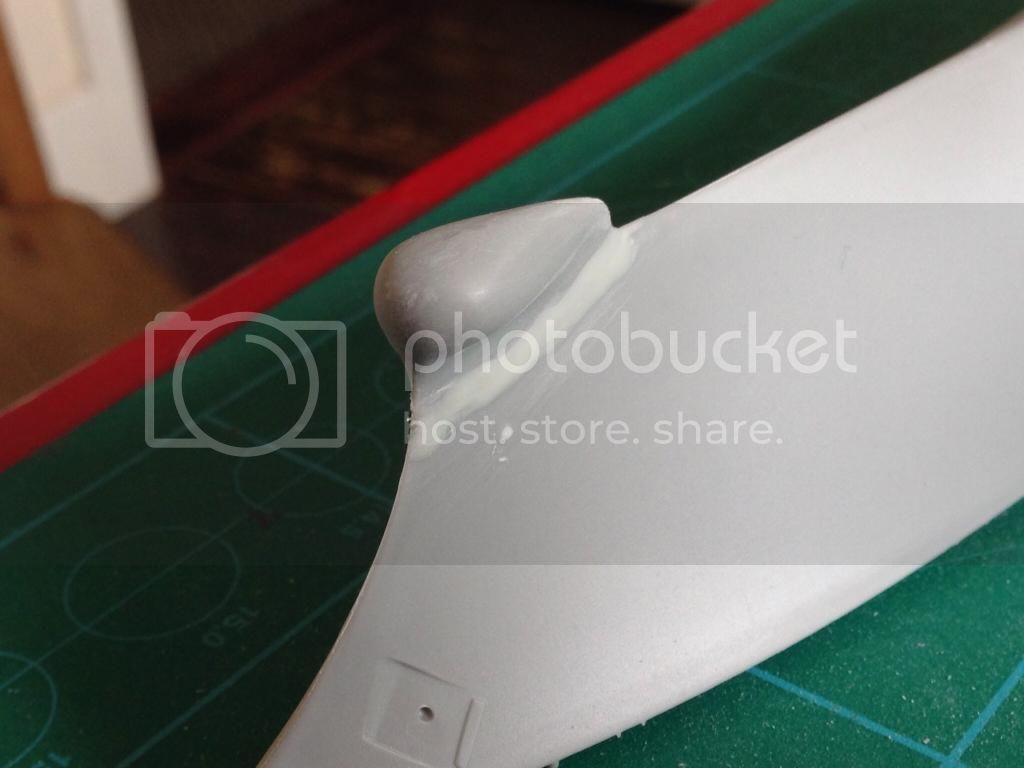
I started with the hull which comprises two halves as well as a two part bulbous bow. The hull halves go together perfectly, but there are some large gaps when the bulbous bow parts are added. Despite numerous dry fitted attempts I could not negate the gaps. So it was out with the Mr Dissolved Putty and away with the gaps.
 [/URL]
The build continued with the deck which went on perfectly with some Tamiya Extra Thin Cement. I purposefully left the flight deck off because I wanted to add the netting that is prevalent over the two aft openings. I'm sure I'll have some etched mesh that will suffice. This open part under the flight deck will then need painting prior to the deck being completed.
I managed to beat the carpet monster three times with some of the very small parts pinging off, one even striking me in the face first. I shaved off all the raised locating marks because I found the parts didn't sit well.
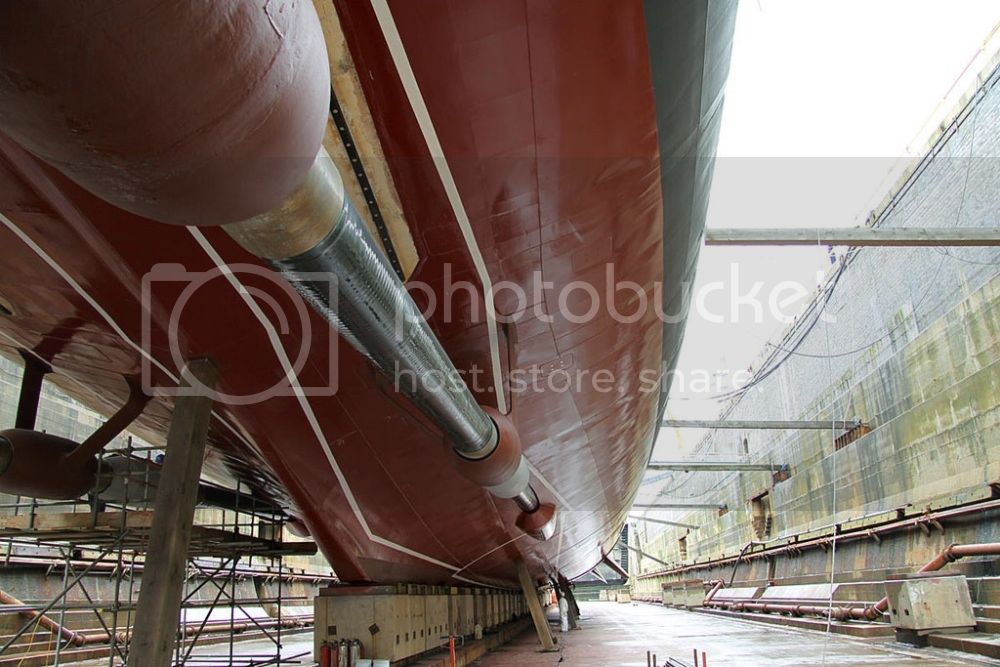
On the underside of the hull my propeller shafts were warped, which did have me a little concerned. However the two locating holes straightened them out as did the supporting strut in between them. I purposefully left the propellers off as I'll paint them separately and add them later. On this subject there is an interesting photo of a 'Duke Class' in dry dock showing that not all the shaft is painted red.
 [/URL]
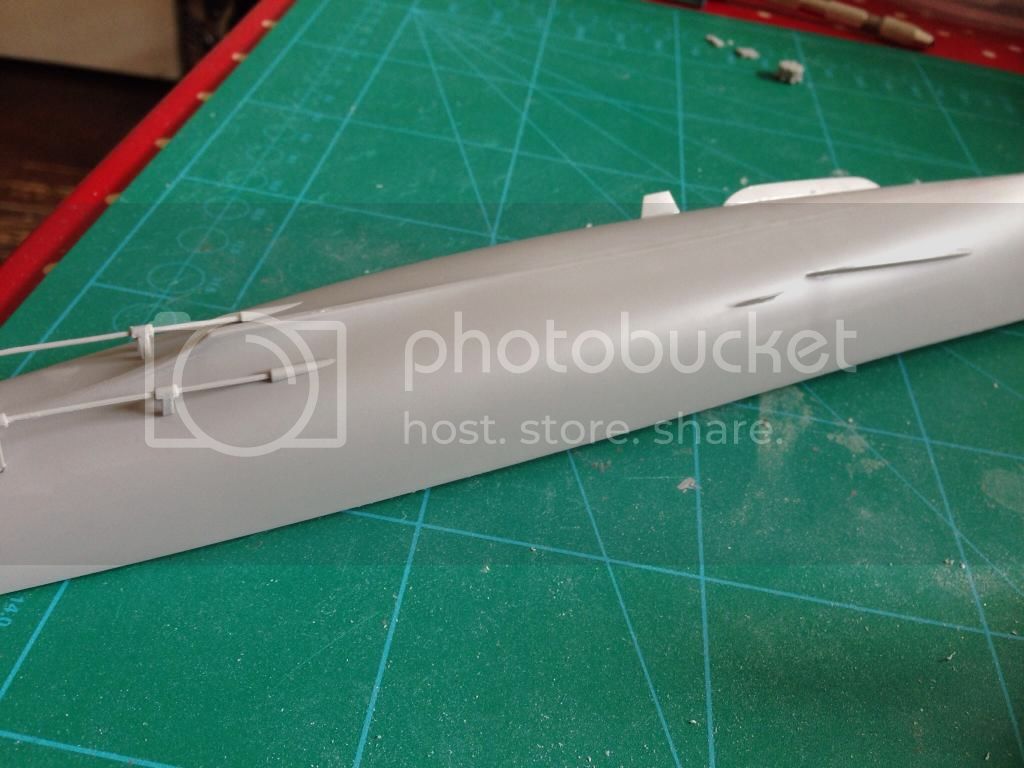 [/URL]
All the remaining fixtures and fittings were added to the deck and that was it for the day.

The next step will be painting the hull and deck as well as starting the superstructure build.


