_GOTOBOTTOM
General Ship Modeling
Discuss modeling techniques, experiences, and ship modeling in general.
Warspite gets a few scars
kpnuts
Visit this Community
United Kingdom
Joined: December 20, 2013
KitMaker: 1,179 posts
Model Shipwrights: 427 posts
Posted: Sunday, October 12, 2014 - 04:33 AM UTC
Hi all I made a start on what is going to be a massive project in which HMS Warspite is involved in an air attack by the Germans.
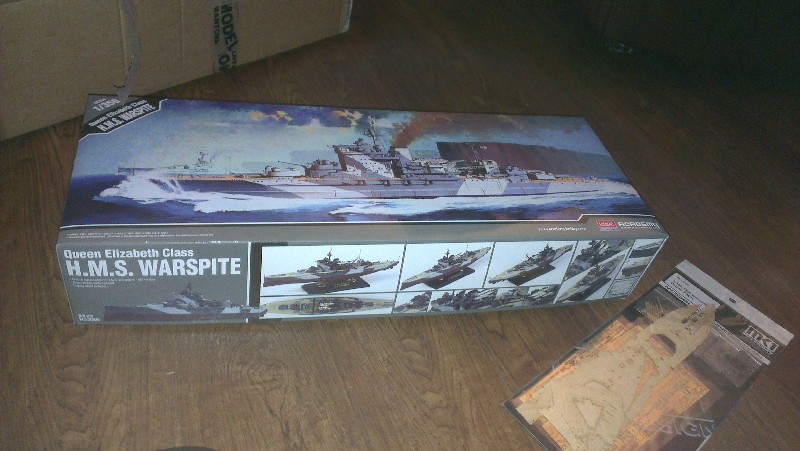
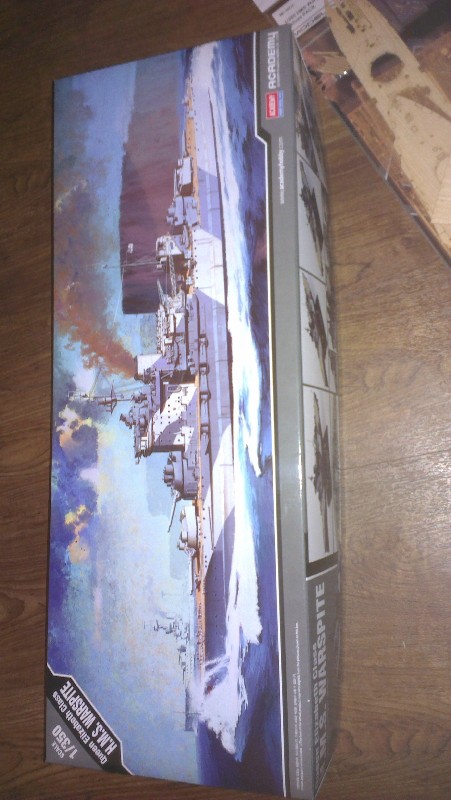
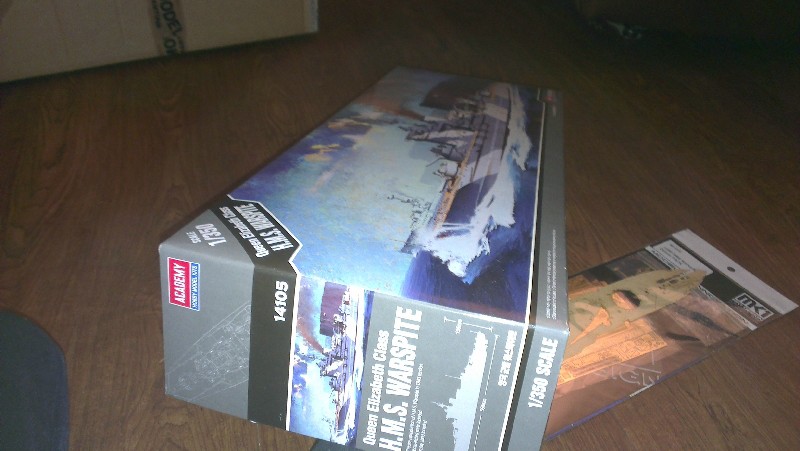
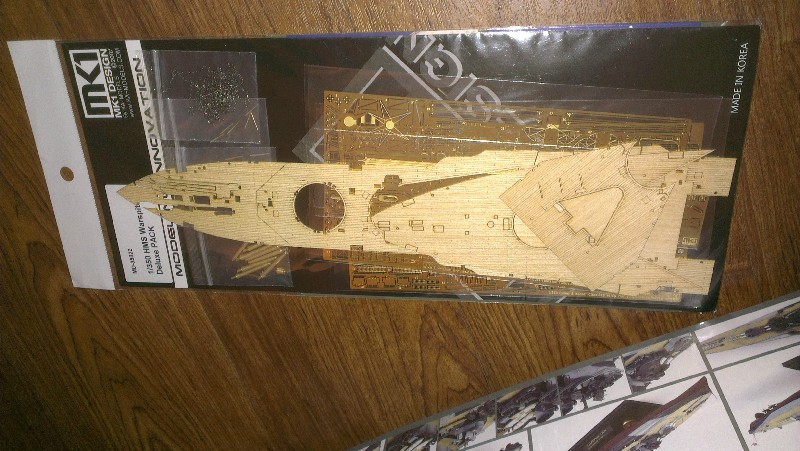
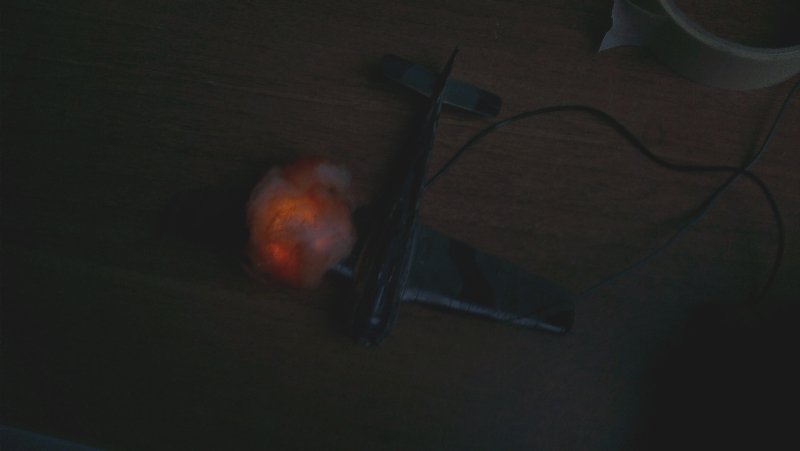
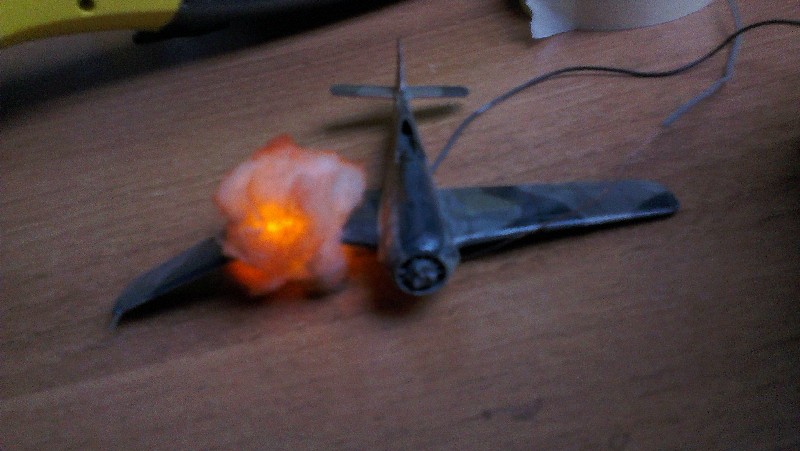
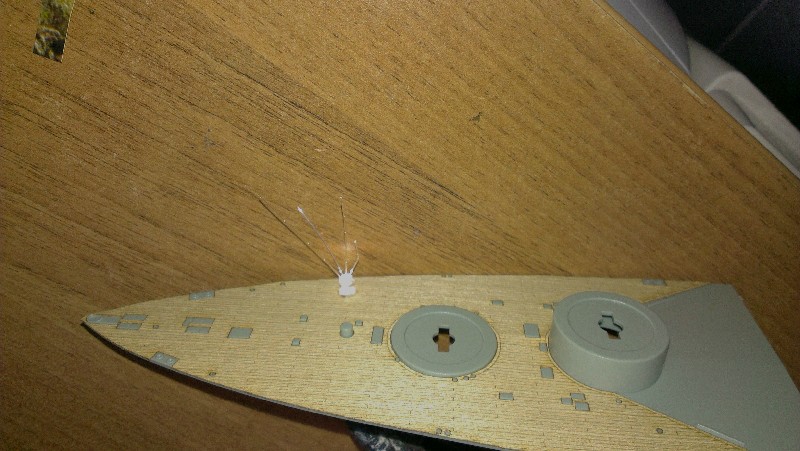
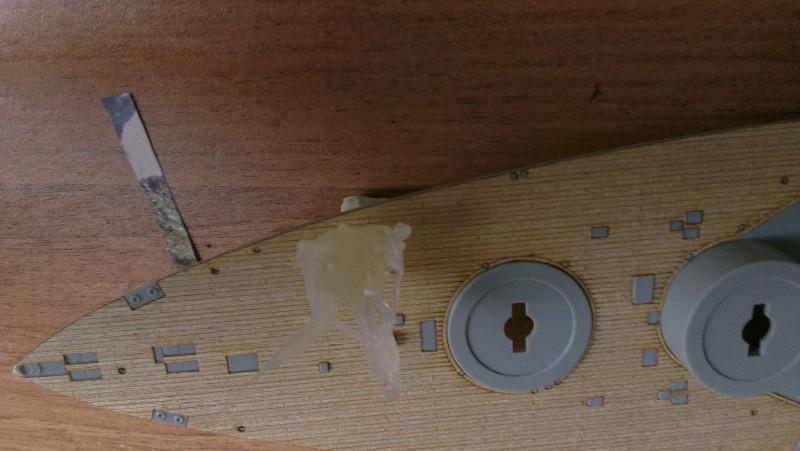
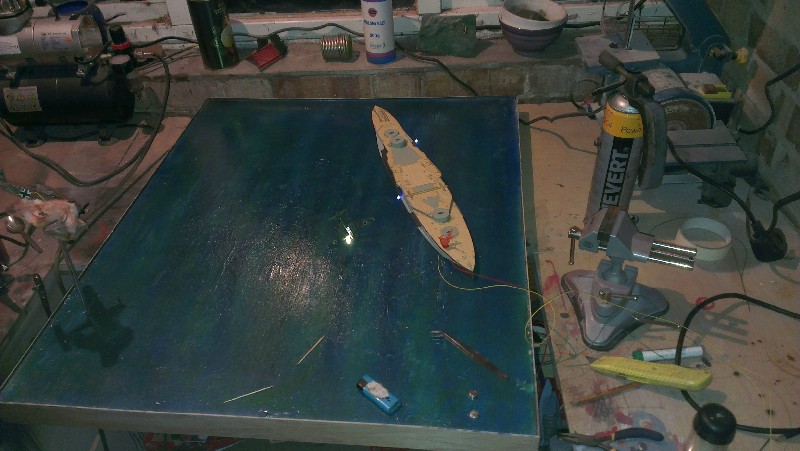
I will be using Academy's 1/350 Warspite and several other scales of model aircraft also will be using led's for the explosions and lighting the water spurts from near misses with bombs.
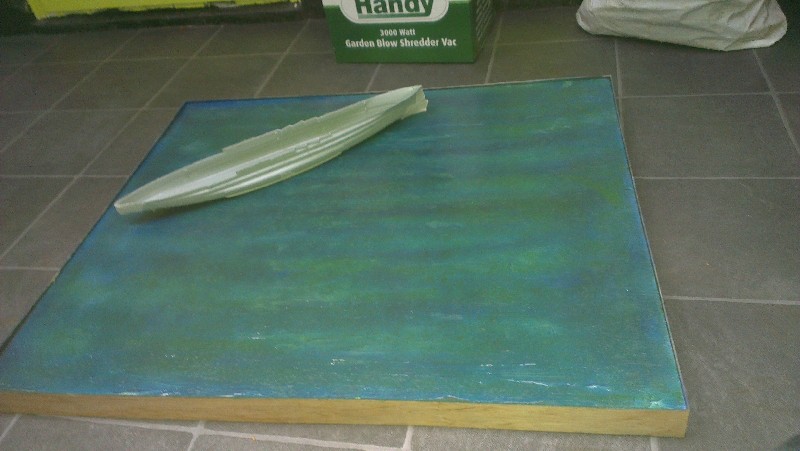
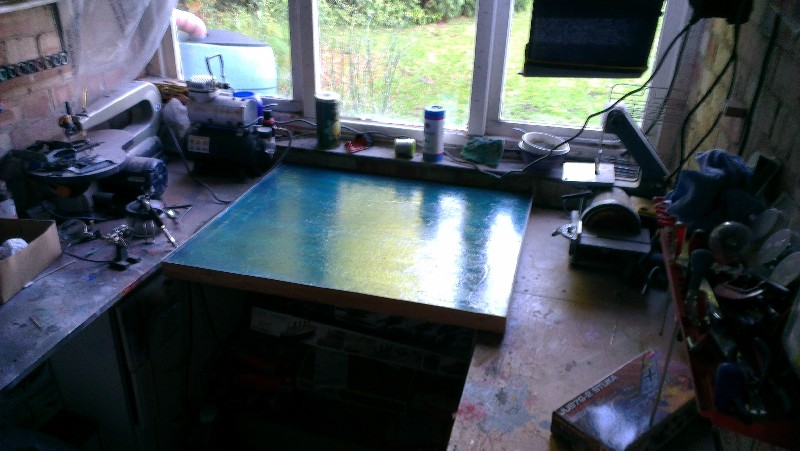
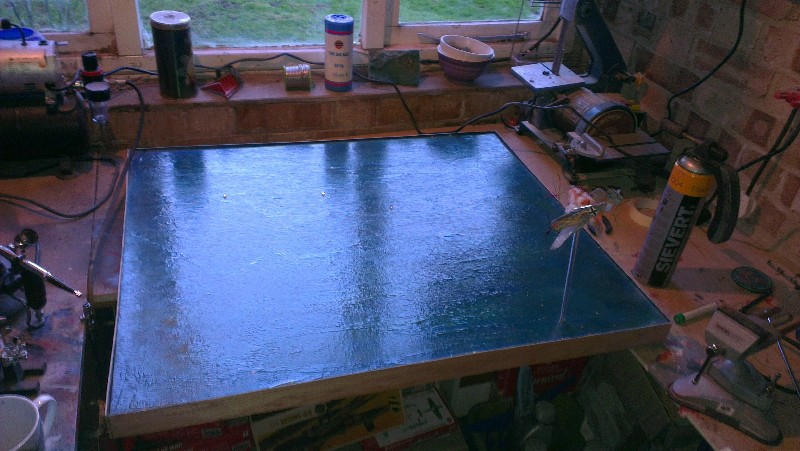
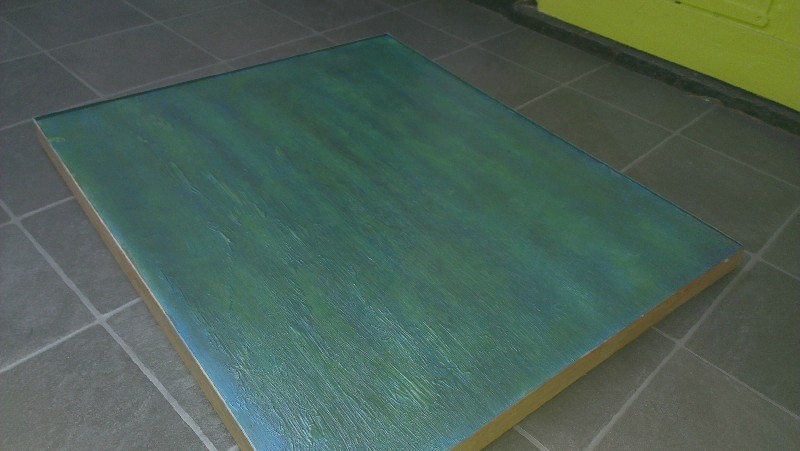
I wont be getting the Warspite till my birthday in roughly a fortnight but have made a start on the base and some of the planes I will be using.
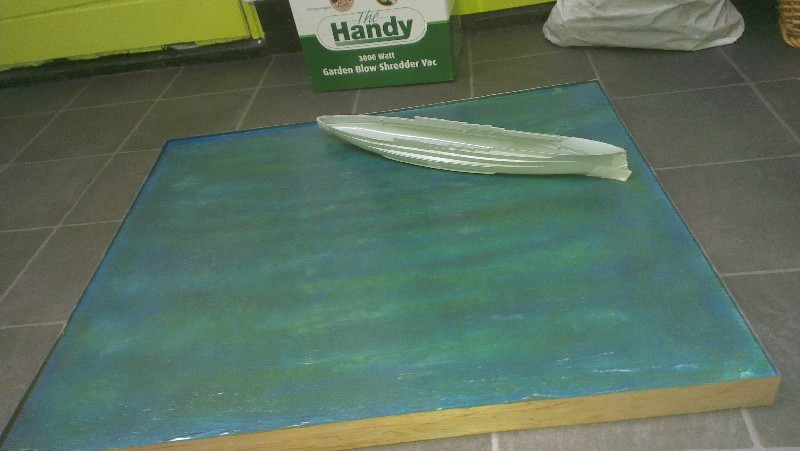
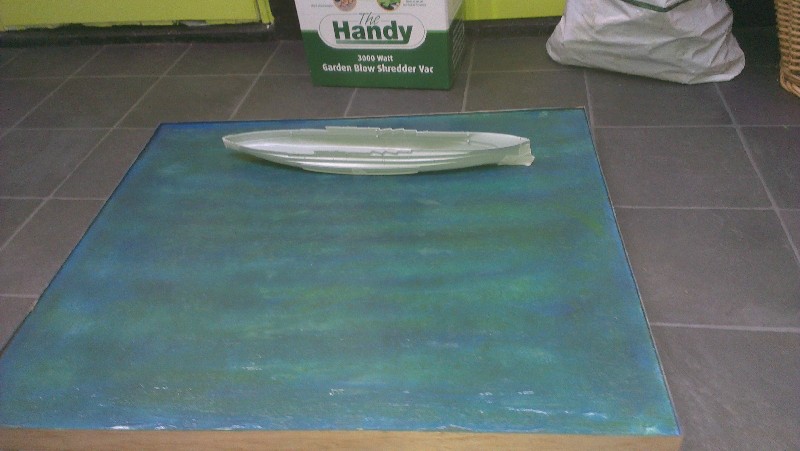
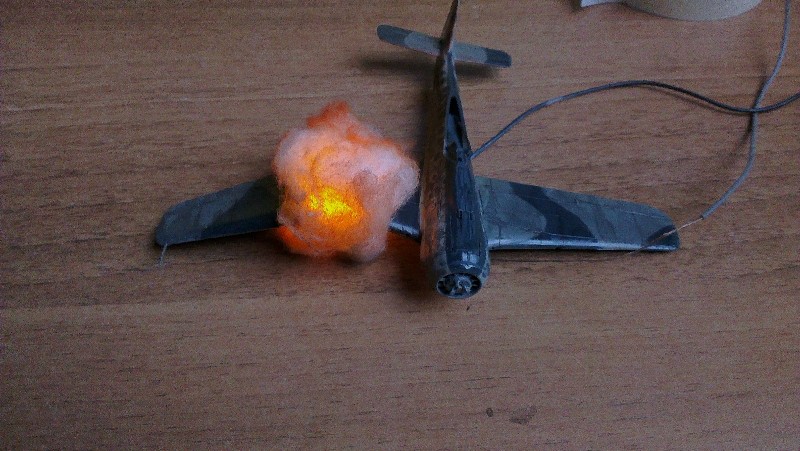
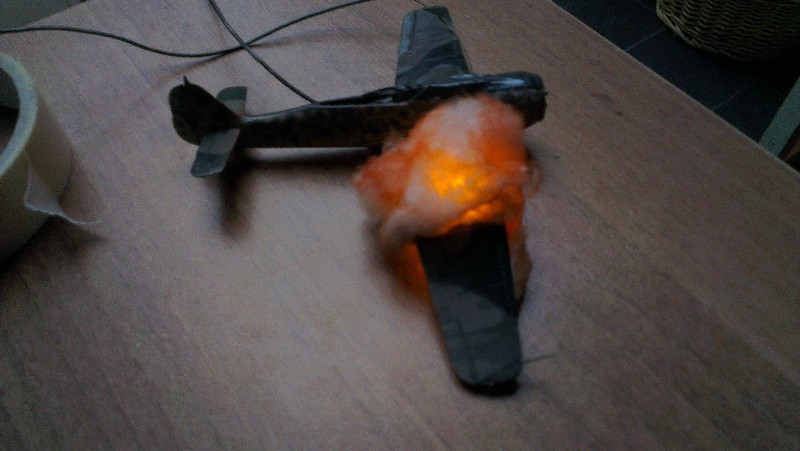
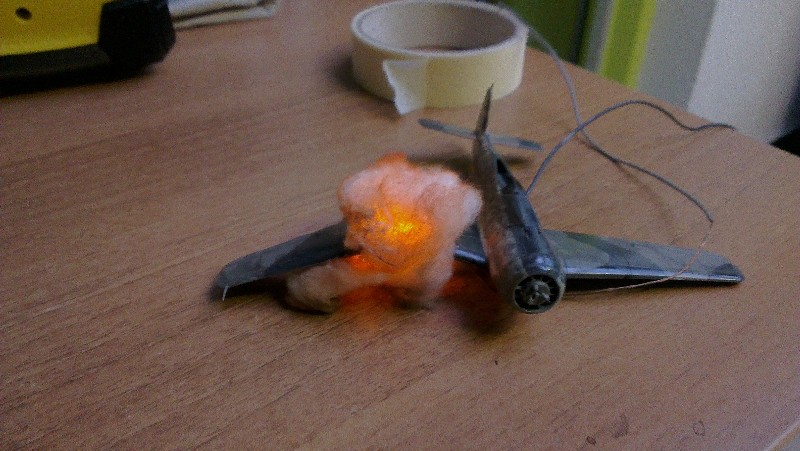
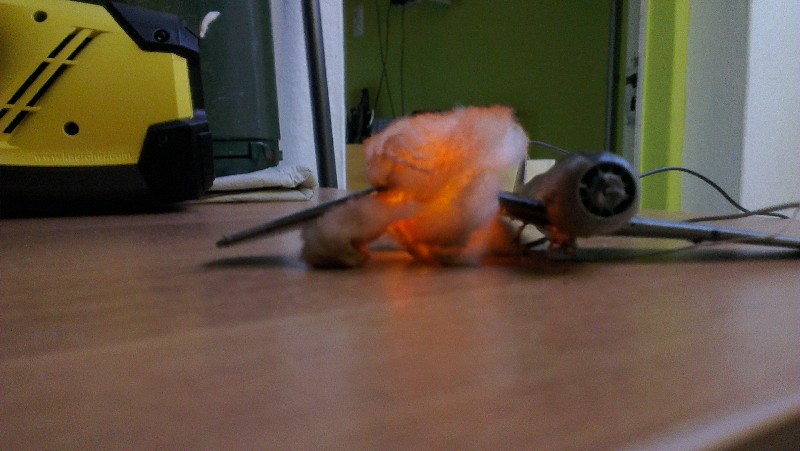
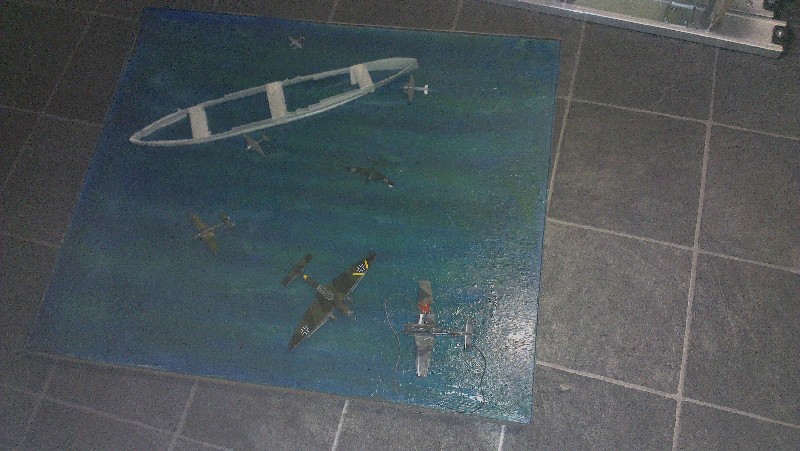
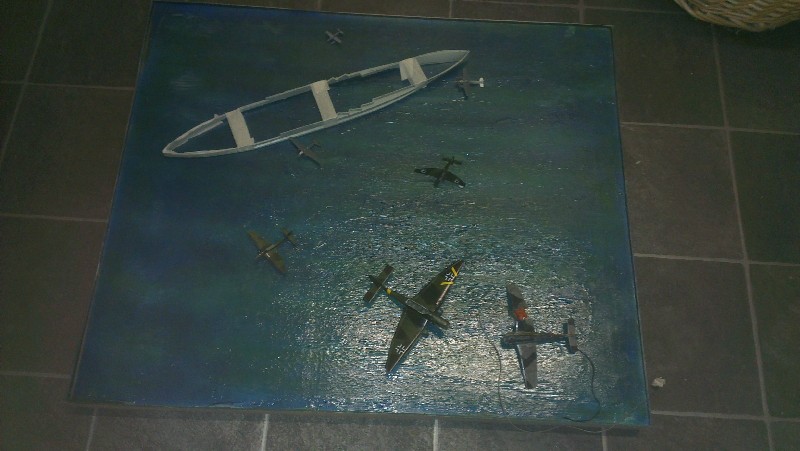
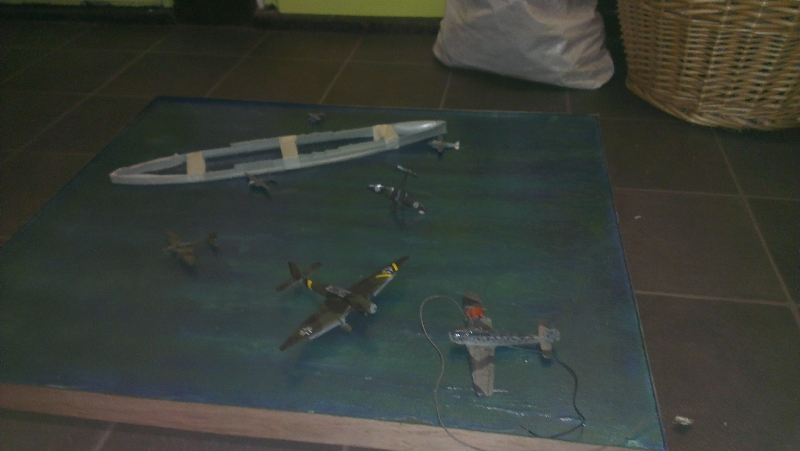
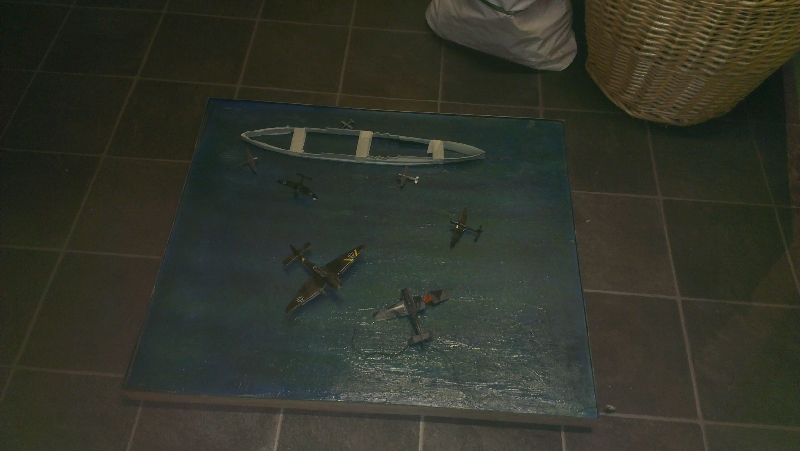
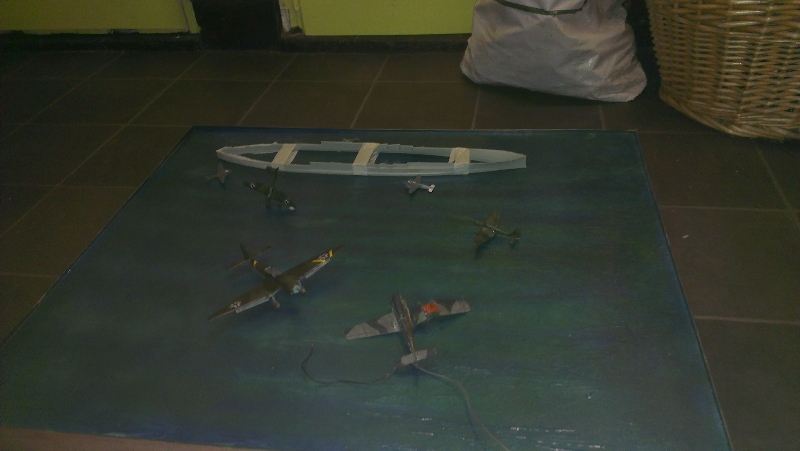
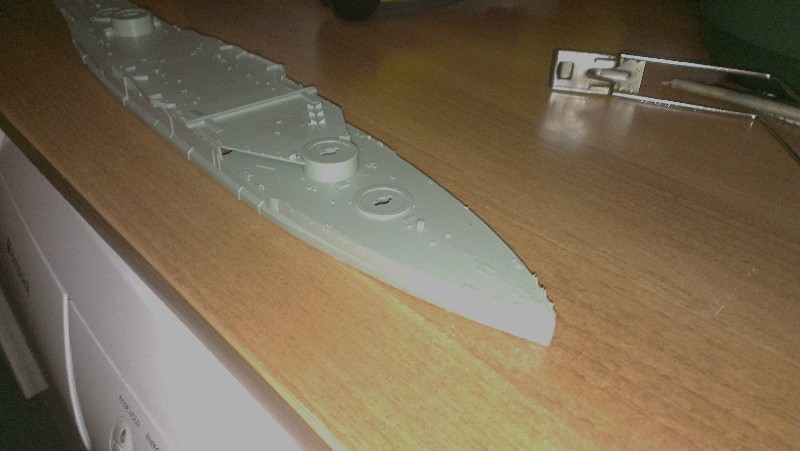
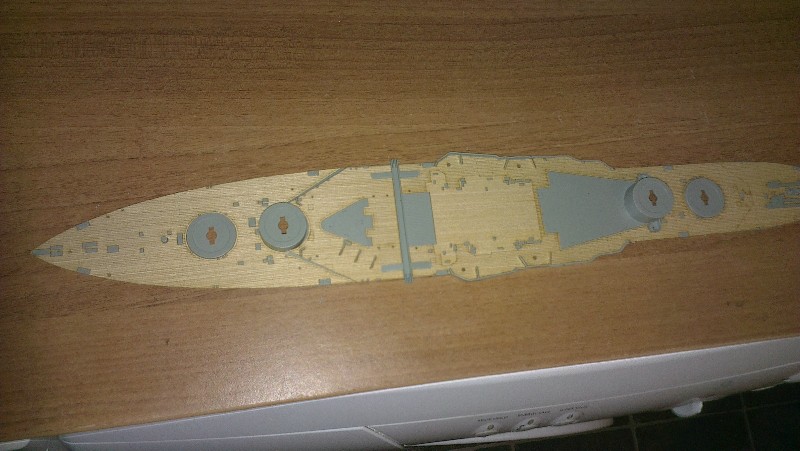
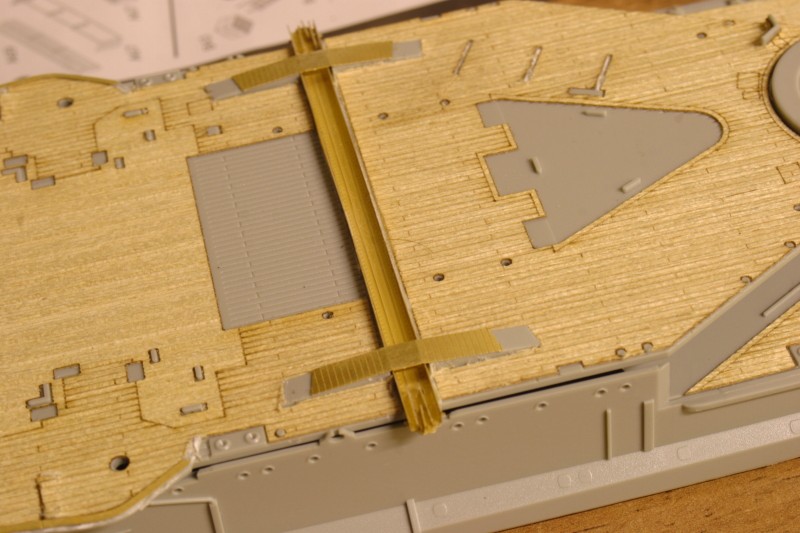
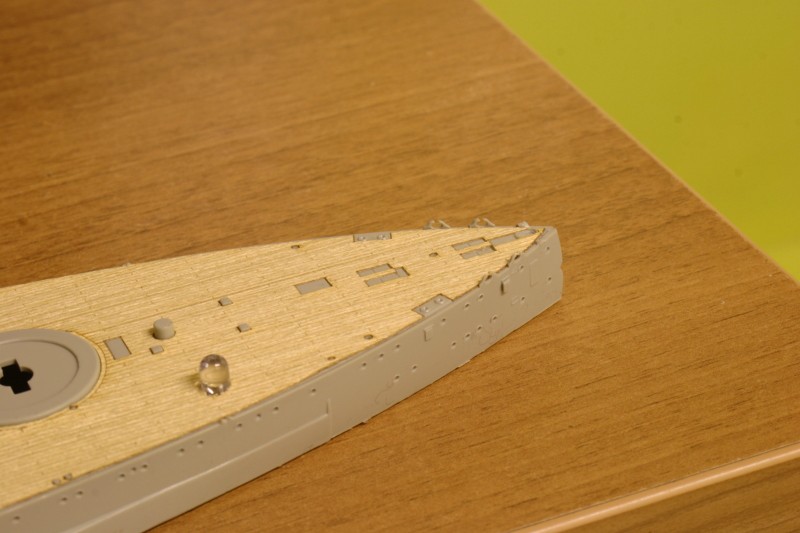
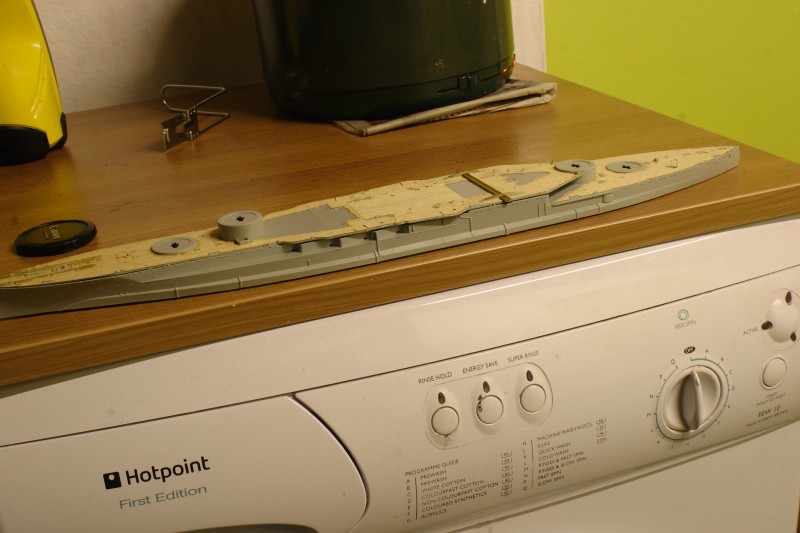
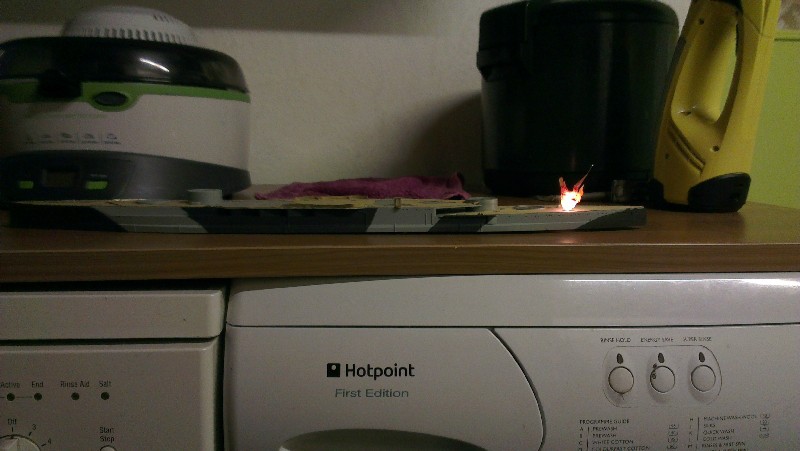
Here are some picks of where I am at, at the moment.


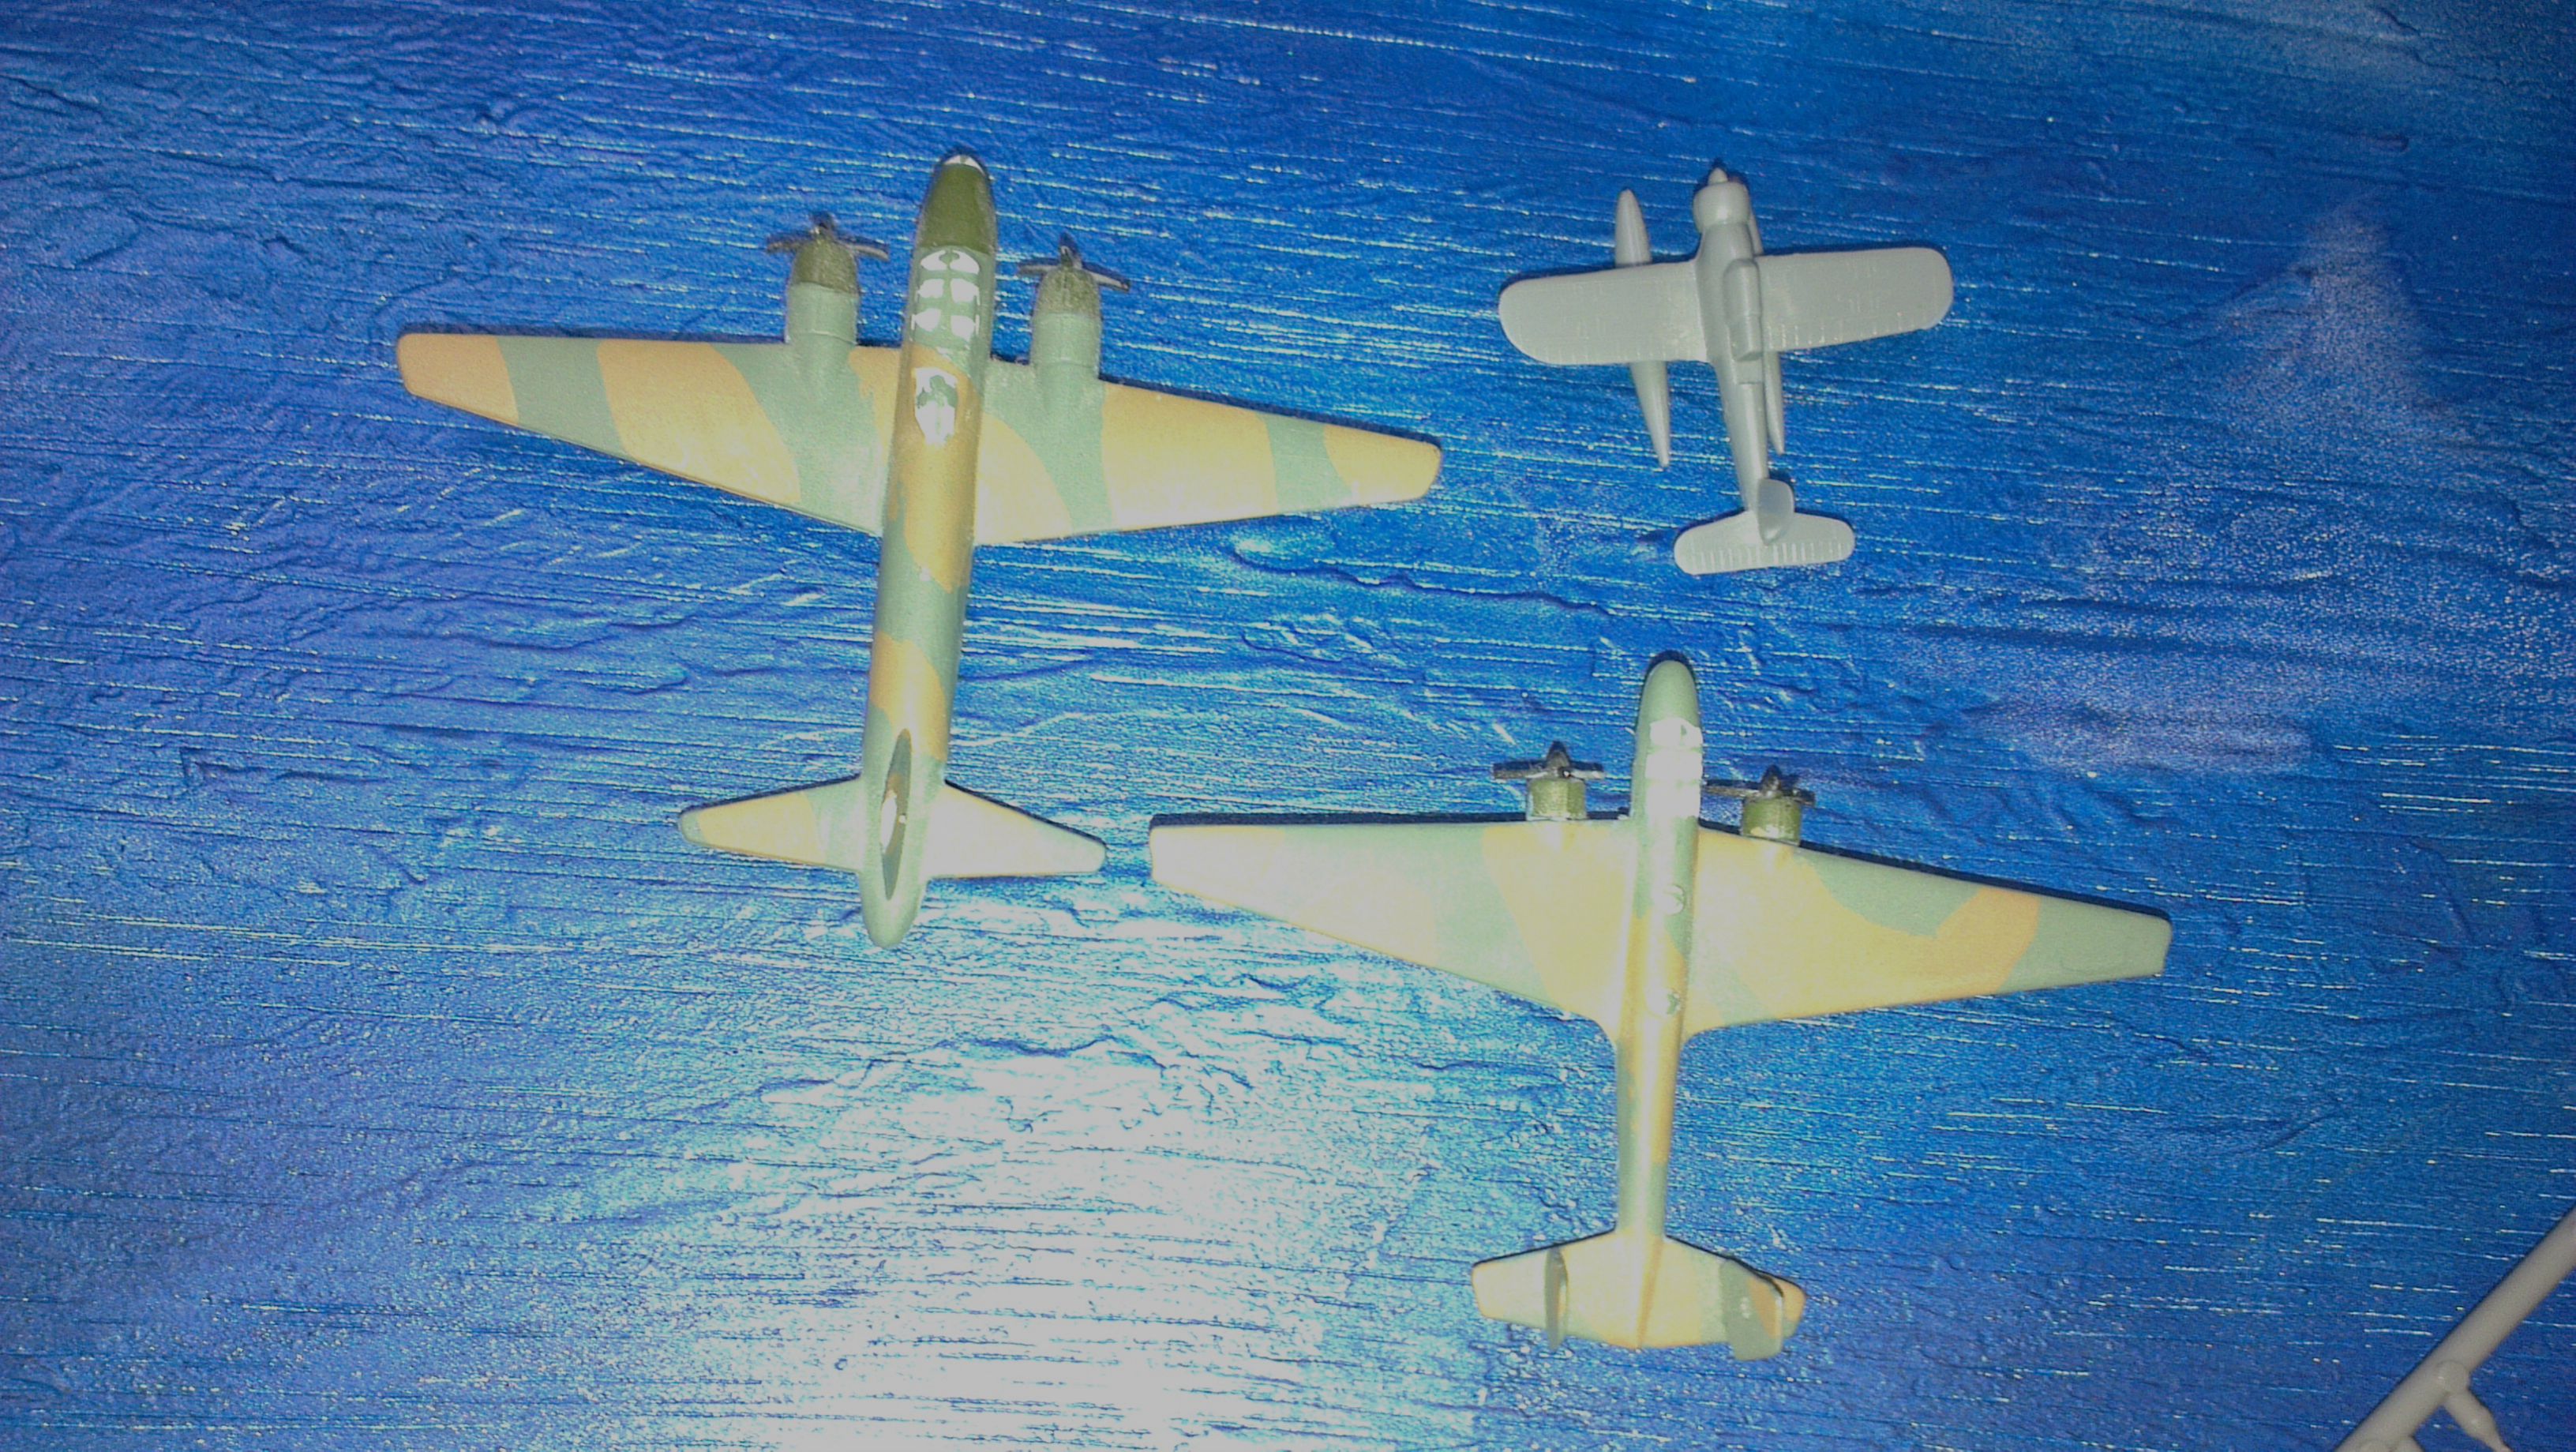
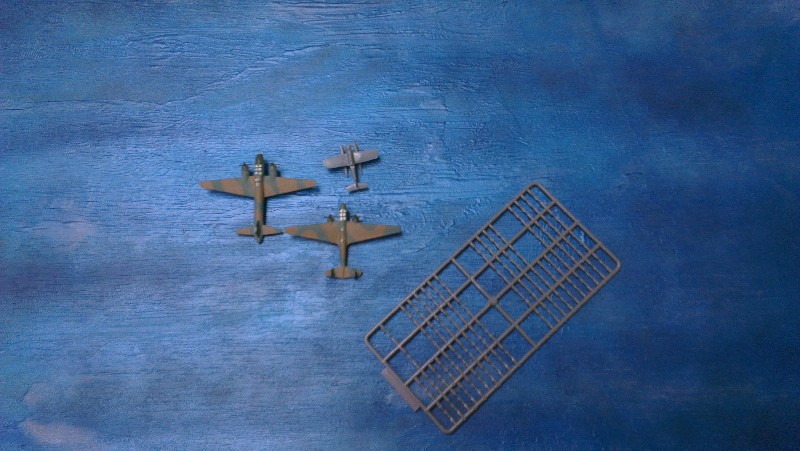
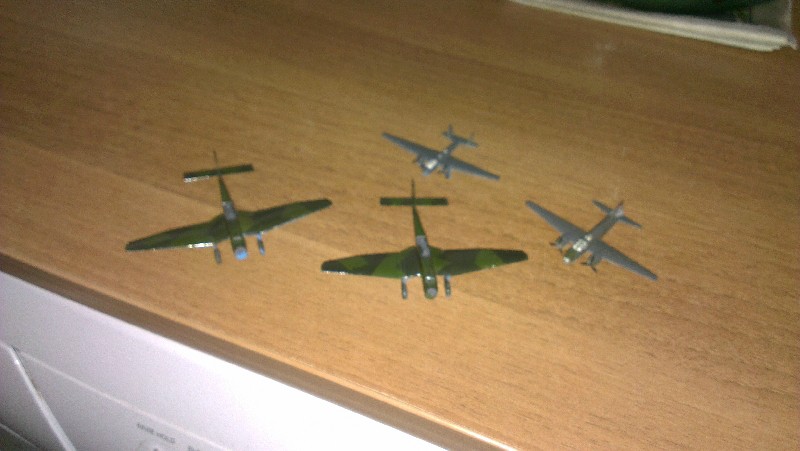
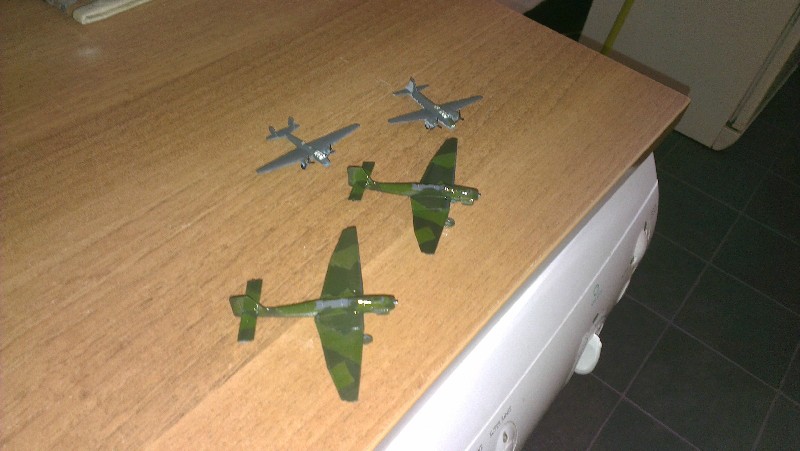
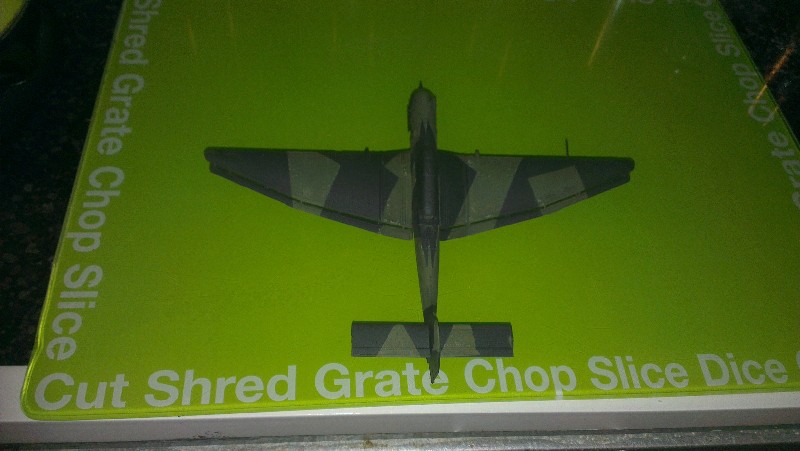
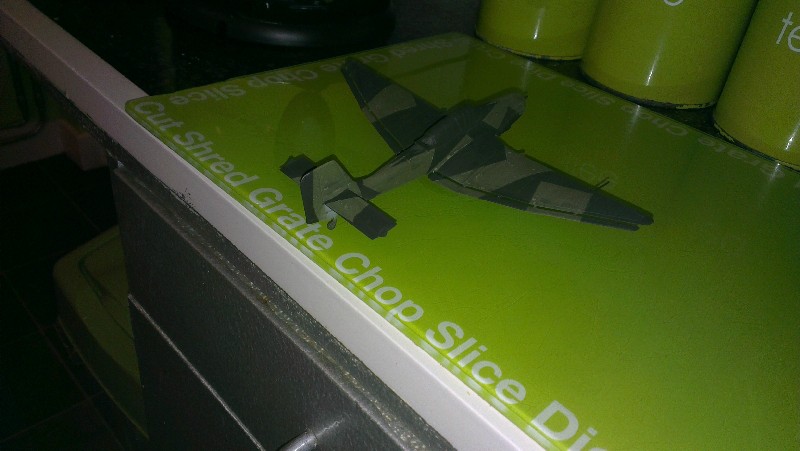
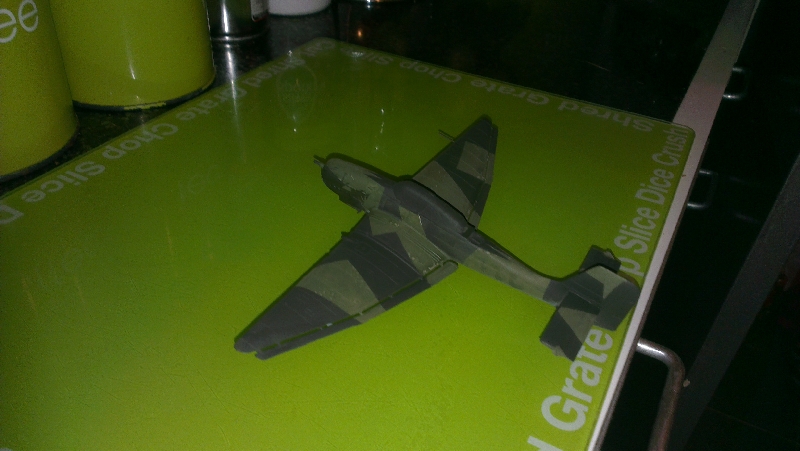
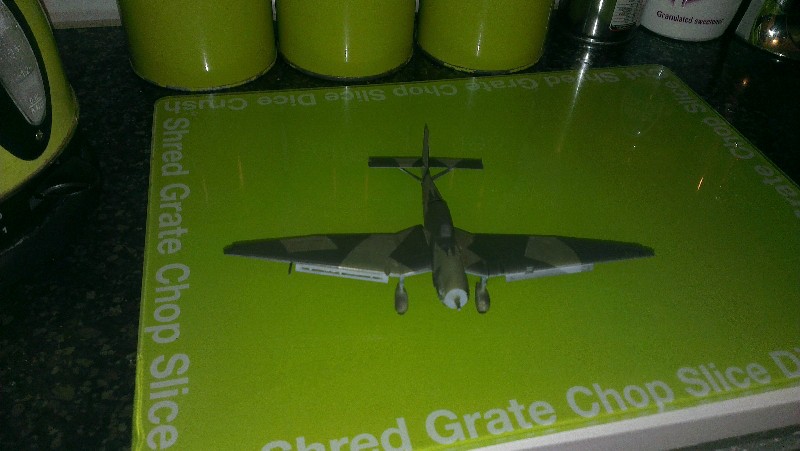
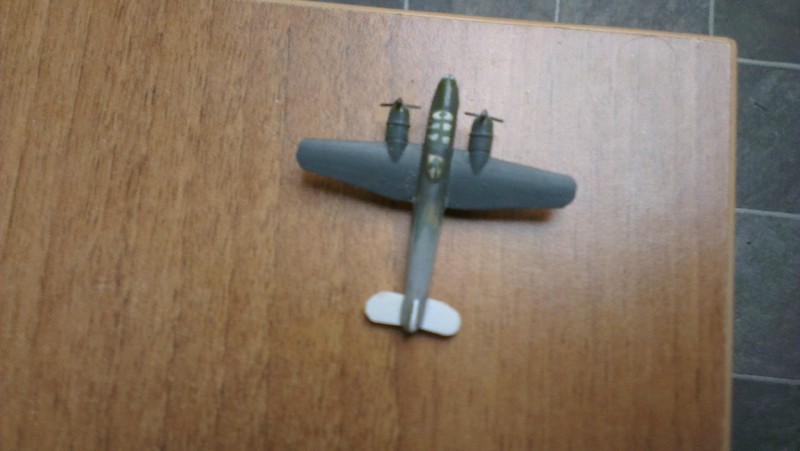
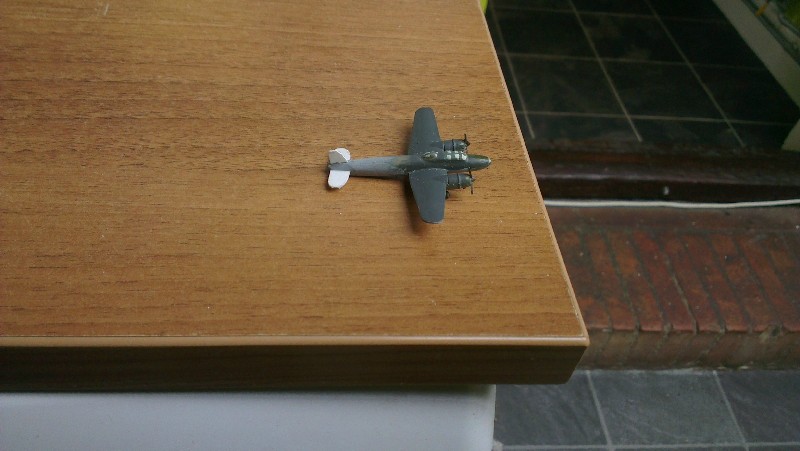
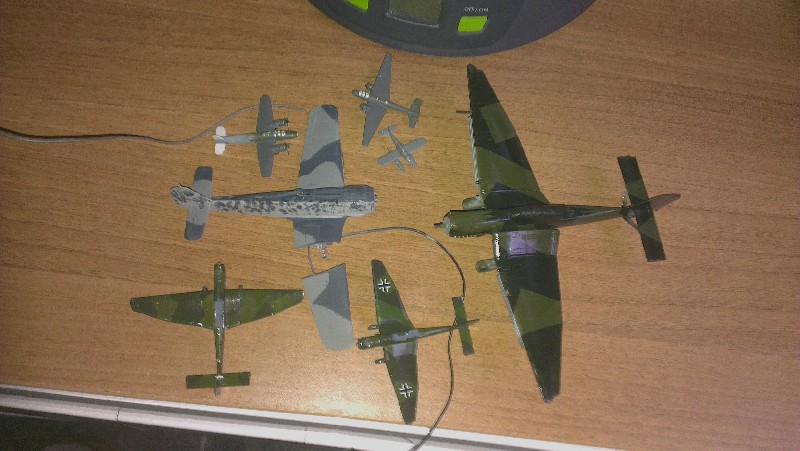
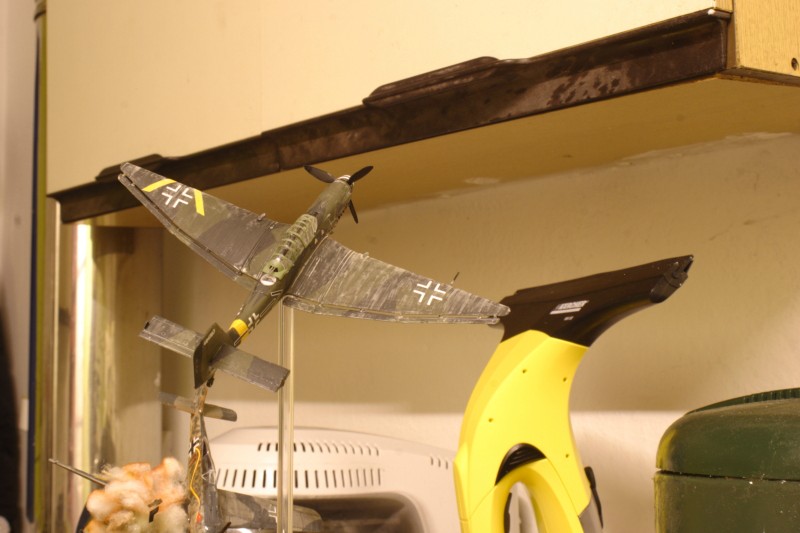
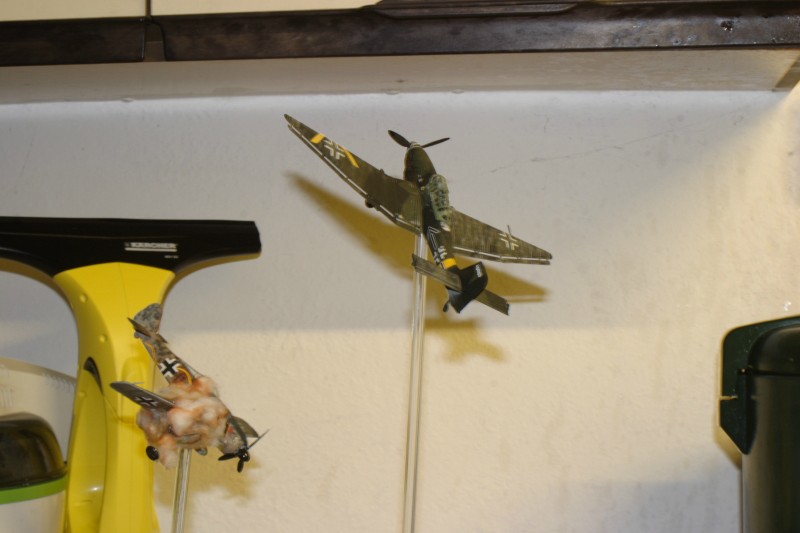
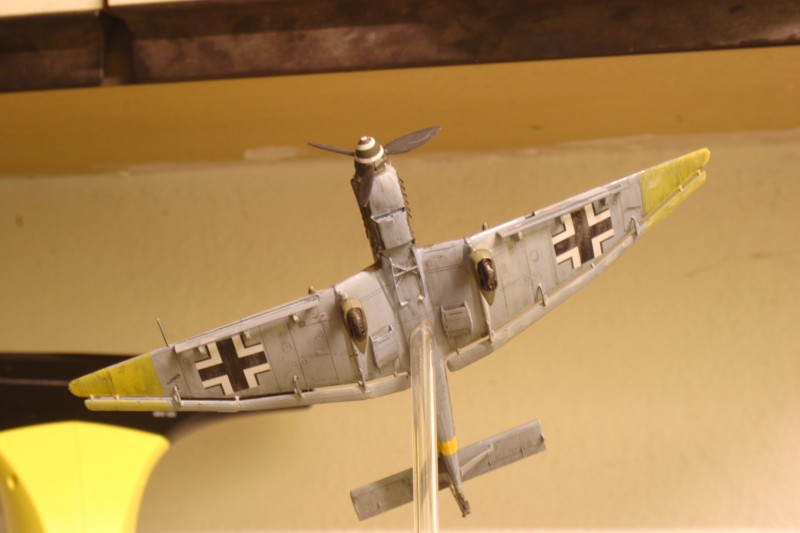
the smallest bombers are 1/350 scale kindly donated to this project the 1/144 stuka's are zevada
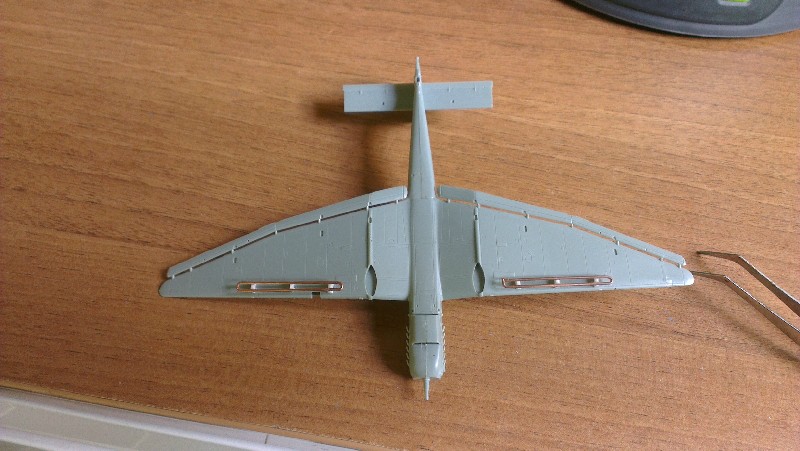
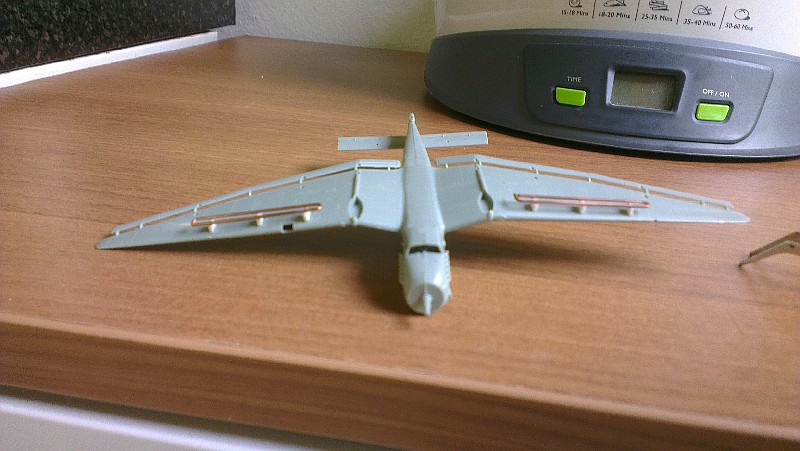
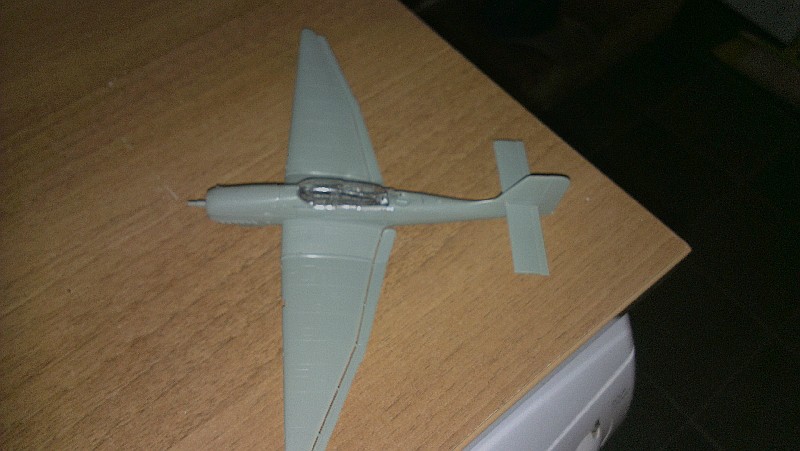
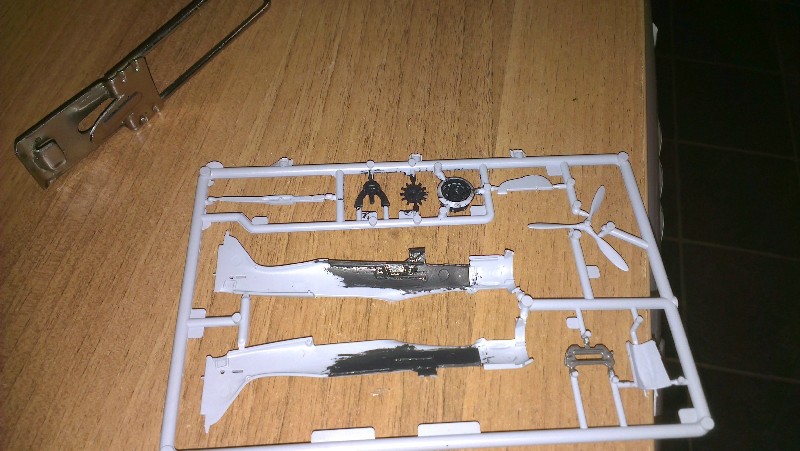
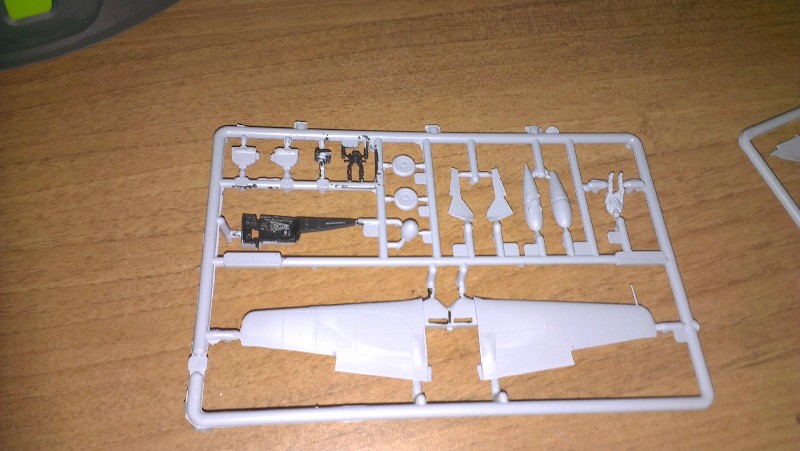
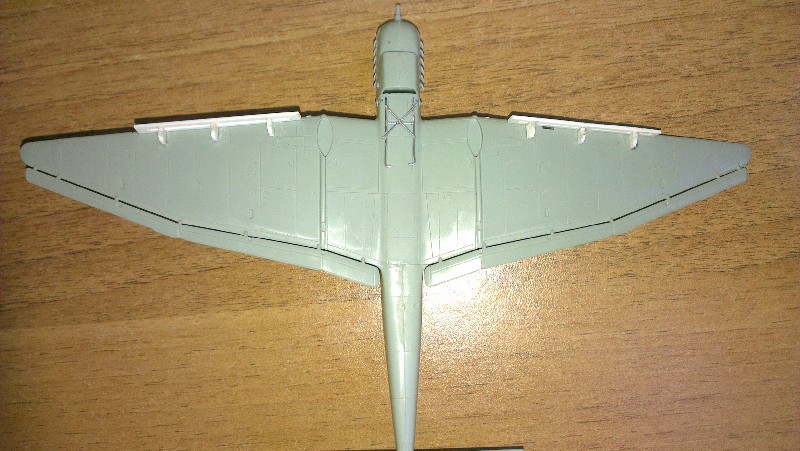
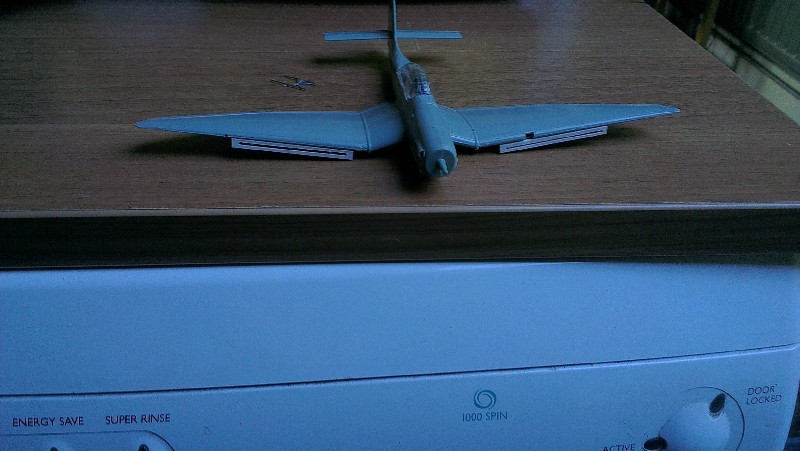
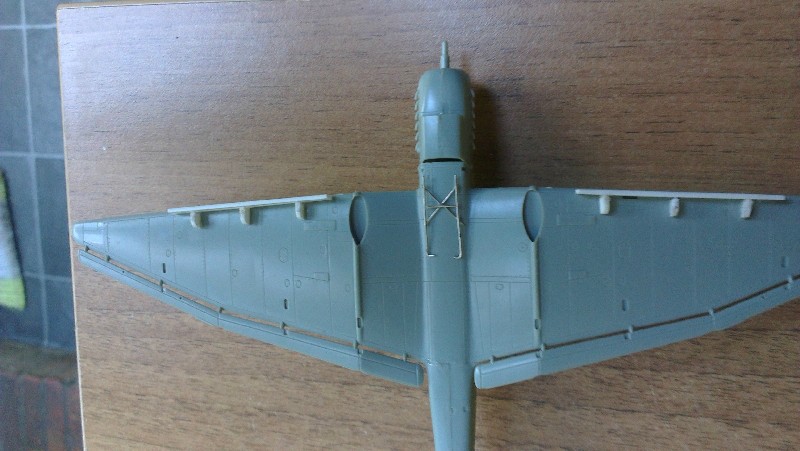
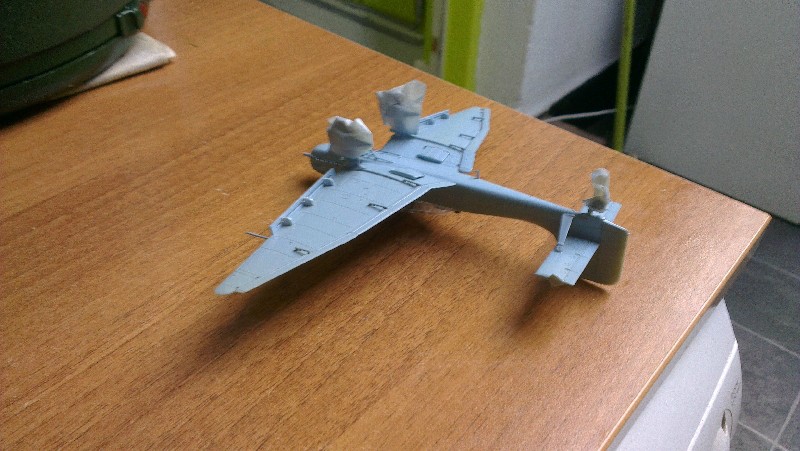
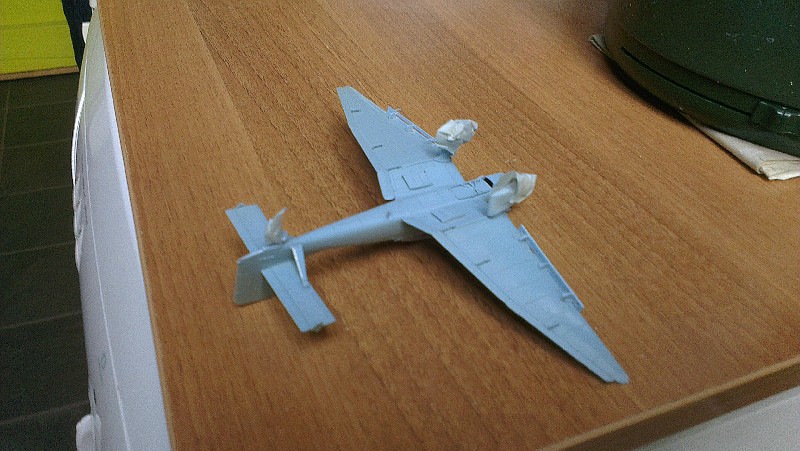
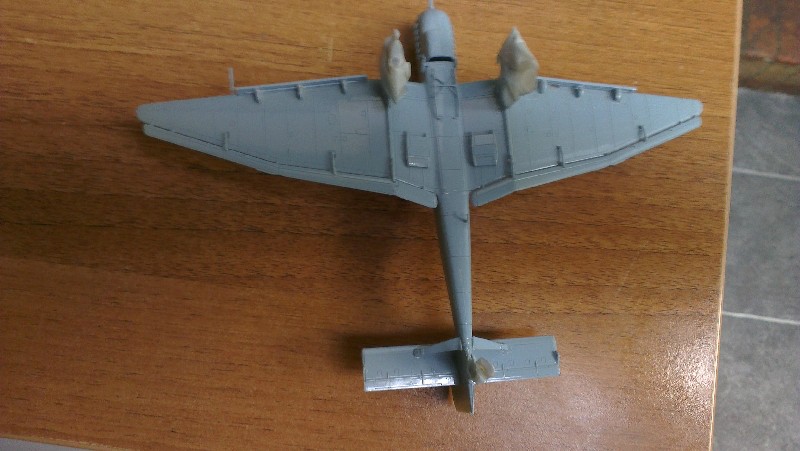
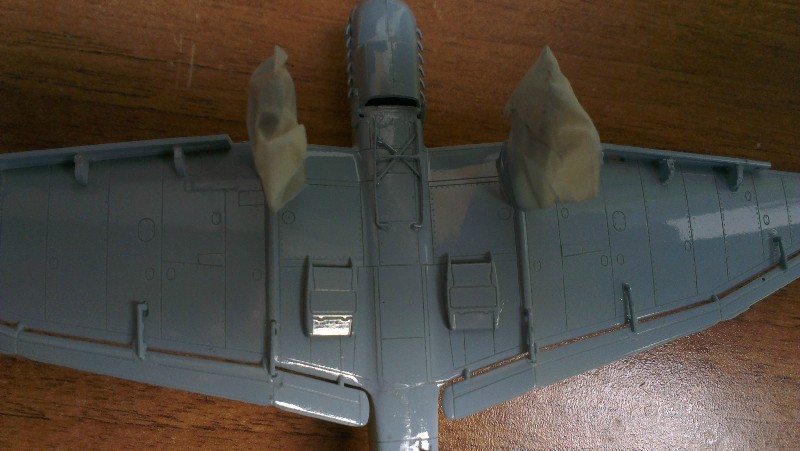
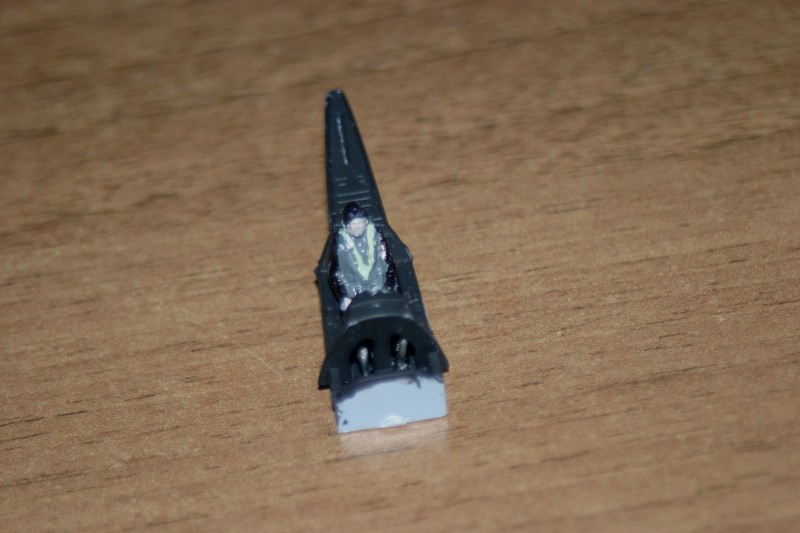
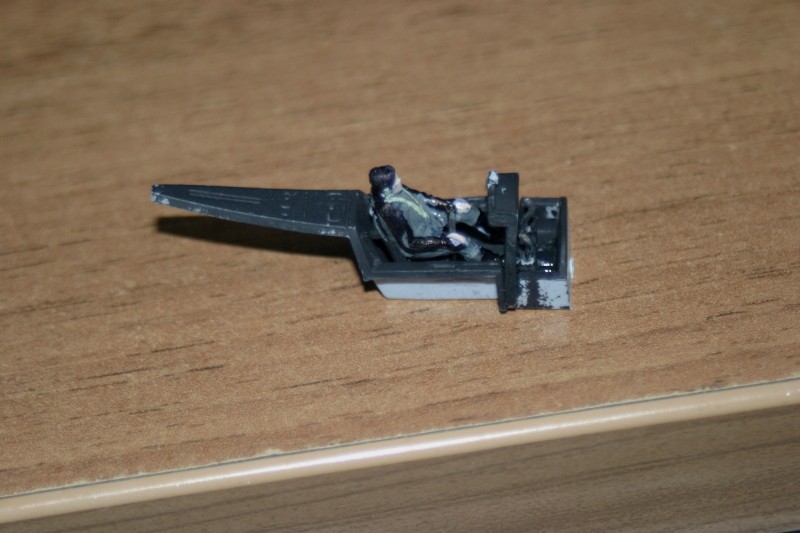
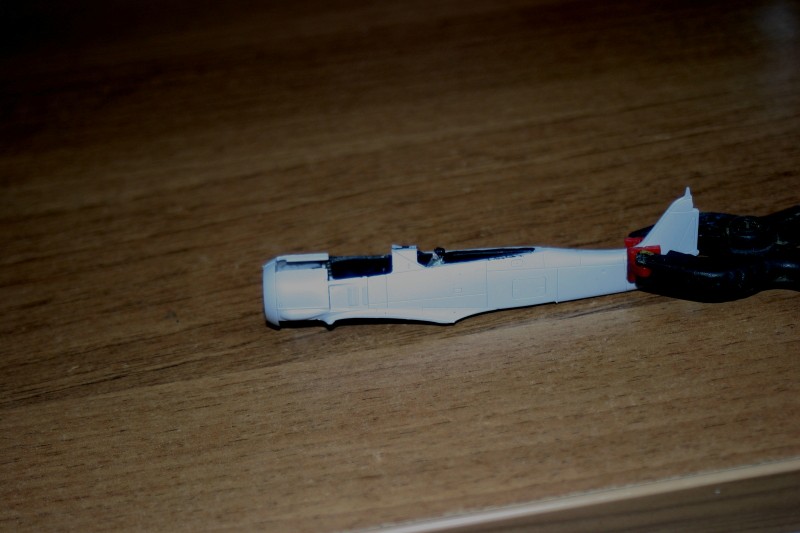
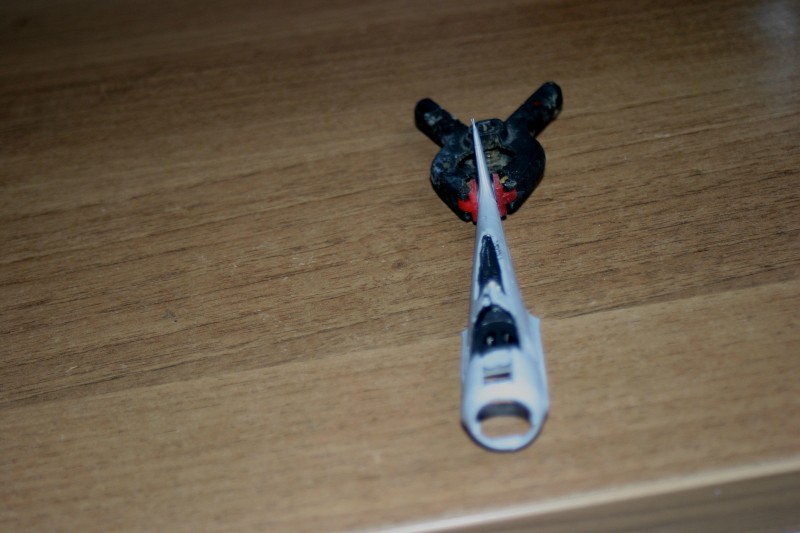
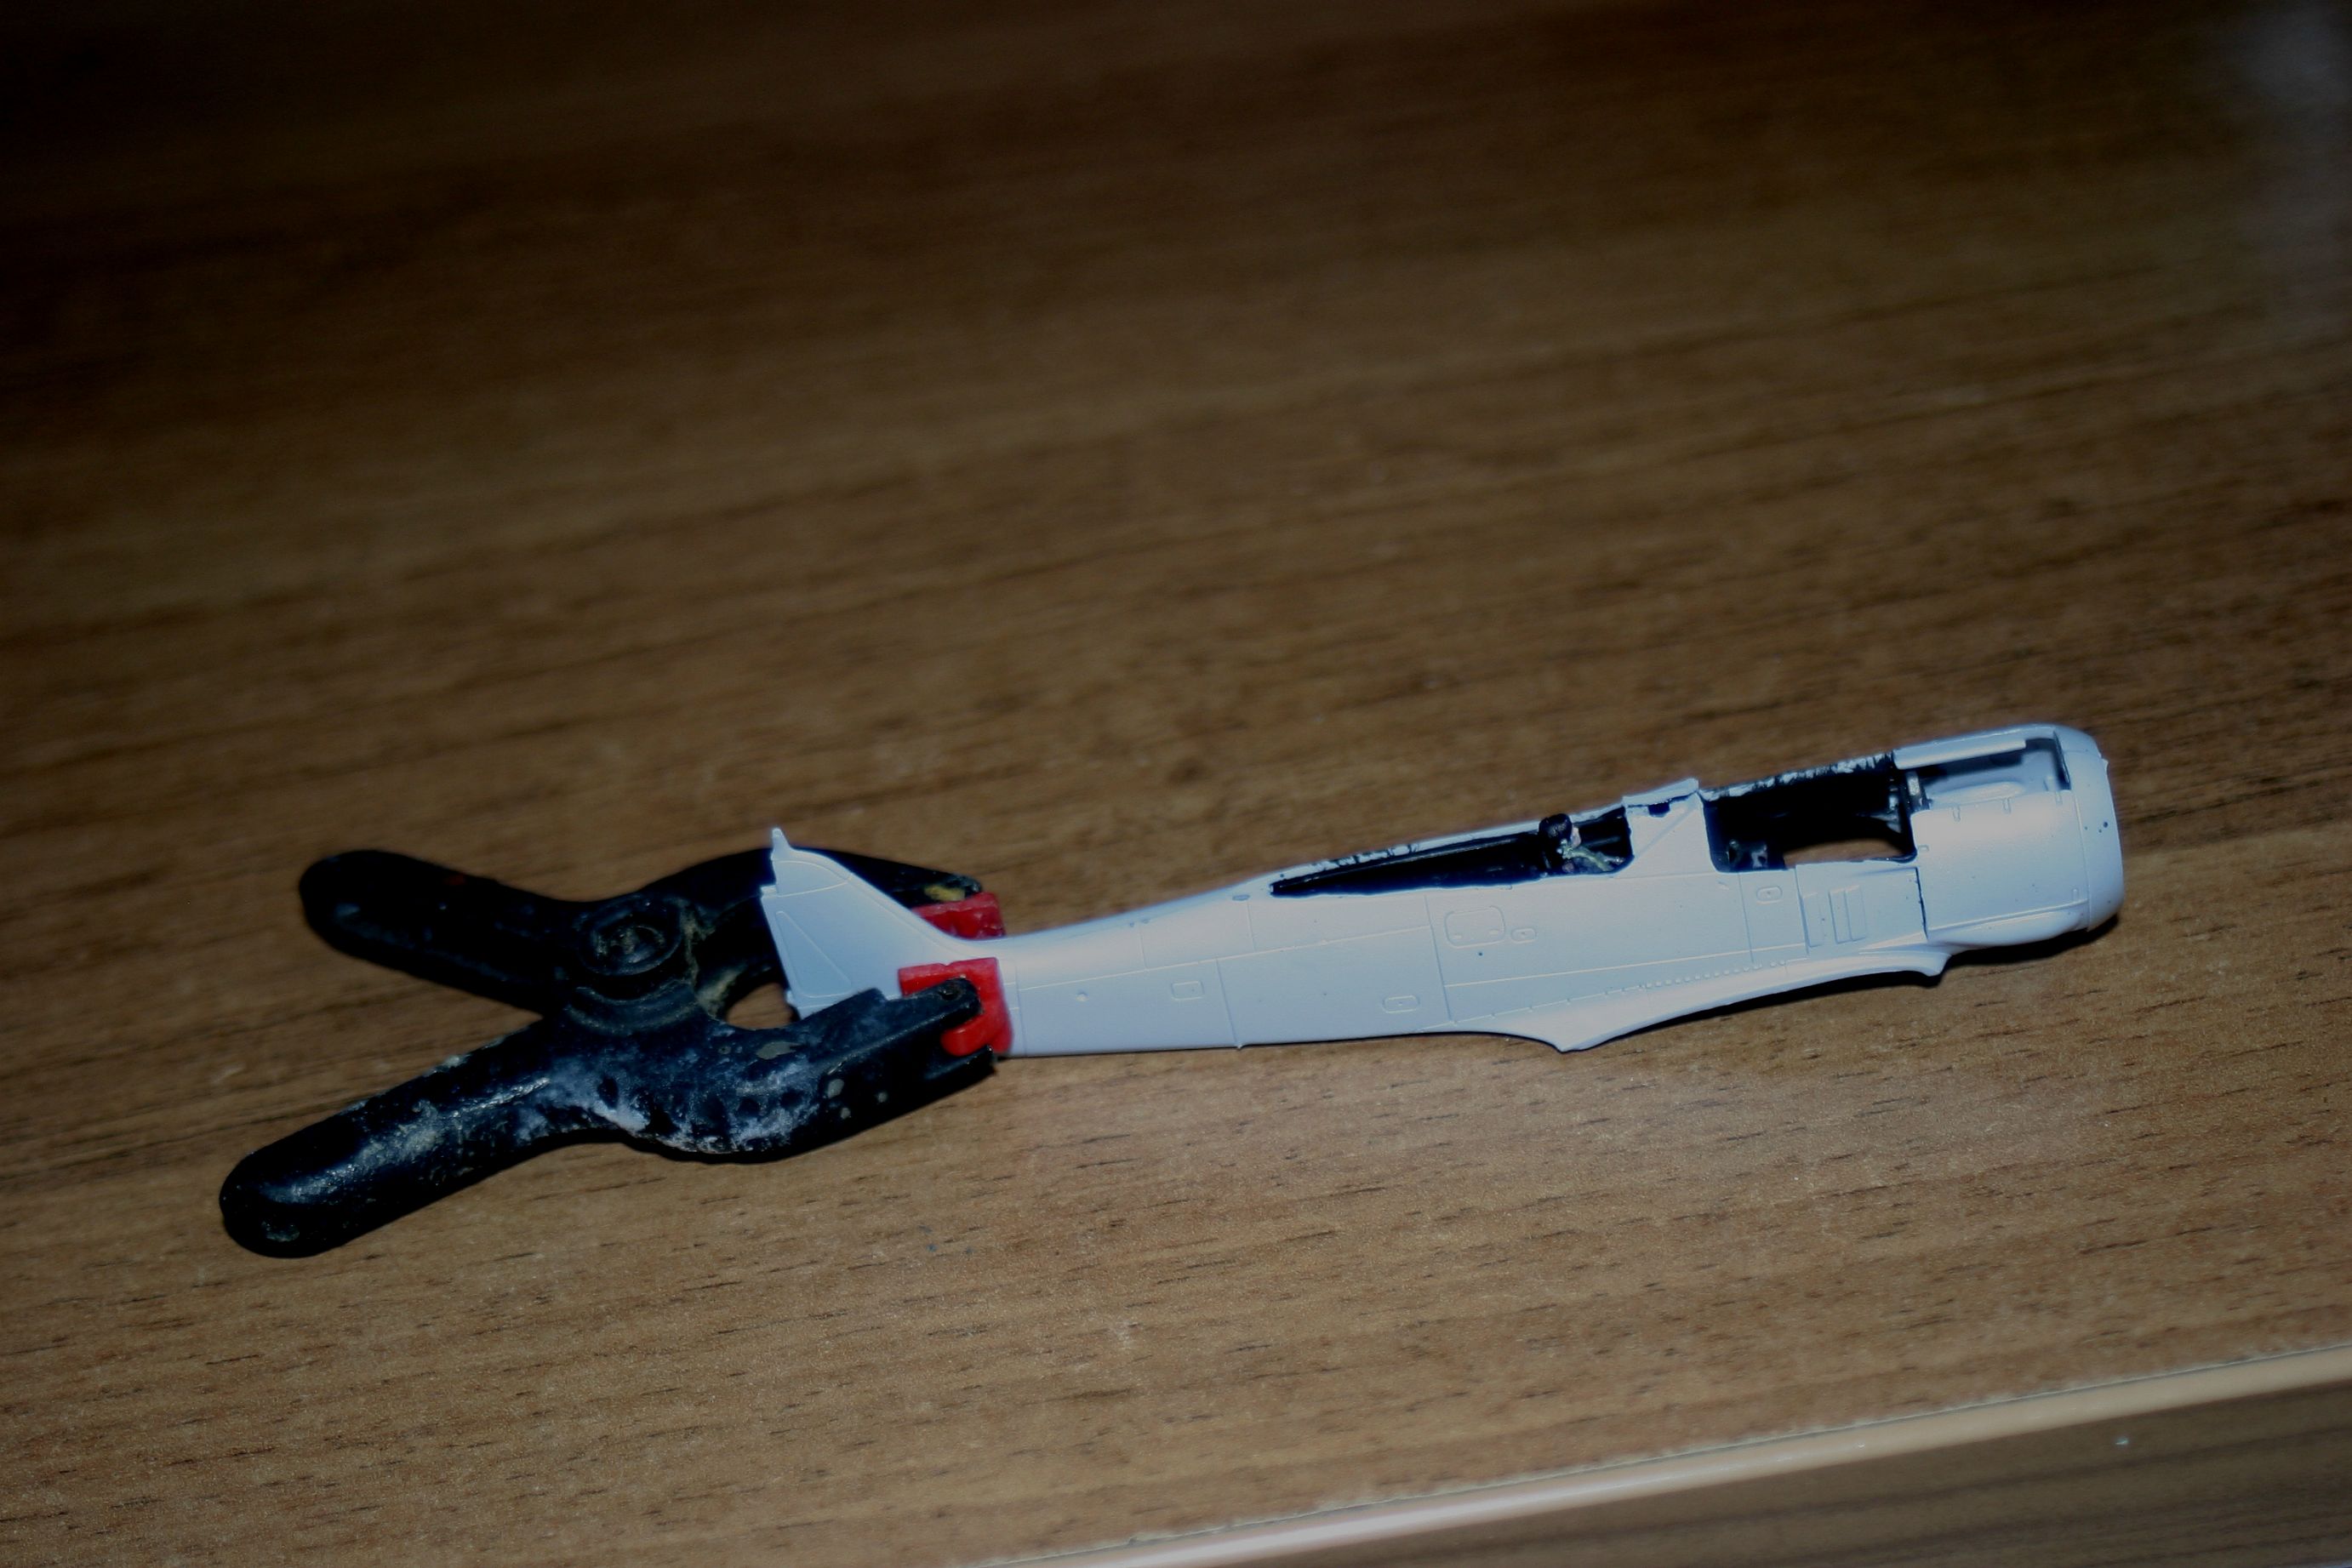
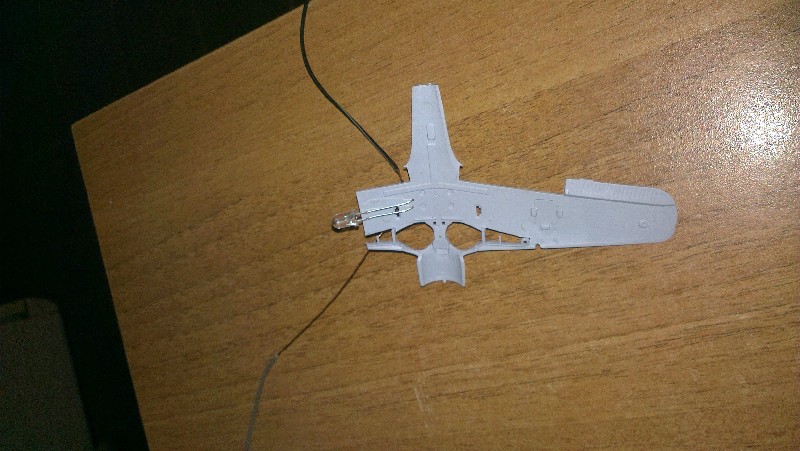
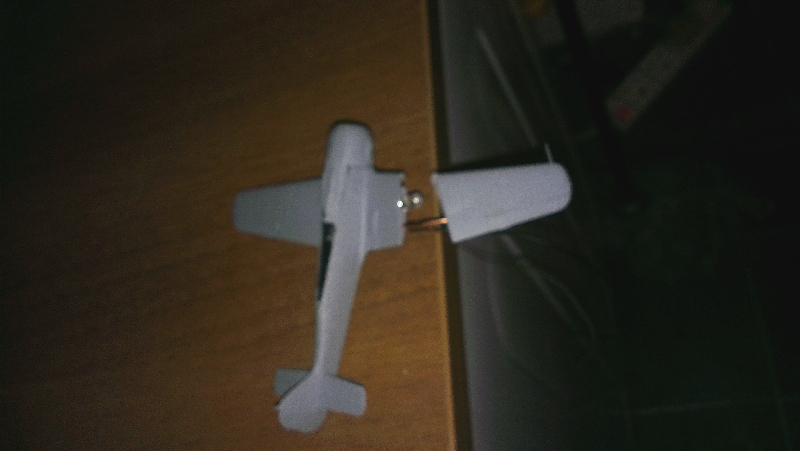
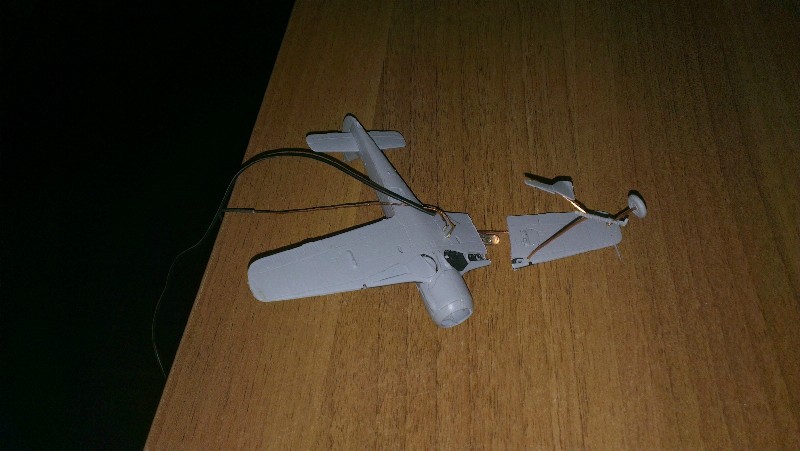
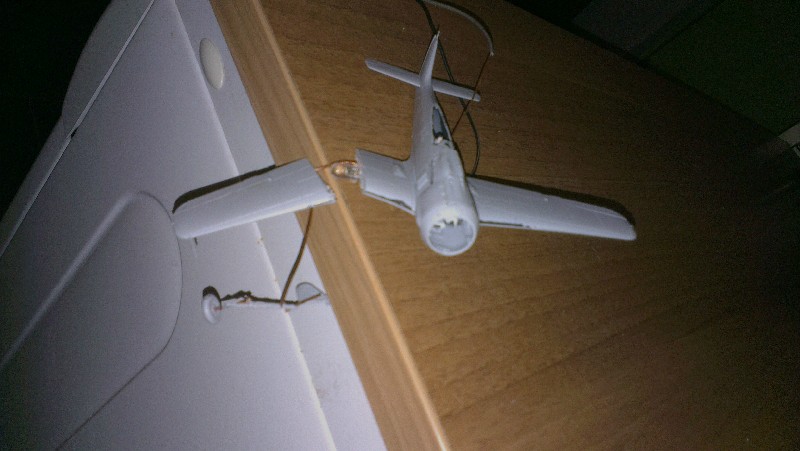
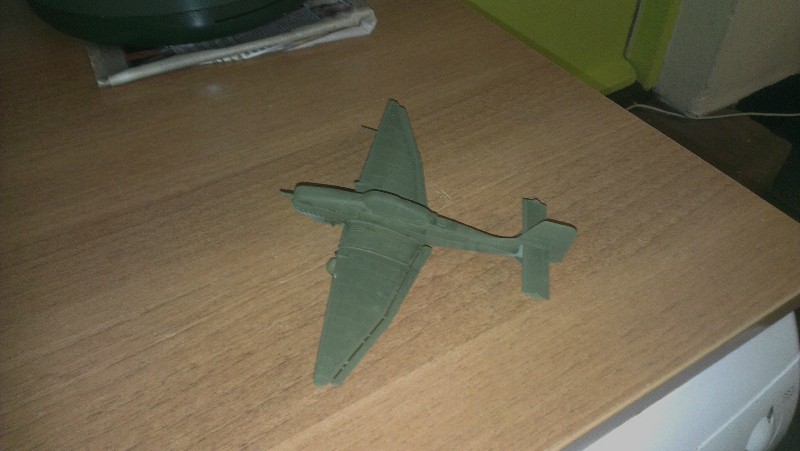
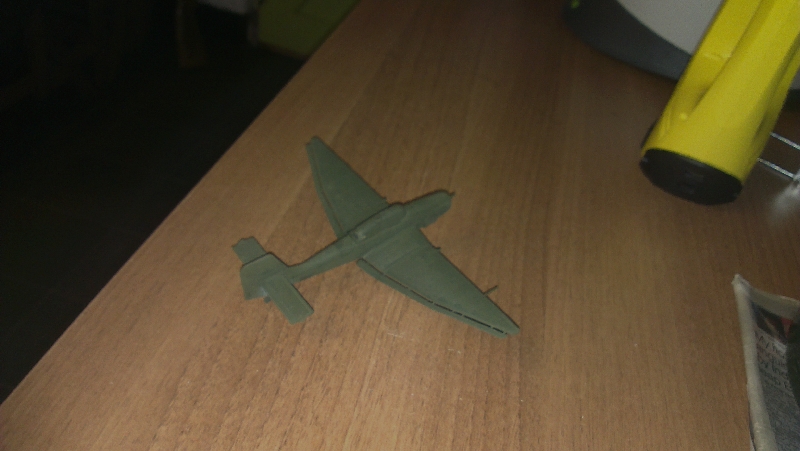
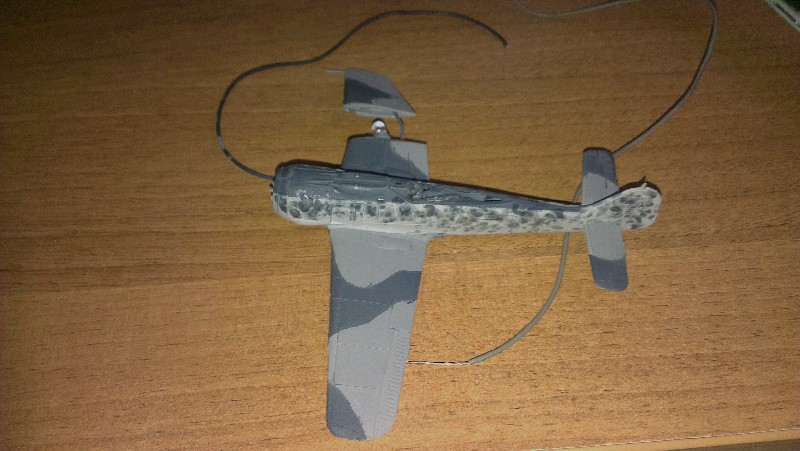
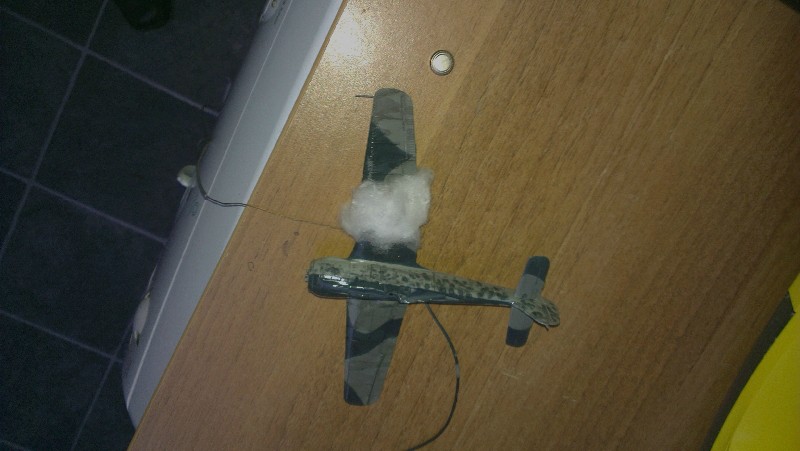
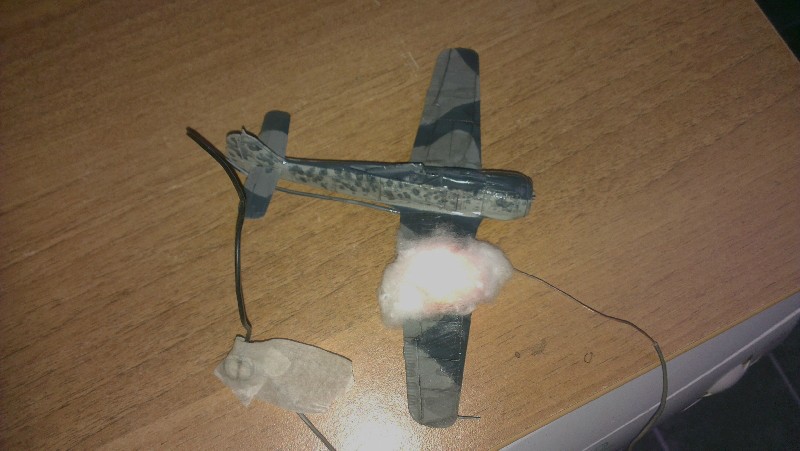
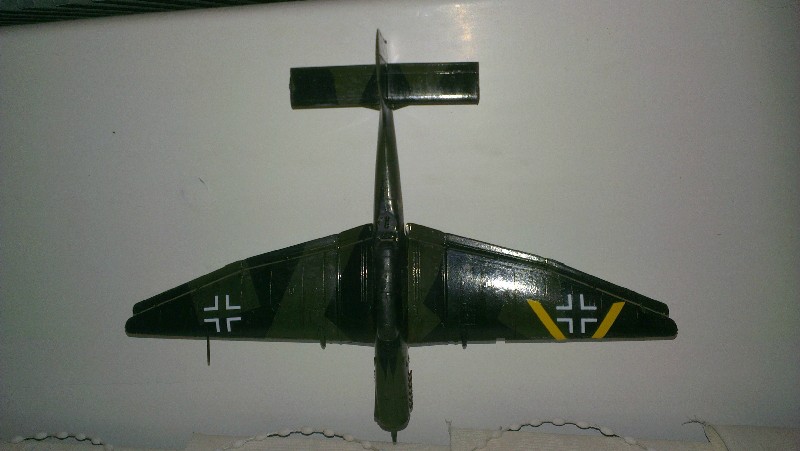
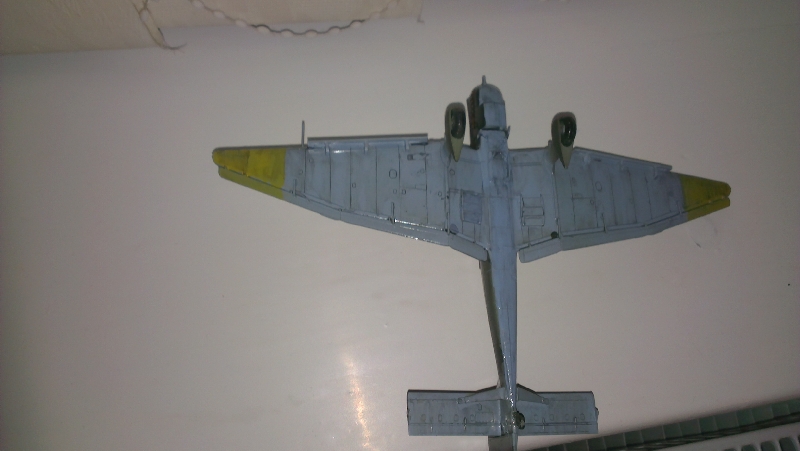
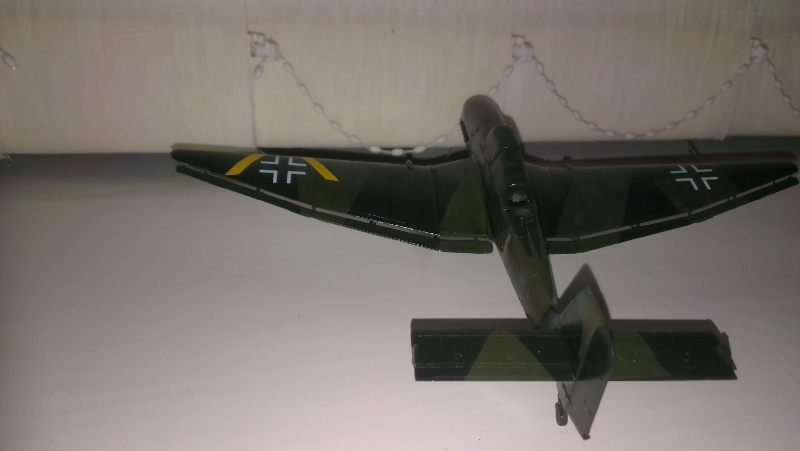
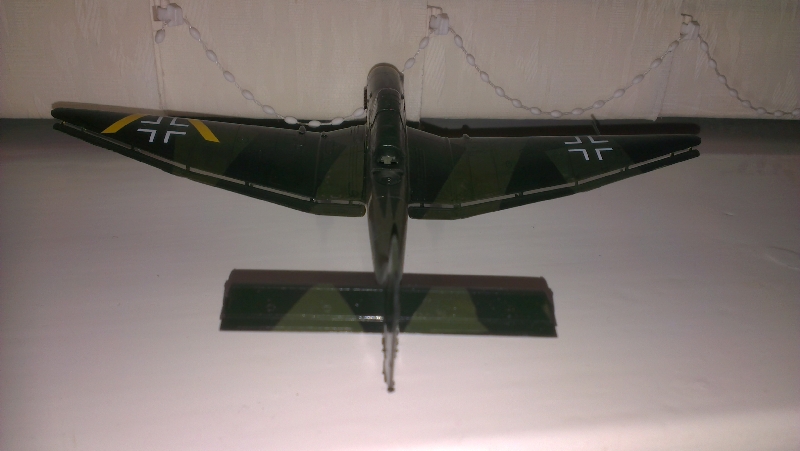
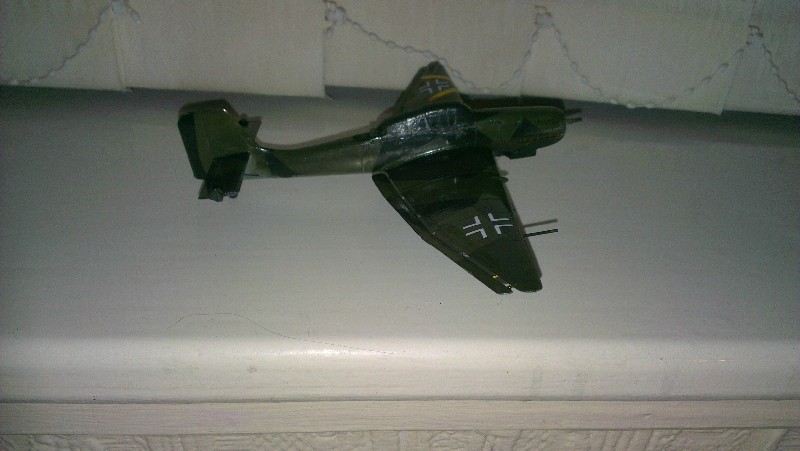
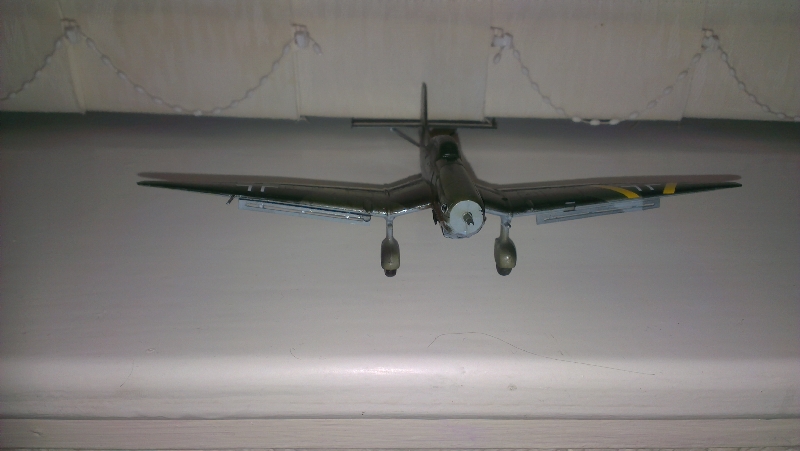
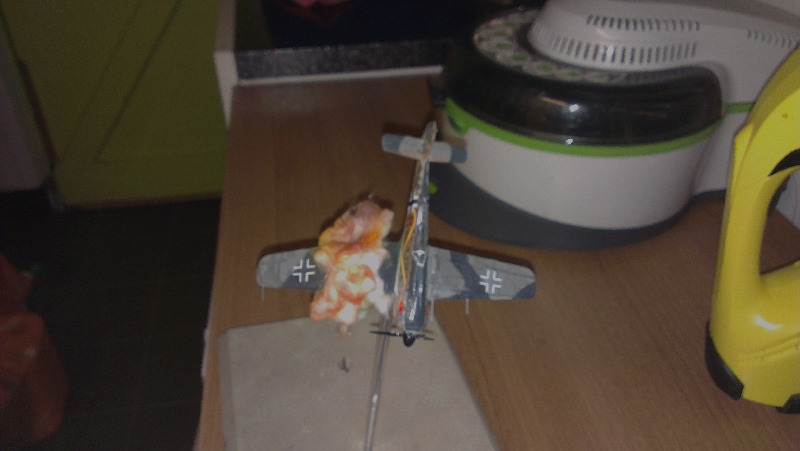
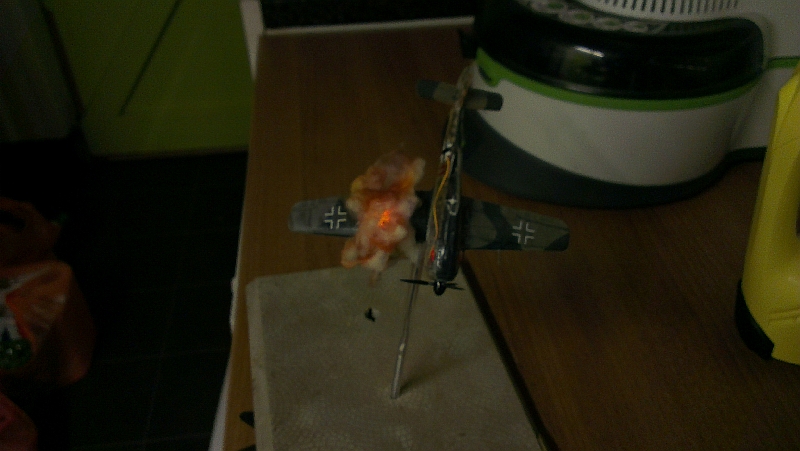
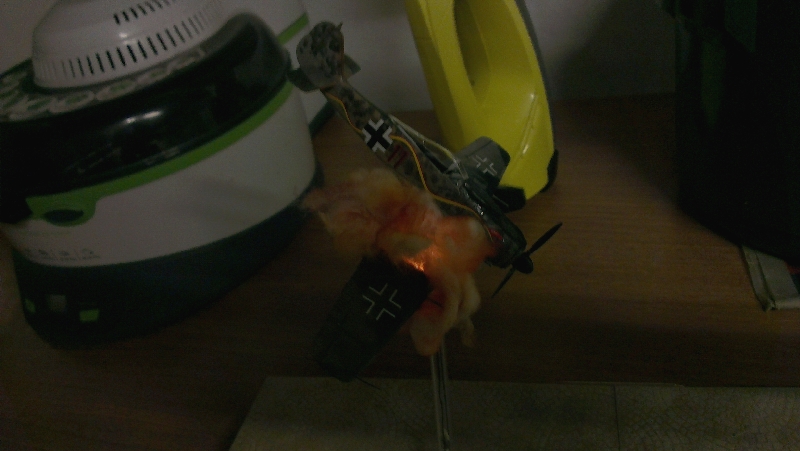
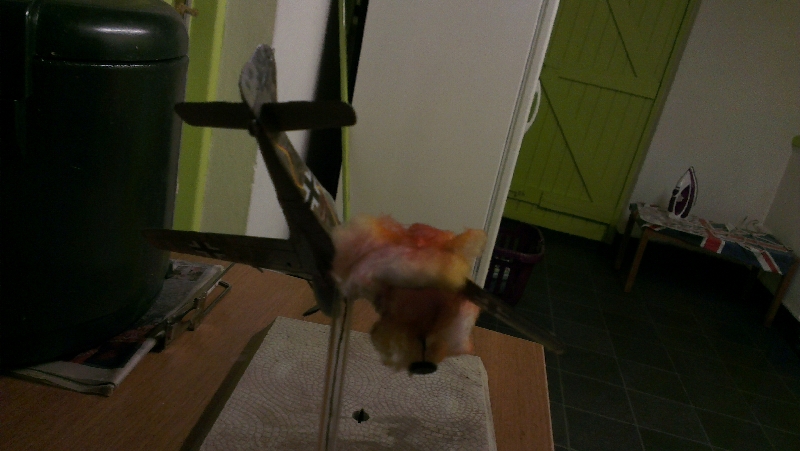
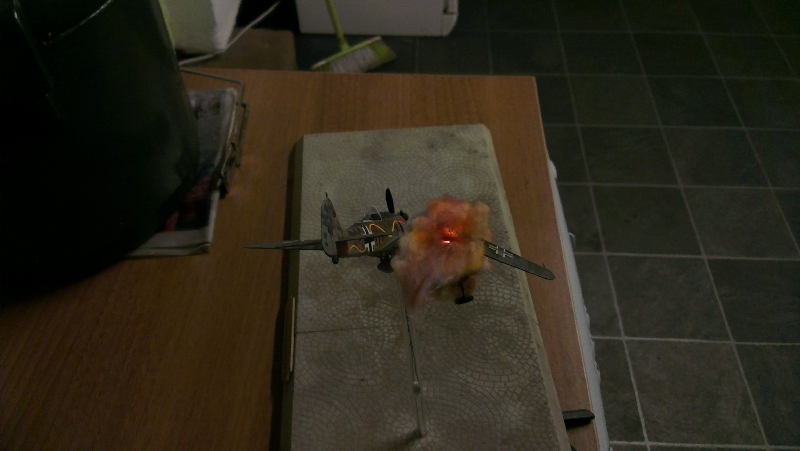
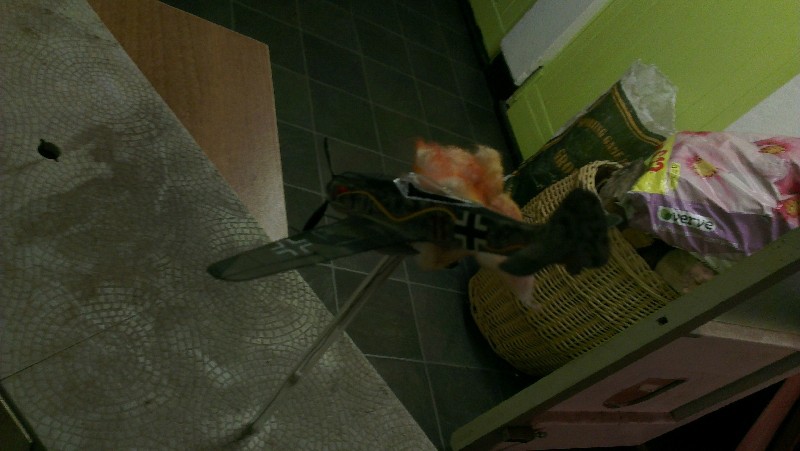
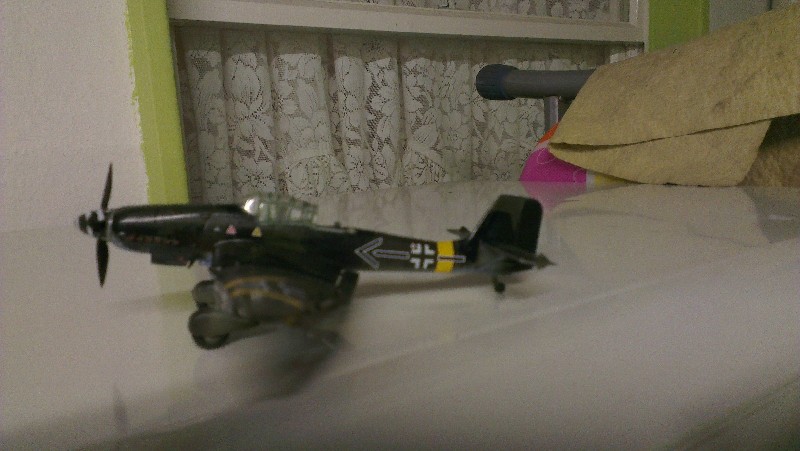
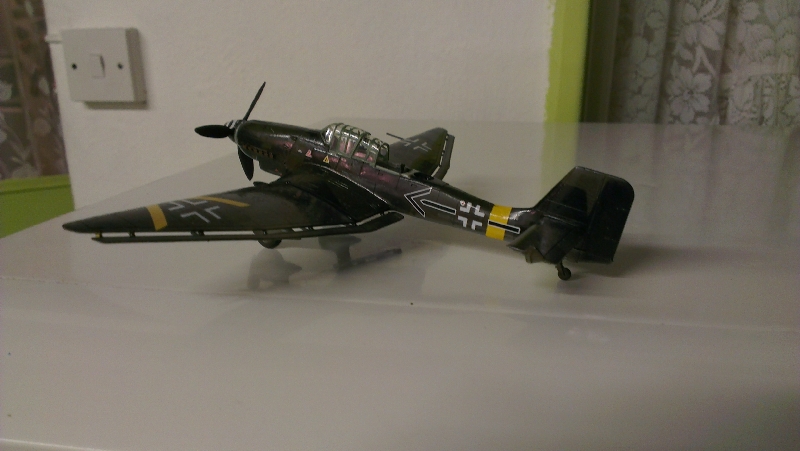
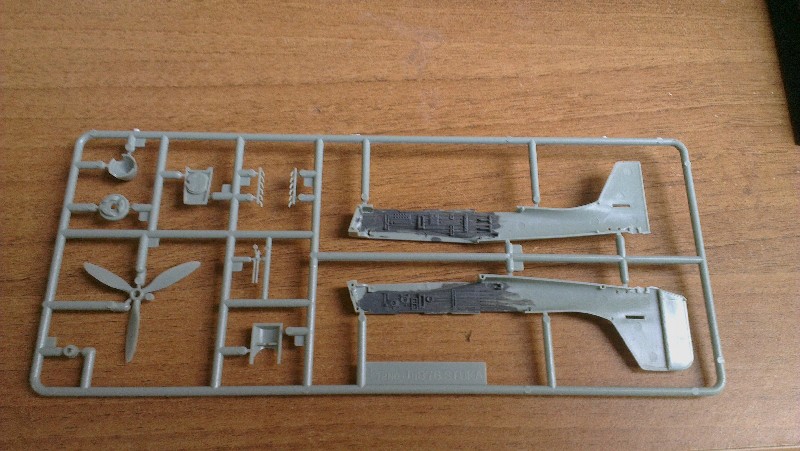
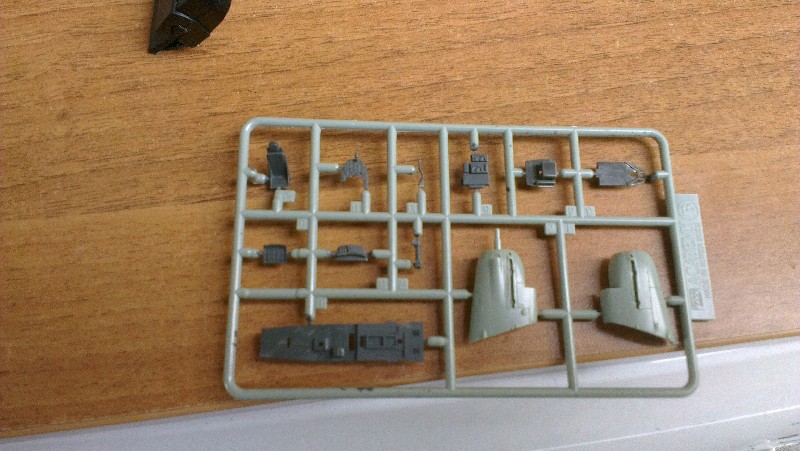
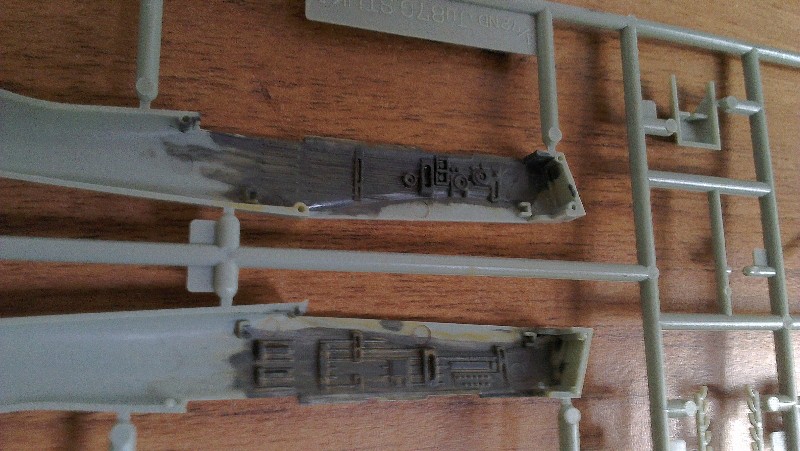
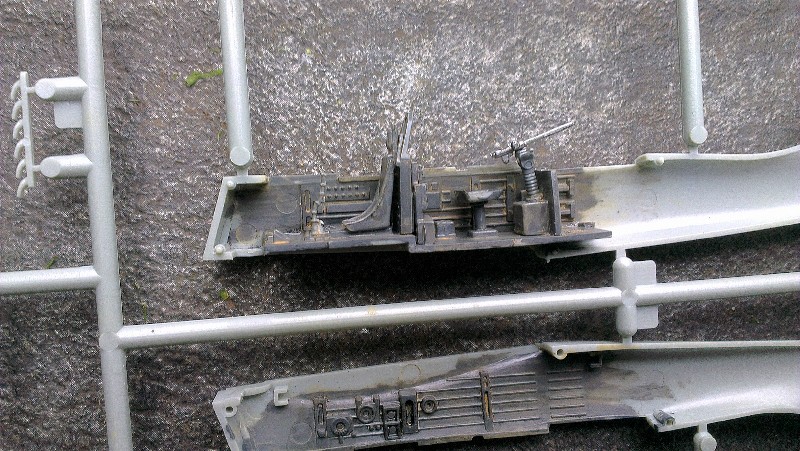
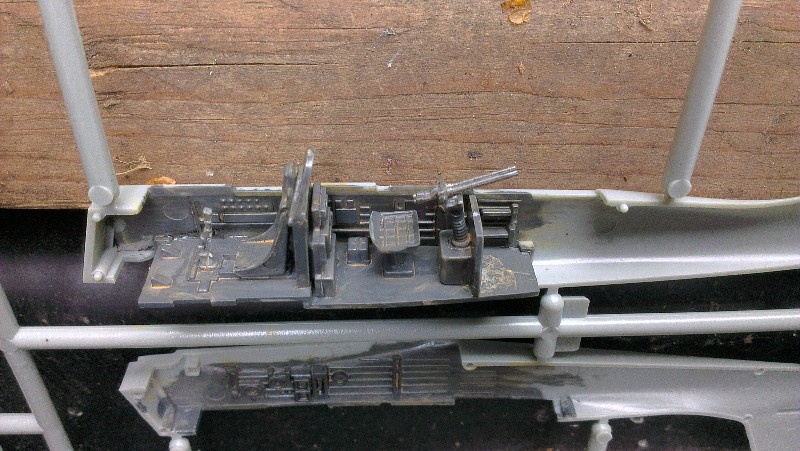
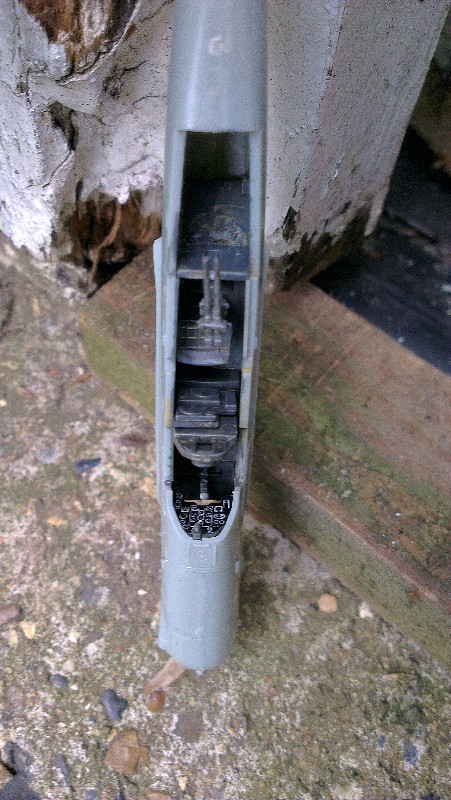
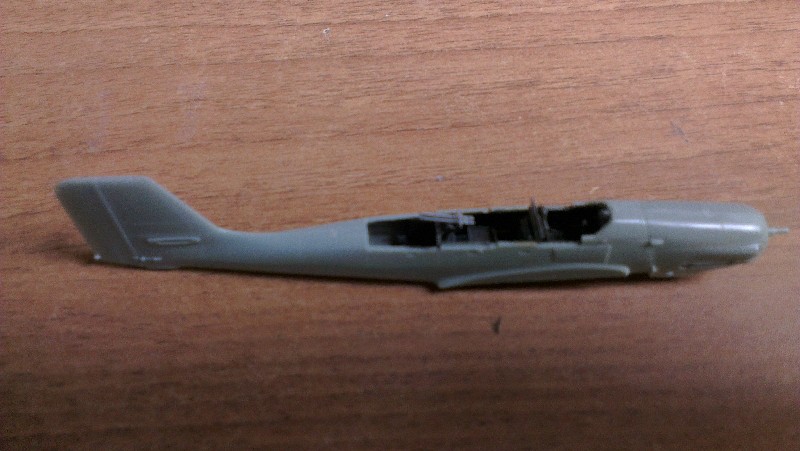
the 1/72 Stuka in the process of being built is Academy and I have a 1/72 Airfix FW190 to go on the Dio too.
as you can see it will be a long term project.
JJ1973
#345
Visit this Community
Niedersachsen, Germany
Joined: August 22, 2011
KitMaker: 1,835 posts
Model Shipwrights: 1,832 posts
Posted: Monday, October 13, 2014 - 05:26 AM UTC
Looks like a very ambitious project, and a very interesting one, too - I'll be following!

Jan
kpnuts
Visit this Community
United Kingdom
Joined: December 20, 2013
KitMaker: 1,179 posts
Model Shipwrights: 427 posts
Posted: Tuesday, October 14, 2014 - 06:38 AM UTC
Hi all here is a little update on the Stuka
I have realised from the pic on the box I have bought the wrong version, the one I've bought is the anti tank one, which, apparently has no dive brakes and no bomb cradle.
I have tried to make the air brakes (I could only find one decent pic of them and that was on a model) I have no idea what they really look like so this is my best attempt at what I could seen. as for the bomb cradle would that have swung back up after dropping its payload as I obviously dont have a bomb so I want to do it as if its just got rid of it.
I have glued the windscreen on before it says so in the instructions as I got tired of rescuing them from the CM after breaking them off, seemingly every single time i picked it up, Hope that decision dosent end up biteing me in the bum


Also made a start on the FW190


kpnuts
Visit this Community
United Kingdom
Joined: December 20, 2013
KitMaker: 1,179 posts
Model Shipwrights: 427 posts
Posted: Wednesday, October 15, 2014 - 07:08 AM UTC
Look what I got today


Not allowed to start it till my birthday though(mind you I wasn't allowed to open it before my birthday)
kpnuts
Visit this Community
United Kingdom
Joined: December 20, 2013
KitMaker: 1,179 posts
Model Shipwrights: 427 posts
Posted: Thursday, October 16, 2014 - 06:55 AM UTC
Hi all not much to report tonight been working on the FW190 I have really made a mess of it so far and I've only just started it first I lost the joystick or whatever its called to the CM so had to make a new one then I cut the wrong bits off the foot peddle thingys so had to make some new ones of those ( I know they are not seen but hey )and since stupidly I bought the wrong version of the Ju87 which didnt have dive brakes or carry bombs, I've been working on the bomb cradle and the dive brakes for the Ju87 as well


I do need help with the most important point of the dio Warspite (Whilst the mussus is out I,ve had a little play.
Where should I put her Baring in mind I want planes behind her and in front, most of them will be in the front though. So if you have a preference lets just say pic 1,2,3,4 or 5


kpnuts
Visit this Community
United Kingdom
Joined: December 20, 2013
KitMaker: 1,179 posts
Model Shipwrights: 427 posts
Posted: Saturday, October 18, 2014 - 04:51 AM UTC
Well here is a progress report of todays work the guns are back on the Ju87 and have done a bit more work on that and the FW190.


kpnuts
Visit this Community
United Kingdom
Joined: December 20, 2013
KitMaker: 1,179 posts
Model Shipwrights: 427 posts
Posted: Sunday, October 19, 2014 - 06:49 AM UTC
Hi all done some work on the FW190


Grauwolf
#084
Visit this Community
Quebec, Canada
Joined: September 14, 2005
KitMaker: 2,485 posts
Model Shipwrights: 1,157 posts
Posted: Sunday, October 19, 2014 - 09:46 AM UTC
Hi Ken,

Very interesting project and will follow with interest as this
will look to be a very animated diorama.

The mix of scale will be very interesting to see as it will
add great perspective when photographed.

Cheers,
Joe
RussellE
#306
Visit this Community
Victoria, Australia
Joined: June 27, 2010
KitMaker: 3,959 posts
Model Shipwrights: 2,777 posts
Posted: Sunday, October 19, 2014 - 10:34 PM UTC
Very ambitious Ken!

Look forward to watching this one evolve

Russ
kpnuts
Visit this Community
United Kingdom
Joined: December 20, 2013
KitMaker: 1,179 posts
Model Shipwrights: 427 posts
Posted: Monday, October 20, 2014 - 06:43 AM UTC
Here is tonights bit on the planes


JJ1973
#345
Visit this Community
Niedersachsen, Germany
Joined: August 22, 2011
KitMaker: 1,835 posts
Model Shipwrights: 1,832 posts
Posted: Tuesday, October 21, 2014 - 06:18 AM UTC
It's getting really interesting here, nice progress on the planes.

For your positioning of the Warspite, I think it's a little early to decide. I would wait until I have the hull in place and most of the planes you want to include and than do a little trial and error and see what looks best vice only positioning the hull...

Jan
kpnuts
Visit this Community
United Kingdom
Joined: December 20, 2013
KitMaker: 1,179 posts
Model Shipwrights: 427 posts
Posted: Tuesday, October 21, 2014 - 07:26 AM UTC
thanks for that will do that when I've got some of the planes ready.
Anyway got some paints for this dio delivered today


Its amazing how much paint you need for something like this, as far as I can work out I still need another 11 colours.
and did some work on the stuka


RussellE
#306
Visit this Community
Victoria, Australia
Joined: June 27, 2010
KitMaker: 3,959 posts
Model Shipwrights: 2,777 posts
Posted: Tuesday, October 21, 2014 - 08:21 AM UTC

Quoted Text


I do need help with the most important point of the dio Warspite (Whilst the mussus is out I,ve had a little play.
Where should I put her Baring in mind I want planes behind her and in front, most of them will be in the front though. So if you have a preference lets just say pic 1,2,3,4 or 5


Hi Ken

I like pic number 4. That way there's no 'front/rear' to the dio, and it encourages people to 'walk around' it.

Russ
kpnuts
Visit this Community
United Kingdom
Joined: December 20, 2013
KitMaker: 1,179 posts
Model Shipwrights: 427 posts
Posted: Wednesday, October 22, 2014 - 05:57 AM UTC
Hi all an update on the the planes


did a bit of work to try and make this look like a He 111


did some work on the FW 190


and here is a shot of all the attacking planes I will be using


kpnuts
Visit this Community
United Kingdom
Joined: December 20, 2013
KitMaker: 1,179 posts
Model Shipwrights: 427 posts
Posted: Thursday, October 23, 2014 - 06:06 AM UTC
hi all here is quite a big update, I have tried my first attempt at panel lines and weathering of a plane, also I have been experimenting with the explosion on the Fw 190 wing


the explosion is a bit too orange so will have to either add some brown or blue to it then a bit more black to the smoke, still got to add the suspension strutt and the cover thingy that goes over the wheel will have to buckle that a bit and bend the suspension strutt but I think the explosion should work ok.
CMOT
Staff MemberEditor-in-Chief
ARMORAMA
Visit this Community
England - South West, United Kingdom
Joined: May 14, 2006
KitMaker: 10,954 posts
Model Shipwrights: 88 posts
Posted: Thursday, October 23, 2014 - 07:19 AM UTC
Now that is an impressive representation of an explosion for a model.
kpnuts
Visit this Community
United Kingdom
Joined: December 20, 2013
KitMaker: 1,179 posts
Model Shipwrights: 427 posts
Posted: Friday, October 24, 2014 - 07:15 AM UTC
Well its not my birthday till Sunday but I am busy most of the day tomorrow and we have the whole family round Sunday, so I've negotiated a start today on my Warspite model so here is the start.
I have placed a few planes and Warspite in different places which do you think looks best (obviously the planes will be in the air on the finished dio) I just want an idea of which you all think looks best.


#027
Visit this Community
Louisiana, United States
Joined: April 13, 2005
KitMaker: 5,422 posts
Model Shipwrights: 5,079 posts
Posted: Friday, October 24, 2014 - 12:28 PM UTC
Great Idea Ken!
kpnuts
Visit this Community
United Kingdom
Joined: December 20, 2013
KitMaker: 1,179 posts
Model Shipwrights: 427 posts
Posted: Saturday, October 25, 2014 - 05:25 AM UTC
Hi all made a really stupid total nitwit mistake in my eagerness to start this kit. There are parts on the deck you are supposed to cut off before you attatch the wooden decking, which I didn't. That made the job of removing it now a real b@'!:er, still done it now I've bitten the bullet and done a tiny amount of PE (the gangway which goes across the bow there are 2 gussets underneath which measure 2.5mm x 1.5 mm after an hour of getting them in the right place and upright I have to wonder is it worth the effort, once it's on the dio no one will see it, even off the ship when turned upside down you can barely see it with the naked eye. Still we will see how long I keep the PE up as although they are small the gangway was a simple bend the sides up (oh by the way the Mk1 detail up set instructions are vague to say the least) they show a picture of the part in place and one pic of some of the folds you are left to guess the rest of the folds.
kpnuts
Visit this Community
United Kingdom
Joined: December 20, 2013
KitMaker: 1,179 posts
Model Shipwrights: 427 posts
Posted: Wednesday, October 29, 2014 - 06:24 AM UTC
Hi all here is a bit of an update of where I am now.
I am a bit peeved now, I realise I made the mistake with not removing the plastic before I laid the decking but now i've started putting the PE on I've discovered ther are other bit which should be removed which are not on the instructions and now i've laid the wooden decking and cut it to fit whats on the deck the PE is not covering all the plastic.

as you can see from the pic the only part outlined is the gangway which is to be removed but as i've now discovered the ramps should have been removed too.

as you can see the PE ramps are too short and I can't remove the plastic ramps as I've cut the decking to fit, so I'm hoping that when painted grey it wont notice. (yes I know the middle blast shield is crooked in the pic but that has been sorted now)

led in place ready for the only direct hit on the poor old lady.

I know I swore I would never use PE again but this is all fairly simple stick it on stuff at the moment so will stick with it for now.


first start at the explosion and I thought I would try an experiment with Optic Fibres will bee using those for the tracer rounds Warspie will be firing, I have discovered if you scratch the firbre every so often light escapes at the scratches over a length of about 12 inches (it does gradually get less as it goes along but I think 12 inches will be enough for me) anyway keeping it straight at anything more than that is almost impossible


Obviously there is no smoke yet nor any debris in the explosion , I am wondering whether to put an unfortunate sailor in the smoke of the exlposion sans a limb or 2 ( the 350 scale sailors I've got I'm not sure it would notice, but might be fun to see if anyone does).
Longshanks8
Visit this Community
England - South West, United Kingdom
Joined: July 04, 2013
KitMaker: 430 posts
Model Shipwrights: 390 posts
Posted: Wednesday, October 29, 2014 - 07:25 AM UTC
Interesting project wit a steep learning curve

Kev
kpnuts
Visit this Community
United Kingdom
Joined: December 20, 2013
KitMaker: 1,179 posts
Model Shipwrights: 427 posts
Posted: Thursday, October 30, 2014 - 08:14 AM UTC
Hi all I think I've got too many balls in the air at once, at the moment so I am going to finish some of the planes before I get too involved with Warspite, so got on with the FW 190 and apart from painting the canopy and matt coating it I am calling the 190 done.


I've done the all the decals on one side of the JU 87 so I recon that will be ready for matt coating tomorrow.

0tWIZ7u.jpg


kpnuts
Visit this Community
United Kingdom
Joined: December 20, 2013
KitMaker: 1,179 posts
Model Shipwrights: 427 posts
Posted: Friday, October 31, 2014 - 08:41 AM UTC
Hi all here is an update, and a querey I have used humbrol matt varnish for the first time, But I have an unusual effect the varnish has white patches (which in this instance is great I was going to add something like this anyway, and think it works ok) but what if I didn't want it, whats gone wrong ( I stirred it thourgherly)


RussellE
#306
Visit this Community
Victoria, Australia
Joined: June 27, 2010
KitMaker: 3,959 posts
Model Shipwrights: 2,777 posts
Posted: Friday, October 31, 2014 - 11:09 PM UTC

Quoted Text

Hi all here is an update, and a querey I have used humbrol matt varnish for the first time, But I have an unusual effect the varnish has white patches (which in this instance is great I was going to add something like this anyway, and think it works ok) but what if I didn't want it, whats gone wrong ( I stirred it thourgherly)


Fantastic work so far Ken!

Hopefully i can assist with your query: The humbrol matt varnish is a great product, and one i use regularly to seal and protect models. Normally matt paint would scratch and mark very easily, but this stuff seems to be quite resistant to handling and so on.

However-it is a bit tricky to use. Enamels work best at around 21degrees C, so firstly make sure you're not working in a cold room. Second, make sure the varnish is 21 degrees by sitting it in some warm water-not too hot though...

Something else i find works well: Often we add a clear cote of gloss to models so we can add washes, decals etc. If you haven't already done this, do so, as the matt varnish works best over a gloss cote.

Now, to answer your query, if you find the matt varnish spotting or ghosting, apply a cote of gloss varnish over it and this will dissolve the spots, then re-apply the matt cote keeping in mind the above tips about temperature.

Hope this helps
Russ
kpnuts
Visit this Community
United Kingdom
Joined: December 20, 2013
KitMaker: 1,179 posts
Model Shipwrights: 427 posts
Posted: Saturday, November 01, 2014 - 05:25 AM UTC
thanks for the tips very useful will remember for future I am quite happy with the effect on this particular occasion though and will leave as is, but thanks.
doing some work on the base today
as you can see not a lot of room in my man cave for it

drilled the holes for all the leds and put and wired the leds into the board


not wired the explosion in the stern of warspite cant do that till Warspite hull is permanently atattched same for the FW 190
the 2 blue leds are for the water plumes for the near misses.
 _GOTOTOP