_GOTOBOTTOM
Ships by Class/Type: Destroyers
This forum covers all types of destroyers from all eras.
1/350 DD-484 Buchannan Build
BravoTwoZero
Visit this Community
California, United States
Joined: June 11, 2009
KitMaker: 461 posts
Model Shipwrights: 80 posts
Posted: Sunday, July 31, 2016 - 10:52 PM UTC
Hello everyone,

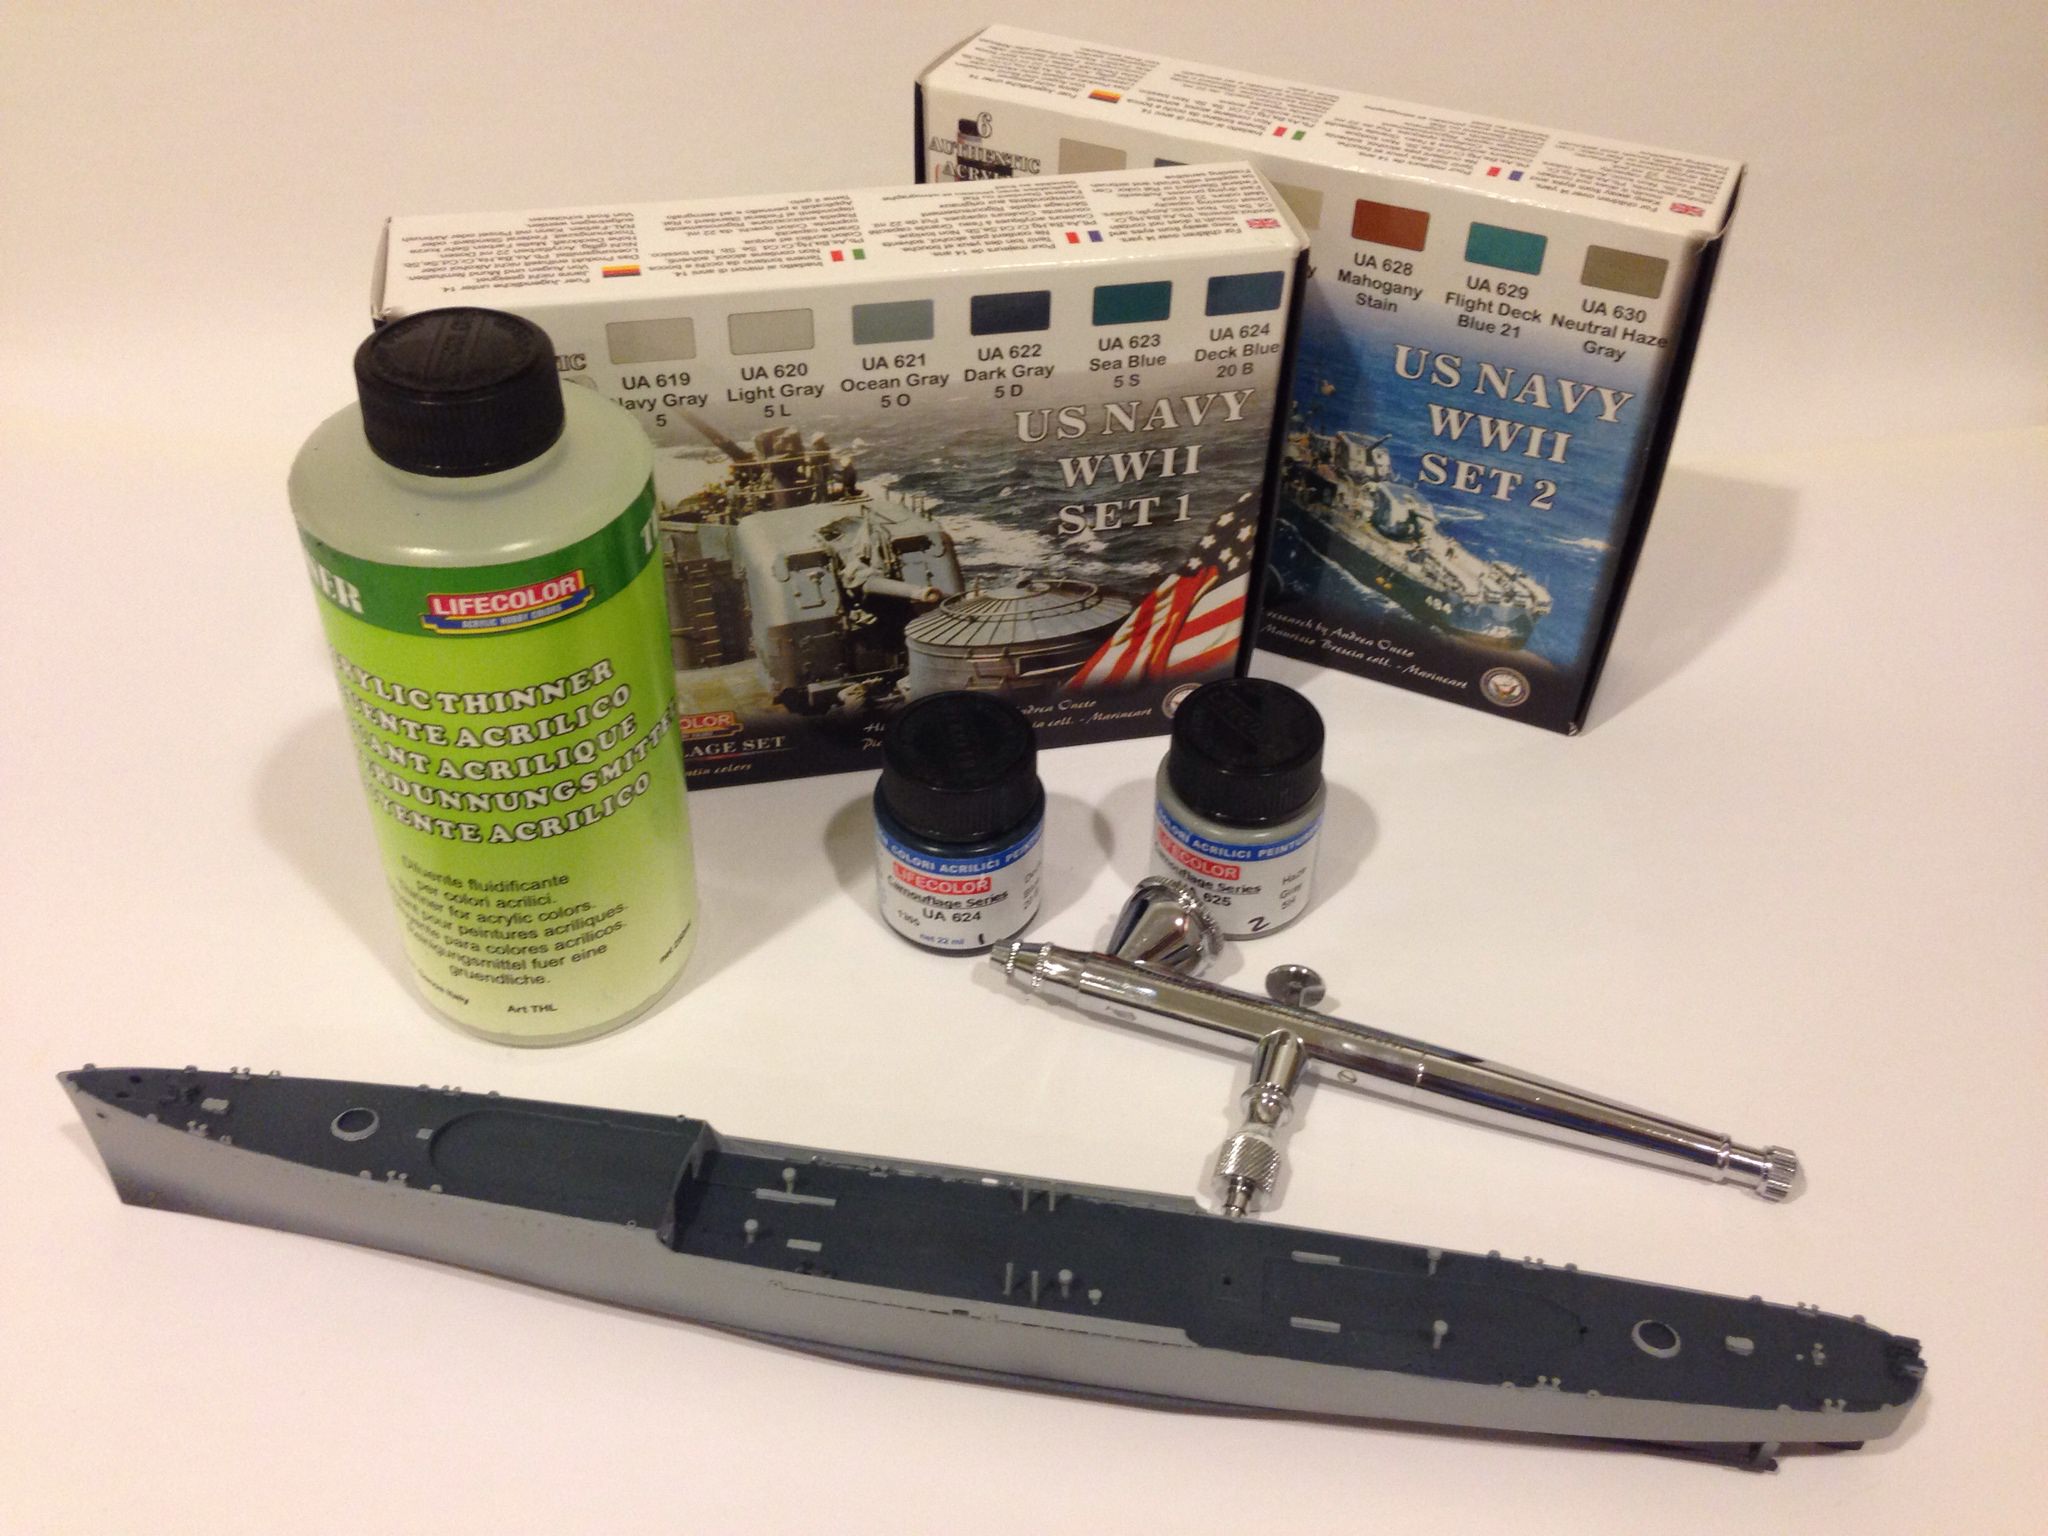
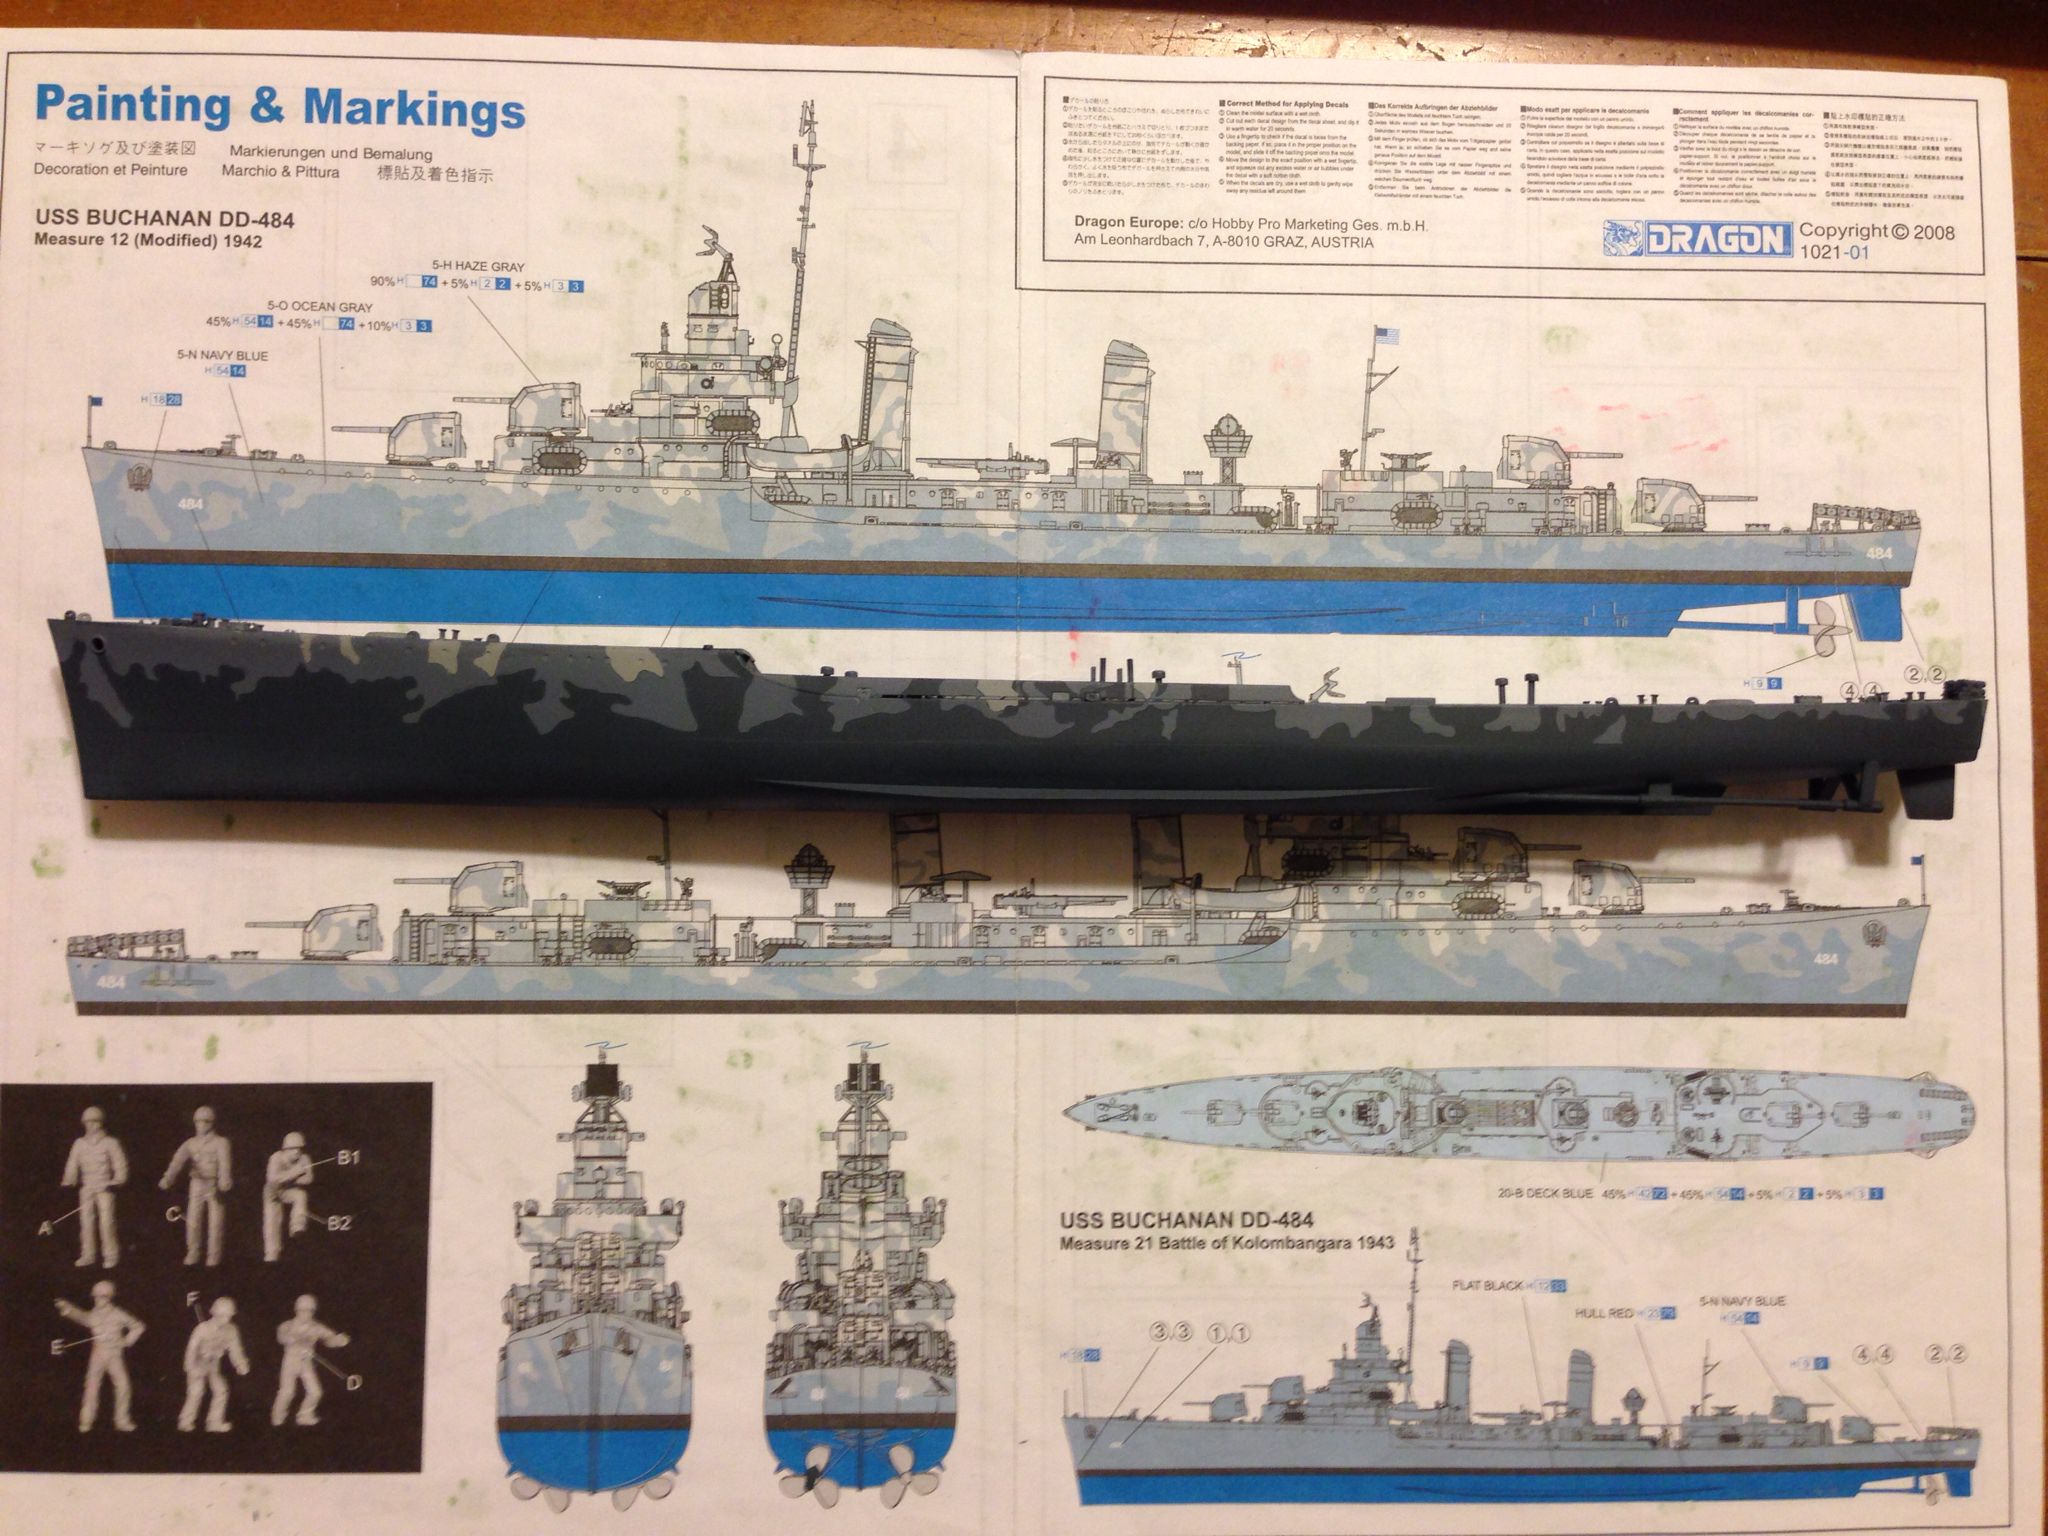
I originally started working on this kit as part of the Guadalcanal Campaign, but, at the rate I am going, it does not look like I'll be able to complete in time. It is completely my fault because I worked on other projects and I allowed this project to lag.

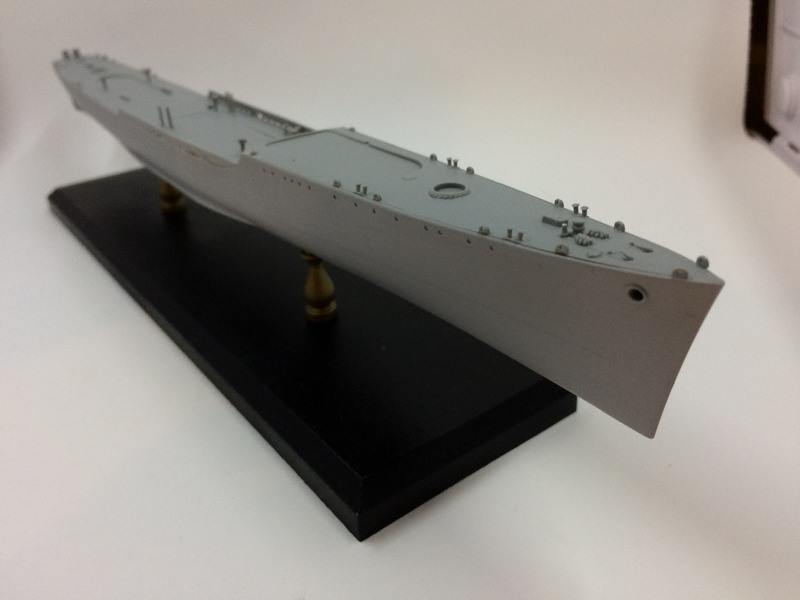
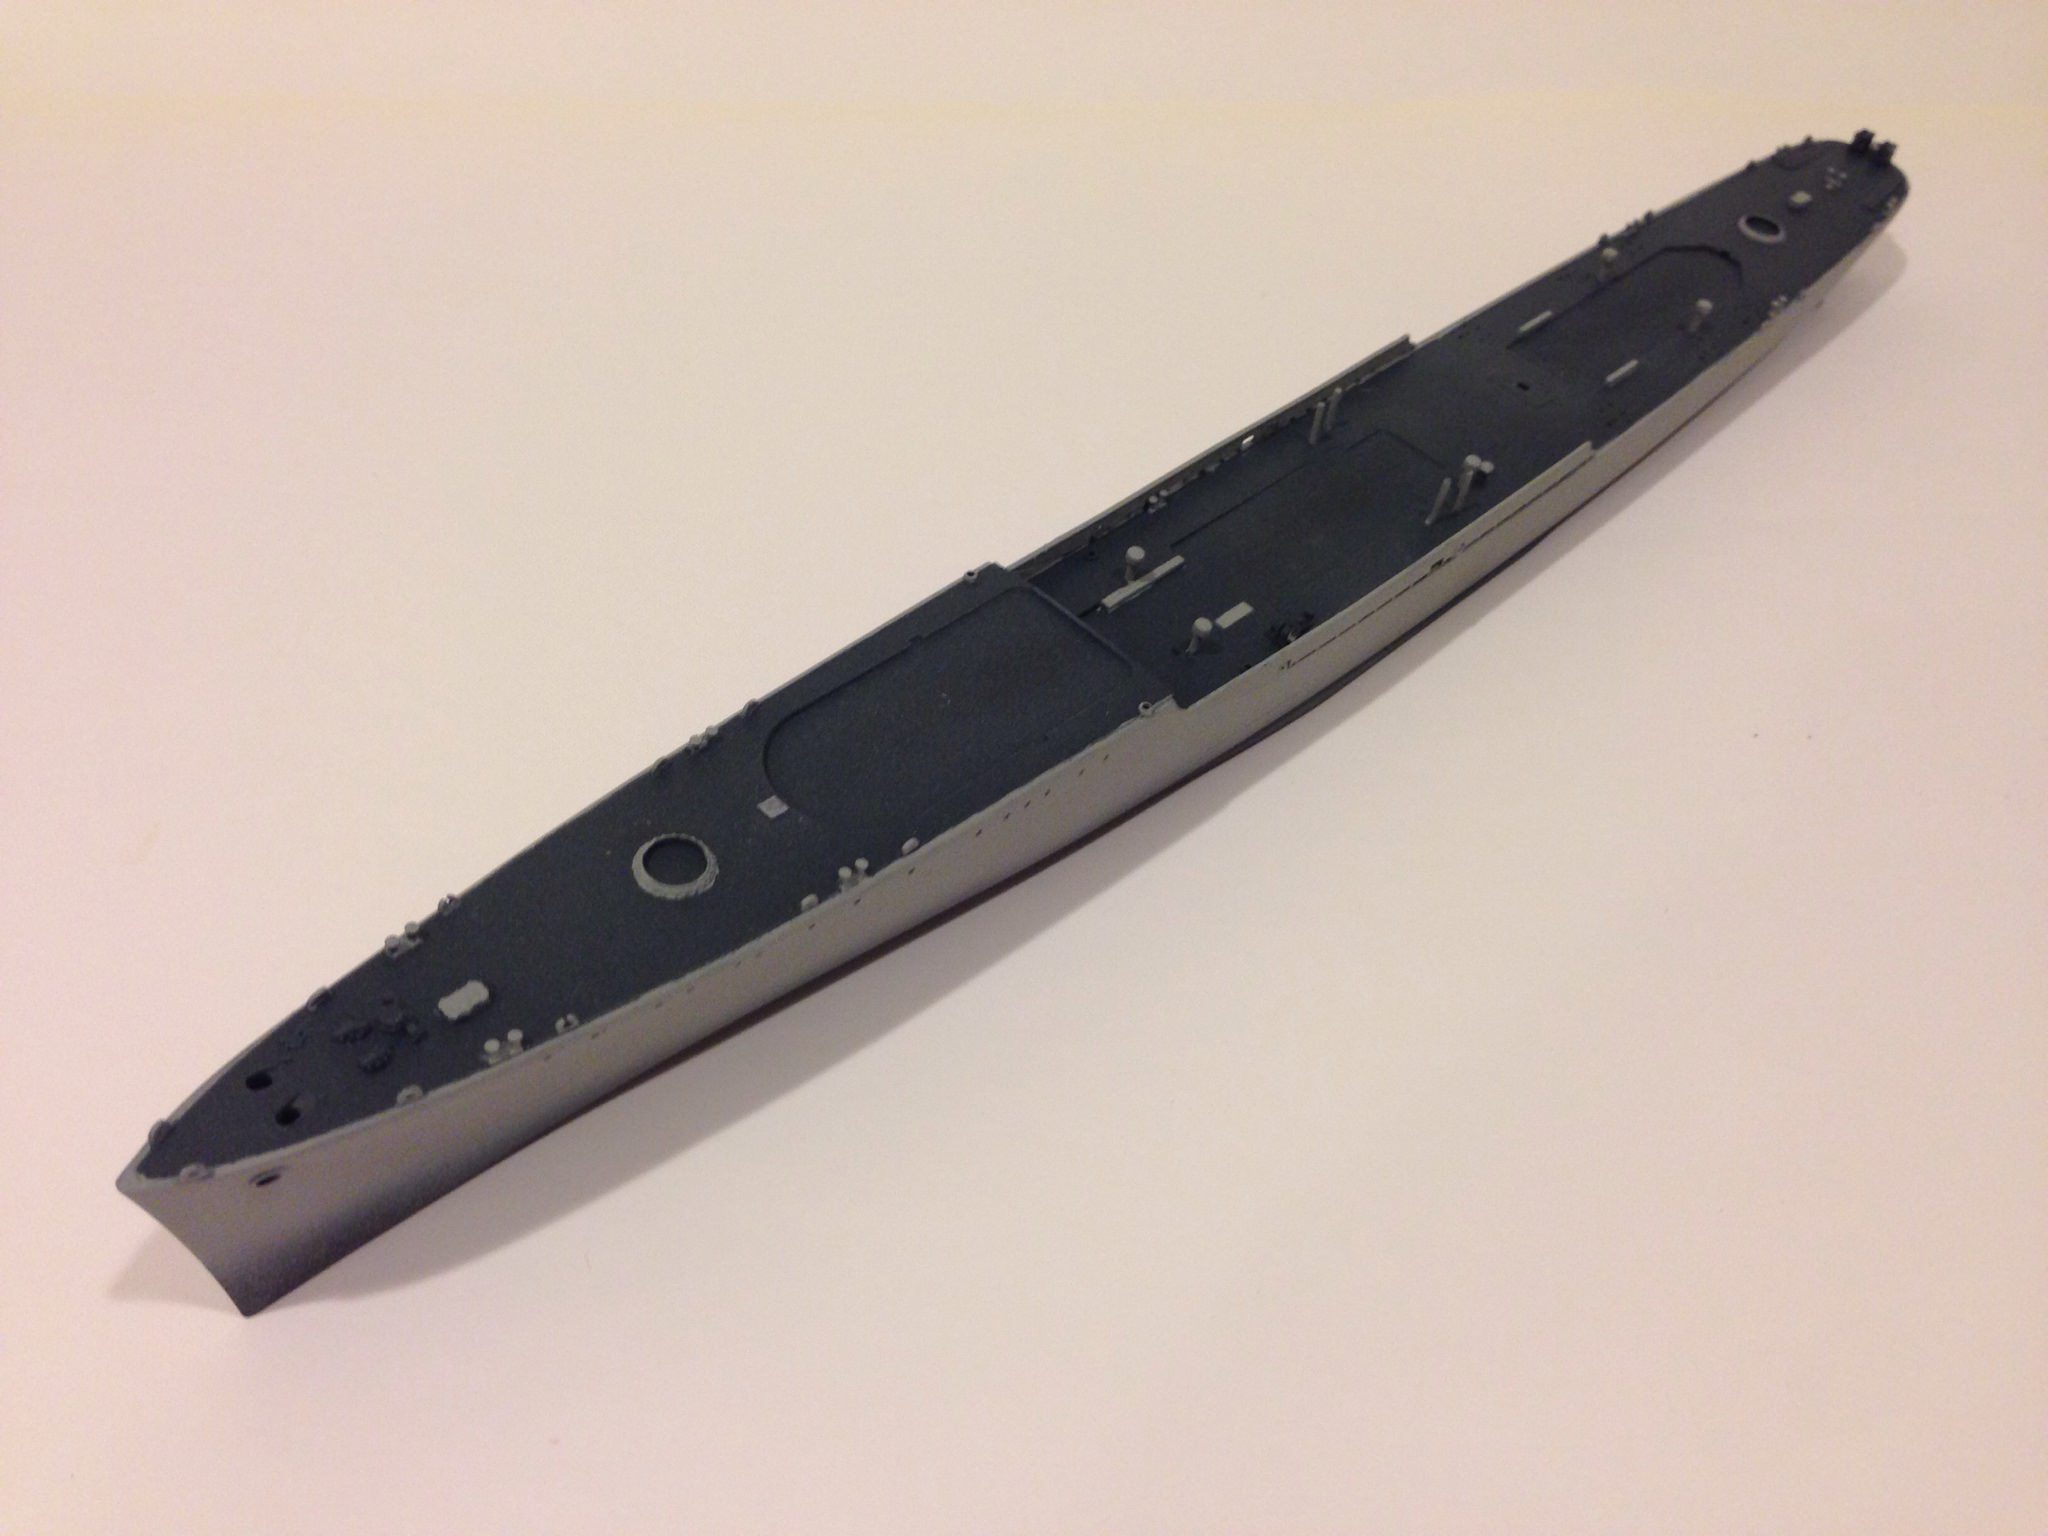
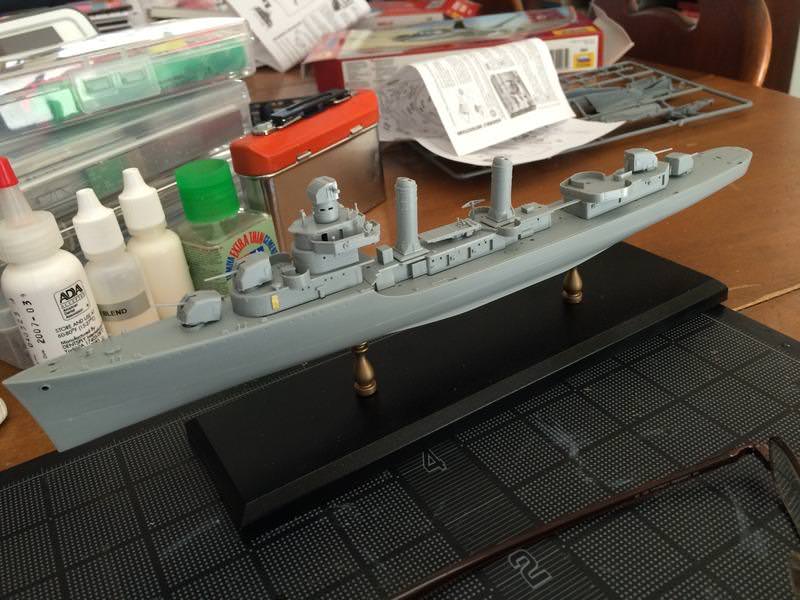
I have decided to post this as a build thread. This will be my first here (I started one on my Mogami but failed to follow up). Here is a shot of how far I got during the campaign.


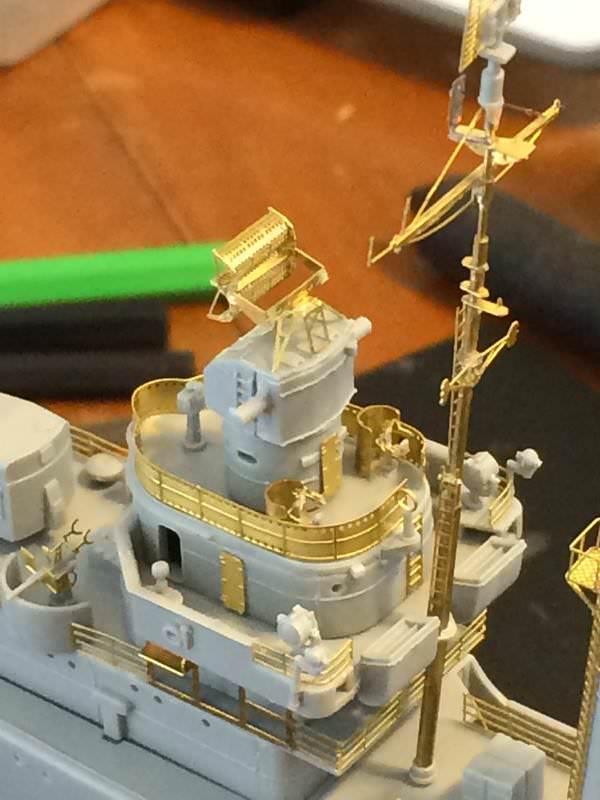
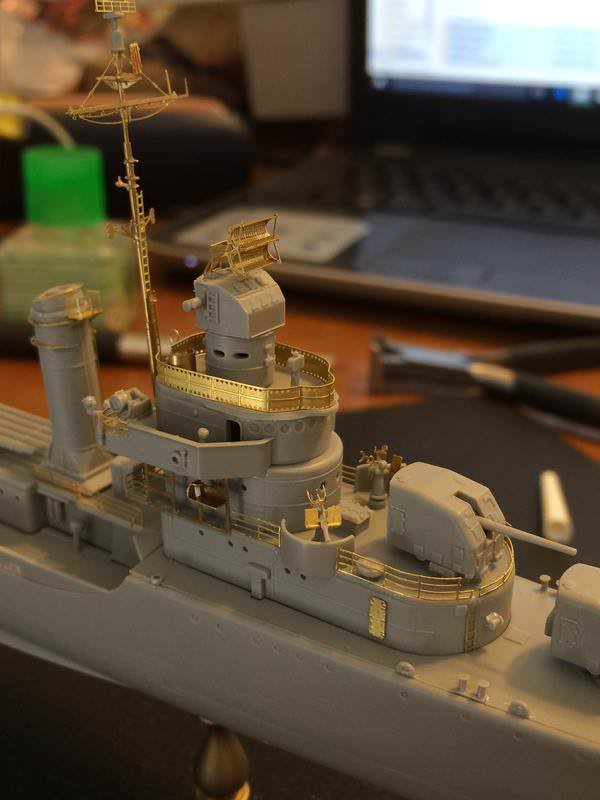
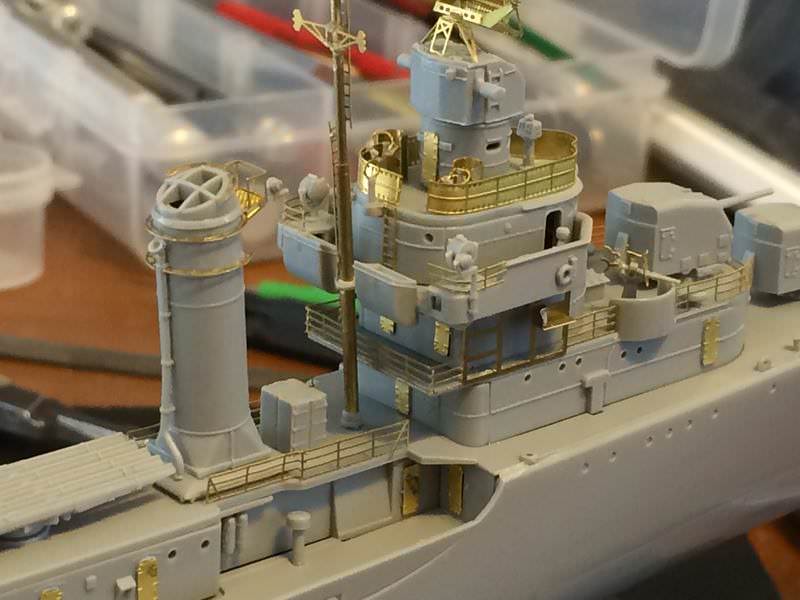
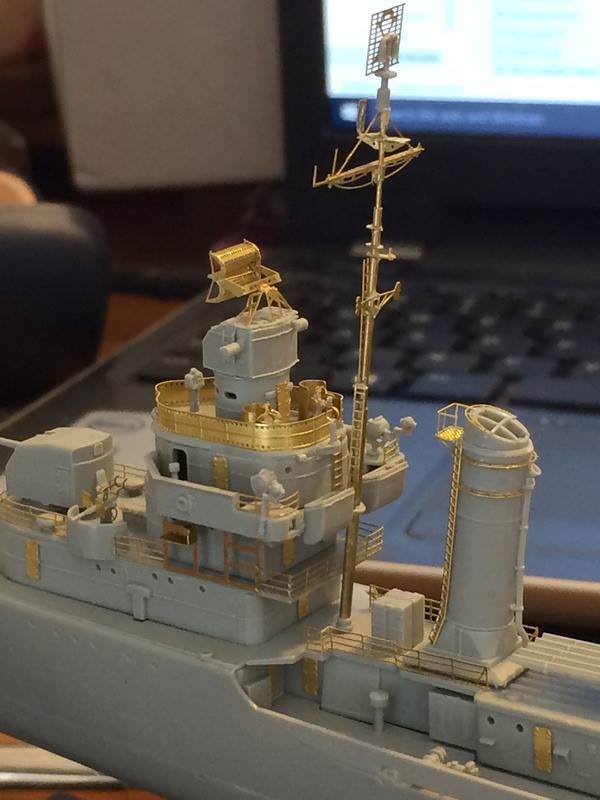
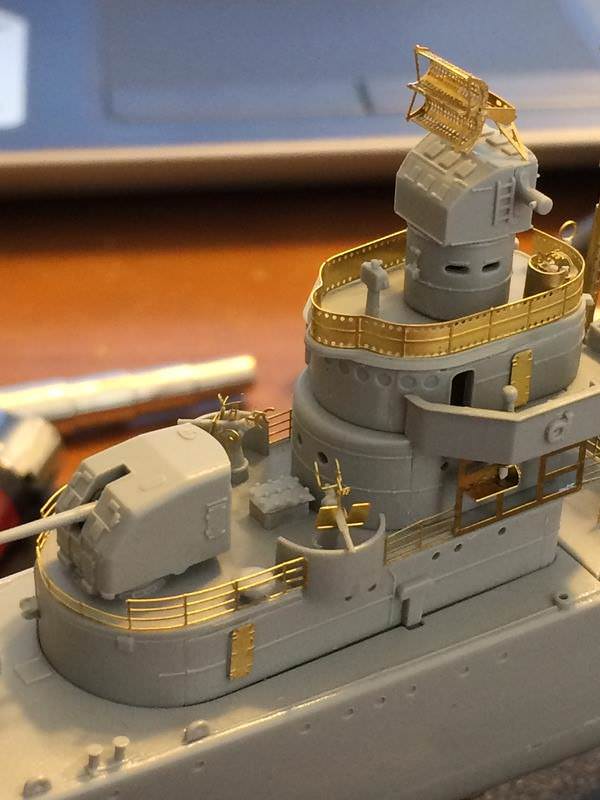
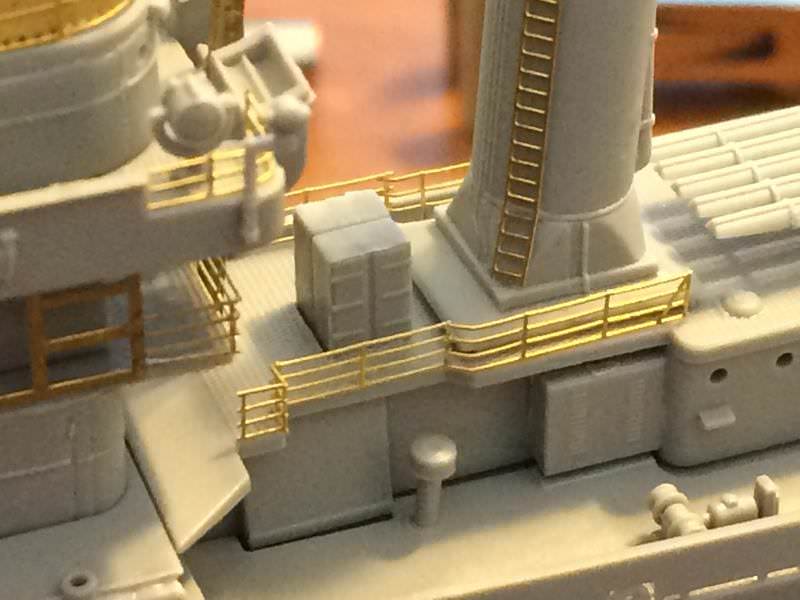
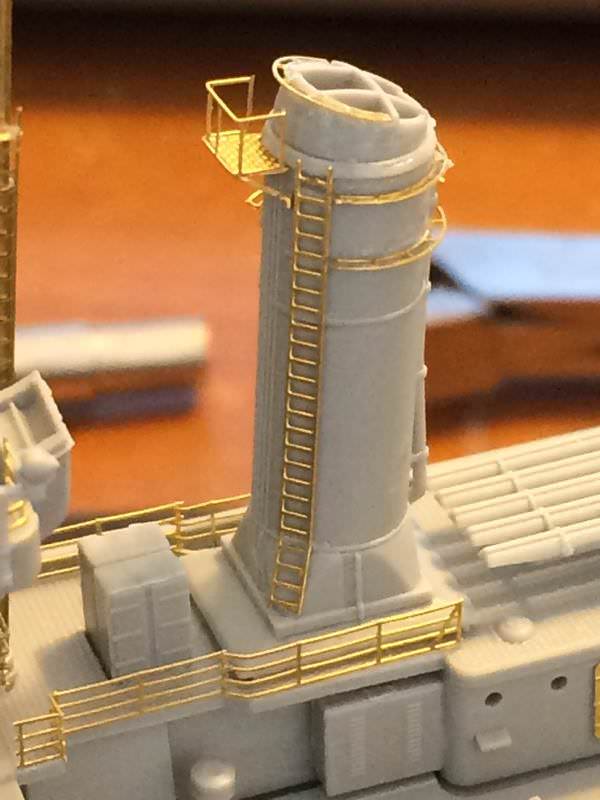
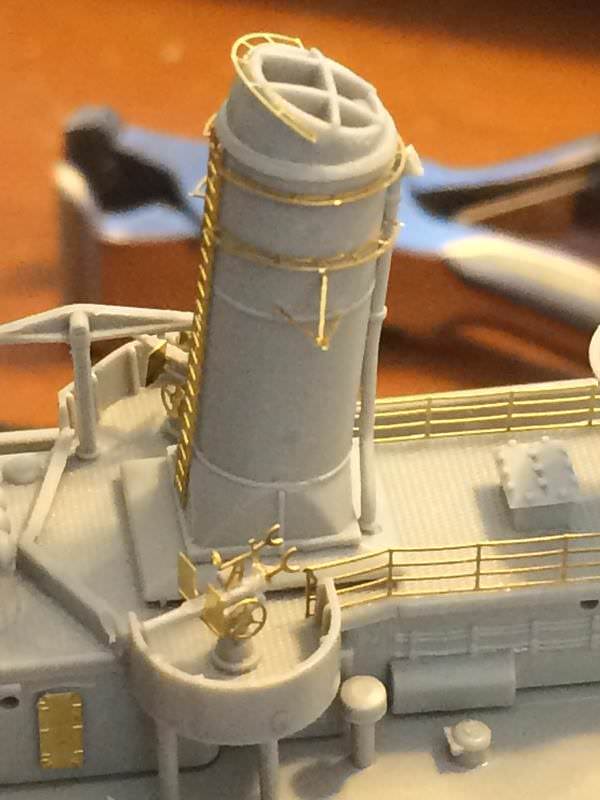
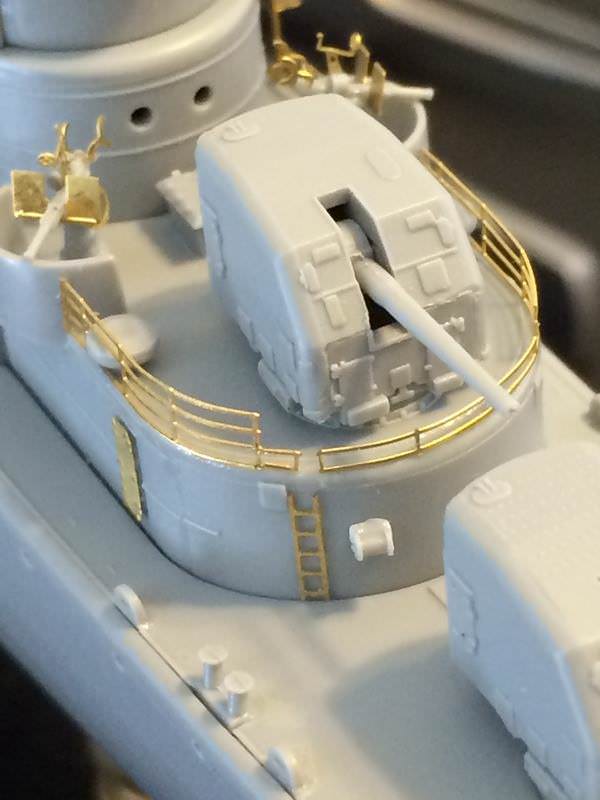
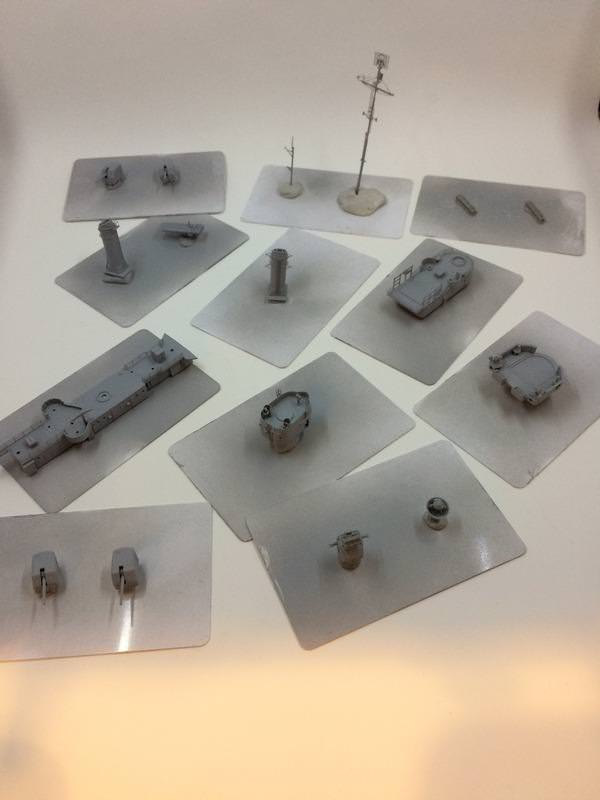
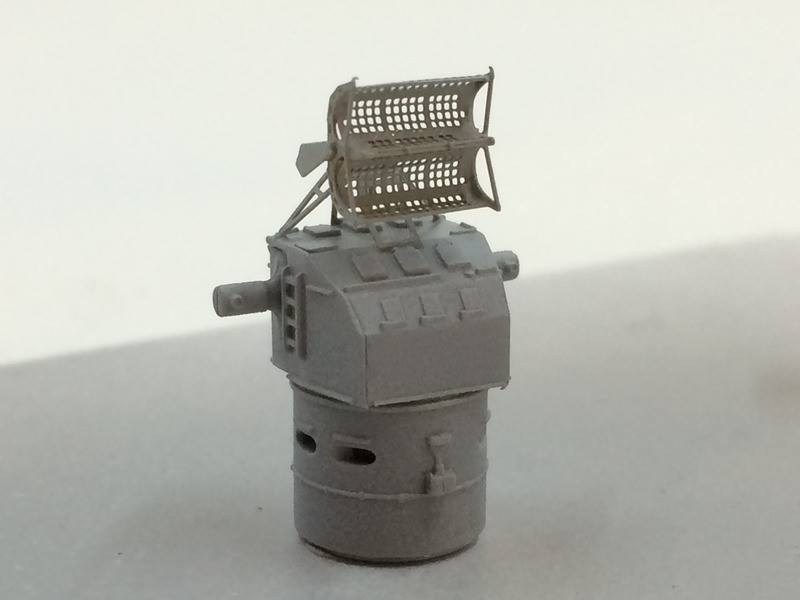
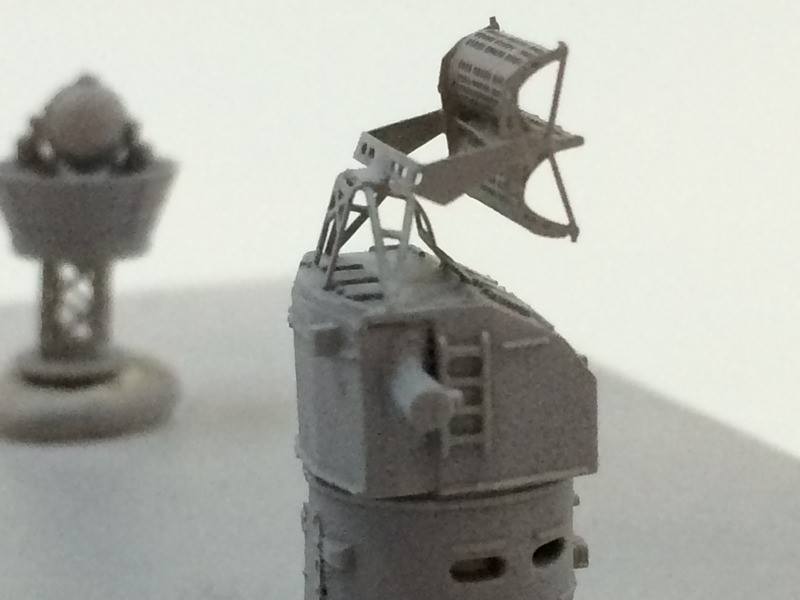
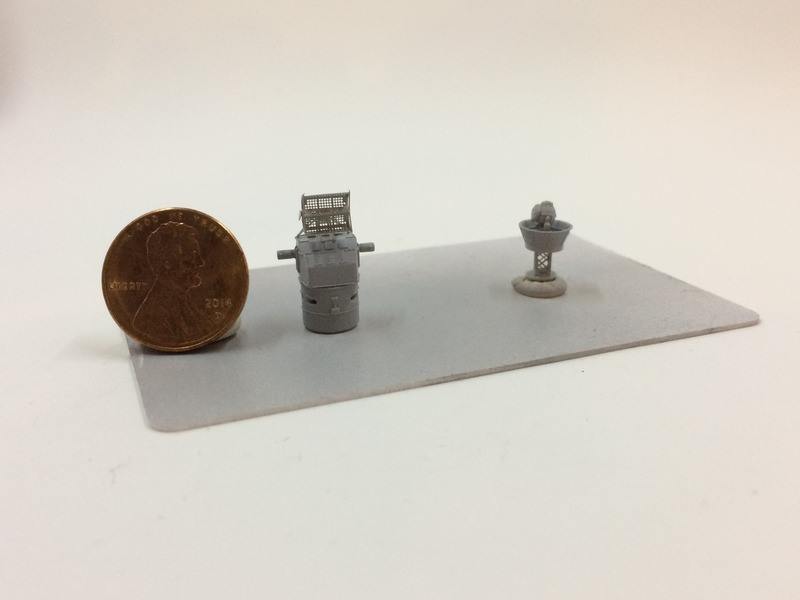
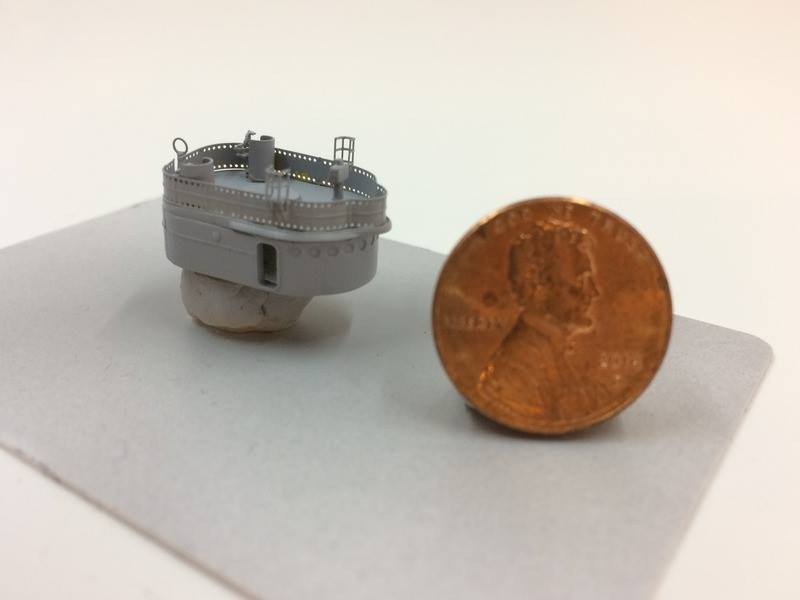
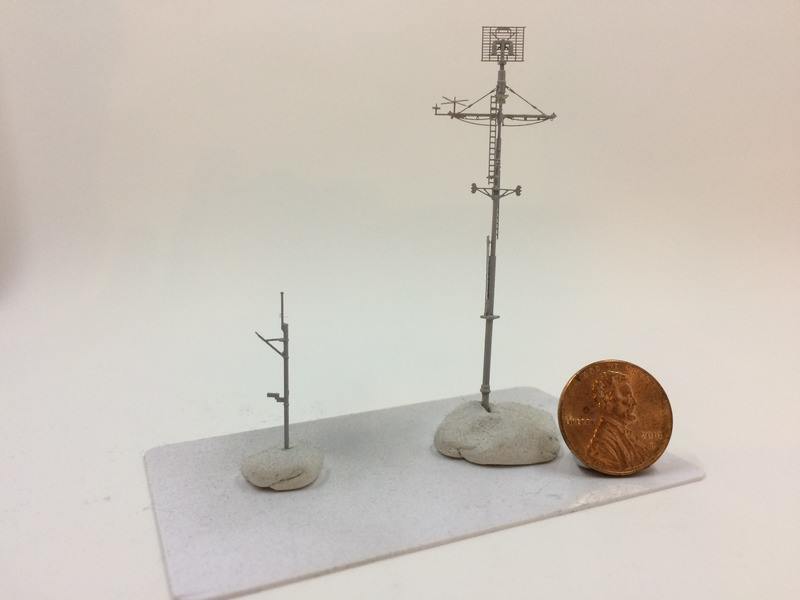
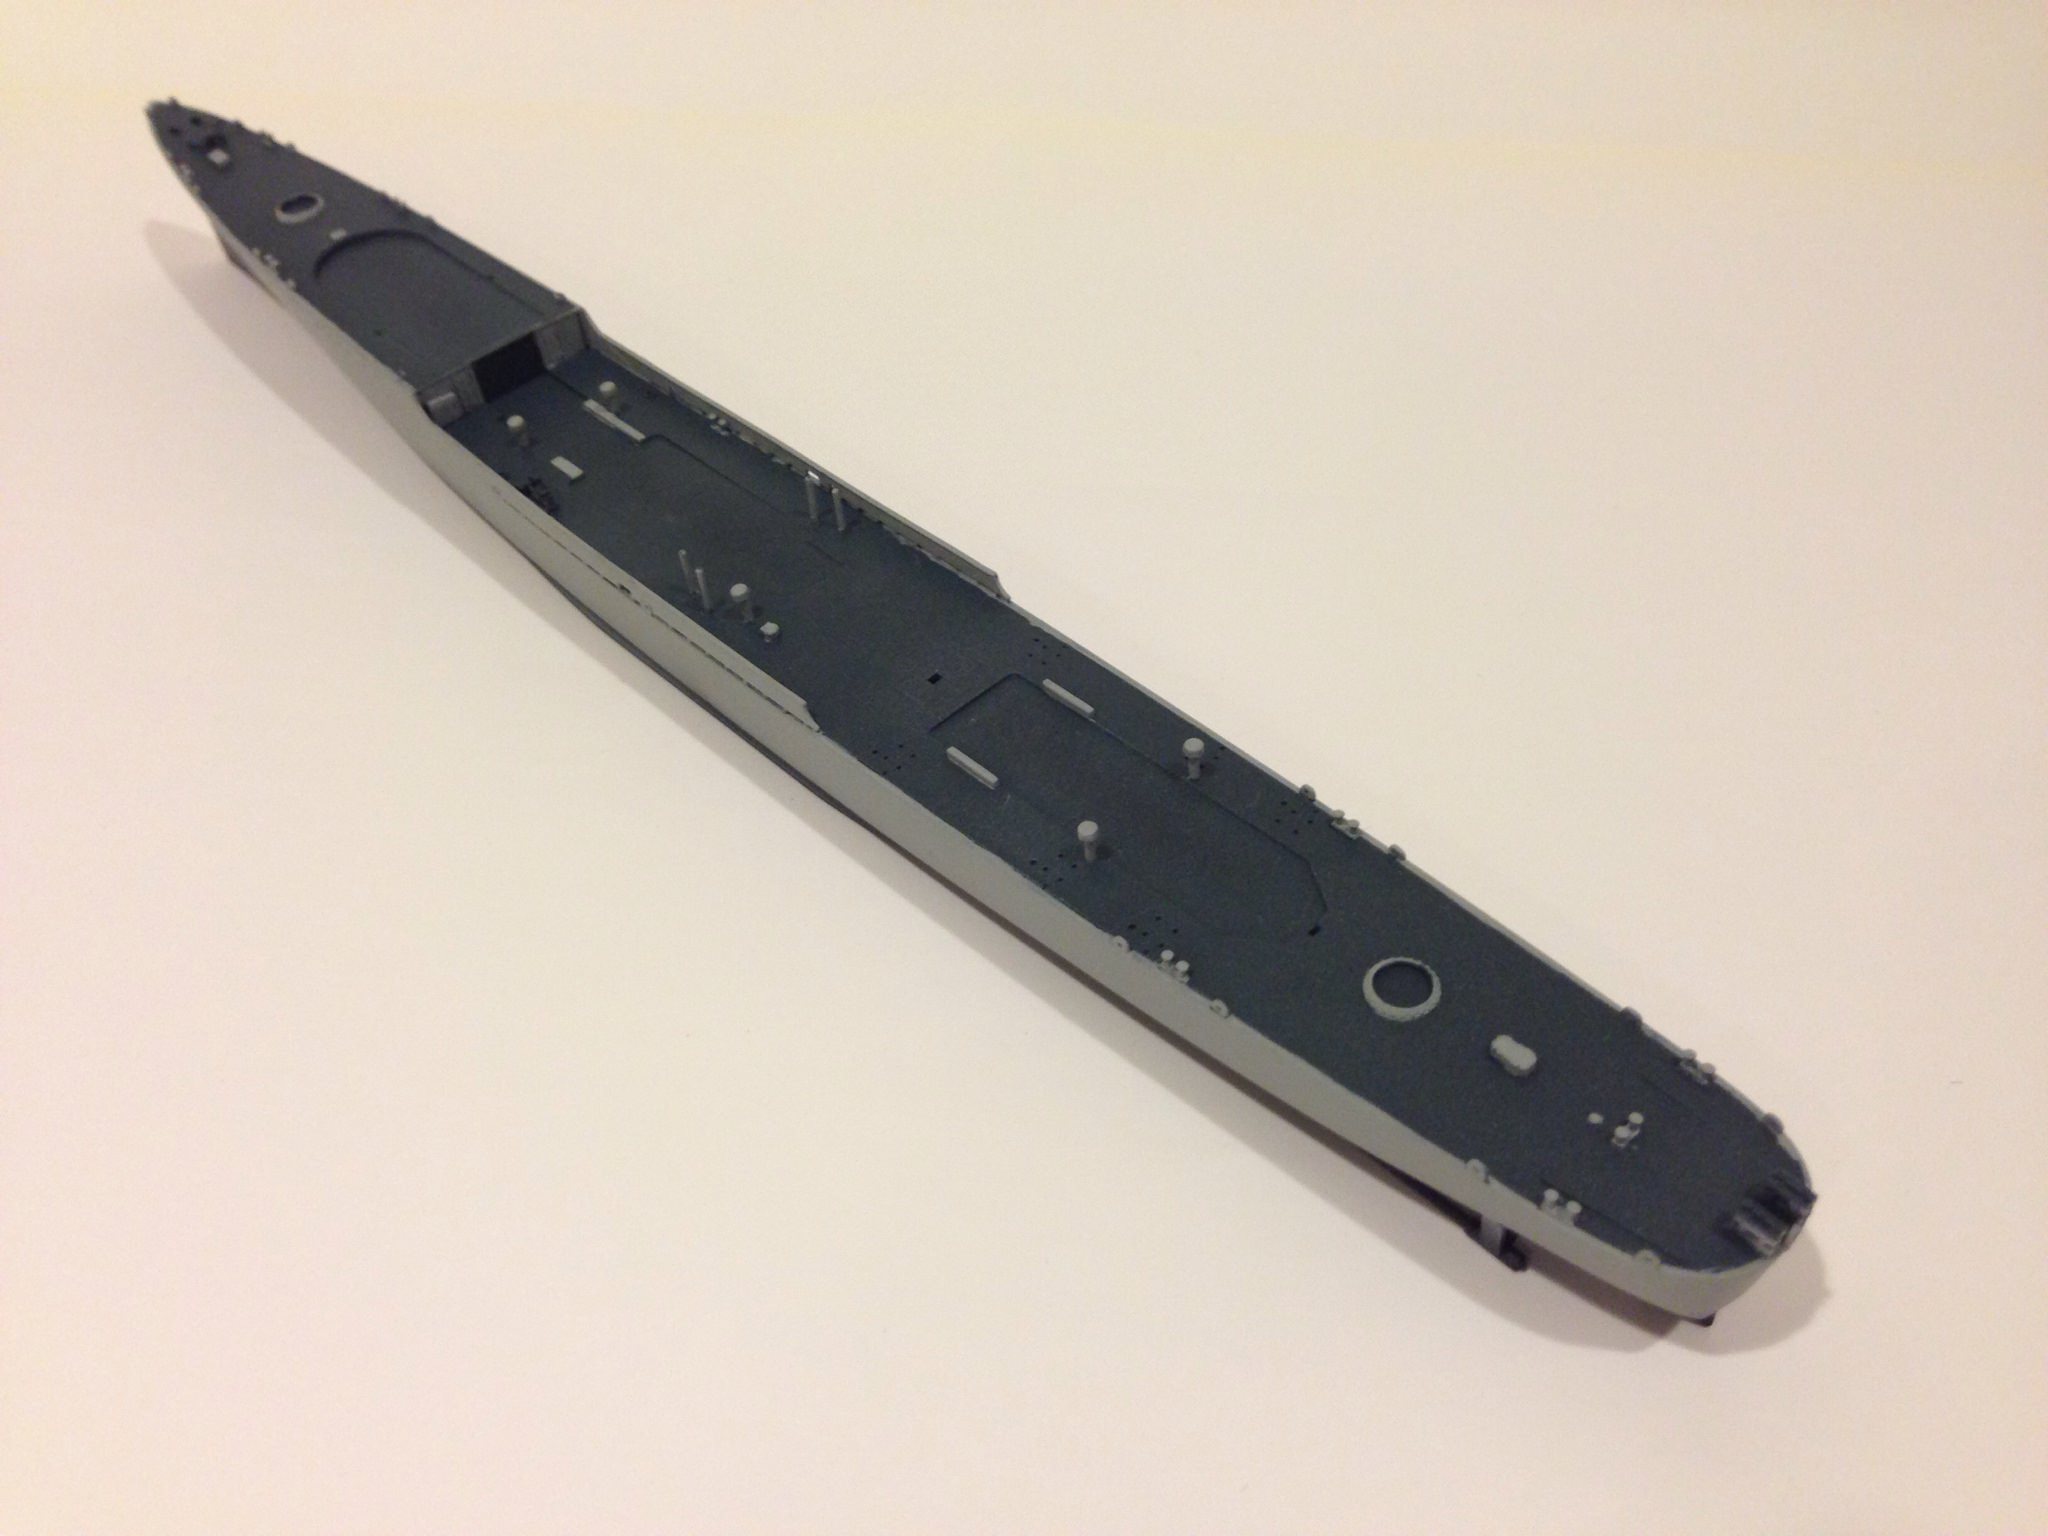
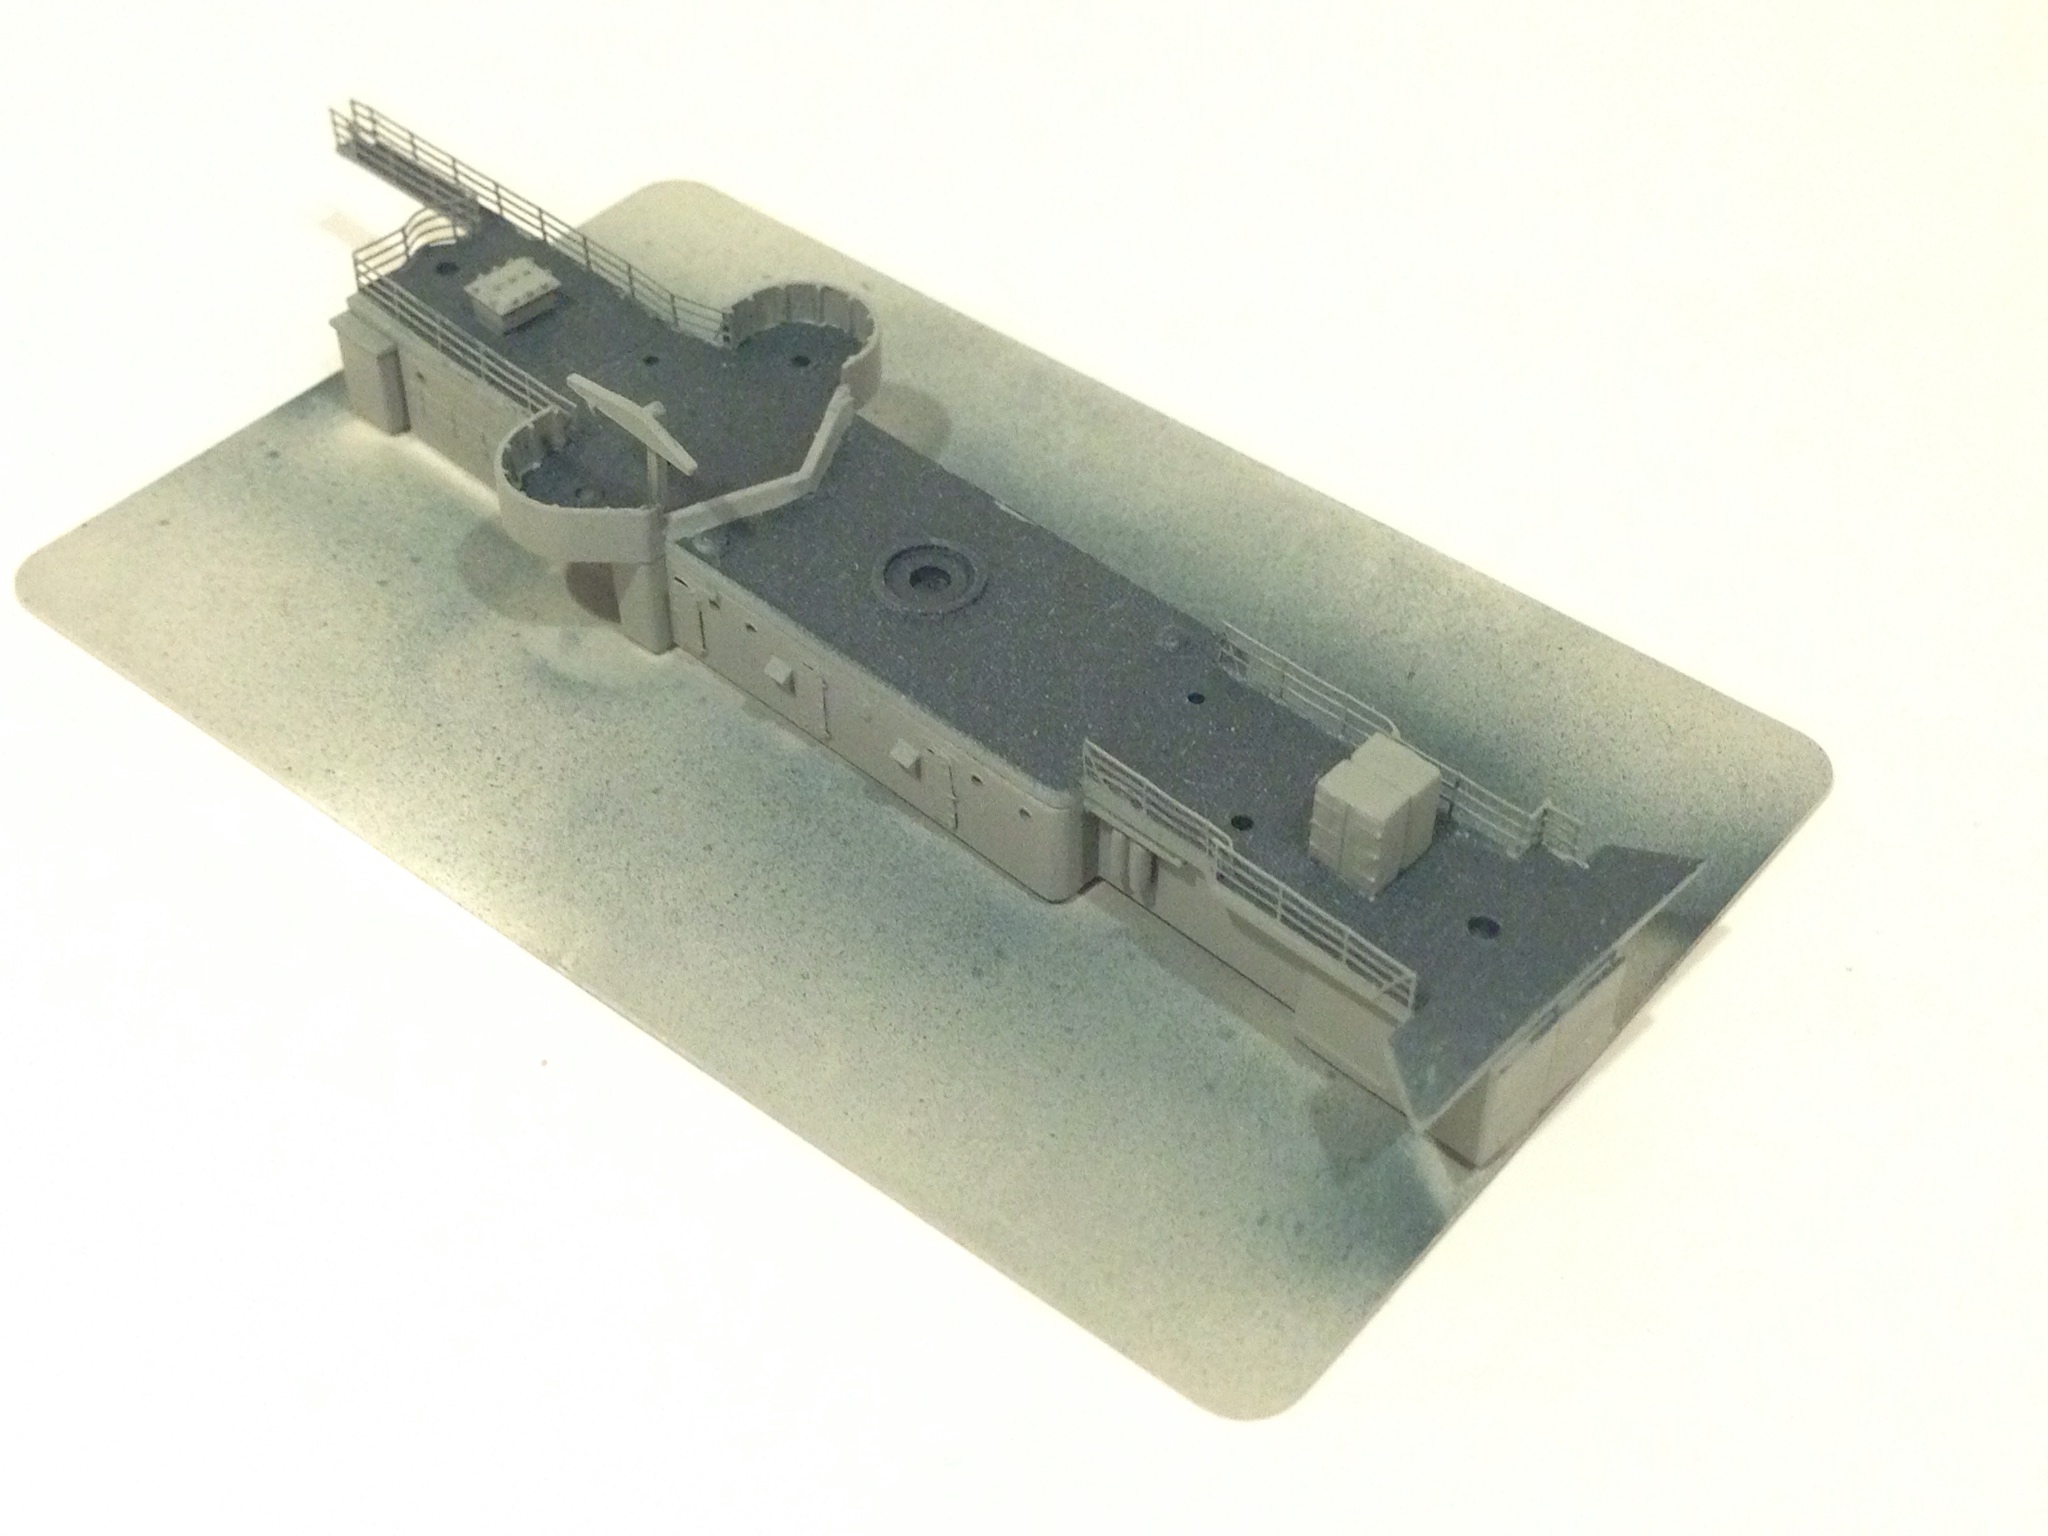
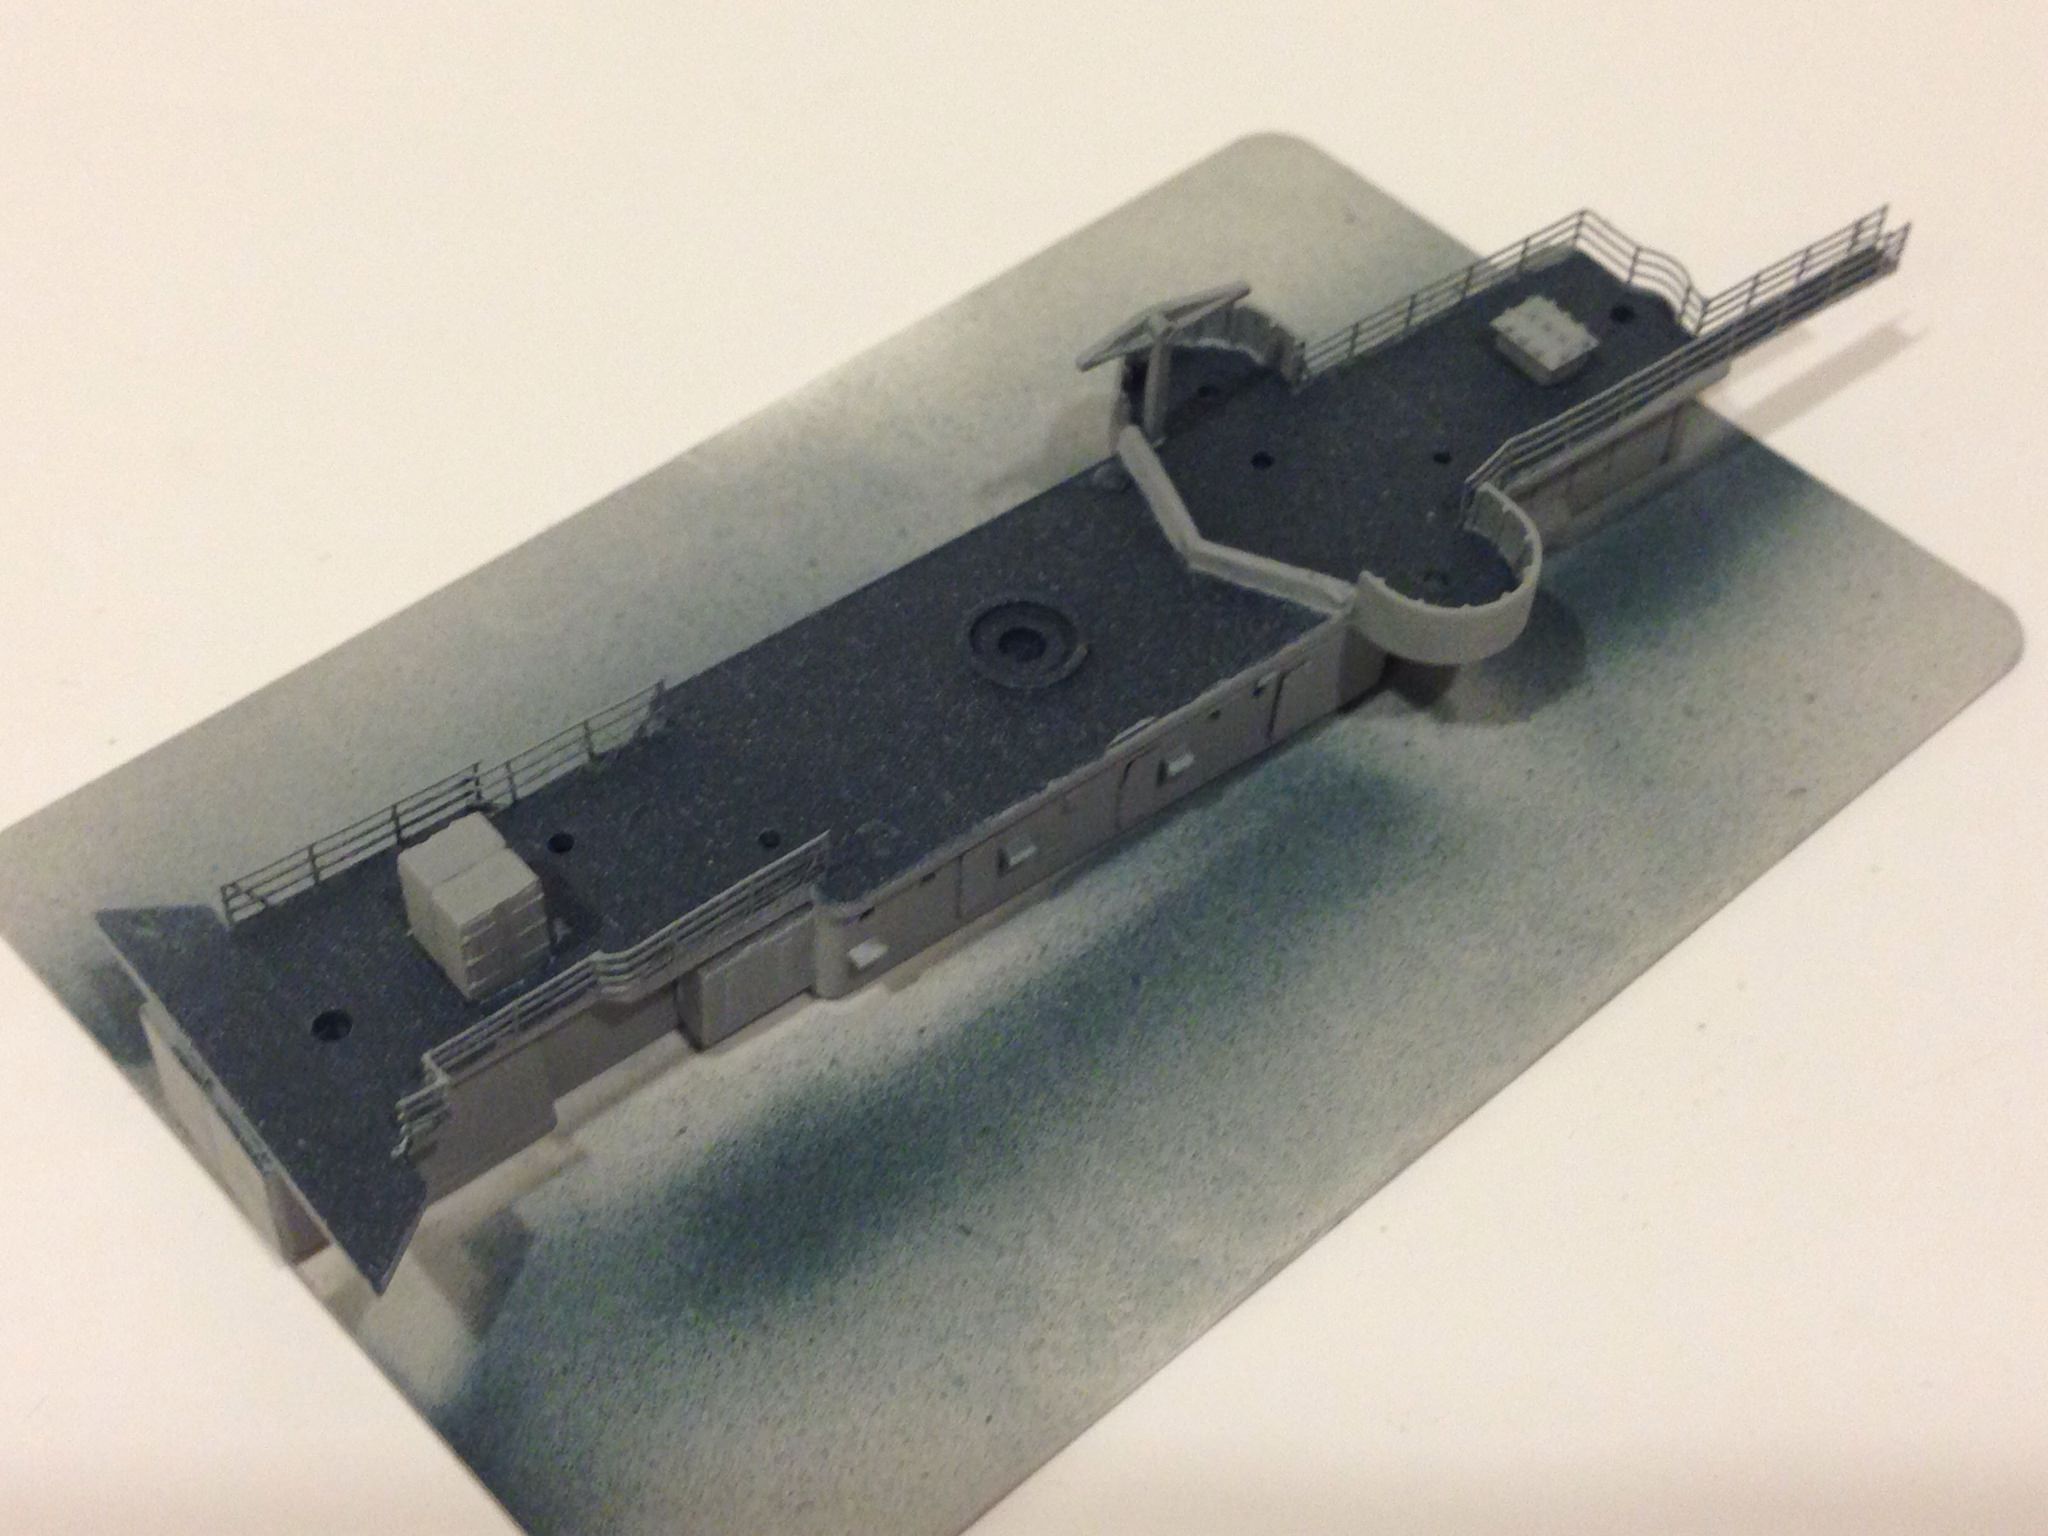
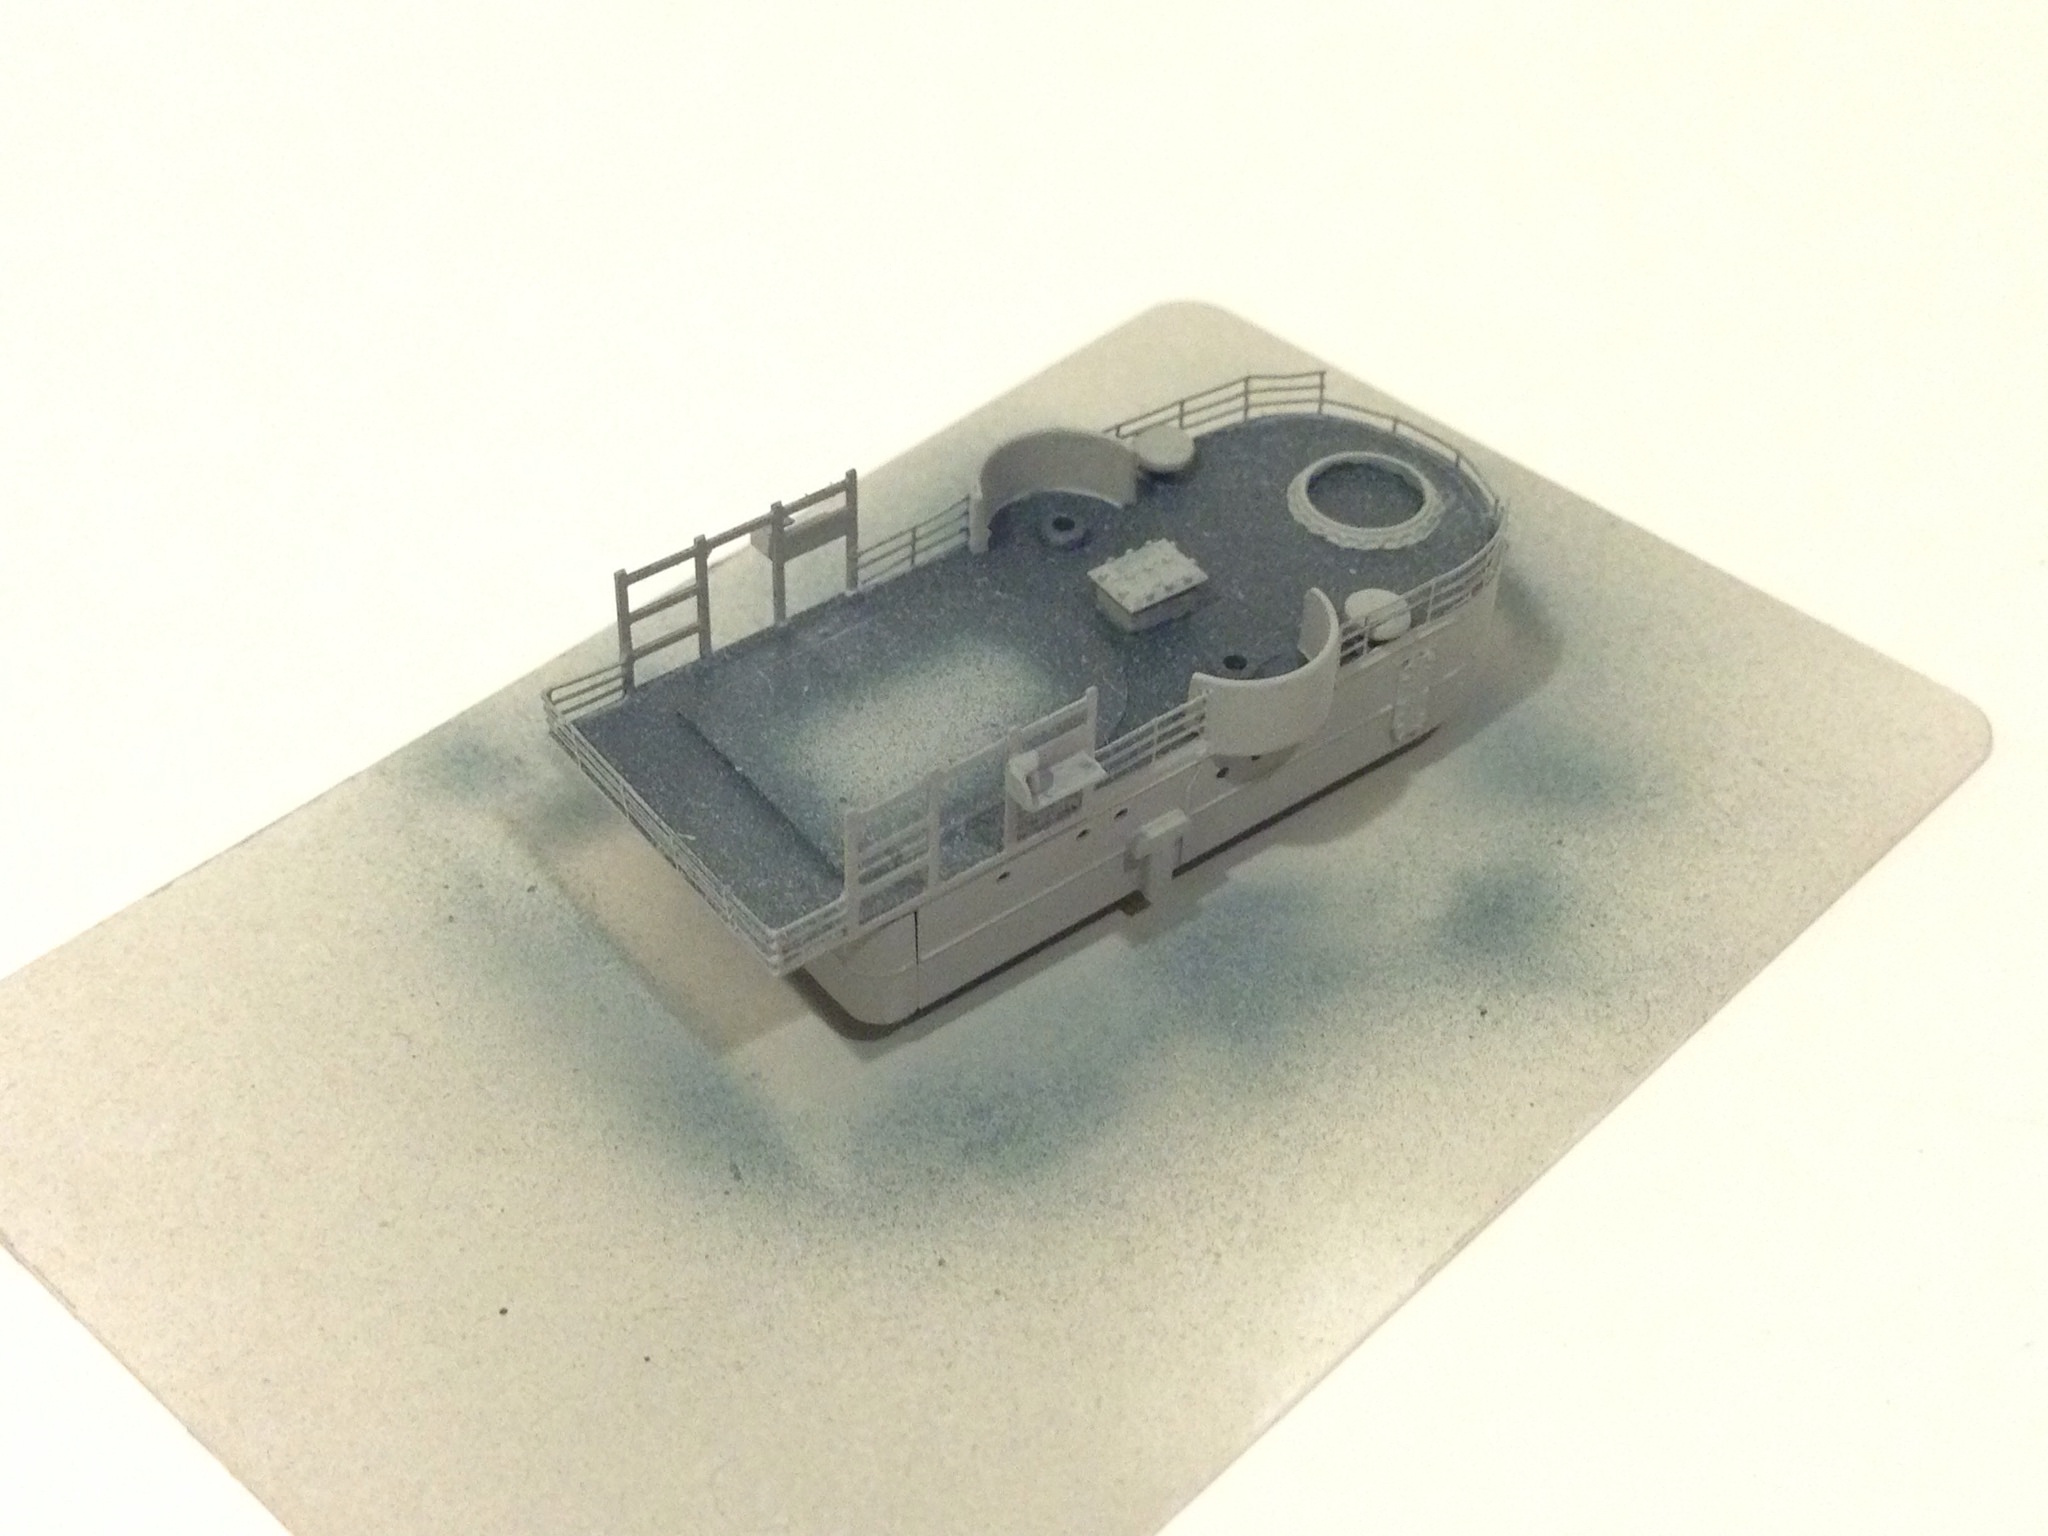
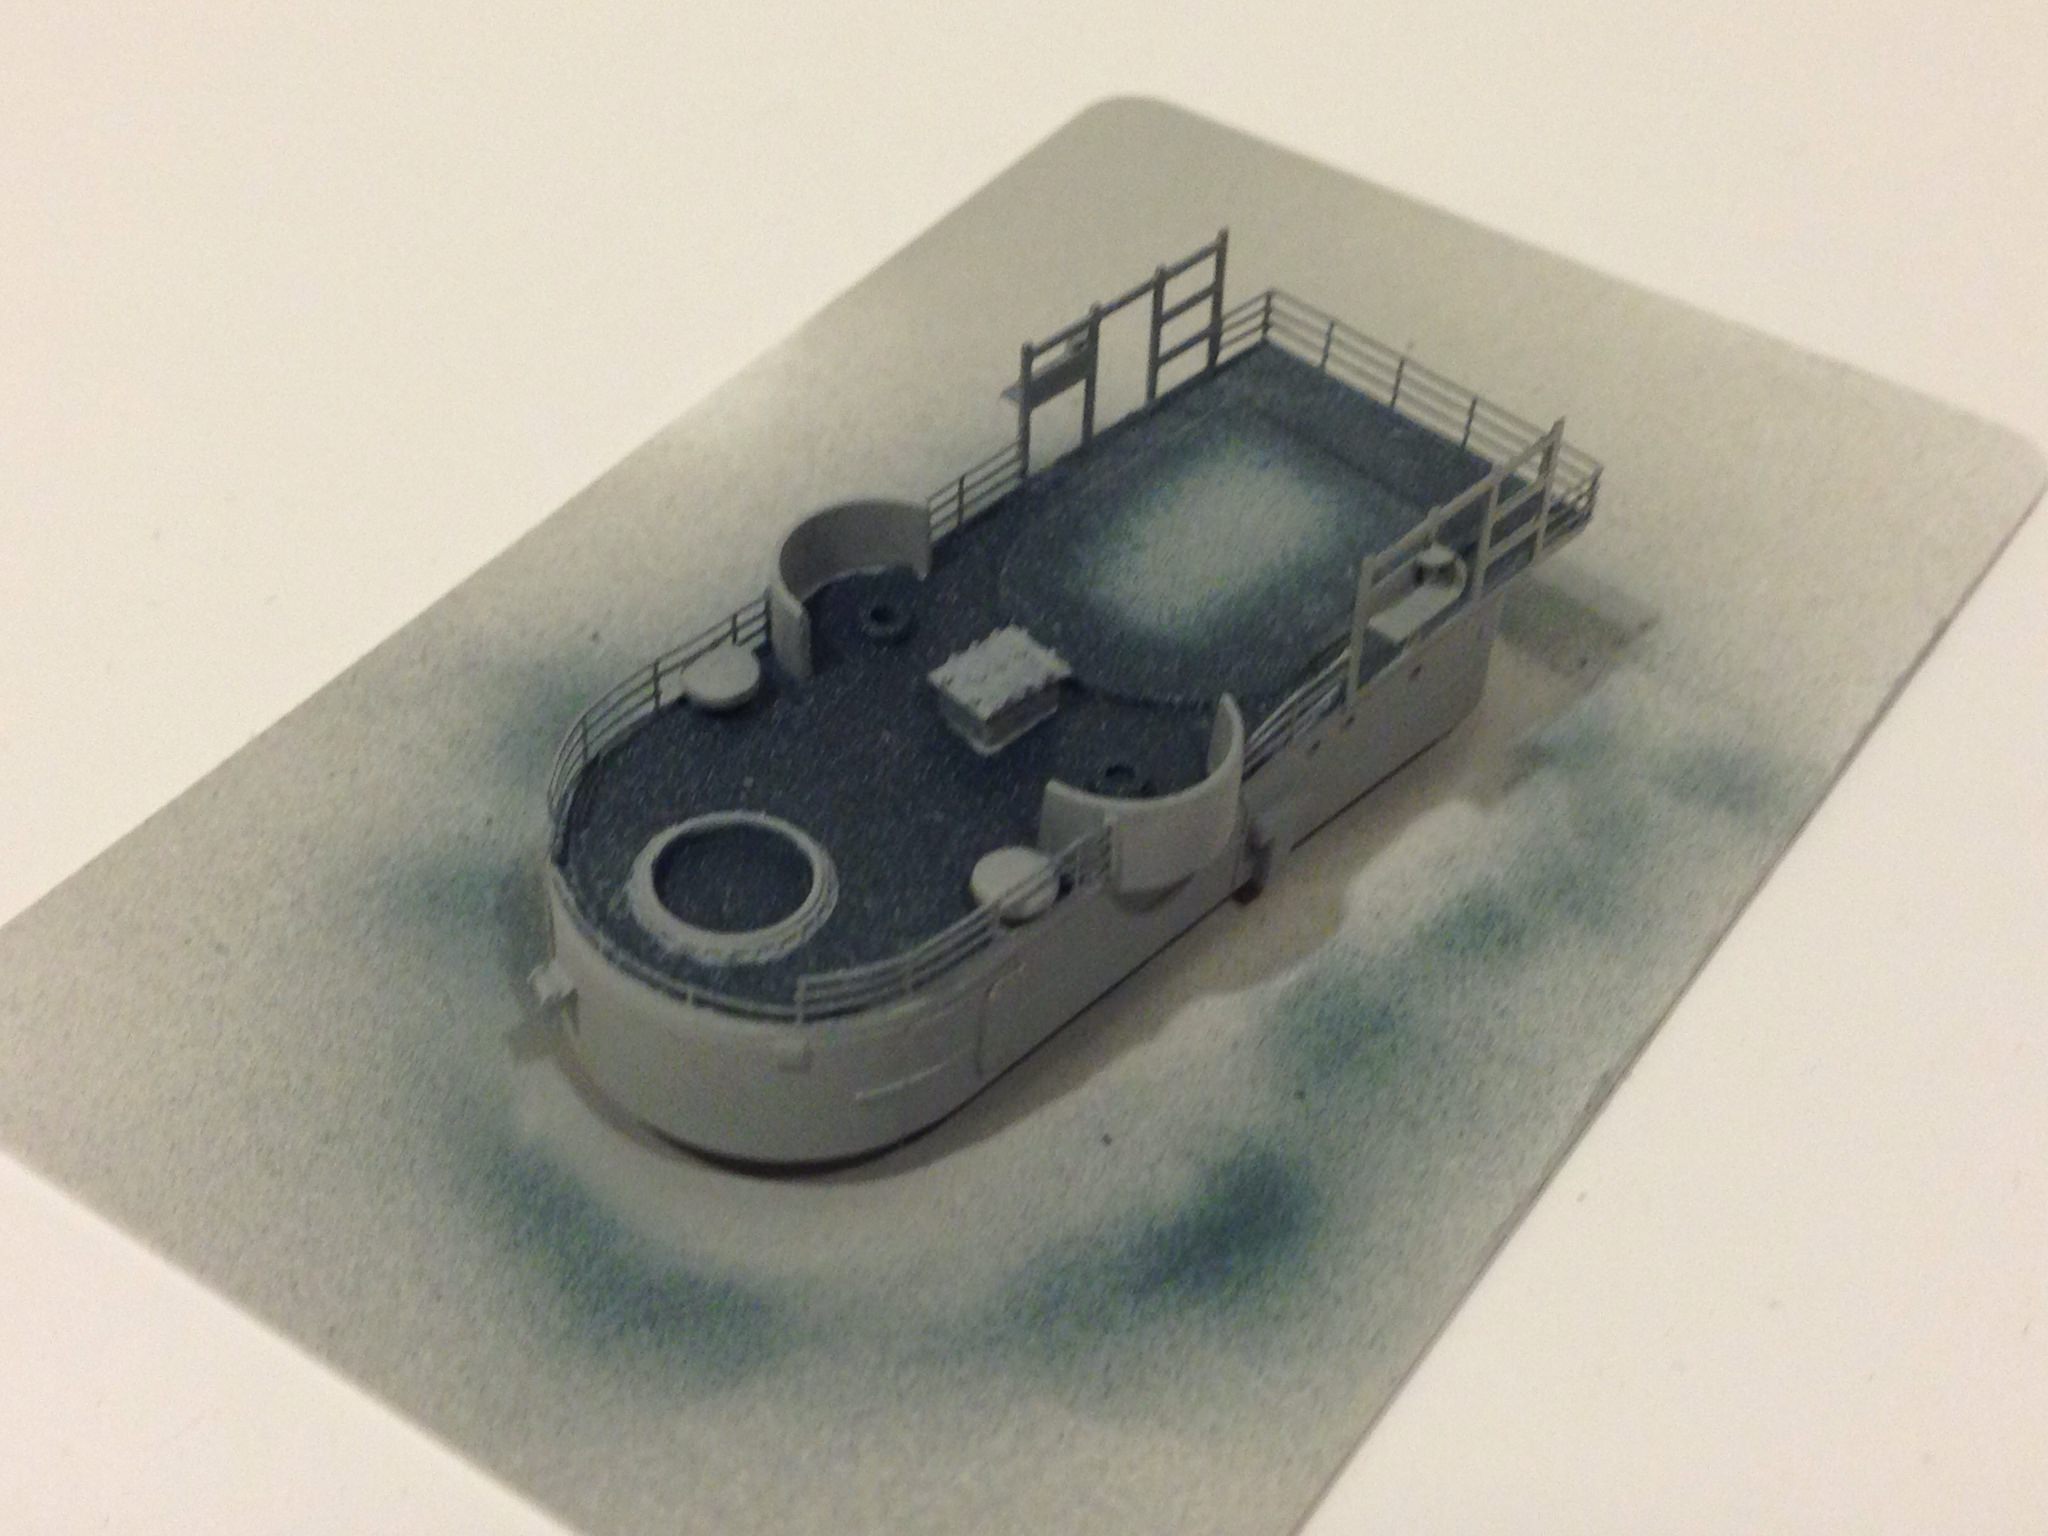
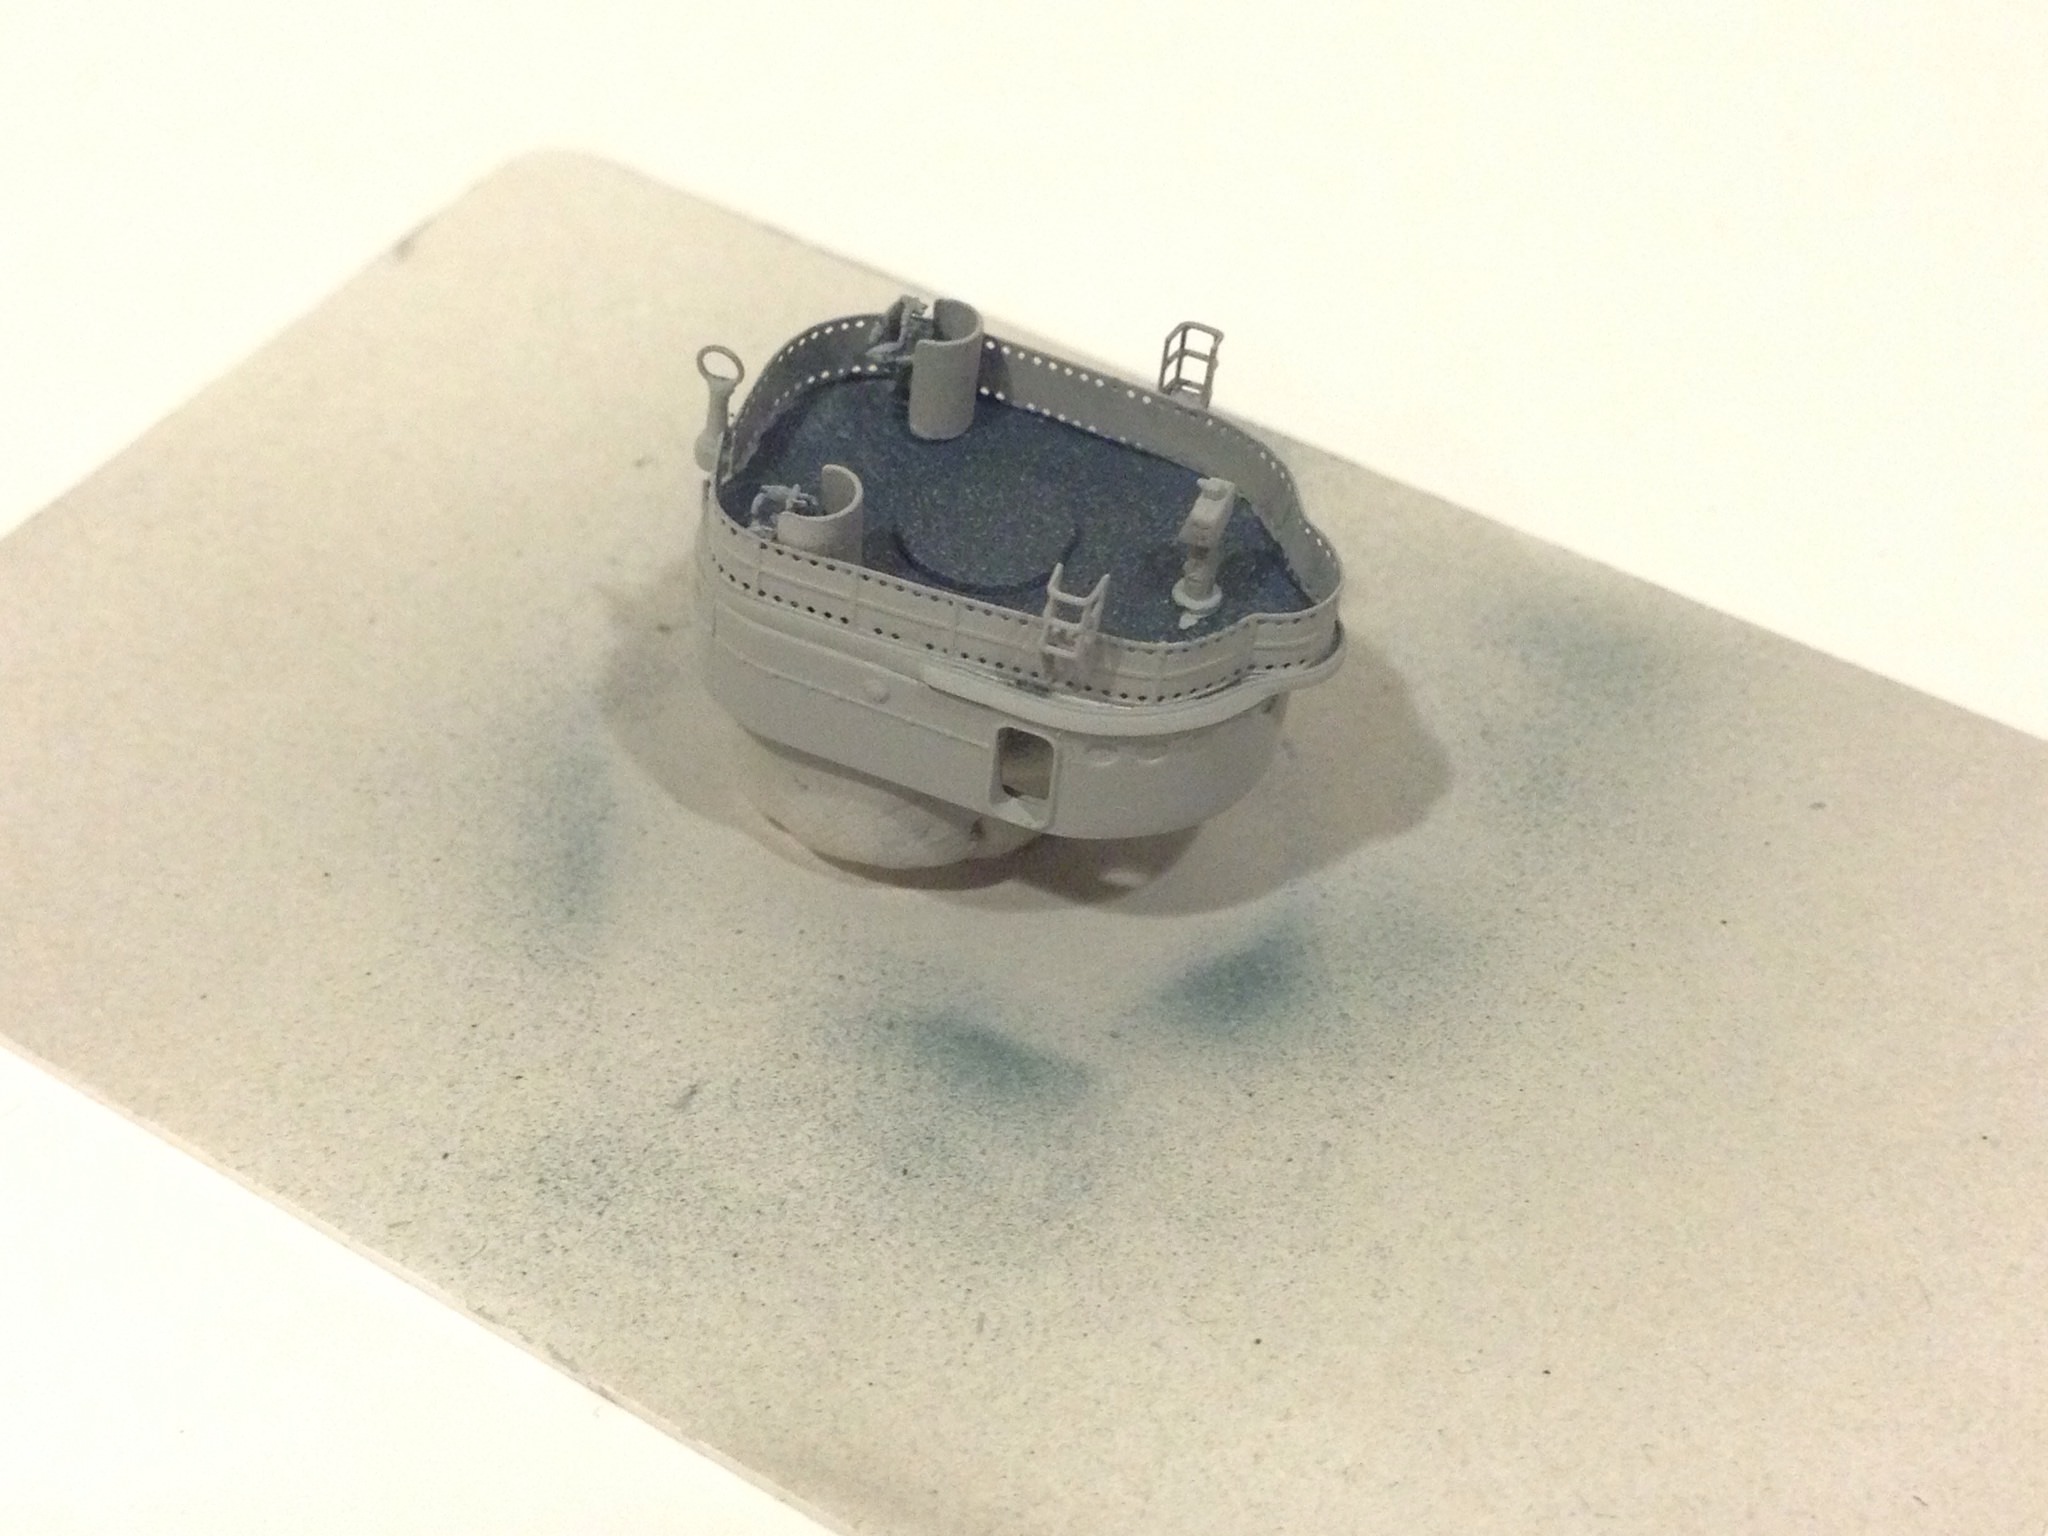
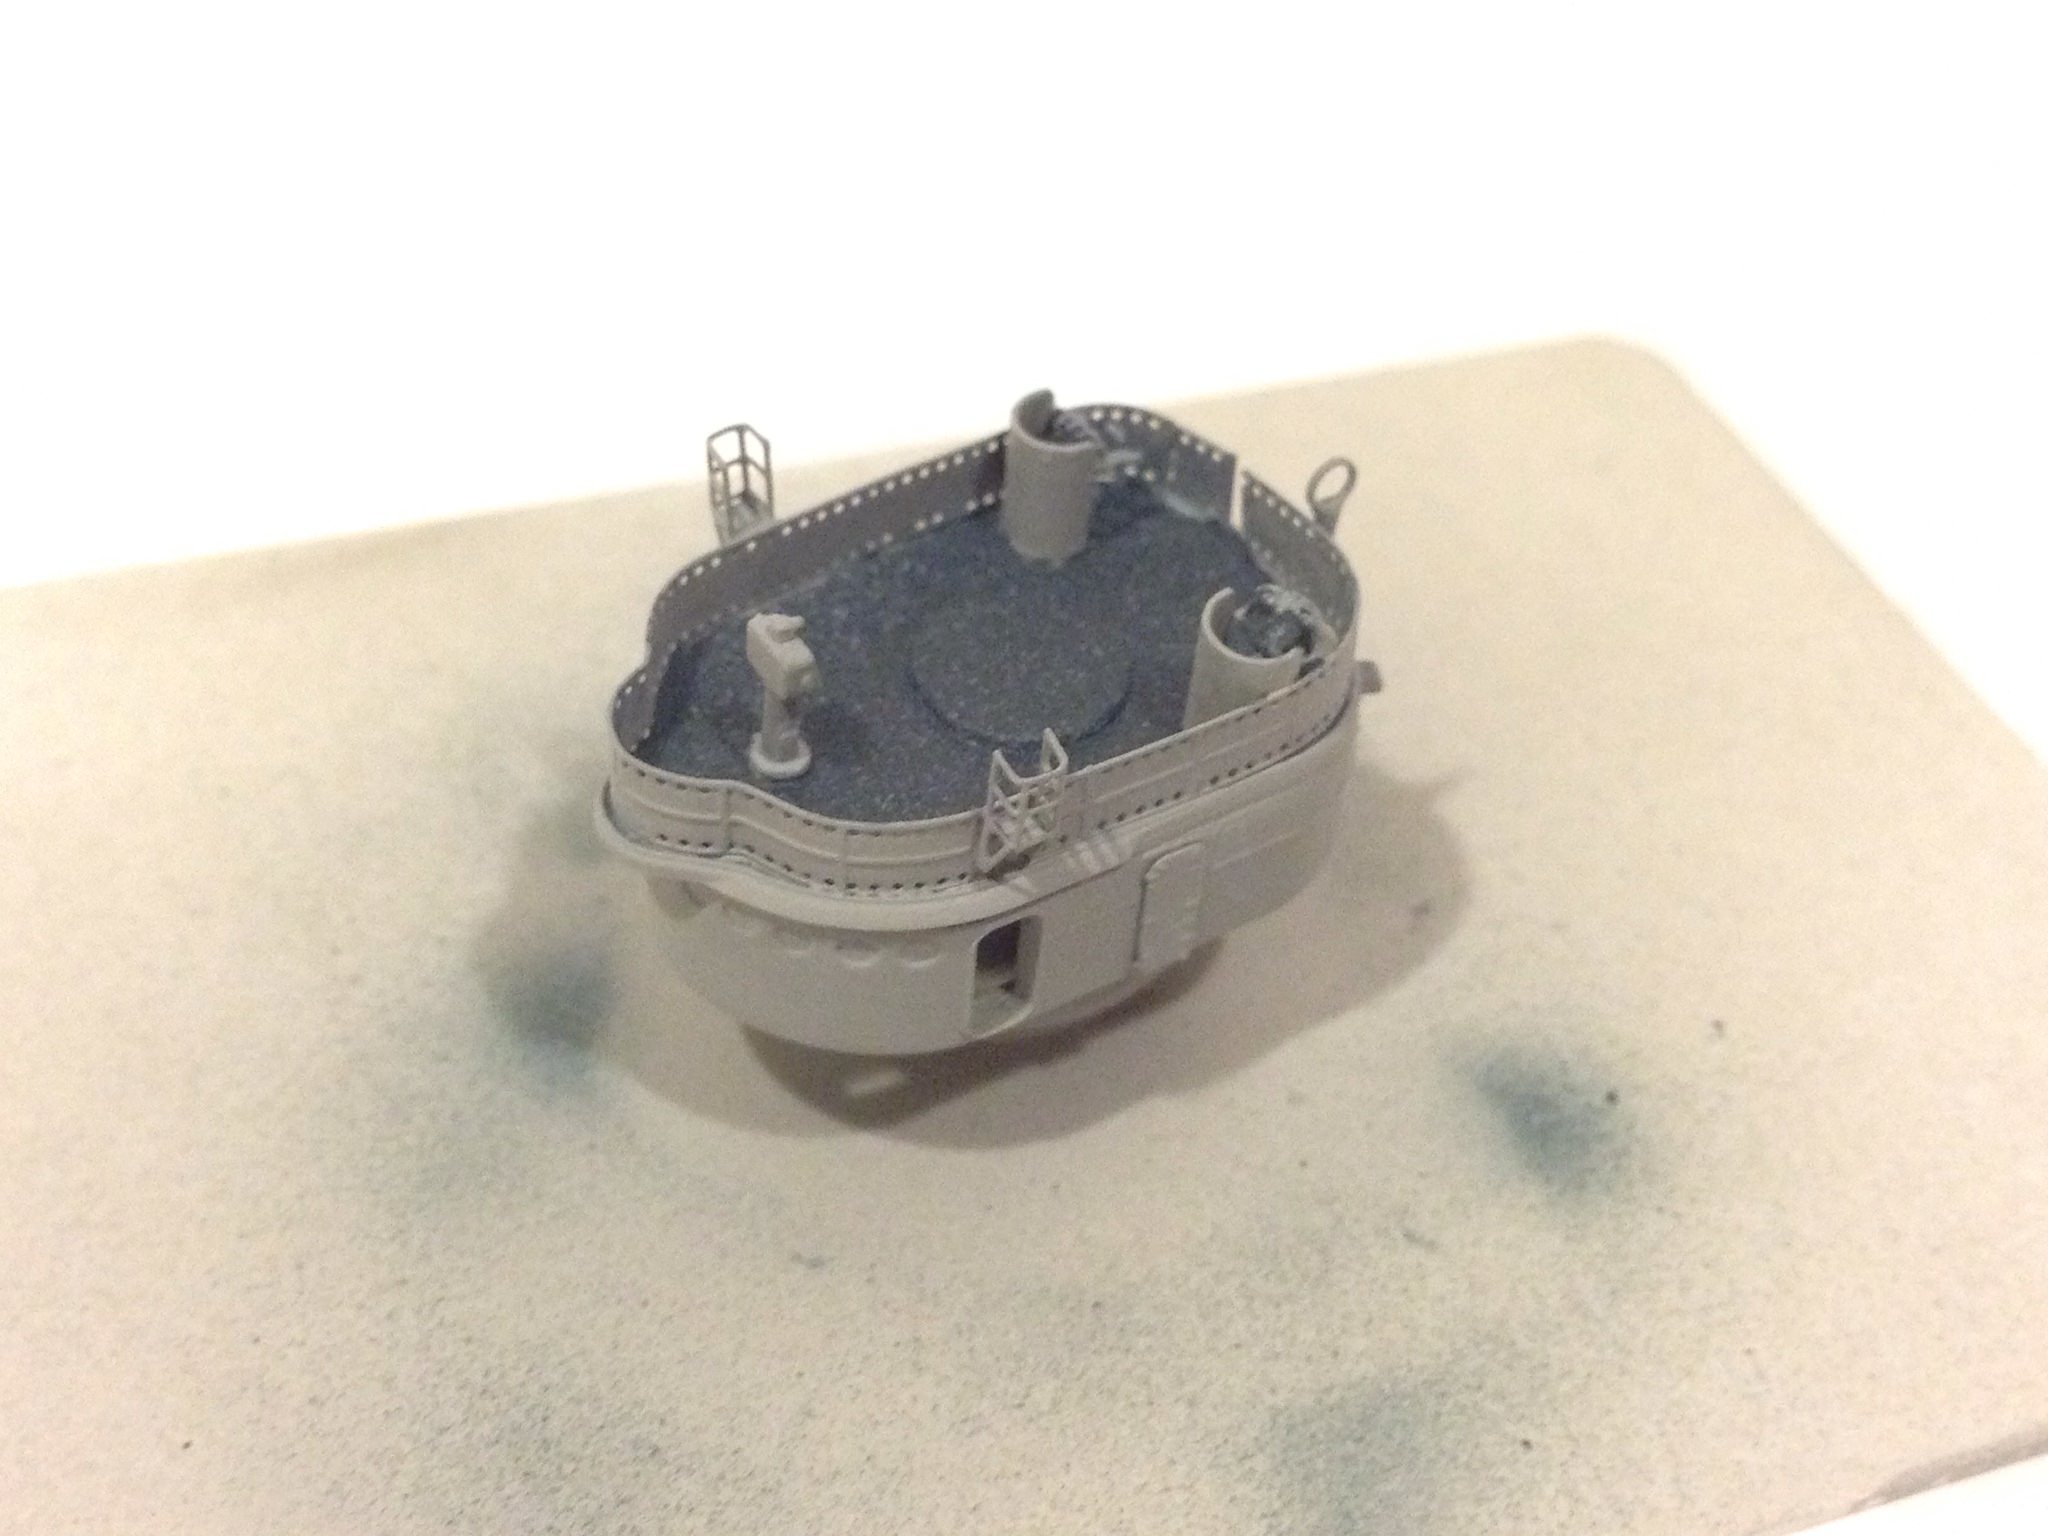
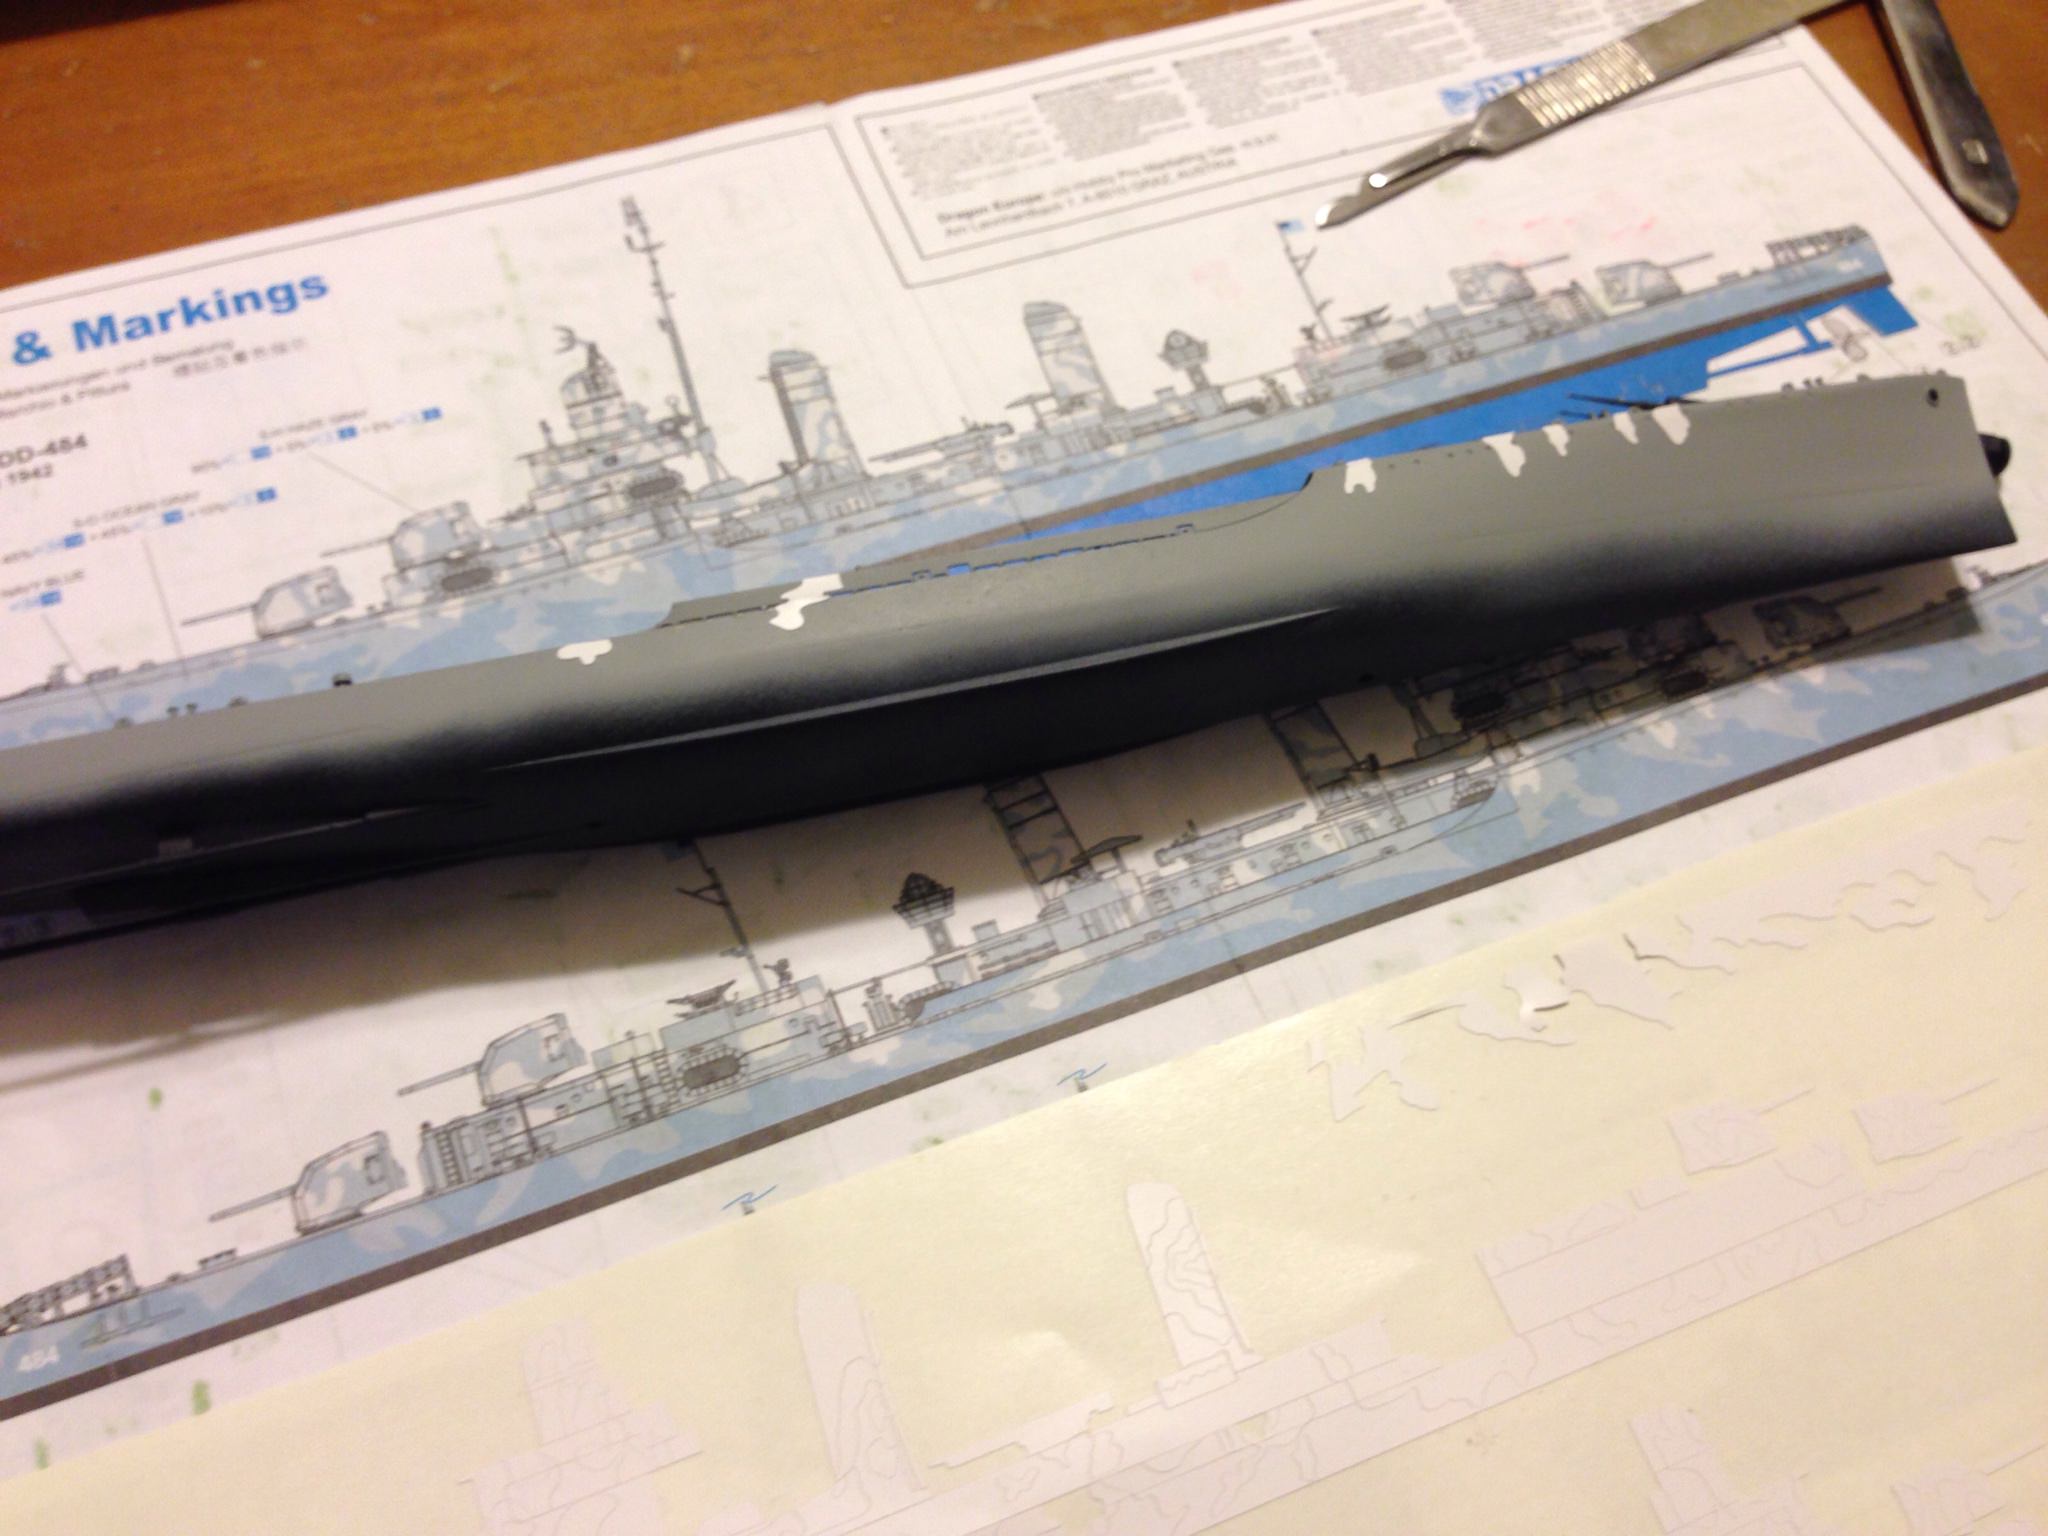
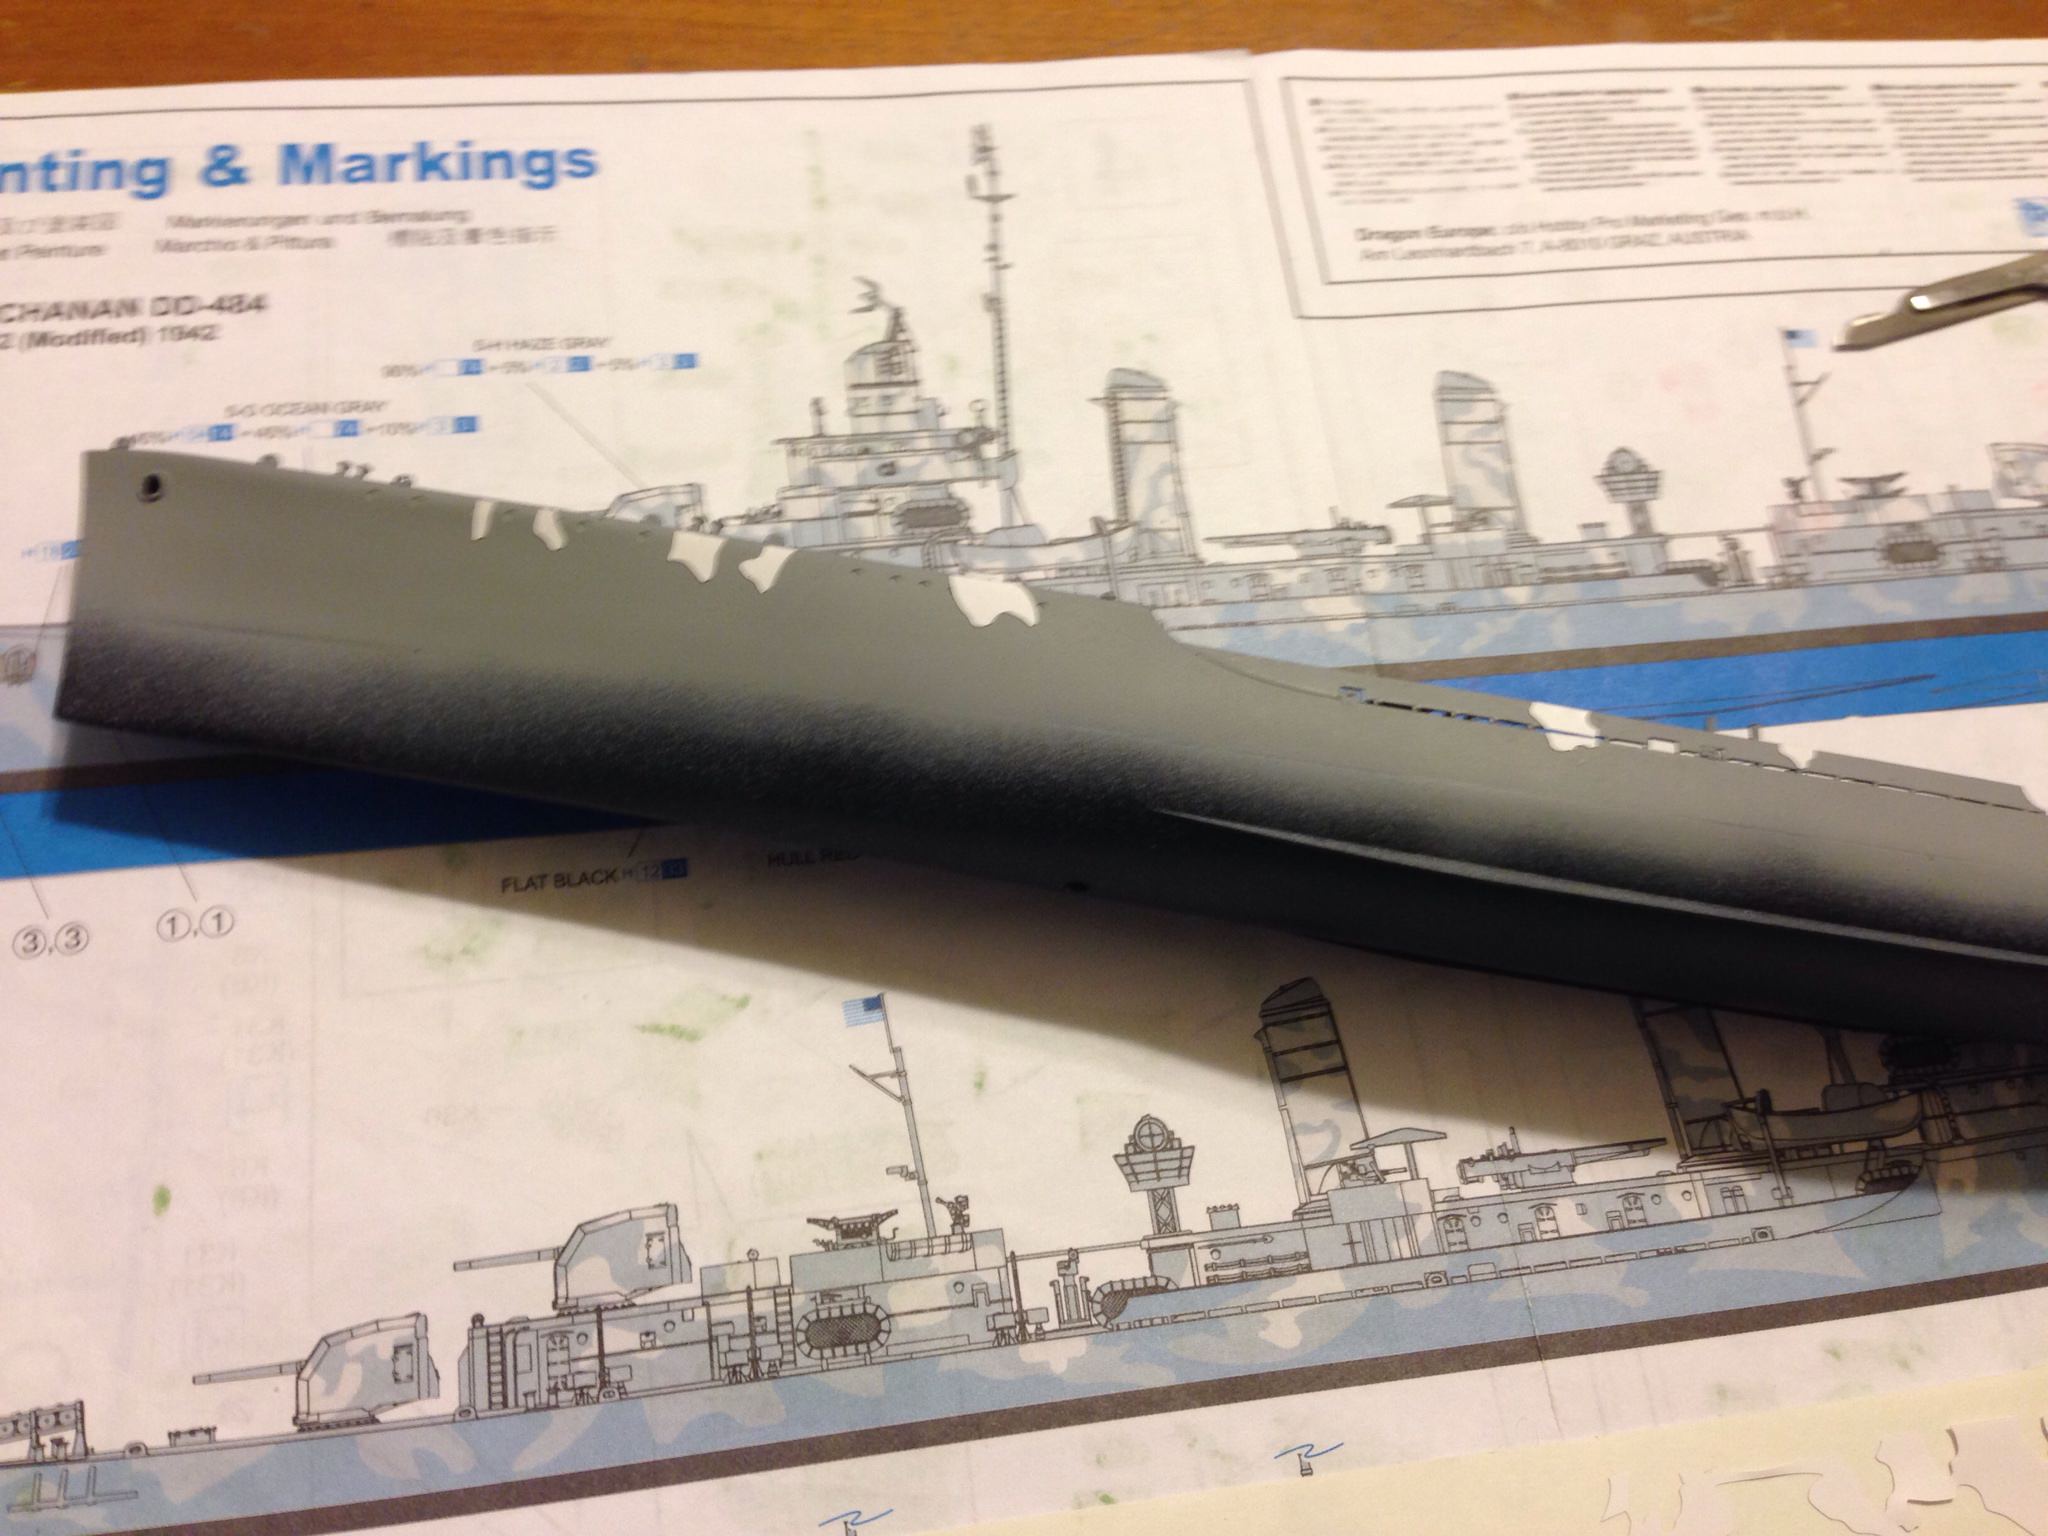
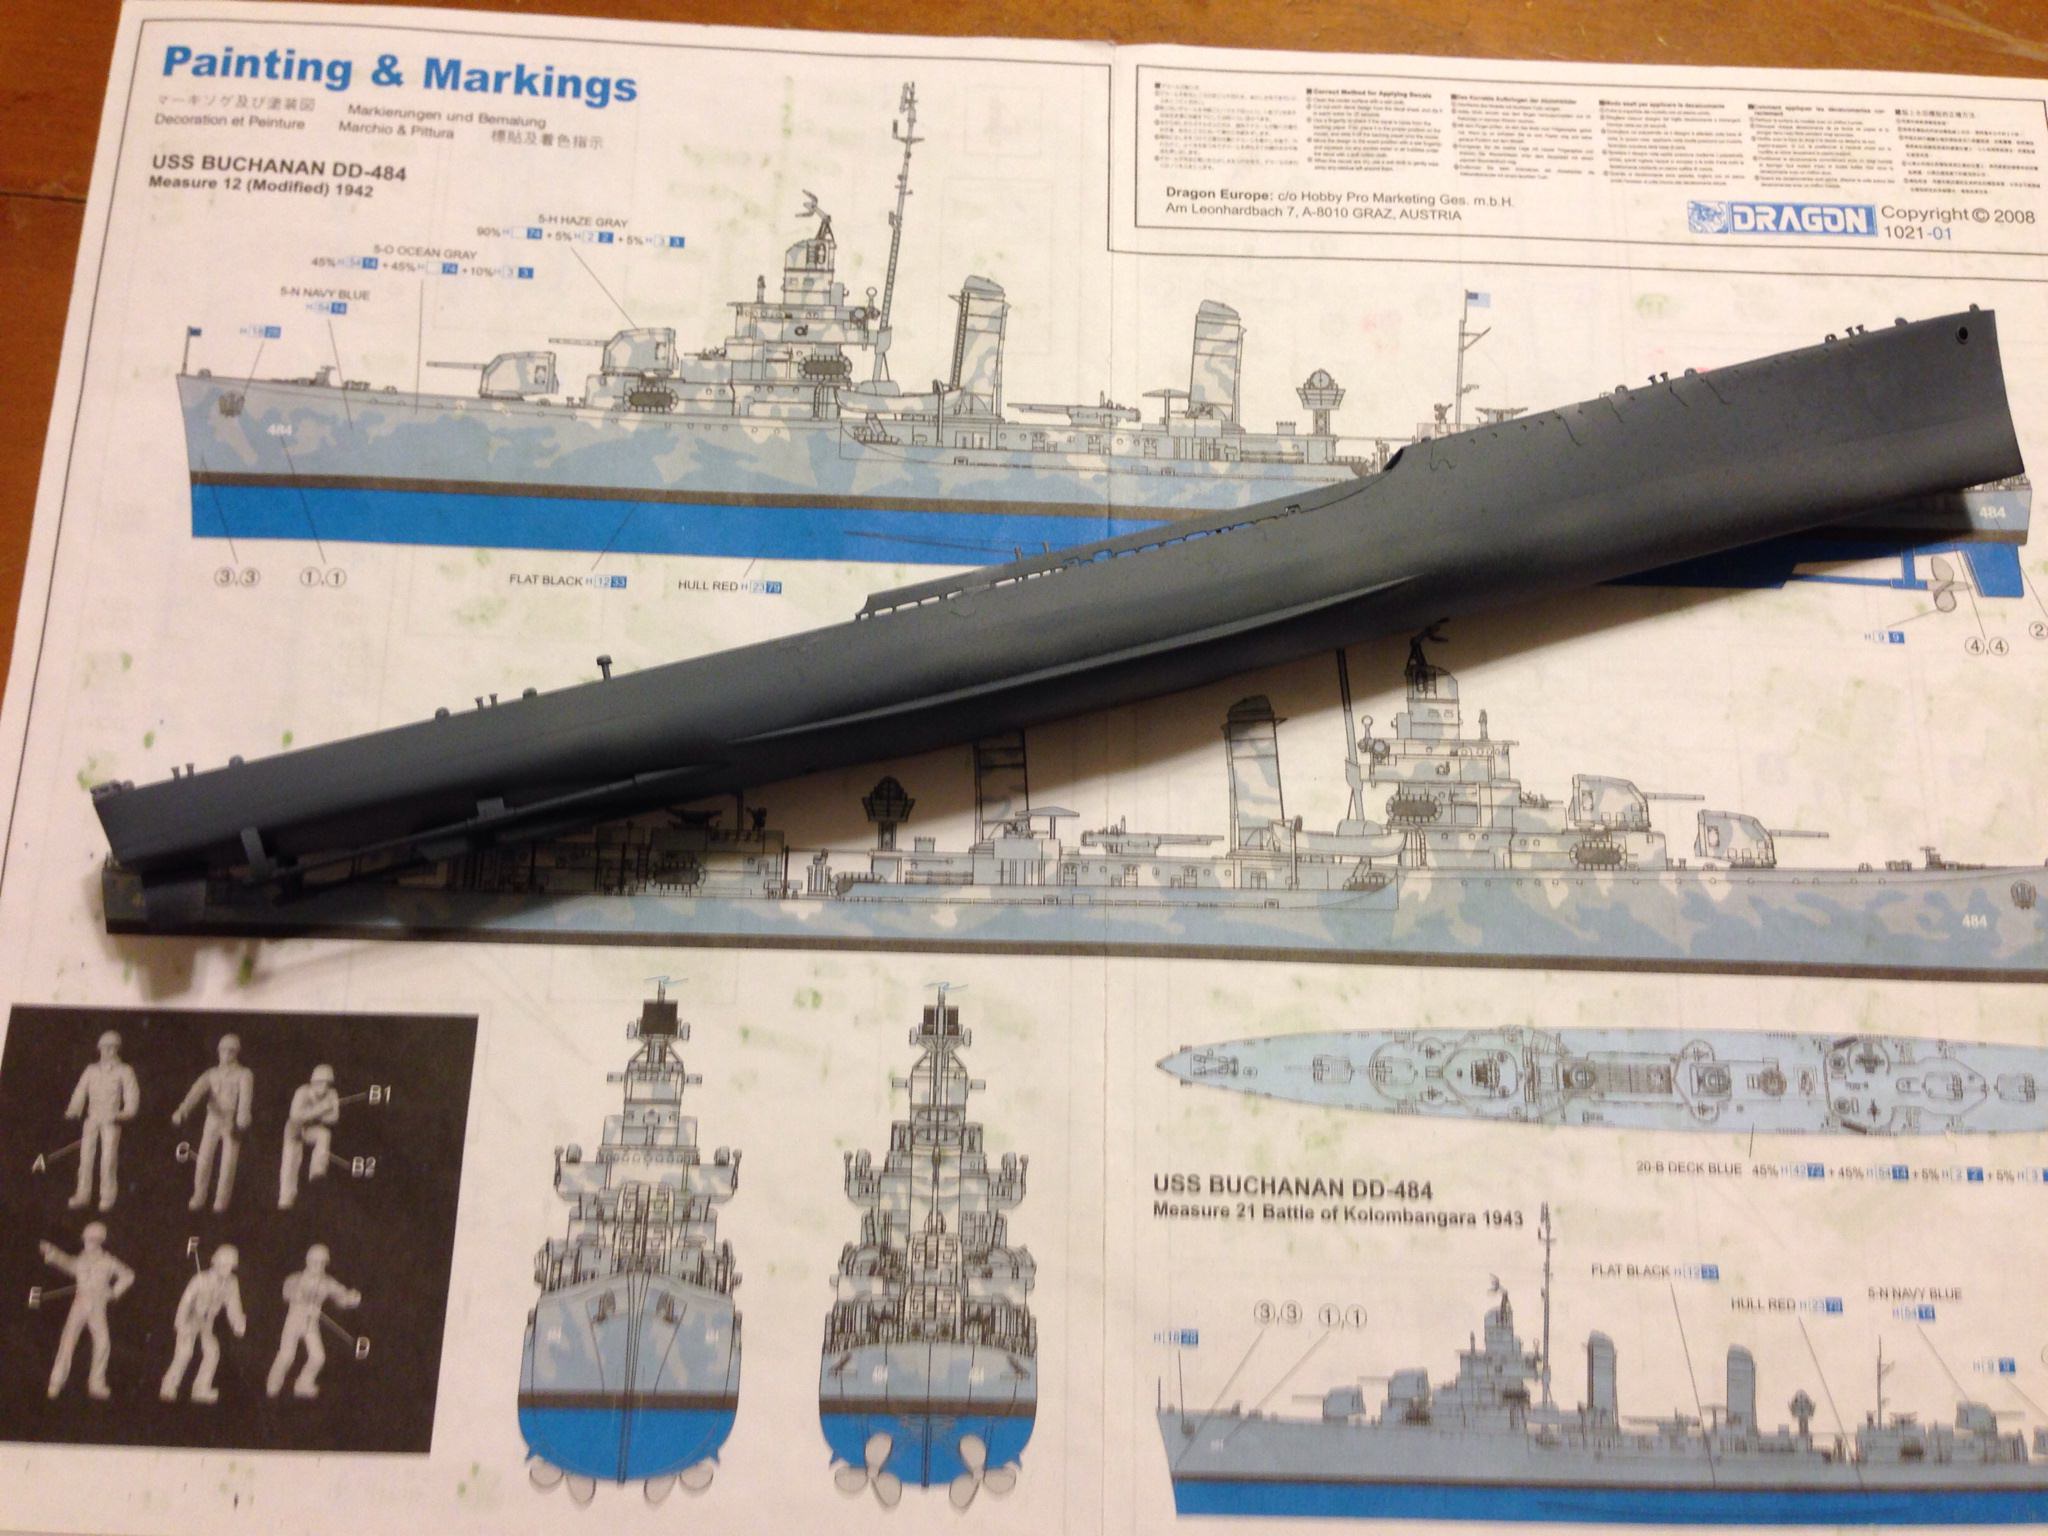
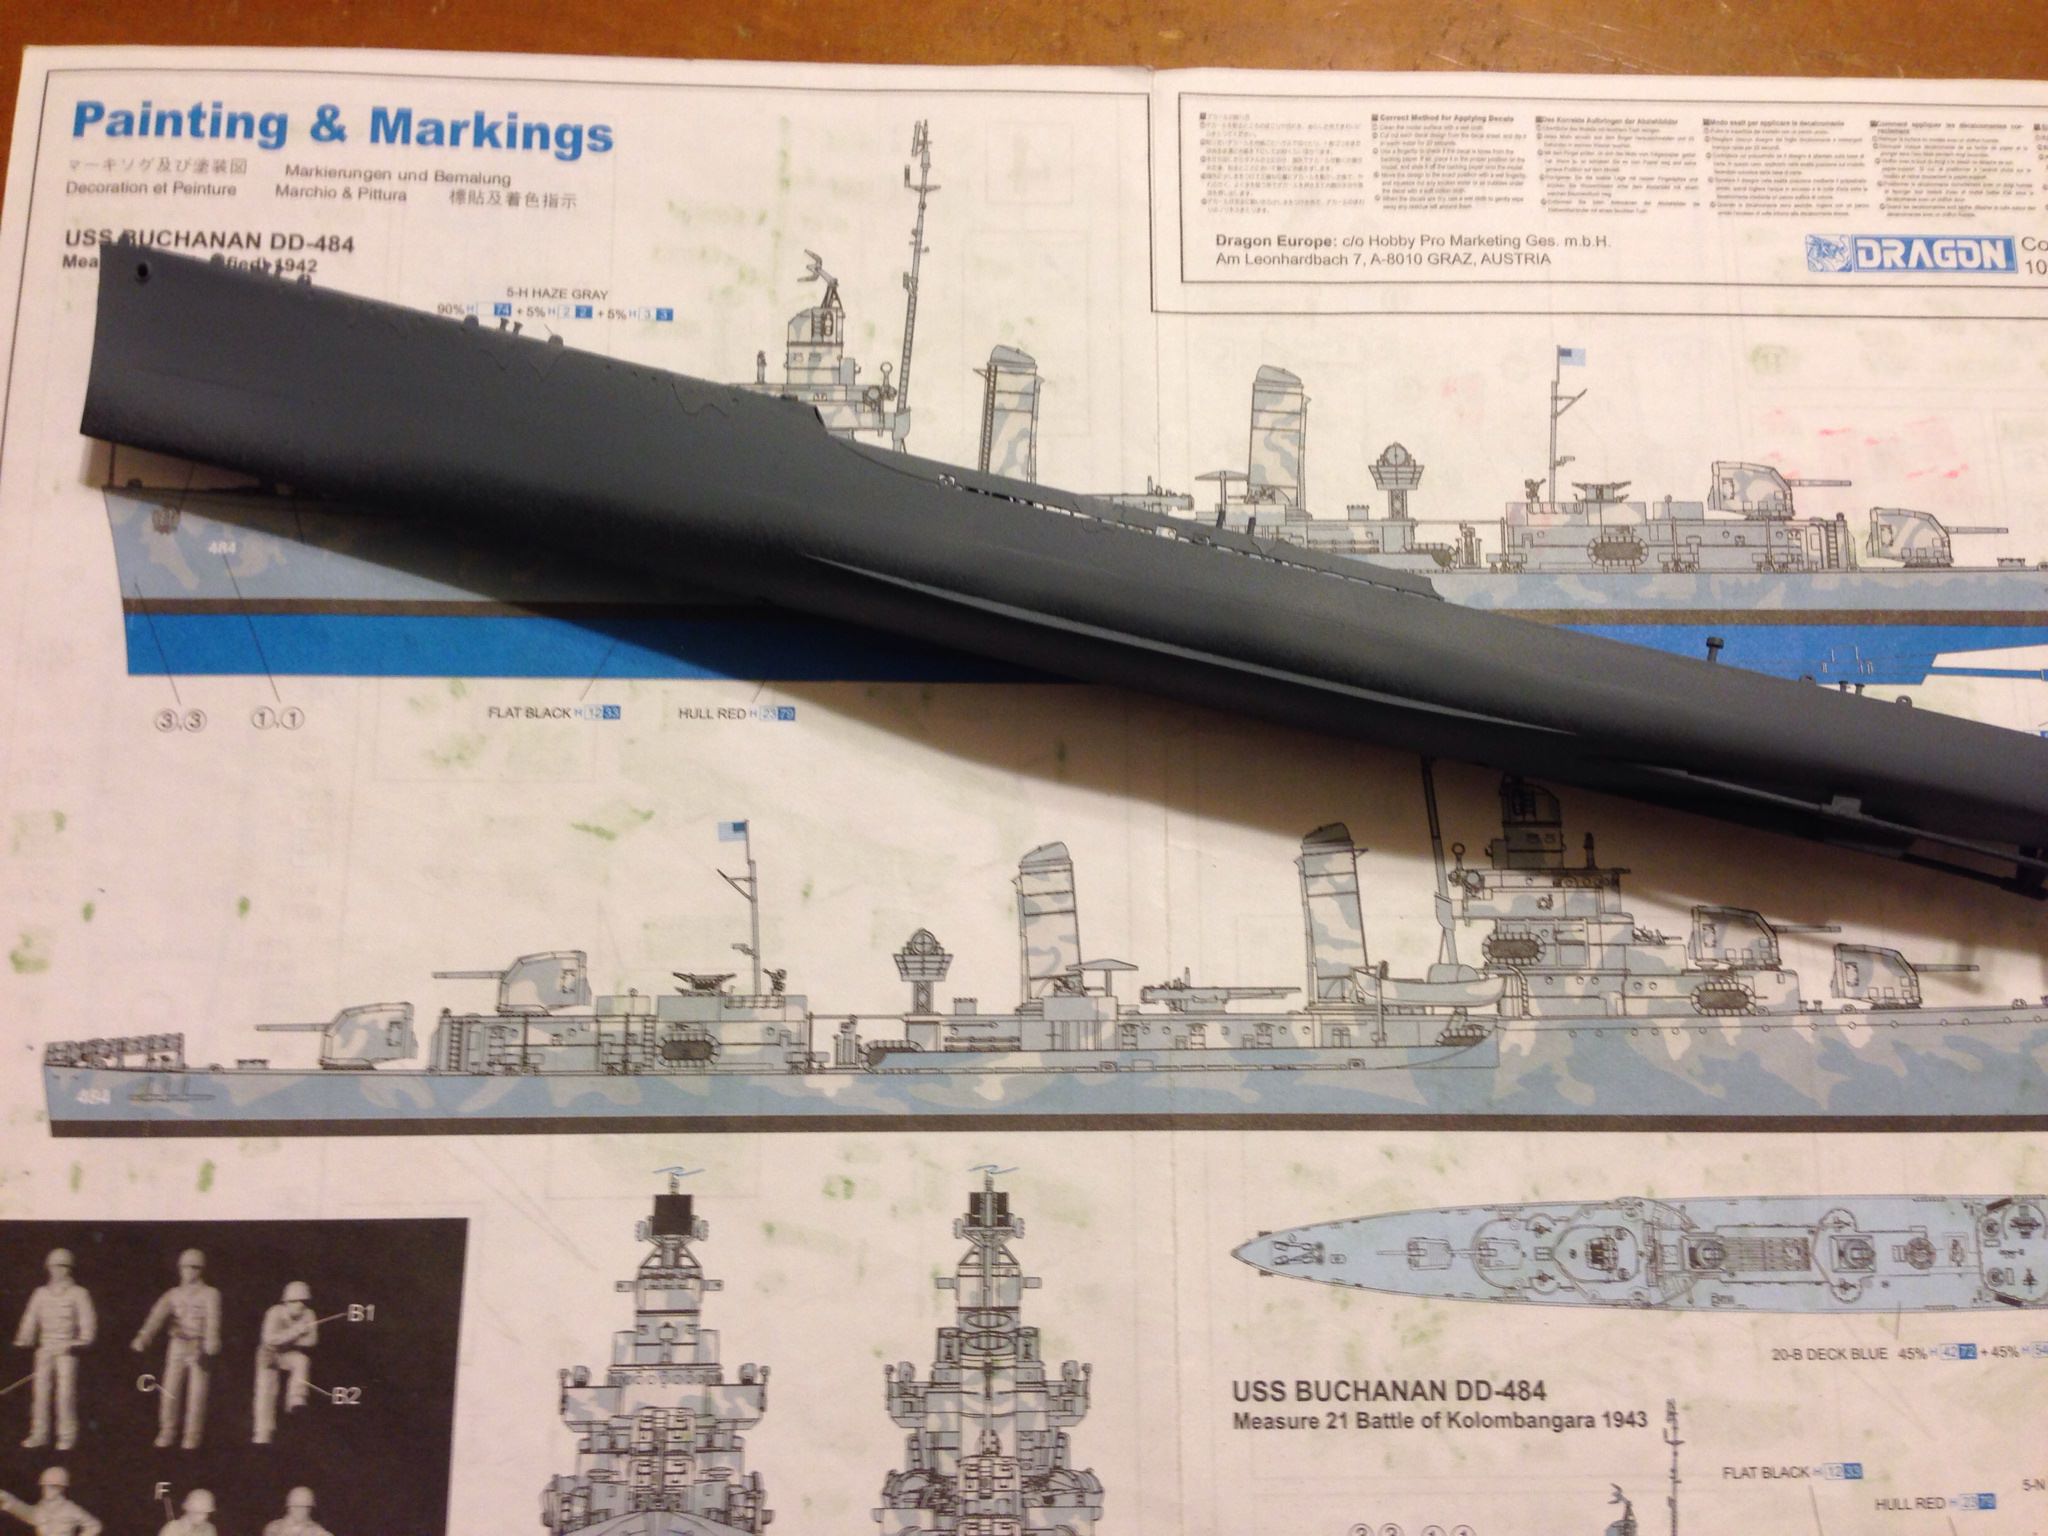
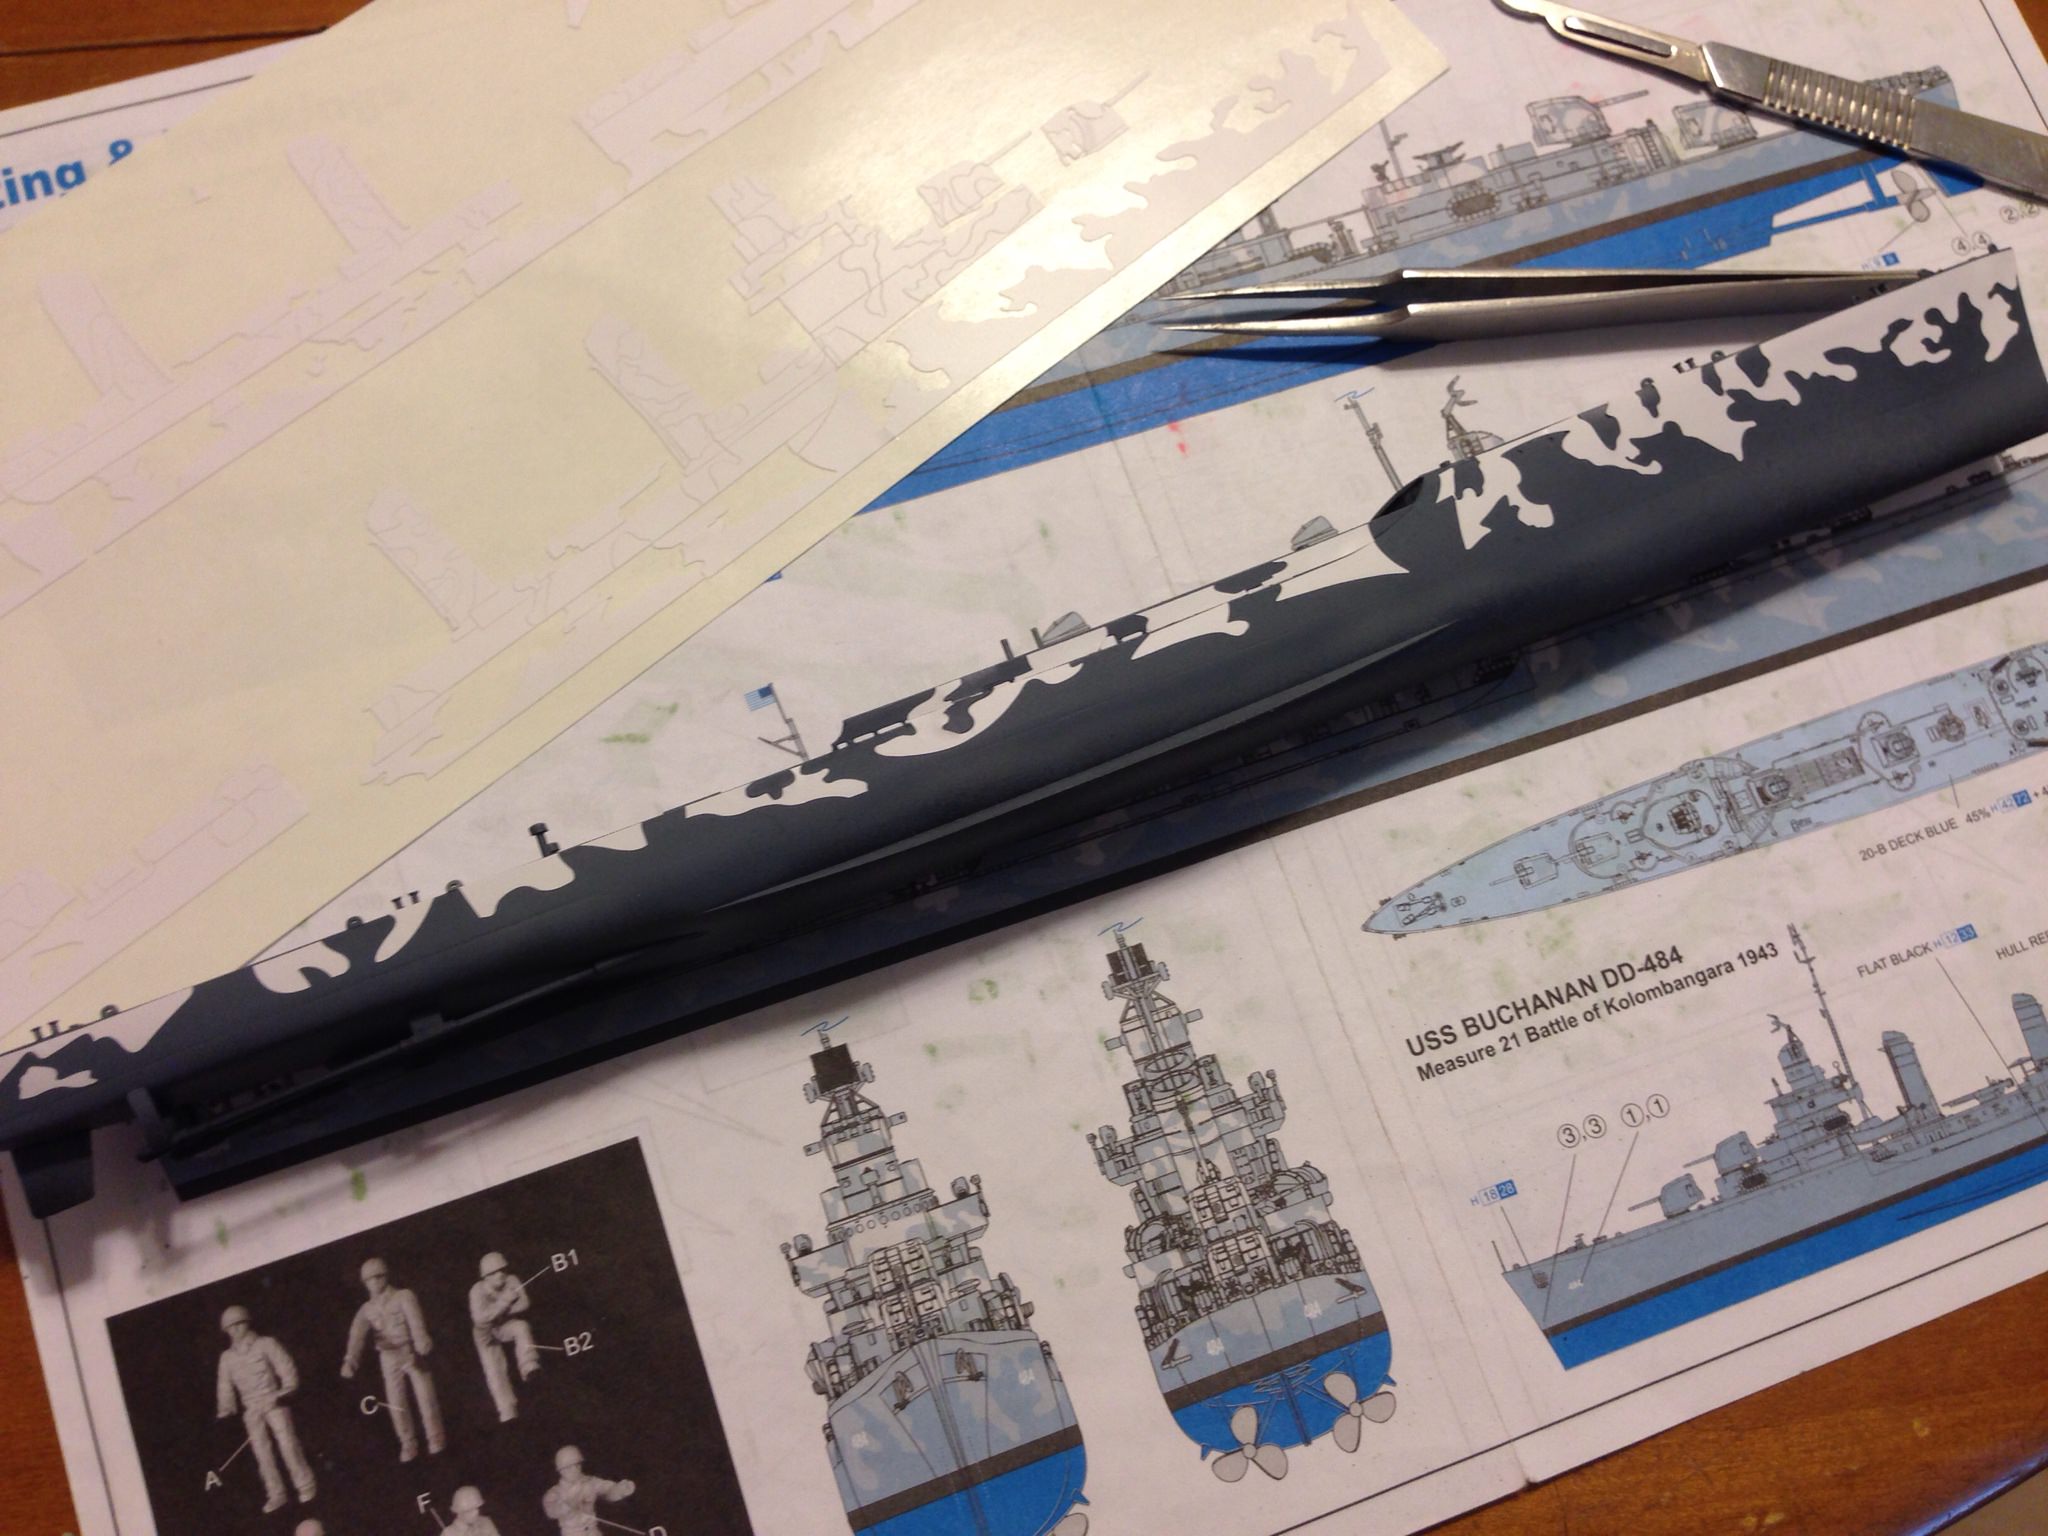
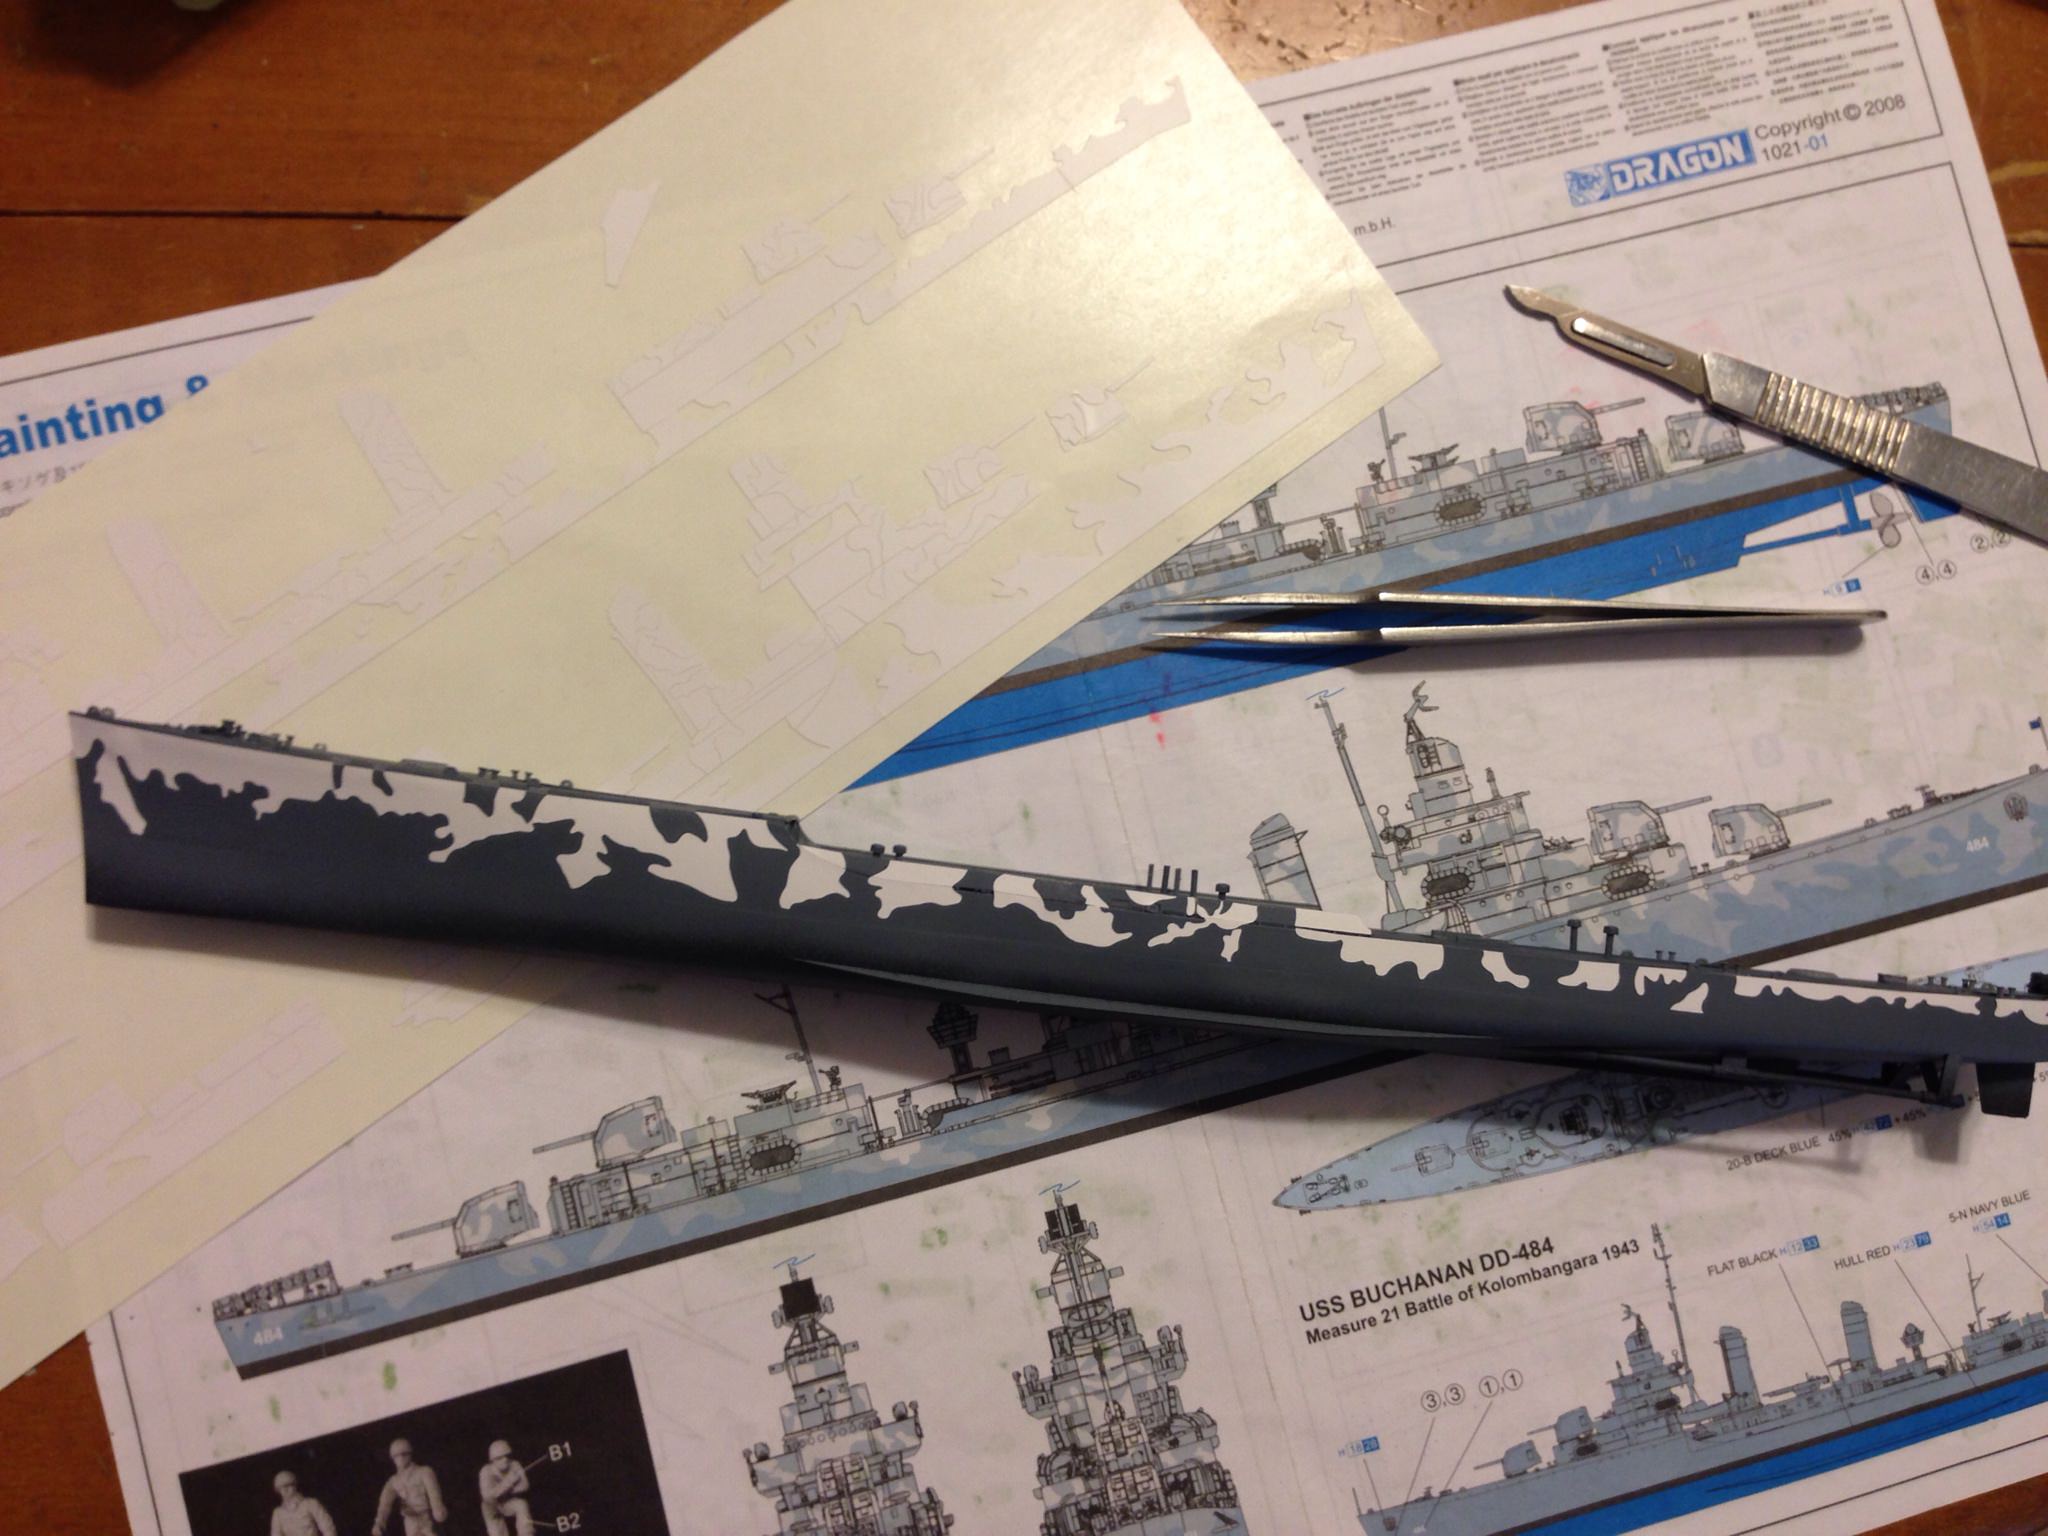
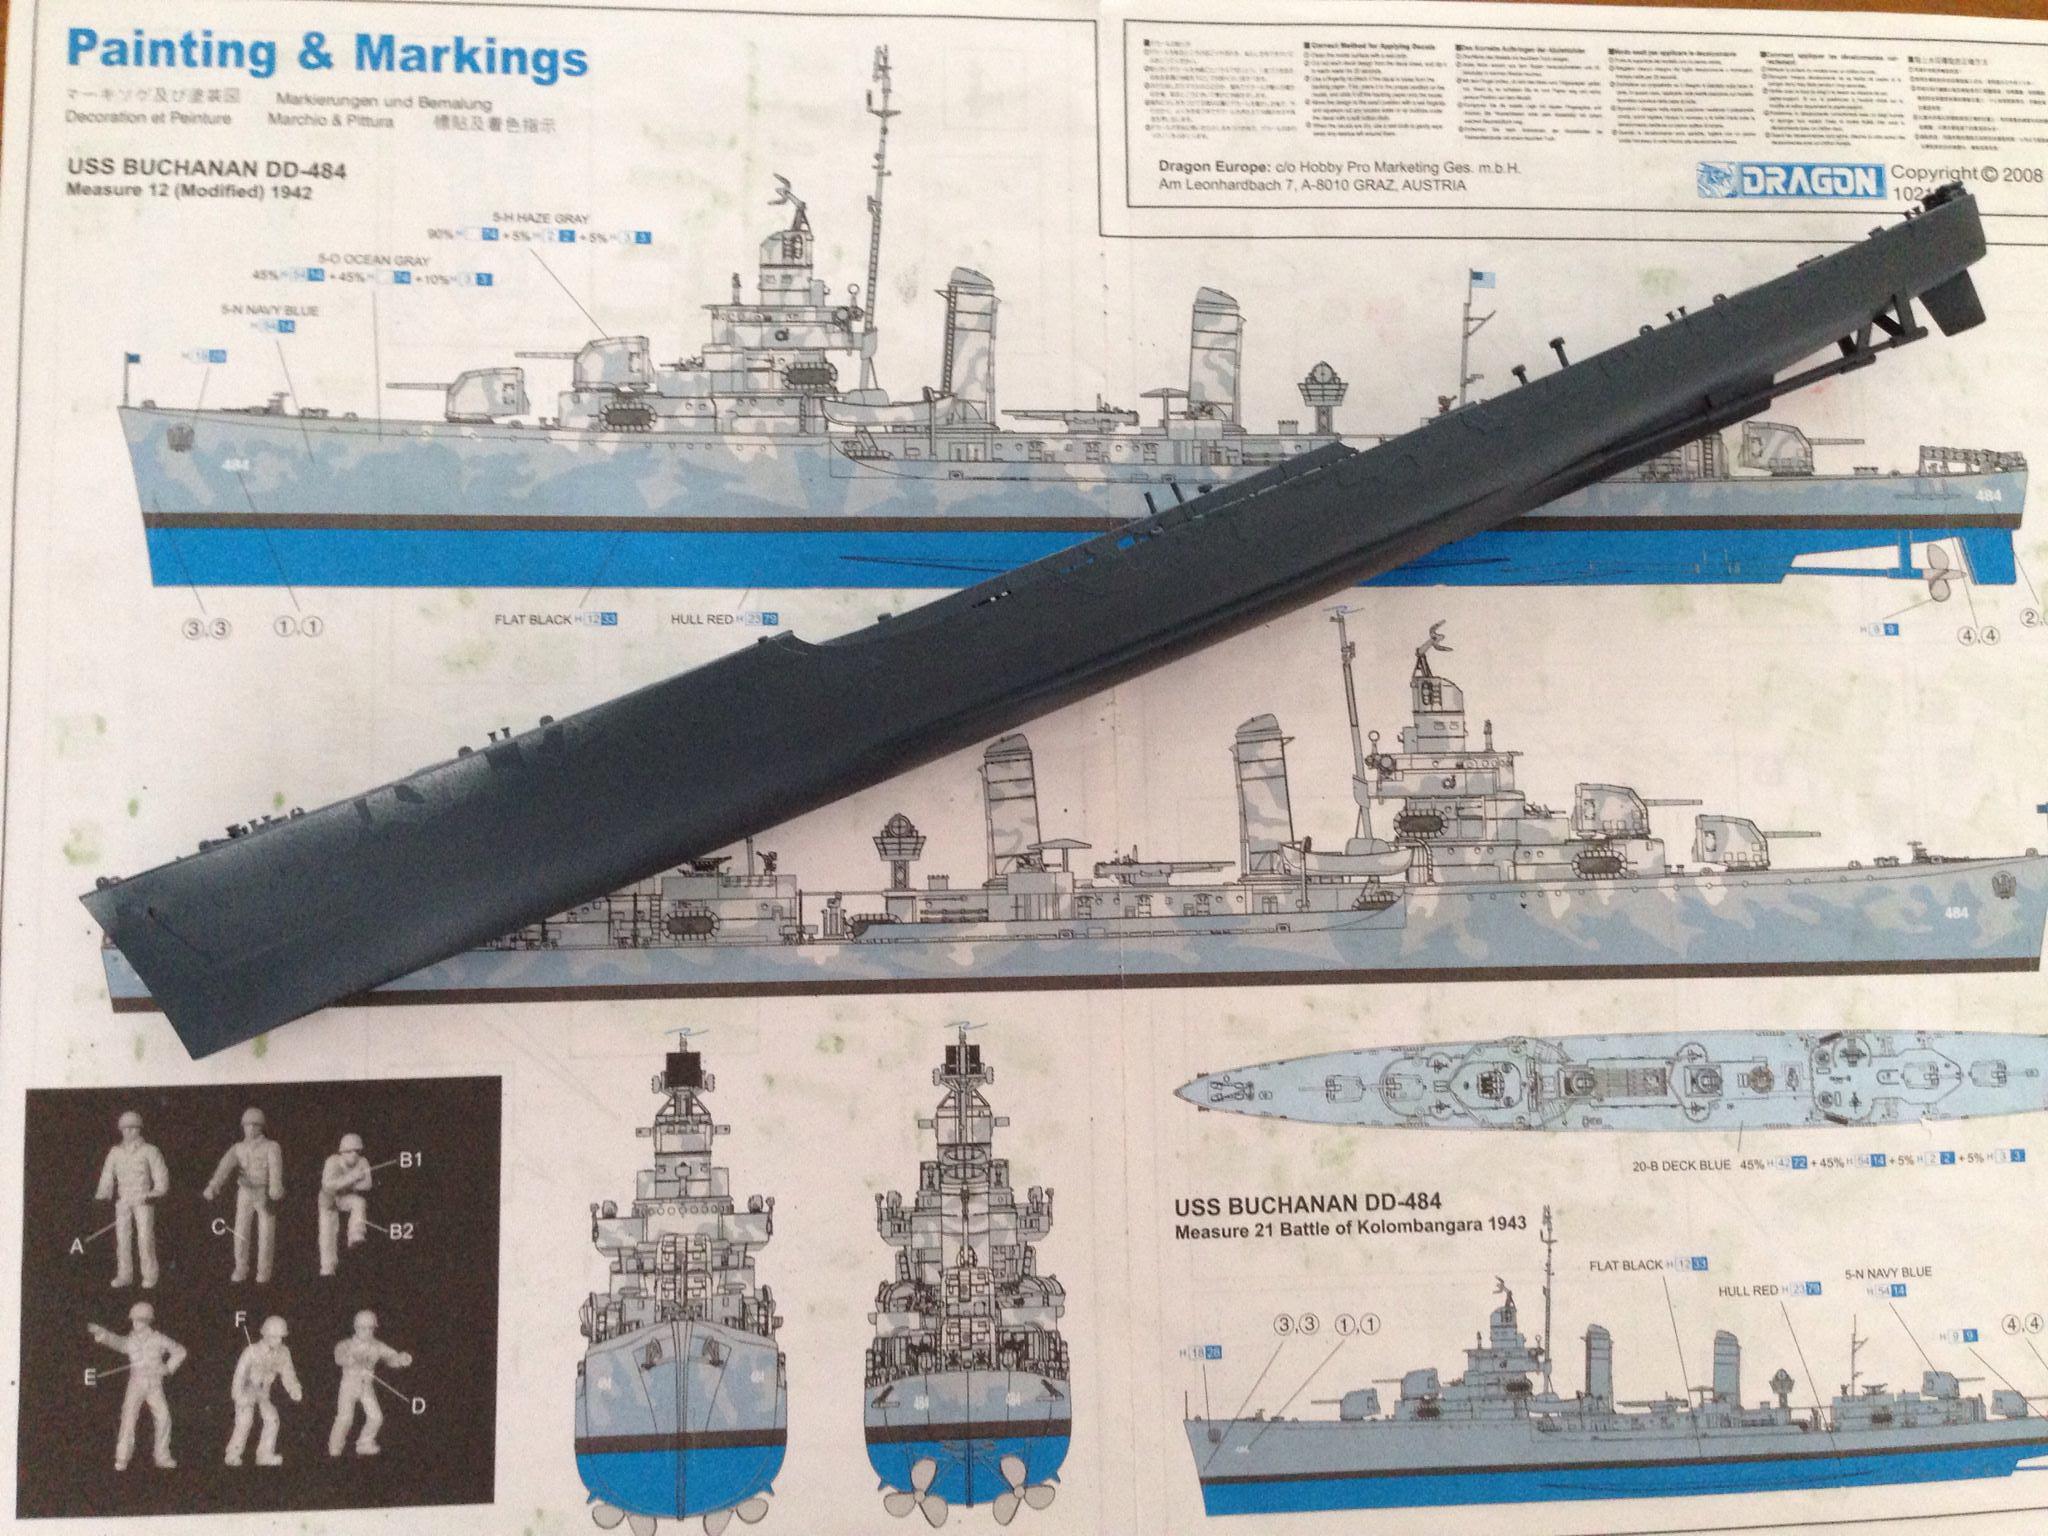
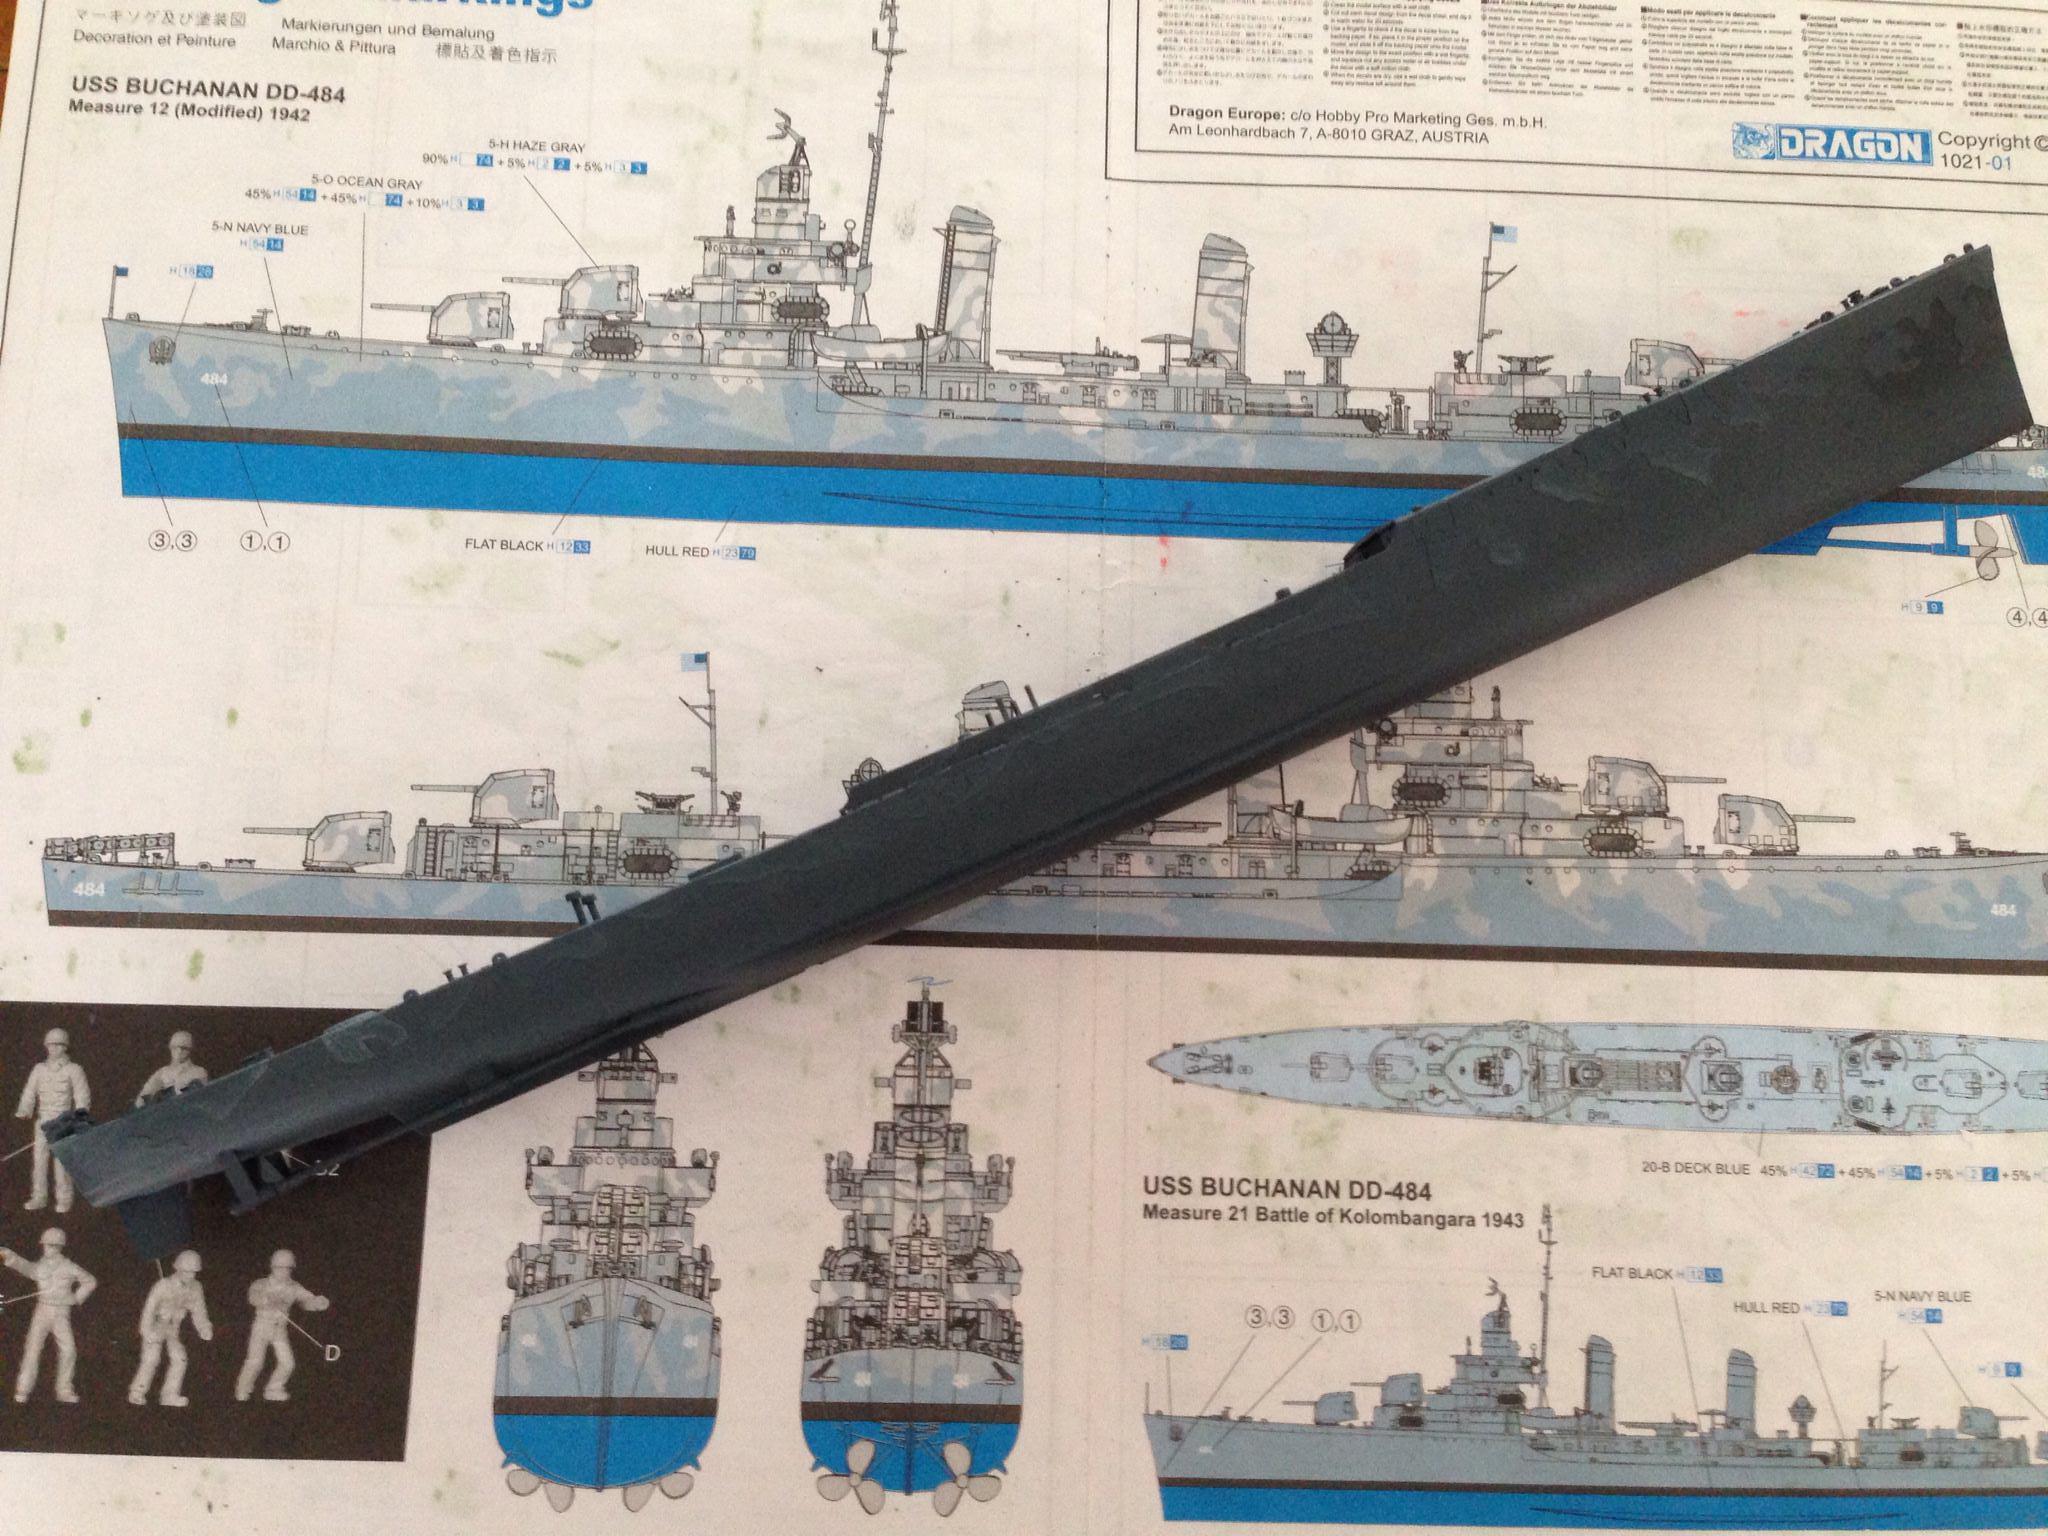
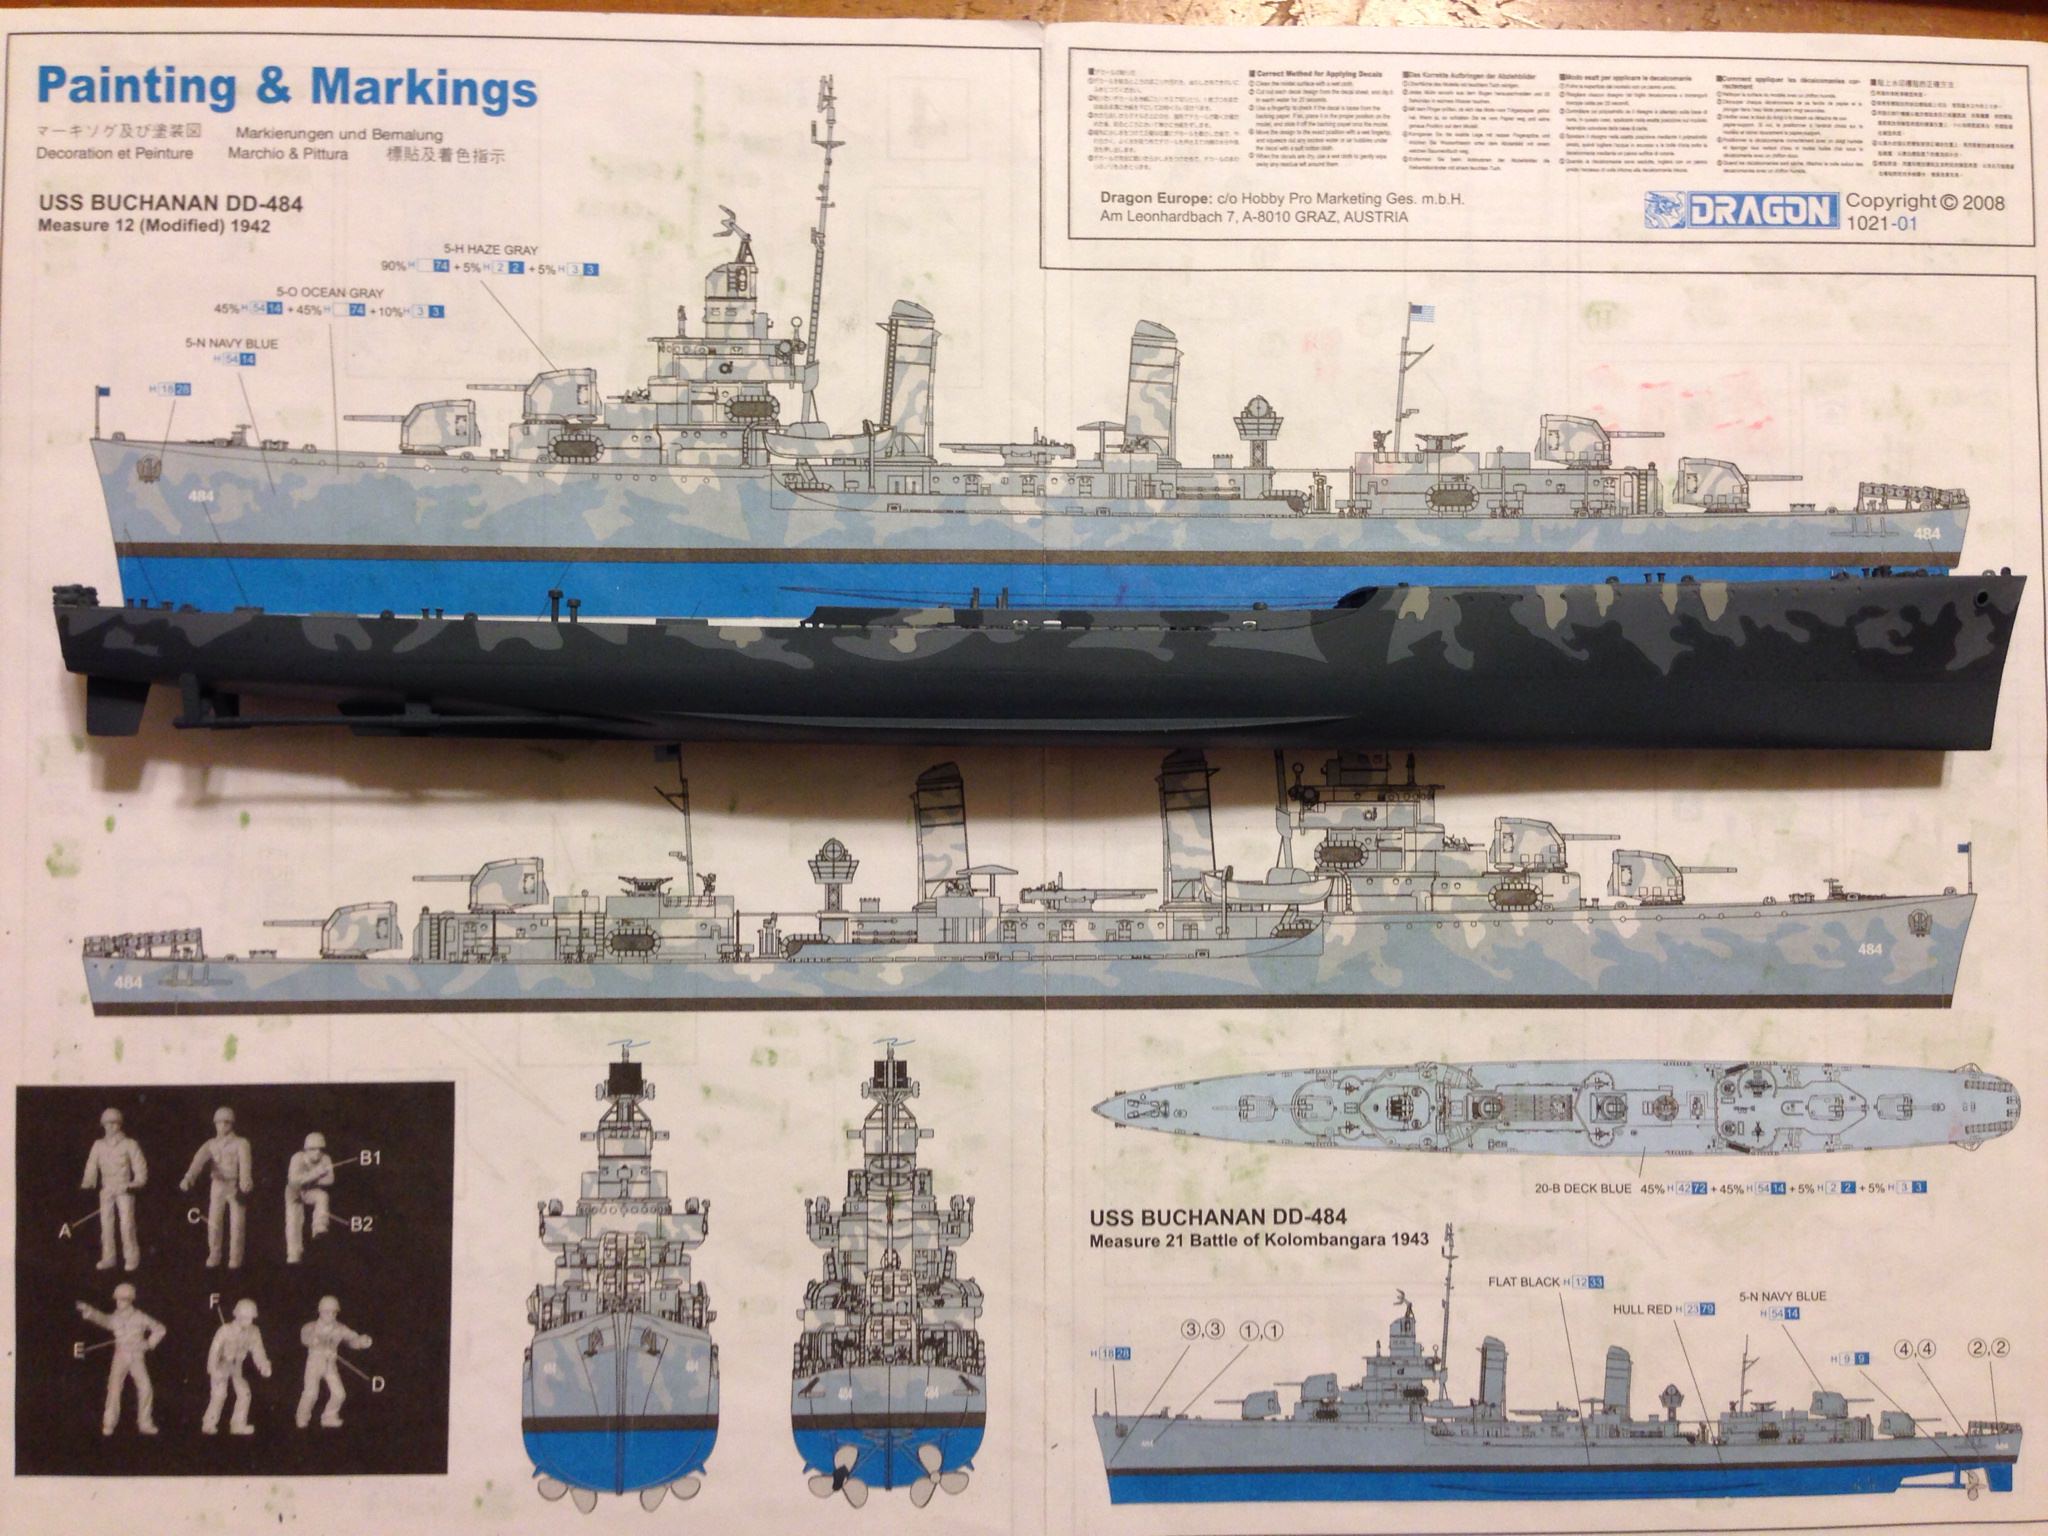
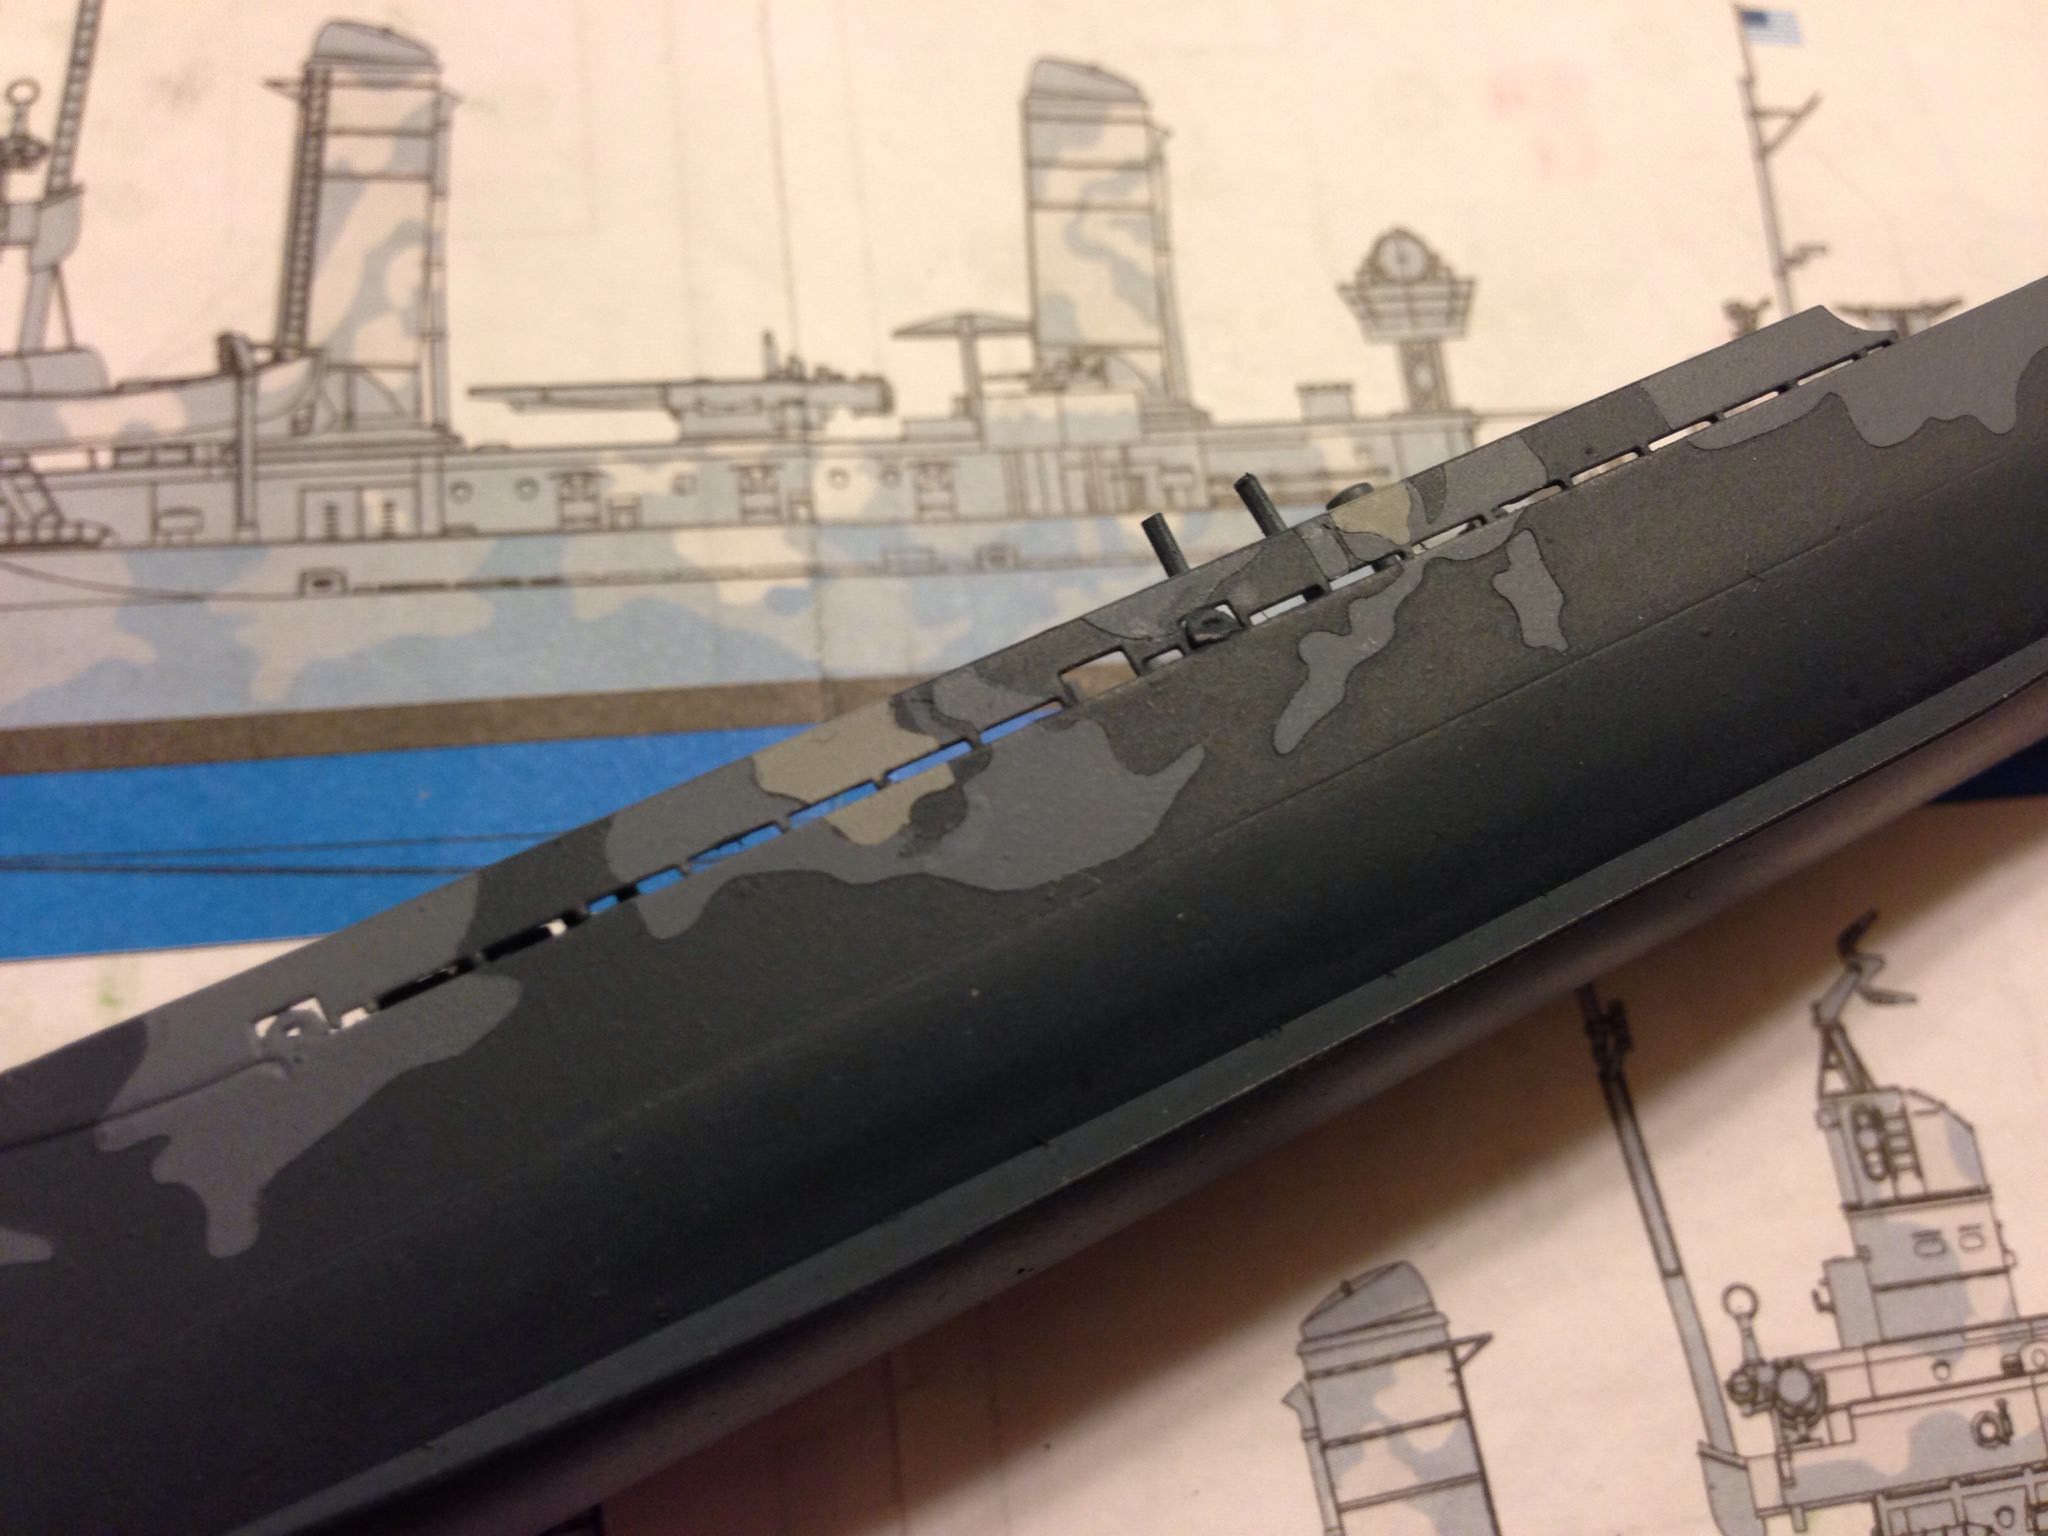
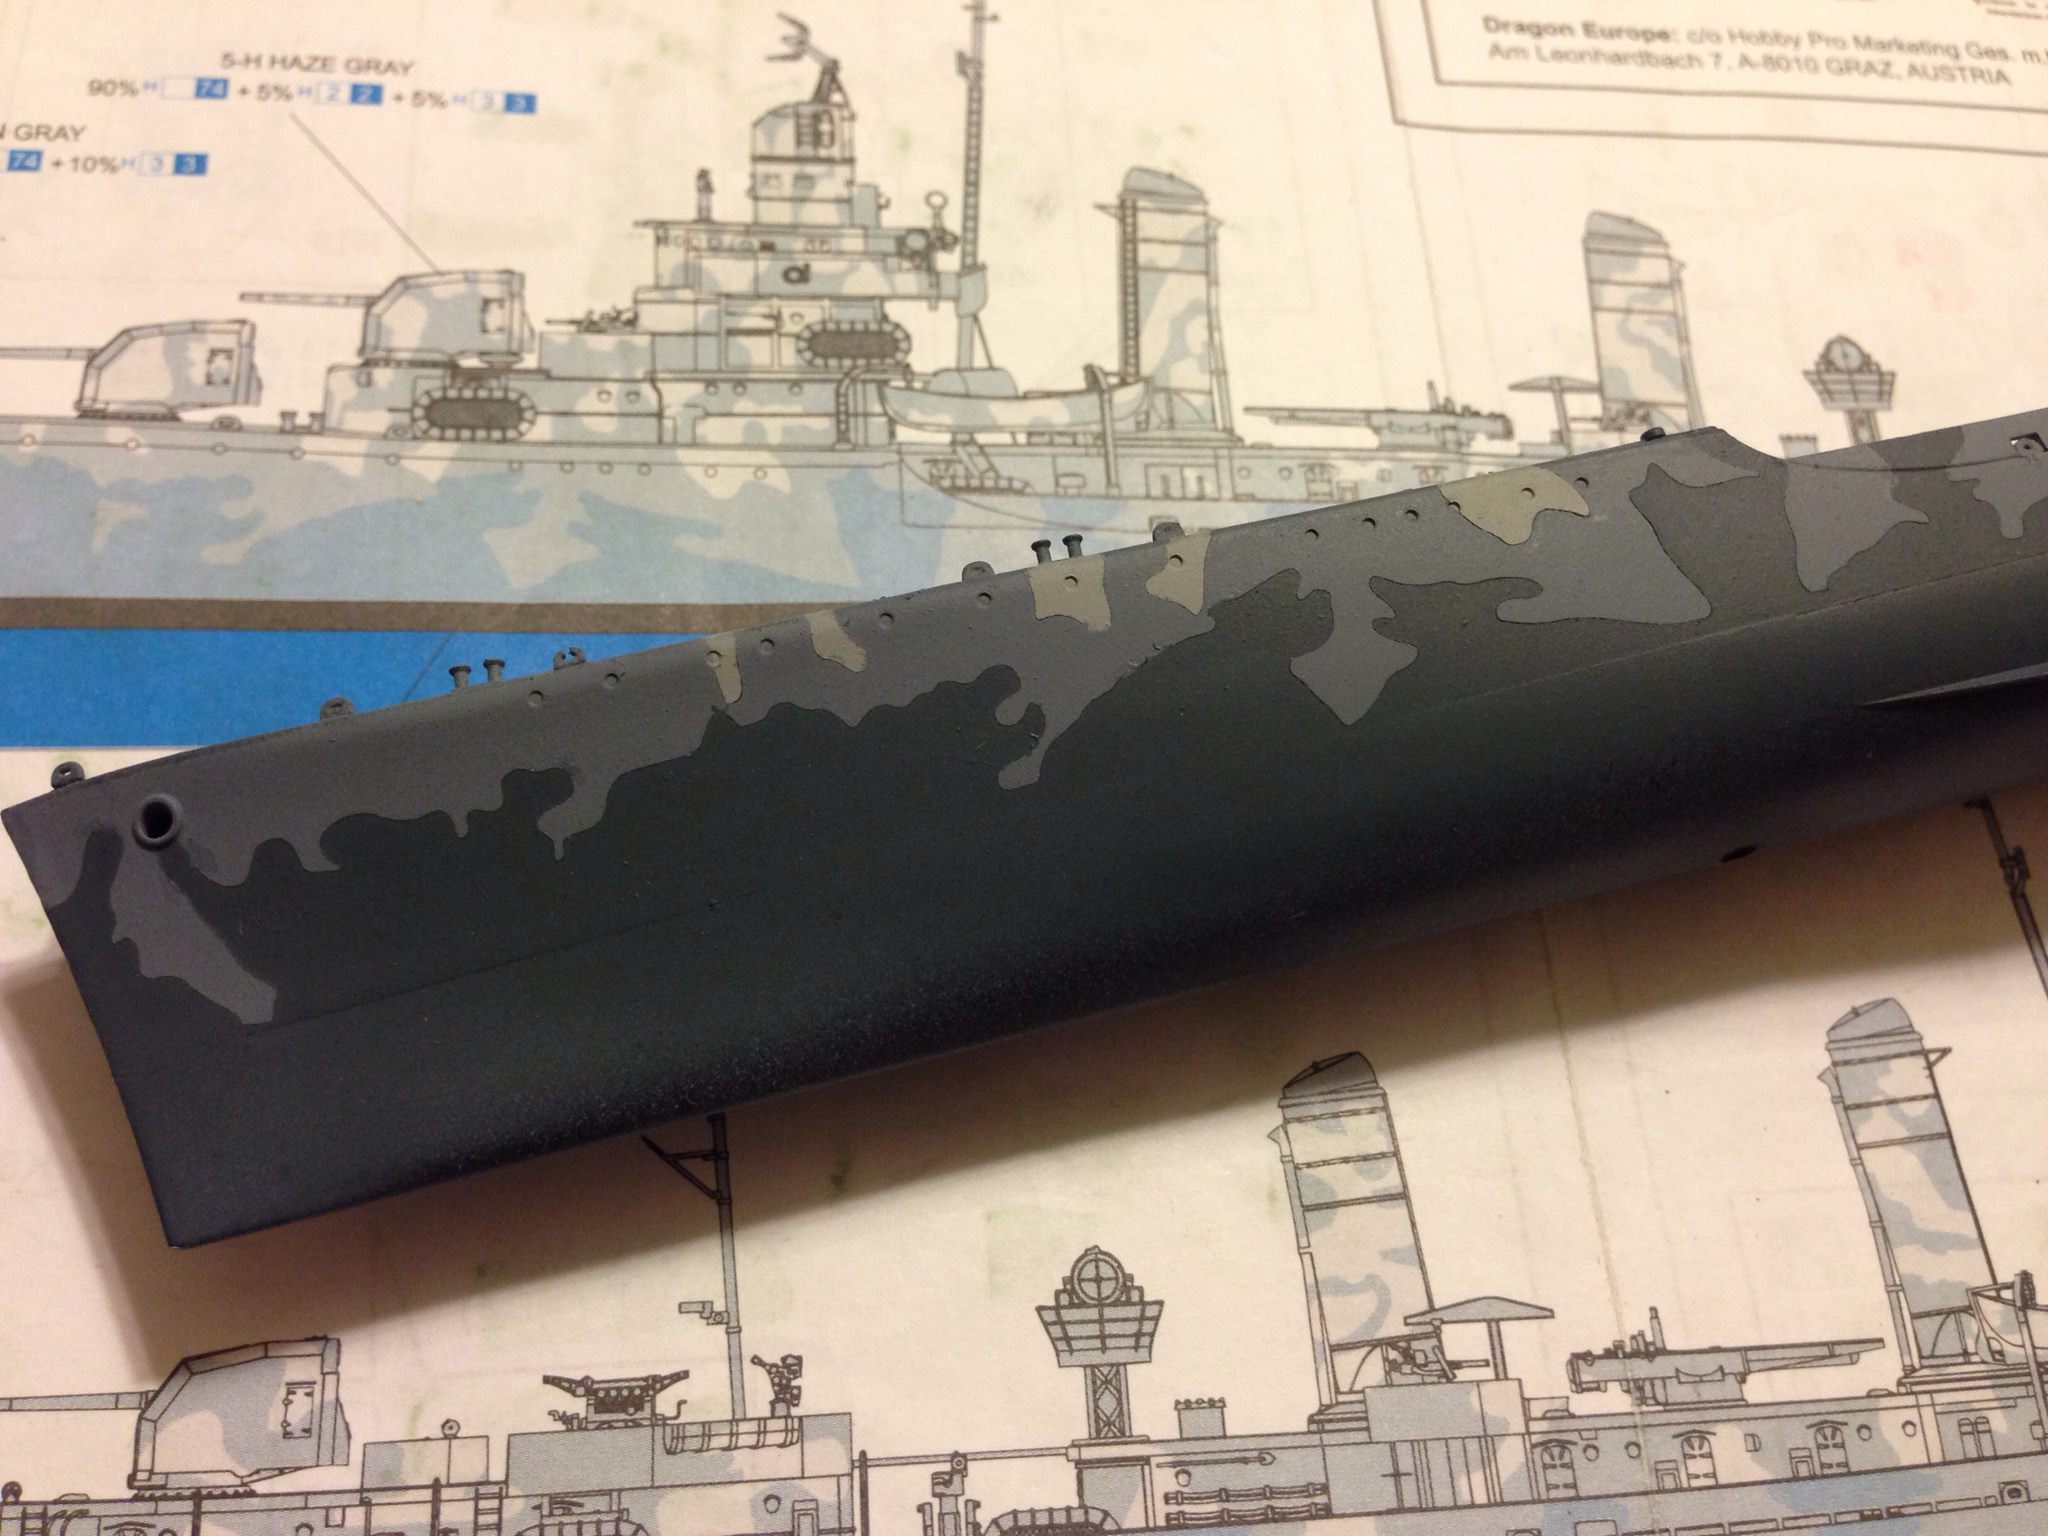
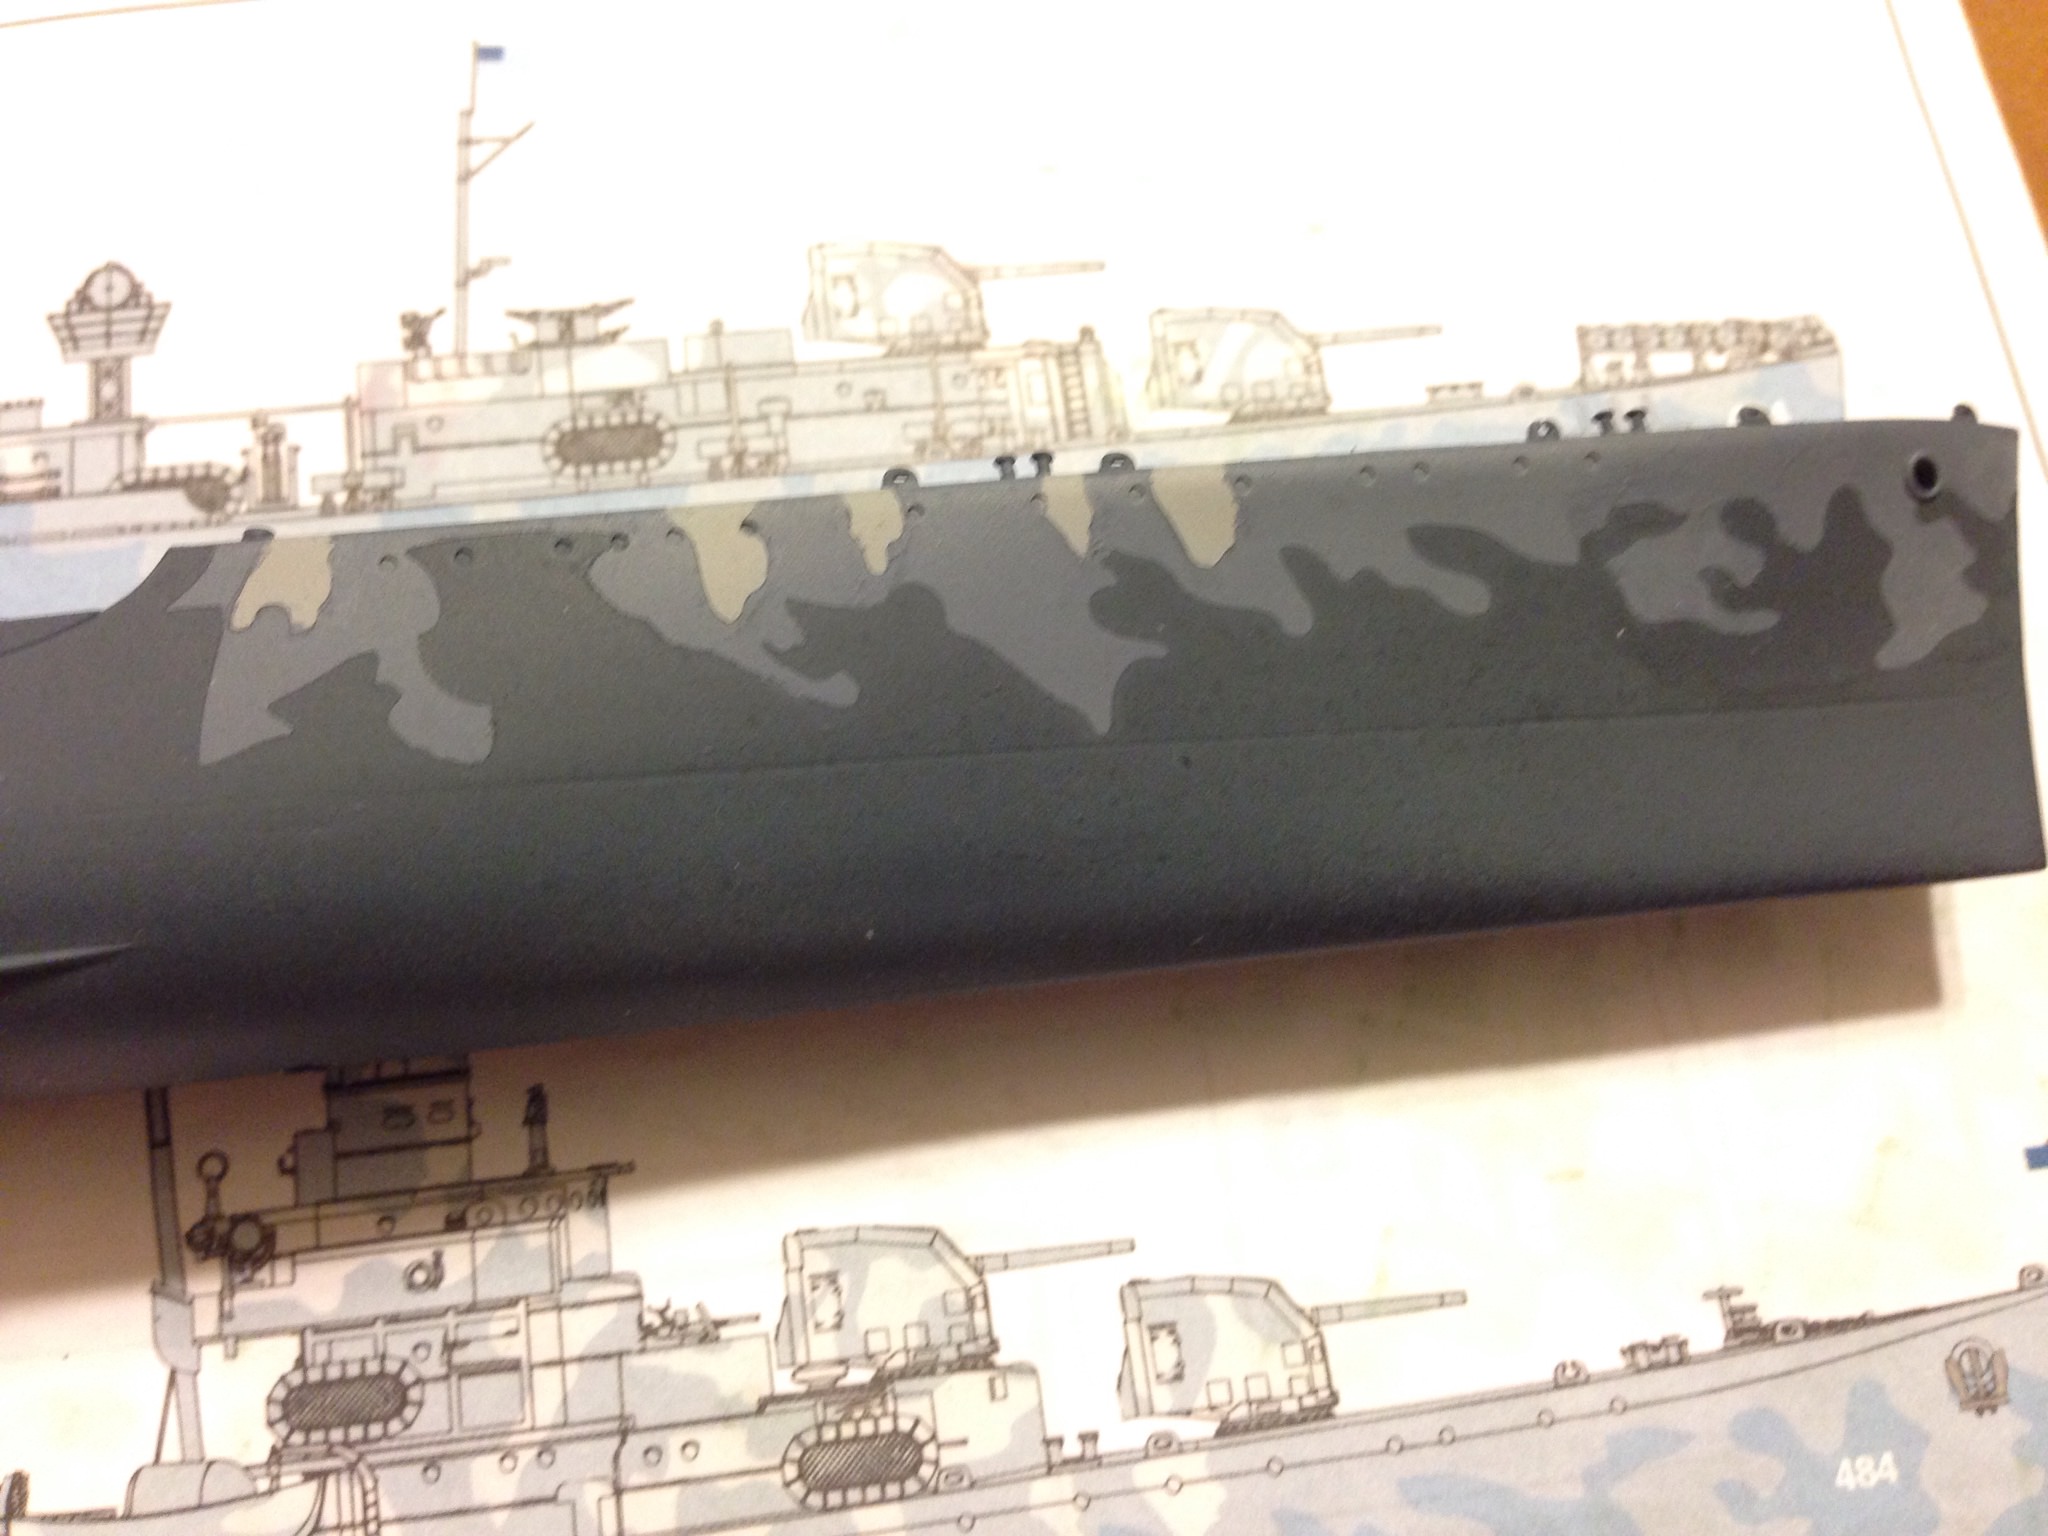
Here are pictures of my build, I'd like to share where I am at with my photoetch/brass work.

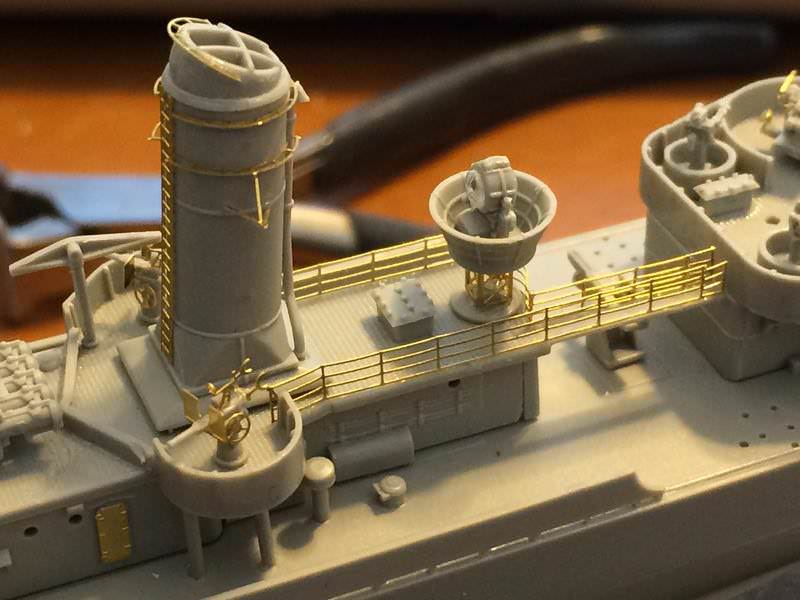
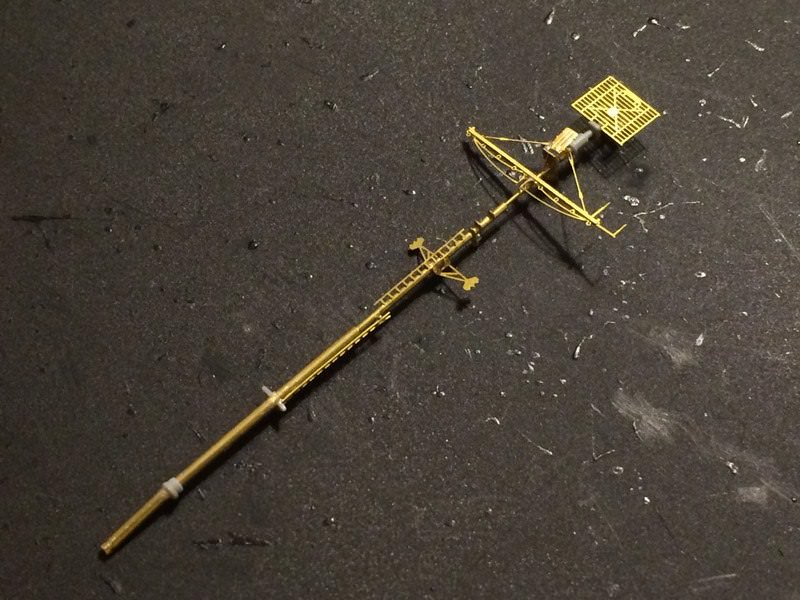
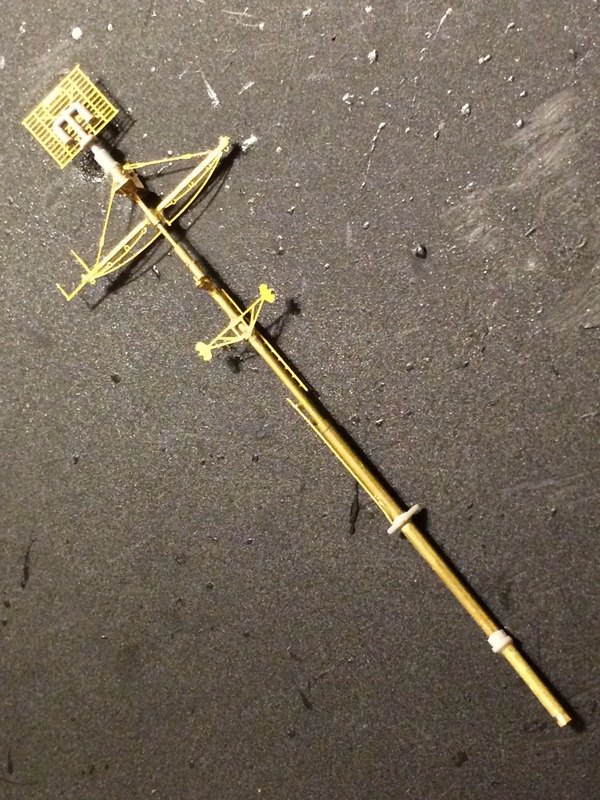
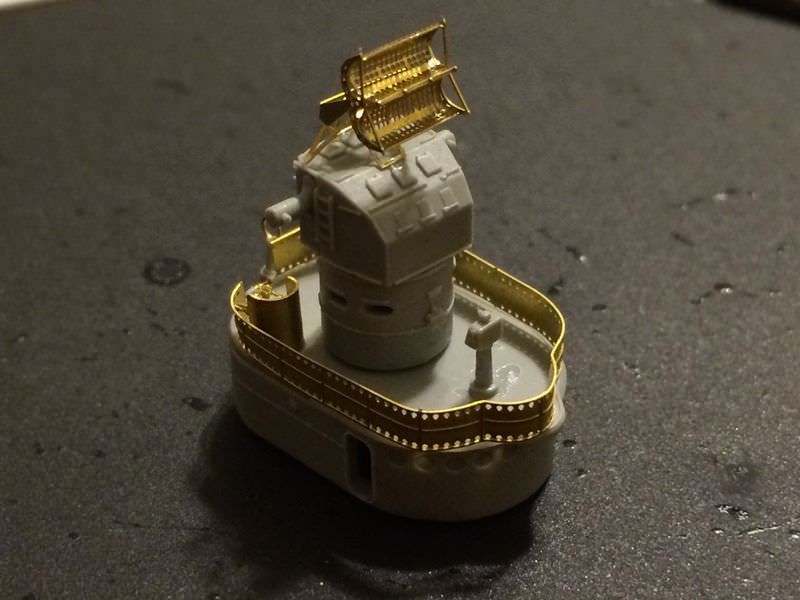
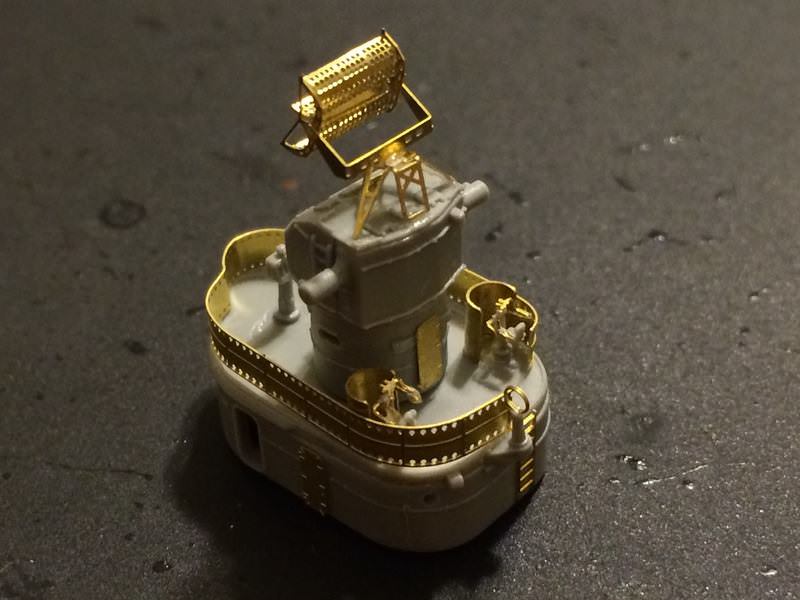
No matter how careful I was in removing the main mast from the sprue, I managed to mangle it with no possibility of making it look straight. I ended up making my own mast using various sizes of brass tubes. Here are pictures of the mast after installing GMM photoetch parts.


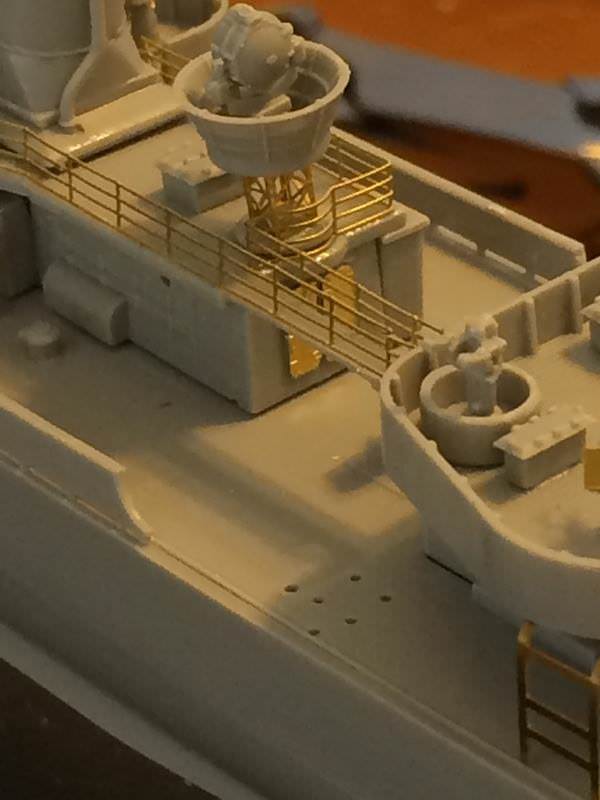
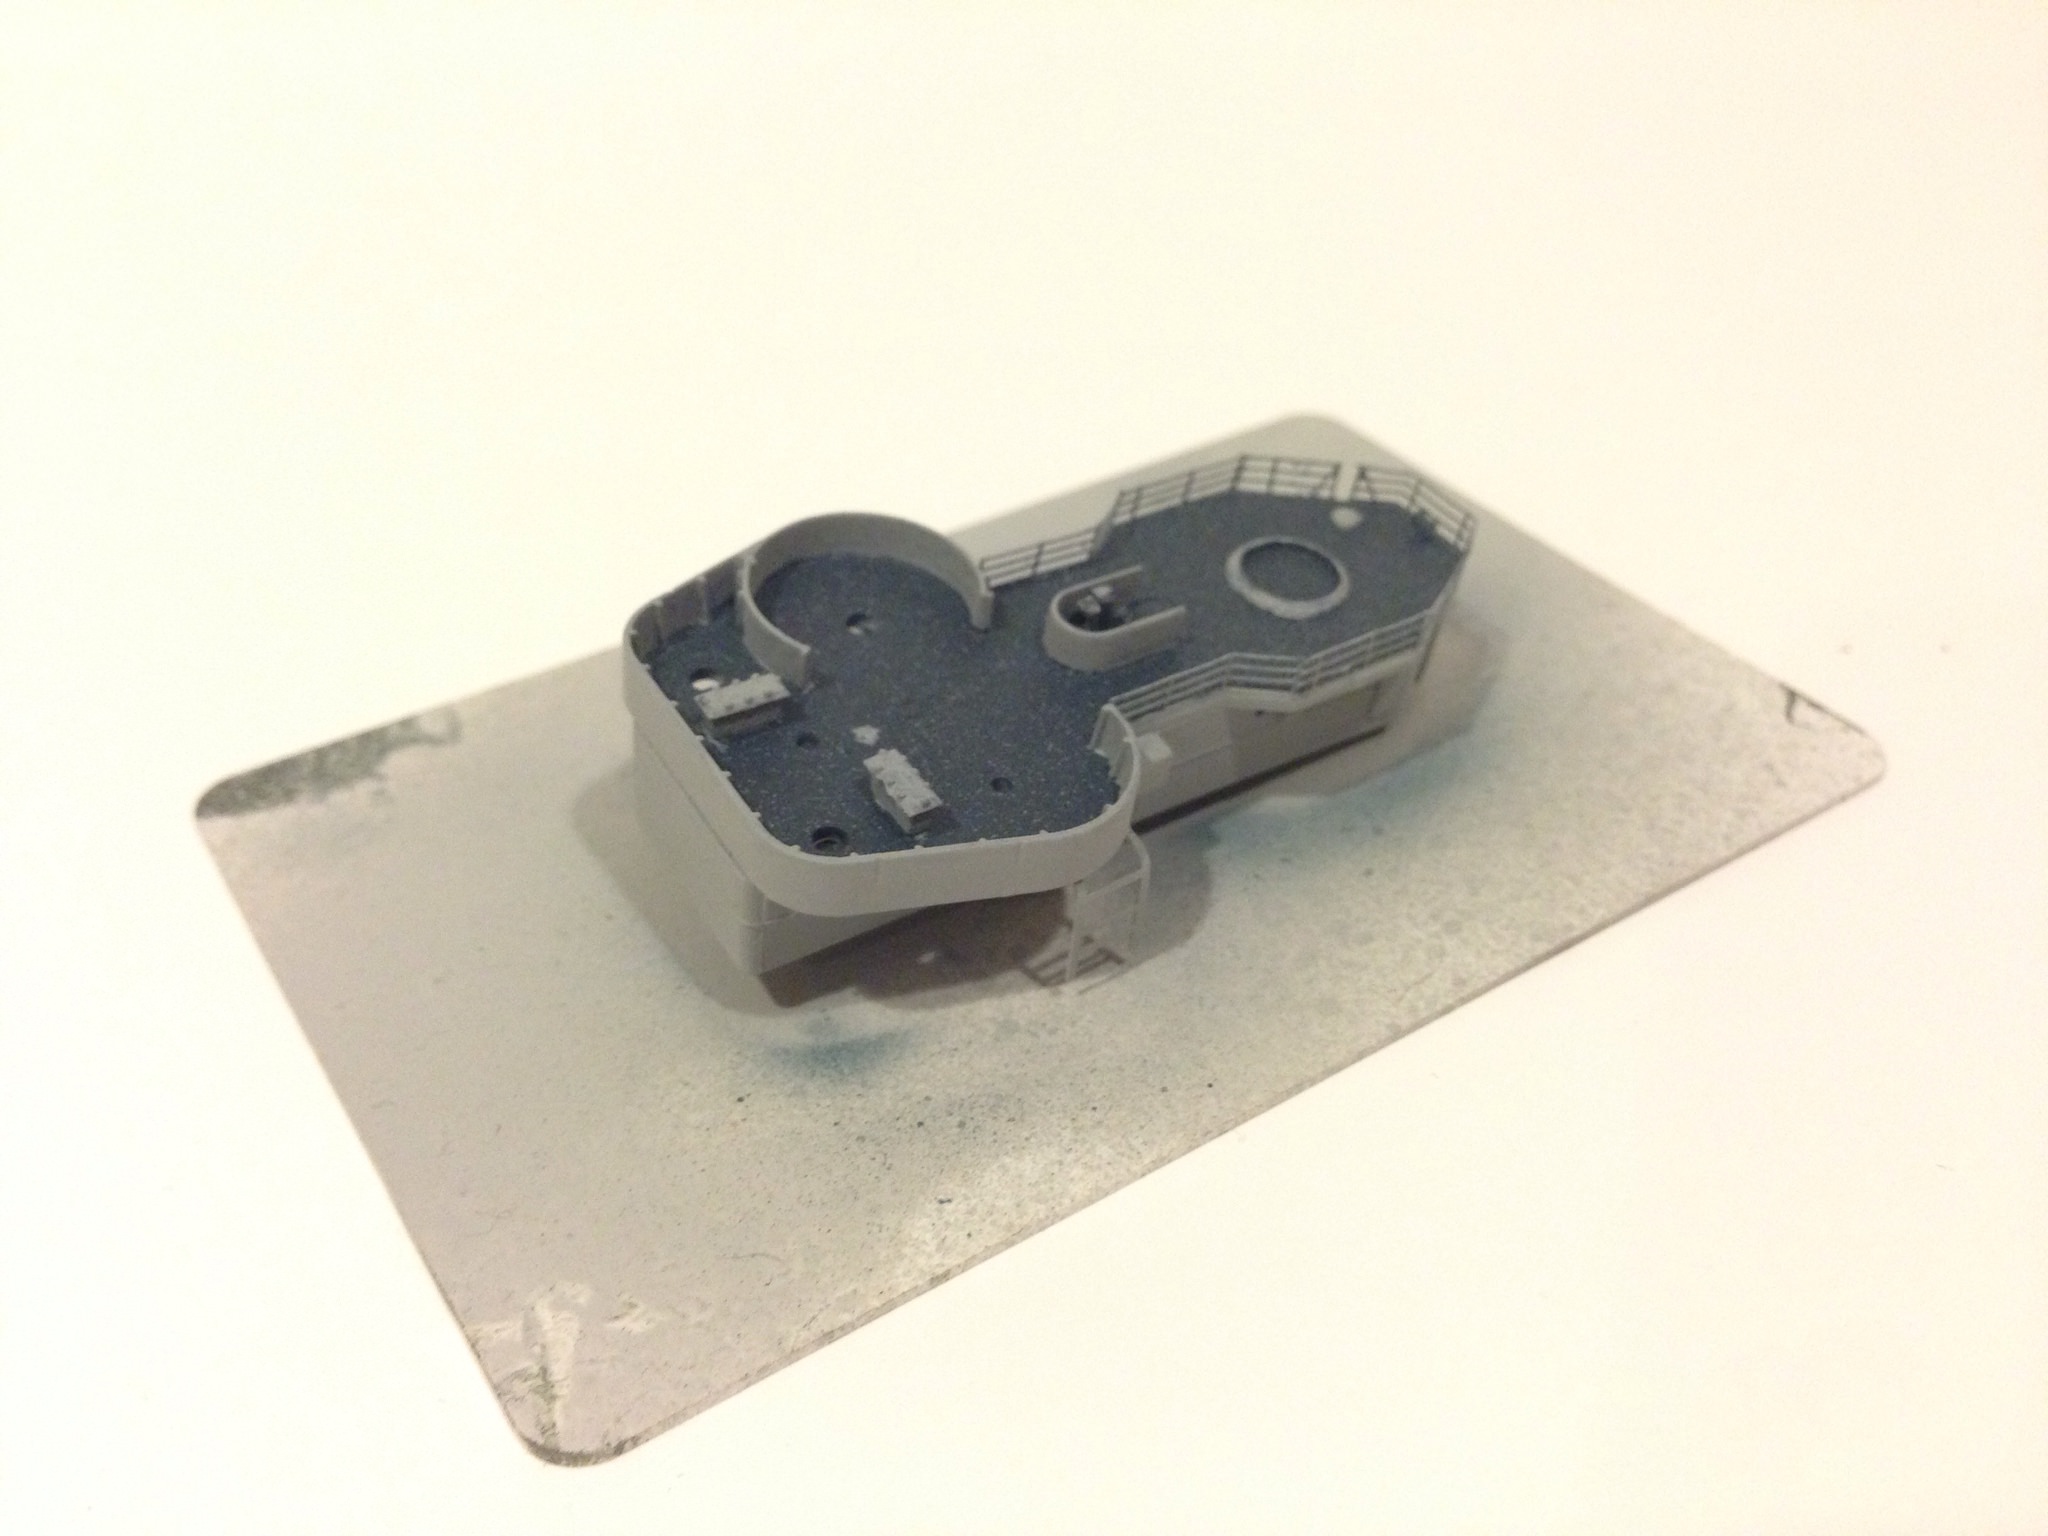
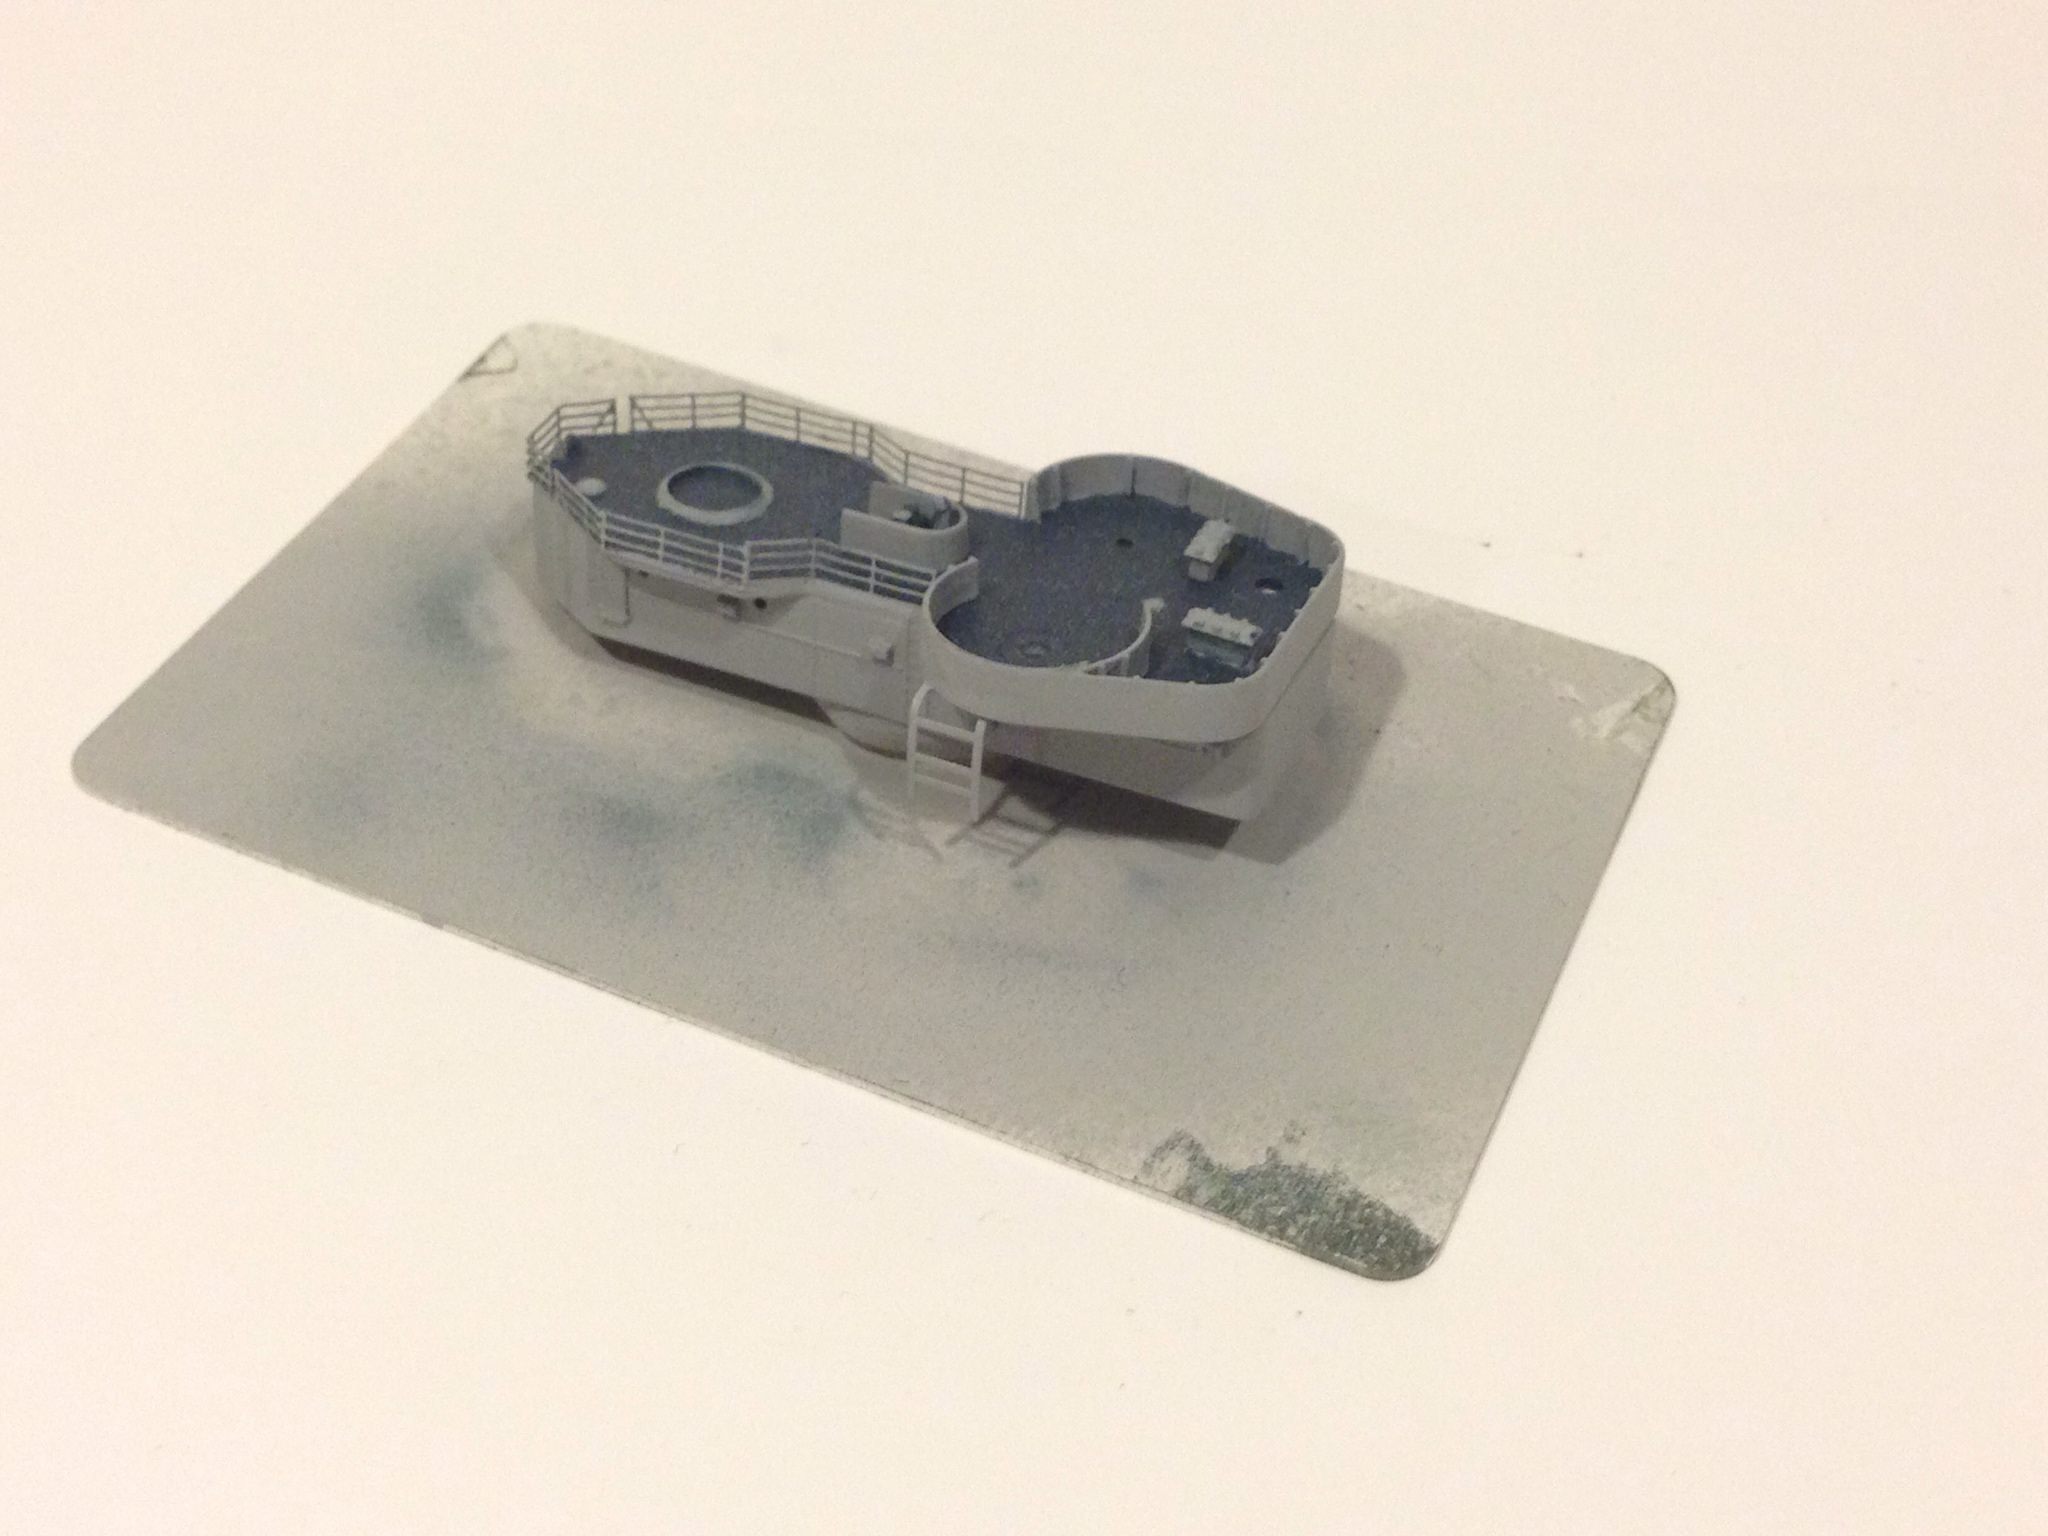
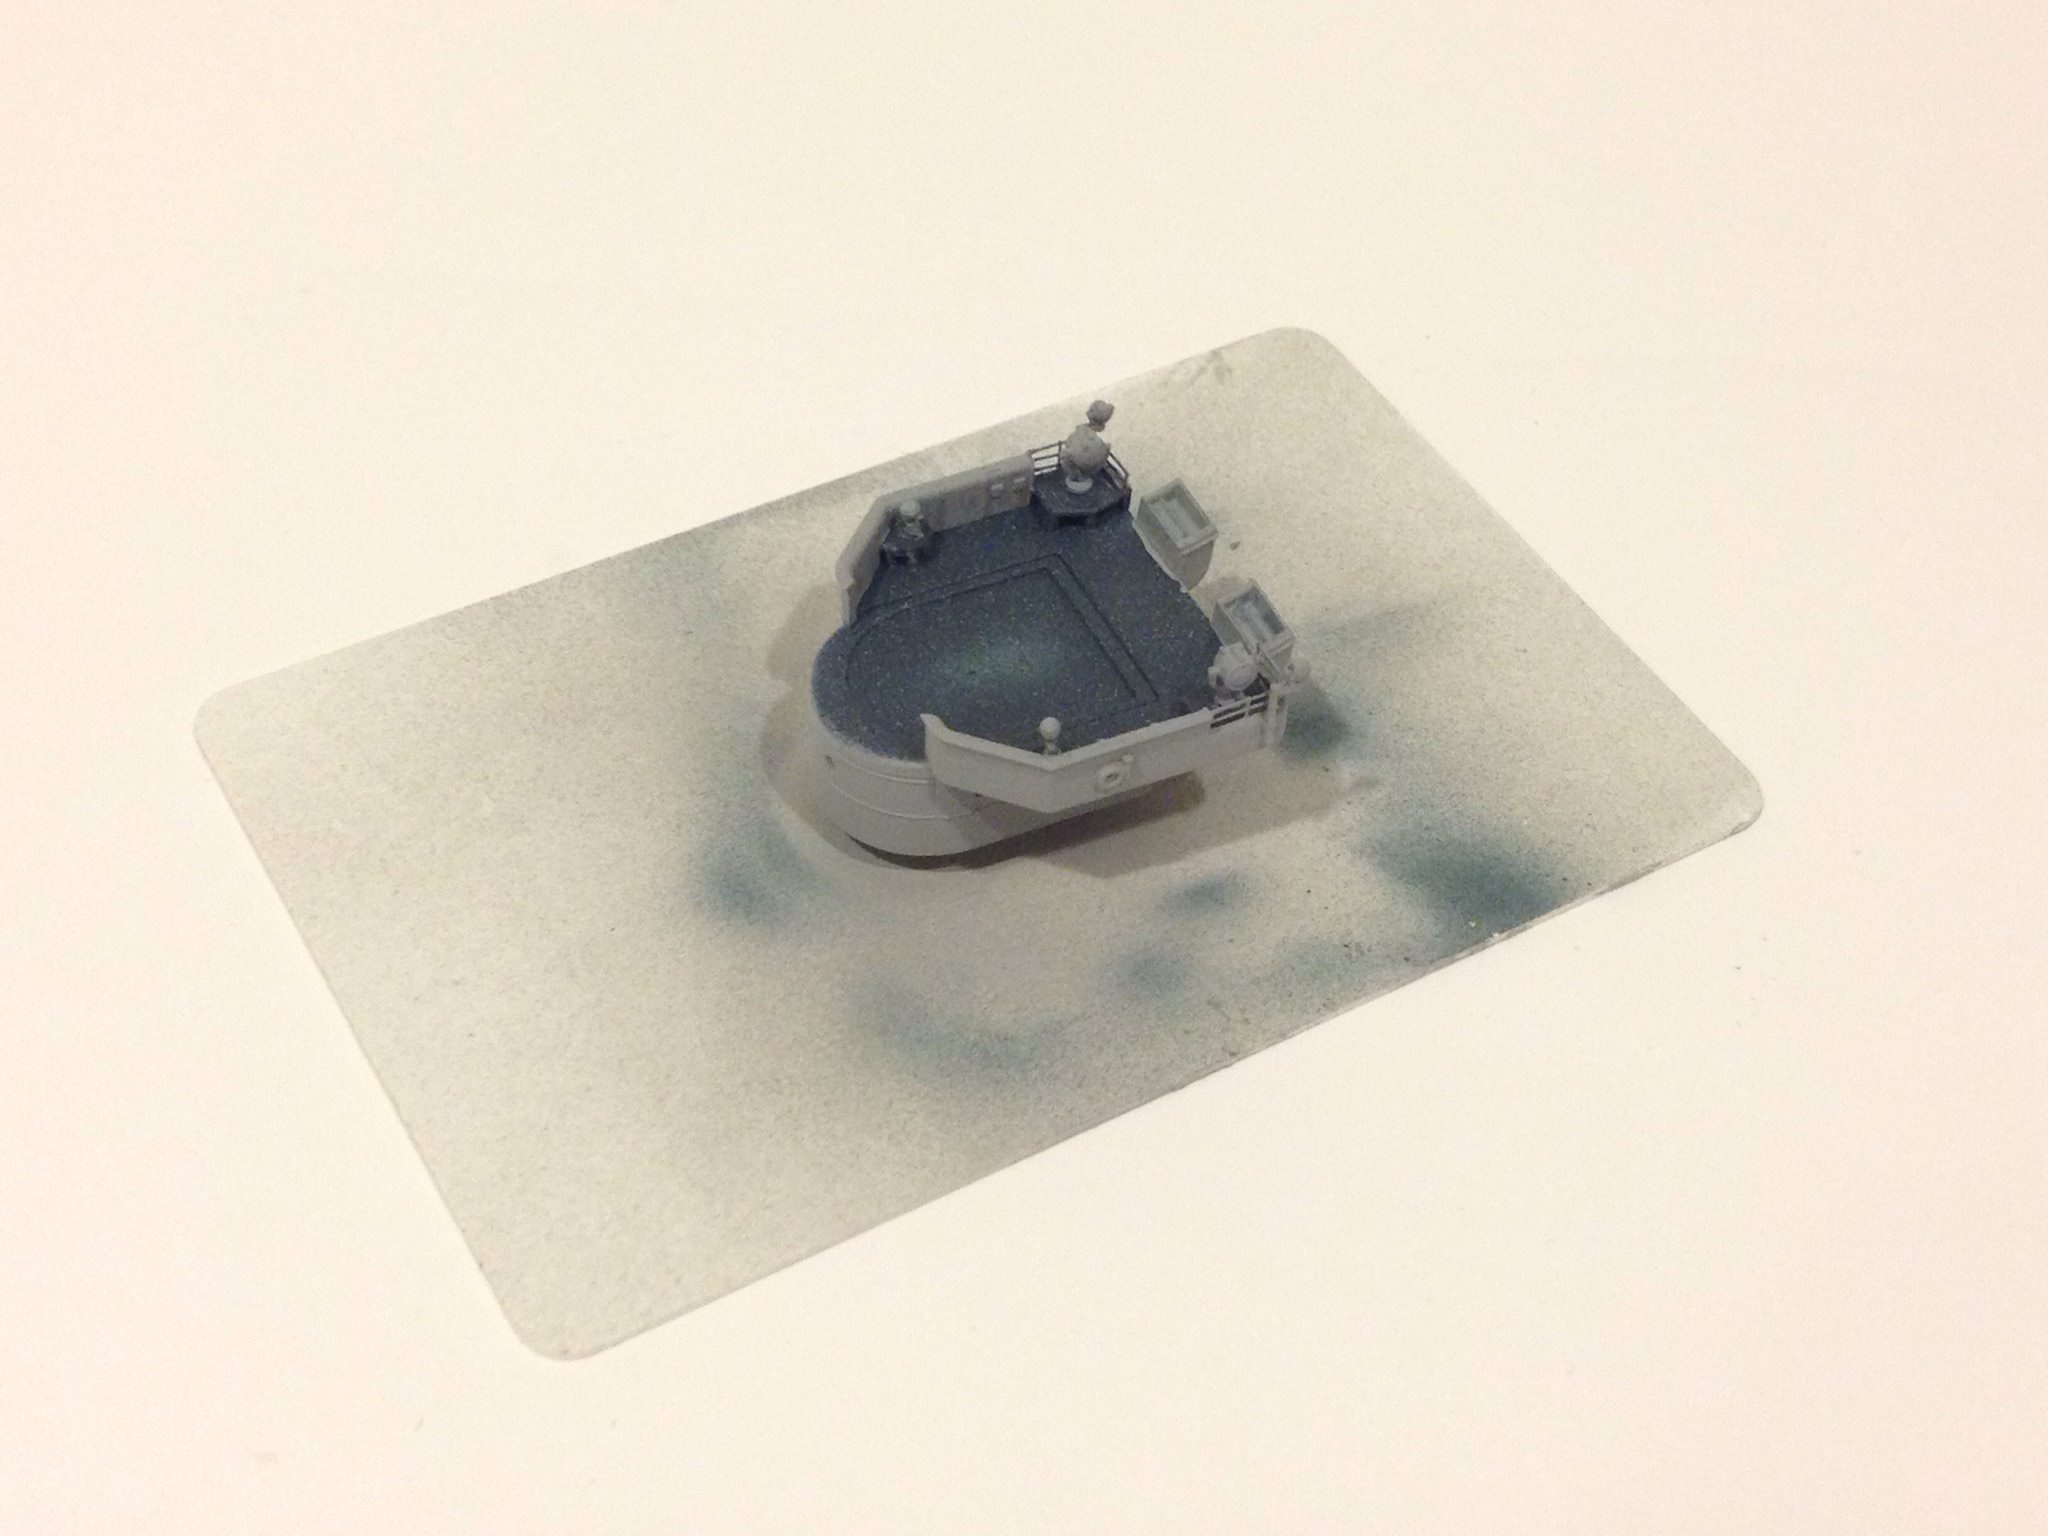
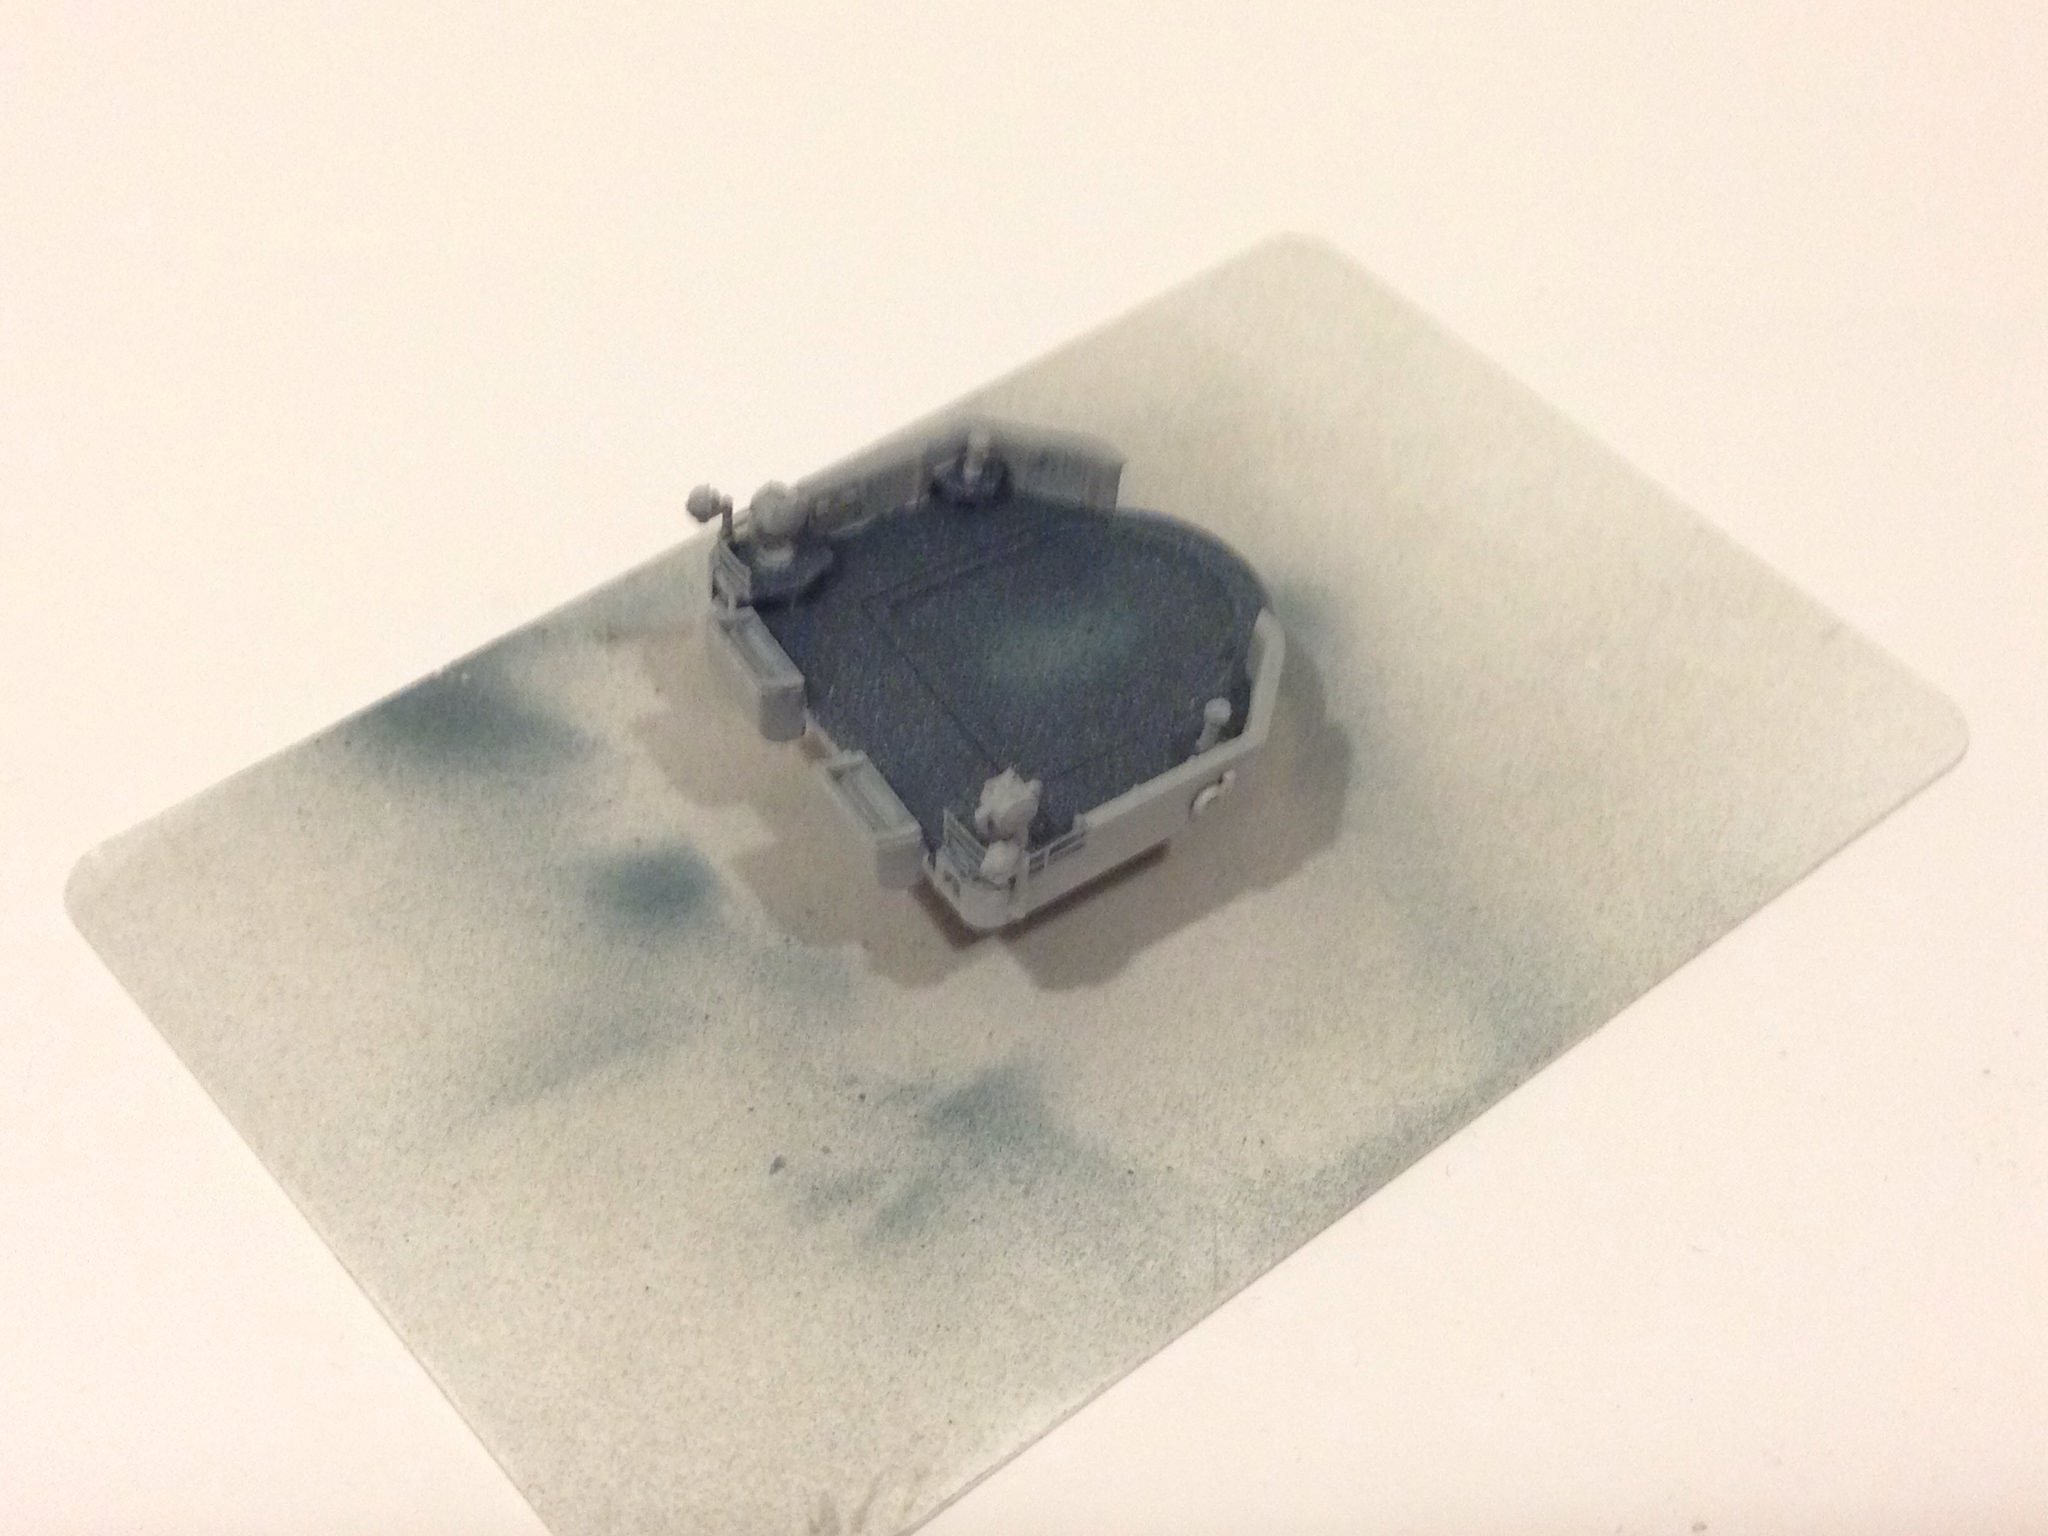
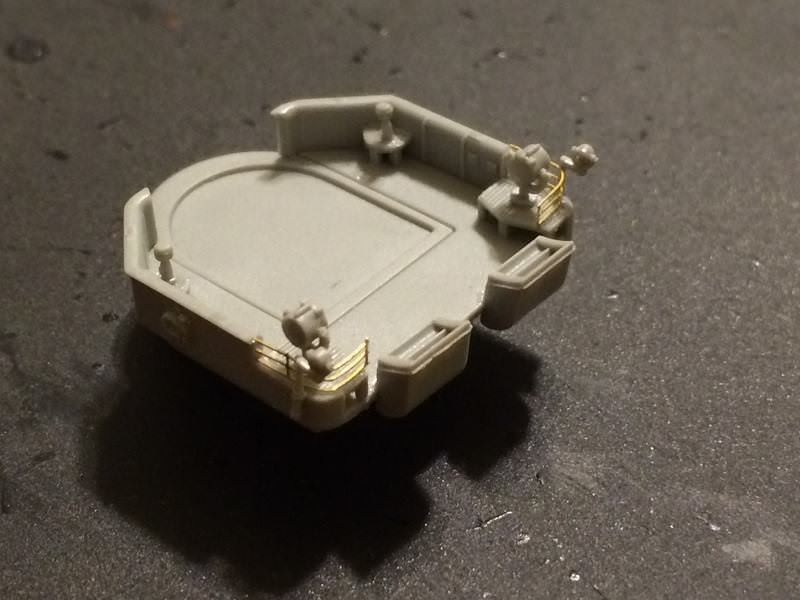
I have made progress with the bridge, here are the shots. I opted to have canvas covered railings (still being dry fitted here).


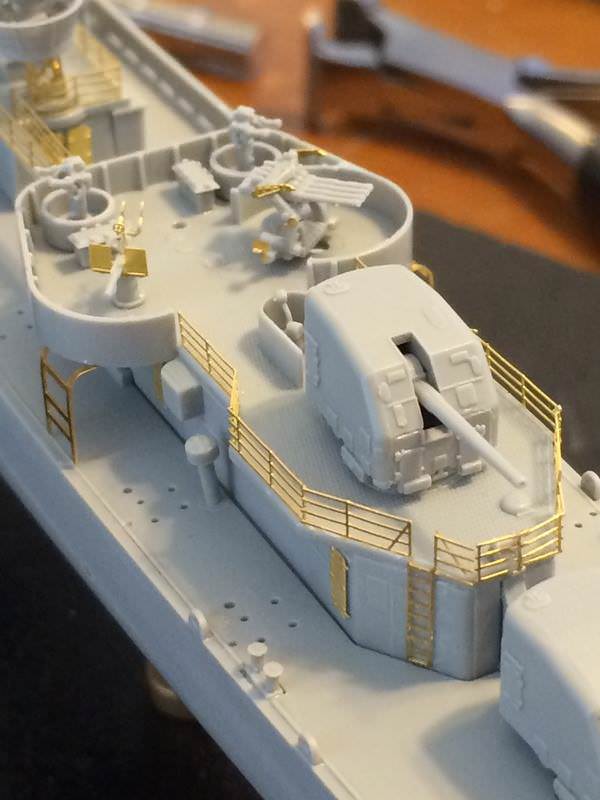
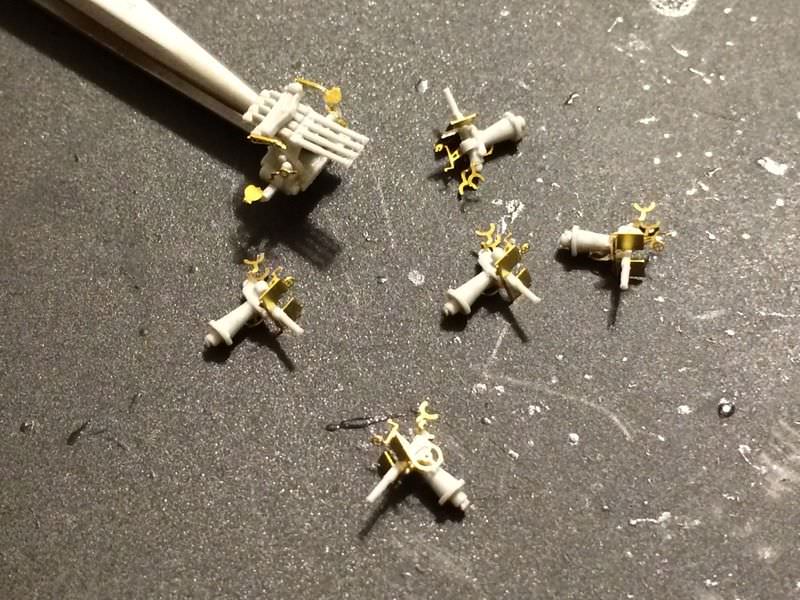
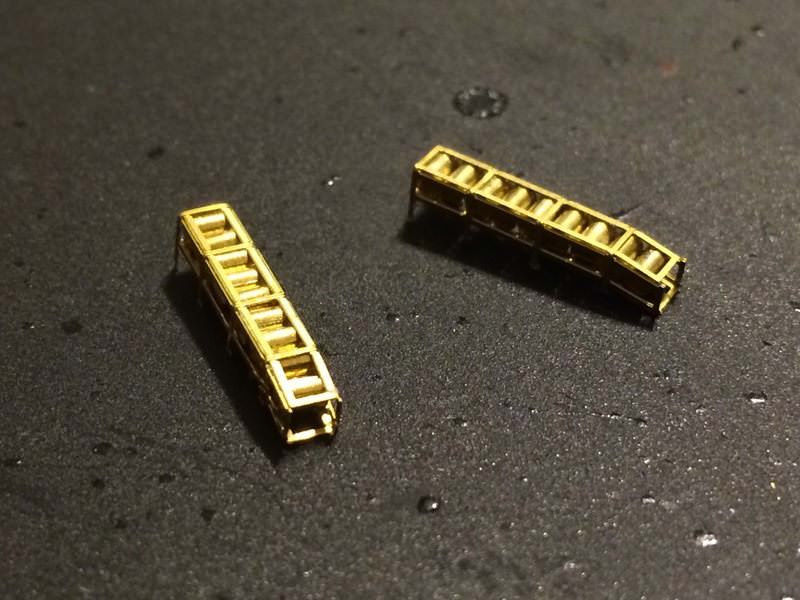
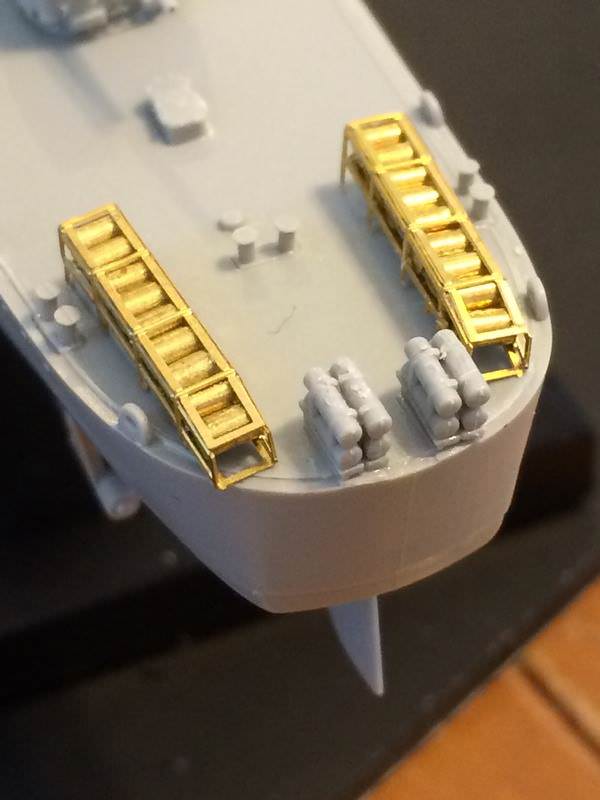
I have also completed the AA weapons for the deck as well as the depth charge racks.


Thanks for viewing. I look forward to your comments.

-Joseph


TRM5150
Visit this Community
Massachusetts, United States
Joined: January 03, 2010
KitMaker: 2,159 posts
Model Shipwrights: 1,400 posts
Posted: Sunday, July 31, 2016 - 11:26 PM UTC
You made some nice progress despite the stool-out Joseph! Clean work on all the shiny brass! Keep up the great work!
gtb-red
Visit this Community
United States
Joined: November 17, 2007
KitMaker: 782 posts
Model Shipwrights: 774 posts
Posted: Monday, August 01, 2016 - 03:51 AM UTC
Nice work! I'm planning on putting both together. Wasp CV-7 and Buchanan.
35th-scale
Visit this Community
Kildare, Ireland
Joined: November 21, 2007
KitMaker: 3,212 posts
Model Shipwrights: 124 posts
Posted: Monday, August 01, 2016 - 04:54 PM UTC
Very nice details.... Watching with interest
BravoTwoZero
Visit this Community
California, United States
Joined: June 11, 2009
KitMaker: 461 posts
Model Shipwrights: 80 posts
Posted: Monday, August 01, 2016 - 10:47 PM UTC

Quoted Text

You made some nice progress despite the stool-out Joseph! Clean work on all the shiny brass! Keep up the great work!


Thanks Todd, I had great practice when I built my Mogami. This one seems like a piece of cake compared to the brass work of that one.

I owe a lot of "thank you" to members of this site who selflessly share their knowledge. It is because of them that I am able to progress with my skills.

I don't know if you remember Todd, but I did ask you how you glue tiny brass grab handles on your Yukikaze build. I am using the pointers you shared with me.

For the mast I created, I learned to use telescoping brass tubes from Tim Reynaga's build of USS Olympia.

Also visible on my work bench is the black acrylic sheet that I use to cut/fold photoetch. This, I picked up from Tim Biddiscombe on his amazing 1/350 IJN "Akagi" build thread.

So again, thanks every one.
BravoTwoZero
Visit this Community
California, United States
Joined: June 11, 2009
KitMaker: 461 posts
Model Shipwrights: 80 posts
Posted: Monday, August 01, 2016 - 10:48 PM UTC

Quoted Text

Nice work! I'm planning on putting both together. Wasp CV-7 and Buchanan.


Thanks Mardis, what scale? Are you going to post a build thread? I would like to view your work.
BravoTwoZero
Visit this Community
California, United States
Joined: June 11, 2009
KitMaker: 461 posts
Model Shipwrights: 80 posts
Posted: Monday, August 01, 2016 - 10:49 PM UTC

Quoted Text

Very nice details.... Watching with interest


Thanks Sean, I'll try to post some updates soon.
gtb-red
Visit this Community
United States
Joined: November 17, 2007
KitMaker: 782 posts
Model Shipwrights: 774 posts
Posted: Wednesday, August 03, 2016 - 05:53 AM UTC

Quoted Text


Quoted Text

Nice work! I'm planning on putting both together. Wasp CV-7 and Buchanan.


Thanks Mardis, what scale? Are you going to post a build thread? I would like to view your work.

Both will be 1/350.
AussieReg
Staff MemberAssociate Editor
AUTOMODELER
#007
Visit this Community
Victoria, Australia
Joined: June 09, 2009
KitMaker: 8,156 posts
Model Shipwrights: 154 posts
Posted: Wednesday, August 03, 2016 - 06:39 AM UTC
Beautiful work so far Joseph, I am following and looking forward to more progress shots!

Lots of destroyers in the forums right now.

Cheers, D
BravoTwoZero
Visit this Community
California, United States
Joined: June 11, 2009
KitMaker: 461 posts
Model Shipwrights: 80 posts
Posted: Wednesday, August 03, 2016 - 08:45 PM UTC

Quoted Text

Beautiful work so far Joseph, I am following and looking forward to more progress shots!

Lots of destroyers in the forums right now.

Cheers, D


Thanks very much Damian. I have made some progress since my last post. I just have to take pictures and upload them. Hopefully soon.
BravoTwoZero
Visit this Community
California, United States
Joined: June 11, 2009
KitMaker: 461 posts
Model Shipwrights: 80 posts
Posted: Monday, August 08, 2016 - 04:22 AM UTC
Here are progress shots of my Buchannan


I washed and rinsed these down yesterday in preparation for priming.
35th-scale
Visit this Community
Kildare, Ireland
Joined: November 21, 2007
KitMaker: 3,212 posts
Model Shipwrights: 124 posts
Posted: Thursday, August 11, 2016 - 10:13 PM UTC
Can't believe how neat and tidy you got all that PE. Also will be very interested in how you paint it when it's all done. I've only started on ships from my usual 1/35 armour and finding the tiny detailing to be a challenge. Any advice you can give will be appreciated.
BravoTwoZero
Visit this Community
California, United States
Joined: June 11, 2009
KitMaker: 461 posts
Model Shipwrights: 80 posts
Posted: Friday, August 12, 2016 - 03:31 AM UTC

Quoted Text

Can't believe how neat and tidy you got all that PE. Also will be very interested in how you paint it when it's all done. I've only started on ships from my usual 1/35 armour and finding the tiny detailing to be a challenge. Any advice you can give will be appreciated.


Hi Sean,

Thank you very much for you comment. Have to admit that it was not an easy feat. Would believe that this is only my third ship? The Glencoe 1/232 USS Olympia was where I got my feet wet. Then I was brave or dumb enough to go for a 1/350th IJN Mogami. But, you know the saying, "practice makes perfect". While I wouldn't call my work perfect, I know that my skill has improved the more I try.

Regarding advice, in my opinion, having the right tools will help you go a long way. Here are some that I have in my tool box:
1) Optivisor
2) I have three sets of scalpel/blades handy (nos. 10, 11 & 15)
3) Black plastic acrylic sheet for use when working with photoetch. This makes it easy to see the part and will not dull the scalpel blade easily
4) Finest tweezers you can get
5) BluTac as extra hands to hold the parts
6) Photoetch bending tools (I have one from Mission Models and Tamiya)
7) Jeweler's jig, I find this indispensable especially when working with brass tubes for my mast.
8) CA glue and accelerator
9) Regular and thin versions of Gator glue
10) Watchmaker's pin oilers which I use to apply glue and accelerator
11) Lighter to clear the oilers of residue glue
12) Xuron photoetch scissors

These are what I remember from the top of my head.They make the assembly easy.

I will be painting these soon and hopefully I remember to take photos so I can share it here.

Again, thanks for your comment. Let me know if you need more inf on the tools I listed.

-Joseph
gtb-red
Visit this Community
United States
Joined: November 17, 2007
KitMaker: 782 posts
Model Shipwrights: 774 posts
Posted: Friday, August 12, 2016 - 09:47 AM UTC
Very nice work!
JJ1973
#345
Visit this Community
Niedersachsen, Germany
Joined: August 22, 2011
KitMaker: 1,835 posts
Model Shipwrights: 1,832 posts
Posted: Friday, September 02, 2016 - 12:49 AM UTC
Hi Joseph,

very nice and tidy work indeed, looks great so far!

I'm in and following, looking forward to your progress, but take the time you need! I'm a pretty slow builder myself, so I know the problem...

Cheers,
Jan
BravoTwoZero
Visit this Community
California, United States
Joined: June 11, 2009
KitMaker: 461 posts
Model Shipwrights: 80 posts
Posted: Wednesday, September 07, 2016 - 11:26 PM UTC

Quoted Text

Very nice work!


Thanks very much Mardis!


Quoted Text

Hi Joseph,

very nice and tidy work indeed, looks great so far!

I'm in and following, looking forward to your progress, but take the time you need! I'm a pretty slow builder myself, so I know the problem...

Cheers,
Jan


Hello Jan,

Thanks for your comment! This project got set aside because I worked on/still working on some 1/72 scale armor. What I've learned so far is that when working with 1/350th scale photoetched parts, the 1/72 ones are a breeze!

The last thing I did on this project was to wash it with detergent in preparation for spraying primer. This has since long been air dried. In fact, it may have accumulated some dust already. I'll have to blow them off with the airbrush before I proceed. I'm hoping to spray this weekend.

-Joseph
BravoTwoZero
Visit this Community
California, United States
Joined: June 11, 2009
KitMaker: 461 posts
Model Shipwrights: 80 posts
Posted: Monday, May 14, 2018 - 04:00 AM UTC
Hello everyone,

After one and a half years, I am back. Here are some of reasons on why there has been no update.
1) I lost one small piece when I was washing the sub-assemblies. I got frustrated that I shelved this project.
2) Armor modelling took over
3) Photobucket

I have uploaded the pictures on to imgur and edited my previous posts.

I have primed the sub-assemblies. Here are the results.


I plan to paint the deck and install the decals. Hopefully, I can keep working on this until I complete it.

Thanks,

Joseph
RedDuster
Visit this Community
England - South East, United Kingdom
Joined: March 01, 2010
KitMaker: 7,078 posts
Model Shipwrights: 6,649 posts
Posted: Monday, May 14, 2018 - 11:00 PM UTC
Good to see you back Joseph,

and some progress on the Buchannan, looking great.

Cheers

Si
BravoTwoZero
Visit this Community
California, United States
Joined: June 11, 2009
KitMaker: 461 posts
Model Shipwrights: 80 posts
Posted: Tuesday, May 15, 2018 - 03:33 AM UTC

Quoted Text

Good to see you back Joseph,

and some progress on the Buchannan, looking great.

Cheers

Si


Thank you very much Si. I'd like to get this project completed so I can start work on my Varyag.
RussellE
#306
Visit this Community
Victoria, Australia
Joined: June 27, 2010
KitMaker: 3,959 posts
Model Shipwrights: 2,777 posts
Posted: Tuesday, May 15, 2018 - 03:53 AM UTC
Following with interest Joseph
BravoTwoZero
Visit this Community
California, United States
Joined: June 11, 2009
KitMaker: 461 posts
Model Shipwrights: 80 posts
Posted: Thursday, May 17, 2018 - 09:17 PM UTC

Quoted Text

Following with interest Joseph


Thanks Russell, I hope I don't disappoint.

I've started with applying colors to this ship. I have two sets from Lifecolor: US Navy WWII Set 1 and US Navy WWII Set 2. According to the paint guide, I will be using Deck Blue and Haze Grey. Also, the airbrush I am using is Tamiya HG 0.2mm


This is the first time I've used Lifecolor. I have no complaints at all. With the airbrush, they cover and level up well. Also, When I performed touch ups, it behaved the same way when I applied using regular brush.

Here are the resulting pictures.


In the following pictures, take note of the inner walls, they have all been hand painted using regular paint brush. No brush marks are evident.


The touch ups on the railings look good to me.


Next steps are to paint the succeeding camo patterns. That will be quite challenging. I'm glad I have the option to hand paint where masking would be difficult.

-Joseph

Black_sheep
Visit this Community
Bayern, Germany
Joined: December 11, 2009
KitMaker: 823 posts
Model Shipwrights: 551 posts
Posted: Thursday, May 17, 2018 - 10:46 PM UTC
clean PE and paintwork - looking very nice so far!

Cheers

Thomas
d6mst0
#453
Visit this Community
Texas, United States
Joined: August 28, 2016
KitMaker: 1,925 posts
Model Shipwrights: 1,298 posts
Posted: Friday, May 18, 2018 - 12:44 AM UTC
Joseph,

Really fine work you are doing on those superstructures. The paint work looks spot on.

Mark
RedDuster
Visit this Community
England - South East, United Kingdom
Joined: March 01, 2010
KitMaker: 7,078 posts
Model Shipwrights: 6,649 posts
Posted: Friday, May 18, 2018 - 11:36 AM UTC
Looking good with some paint on Joseph.

Cheers

Si
BravoTwoZero
Visit this Community
California, United States
Joined: June 11, 2009
KitMaker: 461 posts
Model Shipwrights: 80 posts
Posted: Monday, May 28, 2018 - 09:25 PM UTC
Thank you very much for both your comments and interest, Thomas, Mark and Si. I'm just glad I got the mojo on this project again. I tackled the most complicated part of painting this destroyer and that is the Measure 12 camouflage. To aid me in this process, I bought Gator Paint Mask (this is the same company that makes the Gator Grip glue, which I highly recommend). I bought the 1/350 USS Buchanan - MS 12 mod mask. It is available here: http://www.gatorsmask.com/ddde.html

After painting the base color of LifeColours' 5-H Haze Gray and letting it dry for about 4 hours, I applied the first set of masks.


Another 4 hours, I then applied LifeColours' 5-O Ocean Gray.


After another 4 hours (approximately), I applied the next set of masks.


And finally, I sprayed LifeColours' 5-N Navy Blue.


After letting the last paint dry for several hours, I pealed off the masks. Here are the results. As you can see, the paint guide in the instruction is about the same scale. I imagine that if I didn't have the Gator Mask, I would have used the paint guide as a template for the mask. That would have been laborious. Gator Mask made it way easy. Note: I just noticed that I am missing a couple of Ocean Gray splotches on the port side bow. I'll have to decide whether to mask or hand paint these.


There are some touch ups required, but LifeColour paints level very well that these are barely noticeable. Another effect is the obvious layering. But since these are evident only when using optivisors and also photography usually magnifies these, I am okay to leave them as is. Here is what I am talking about.


Next is to apply the boot and the hull red colors.

Thanks,

Joseph
 _GOTOTOP