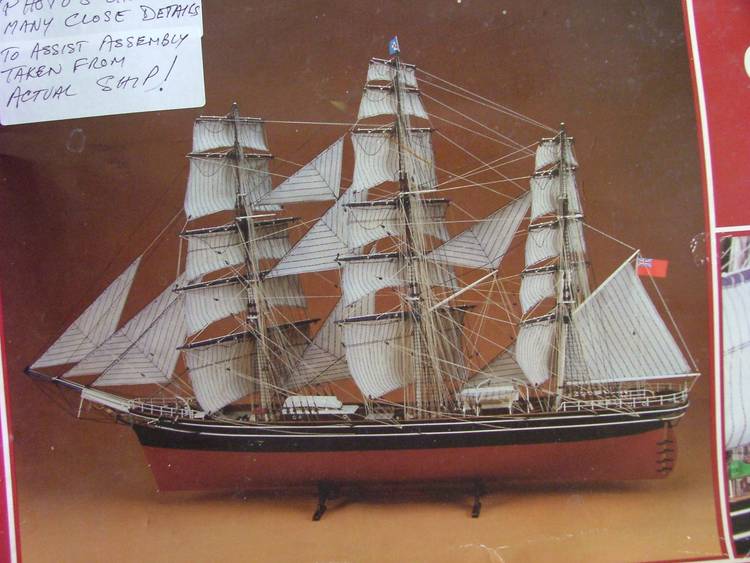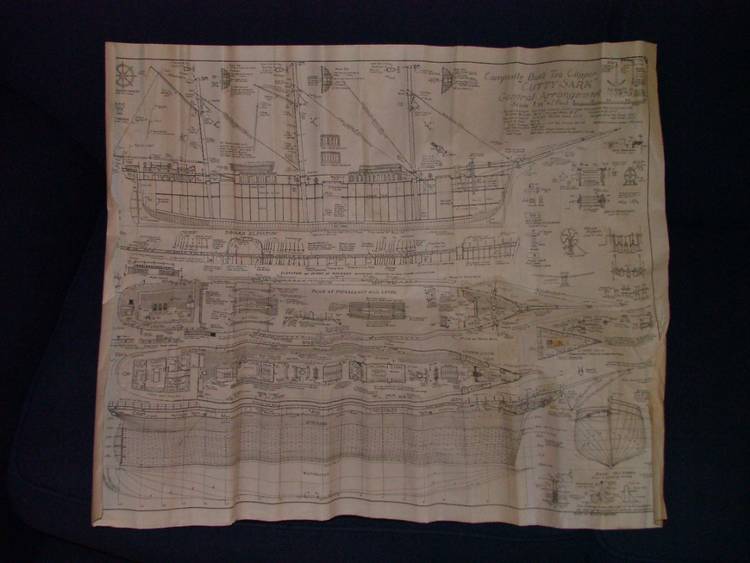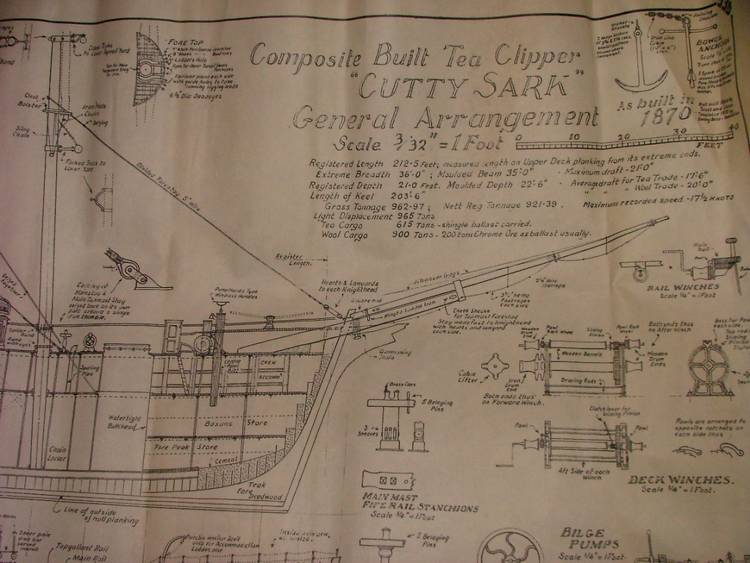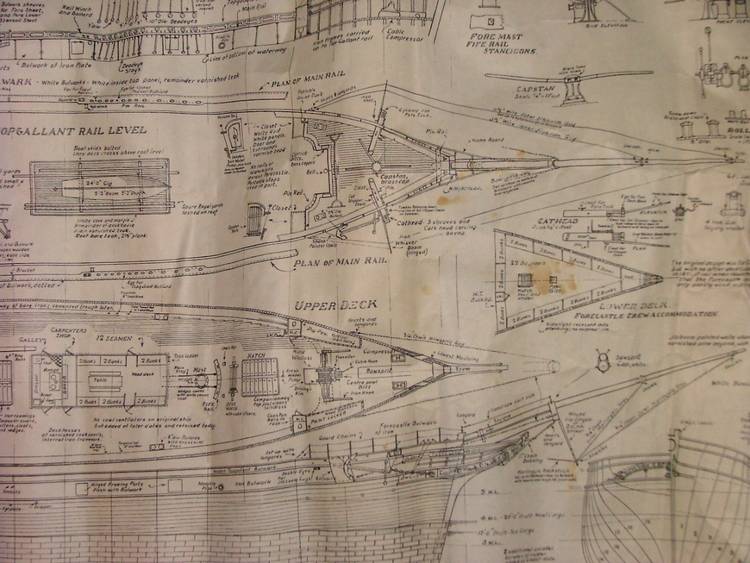


A compleet wooden model kit of the Cutty Sark, with all the bits and pieces (rigging, brass, etc ) included....

Price? £30...
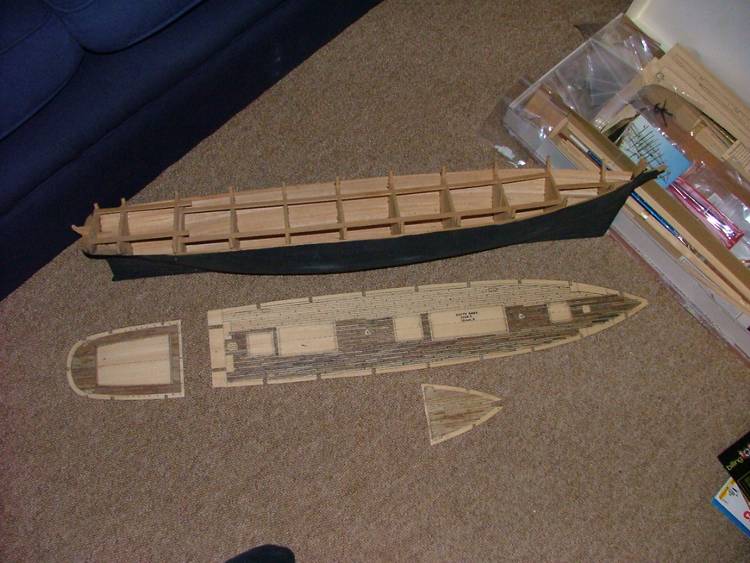
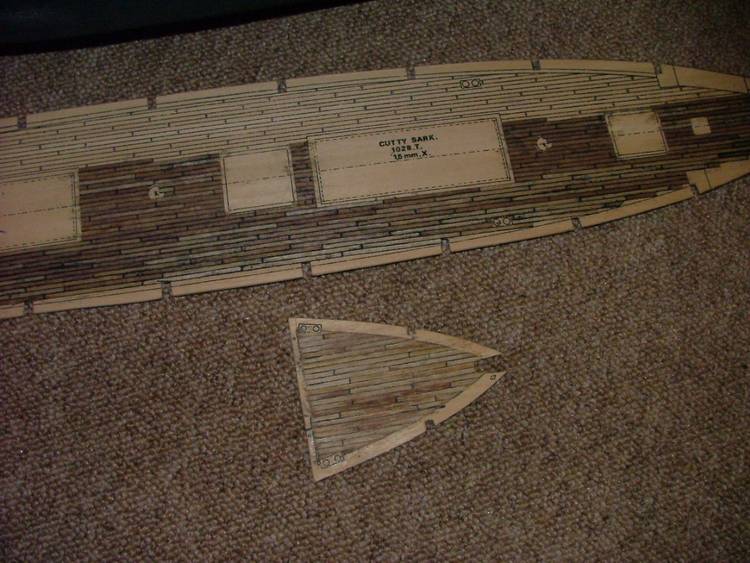
.I could not resist, and am now looking at a large number of ziplockbags and lenghts of wood..


. It's not as if I don't have enough to do already
 . But sometimes you see a model and it just grabs you..
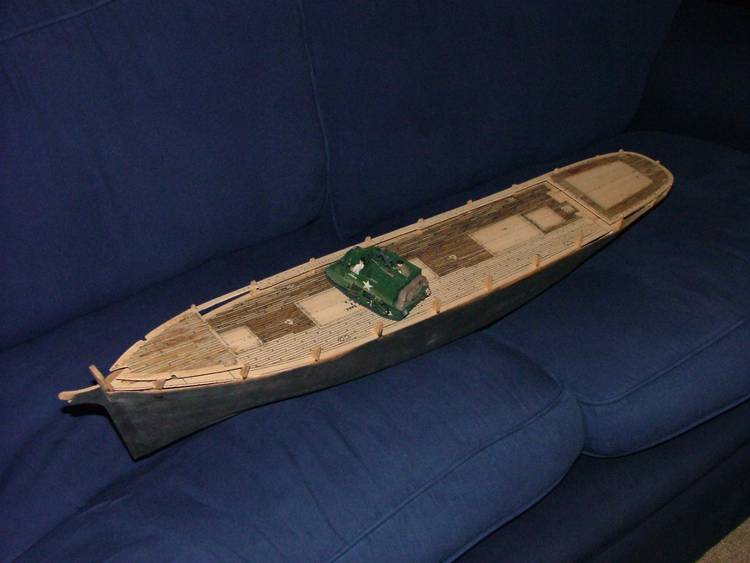
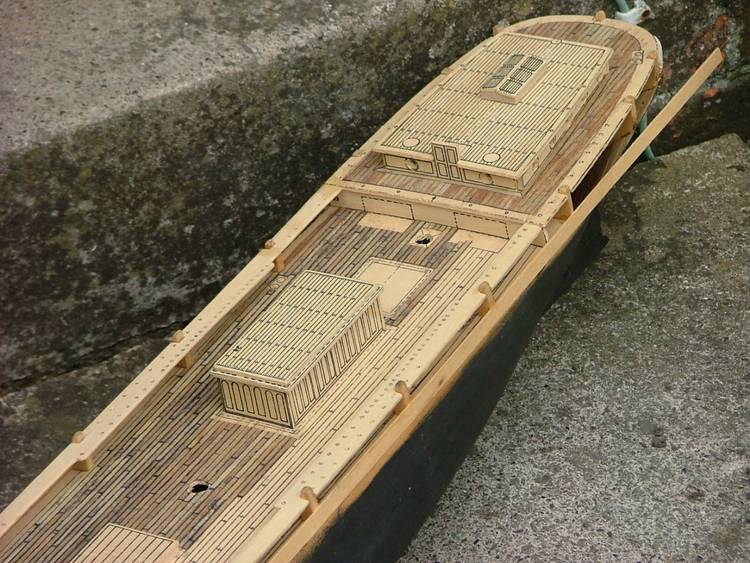
Lenght 4 foot, height 2 foot,... don't know where it will go, but I'm getting stuck in anyway. I think I'll devide my time between plastic and wood by doing the wood at home, and the plastic during my nightshift in the office
 .
.But the question I have is, are there any other members working on wooden ships and/or rigging at the moment? I don't want to start a campaign, but it might be an idea to keep each other updated on a regular, informal basis, help out with questions and to keep the wind in the sails ( pardon my intentional pun
). I'm lucky in that the previous owner has already 'finished' the hull, so that's where I'll pick up from.
Cheers
Henk