Ships by Class/Type: Battleships
Topics from the Dreadnaught era to modern day.
Hosted by Steve Joyce
BISMARCK 1/350 Revell + Pontos.
RedDuster
Visit this Community
England - South East, United Kingdom
Joined: March 01, 2010
KitMaker: 7,078 posts
Model Shipwrights: 6,649 posts
Posted: Friday, September 23, 2016 - 09:35 PM UTC
Today's update.

Getting sub assemblies ready for the airbrush.

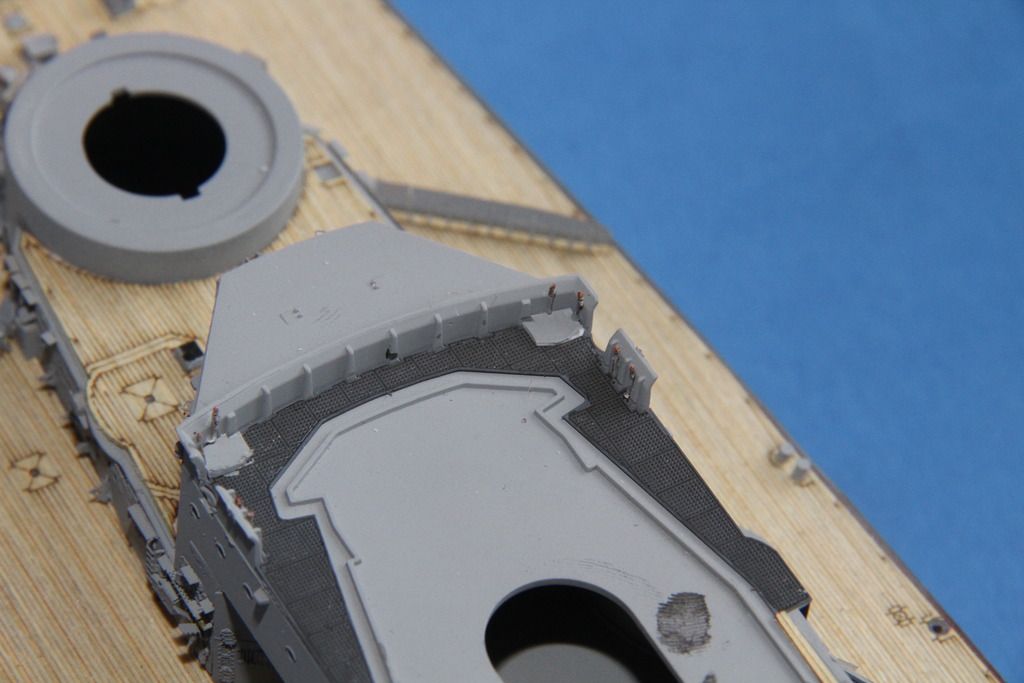
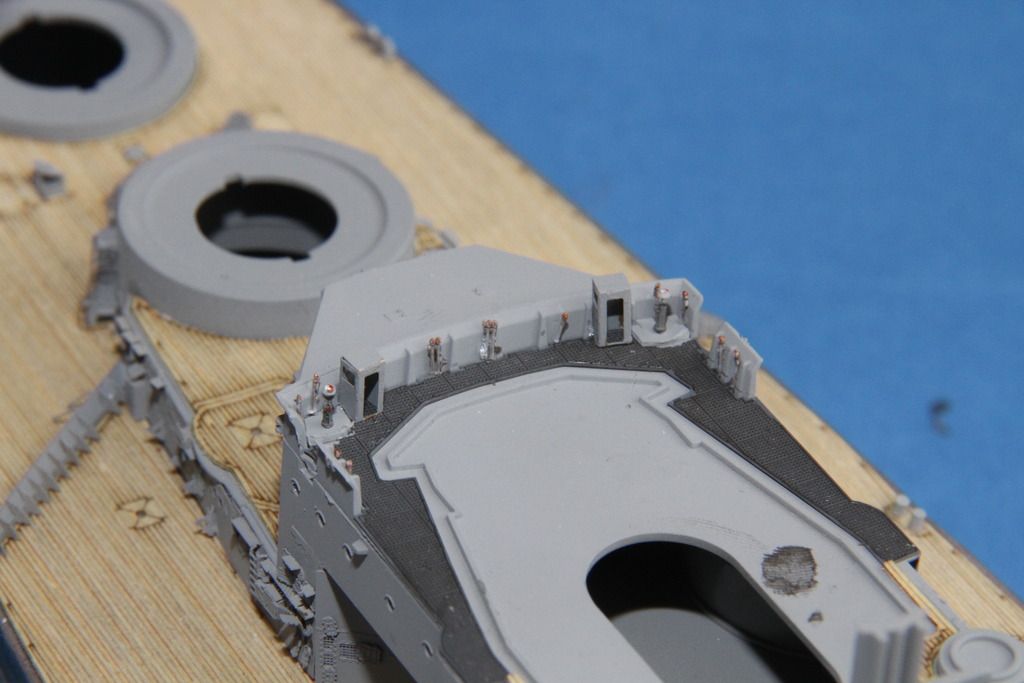
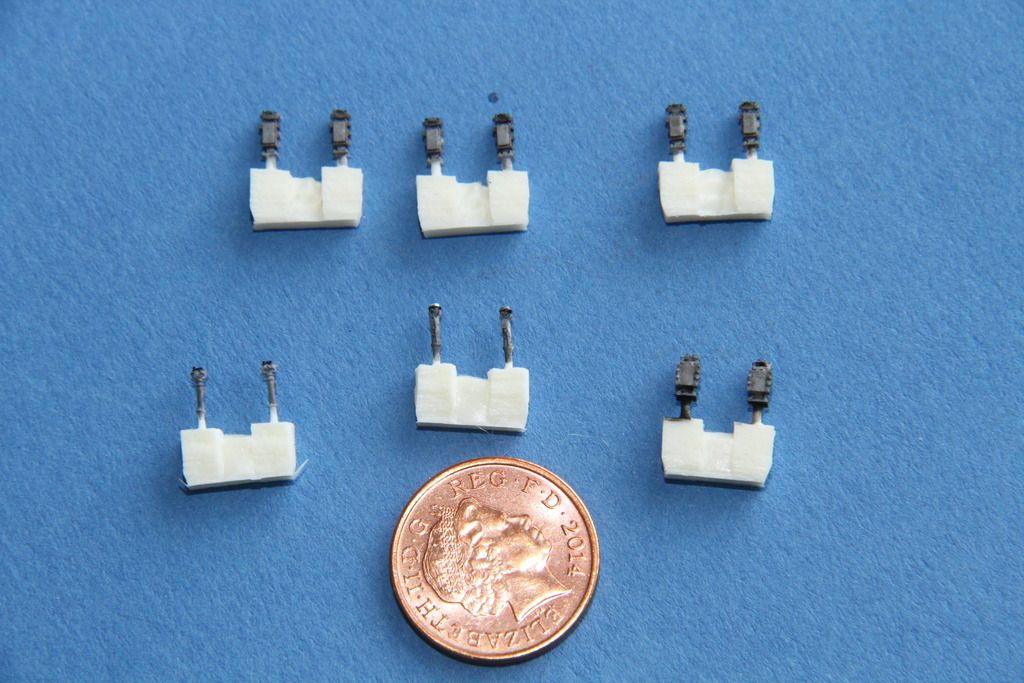
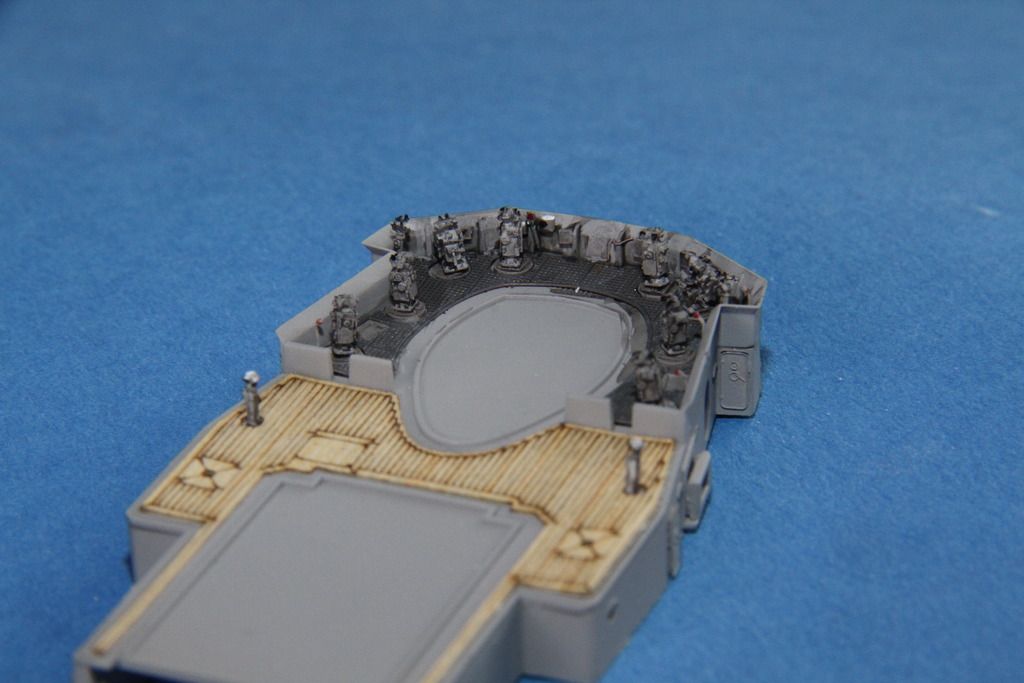
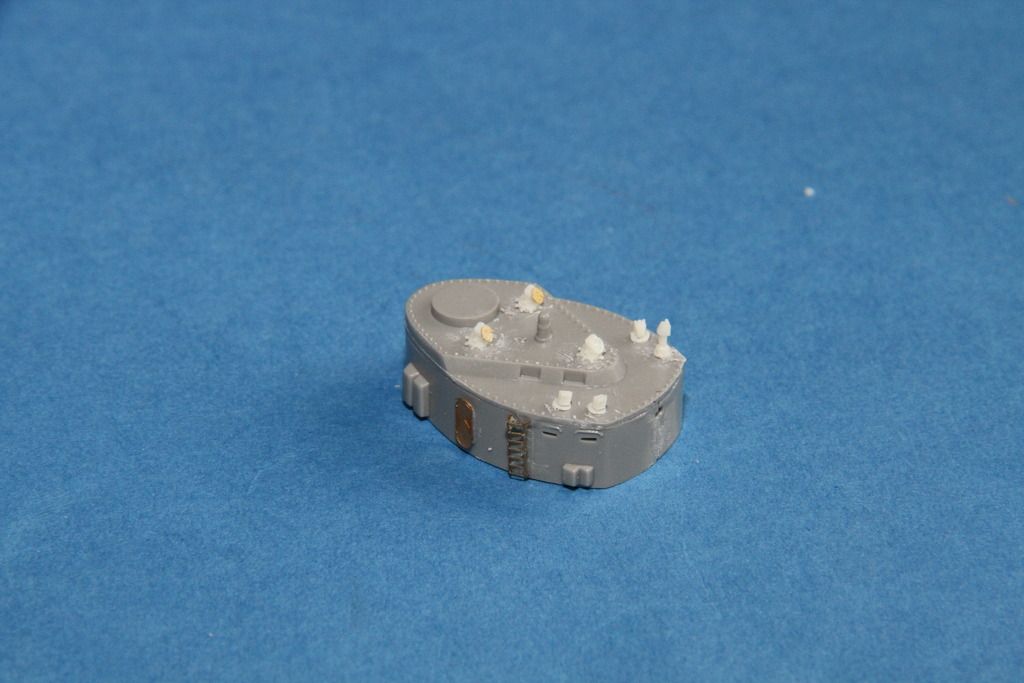
The parts for the forebridge armoured control position.


Moulded periscopes removed in preparation for fitting the Veteran replacement parts.


Done,

Four periscopes, one raised, and three C38 "target finders" fitted.


Built, and etch fitted. (there is no comment in the Pontos instructions about fitting the doors, but there appears to be enough on the fret.


Upper bridge etch fitted, and resin liferafts.
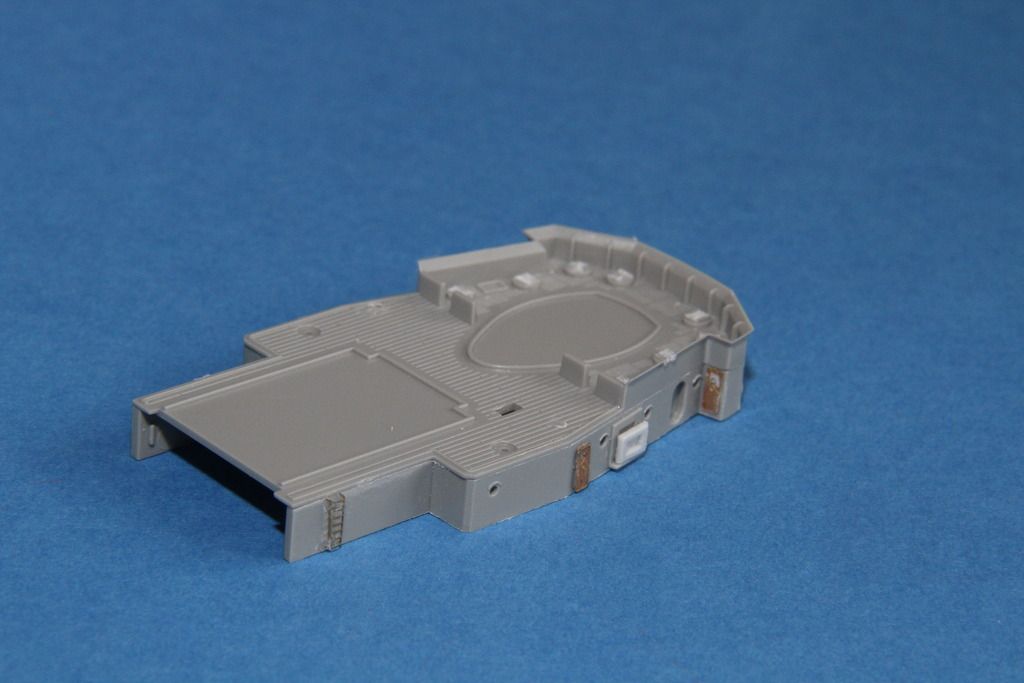


Bottom of bridge tower ertched up as well.
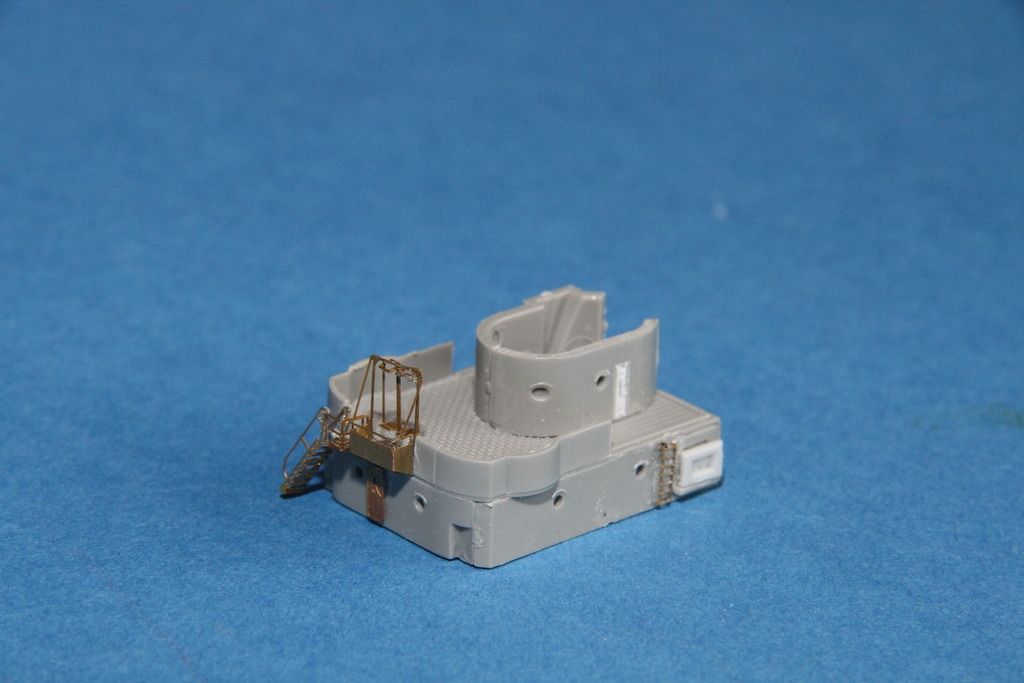


More soon

Si

JJ1973
#345
Visit this Community
Niedersachsen, Germany
Joined: August 22, 2011
KitMaker: 1,835 posts
Model Shipwrights: 1,832 posts
Posted: Saturday, September 24, 2016 - 09:20 PM UTC
Nice work, Si!
The Veteran stuff looks pretty cool on the armored bridge!

Cheers,
Jan
RedDuster
Visit this Community
England - South East, United Kingdom
Joined: March 01, 2010
KitMaker: 7,078 posts
Model Shipwrights: 6,649 posts
Posted: Saturday, September 24, 2016 - 11:22 PM UTC
Hi Jan,

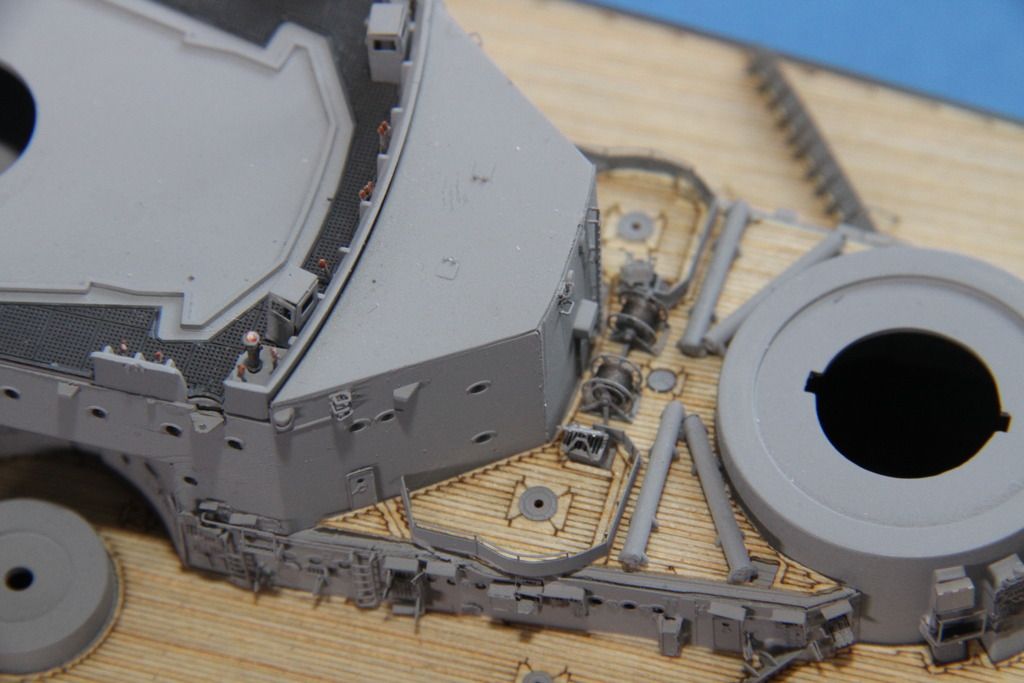
It is not bad at all, it fixes a few issues, and I love the raised periscope. Means I will be able to add the missing details to roof of the main and after towers.

I have another set with all the gear to go on the upper bridge, quite a bit of extra detail will be going on there.

Cheers. Si

Si
RedDuster
Visit this Community
England - South East, United Kingdom
Joined: March 01, 2010
KitMaker: 7,078 posts
Model Shipwrights: 6,649 posts
Posted: Tuesday, September 27, 2016 - 12:22 AM UTC
At last! the etched breakwaters completed, 80 odd etched parts between them.


Kit parts shown for comparison, not bad, but a little chunky.

fitted in place.


etched details on the hatches and vents going down.


painted, just in need of a wash.

.

The two outlined rectangles half way between Anton and Bruno should have vents on them, but insufficient parts on the Pontos fret, will see what I have left over ay the end to fix that.

Catapult parts sprayed.


and fitted.


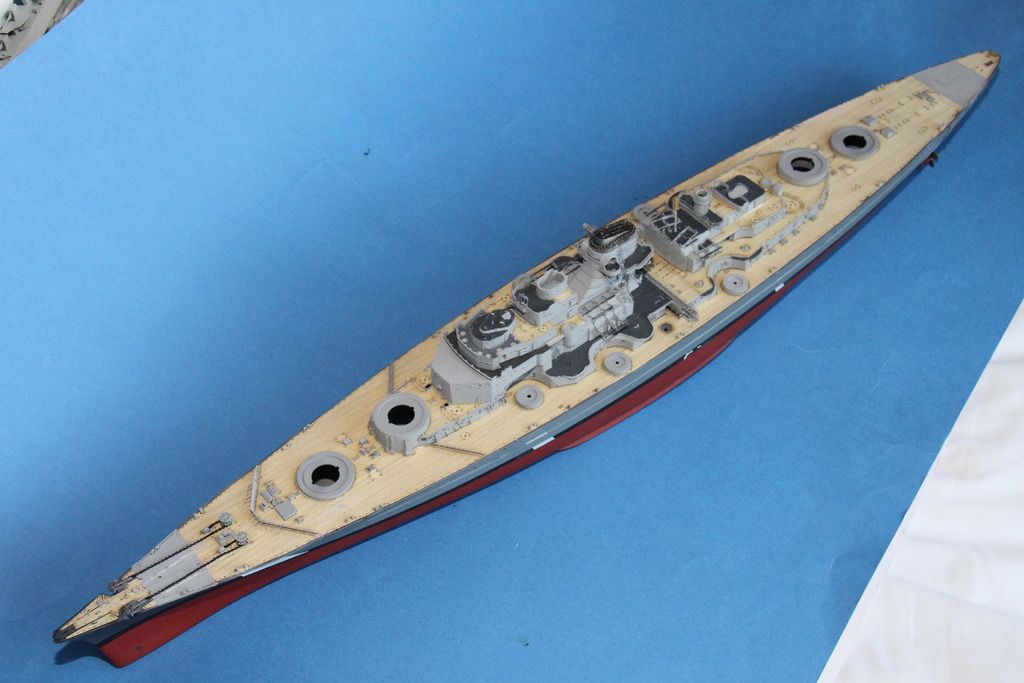
Paint and wood deck on the superstructure sub assemblies. (forward director base's roof needs a touch up and a bit of a wash.)


Everything test fitted in place.


More soon.

Si
RussellE
#306
Visit this Community
Victoria, Australia
Joined: June 27, 2010
KitMaker: 3,959 posts
Model Shipwrights: 2,777 posts
Posted: Tuesday, September 27, 2016 - 02:27 AM UTC
looking very nice now Si
RedDuster
Visit this Community
England - South East, United Kingdom
Joined: March 01, 2010
KitMaker: 7,078 posts
Model Shipwrights: 6,649 posts
Posted: Wednesday, September 28, 2016 - 04:08 PM UTC
Thanks mate

She is coming on, pleased with the catapult, loads of detail to go yet though.

Cheers

Si
RedDuster
Visit this Community
England - South East, United Kingdom
Joined: March 01, 2010
KitMaker: 7,078 posts
Model Shipwrights: 6,649 posts
Posted: Sunday, October 02, 2016 - 11:41 PM UTC
This weekends progress.

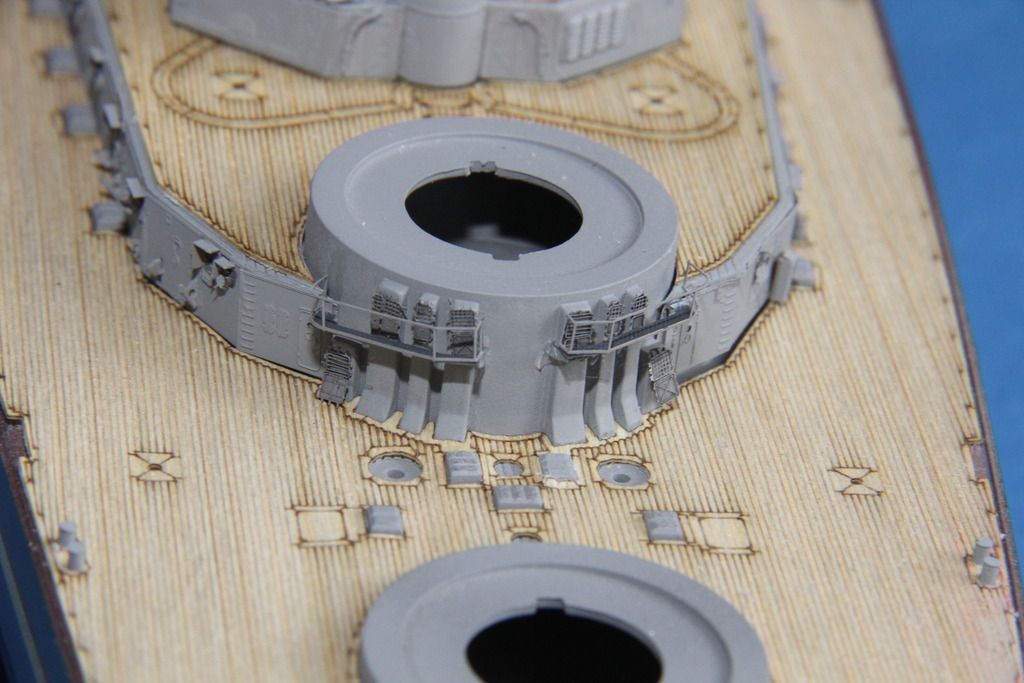
Vents and platforms around Bruno and Caeser barbettes fitted.


Replacement shelters for the Navigating bridge folded to shape.


Working on the splinter shields for the twin 37mm mounts forward of the bridge.


Raised platforms for the compass repeaters cut from plastic strip and test fitted.


Bridge 4.1" directors assembled, need a rub down, but quite nice.


voicepipes added and the platforms painted, touch up needed.


Veteran compass repeaters painted and ready for fitting.


Navigating bridge detail in place, except for a clean up.


Two Pontos cable reels assembled, I do like the inclusion of the turned brass reel, very nicely done.


Parts for the navigating bridge wings on the fret.


and folded up.


37mm splinter shields painted and in place.


Cable reels painted, the detail on the reels come out nicely under a wash.


all detail in place on the deck before the bridge.


well except for the guard rails.

The bridge wings fitted.


More soon.

Si

RussellE
#306
Visit this Community
Victoria, Australia
Joined: June 27, 2010
KitMaker: 3,959 posts
Model Shipwrights: 2,777 posts
Posted: Monday, October 03, 2016 - 02:20 PM UTC
amazing to think there was still that much clutter on Bismarck's decks, Si.

Very nice cable reels too!
RedDuster
Visit this Community
England - South East, United Kingdom
Joined: March 01, 2010
KitMaker: 7,078 posts
Model Shipwrights: 6,649 posts
Posted: Monday, October 03, 2016 - 11:42 PM UTC
She sure has al lot of clutter Russ, even by warship standards.

Does make her fun to build though.

Cheers

Si
JJ1973
#345
Visit this Community
Niedersachsen, Germany
Joined: August 22, 2011
KitMaker: 1,835 posts
Model Shipwrights: 1,832 posts
Posted: Thursday, October 06, 2016 - 09:36 PM UTC
Just amazing, Si!!

I know I am repeating myself, but it simply is amazing!! All the small and fine details bring so much life to the model! Great work!!

Cheers,
Jan
RedDuster
Visit this Community
England - South East, United Kingdom
Joined: March 01, 2010
KitMaker: 7,078 posts
Model Shipwrights: 6,649 posts
Posted: Friday, October 07, 2016 - 01:45 PM UTC
Thanks Jan,

Great base kit, great upgrade set. I am really enjoying working with both.

Because of the complexity I am treating this as lot of separate little projects that join together.

Next job, detailing the upper bridge.

Cheers

Si
RedDuster
Visit this Community
England - South East, United Kingdom
Joined: March 01, 2010
KitMaker: 7,078 posts
Model Shipwrights: 6,649 posts
Posted: Saturday, October 15, 2016 - 10:06 PM UTC
This weekend's update.

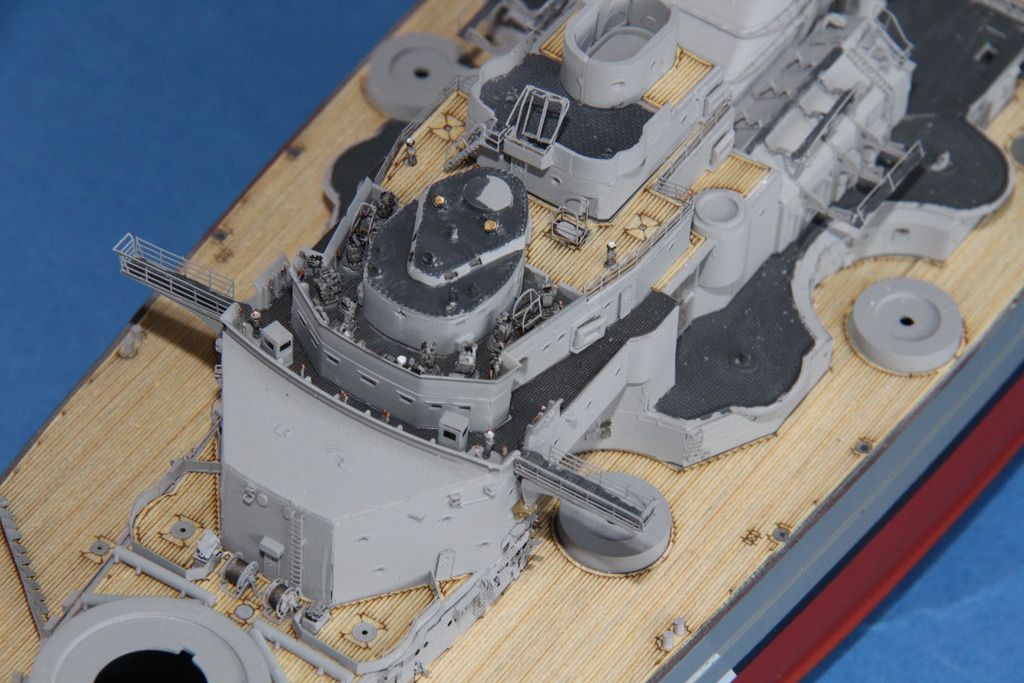
Detailing the upper bridge, instrumentation, voice-pipes and cabling added from scratch (except the voice-pipes.)


Veteran resin parts for the night sights etc.


Painted, plus a couple of binnacles I missed in the above pic.


Bridge detail painted.


All the resin gear fitted.


Railing origami again.


Railings and the armoured control position fitted.


The upper bridge test fitted in place.


Railings on the navigating bridge, strangely the instructions show no railings aft of the AA directors.


However there are two sections on the fret, not mentioned in the instructions, next to the forward sections, and guess what!... they fit. AA directors also fitted.


Upper bridge glued down.


Cheers

Si


RussellE
#306
Visit this Community
Victoria, Australia
Joined: June 27, 2010
KitMaker: 3,959 posts
Model Shipwrights: 2,777 posts
Posted: Sunday, October 16, 2016 - 04:21 PM UTC
Starting to get real busy on deck now, Si
RedDuster
Visit this Community
England - South East, United Kingdom
Joined: March 01, 2010
KitMaker: 7,078 posts
Model Shipwrights: 6,649 posts
Posted: Sunday, October 16, 2016 - 09:00 PM UTC
Sure is Russ,

will admit quite a bit of the extra stuff on the upper bridge is based on a photograph of Tirpitz upper bridge in Patrick Bishop's book "Target Tirpitz".

The quality of the casting on the veteran models bridge equipment is excellent, and does add depth to the detail.

single 20mm and twin 37's, rigging for the bridge and rangefinder on control position next.

Cheers

Si
JJ1973
#345
Visit this Community
Niedersachsen, Germany
Joined: August 22, 2011
KitMaker: 1,835 posts
Model Shipwrights: 1,832 posts
Posted: Thursday, October 20, 2016 - 09:40 AM UTC
Great work, Si!!

Just awesome with all the details and stuff from different aftermarket producers on the bridge, it is looking amazingly busy!! And you're making good progress, while I had to put my Hood into a short hibernation over the last three weeks or so - time to catch up!!

Cheers,
Jan
RedDuster
Visit this Community
England - South East, United Kingdom
Joined: March 01, 2010
KitMaker: 7,078 posts
Model Shipwrights: 6,649 posts
Posted: Thursday, October 20, 2016 - 05:11 PM UTC
Thanks Jan,

The integrally moulded bridge detail was poor, so really needed to be replaced to match up to the rest of the kit. (Will admit I did enjoy the process very much though)

I am pleased with the end result too.

looking forward to seeing Hood come on too mate.

Cheers

Si
RedDuster
Visit this Community
England - South East, United Kingdom
Joined: March 01, 2010
KitMaker: 7,078 posts
Model Shipwrights: 6,649 posts
Posted: Tuesday, December 13, 2016 - 06:16 PM UTC
Very quick update.

37mm gun deck built, few details to paint.


Flag bridge nearly ready for a coat of paint.


37mm gun deck fitted.


More soon, I hope.

Cheers

Si
rolltide31
#377
Visit this Community
Texas, United States
Joined: June 27, 2010
KitMaker: 1,481 posts
Model Shipwrights: 1,332 posts
Posted: Tuesday, December 13, 2016 - 09:17 PM UTC
Si,

Great update and amazing work. He looks to be coming along nicely.

Looking forward to seeing more soon.

Dave
JJ1973
#345
Visit this Community
Niedersachsen, Germany
Joined: August 22, 2011
KitMaker: 1,835 posts
Model Shipwrights: 1,832 posts
Posted: Wednesday, December 14, 2016 - 10:21 AM UTC
Si,

as Dave said, amazing work!!

And I am glad to see you back at the bench, mate!! And some progress on your fine models!!

Cheers,
Jan
RedDuster
Visit this Community
England - South East, United Kingdom
Joined: March 01, 2010
KitMaker: 7,078 posts
Model Shipwrights: 6,649 posts
Posted: Wednesday, December 14, 2016 - 02:37 PM UTC
Thanks David and Jan

So good to be making some progress again. Hit a bit if a snag with the Pontos single 20mm, the assembly looks very logical, but have stuggled a bit to get them together. have some veteran ones as a stand by.

Cheers

Si
RussellE
#306
Visit this Community
Victoria, Australia
Joined: June 27, 2010
KitMaker: 3,959 posts
Model Shipwrights: 2,777 posts
Posted: Wednesday, December 14, 2016 - 03:28 PM UTC
Great to see you back at the bench mate!

Bismarck's starting to look very busy now
RedDuster
Visit this Community
England - South East, United Kingdom
Joined: March 01, 2010
KitMaker: 7,078 posts
Model Shipwrights: 6,649 posts
Posted: Wednesday, December 14, 2016 - 10:08 PM UTC
Glad to be Back Mate.

She is a touch on the busy side, lots more to do.

Cheers

Si
RedDuster
Visit this Community
England - South East, United Kingdom
Joined: March 01, 2010
KitMaker: 7,078 posts
Model Shipwrights: 6,649 posts
Posted: Sunday, December 18, 2016 - 01:27 AM UTC
More sub assemblies.

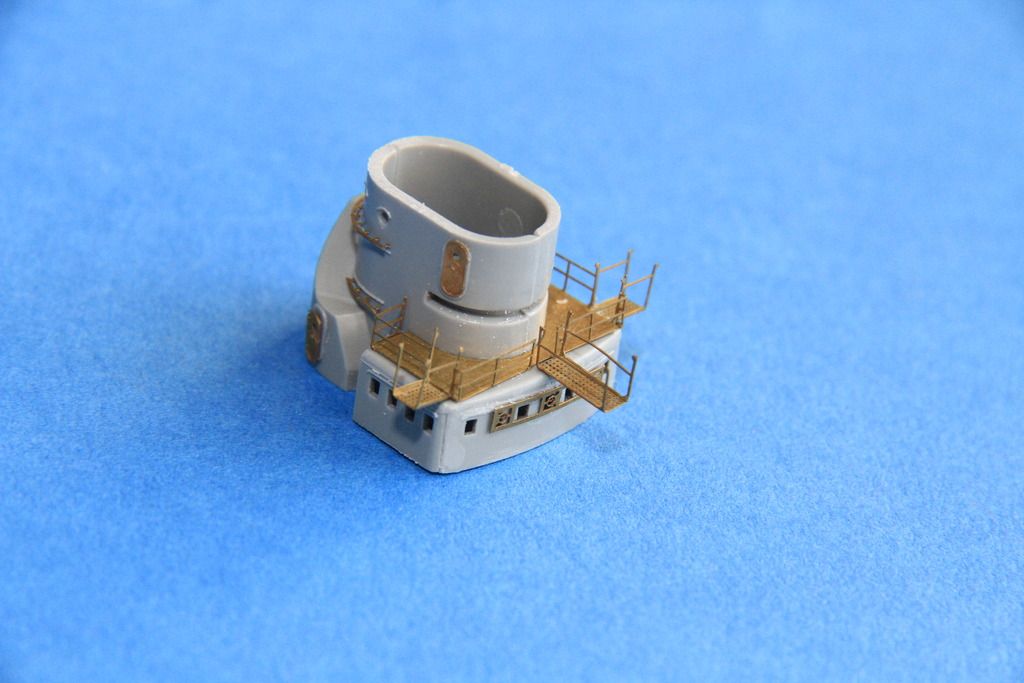
The forward director, etched up and it's radar aerial part built.


Assembled.


After tower, straight off the sprue, very bland.


The roof with the detail added.


Detail going on the after director.


More soon.

Si
TRM5150
Visit this Community
Massachusetts, United States
Joined: January 03, 2010
KitMaker: 2,159 posts
Model Shipwrights: 1,400 posts
Posted: Sunday, December 18, 2016 - 03:19 AM UTC
Fine delicate work there Si!!
rolltide31
#377
Visit this Community
Texas, United States
Joined: June 27, 2010
KitMaker: 1,481 posts
Model Shipwrights: 1,332 posts
Posted: Sunday, December 18, 2016 - 11:13 AM UTC
Si,

Nice work on sprucing up the details. Amazing how the little parts bring things to life.

Dave