

Go to modelshipwrights.com for the current dynamic site!


Dave's Tugboat Project #2
7
Comments
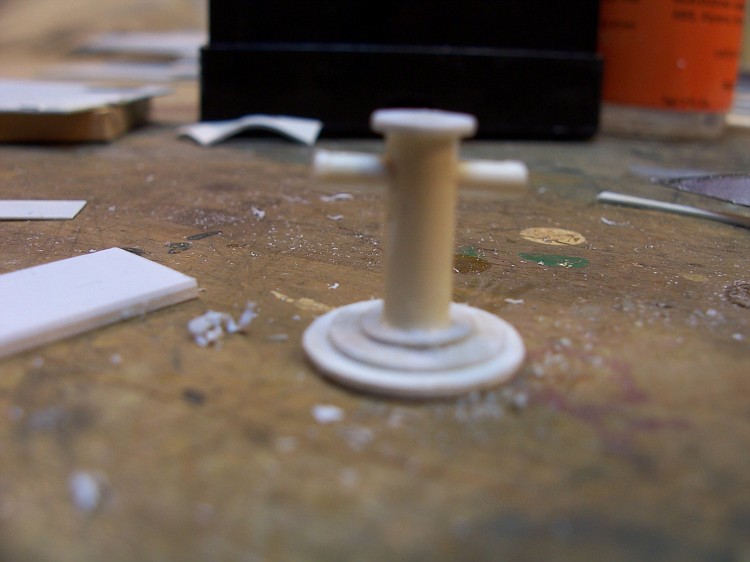
The circles of plastic are stacked and drilled and a short length of plastic tubing put through the hole. An added cap and a piece of plastic rod through the hole in the tube and it looks like a bow post. The post that came with the kit is a double post and shorter.
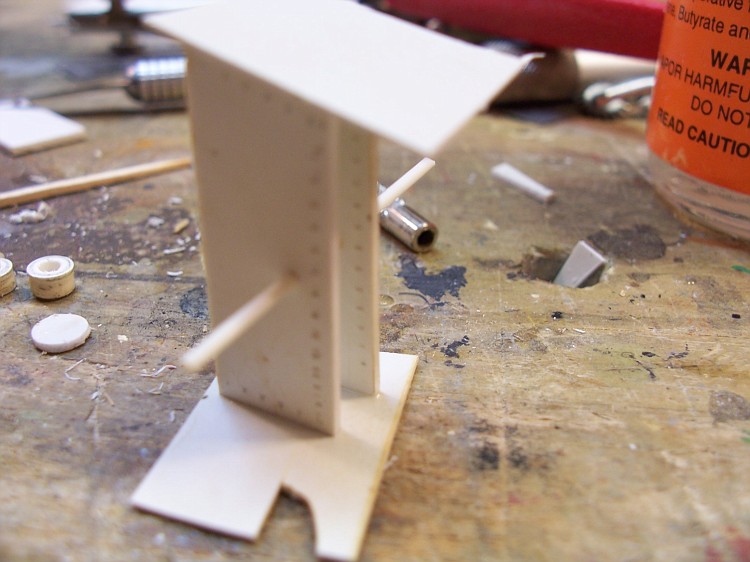
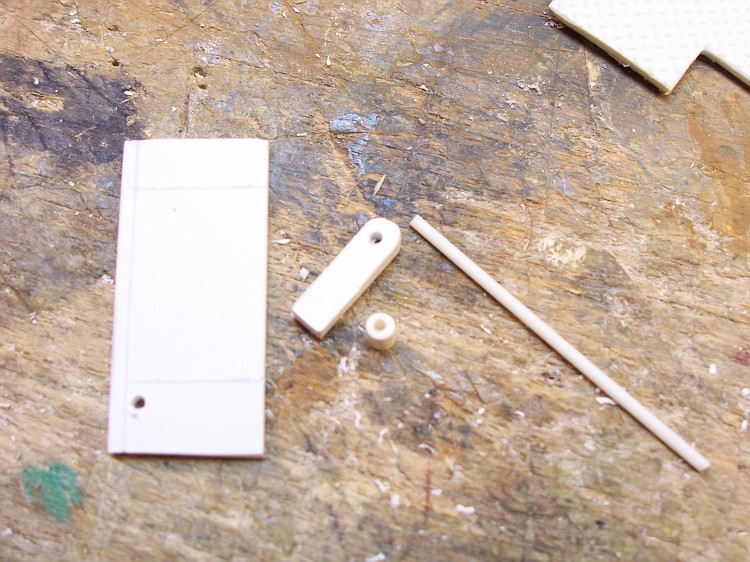
Sheet plastic was cut out for sides of the wench and holes for the shafts.

I used a pounce wheel along the edge to make some holes for some visual detail. With the shaft in place, for alignment, the front and back were glued to the sides.
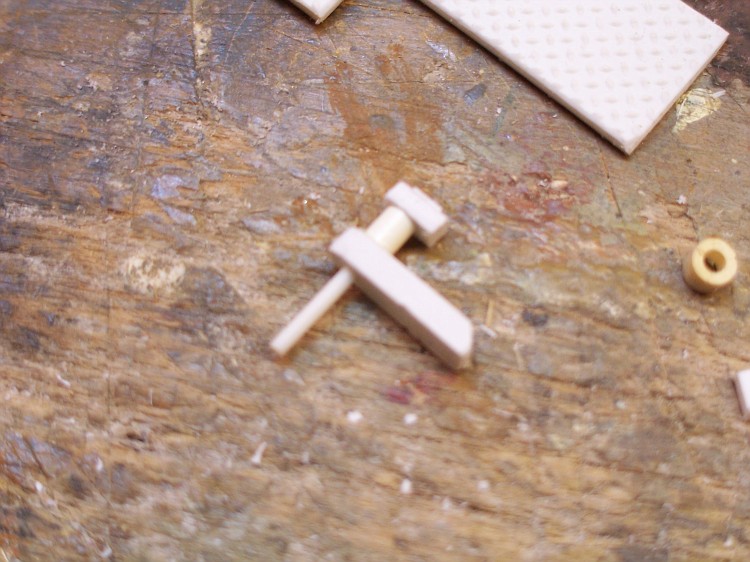
Some bits of plastic filed to shape and fitted together on a piece of plastic rod for the top detail.

About the Author


Comments

As much as I liked seeing all three in natural light, I enjoy seeing the pieces in detail while in construction.
I really appreciate all the scratching you do construction over assembly. It really puts art into it when you make custom pieces to meet your own ends.
Looking forward to number three and your future projects.
SEP 22, 2007 - 02:18 AM

Easy to read and a marvell to watch!
Excellent SBS and a very unusual project!
Congratulations Dave
Excellent editing Mark
Skipper
SEP 22, 2007 - 03:41 AM


Hi Dave,
Excellent bit of work, the tug looks first class.
Thanks for sharing.
Al
SEP 22, 2007 - 06:44 AM

A delightfull build and a lot of fun just watching the transformation.
This takes modeling to a new dimension when you realise it began as a little plastic model. I was inspired and have bought the Revell tug Lucky XII to see what I can do. Will let you know how I go.
Good work!
Les
SEP 22, 2007 - 03:35 PM


Thanks everyone. Its great to be able to share my models with people all over the world.
OCT 01, 2007 - 12:38 PM
Copyright ©2021 by Dave Roehrle. _OPINIONS Model Shipwrights, KitMaker Network, or Silver Star Enterrpises. Images also by copyright holder unless otherwise noted. Opinions expressed are those of the author(s) and not necessarily those of Model Shipwrights. All rights reserved. Originally published on: 2007-09-22 00:00:00. Unique Reads: 5906

WEB HOSTING BY


Copyright ©2021 Model Shipwrights and Kitmaker Network, a subsidiary of Silver Star Enterprises
All Rights Reserved. Please read our Conditions of Use and Privacy Policy.
All Rights Reserved. Please read our Conditions of Use and Privacy Policy.