


This is my first build log on a international forum. I placed a lot of logs on dutch forums. my english is understandable for you guys i hope. excuse me if i spell it wrong or whatsoever

ok, to business. i am participating in a dutch campaign about the Korean war (forgotten war). i am building for about three years now. normally i only build modern armor and aircraft, but decided i wanted to do something totally different.
so my choice went to a Carrier
 to start off the right way i decided to buy some extras for it.
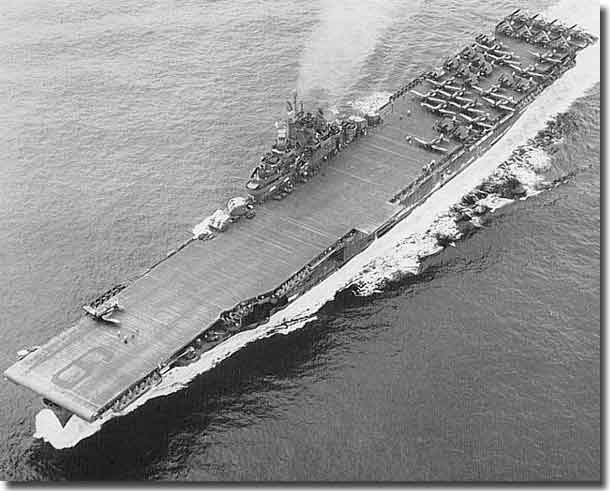
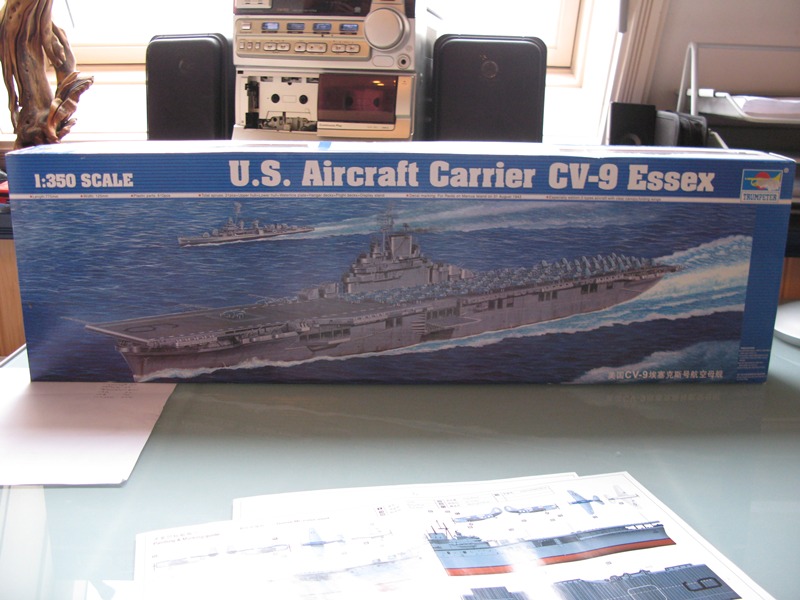
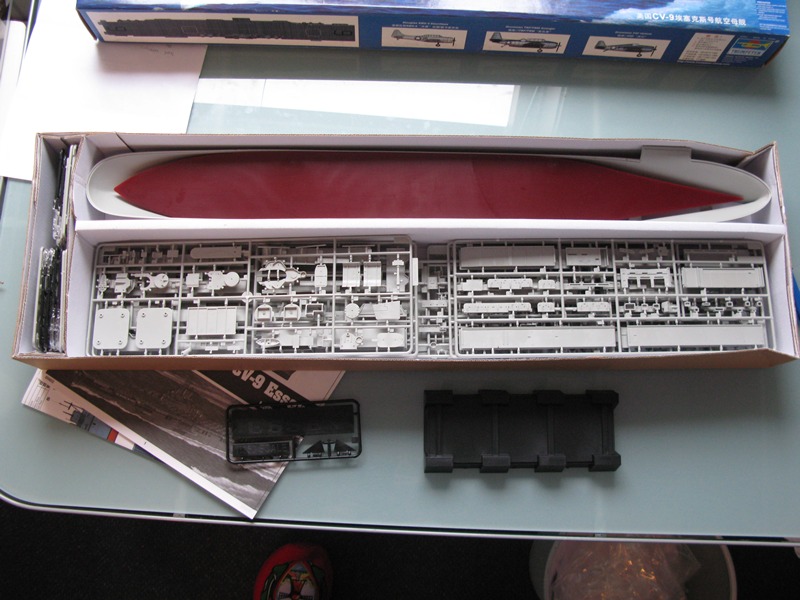
- Trumpeter 1/350 USS Essex CV-9
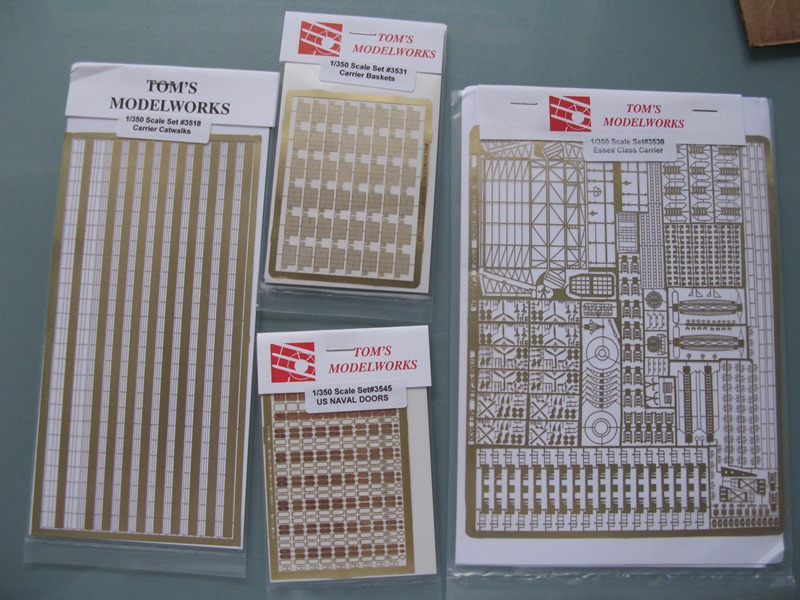
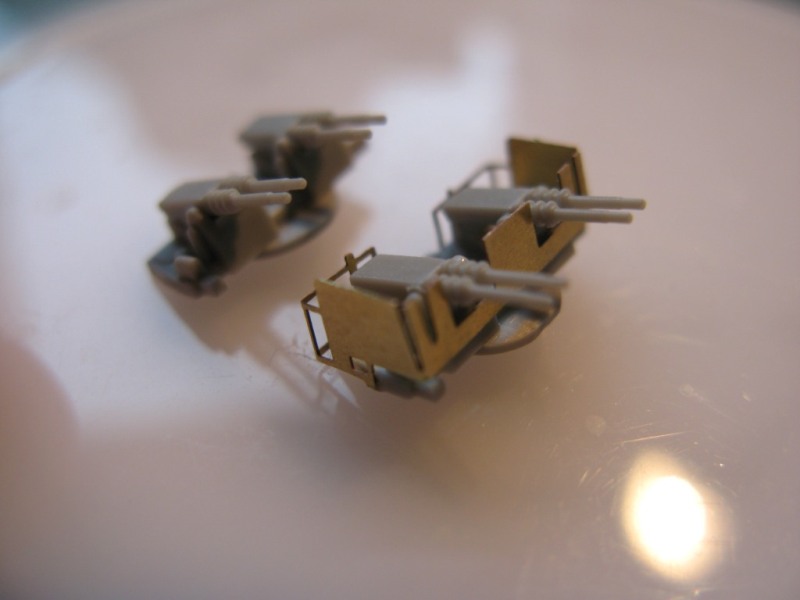
- Tom's Modelworks Special USS Essex upgrade set.
http://smmlonline.com/reviews/photo_etch/toms_essex350.html
here are some pics:
the boxart:
all thats inside:
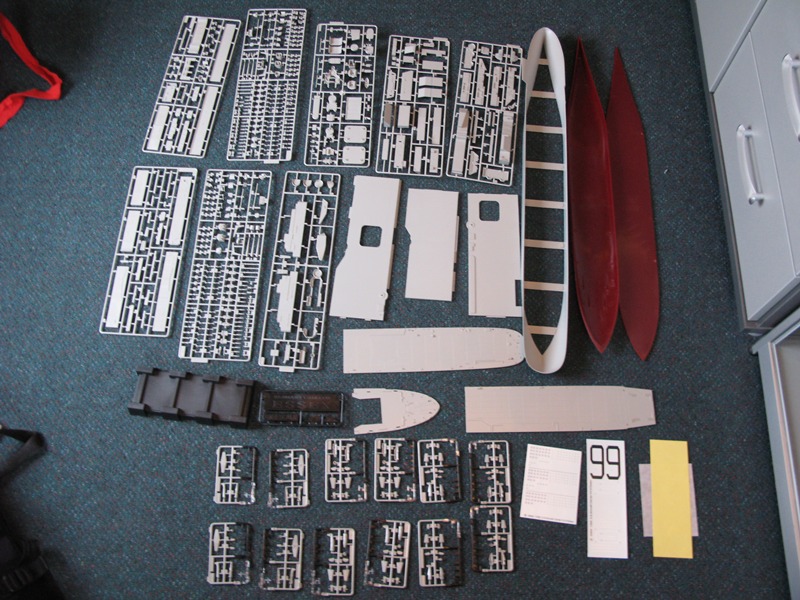
nice!:
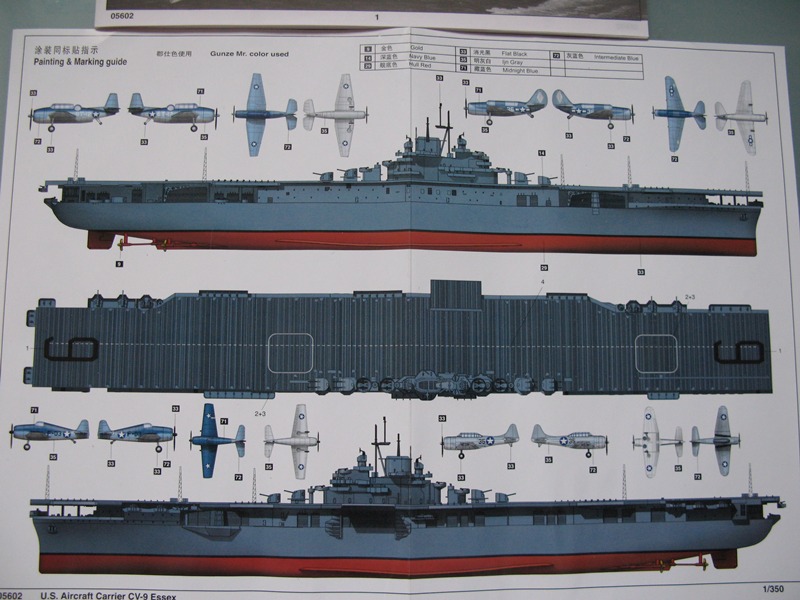
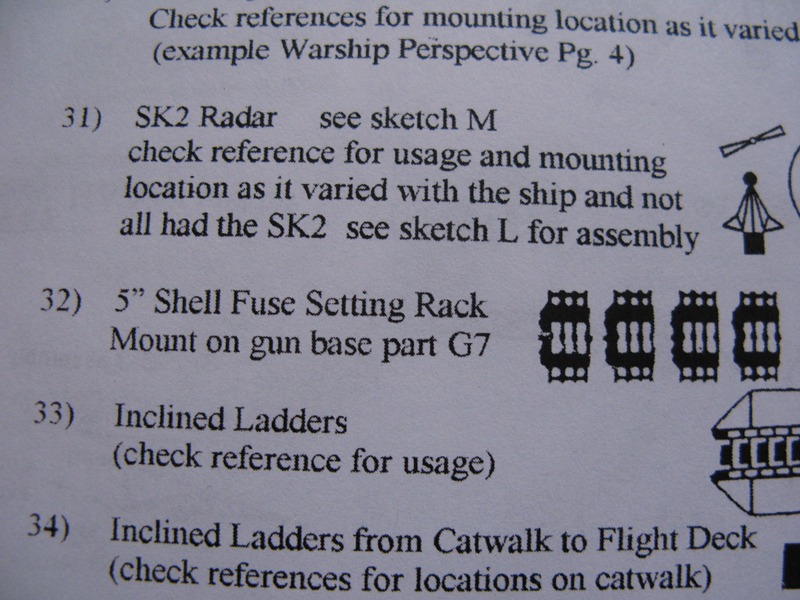
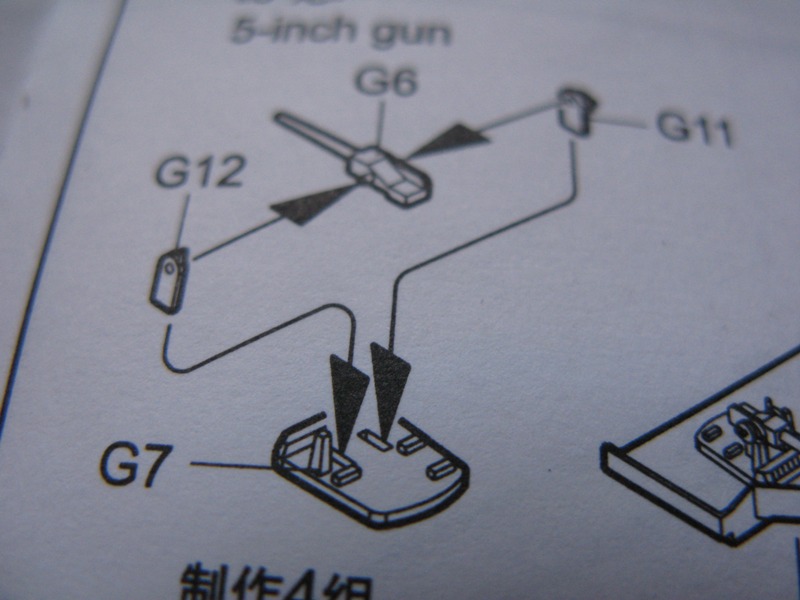
manual:

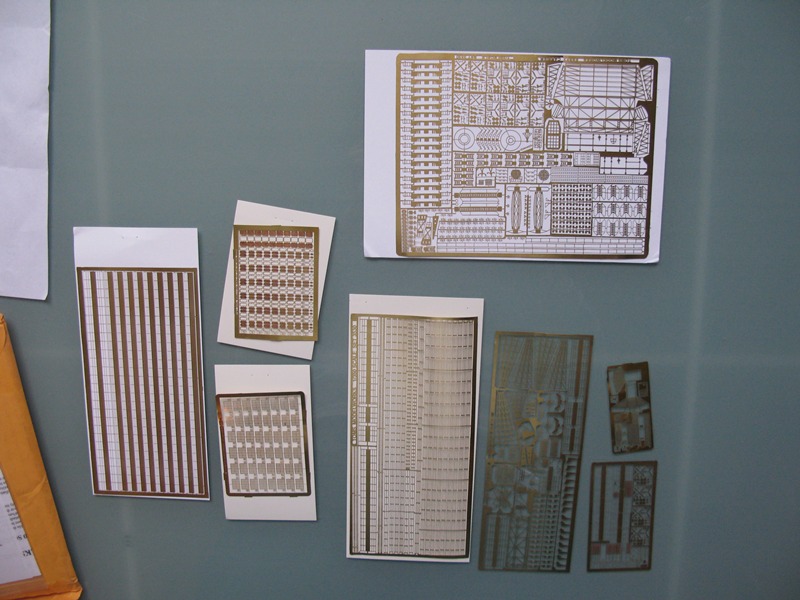
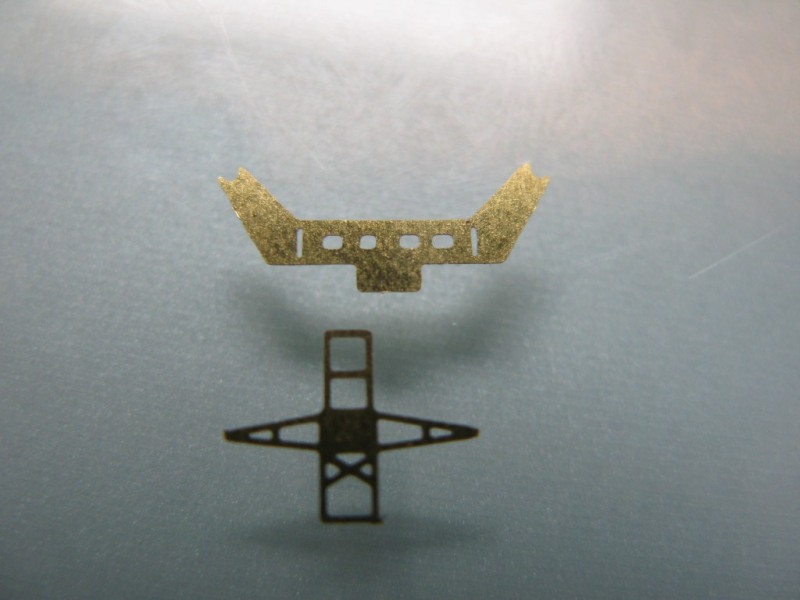
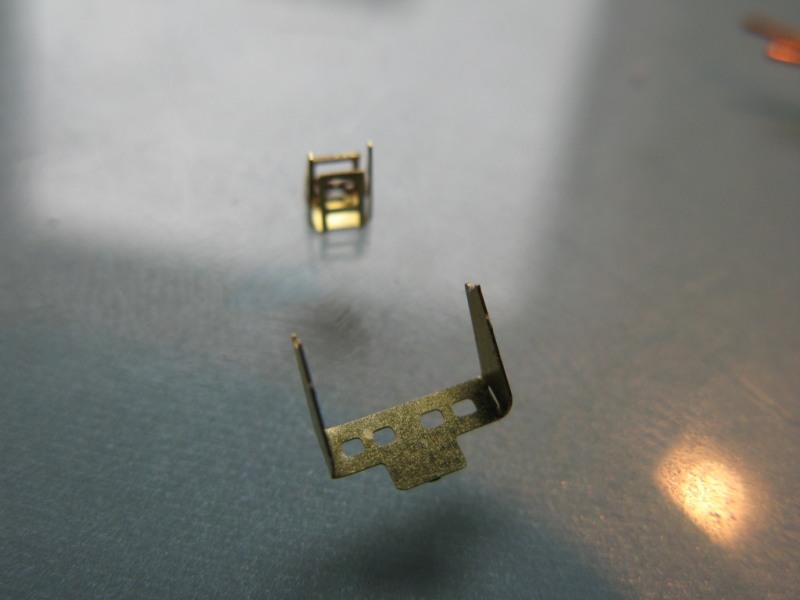
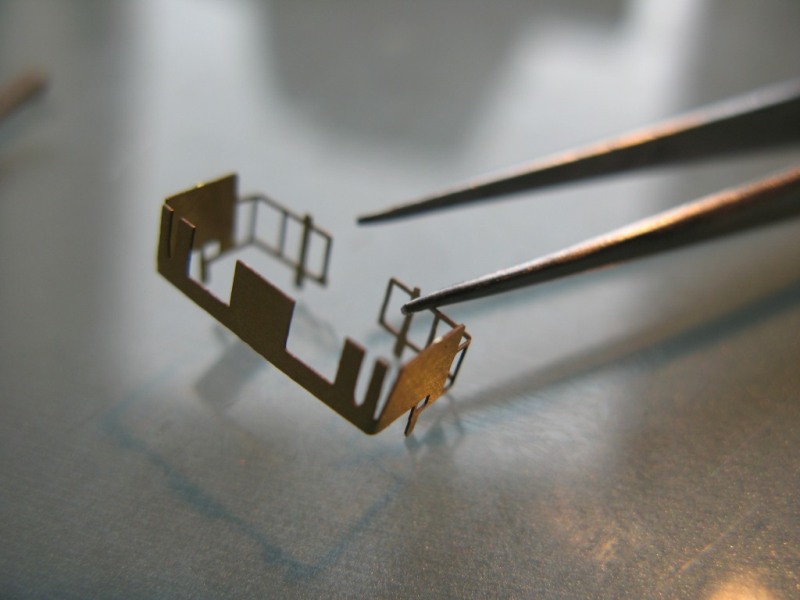
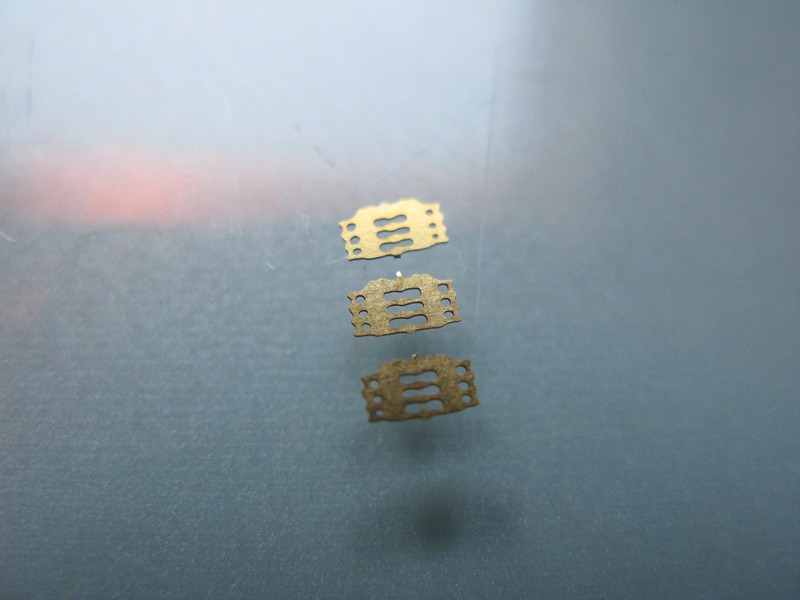
the PE set:
spread out:
since i know NOTHING about ships help with the build would be greatly appreciated. especially since the instructions of the PE set are not really clear to me.
i found three reference books of essex carriers but already bumped into some think i can not locate.
more on that later.
to keep thing separated. ill post my progress in the next post!
thanks guys, hope i can make a beauty of this one with your help!
Boris
For more on the USS Essex CV-9 see my website


---USS---Essex---CV-9/2488101879.jpg)
---USS---Essex---CV-9/632018076.jpg)
---USS---Essex---CV-9/3714992743.jpg)
---USS---Essex---CV-9/3972846278.jpg)
---USS---Essex---CV-9/2739594547.jpg)
---USS---Essex---CV-9/118574901.jpg)
---USS---Essex---CV-9/70751743.jpg)


---USS---Essex---CV-9/3498637308.jpg)
---USS---Essex---CV-9/3064530305.jpg)
---USS---Essex---CV-9/4104036206.jpg)
---USS---Essex---CV-9/3376383608.jpg)
---USS---Essex---CV-9/1937321764.jpg)
---USS---Essex---CV-9/2086229759.jpg)
---USS---Essex---CV-9/1963880435.jpg)
---USS---Essex---CV-9/2572423173.jpg)
---USS---Essex---CV-9/1505584173.jpg)
---USS---Essex---CV-9/1973665808.jpg)
---USS---Essex---CV-9/2815823541.jpg)
---USS---Essex---CV-9/2255495002.jpg)
---USS---Essex---CV-9/3081609141.jpg)
---USS---Essex---CV-9/2018410552.jpg)
---USS---Essex---CV-9/4294179731.jpg)
---USS---Essex---CV-9/461902767.jpg)
---USS---Essex---CV-9/2196795018.jpg)
---USS---Essex---CV-9/802997556.jpg)
---USS---Essex---CV-9/3338282581.jpg)
---USS---Essex---CV-9/3193944761.jpg)
---USS---Essex---CV-9/17076030.jpg)
---USS---Essex---CV-9/628240067.jpg)
---USS---Essex---CV-9/1746338632.jpg)
---USS---Essex---CV-9/4040762277.jpg)


