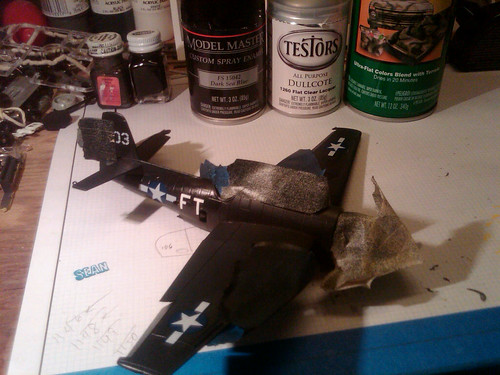
Been a busy week at home and work, but I made progress nonetheless. Since I intend to give this a healthy cover of sludge/algae/sand/decay/whatever when I'm done, I didn't spend excessive effort (or cost) on the details, so I'm just busying everything up with some "gizmology". It'll be more representational than scientifically accurate.
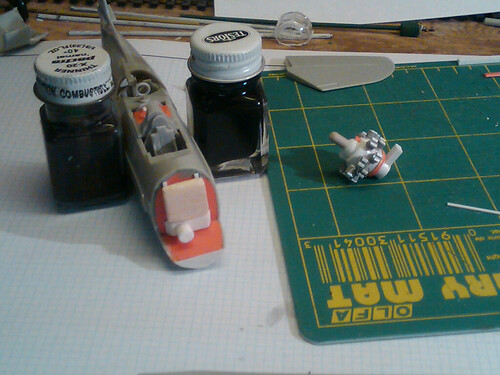
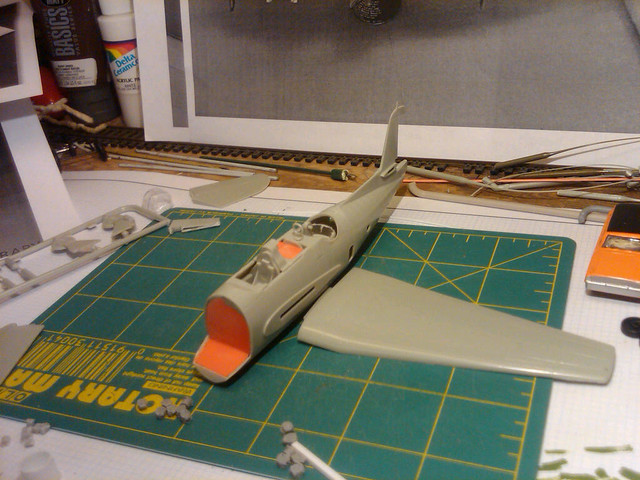
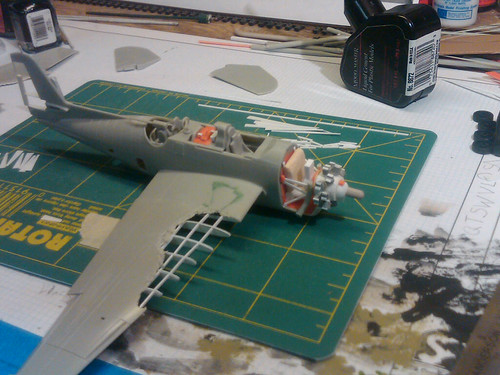
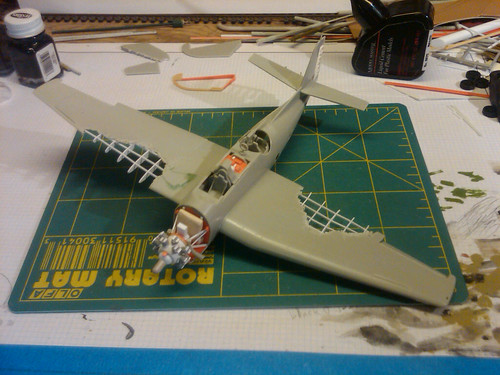
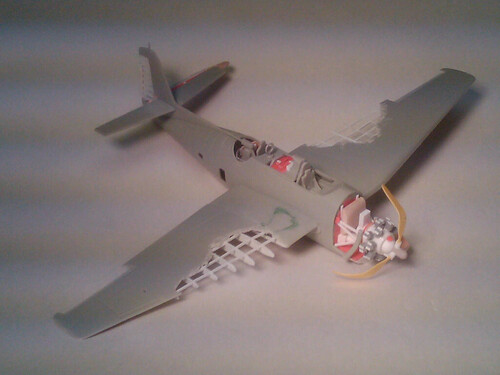
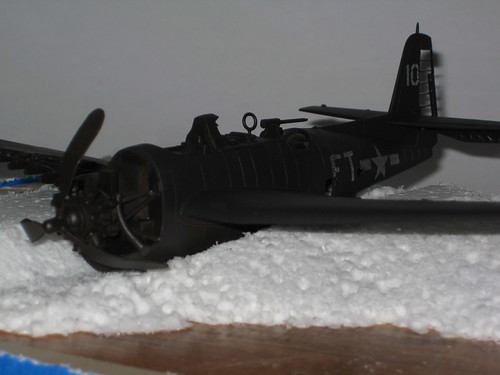
Since this kit only contains the face of the engine inside the cowling, I cobbled one together. It's no prize winner, but you'll instantly know what it's supposed to represent.

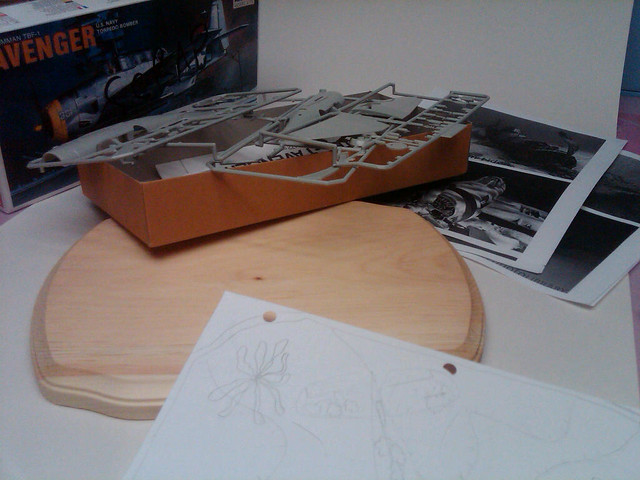
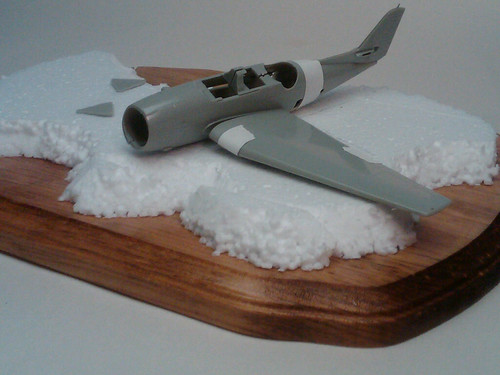
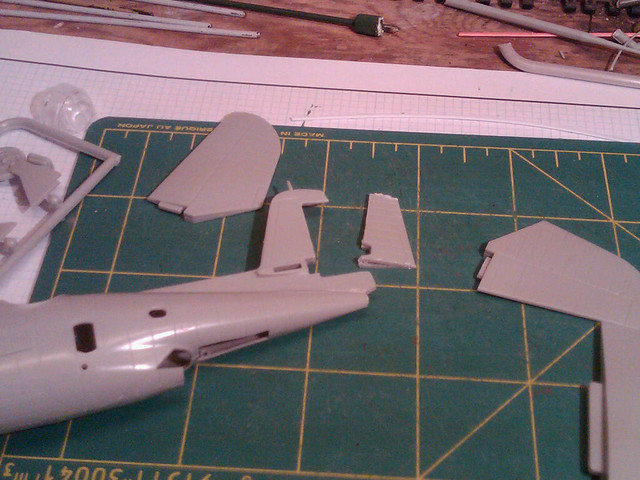
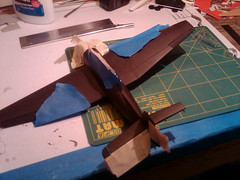
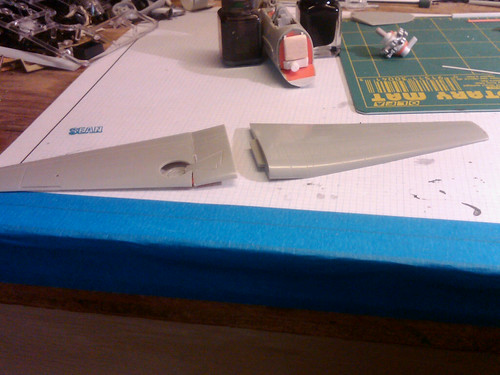
Because this had been a donor kit to replace parts lost off one that my daughter "flew" out the window of a moving car (yes, that's another story), I only had one wing and no propeller. Here I've modified the lower wing half to represent the other side upper.
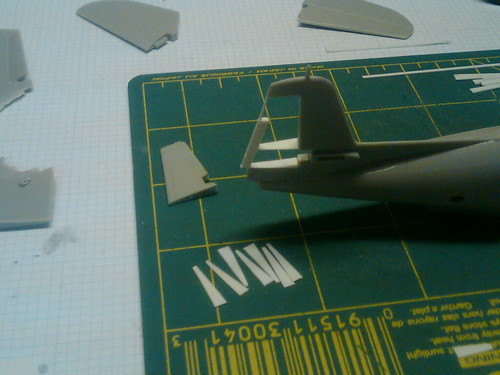
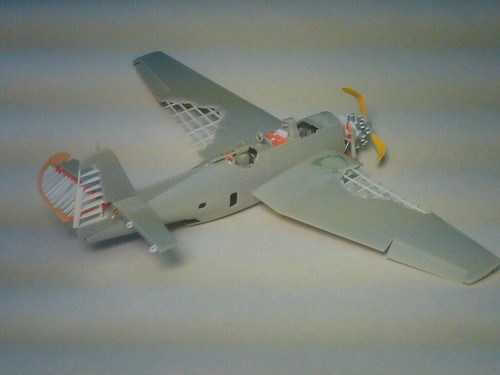
I've begun damage and decay to the wings, using a burr in a rotary tool. I doubt they'd fall apart in this manner in reality, but again, it wouldn't be surprising to find it in this condition either. I cut the edges of the flaps and bent them into a dropped position too...
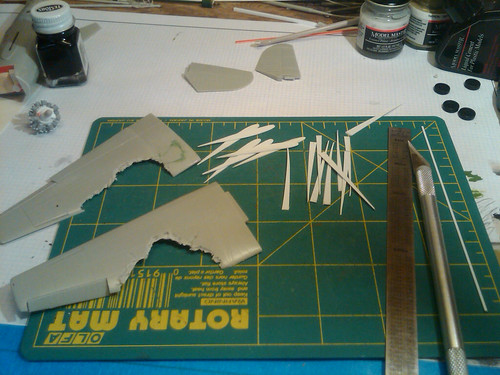
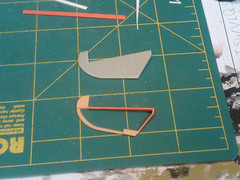
See that I've begun making framework pieces for the missing wing spaces.
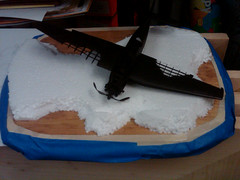
I don't know about the rest of you, but I'm going more left-brain than right- on this build. I've got my 7-year-old (not the other plane's pilot) excited about helping me make the ocean bottom setting-- he's already donated some paper vegetation, but we'll get to that in time.
Thanks for reading!
-Sean H.