_GOTOBOTTOM
Ships by Class/Type
For discussions on ships by class and type.
Revell's 1/350 Bismarck with Extras....
warreni
Visit this Community
South Australia, Australia
Joined: August 14, 2007
KitMaker: 5,926 posts
Model Shipwrights: 2,624 posts
Posted: Saturday, May 12, 2012 - 04:10 PM UTC
Greetings fellow Shipwrights.
While the Musashi awaits her rigging I thought I may as well start a new project, and here it is!!

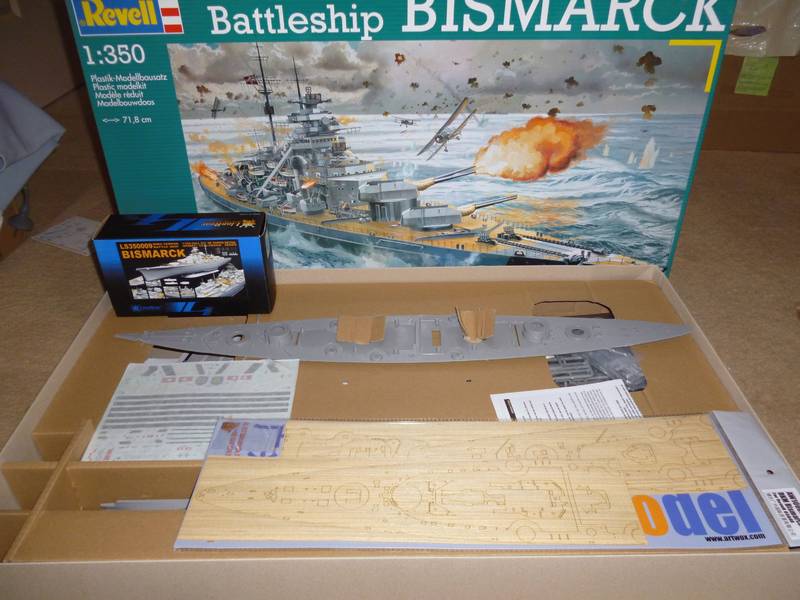
Yes, it is Revell's recently new 1/350 Bismarck. I got it with her sister ship the Tirpitz while they were on sale a bout 18 months ago.

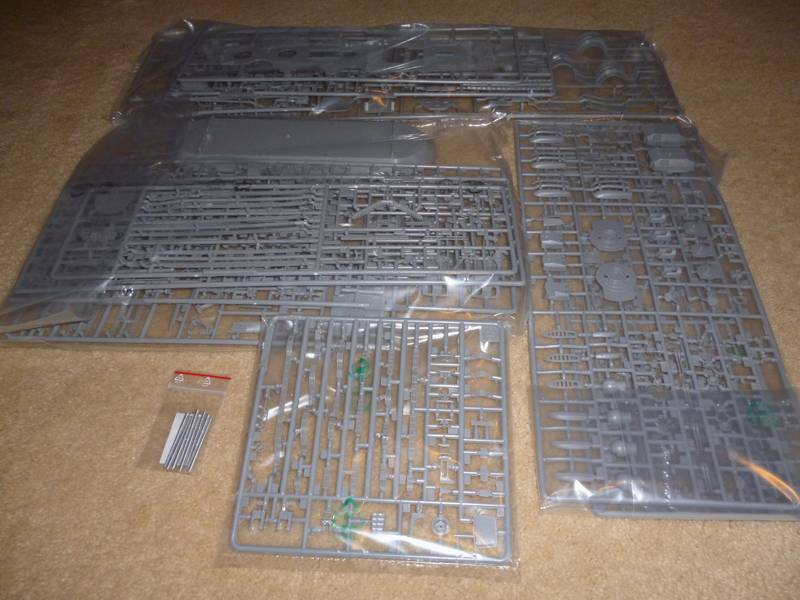
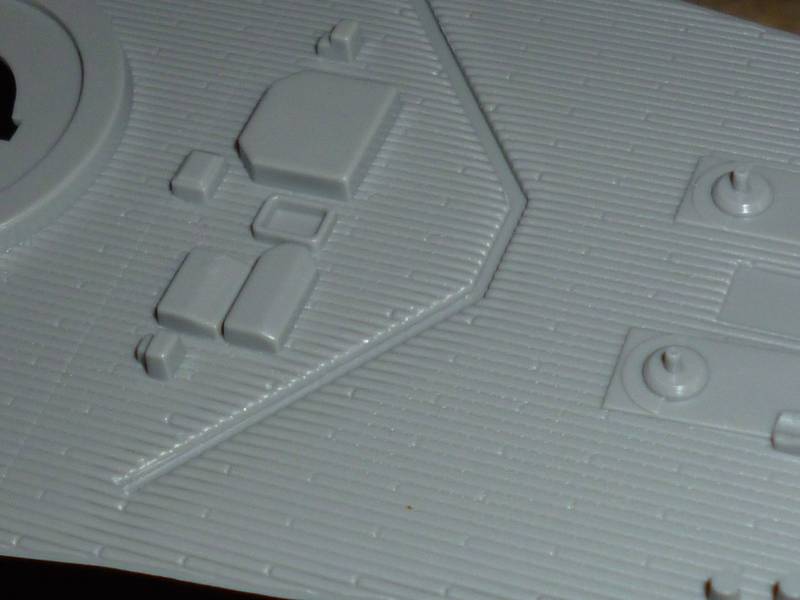
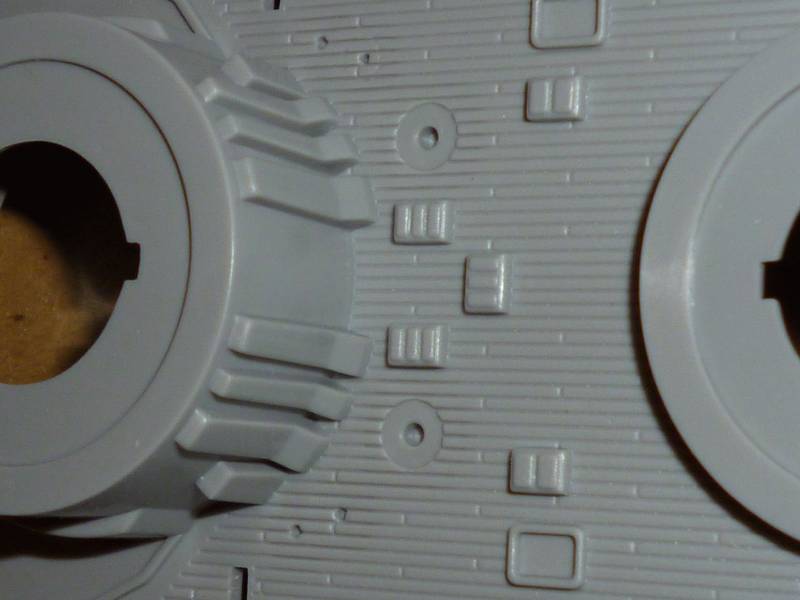
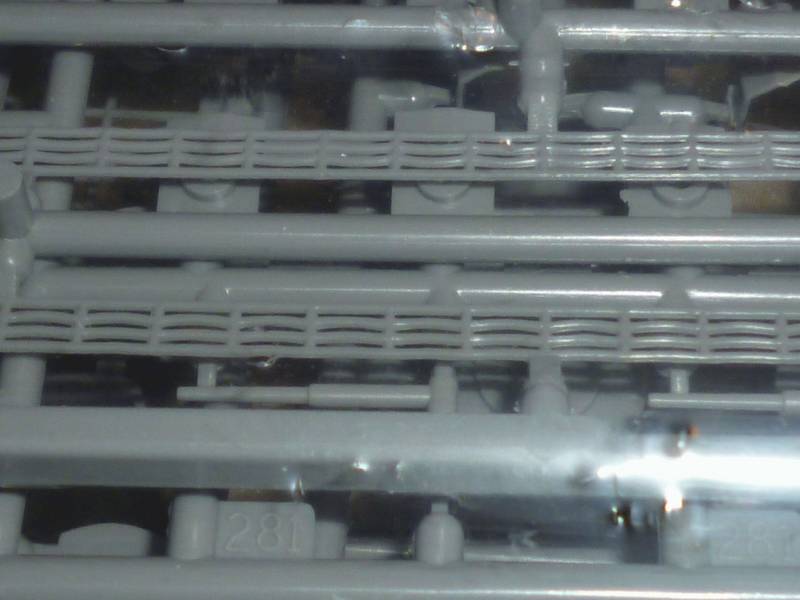
Here are the sprues, except the deck, hulls and clear sprues.. (sorry)..


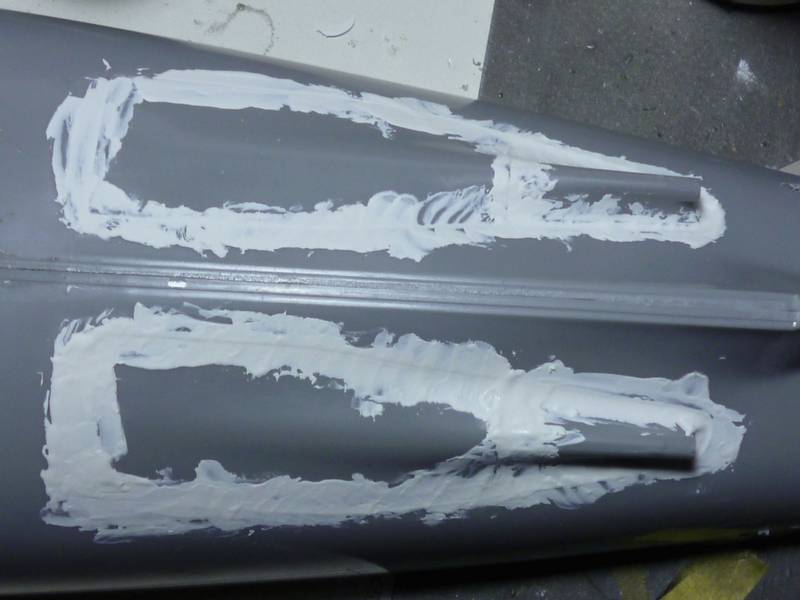
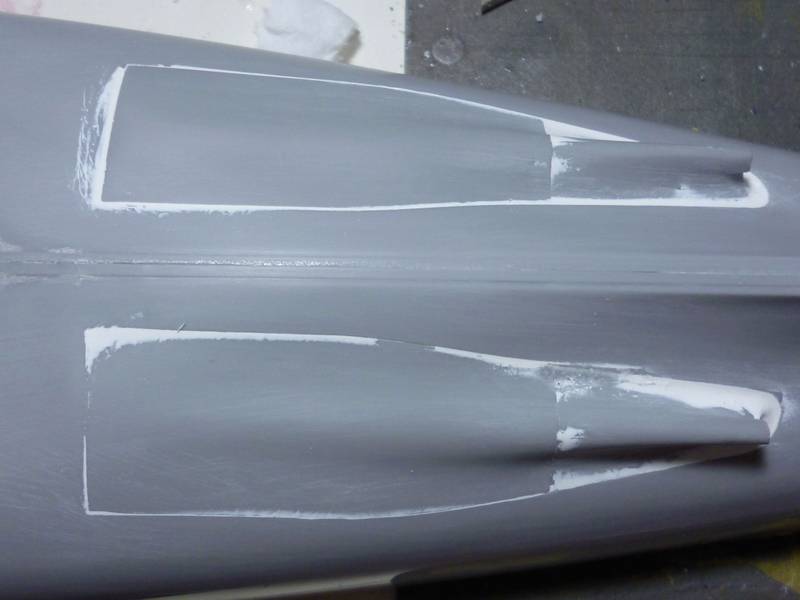
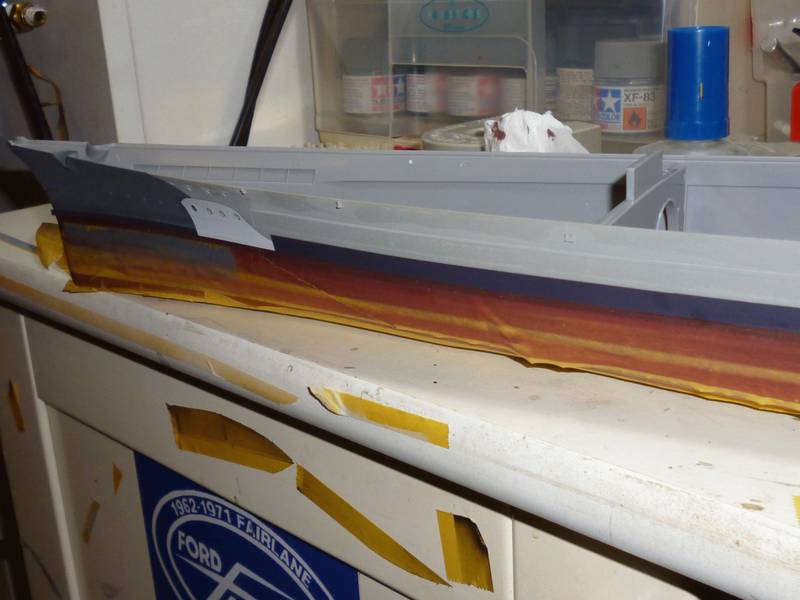
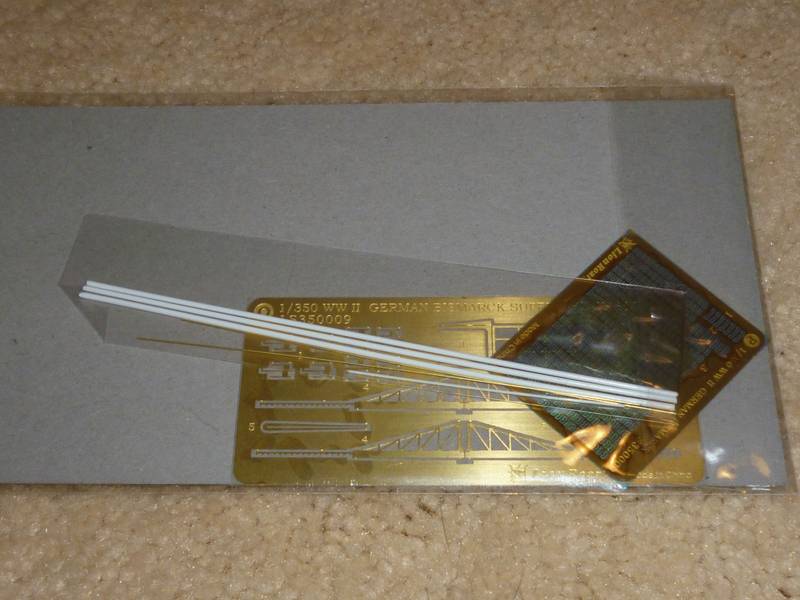
Planking looks as though it would come up pretty well with an expert painting it, but being no expert in this scale with wood effect I took the easy way out and got this..


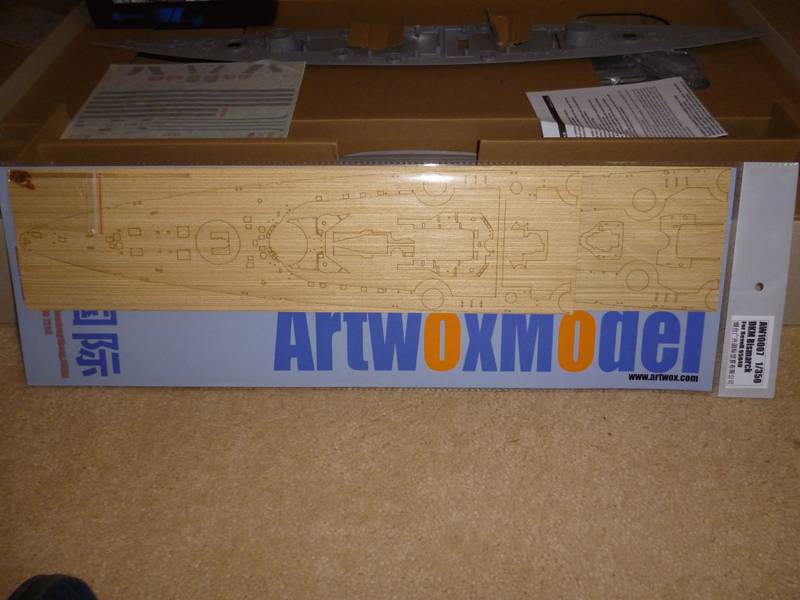
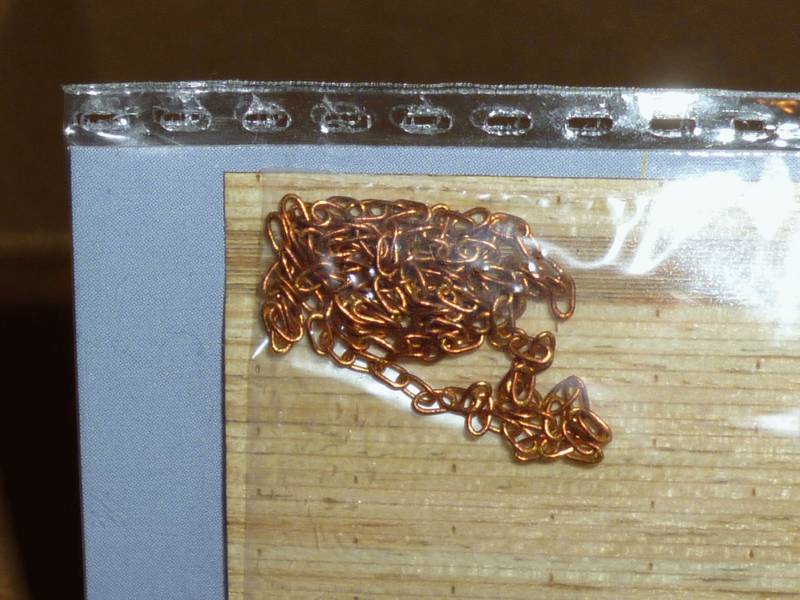
Looks wonderful to me and comes with a length of copper anchor chain.


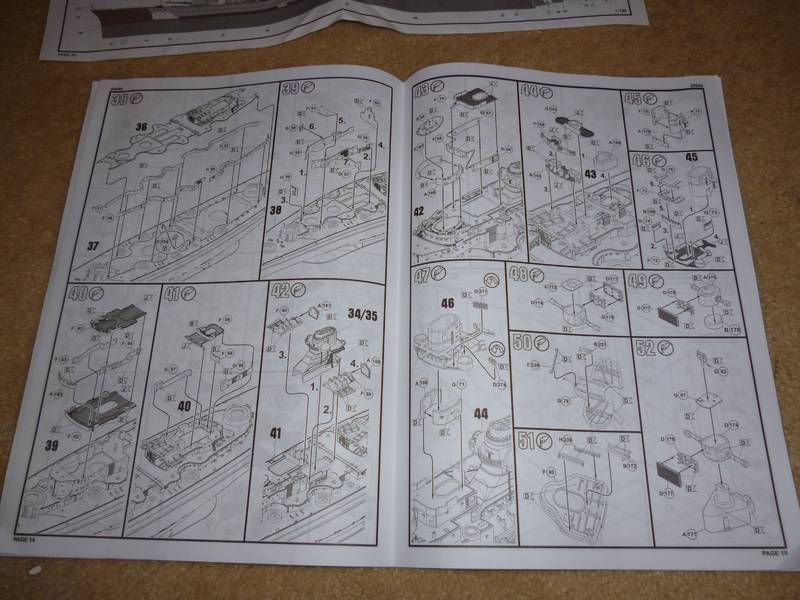
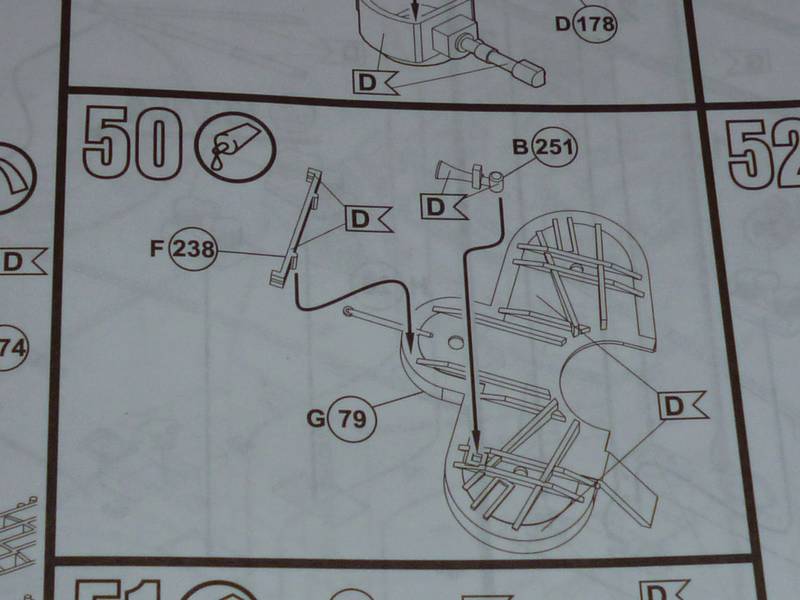
Instructions are typically clear Revell, but they seem to have gone away from there horrible 'newspaper' paper they were using a while back.. Thank goodness!!

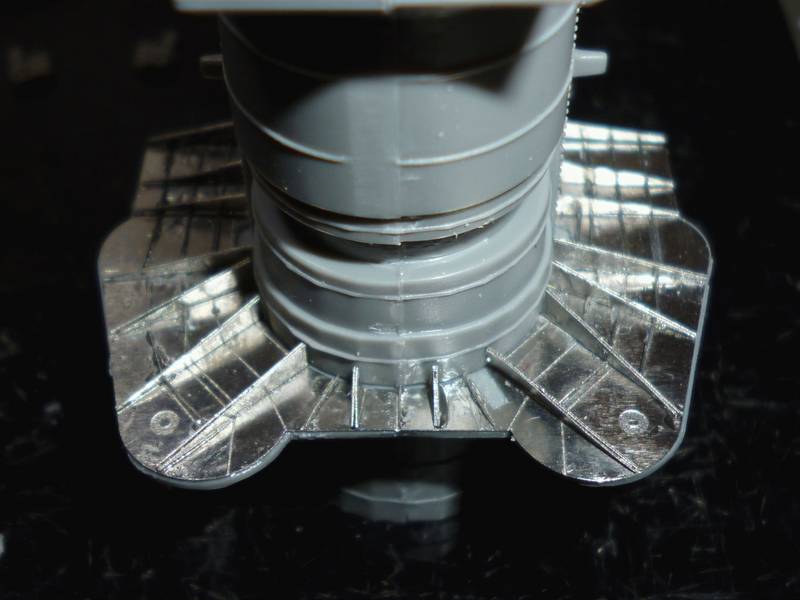
As you can see Revell have done an admirable job with plastic rails, but I couldn't resist this when they were half price a few months ago..

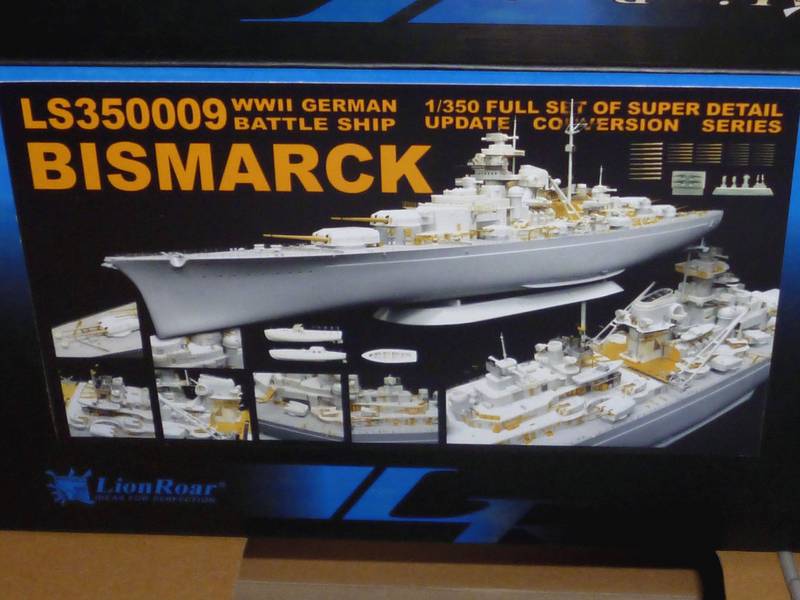
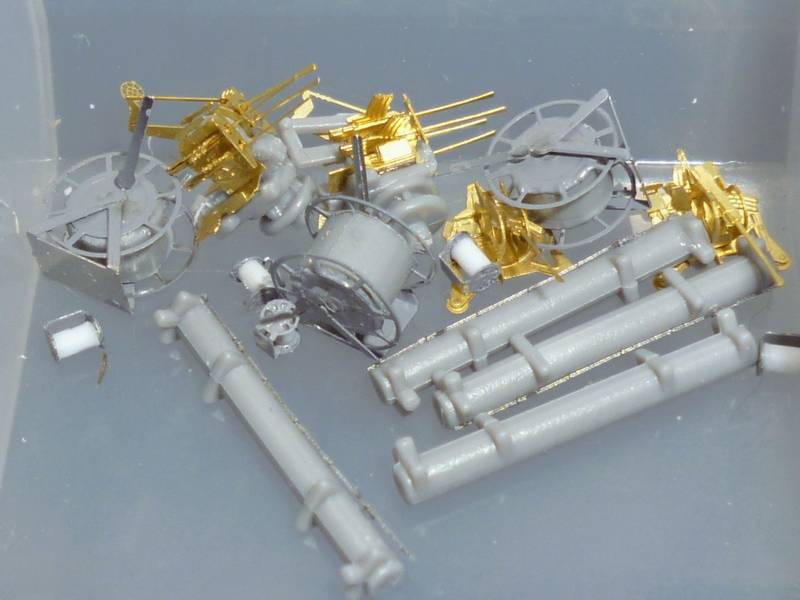
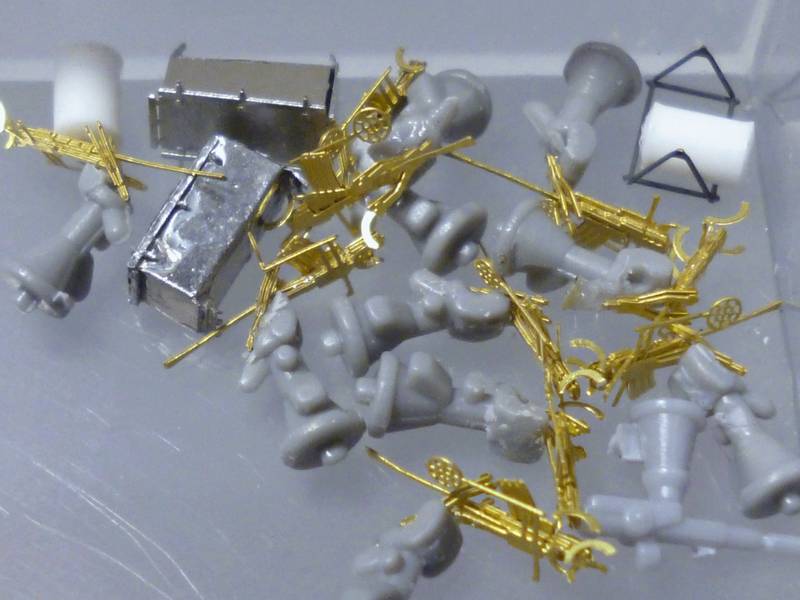
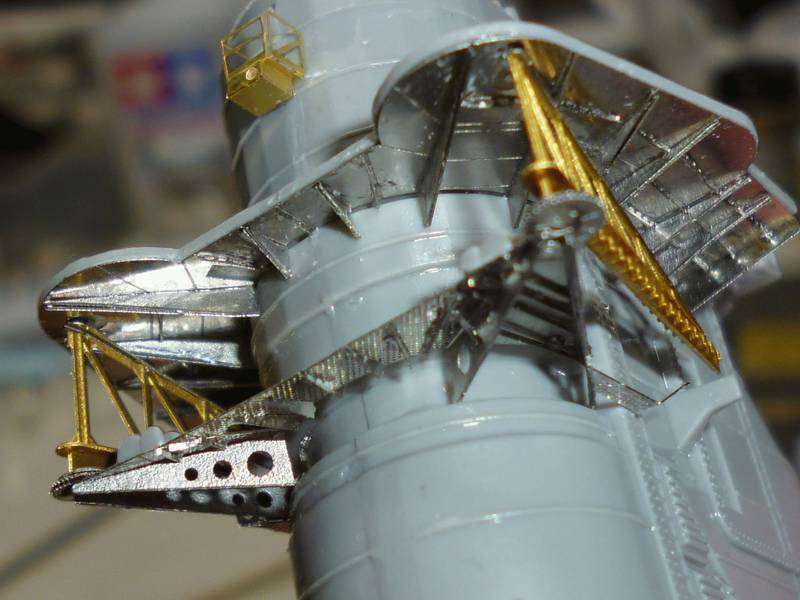
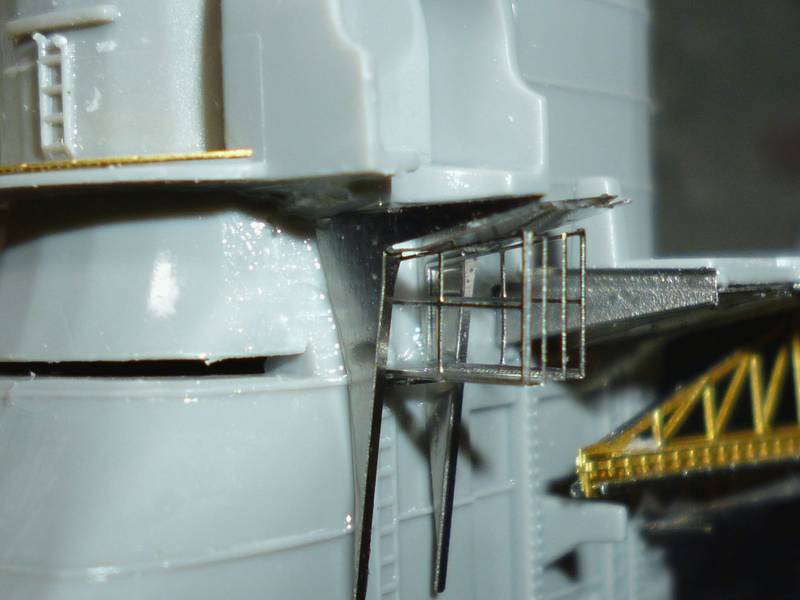
You have heard the old saying about having everything, even the kitchen sink, well this PE set is just like that...

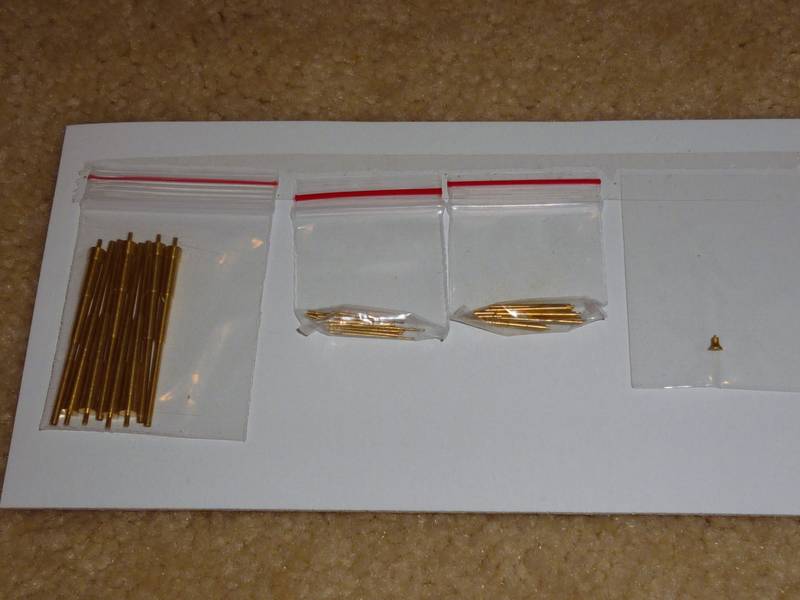
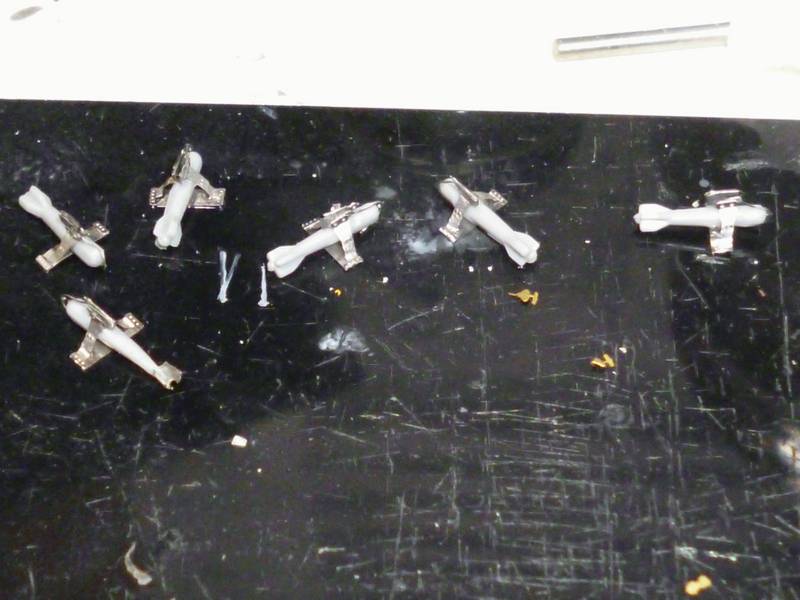
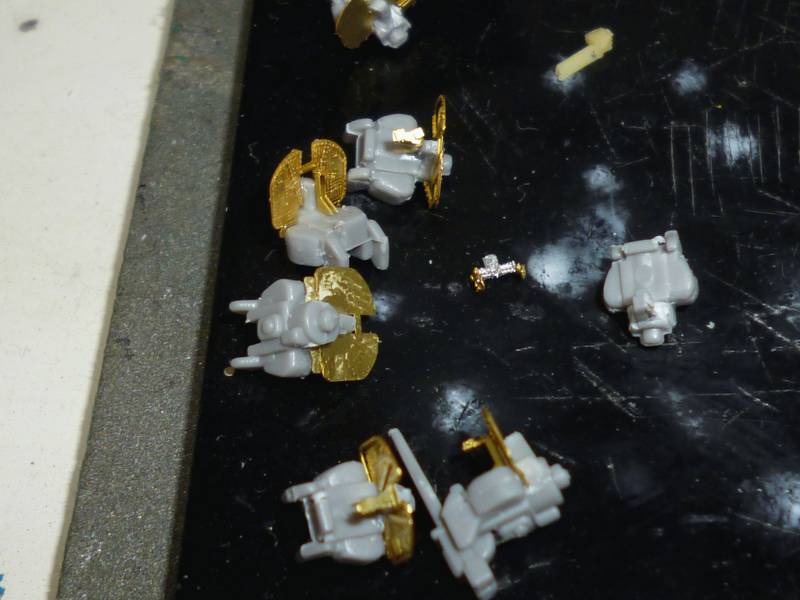
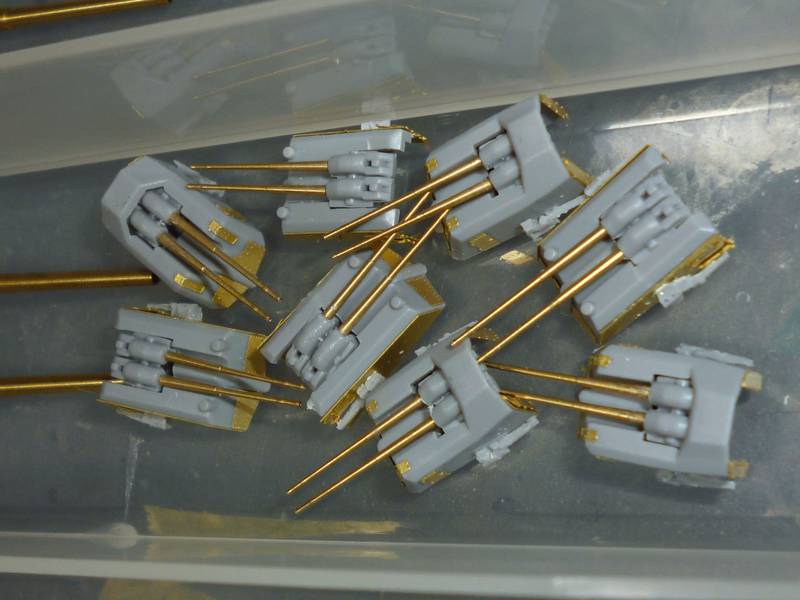
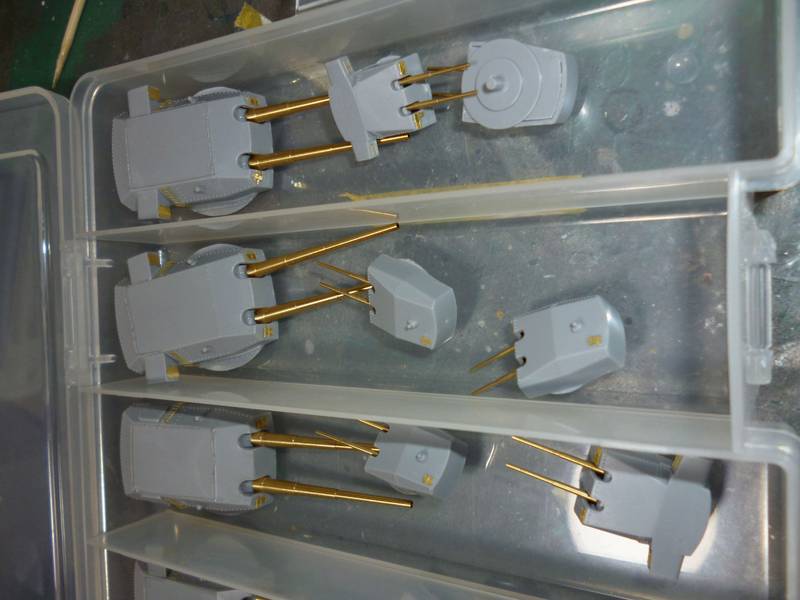
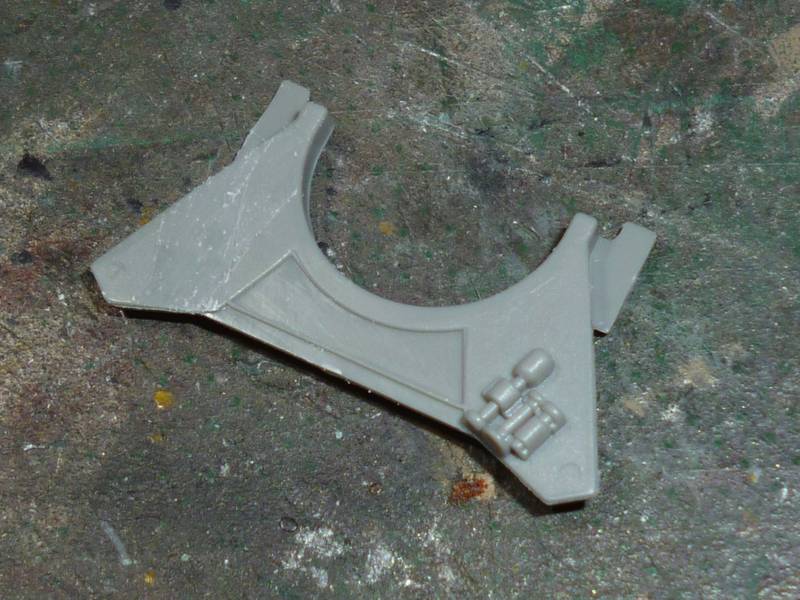
First the brass stuff, barrels and a ships bell..

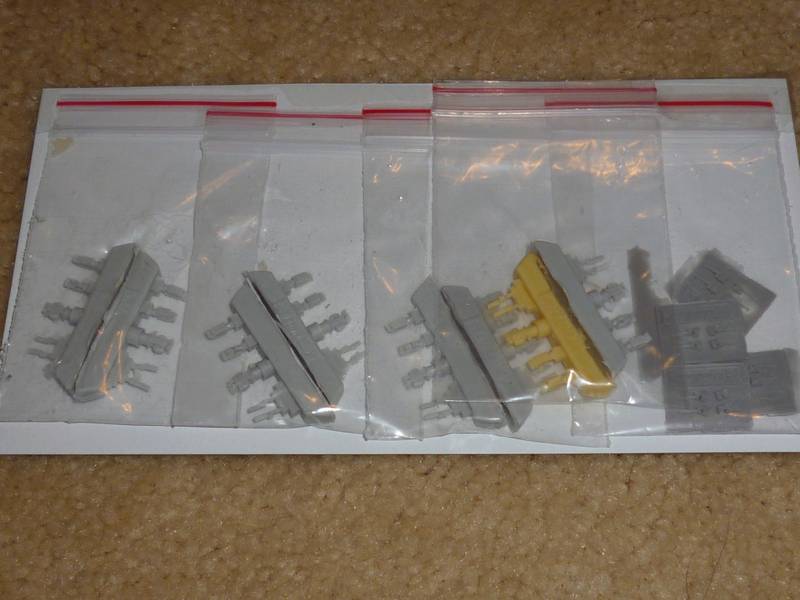
Then resin bits and pieces.


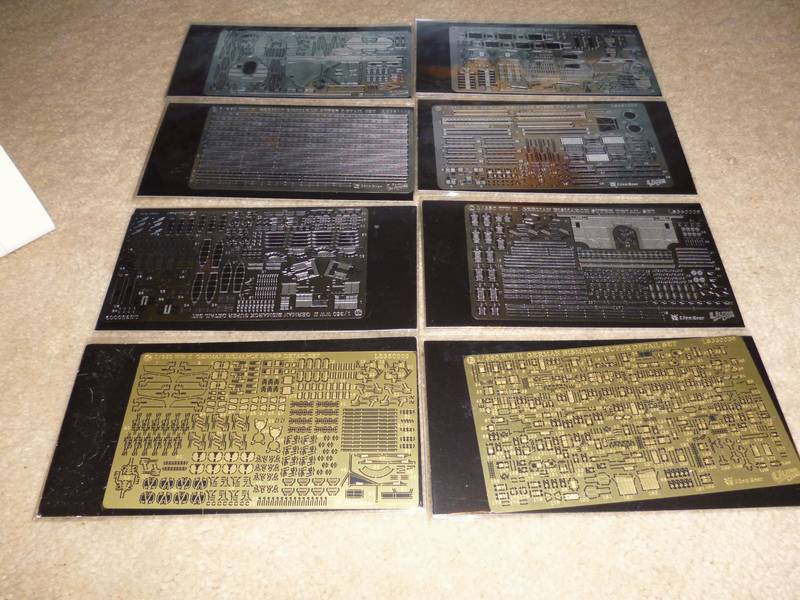
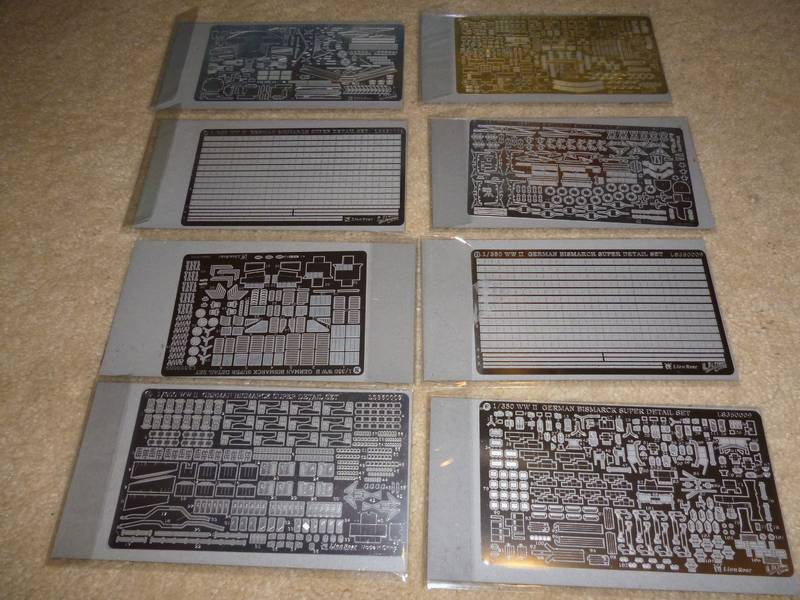
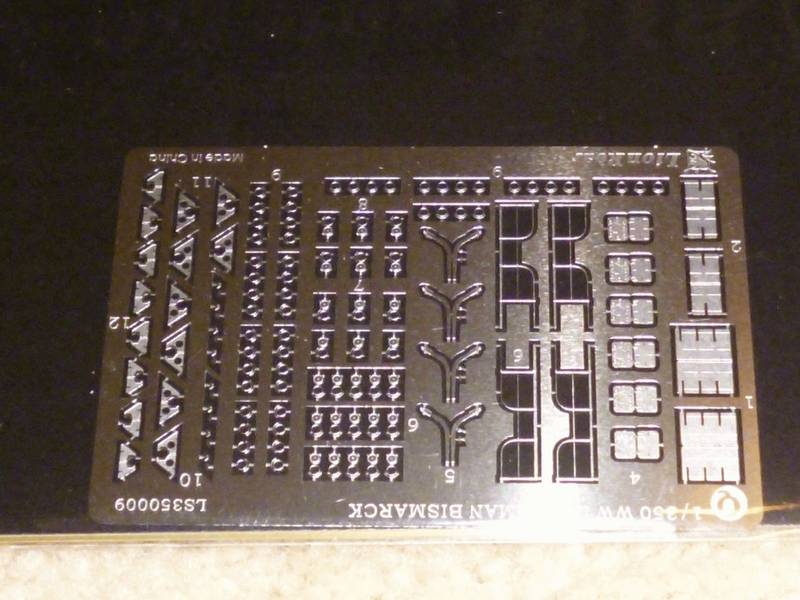
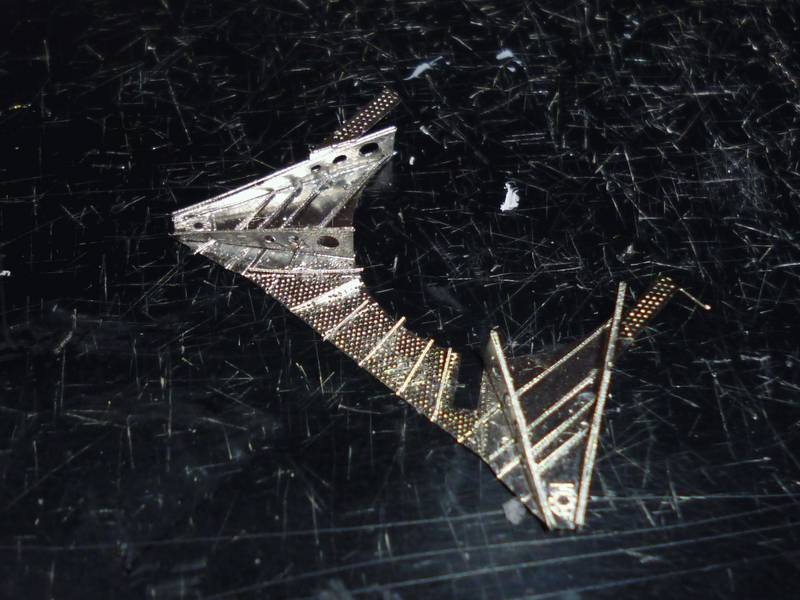
Then 19 frets of PE... None of them are big, but the detail on them is superb..

As you can see there..

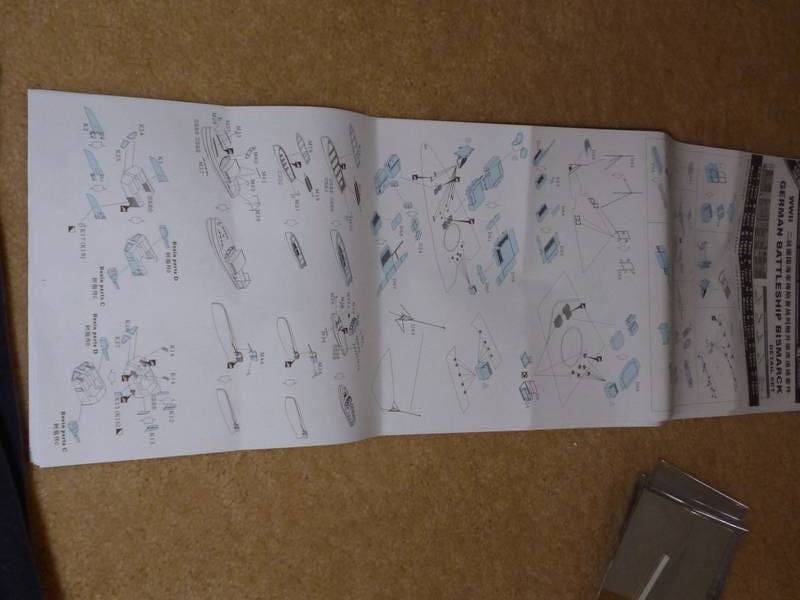
The instructions are long sheets, about 12 or 14 pages total.
I will tak photos of each of the frets (if I remember) during the build. For now I am off to watch the footy and perv at the instructions for the ship and PE set. Try and get a handle on how I will tie the PE in wioth the build.
Back later!
surfsup
Visit this Community
Queensland, Australia
Joined: May 20, 2010
KitMaker: 1,230 posts
Model Shipwrights: 1,212 posts
Posted: Saturday, May 12, 2012 - 05:49 PM UTC
I will be watching this one with keen interest Warren.....Cheers Mark
warreni
Visit this Community
South Australia, Australia
Joined: August 14, 2007
KitMaker: 5,926 posts
Model Shipwrights: 2,624 posts
Posted: Sunday, May 13, 2012 - 08:59 AM UTC
This PE set would have to be the most detailed I have ever seen, except for the one glaring omission, there are no custom ships railings, and no guide as to where they should go.. I suppose I will use the Revell instructions but it is still a bit slack.

Anytime you want to peruse the set Mark just give me a yell. I also have them for the Repulse, Scharnhorst and Prinz Eugen.

An interesting idea would be to build the kit OOB with the plastic railings etc, then with this PE set just to illustrate what an improvement the PE sets make.

Hopefully I will have this one finished for the QLD Model Show and I can put a few others in for my own little flotilla.
RedDuster
Visit this Community
England - South East, United Kingdom
Joined: March 01, 2010
KitMaker: 7,078 posts
Model Shipwrights: 6,649 posts
Posted: Sunday, May 13, 2012 - 08:34 PM UTC
Hi Warren, another great looking project, will be following with interest.

Si
surfsup
Visit this Community
Queensland, Australia
Joined: May 20, 2010
KitMaker: 1,230 posts
Model Shipwrights: 1,212 posts
Posted: Sunday, May 13, 2012 - 10:06 PM UTC

Quoted Text

This PE set would have to be the most detailed I have ever seen, except for the one glaring omission, there are no custom ships railings, and no guide as to where they should go.. I suppose I will use the Revell instructions but it is still a bit slack.

Anytime you want to peruse the set Mark just give me a yell. I also have them for the Repulse, Scharnhorst and Prinz Eugen.

An interesting idea would be to build the kit OOB with the plastic railings etc, then with this PE set just to illustrate what an improvement the PE sets make.

Hopefully I will have this one finished for the QLD Model Show and I can put a few others in for my own little flotilla.


I would look forward to seeing it Warren. We have a little Modellers get together at my place on Saturday. PM me if you want to come.....Cheers Mark
warreni
Visit this Community
South Australia, Australia
Joined: August 14, 2007
KitMaker: 5,926 posts
Model Shipwrights: 2,624 posts
Posted: Tuesday, May 15, 2012 - 09:37 PM UTC
Thanks Guys.

As much as I would love to attend Mark this weekend is a no go as the Missus came out of hospital today and I think I will be her go-fer for a while..

And as the saying goes, the best laid plans of mice and men... I have decided to not use the Lion Roar set and will be using the Eduard set instead. I know, wimp. I am slack but I have had a look at the Eduard set's instructions and they have railings etc for specific locations. I picked up the BigEd set for the Bismarck from a hobby store in China for less than the price of the set direct from Eduard.

I will wait for the Eduard set to get here, shouldn't take more than a week or two, but in the meantime I started one of Trumpeter's WWII German destroyers, the Z-43. I have a wooden deck for it and it comes with PE. But again, Trumpeter gives you no idea where the railings go.. How frustrating is that!! Will have to keep my eyes out for some references.

Til next time...

DanielMoscatelli
Visit this Community
Montevideo, Uruguay
Joined: August 22, 2011
KitMaker: 998 posts
Model Shipwrights: 941 posts
Posted: Wednesday, May 16, 2012 - 01:02 PM UTC
My dear friend ... first to congratulate yourself on this new project .. I do again very good your accessories!! I know Lion Roar's super details and it of Flyhowk ....... that the luck and the sight accompany you jajajajjajajja I will follow you!! Regards Daniel
warreni
Visit this Community
South Australia, Australia
Joined: August 14, 2007
KitMaker: 5,926 posts
Model Shipwrights: 2,624 posts
Posted: Wednesday, May 16, 2012 - 06:11 PM UTC
Thanks Daniel. With that encouragement I may have to use the Lion Roar set and the Eduard set!
redalb2253
Visit this Community
South Carolina, United States
Joined: June 02, 2006
KitMaker: 235 posts
Model Shipwrights: 132 posts
Posted: Thursday, May 17, 2012 - 03:29 AM UTC
Warren I'll be following this build too, I have started the Revell Tirpitz with The Pontos deck, and the complete White Ensign sets. I'll also try to post pics soon.
Removed by original poster on 05/17/12 - 16:35:00 (GMT).
redalb2253
Visit this Community
South Carolina, United States
Joined: June 02, 2006
KitMaker: 235 posts
Model Shipwrights: 132 posts
Posted: Thursday, May 17, 2012 - 04:43 AM UTC
I posted some pics but I can't get the on here
redalb2253
Visit this Community
South Carolina, United States
Joined: June 02, 2006
KitMaker: 235 posts
Model Shipwrights: 132 posts
Posted: Friday, May 18, 2012 - 08:30 AM UTC

Damn it worked..
warreni
Visit this Community
South Australia, Australia
Joined: August 14, 2007
KitMaker: 5,926 posts
Model Shipwrights: 2,624 posts
Posted: Friday, May 18, 2012 - 05:09 PM UTC
Hello Steve.

Try uploading some larger pictures. You may even want to start your own blog as you want your work to stand alone, and not make mine look bad..

Anyway, a quick update. First up I found that part of the pointy end of the ship had broken off at some time. One of them I found but the other, the smaller part, has disappeared. Still not sure how I will fix it..

The hull of the kit is over-engineered in my opinion. Having just finished the Tamiya Musashi with its nice, easy one piece hull I start this one and firstly have to glue two halves of the hull together. Not too bad you say, but then there are three pieces for each of the outboard propeller areas. Why I ask? Was there a Bismarck with extra propeller shafts or something? And to make it even better the fit etc is not so good as illustrated by the amount of filler in the next picture..

Just a little Tamiya white putty..

And after lots of sanding here is how they finished up.
I used CA glue along the keel for strength and filling annoying variations in the alignment.

I got an email asking me if I would mind waiting for the BigEd set I ordered for the Bismarck for two weeks. It said the item was in stock and I don' think they sell many of those items, so I said no,, don't bother, and started with the LionRoar set which is beautifully made. Some of the PE sheets have clear protective plastic over both sides of the frets you need to remove, but it is not too sticky unlike some other PE out there.
I have removed all the protruberences off the deck that are going to be replaced with PE.
The next step in the instructions is to glue the deck to the hull, but before that I have to paint the hull. When I have it all on I will put all the PE bits on the deck, paint it all, an then put the wooden deck on. Hopefully will not have the lifting problem I had with the Musashi.
Anyway, more photos later boys and girls.
RedDuster
Visit this Community
England - South East, United Kingdom
Joined: March 01, 2010
KitMaker: 7,078 posts
Model Shipwrights: 6,649 posts
Posted: Sunday, May 20, 2012 - 10:49 PM UTC
Nice start Warren,

Does look an overcomplicated way of doing things, but is it get the subtilties of the shape correct, or are there differences in that region between Bismarck & Tirpitz?

Si
surfsup
Visit this Community
Queensland, Australia
Joined: May 20, 2010
KitMaker: 1,230 posts
Model Shipwrights: 1,212 posts
Posted: Sunday, May 20, 2012 - 11:36 PM UTC
Good to see you up and running with her Warren.....Cheers Mark
warreni
Visit this Community
South Australia, Australia
Joined: August 14, 2007
KitMaker: 5,926 posts
Model Shipwrights: 2,624 posts
Posted: Wednesday, June 06, 2012 - 06:18 PM UTC
Greetings one and all.

It has been a while since an update and I seem to have done very little.. til I looked at what I had done so far. Small PE stuff tends to slow one down and the gun mounts are all PE with this set.. well except for the barrels... and some of the kits original bits I adapted to use with the PE as some of the resin is too delicate and breaks when you try and remove it from the pour block.. oh well..

OK, first up some of the mine clearing devices.. They supp;y PE fins for the back as well as you can see on one of them, but it is just too fiddly and I decided not to use them..


Then we have some partially completed 37mm mounts. Notice the fantastic detailing on the etched floor. You are supposed to use a resin body with these but as I said part of the gun breeches break every time I try and use them.. so I have sent away for some 37mm barrels and will use the kit parts for some of the mounts.

Sorry for the photo but those are two quad 20mm AA guns, two single 20mm AA guns, some round things that sit on the deck near the turrets and some hose reels. Will line everything up and take better photos later.

Here we have 20mm single mounts, 10 of them.. I didn't use all the PE on them either as some is just too fiddly even for me...

Here are the high angle AA Guns,

Then we have the four main turrets and six 155mm turrets.

Then the mostly finished hull.
So there you go,, One day I may even get a chance to put the deck in place!
surfsup
Visit this Community
Queensland, Australia
Joined: May 20, 2010
KitMaker: 1,230 posts
Model Shipwrights: 1,212 posts
Posted: Wednesday, June 06, 2012 - 07:46 PM UTC
Very nicely done so far Warren. Those Round Things I think you are referring to are the Tube Mounts that hold the 15Inch Barrell Cleaning Rods. They are situated on the Upper Deck behind Turret Bruno.....CHeers Mark
warreni
Visit this Community
South Australia, Australia
Joined: August 14, 2007
KitMaker: 5,926 posts
Model Shipwrights: 2,624 posts
Posted: Thursday, June 07, 2012 - 04:38 AM UTC
I am sure you are correct mate. They also included PE feet, but again they are just too fiddly...
warreni
Visit this Community
South Australia, Australia
Joined: August 14, 2007
KitMaker: 5,926 posts
Model Shipwrights: 2,624 posts
Posted: Saturday, June 16, 2012 - 08:12 PM UTC
Hi Everyone.
No pictures this update but I continue to plow through the PE. I didn't get much done last week as I had the flu and am just getting over it now.
This kit and PE is truly a large number of smaller kits in one. Each of the platforms on the funnel has its own bracing underneath in great detail with the PE set and one of them has over 30 parts in it. Each of the small boats has at least 4 pieces in it. I didn't bother with some of the stuff as it is just too delicate.
If I can pass on one piece of advise, if you are thinking about starting using PE DON'T start with this set as it is just too detailed. Many parts are less than 1 mm is size and you run the risk of losing many parts due to their size. A magnifying visor is not an option but a necessity.
But if you have a few PE sets under your belt and want a real challenge then give this combination a go.
warreni
Visit this Community
South Australia, Australia
Joined: August 14, 2007
KitMaker: 5,926 posts
Model Shipwrights: 2,624 posts
Posted: Thursday, June 21, 2012 - 06:08 PM UTC
Just to prove I have been doing something on the Big B...

I used a PE saw to remove the left hand motor bits from this plastic part. The right hand one came off soon afterwards and they were attached to the bottom of ...

.. this part. As you can see the detail provided with the PE is just amazing.. All those little ribs etc you can see are individual pieces....

Same with this search-light platform access deck. The plastic one has a few thick ribs.
Here we have a number of parts including radar antennas, cranes etc etc.

And here are those platforms in position with there small cranes stowed.

And here are the platforms which sit under the searchlight platforms. Not sure what they would have been used for.
All the open boats have had their thwarts removed and PE ones glued in along with the grating for the bottom of each one. I didn't put all the PE on the larger boats as some of it is just too small and/or delicate..
Til next time..
redalb2253
Visit this Community
South Carolina, United States
Joined: June 02, 2006
KitMaker: 235 posts
Model Shipwrights: 132 posts
Posted: Friday, June 22, 2012 - 08:49 AM UTC
Lookin really good Mr. Warren
warreni
Visit this Community
South Australia, Australia
Joined: August 14, 2007
KitMaker: 5,926 posts
Model Shipwrights: 2,624 posts
Posted: Friday, June 22, 2012 - 04:41 PM UTC

Quoted Text

Lookin really good Mr. Warren


Thank you.
surfsup
Visit this Community
Queensland, Australia
Joined: May 20, 2010
KitMaker: 1,230 posts
Model Shipwrights: 1,212 posts
Posted: Sunday, June 24, 2012 - 10:15 PM UTC
That is some beautiful work Warren. I love it.....Cheers mark
bigal07
Visit this Community
England - East Anglia, United Kingdom
Joined: January 07, 2009
KitMaker: 887 posts
Model Shipwrights: 575 posts
Posted: Monday, June 25, 2012 - 02:57 AM UTC
I think this is completely barking mad - but what a GREAT display model this will make if the beginning is anything to go by. Question, with so many fine pieces of etch in prime locations, how will you tackle the camo paint work without over-loading the etch or if masking, possibly damage it ?
vonHengest
Visit this Community
Texas, United States
Joined: June 29, 2010
KitMaker: 5,854 posts
Model Shipwrights: 350 posts
Posted: Monday, June 25, 2012 - 11:32 AM UTC
Very stunning Warren
 _GOTOTOP