


looks like you're well and truly 'hooked' on the salty side


...Photobucket fiasco...What a PAIN IN THE #$%&#@$ !!!
I fear the days of the "free" Internet may be numbered.
G'day folks.
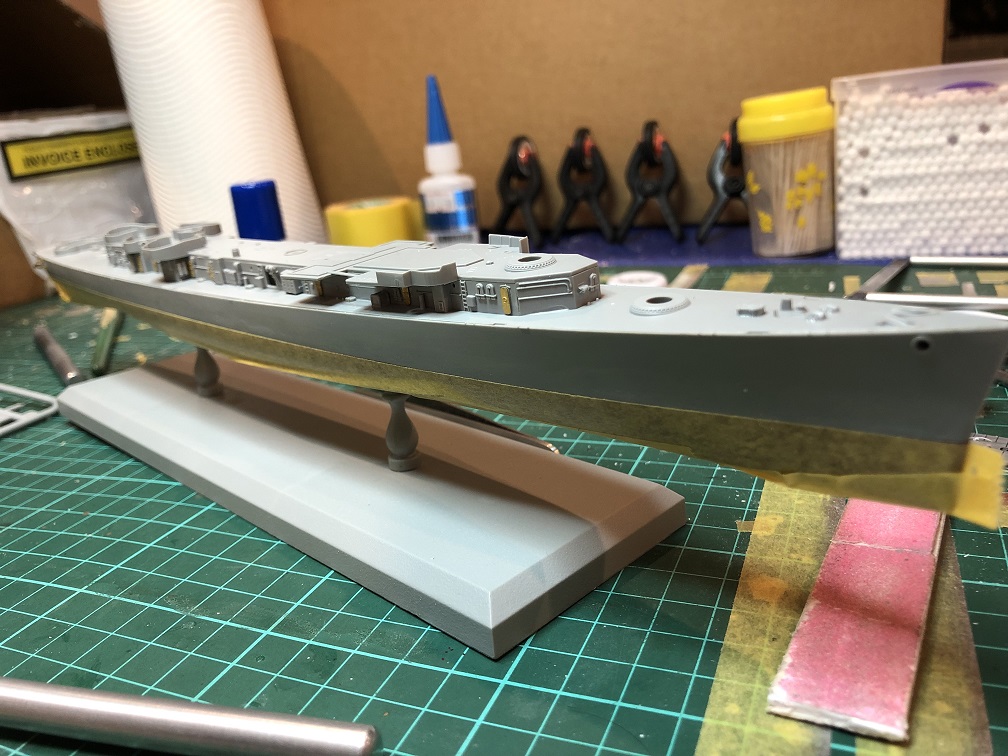
Reading through Russell's Prince Eugen thread a couple of days back, and seeing such great progress, I was motivated to revive this thread with a view to getting the Gearing back on the bench.
Several hours later I am still dealing with the Photobucket fiasco trying to cross-reference images, download them to my Kitmaker Gallery and replace them in the thread.
What a PAIN IN THE #$%&#@$ !!!
Cheers, D
 ).
).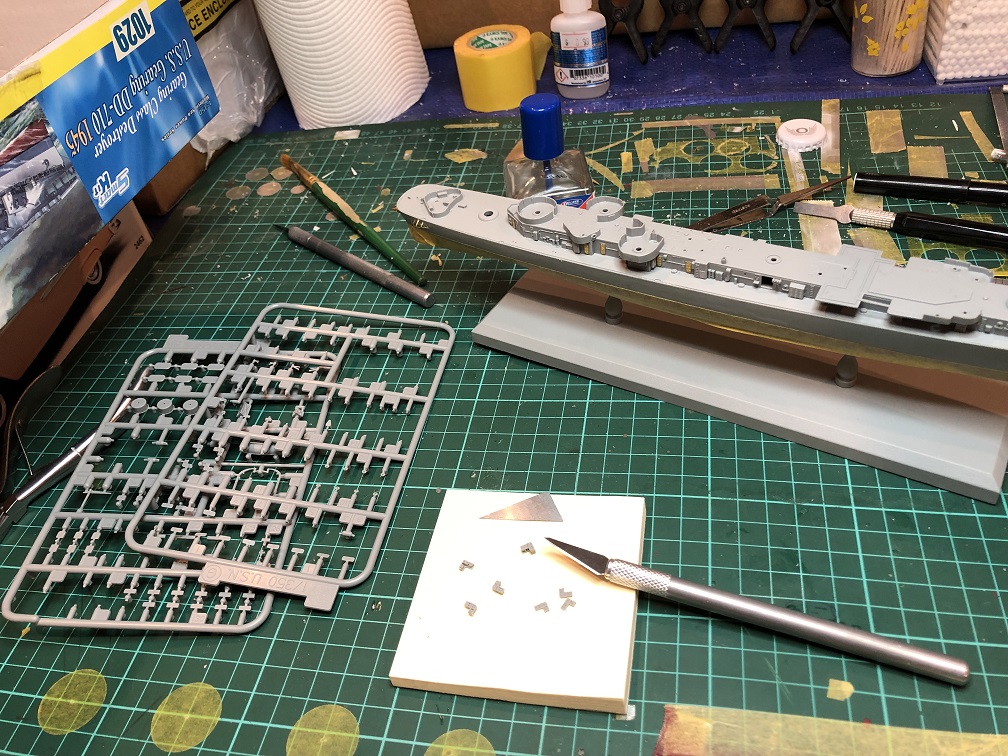


I know it is very fashionable to use the Measure 22 on the Gearing as shown in the instructions, but in truth (1) Gearing never spent much time in that measure (2) everybody does it.
My choice, were I doing this kit would be in overall Haze Gray with all deck surfaces in Deck Blue, using the small hull numbers, bow and stern, that come with the kit. That would depict Gearing from 46-47, and one need not fear that there was any modernization done to her, like was done from 49 onward. This last of course is pure opinion but your model would be unique, a one of, rather than one of many.

 |


