IJN anti-aircraft cruiser Isuzu 1944 1:350
Bayern, Germany
Joined: December 11, 2009
KitMaker: 823 posts
Model Shipwrights: 551 posts
Posted: Tuesday, January 30, 2018 - 09:25 PM UTC
Hello and welcome, this is my new blog: AOSHIMA´s Isuzu in its 1944 setting plus Flyhawk´s detail set for this specific ship.
The Isuzu was the second of the Nagara class 5.500 ton light cruisers. It was named after an well known river at the japanese Homeland. It served from the very beginning throughout the second world war in different task forces at battles in different waters almost until the end. From May - September 1944 she was then converted into a dedicated anti-aircraft cruiser; her main armament was removed and replaced by a massive AA gun complement of different calibers. Some allied bombers who dared to attack her after this were subsequent brought down. But in 7. April 1945 she ran out of luck and fate struck her - not by aircraft but in form of three torpedoes, fired by two US-submarines toward her between Sumbawa and Komodo Islands. 450 crew members were rescued but 190 poor souls went down with the ship.
This is my first AOSHIMA kit at all and what I can see for the first glimpse at the parts everything looks very crisp and detailed. This is how the lady will look alike:

There are a lot parts inside the box - a lot of them will go toward the spares box as AOSHIMA provides here all parts for all the five ships of this specific class which are all slightly different from each other though:

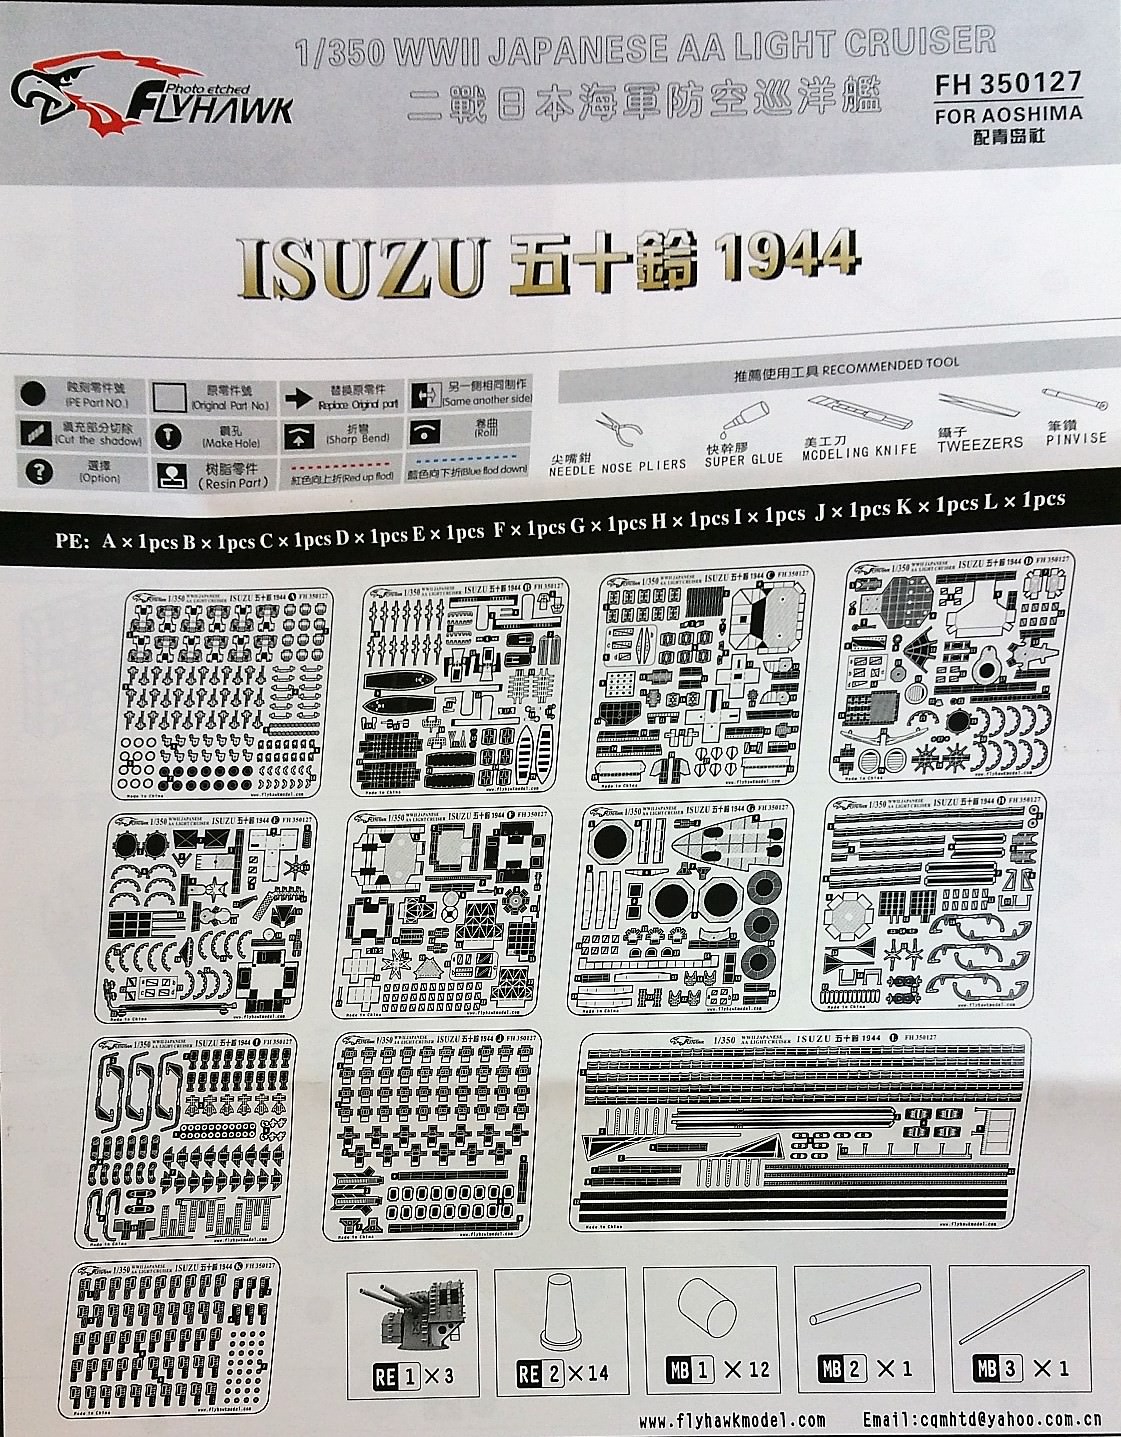
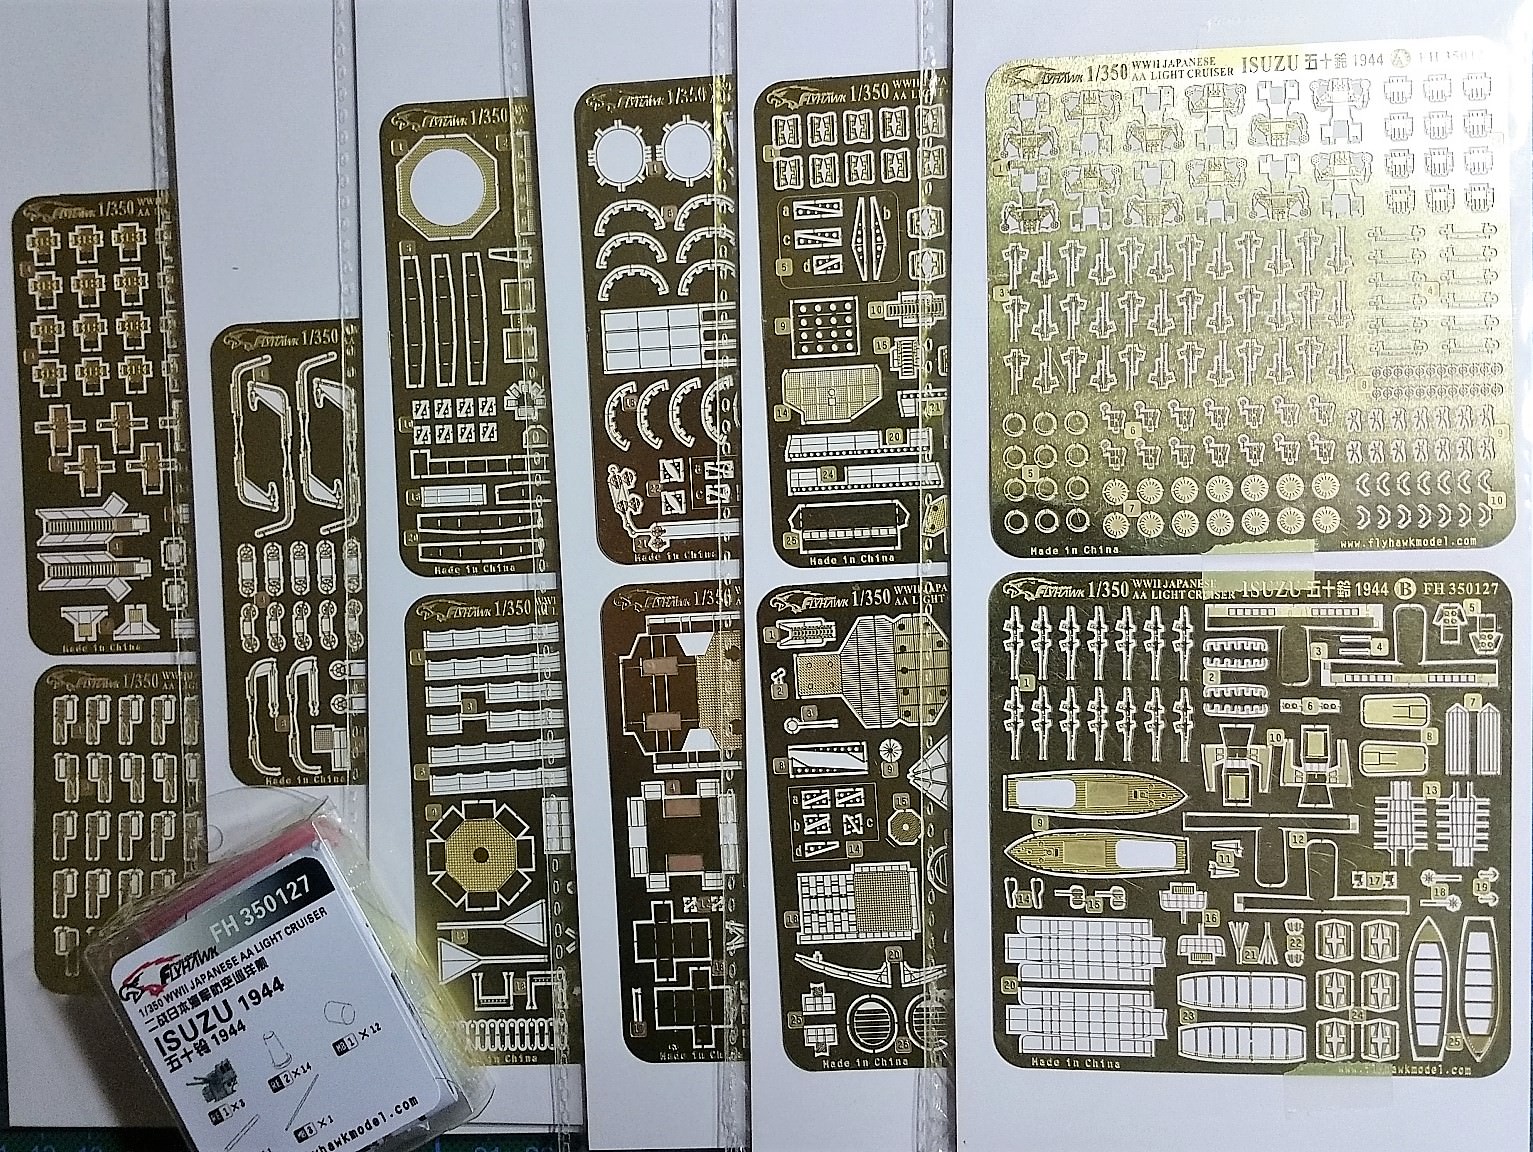
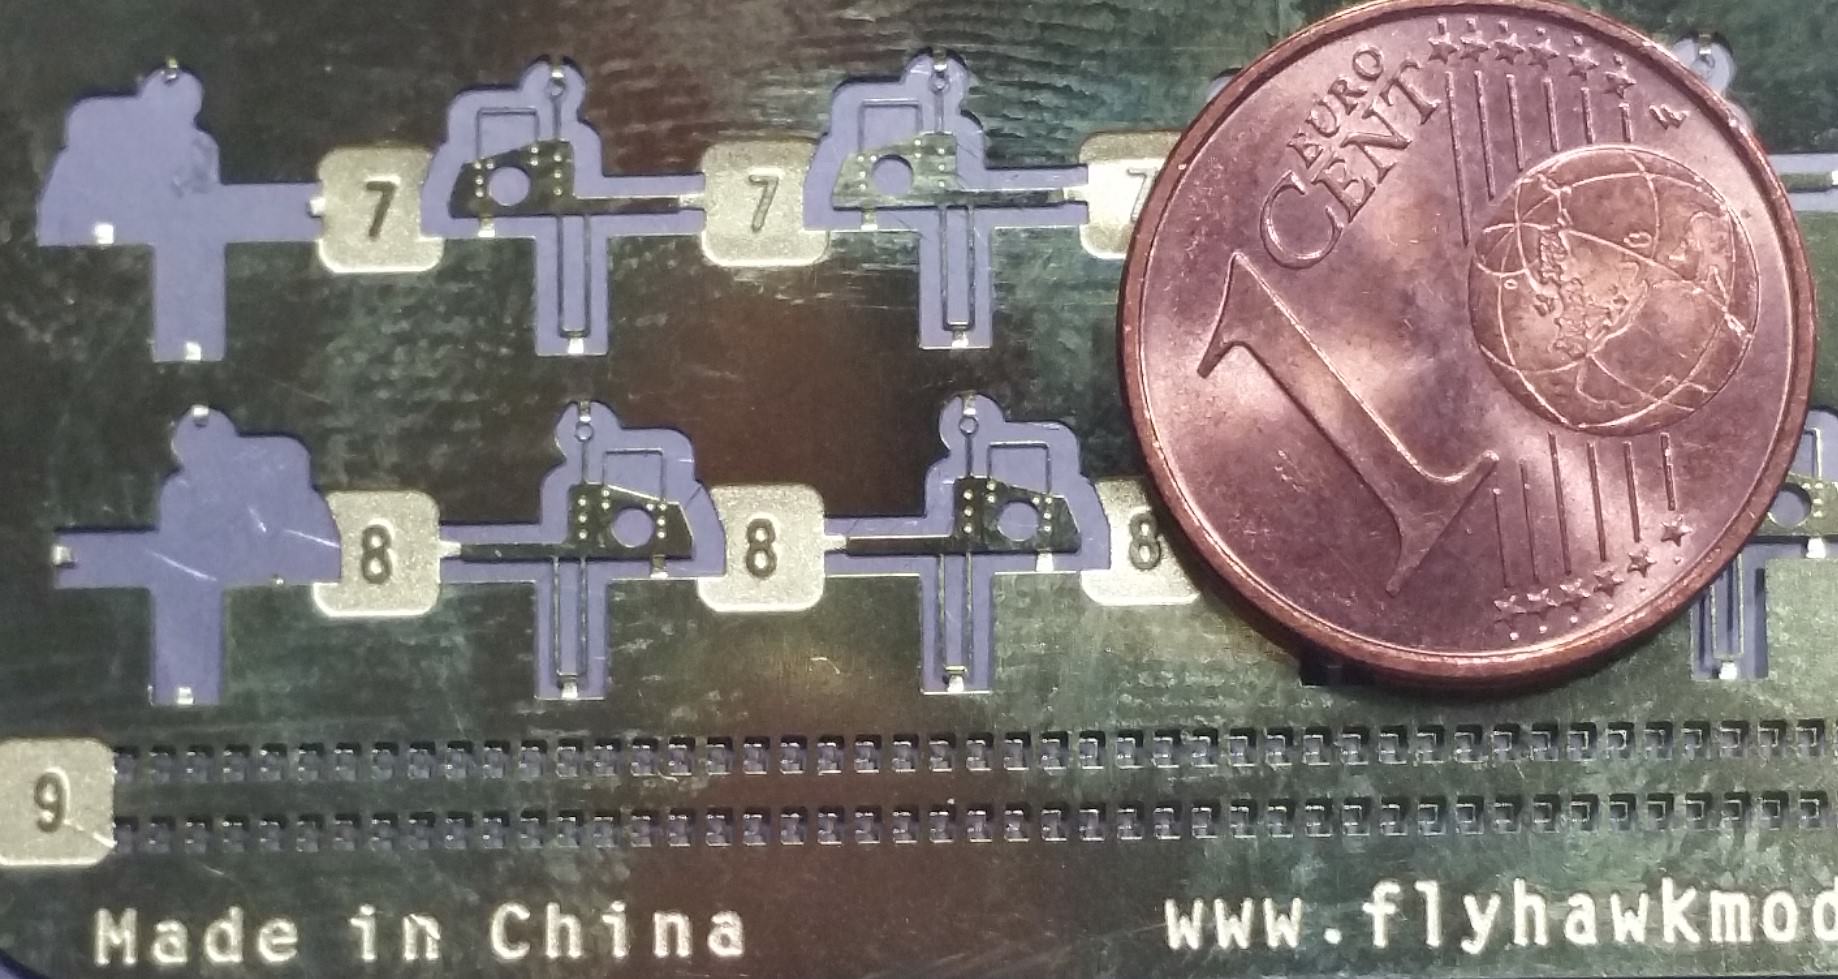
This is the additional Flyhawk detail set for the Isuzu:

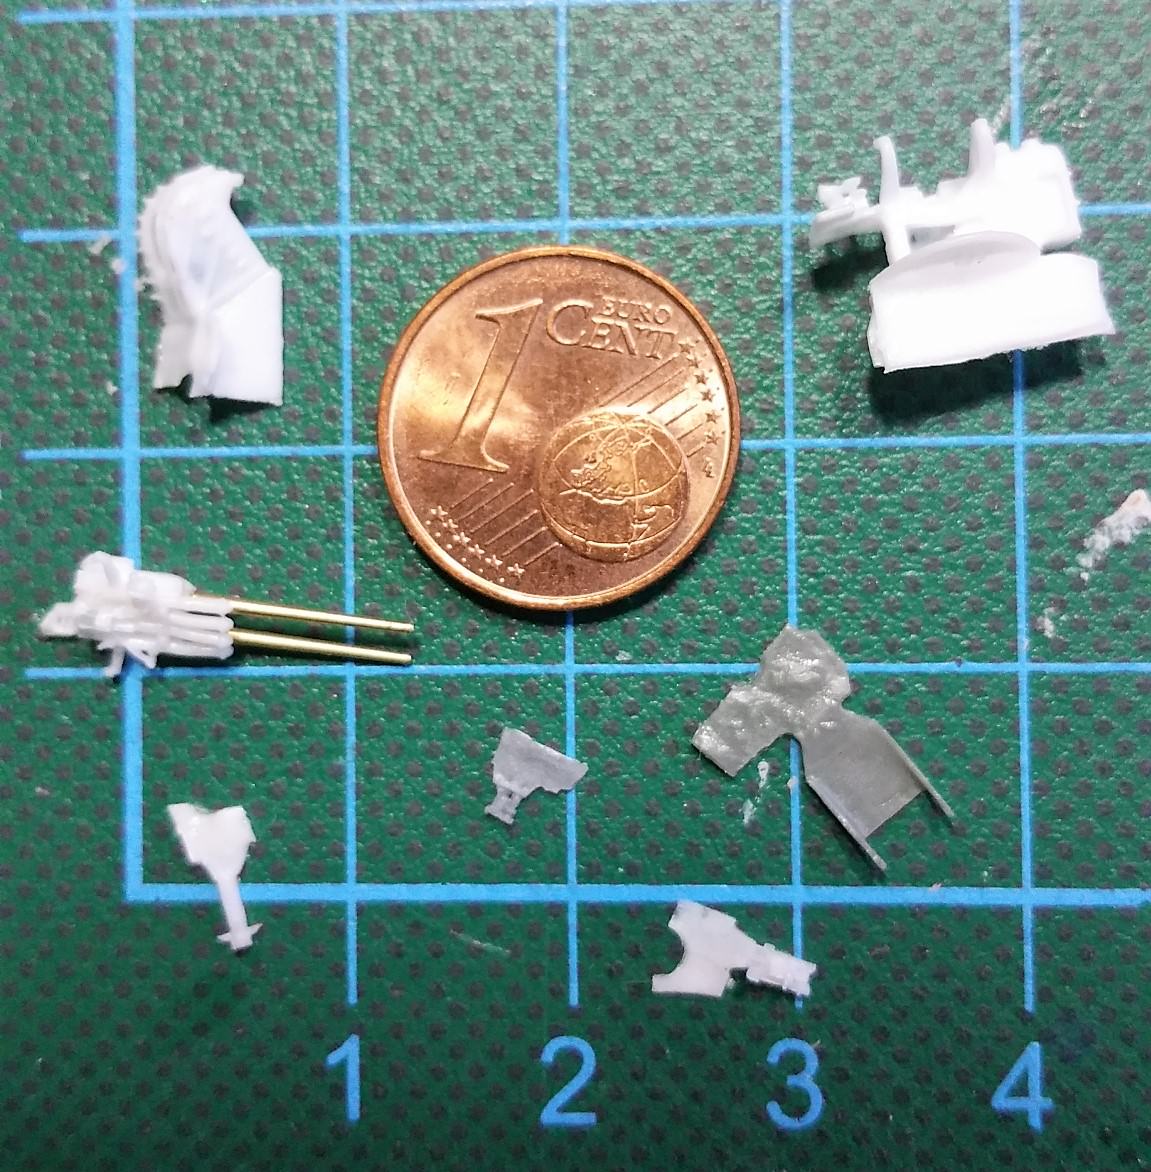
The etched, turned and resin parts of the Flyhawk set:
This will keep me busy...
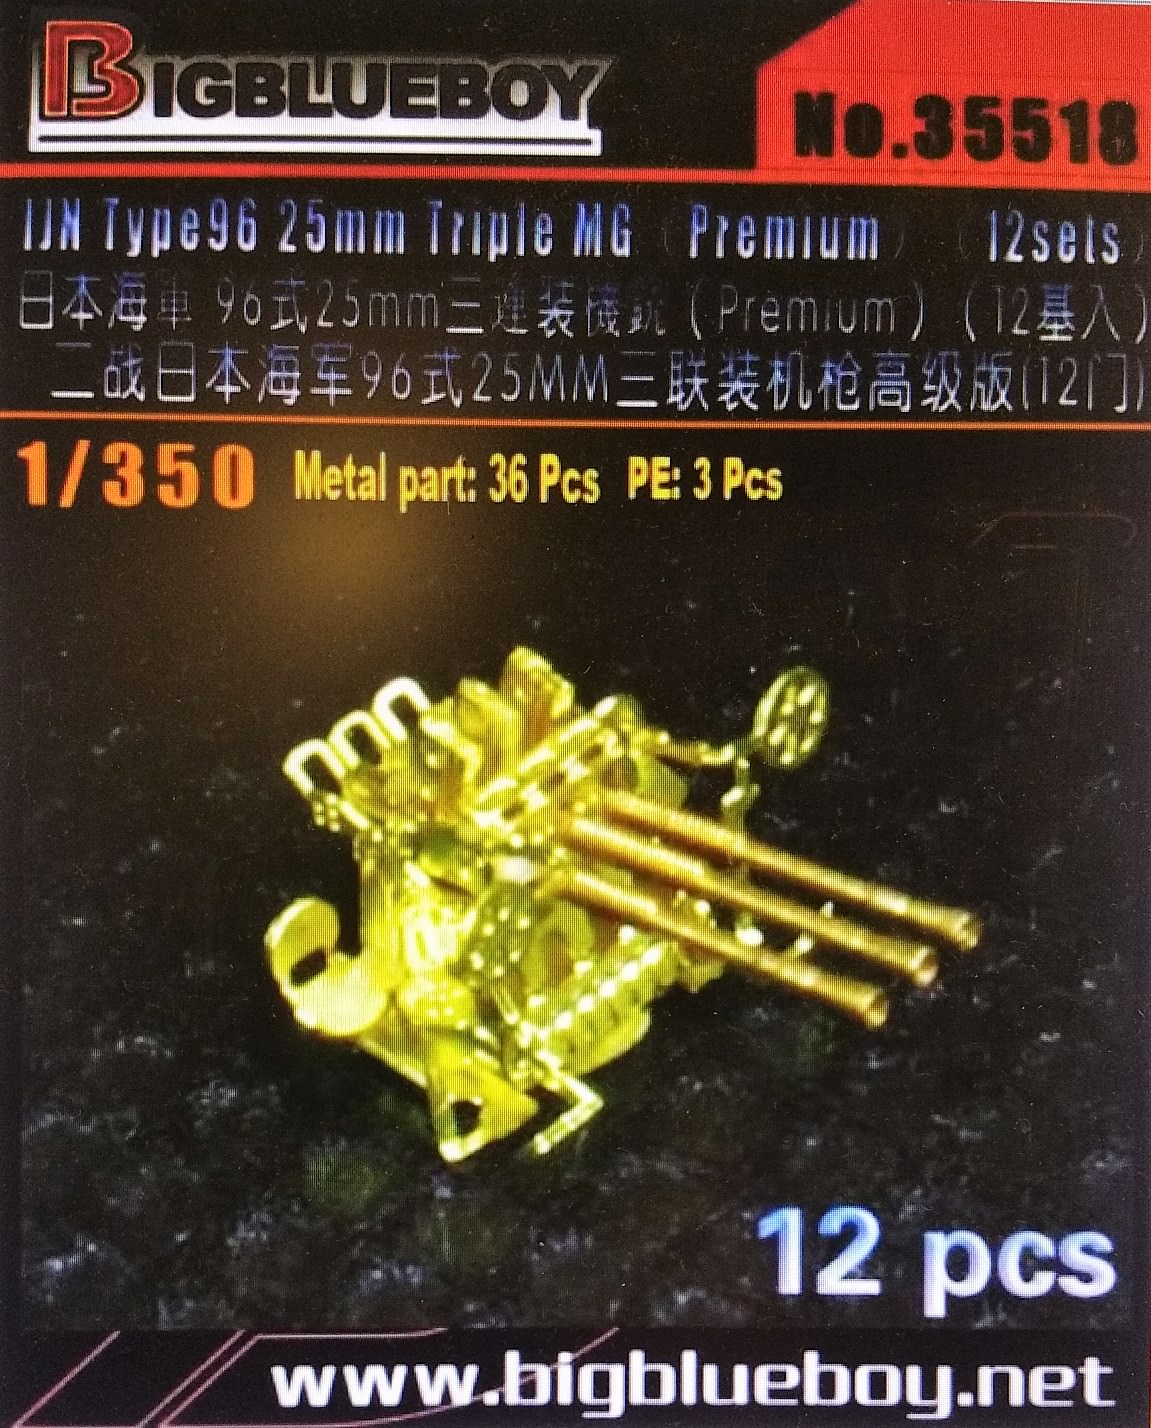
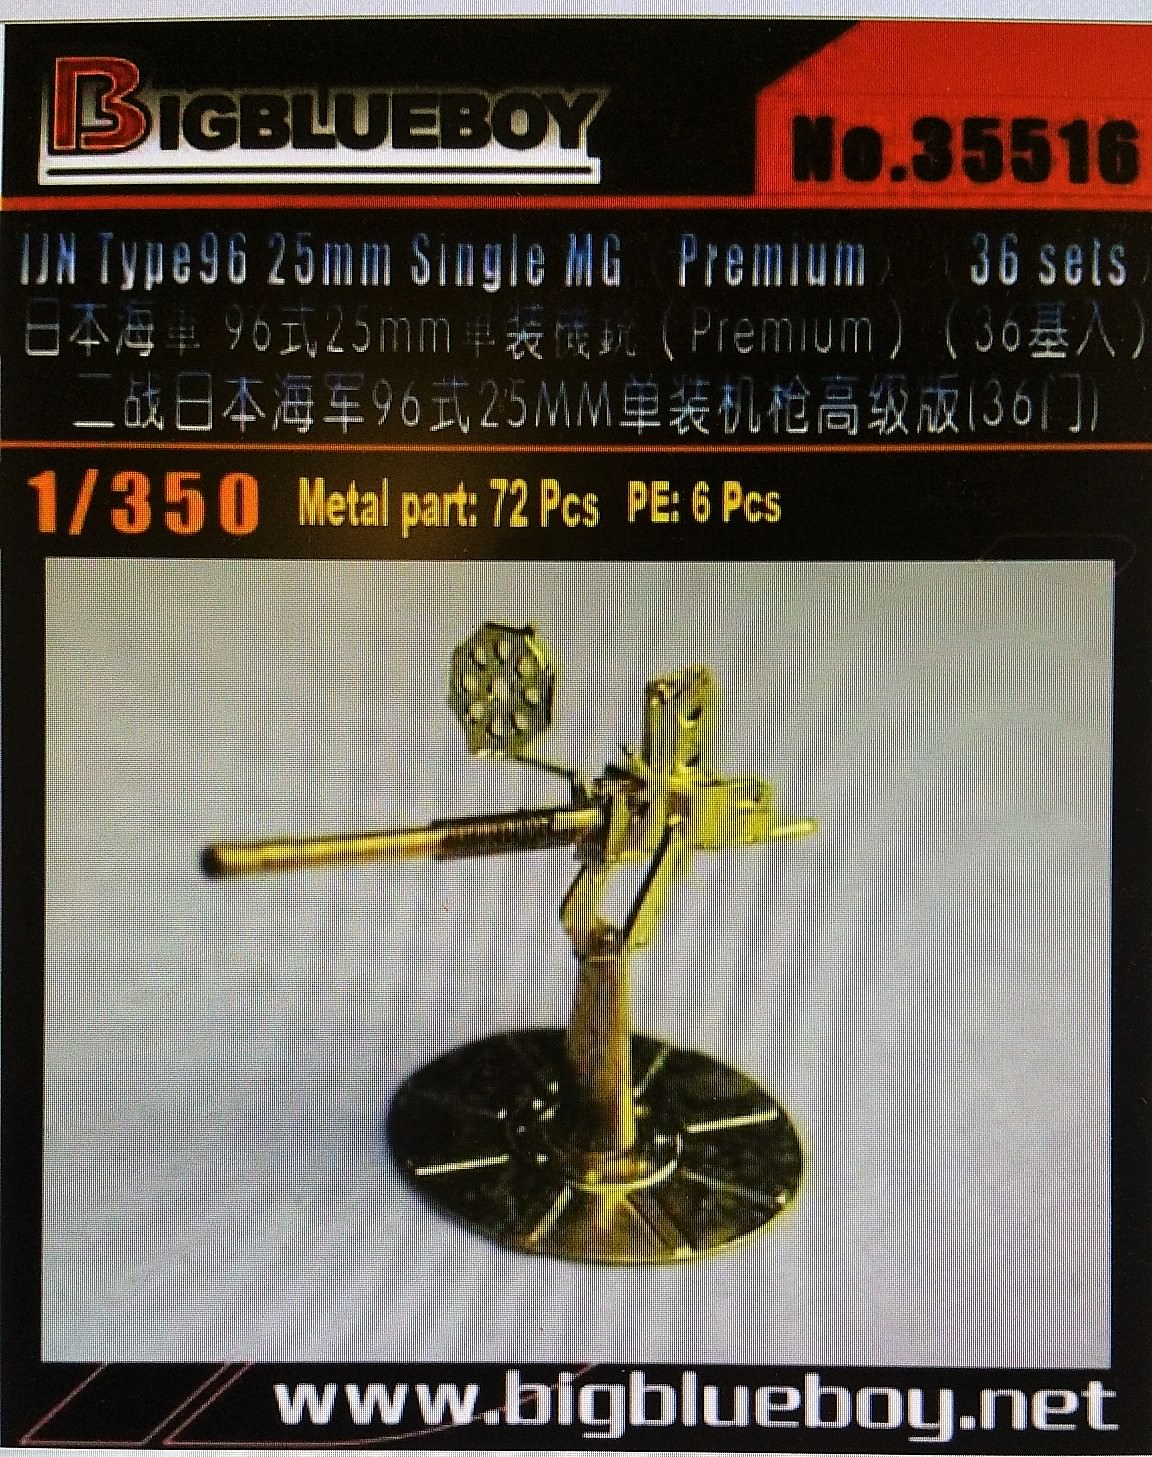
The small AA-guns inside the Flyhawk set have no turned barrels and therefore do look squashed (pictures will follow later here) I bought some extra sets to improve these parts. They are already underway from Hong Kong toward my home adress and should arrive soon:
More to follow soon

Auckland, New Zealand
Joined: July 13, 2004
KitMaker: 2,169 posts
Model Shipwrights: 1,597 posts
Posted: Tuesday, January 30, 2018 - 10:30 PM UTC
Ahoy Thomas
The Isuzu! Bravo I say!
Wow one of my favourite IJN Destroyers.
No pressure now but I am really excited to see this being built and will be following along very closely.
Cheers
Sean
Bayern, Germany
Joined: December 11, 2009
KitMaker: 823 posts
Model Shipwrights: 551 posts
Posted: Tuesday, January 30, 2018 - 11:28 PM UTC
Welcome aboard Sean! I also like the slender shape of the Kuma and Nagara class cruisers. The Isuzu will be a good practice for my stashed TAMA with her white washed camouflage

TimReynaga
 Associate Editor
California, United States
Joined: May 03, 2006
KitMaker: 2,500 posts
Model Shipwrights: 1,830 posts
Posted: Wednesday, January 31, 2018 - 01:16 AM UTC
Hey Thomas,
It is great to see your new choice - this will be a fun one! Back in the 1970s Aoshima was a byword for low quality among the 1/700 Water Line Series ships, but in recent years they have upped their game to the point that they are among the best out there! This one looks to be no exception.
I look forward to watching you bring Isuzu to life!
Indiana, United States
Joined: September 01, 2015
KitMaker: 144 posts
Model Shipwrights: 139 posts
Posted: Wednesday, January 31, 2018 - 01:42 PM UTC
I'll be watching with great interest, I have a few flyhawk sets and enjoy them. I'm along for the ride.

#306
Victoria, Australia
Joined: June 27, 2010
KitMaker: 3,959 posts
Model Shipwrights: 2,777 posts
Posted: Wednesday, January 31, 2018 - 03:01 PM UTC
Onboard and watching with interest Thomas

Stay home and build models!
In 1/72
Gloster Gladiator MkII for the Bi-planes Campaign
In 1/350
Airfix 1:350 Type 45 Destroyer
England - South East, United Kingdom
Joined: March 01, 2010
KitMaker: 7,078 posts
Model Shipwrights: 6,649 posts
Posted: Thursday, February 01, 2018 - 12:32 AM UTC
Nice choice Thomas,
Love these rebuilt old cruisers.
will be following along for the ride.
Cheers
Si
Bayern, Germany
Joined: December 11, 2009
KitMaker: 823 posts
Model Shipwrights: 551 posts
Posted: Saturday, February 03, 2018 - 03:30 PM UTC
Welcome aboard all! I´m very happy that there is so much positive anticipation about this ship. I´ll do my best to meet your expectations.
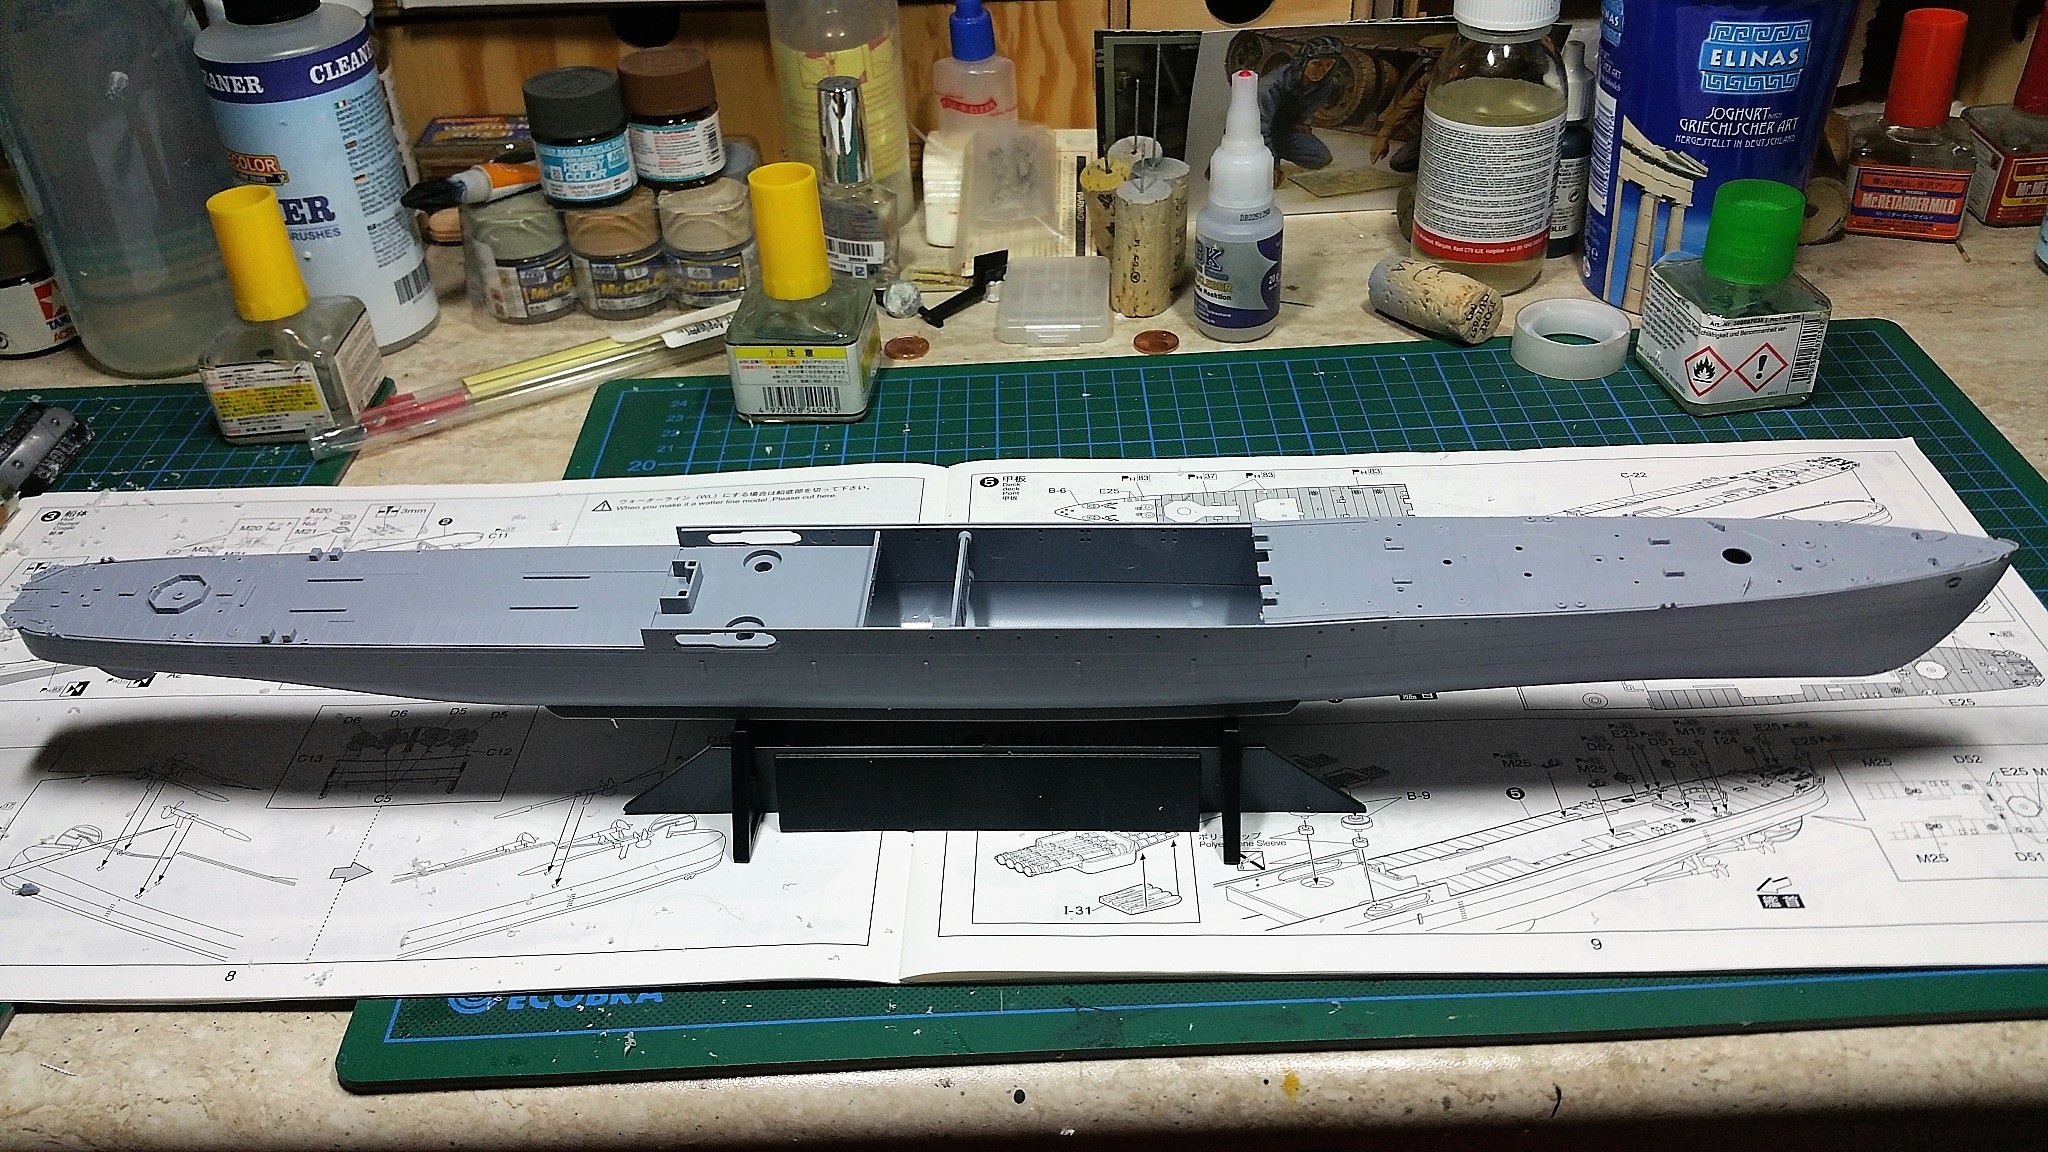
The Isuzu is a lot larger than my last ship (46 cm compared to the just 28 cm of the Dingyuen) and therefore it is my biggest ship until now. The dimensions fit perfectly to scale and the detail is very nice. You have the choice here to cut the ship hull for a waterline model if you want but this time I want to build a full-hull display on a wooden socket.
I started to glue together the two hull halves and the internal connectors for better stability. It is the same System as you might be used from HASEGAWA. As there was a long assembly seam I used liquid Flex-I-file Plast-I-Weld glue applied with an applicator with a very thin needle. This one, although toxic (open your windows after use), almost immediately weld together your two parts which needs to be connected. great stuff. After this I drilled out the holes for the anchor at both hull sides
Only the brass linoleum fixation strips look a bit thin to me. But I decided to leave them as they are instead remove them all and make new ones
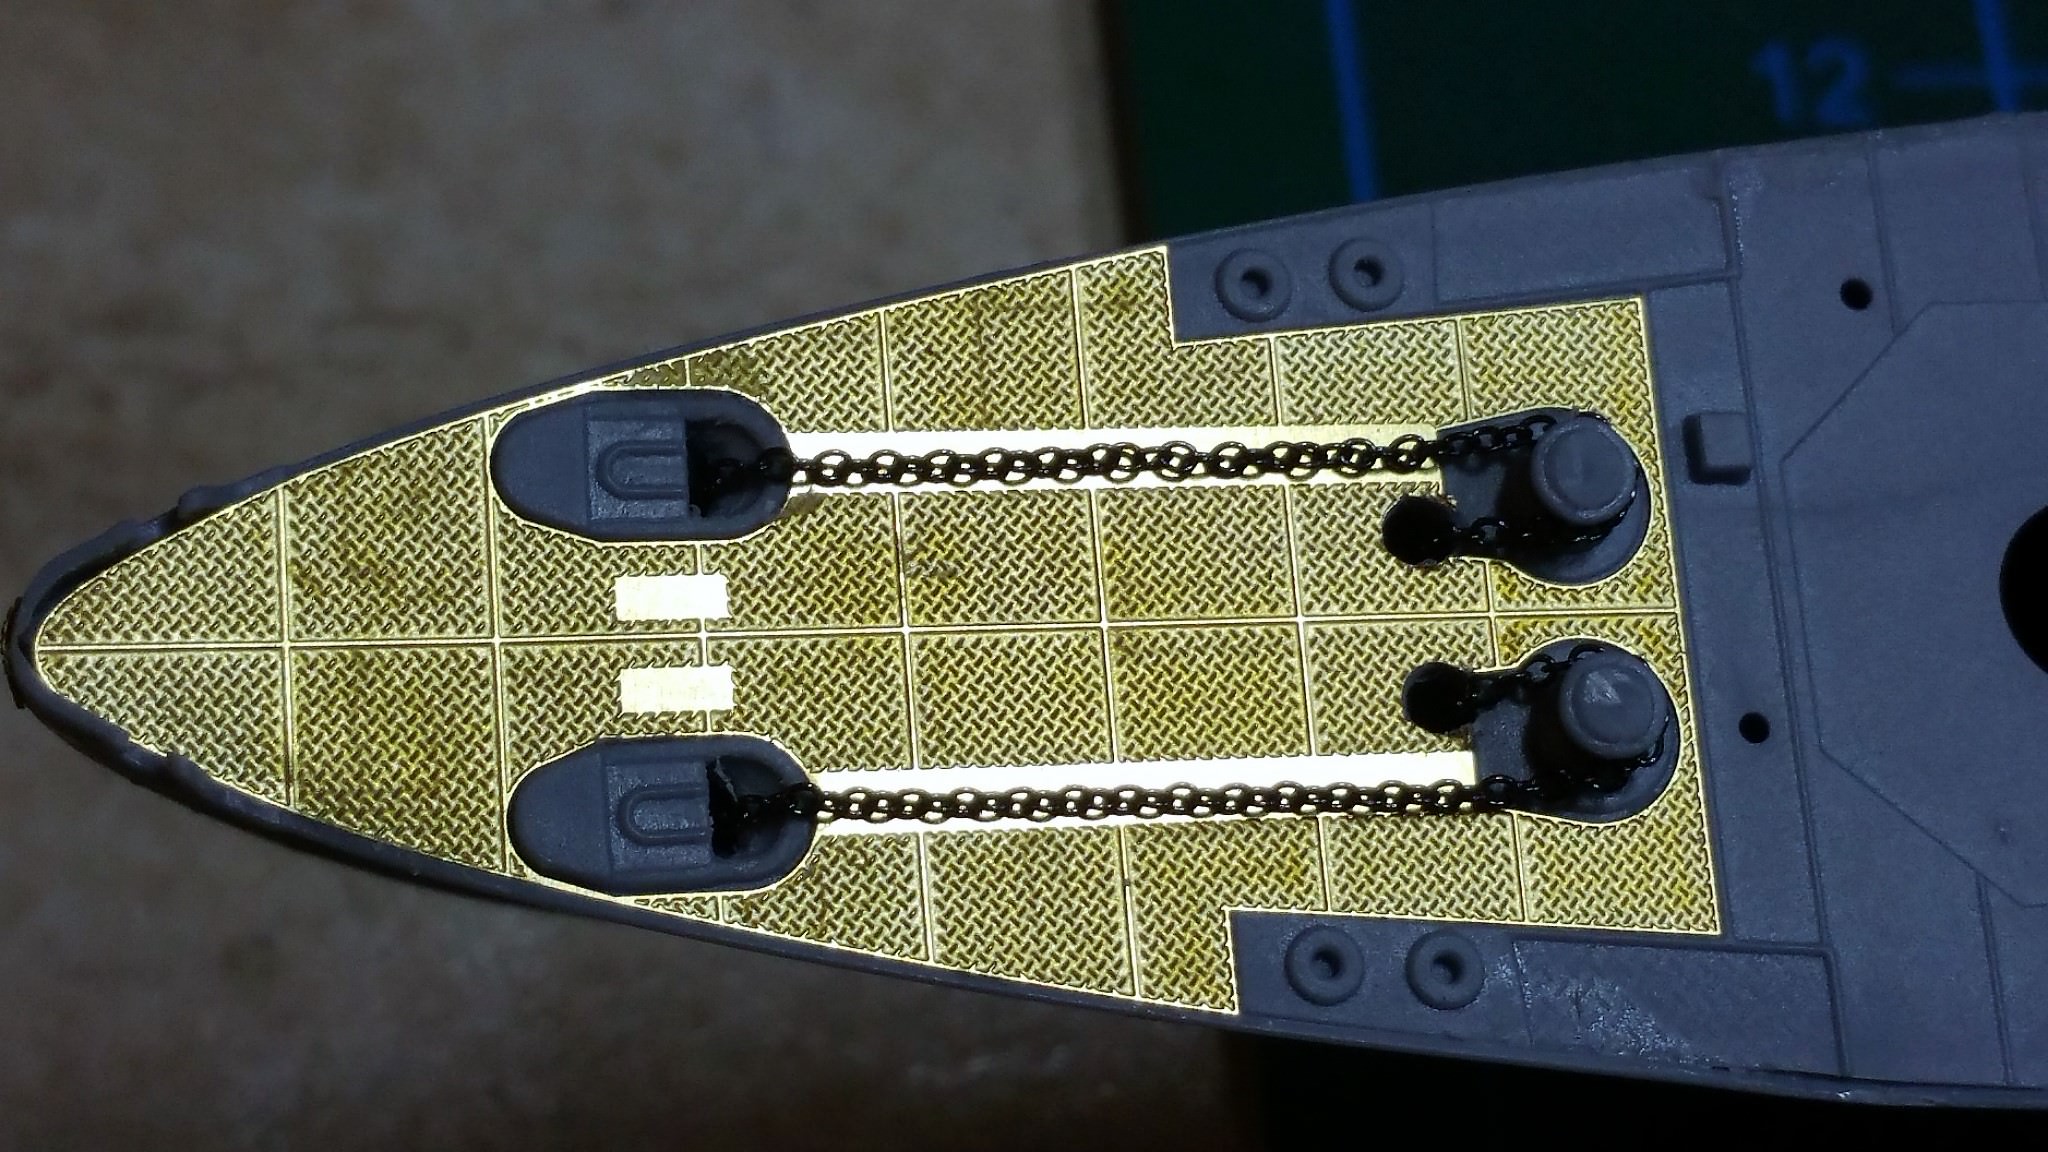
To get warm I started to install some easy pe-parts at the ships front part

The ship´s name at the stern
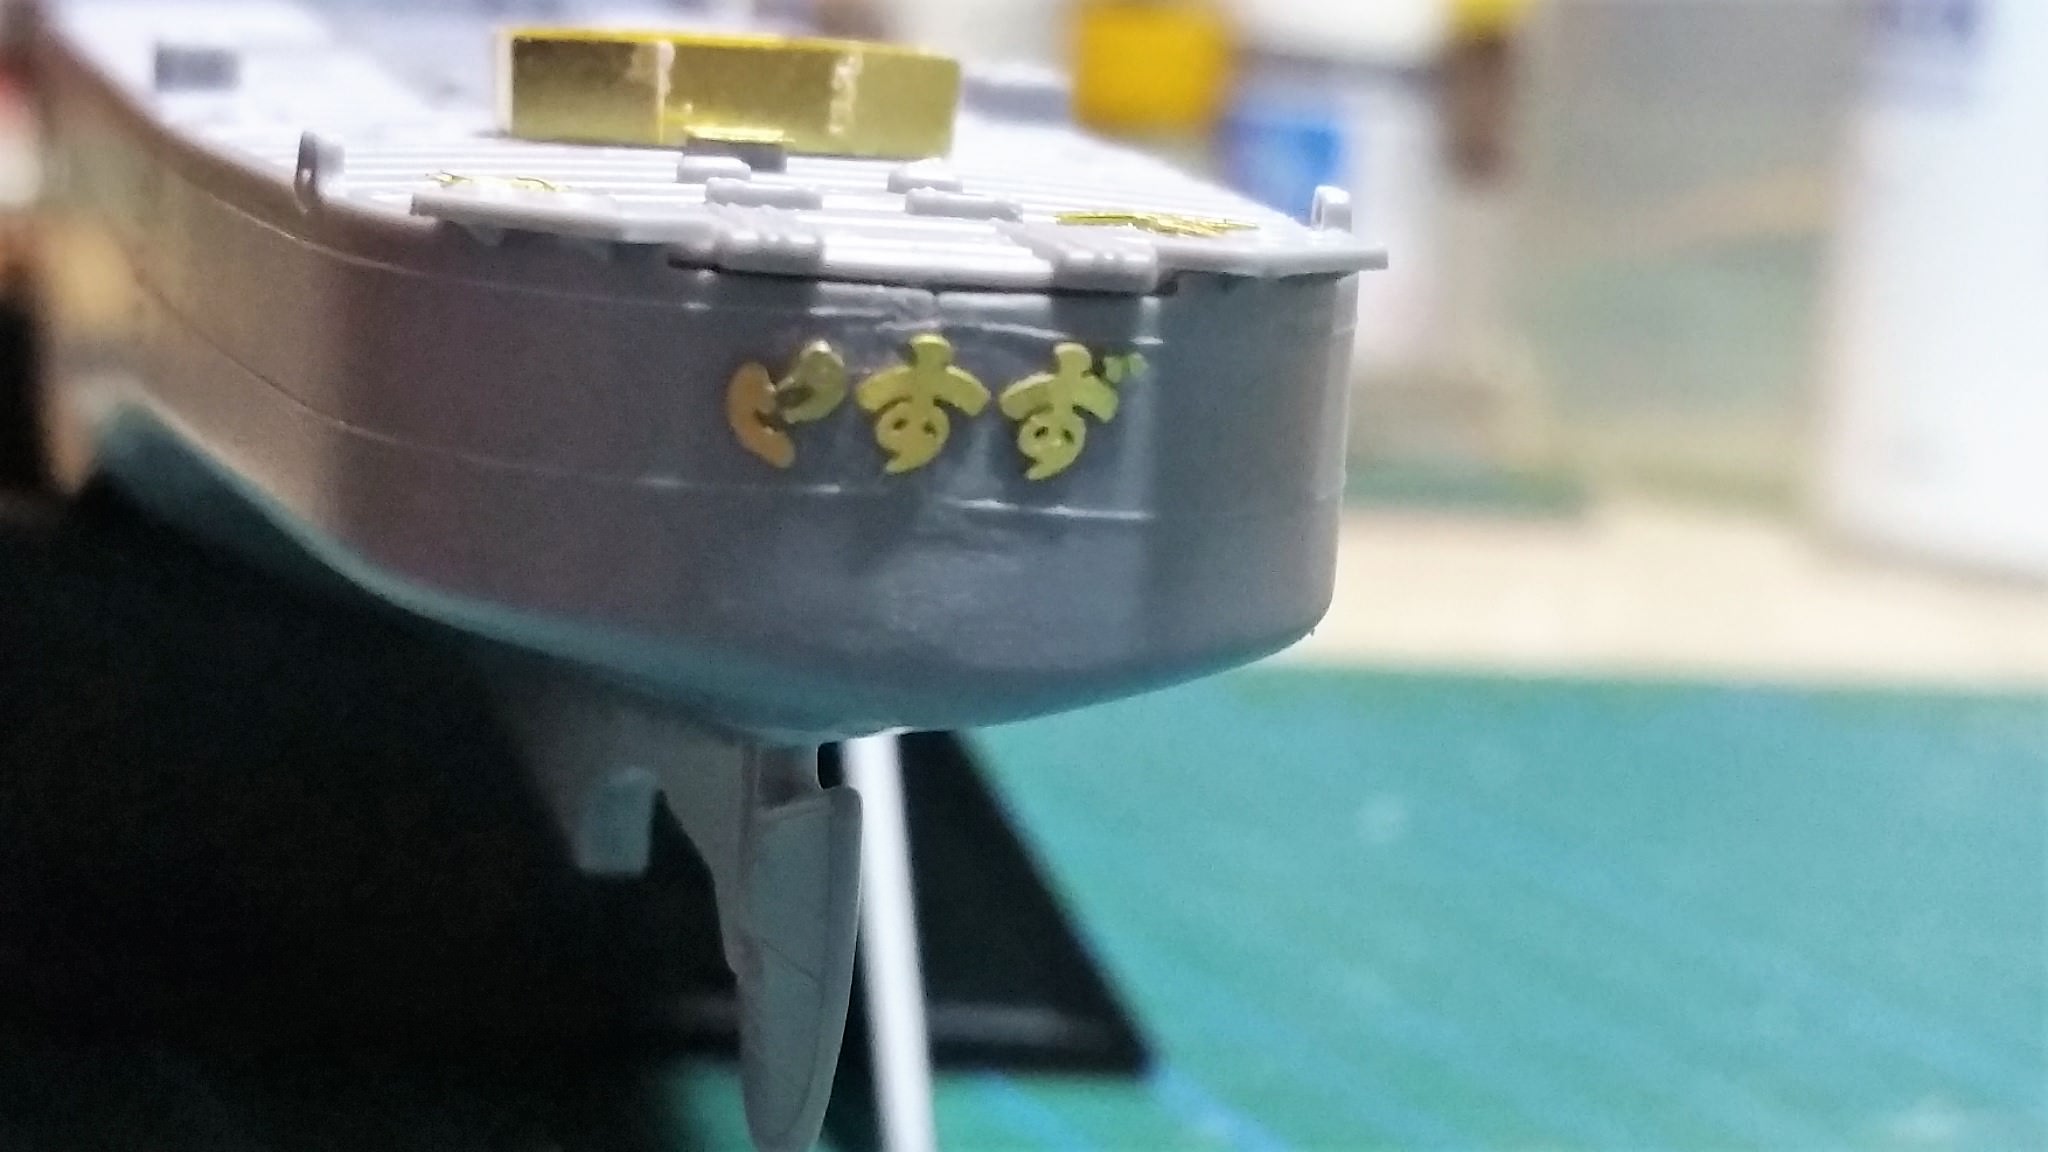
replaced the first injected splinter shield and anchors with etched parts. Looks much better

I already discovered one error with FLYHAWK´s etched set: They forgot the opening at the bowplate where the hoisted anchor chain dissapear again in the ship´s hull. I drilled an opening according to my plan I have at hand
Thats it for today
Bayern, Germany
Joined: December 11, 2009
KitMaker: 823 posts
Model Shipwrights: 551 posts
Posted: Sunday, February 04, 2018 - 01:28 AM UTC
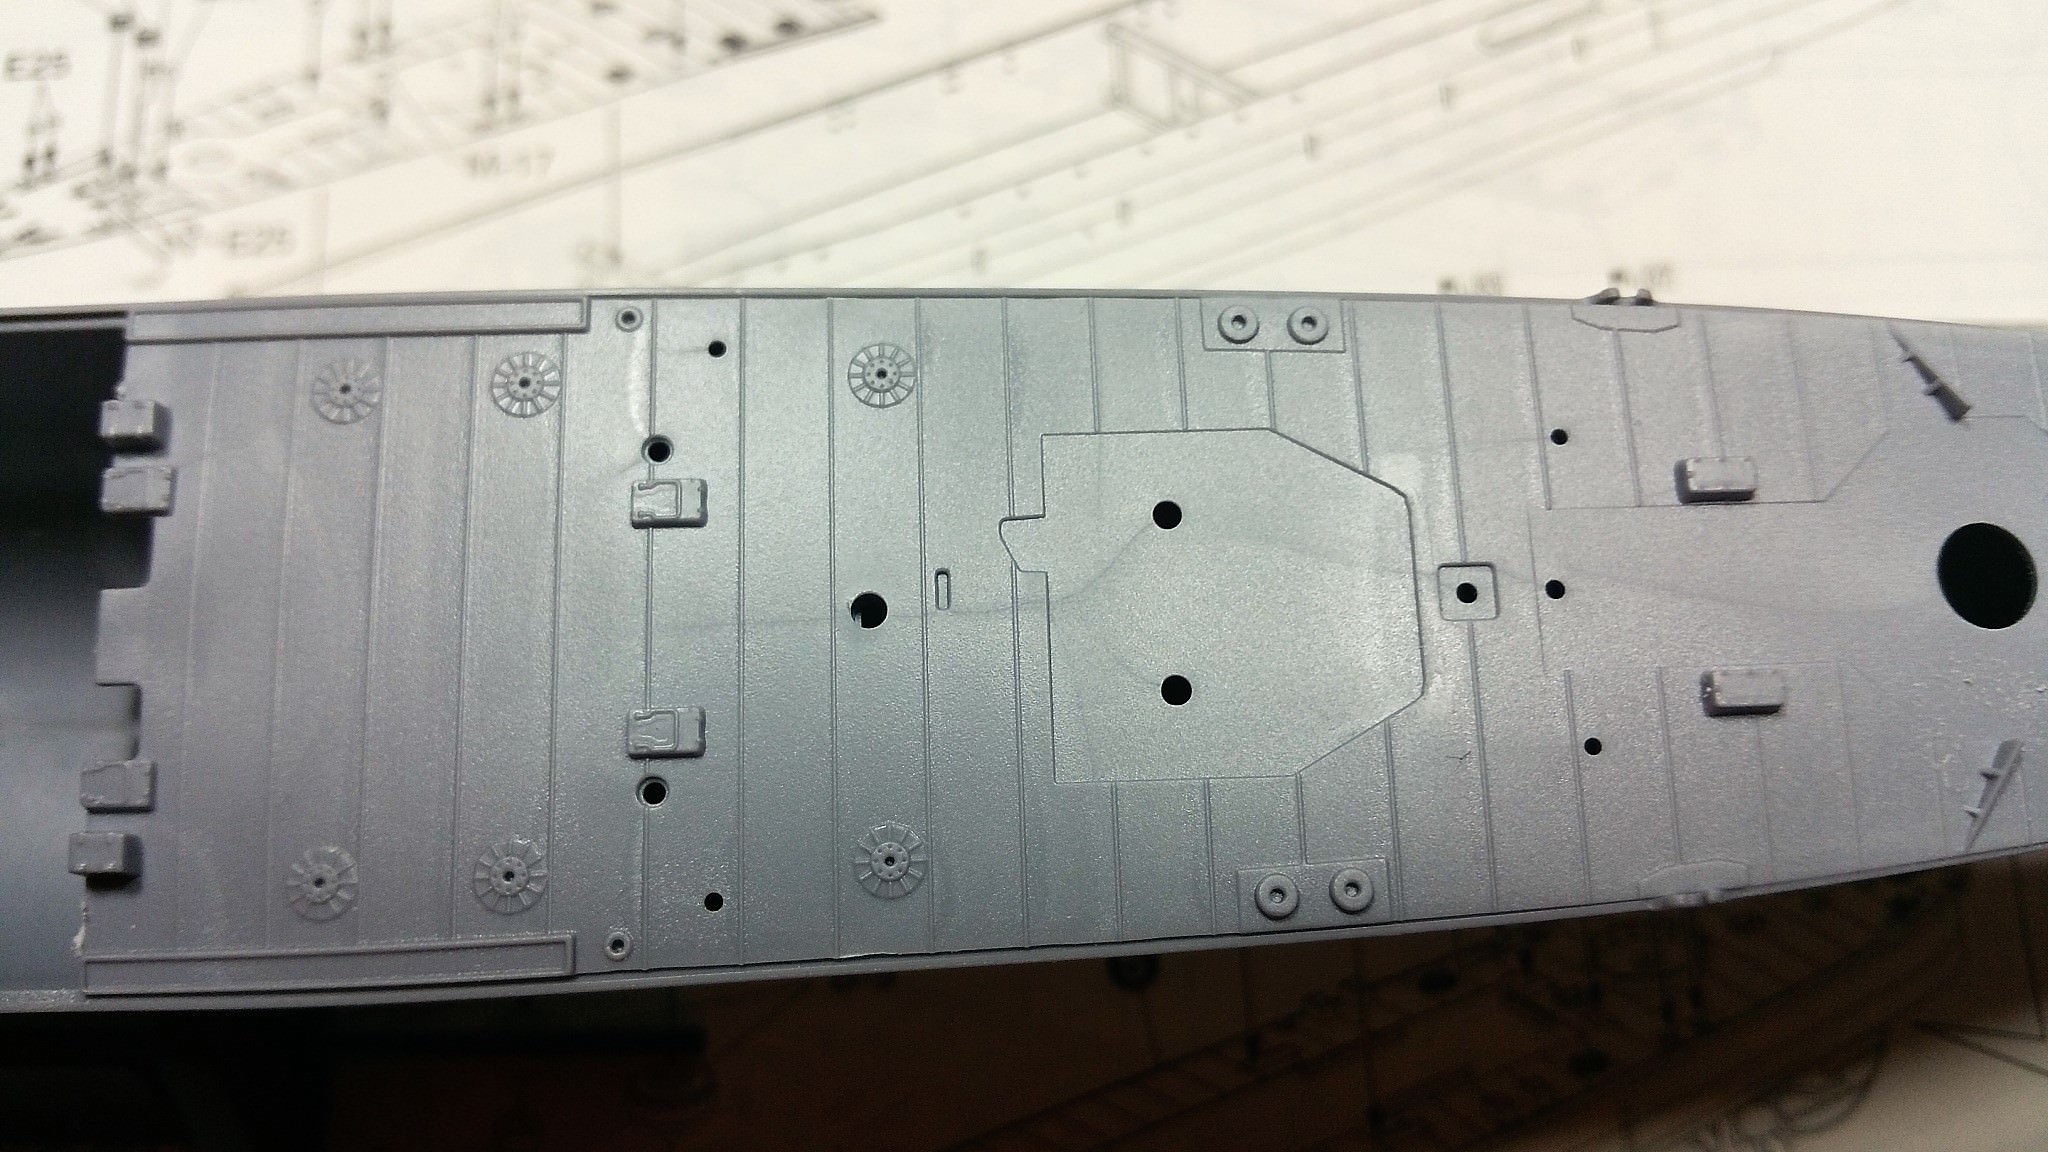
The torpedo section needs to be painted first as, when the ships floor will be glued on top, the compartment will be closed and can not be reached from outside anymore exept the small openings for the torpedo launcher. This evening I painted the torpedo section with the suggested color (Gunze H83 dark gray2) but it does look way too dark for my taste. The colored plan provided within the kit show the ship also in a much lighter color.

Therefore I opted to overpaint it with another, more appropriate, color. Luckily I do also own Gunze´s IJN Arsenal Color set with three different gray shades of Kure, Sasebo and Maizuru Naval Yard. All three are just a tad different in its color shade but does look more appropriate for the ship in my eyes

I did chose the Maizuru color and oversprayed the former color (it looks like Gunze colors have to be airbrushed as they are very thin and will dry unevenly with the brush (see first pic). However I did used their retarder as their colors are drying very fast. This is the result of the new color and I do like it much better. What do you think?

Tomorrow I will paint the torpedoes and give everything a slight wash and drybrush. One question for the educated audience though: Which color did have the Japanese torpedoes within their cruisers? I have no idea and Aoshima give´s no hint. Thank you for any help here
TimReynaga
Associate Editor California, United States
Joined: May 03, 2006
KitMaker: 2,500 posts
Model Shipwrights: 1,830 posts
Posted: Sunday, February 04, 2018 - 06:57 AM UTC
Quoted Text
... Which color did have the Japanese torpedoes within their cruisers? I have no idea and Aoshima give´s no hint. Thank you for any help here
Great progress Thomas!
My understanding is that Imperial Japanese Navy torpedoes of the era were unpainted metal (i.e., silver) with black warheads. Practice torpedoes were silver with dummy warheads that were painted bright red to aid recovery.
#306
Victoria, Australia
Joined: June 27, 2010
KitMaker: 3,959 posts
Model Shipwrights: 2,777 posts
Posted: Sunday, February 04, 2018 - 02:47 PM UTC
Great start Thomas

Stay home and build models!
In 1/72
Gloster Gladiator MkII for the Bi-planes Campaign
In 1/350
Airfix 1:350 Type 45 Destroyer
#377
Texas, United States
Joined: June 27, 2010
KitMaker: 1,481 posts
Model Shipwrights: 1,332 posts
Posted: Sunday, February 04, 2018 - 04:00 PM UTC
Thomas,
I am definitely along for the ride. The IJN Isuzu has alluded me from being in my stash so it's great to see someone building her. Amazing start and I look forward to following along.
Dave
In Dry Dock #1: 1/350 IJN SHOKAKU (Fujimi)
In Dry Dock #2: 1/350 IJN Tama (Aoshima)
England - South East, United Kingdom
Joined: March 01, 2010
KitMaker: 7,078 posts
Model Shipwrights: 6,649 posts
Posted: Monday, February 05, 2018 - 12:18 AM UTC
Nice progress Thomas,
Very clean fix on the issue with forward deck plate, wouldn't have noticed if you hadn't mentioned it.
Cheers,
Si
Bayern, Germany
Joined: December 11, 2009
KitMaker: 823 posts
Model Shipwrights: 551 posts
Posted: Monday, February 05, 2018 - 11:51 PM UTC
@Tim: Thank you for your quick help with the torpedo Colors. I followed your advice here

@Russel + Simon: Thank you mates!
@David: Welcome onboard here mate

Today I have just a small update: I did finished the torpedo launchers. After I did sprayed them and the whole section with Maizuru Arsenal color I gave the launchers an enamel wash and drybrushed them with 502 Abteilung german grey highlight oil color to give more contrast to the details. After glueing the deck above the torpedo section I´m afraid there will not much be visible of it anymore until you turn the launchers toward 90° position.

:-H
#306
Victoria, Australia
Joined: June 27, 2010
KitMaker: 3,959 posts
Model Shipwrights: 2,777 posts
Posted: Tuesday, February 06, 2018 - 05:27 AM UTC
Nice work on the torpedoes Thomas
Stay home and build models!
In 1/72
Gloster Gladiator MkII for the Bi-planes Campaign
In 1/350
Airfix 1:350 Type 45 Destroyer
Bayern, Germany
Joined: December 11, 2009
KitMaker: 823 posts
Model Shipwrights: 551 posts
Posted: Saturday, February 10, 2018 - 06:24 PM UTC
@ Russel: Thank you: only possible with a very fine brush, steady hands and magnifier lens in front of my eyes
Today it´s time for another update. It is not much visible but it took me a lot of time because of very delicate parts...
First I drilled out all portholes with a fine drill and closed up the torpedo section.The fit with the front deck was not optimal so I was forced to use some putty for cleaning up and use a very fine cut of evergreen strip to simulate the missing linoleum fixation strip right above the seam between the two decks. After this I placed the first two frontal splinter protection walls together with its each 6 triangular tiny reinforcing sheets. I think it´s looking fine now

these are the two finished aft splinter protection walls
I also carved off the plastic bulwark and replaced it with etched parts

I carved off some plastic parts (channels? actually I don´t have any idea what purpose these parts actually had) from the deck and replaced them with etched parts. This is how the ship is looking at the Moment

Another frontal view

Ah and the replacement AA-guns did arrived from China last week - oh boy these are very tiny. I will see how far I will get with them. If I master these I could possibly also start to work as a gynecologist too


The wooden base and nameplate are already ordered and underway
TimReynaga
Associate Editor California, United States
Joined: May 03, 2006
KitMaker: 2,500 posts
Model Shipwrights: 1,830 posts
Posted: Saturday, February 10, 2018 - 11:22 PM UTC
Thomas,
The splinter shields are looking good. Were there molded in shields you had to remove before applying the etch shields? I always find removing clunky molded parts to be a bit of a chore. Anyway, your new shields look just right!
Bayern, Germany
Joined: December 11, 2009
KitMaker: 823 posts
Model Shipwrights: 551 posts
Posted: Sunday, February 11, 2018 - 01:49 AM UTC
Hey Tim,
yes the molded in shields had to be removed. They were quite thick and I had to avoid to cut into or scratch the surrounding Surface too much to have a good look after. Thats why I needed so much time for this tiny Progress.
Bayern, Germany
Joined: December 11, 2009
KitMaker: 823 posts
Model Shipwrights: 551 posts
Posted: Sunday, February 11, 2018 - 11:24 PM UTC
A small update of my today´s work: I dared to start with the forward main AA-gun compartment. Glueing together the housing, cleaning up small gaps, sawing off the injected splinter protection walls and make a new one out of photoetched parts. I also glued two photoetched doors as these were missing in the kit. Very tiny parts but easy to remove from sprue due to userfriendly very thin connector pins. Looks much better then the original kit one me thinks

will start the AA-gun for this now
England - South East, United Kingdom
Joined: March 01, 2010
KitMaker: 7,078 posts
Model Shipwrights: 6,649 posts
Posted: Monday, February 12, 2018 - 02:23 AM UTC
Very neat etch work indeed Thomas,
Enjoying the progress. Good luck with the replacement AA guns, they can be real fun!
Cheers
Si
#306
Victoria, Australia
Joined: June 27, 2010
KitMaker: 3,959 posts
Model Shipwrights: 2,777 posts
Posted: Monday, February 12, 2018 - 03:43 PM UTC
Super sharp photo etch Thomas

Stay home and build models!
In 1/72
Gloster Gladiator MkII for the Bi-planes Campaign
In 1/350
Airfix 1:350 Type 45 Destroyer
Bayern, Germany
Joined: December 11, 2009
KitMaker: 823 posts
Model Shipwrights: 551 posts
Posted: Monday, February 12, 2018 - 06:37 PM UTC
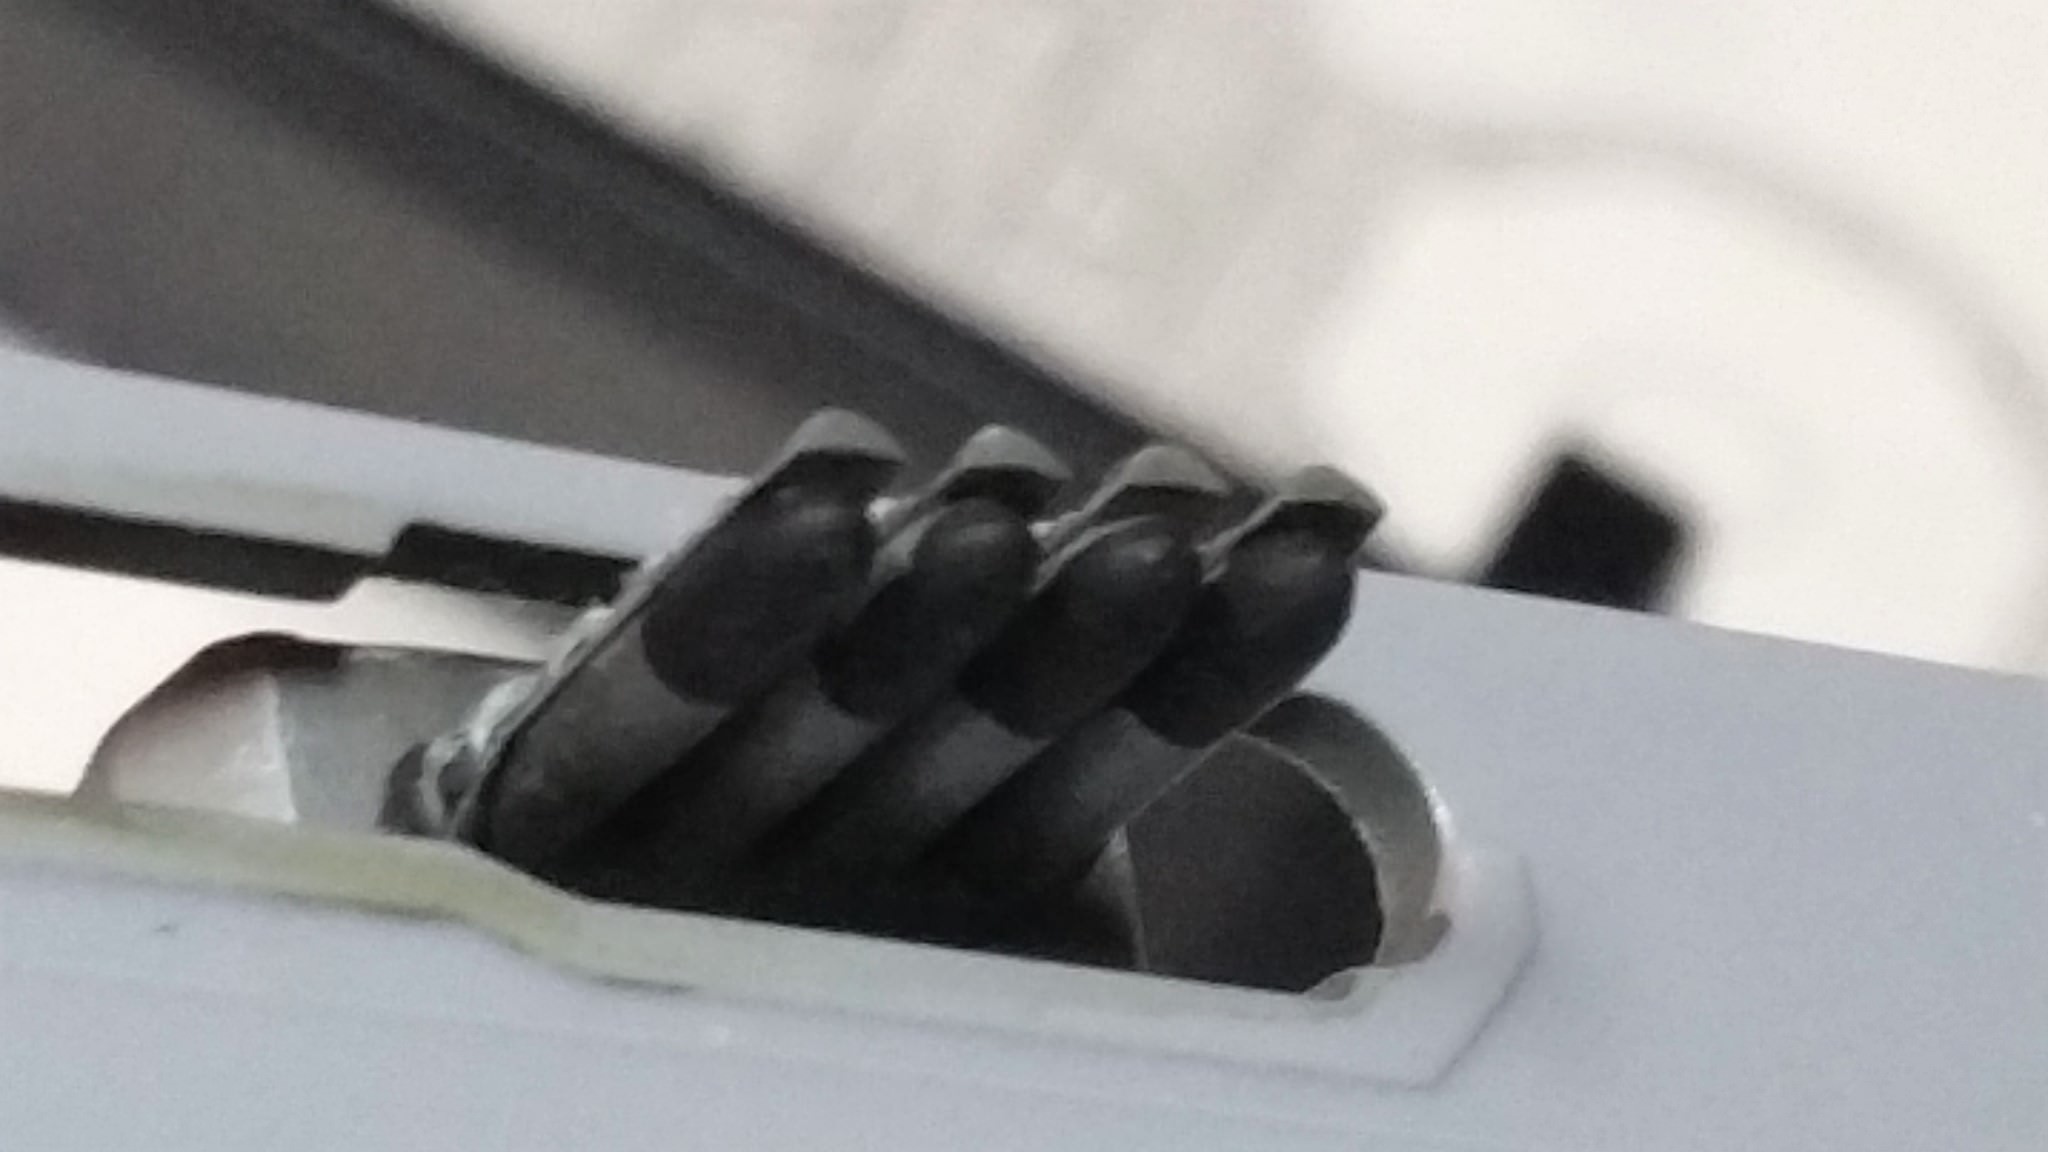
I finished the frontal main AA-gun battery. To be honest this was no fun because of the extremely small parts and the extremely vague instructional drawing.
These are the parts for one gun (barrels were already glued in by me before)
They ask you to replace the resin ladder spokes with the microscopic etched one - good joke

. As this is clearly way beyond my abilities and the try would lead me directly toward Shutter Island I ommited them. I hope you forgive me for that...
This is the finished gun frontal view

backside view
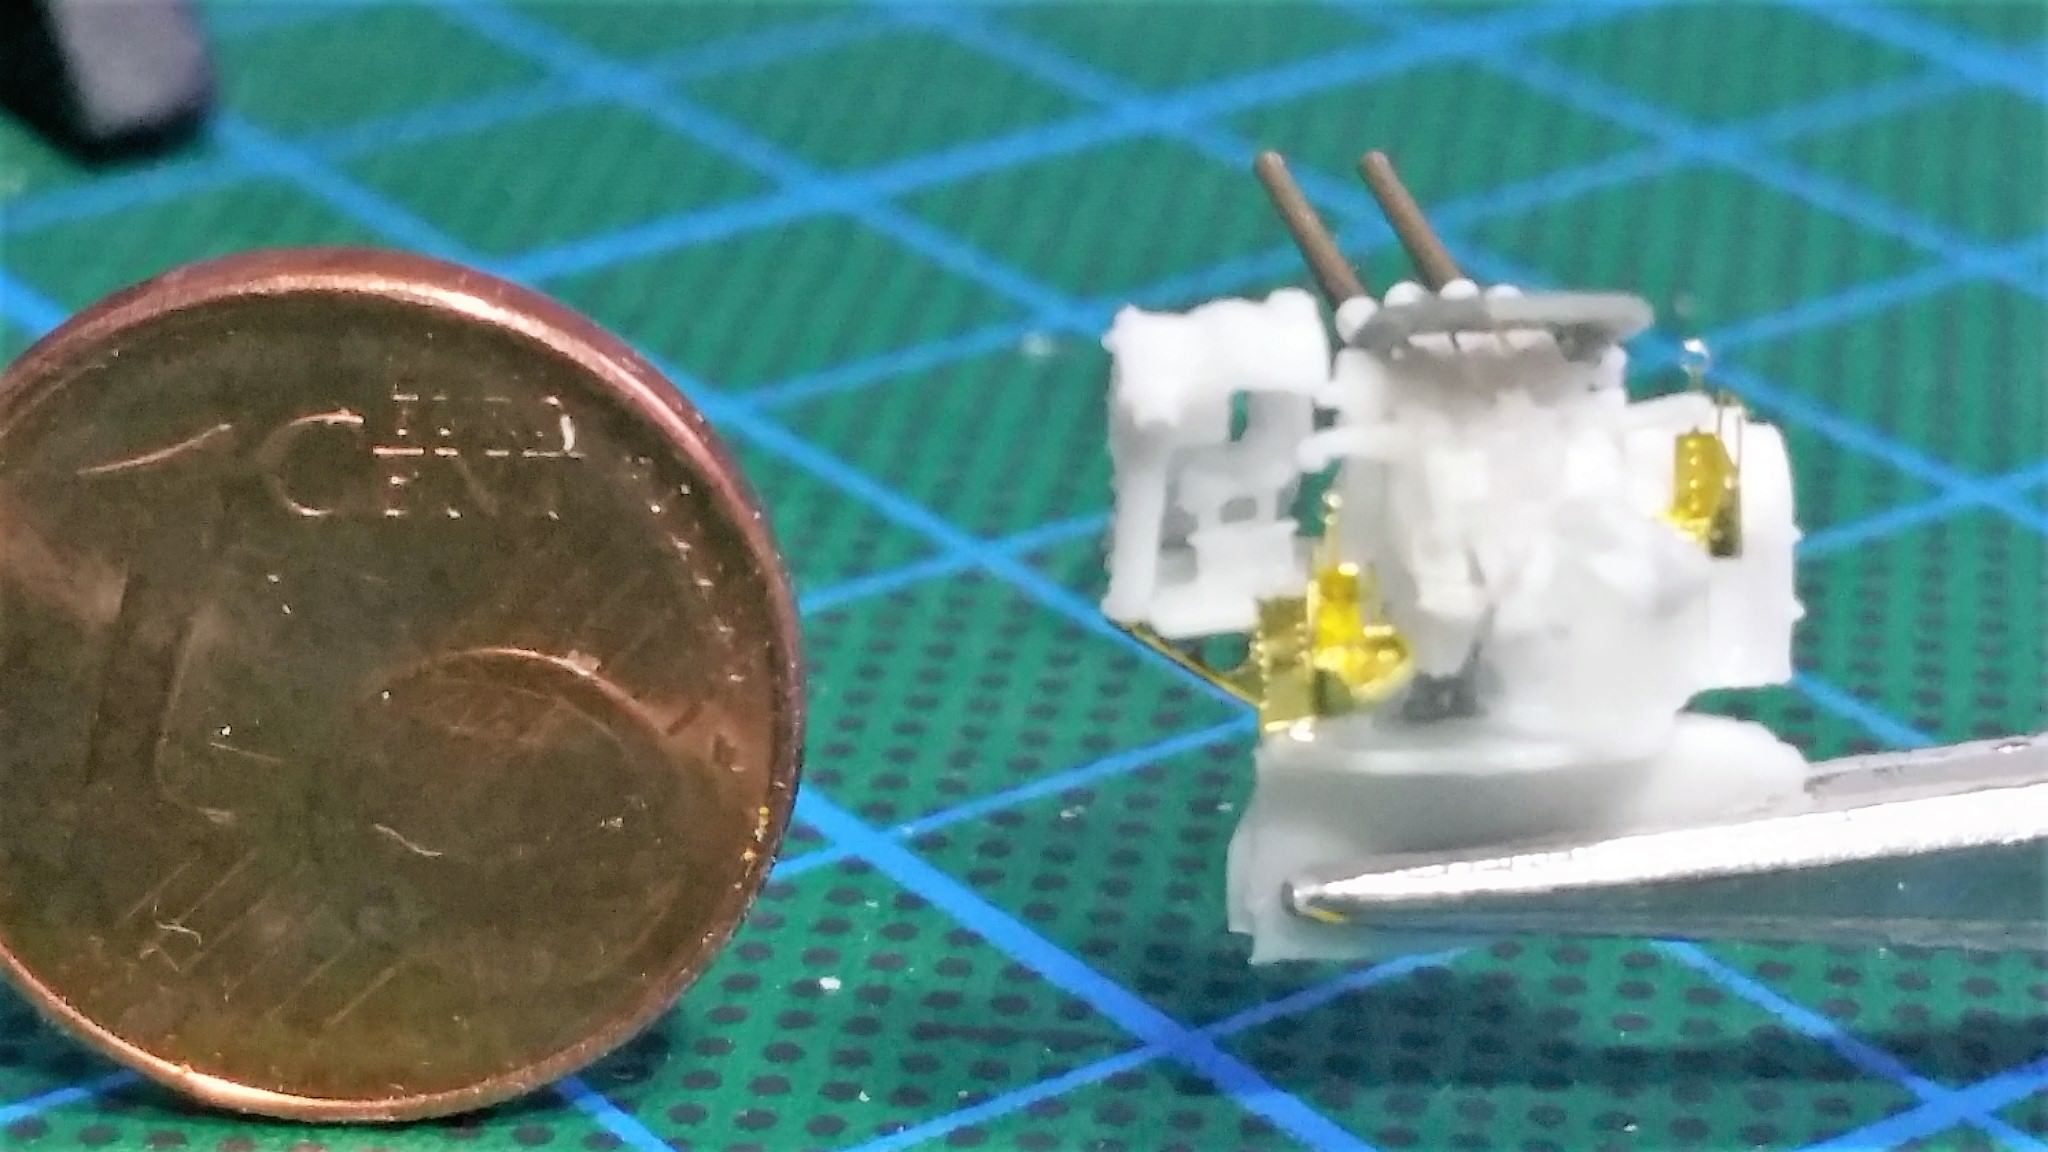
and installed at its barbette


Next I will paint this single subassembly
TimReynaga
Associate Editor California, United States
Joined: May 03, 2006
KitMaker: 2,500 posts
Model Shipwrights: 1,830 posts
Posted: Monday, February 12, 2018 - 07:36 PM UTC
Thomas,
That etch looks fantastic! Here's a painting tip for you (if you don't already know) -
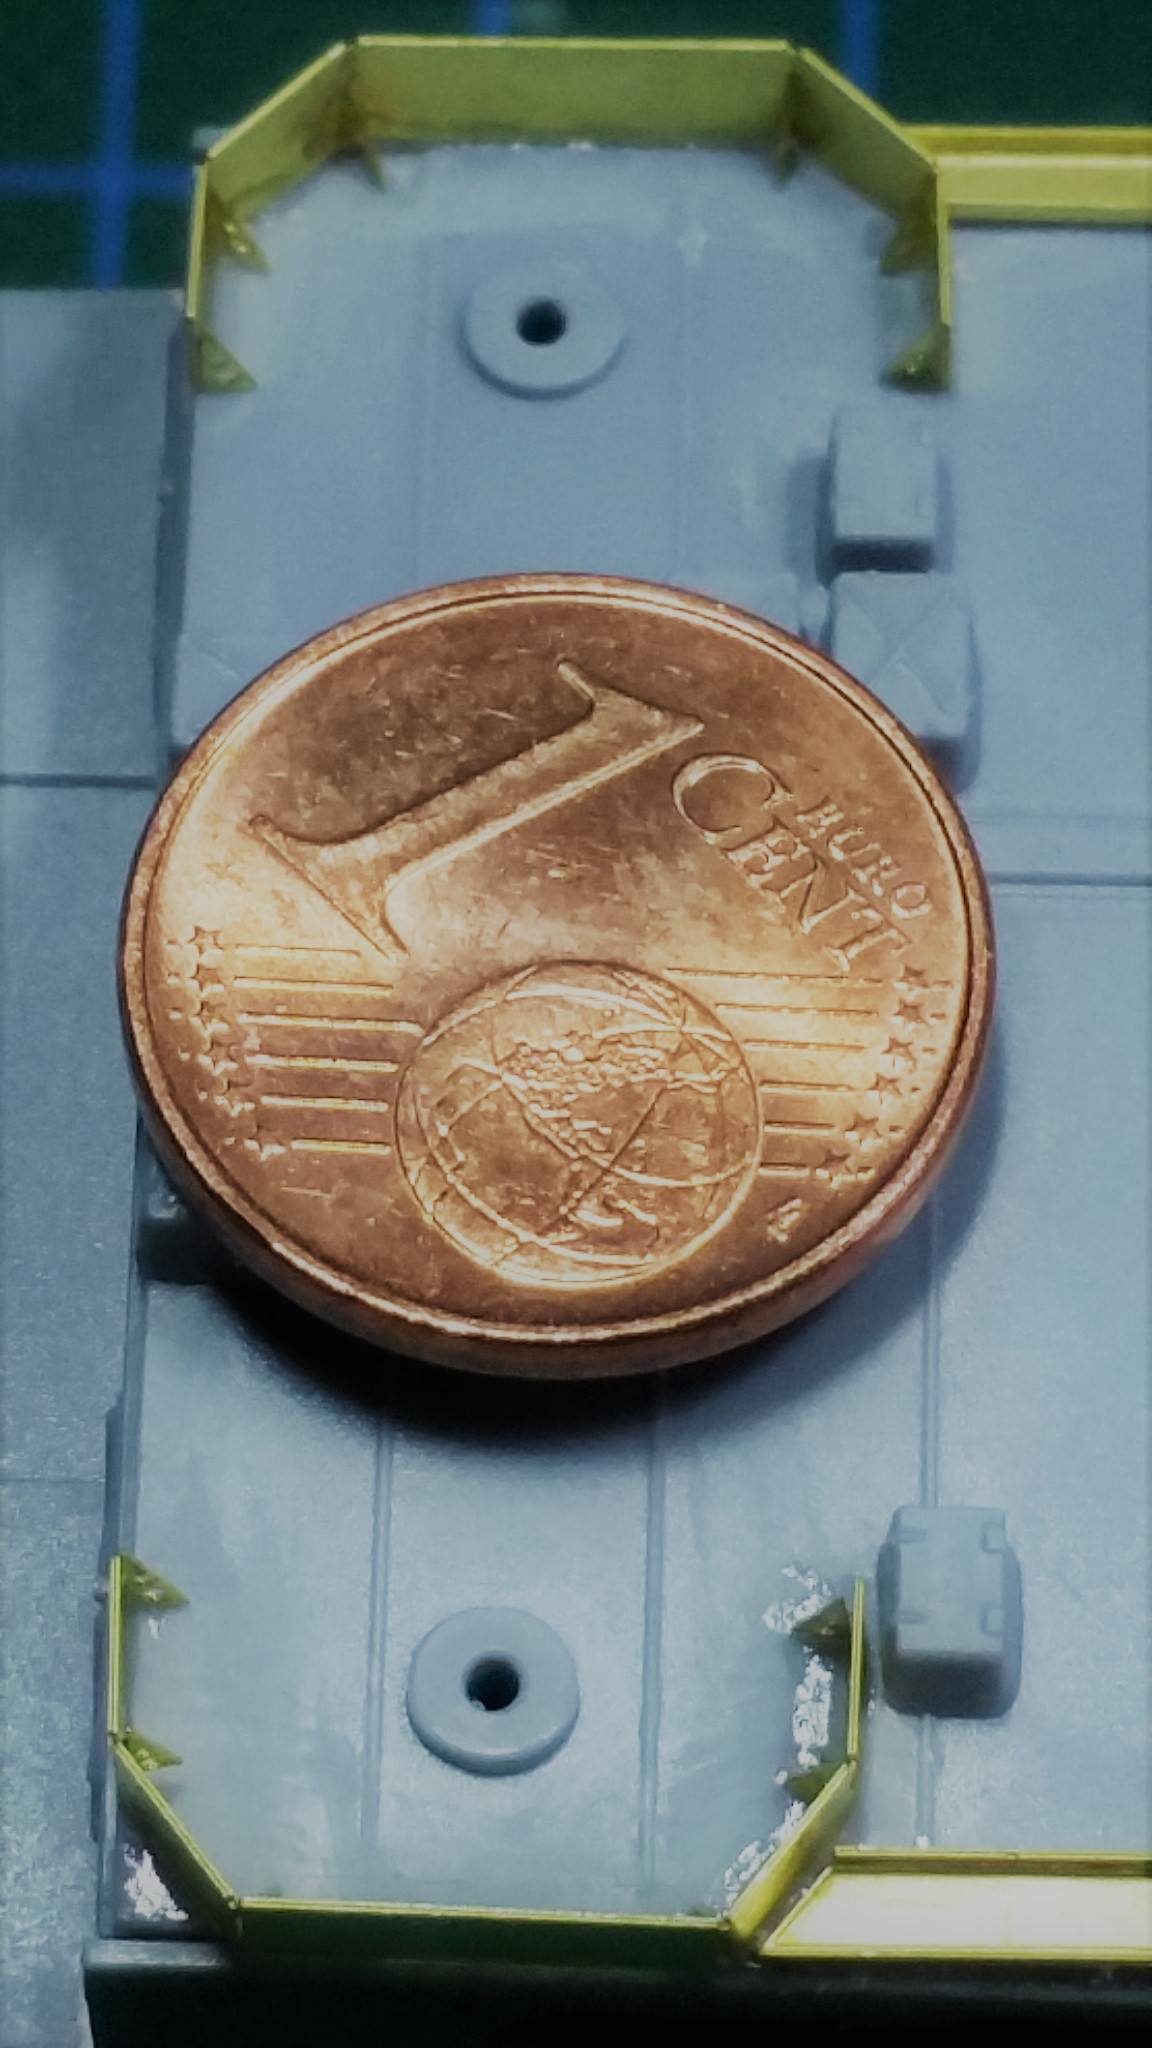
The eight-section deck plates around the mount that look something like metal grates were actually unpainted wood planks added around the gun mounts to aid crew traction, so be sure to paint them accordingly.
- I missed it on my last IJN build!

Auckland, New Zealand
Joined: July 13, 2004
KitMaker: 2,169 posts
Model Shipwrights: 1,597 posts
Posted: Monday, February 12, 2018 - 10:45 PM UTC
Ahoy Thomas
Superb work thus far.
I am enjoying every update.
Thanks for the great tip Tim.
Cheers
Sean
England - South East, United Kingdom
Joined: March 01, 2010
KitMaker: 7,078 posts
Model Shipwrights: 6,649 posts
Posted: Tuesday, February 13, 2018 - 12:38 AM UTC
What Sean said!
Great job Thomas, and I know what you mean, etched parts seem to be getting smaller!
Cheers
Si


