

Ken,
really nice progress, she looks really good! Great work!
Cheers
Jan


Go to modelshipwrights.com for the current dynamic site!
General Ship Modeling
Discuss modeling techniques, experiences, and ship modeling in general.
Discuss modeling techniques, experiences, and ship modeling in general.
Hosted by Jim Starkweather
Artesania Latina Cutty Sark

JJ1973

#345

Joined: August 22, 2011
KitMaker: 1,835 posts
Model Shipwrights: 1,832 posts

Posted: Thursday, December 12, 2019 - 08:30 PM UTC

kpnuts

Joined: December 20, 2013
KitMaker: 1,179 posts
Model Shipwrights: 427 posts
Posted: Sunday, December 15, 2019 - 05:57 AM UTC
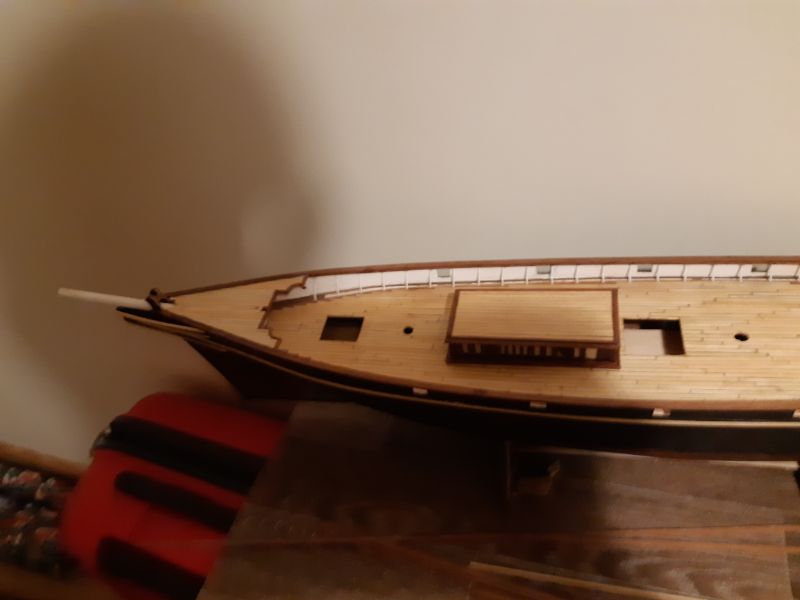
Hi all finished the planking on the bow (those little bends in the 2x2mm sapeally were a real pain in the bum, that is the 12th set of those, they kept snapping when trying to bend them) I finally managed to get the bend by soaking them in boiling water then giving them 2 mins in the microwave.

d6mst0
#453

Joined: August 28, 2016
KitMaker: 1,925 posts
Model Shipwrights: 1,298 posts

Posted: Monday, December 16, 2019 - 10:18 AM UTC
Ken,
Nice. They say you have to build these kits like they do with the real thing. Heating up the wood is how its done of the big ships.
Mark
Nice. They say you have to build these kits like they do with the real thing. Heating up the wood is how its done of the big ships.
Mark
kpnuts
Joined: December 20, 2013
KitMaker: 1,179 posts
Model Shipwrights: 427 posts
Posted: Sunday, December 22, 2019 - 05:38 AM UTC
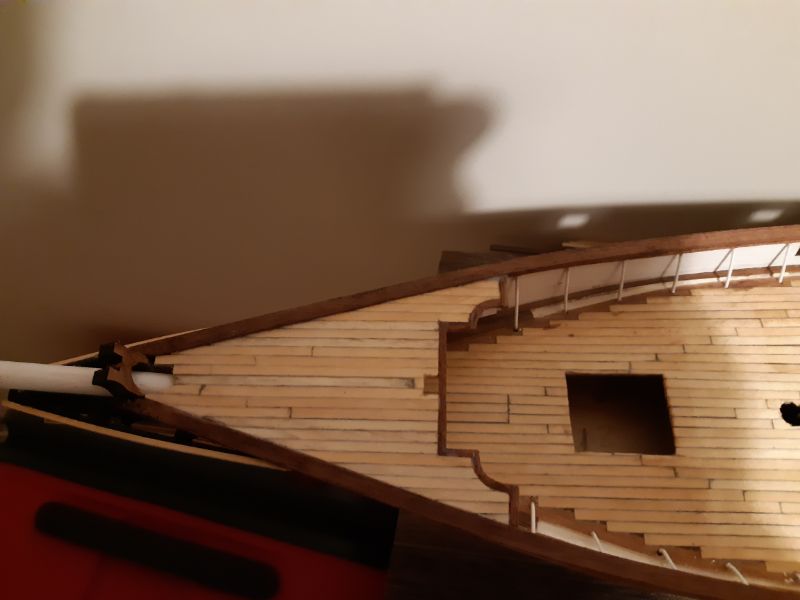
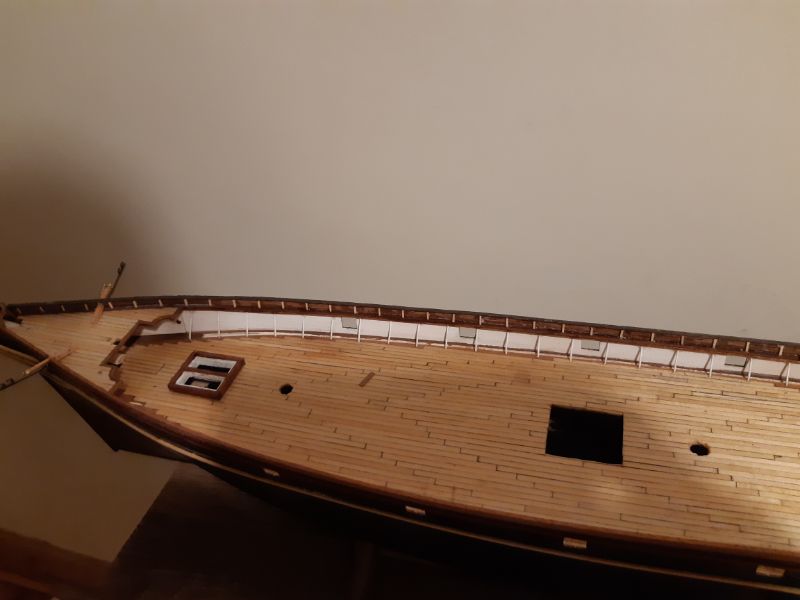
Got some more work on this one done.


d6mst0
#453
Joined: August 28, 2016
KitMaker: 1,925 posts
Model Shipwrights: 1,298 posts
Posted: Sunday, December 22, 2019 - 10:36 AM UTC
Ken,
Nice work laying those boards, they look to be laying flat and even. Sometimes not an easy thing to do.
Mark
Nice work laying those boards, they look to be laying flat and even. Sometimes not an easy thing to do.
Mark
kpnuts
Joined: December 20, 2013
KitMaker: 1,179 posts
Model Shipwrights: 427 posts
Posted: Saturday, December 28, 2019 - 09:16 AM UTC
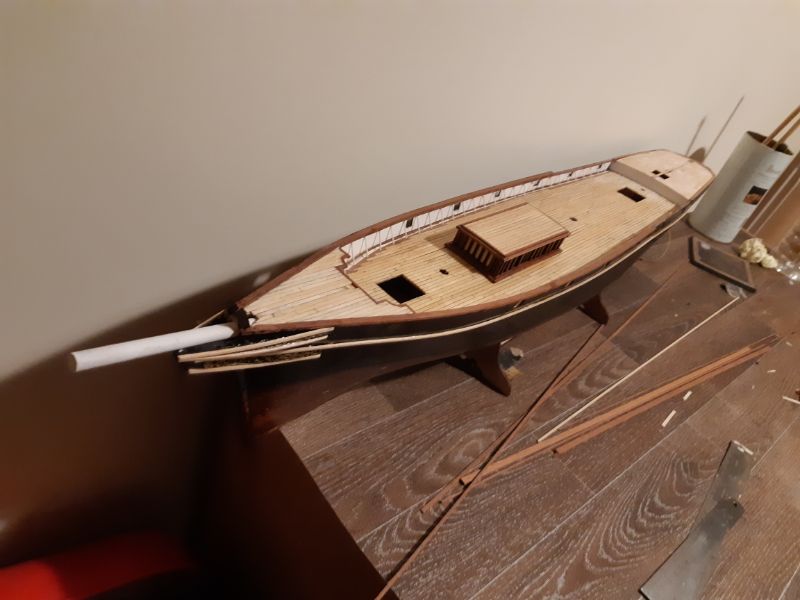
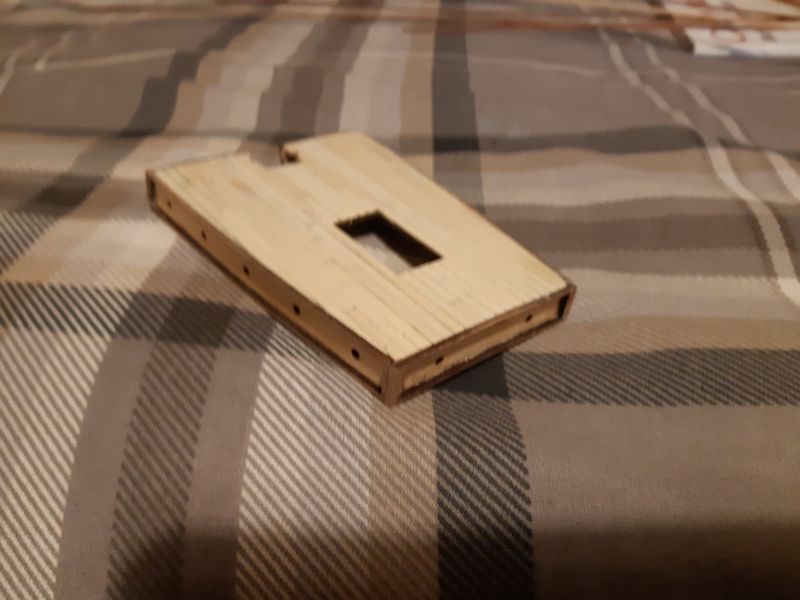
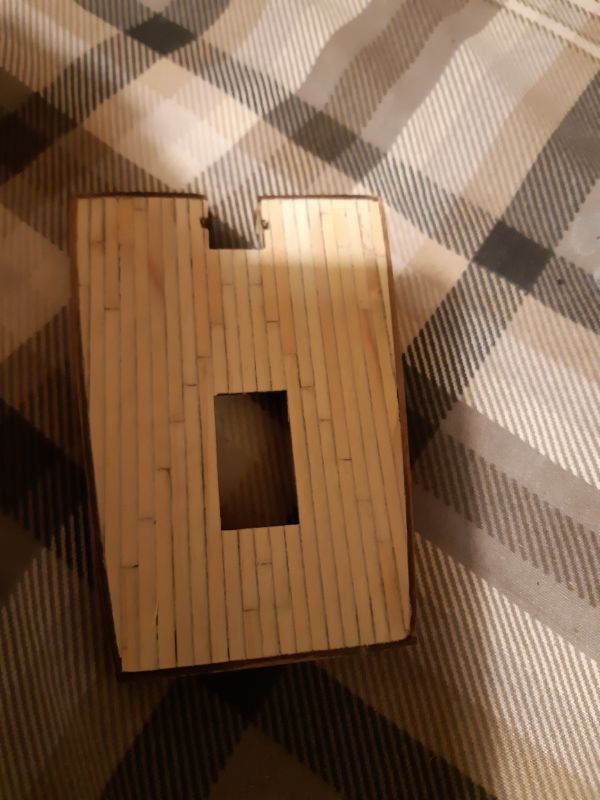
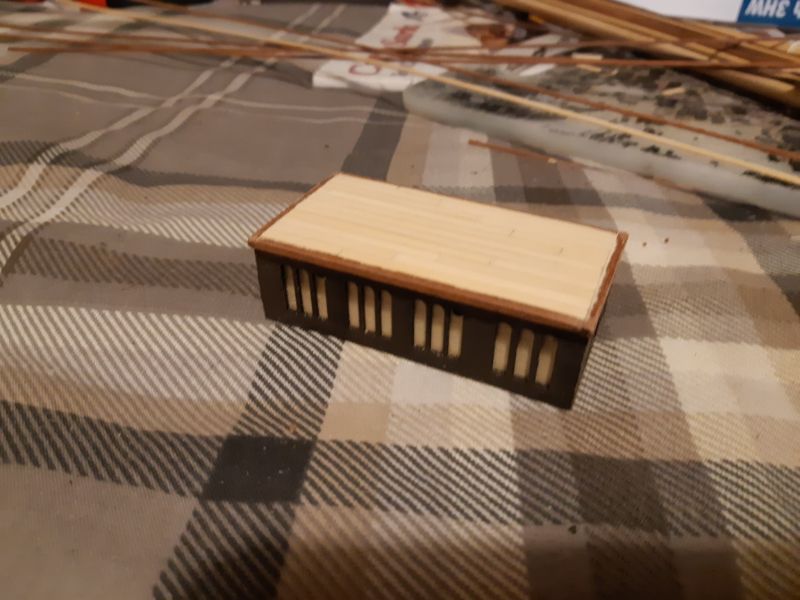
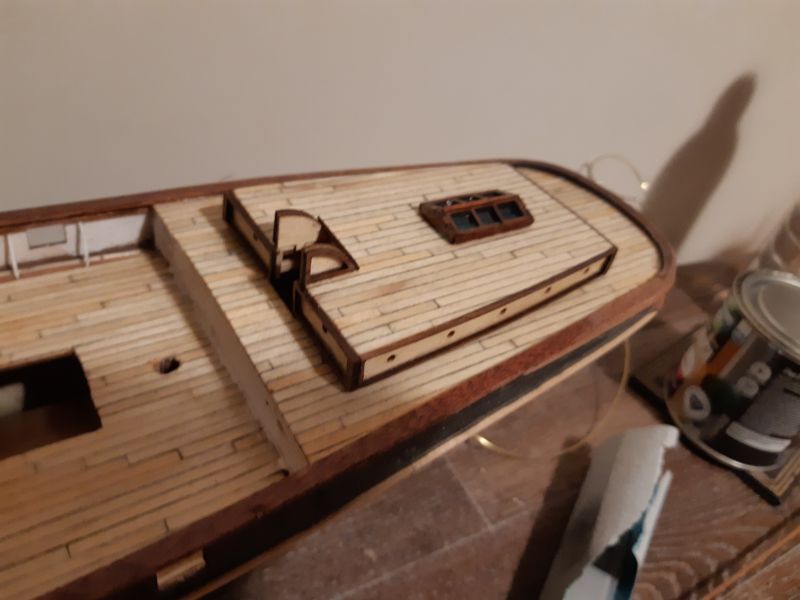
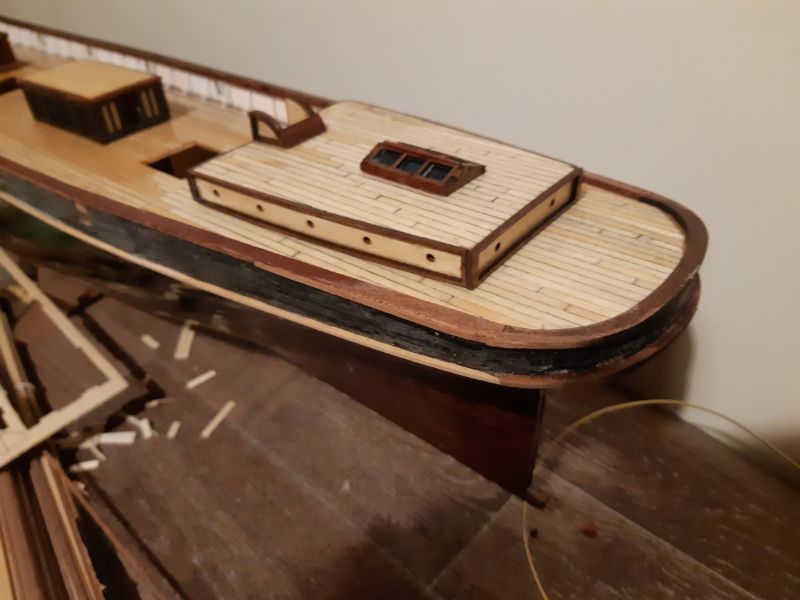
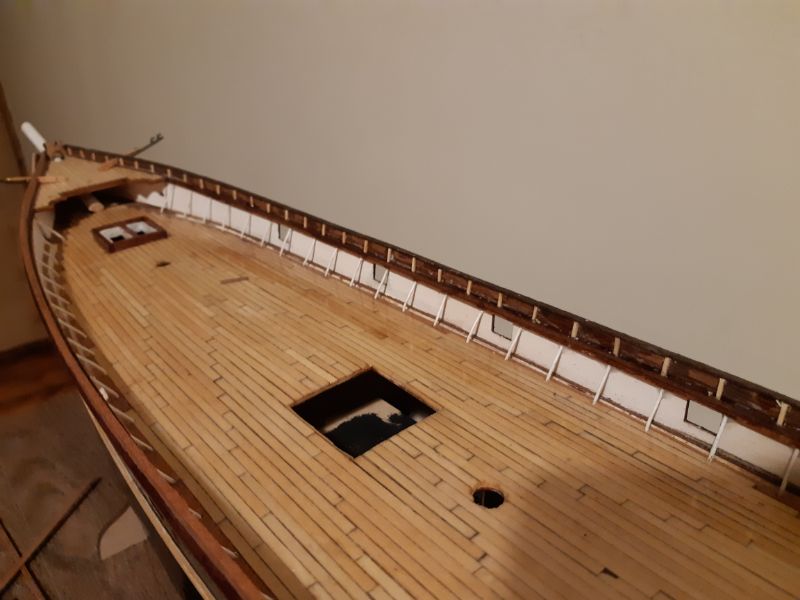
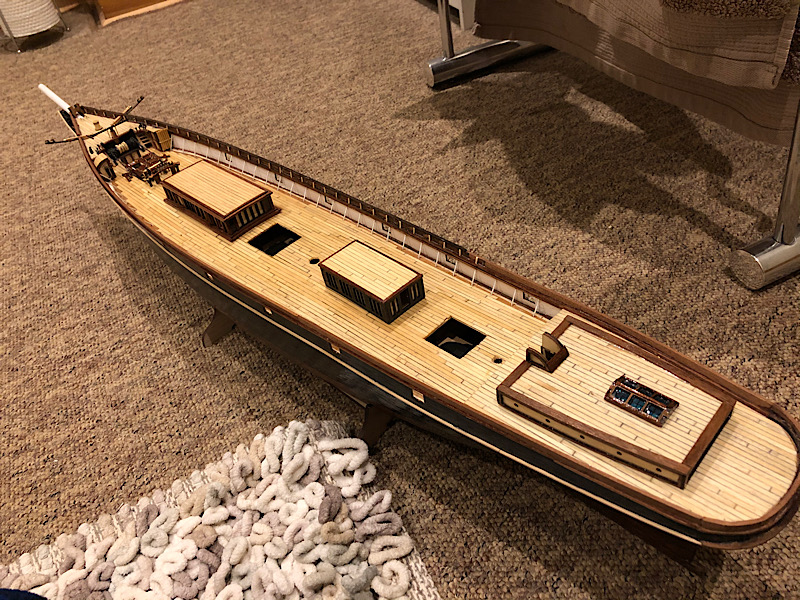
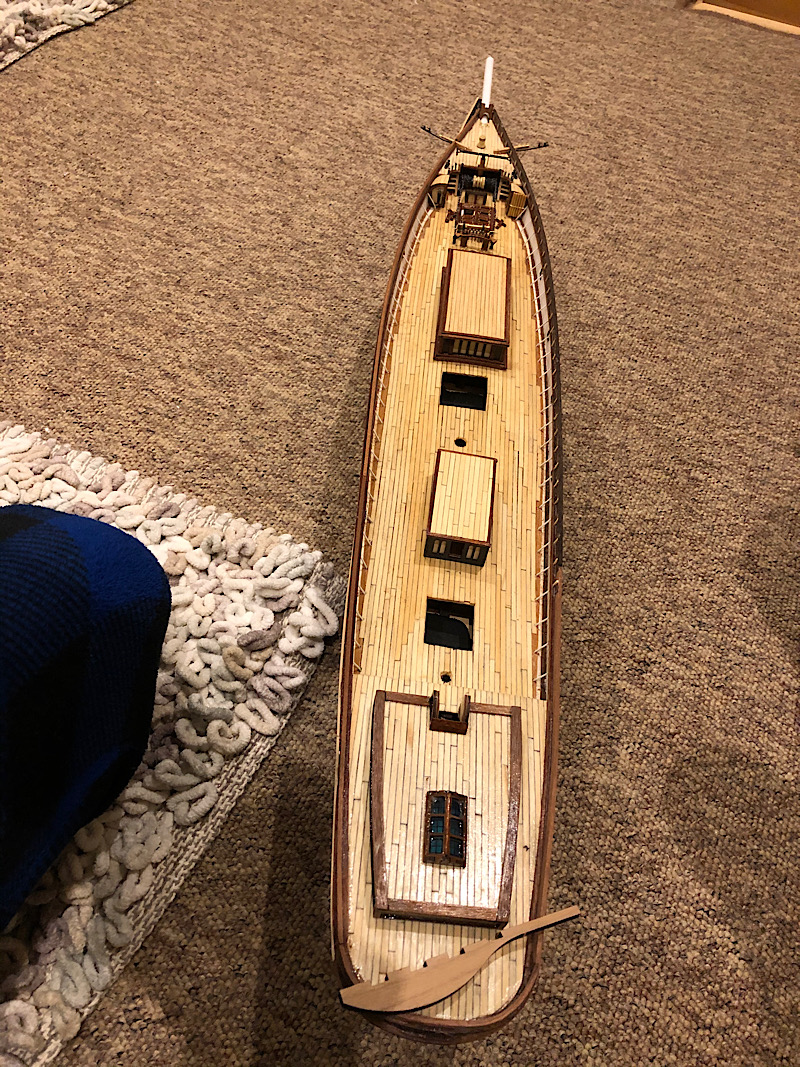
Hi all did some to the stern cabin on this, I must say I'm really enjoying this.
d6mst0
#453
Joined: August 28, 2016
KitMaker: 1,925 posts
Model Shipwrights: 1,298 posts
Posted: Saturday, December 28, 2019 - 02:17 PM UTC
Nice!
kpnuts
Joined: December 20, 2013
KitMaker: 1,179 posts
Model Shipwrights: 427 posts
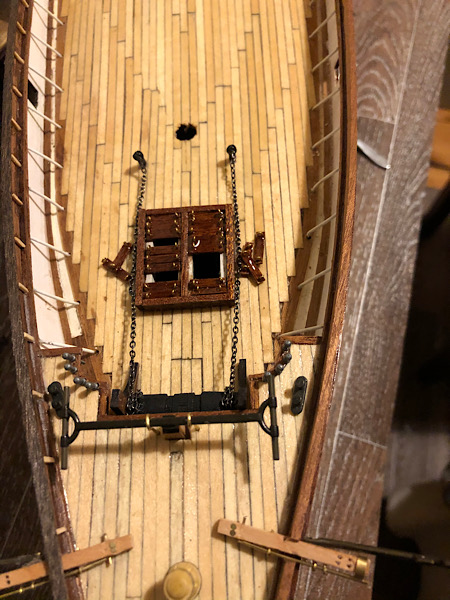
Posted: Monday, January 06, 2020 - 08:15 AM UTC
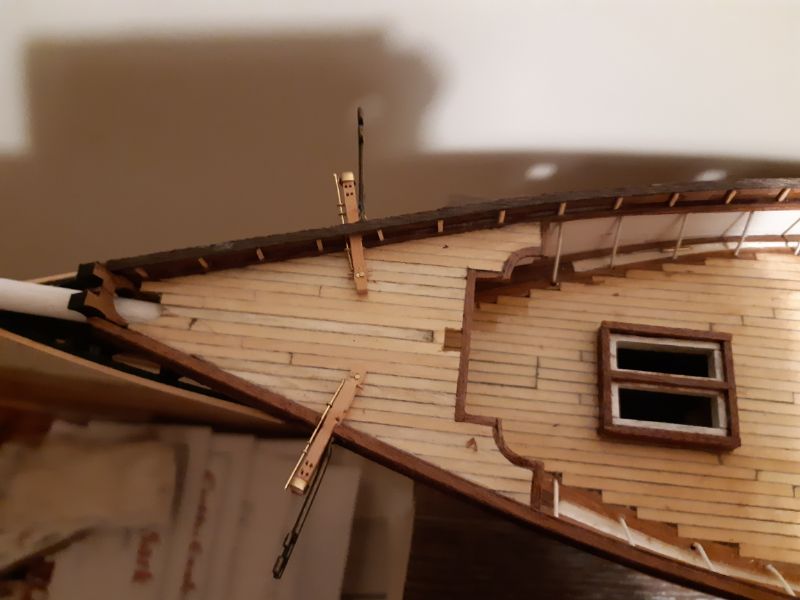
I made a simple jig to keep the ribs the same distance apart and to keep them perpendicular to each other
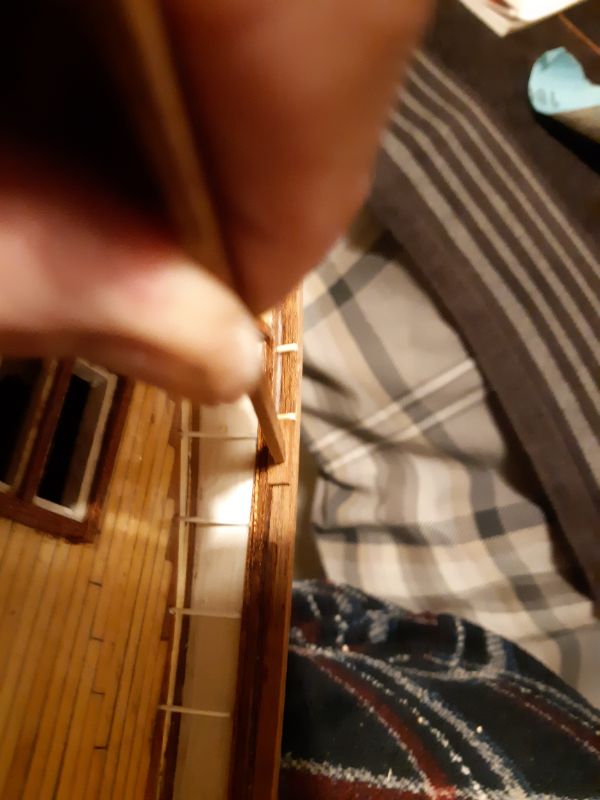
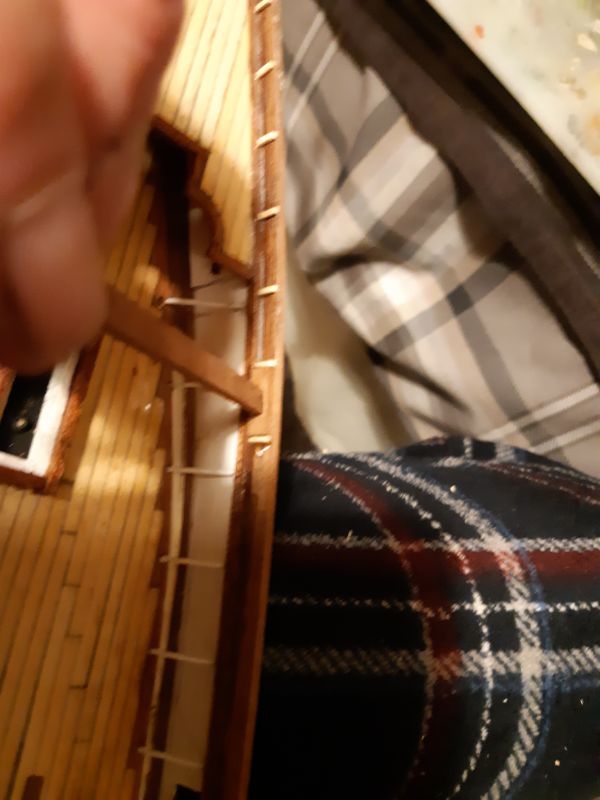
Made the cats whiskers too.
Made the cats whiskers too.
d6mst0
#453
Joined: August 28, 2016
KitMaker: 1,925 posts
Model Shipwrights: 1,298 posts
Posted: Monday, January 06, 2020 - 10:16 AM UTC
Ken,
Great idea they do look nice and evenly spaced. What are "Cat Whiskers and what are their purpose?
Mark
Great idea they do look nice and evenly spaced. What are "Cat Whiskers and what are their purpose?
Mark
kpnuts
Joined: December 20, 2013
KitMaker: 1,179 posts
Model Shipwrights: 427 posts
Posted: Monday, January 06, 2020 - 06:47 PM UTC
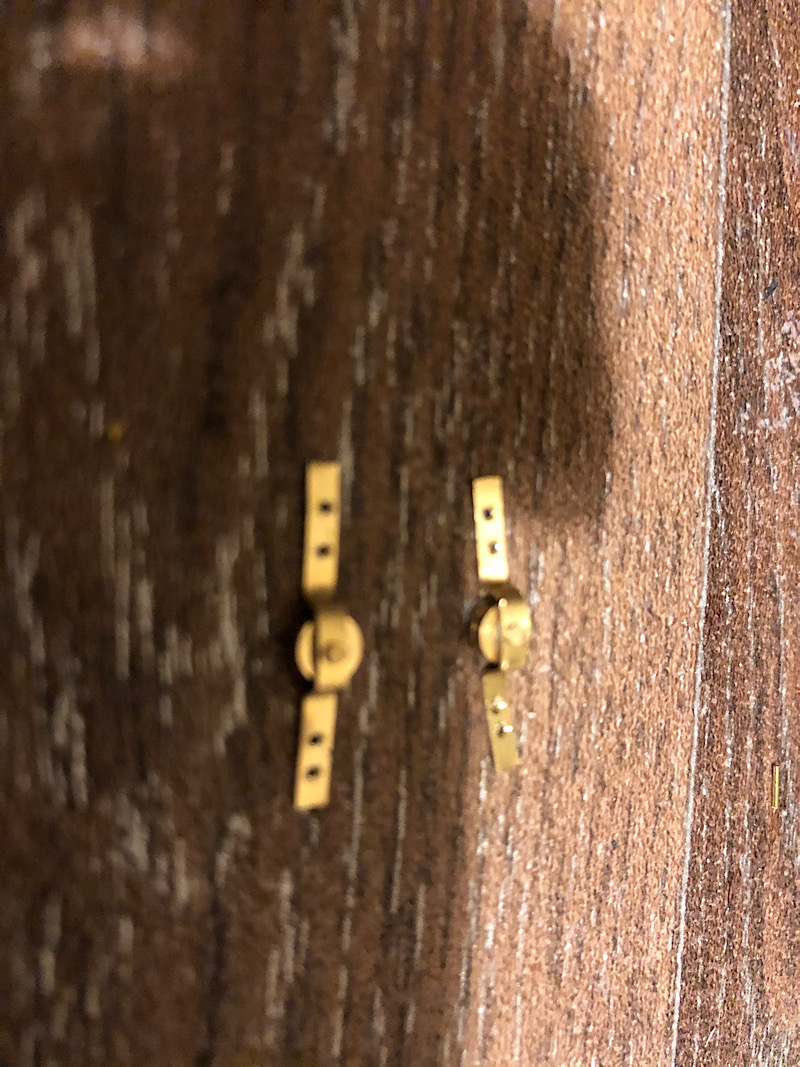
It's the 2 bits sticking out the front (they're actually anchor davits)
JJ1973
#345
Joined: August 22, 2011
KitMaker: 1,835 posts
Model Shipwrights: 1,832 posts
Posted: Wednesday, January 08, 2020 - 07:25 AM UTC
Looks great, Ken!
Very smart approach with that jig!
Cheers
Jan
Very smart approach with that jig!
Cheers
Jan
kpnuts
Joined: December 20, 2013
KitMaker: 1,179 posts
Model Shipwrights: 427 posts
Posted: Wednesday, January 08, 2020 - 09:18 AM UTC
Thanks Jan
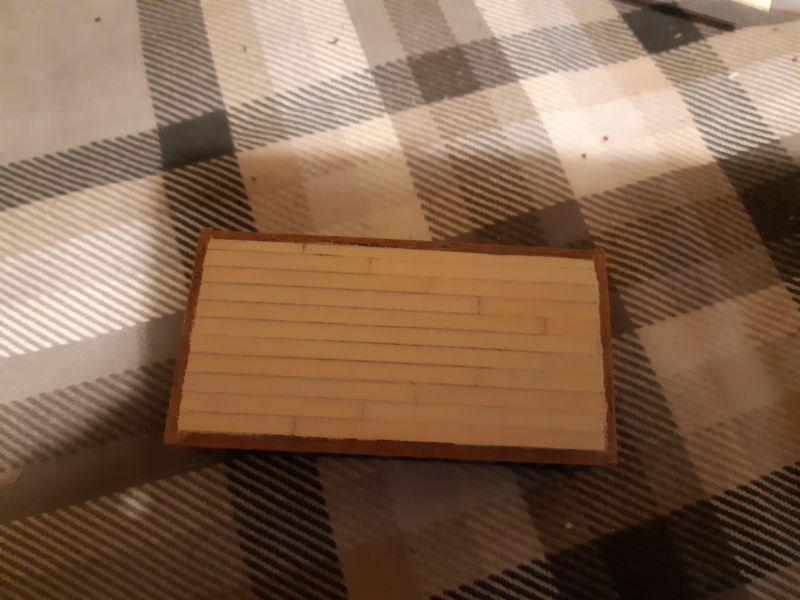
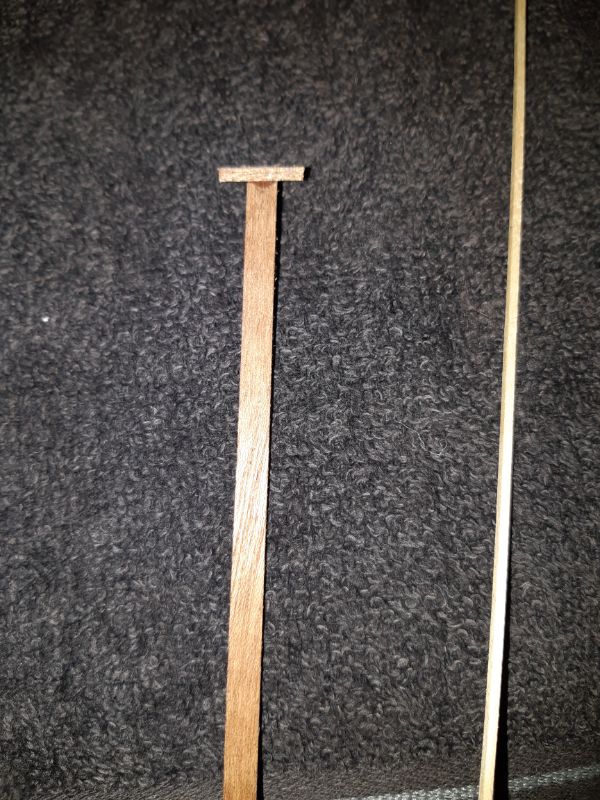
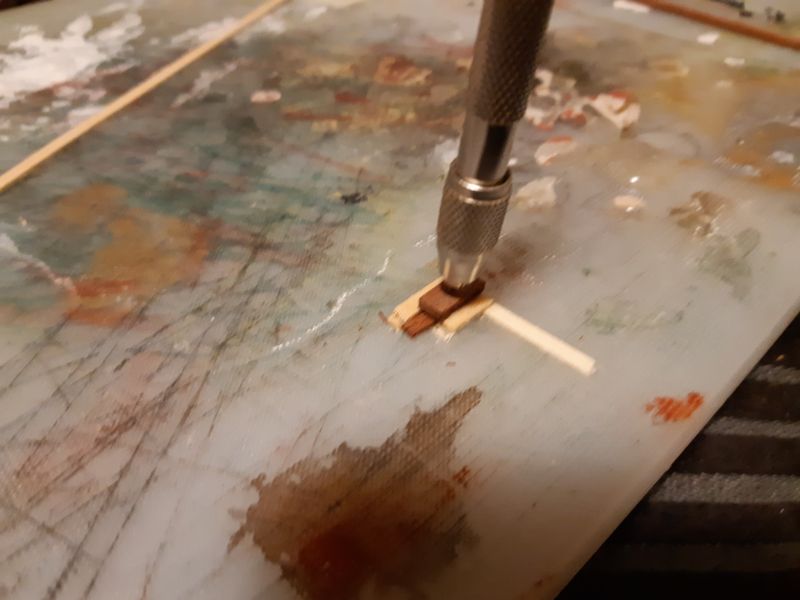
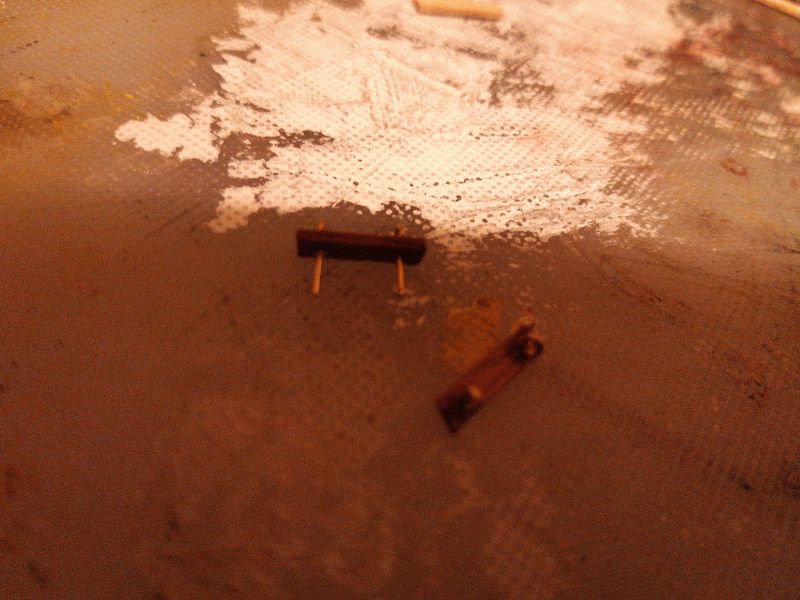
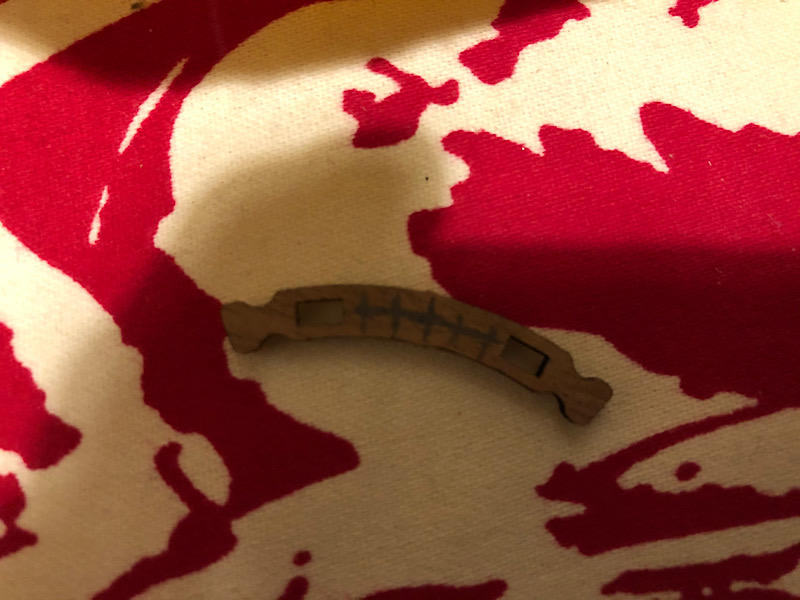
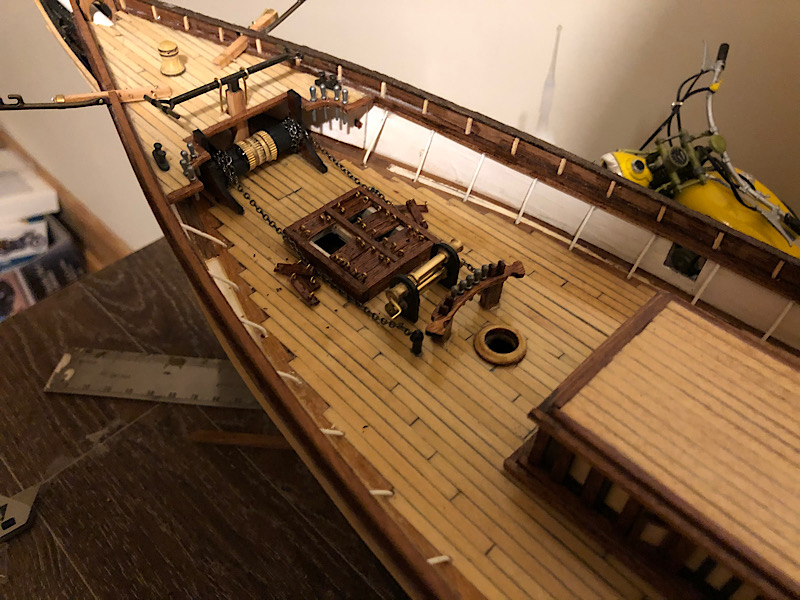
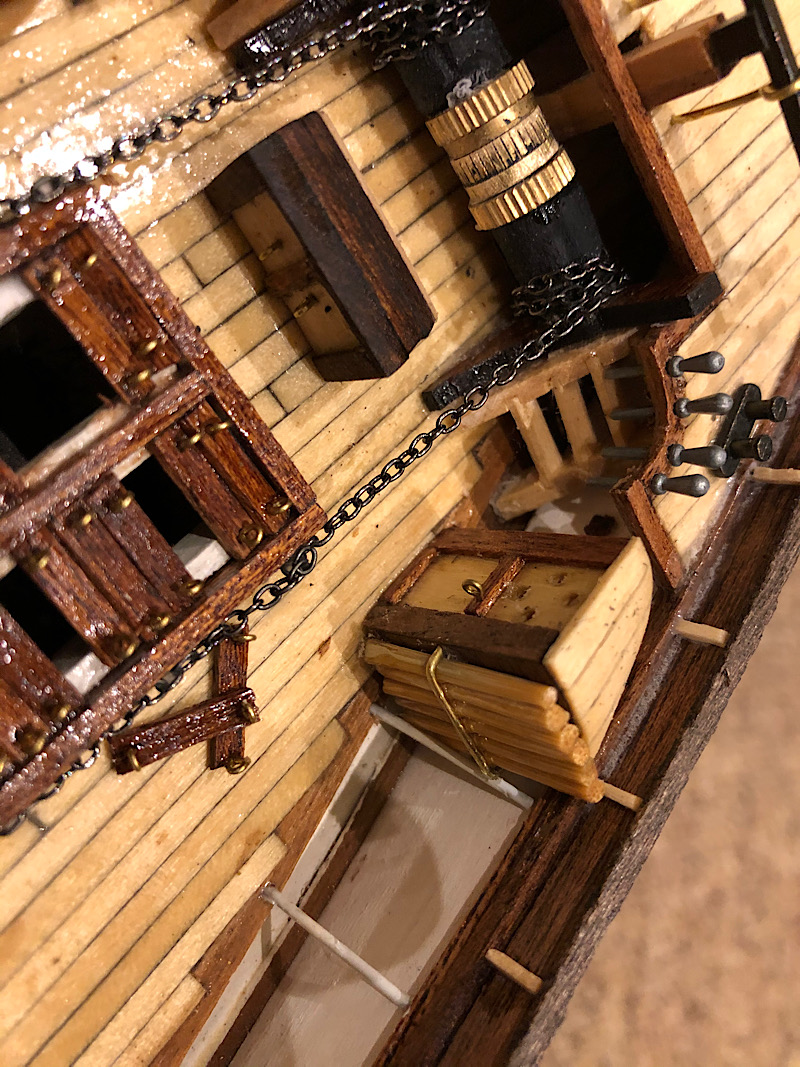
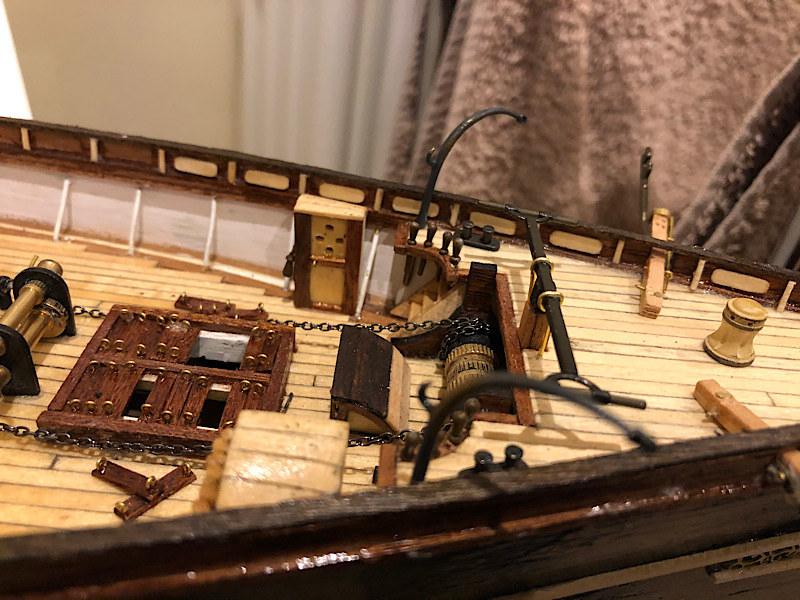
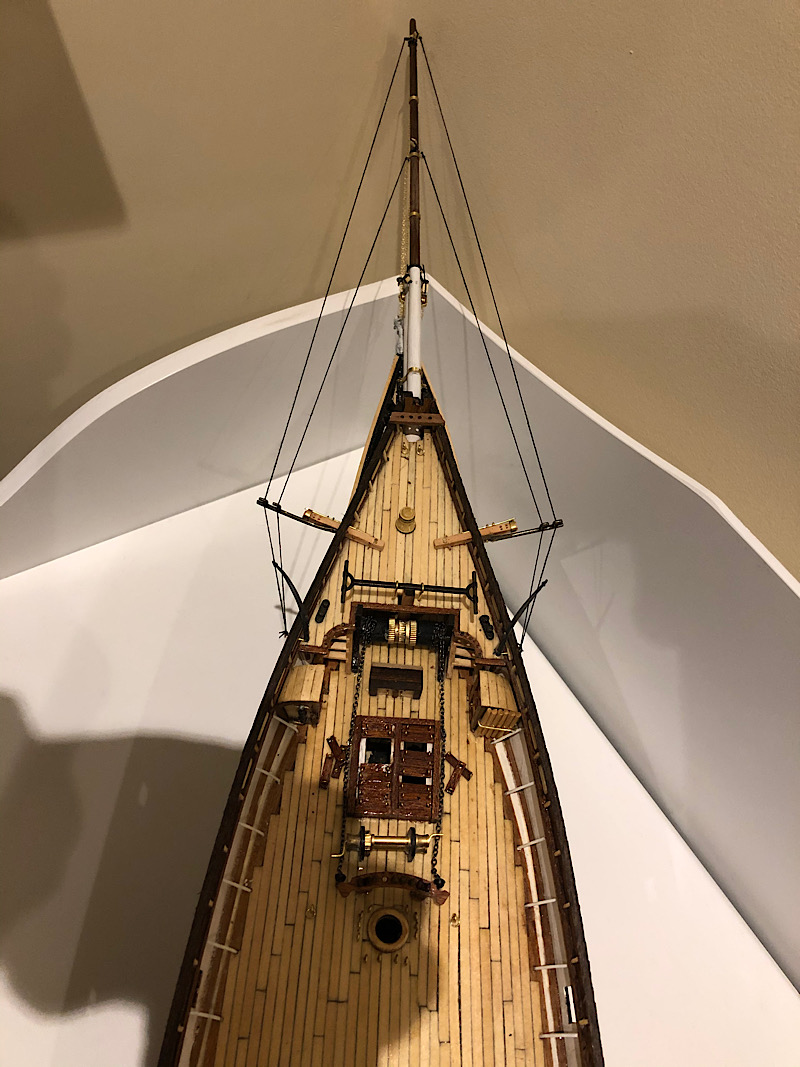
I know I'm jumping ahead a bit (well quite a lot) but I thought it might be interesting to add some of the deck furniture.

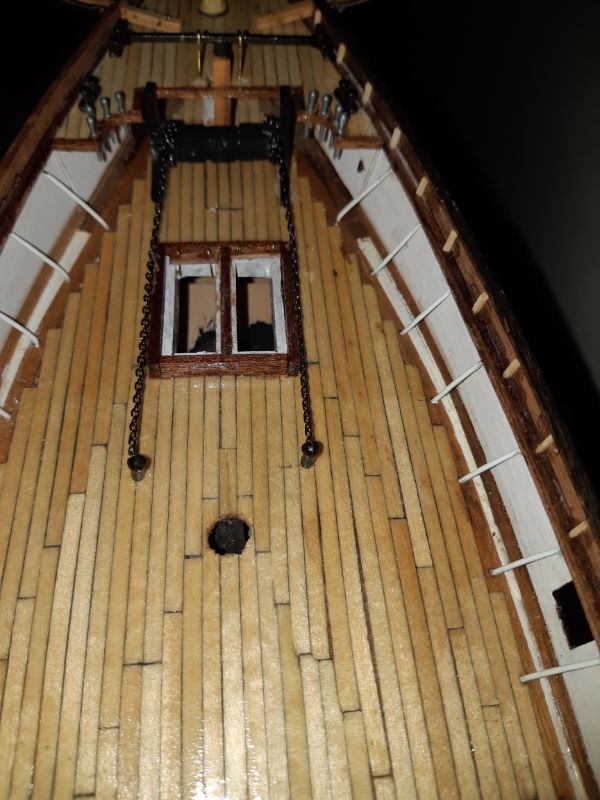
I made another little jig for the covers for the hatch as there are a lot of them and they all need to be the same.
I know I'm jumping ahead a bit (well quite a lot) but I thought it might be interesting to add some of the deck furniture.
I made another little jig for the covers for the hatch as there are a lot of them and they all need to be the same.

RussellE
#306

Joined: June 27, 2010
KitMaker: 3,959 posts
Model Shipwrights: 2,777 posts
Posted: Wednesday, January 08, 2020 - 10:58 PM UTC
Nice work Ken!
I always am in awe of sailing ships, but can never muster the courage to build one
I always am in awe of sailing ships, but can never muster the courage to build one

kpnuts
Joined: December 20, 2013
KitMaker: 1,179 posts
Model Shipwrights: 427 posts
Posted: Wednesday, March 04, 2020 - 09:30 AM UTC
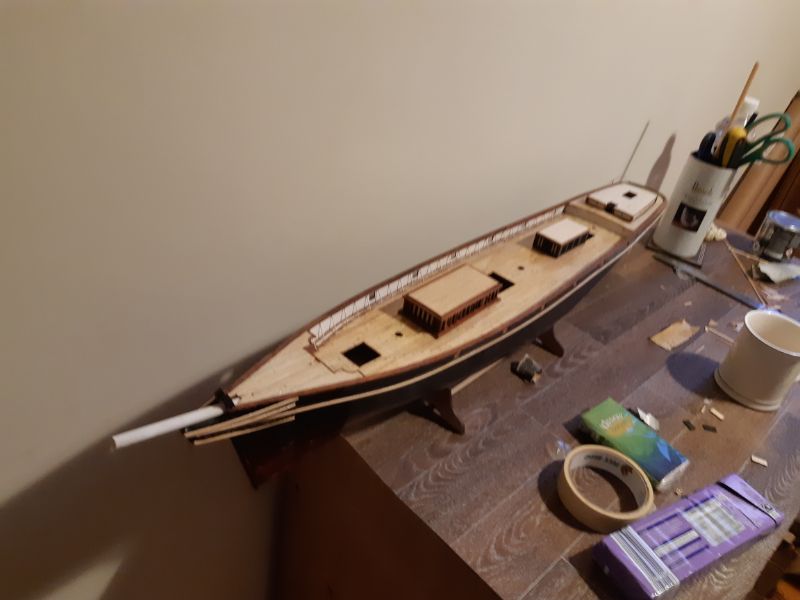
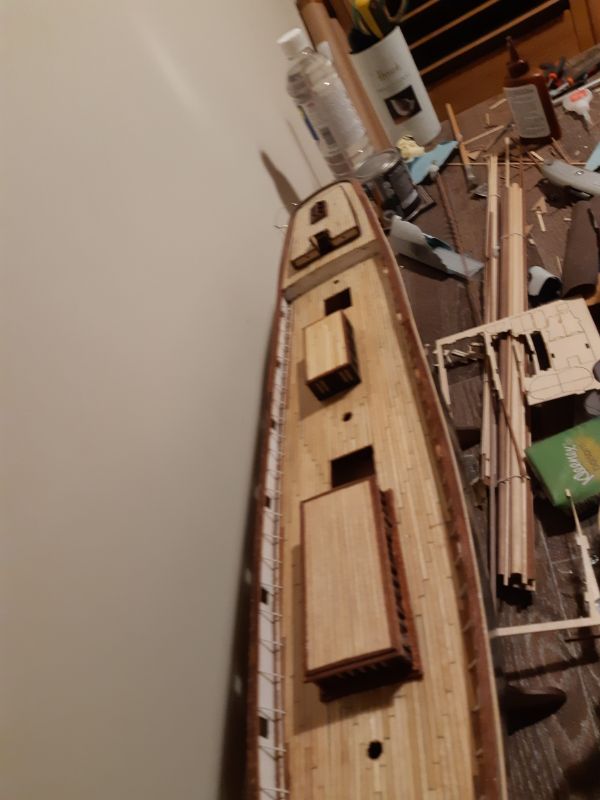
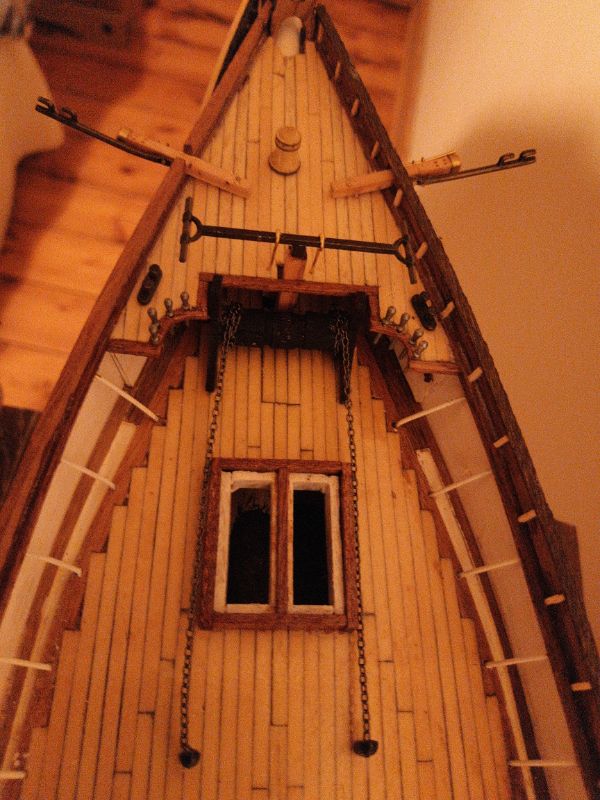
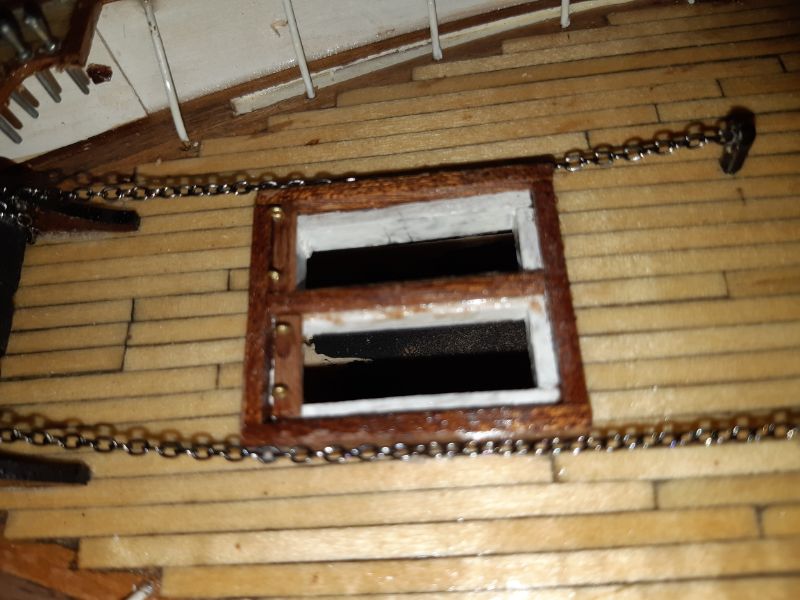
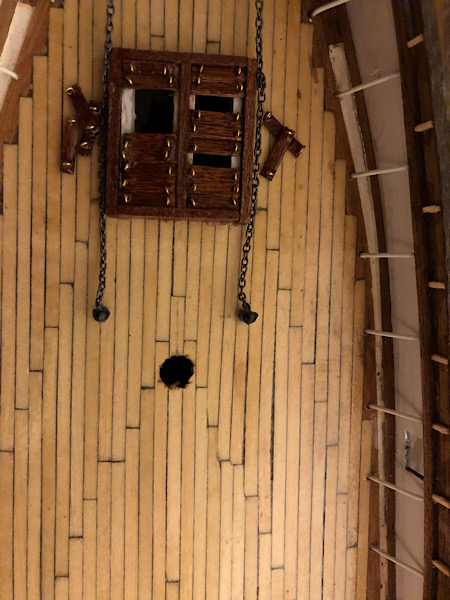
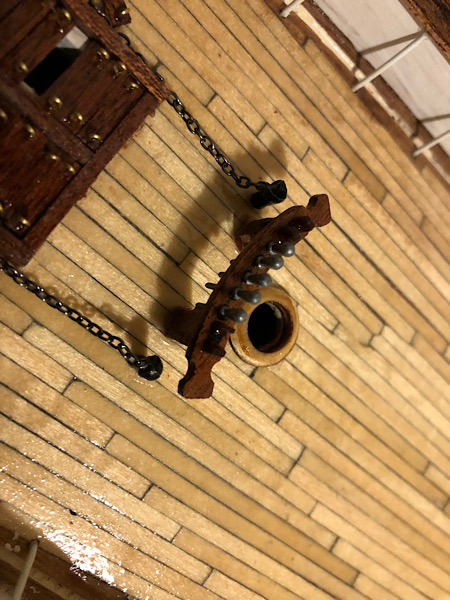
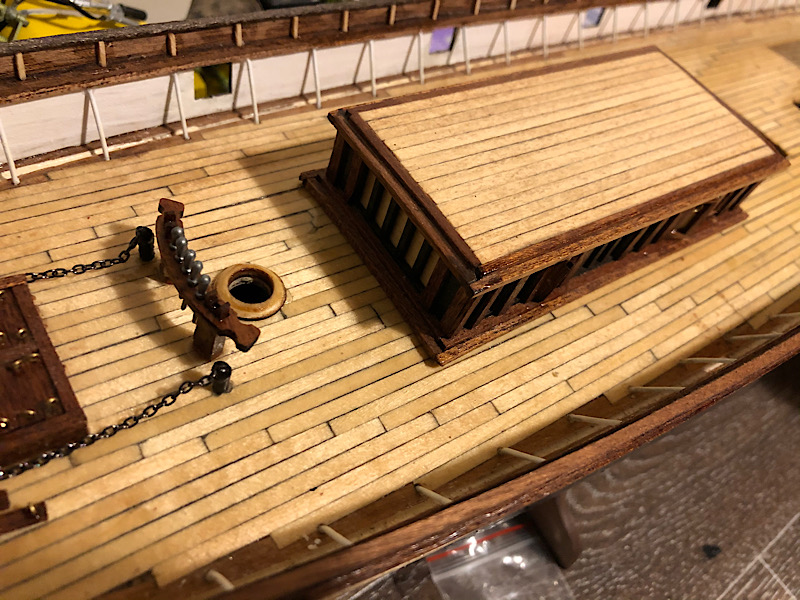
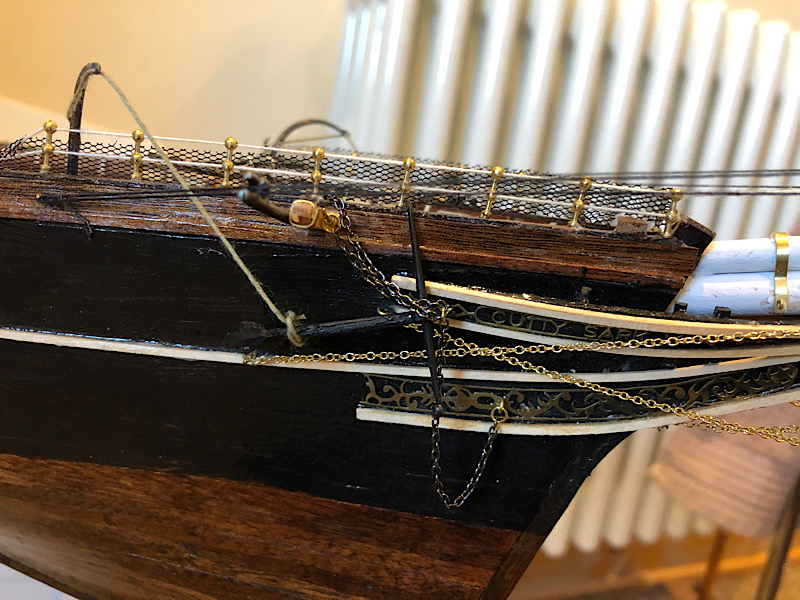
Ok so I'm back on this, first thing to sort is something that's been bugging me since I noticed it in the photos (didn't notice it on the actual thing for some reason) the cowls the anchor chains go into (sorry dont know what they're called) are not the same distances from the hold frame.
So sorted that (disguising the old hole was a pain but I dont think it notices now)
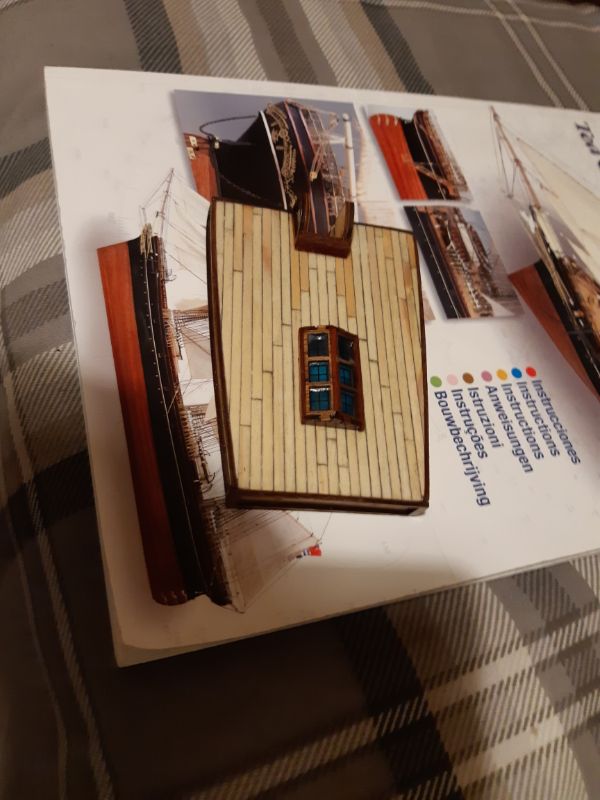
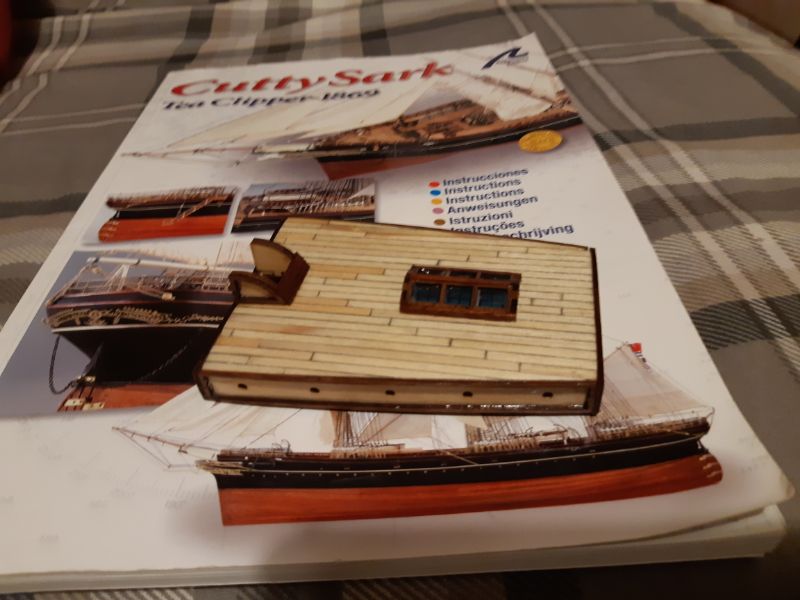
Personally I think this is a great kit (I know some people say otherwise) I dont know anything about the other kit as I've not built them but I'm not too worried about accuracy so i not too bothered about whether it's the right hull lines or too wide, whatever.
They give you ample material to build her (up till now since my brother stripped the planking off and I stripped all the decking off) they give you nearly enough to build her twice, i only had to buy 10 strips of decking to finish that off and have not had to buy any of the side planking and still have loads left over the quality of the materials is top notch my only slight complaint is the instructions are quite confusing (that said they give you a full size high quality photo of the finished model so you can measure and check off that)
So sorted that (disguising the old hole was a pain but I dont think it notices now)
Personally I think this is a great kit (I know some people say otherwise) I dont know anything about the other kit as I've not built them but I'm not too worried about accuracy so i not too bothered about whether it's the right hull lines or too wide, whatever.
They give you ample material to build her (up till now since my brother stripped the planking off and I stripped all the decking off) they give you nearly enough to build her twice, i only had to buy 10 strips of decking to finish that off and have not had to buy any of the side planking and still have loads left over the quality of the materials is top notch my only slight complaint is the instructions are quite confusing (that said they give you a full size high quality photo of the finished model so you can measure and check off that)
RussellE
#306
Joined: June 27, 2010
KitMaker: 3,959 posts
Model Shipwrights: 2,777 posts
Posted: Thursday, March 05, 2020 - 08:25 AM UTC
Interesting to think that with a bit more lumber, you could build 2 side by side, Ken!  Could leave room for a bit of lateral creativity on the second build?
Could leave room for a bit of lateral creativity on the second build? JJ1973
#345
Joined: August 22, 2011
KitMaker: 1,835 posts
Model Shipwrights: 1,832 posts
Posted: Sunday, March 08, 2020 - 02:37 AM UTC
Hi Ken,
looks really good! I can't spot the old hole, by the way...
Cheers
Jan
looks really good! I can't spot the old hole, by the way...
Cheers
Jan
kpnuts
Joined: December 20, 2013
KitMaker: 1,179 posts
Model Shipwrights: 427 posts
Posted: Sunday, March 08, 2020 - 08:11 AM UTC
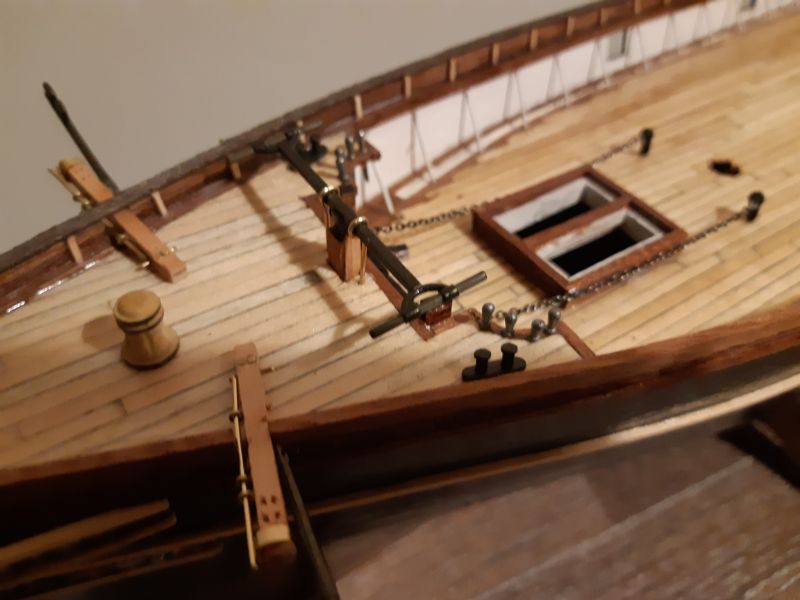
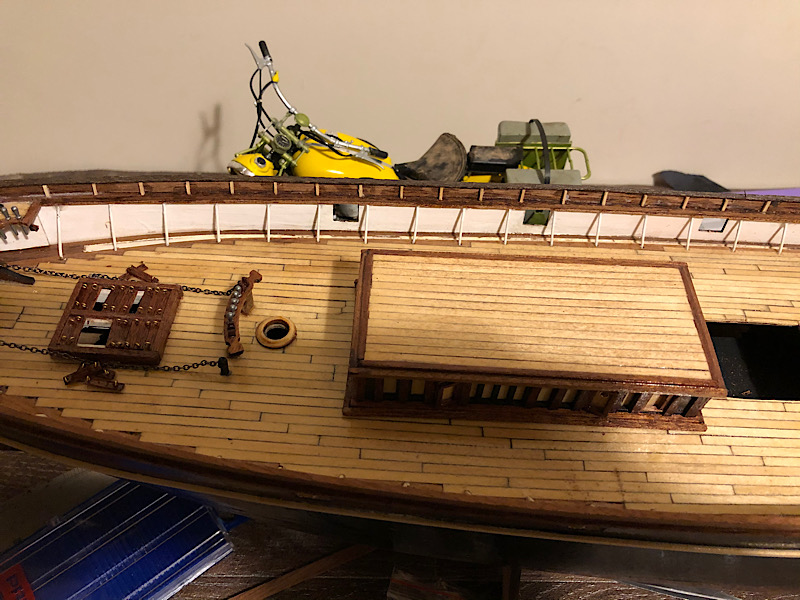
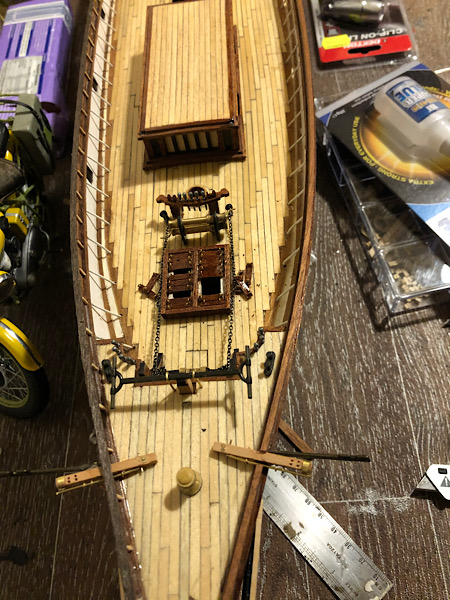
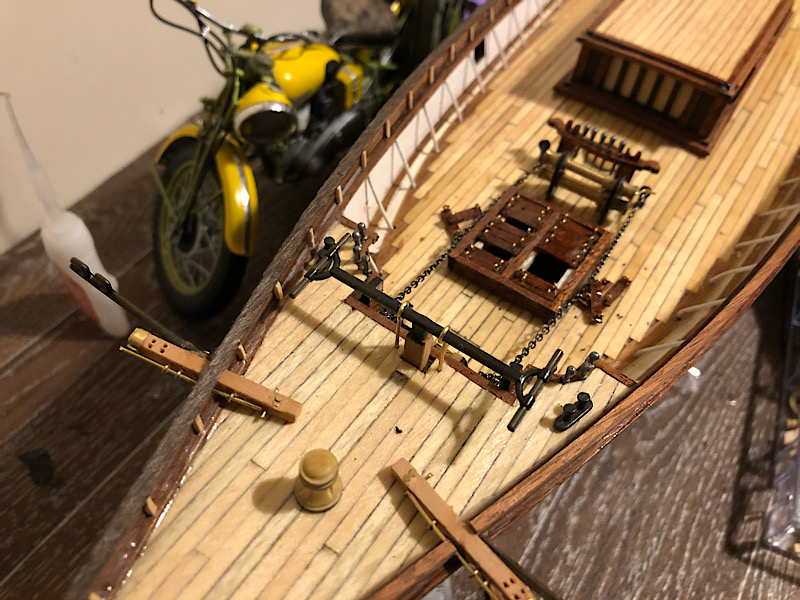
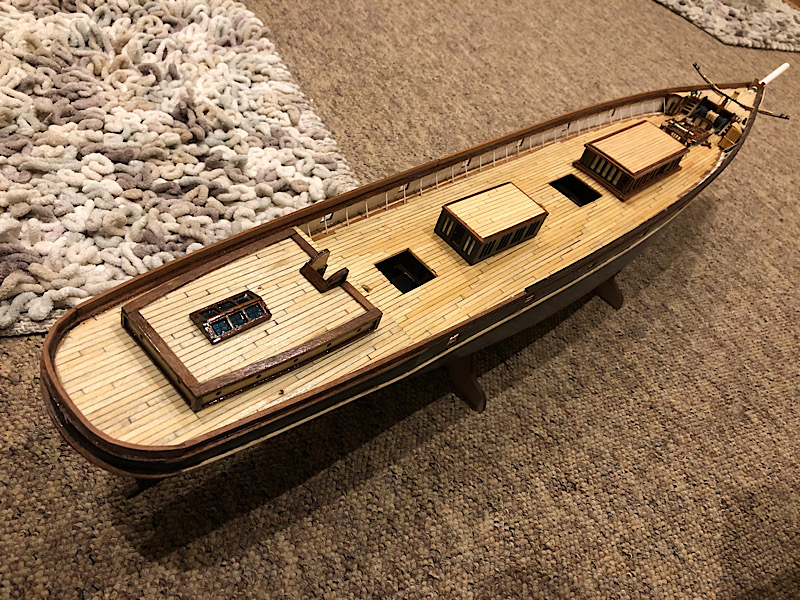
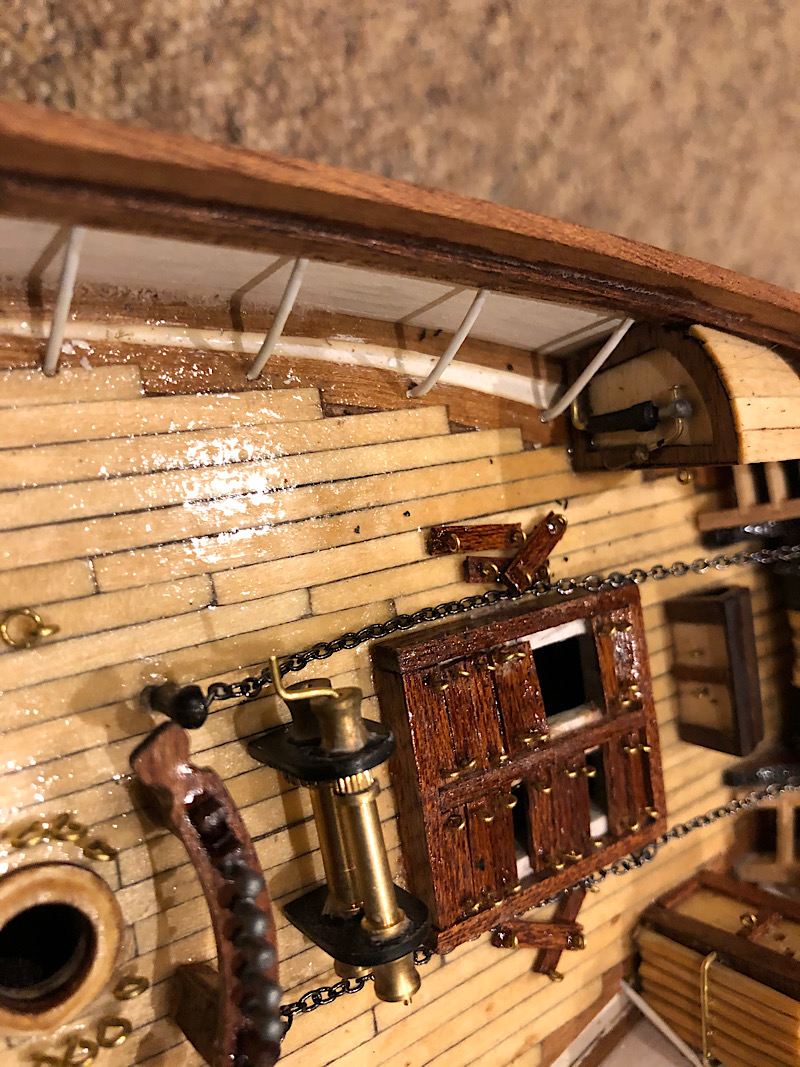
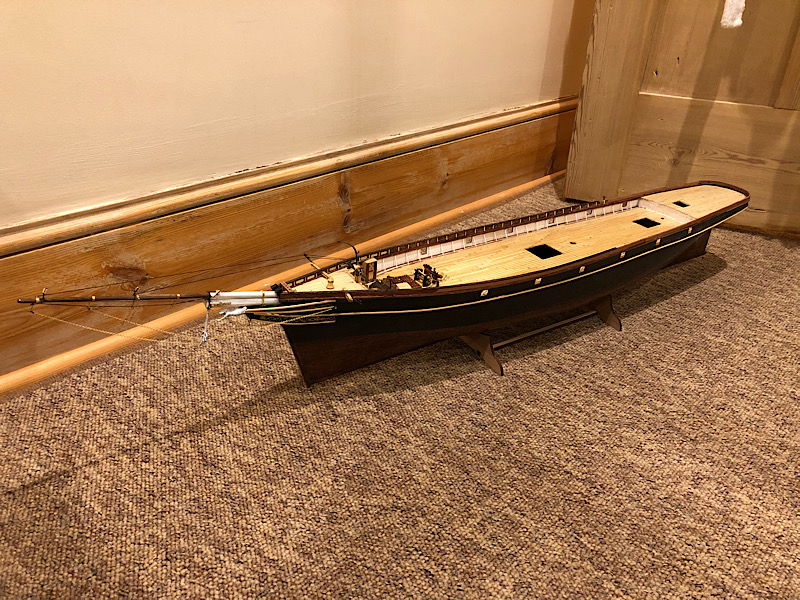
Hi all more work done on this.
kpnuts
Joined: December 20, 2013
KitMaker: 1,179 posts
Model Shipwrights: 427 posts
Posted: Thursday, March 12, 2020 - 09:21 AM UTC
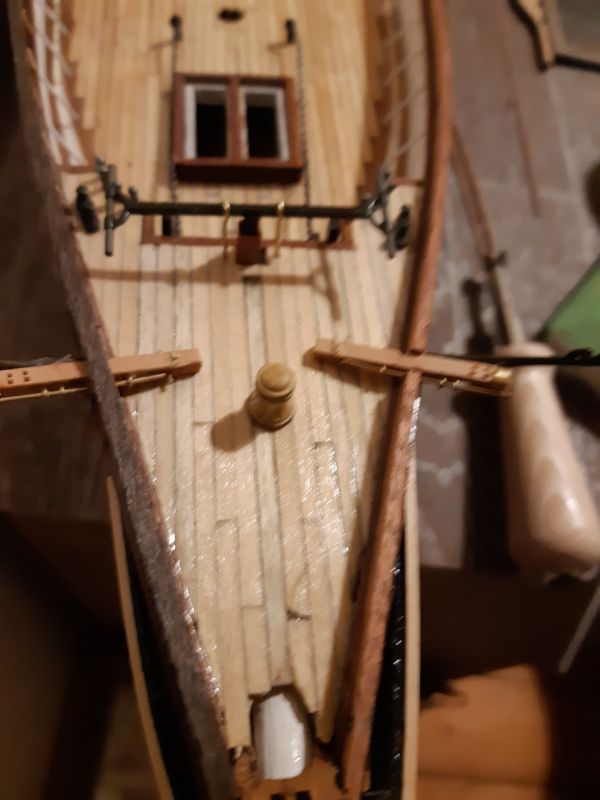
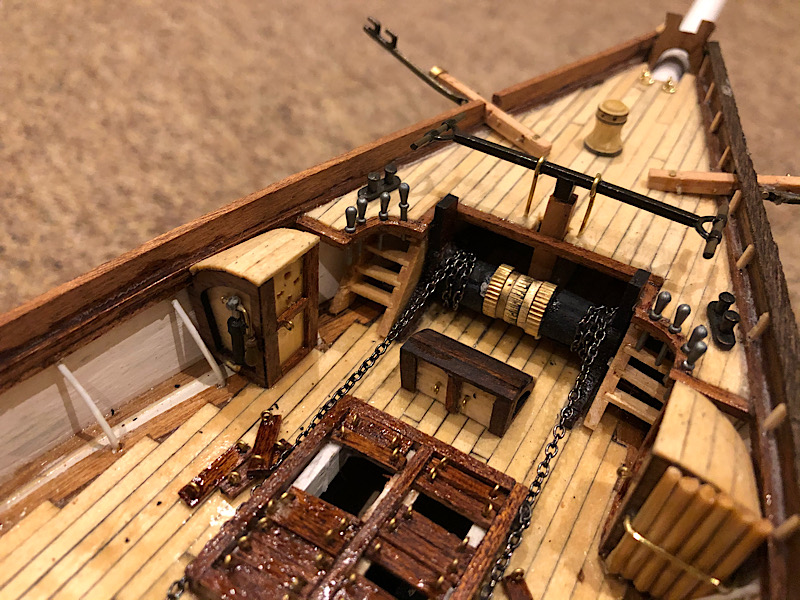
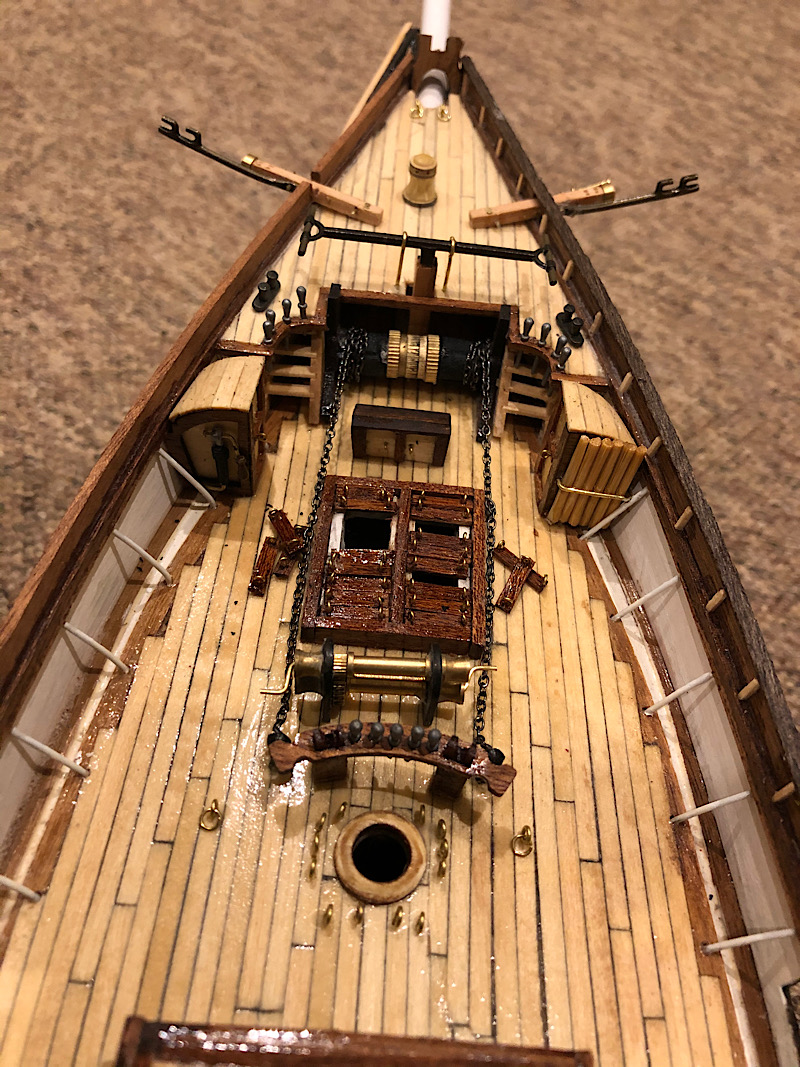
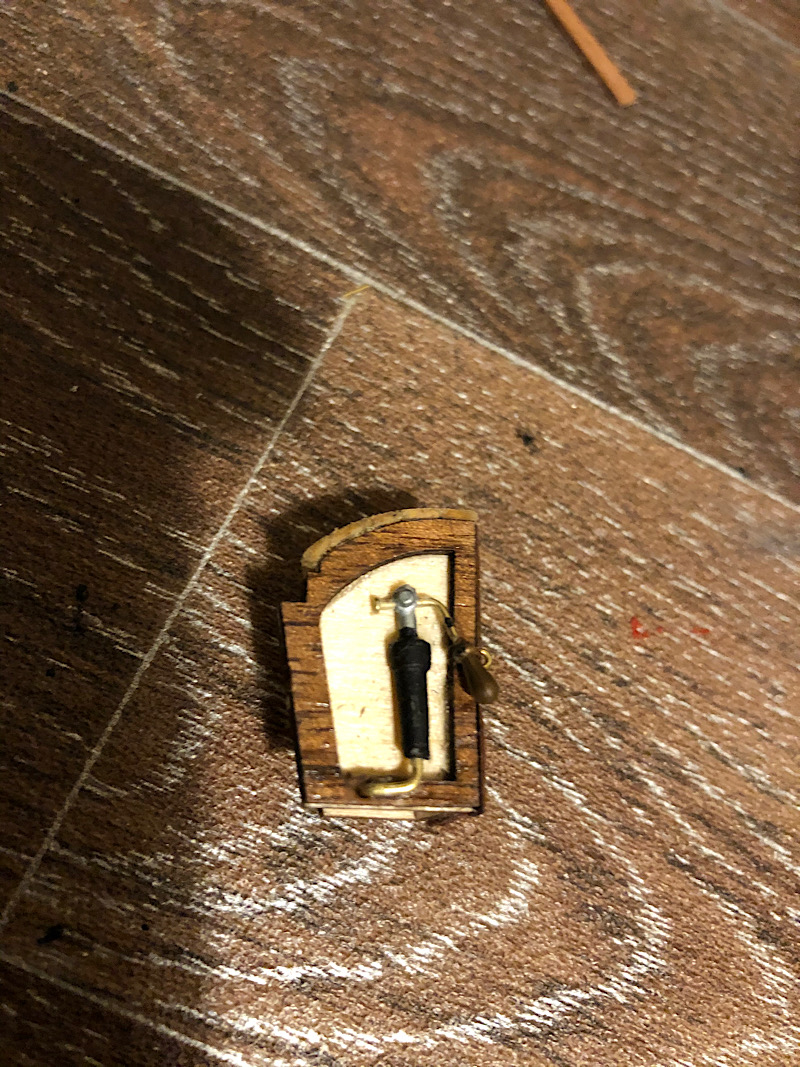
Hi well I've got the latrines and the latrines pump done, this is such a major undertaking I can see at least another 2 yrs in this kit.
RussellE
#306
Joined: June 27, 2010
KitMaker: 3,959 posts
Model Shipwrights: 2,777 posts
Posted: Friday, March 13, 2020 - 12:03 PM UTC
Quoted Text
Hi well I've got the latrines and the latrines pump done, this is such a major undertaking I can see at least another 2 yrs in this kit.
At my build pace, it would take me 20years

kpnuts
Joined: December 20, 2013
KitMaker: 1,179 posts
Model Shipwrights: 427 posts
Posted: Sunday, March 15, 2020 - 06:13 AM UTC
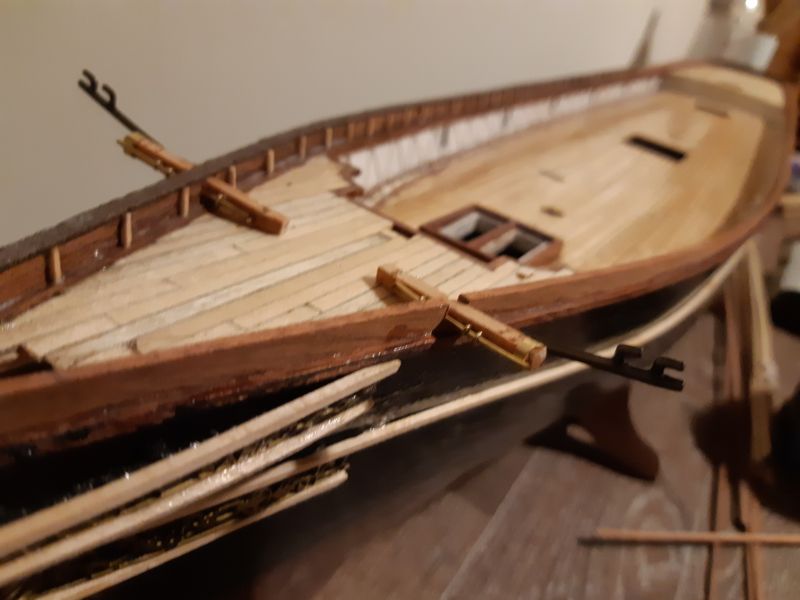
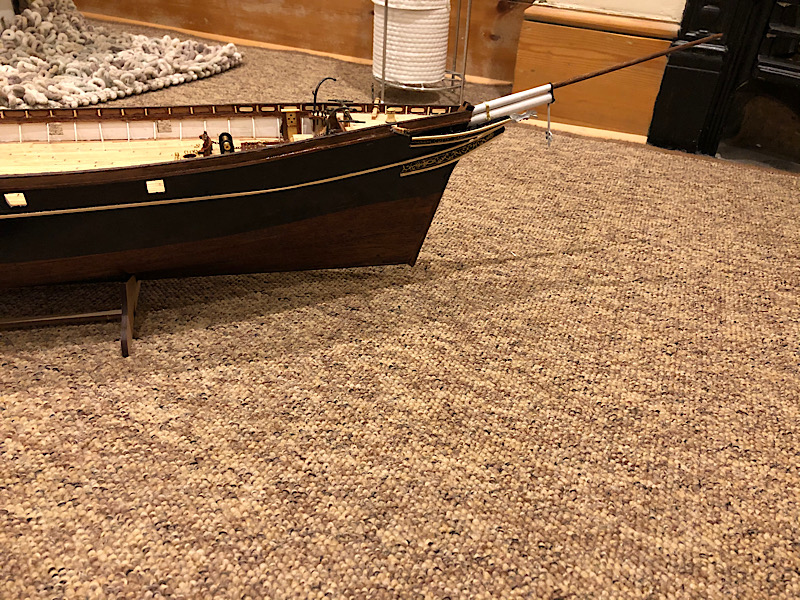
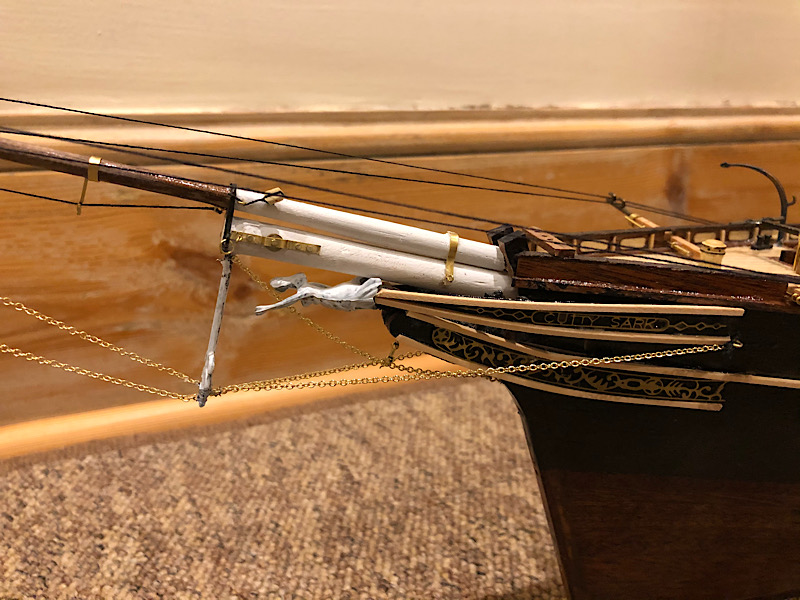
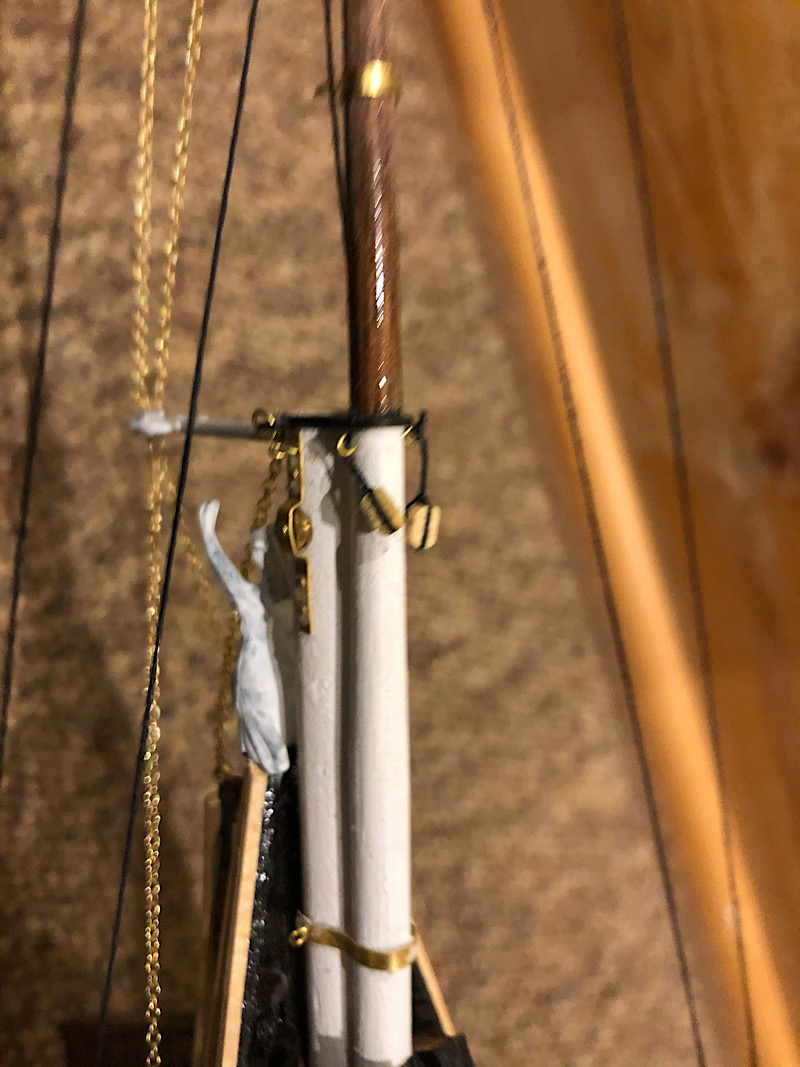
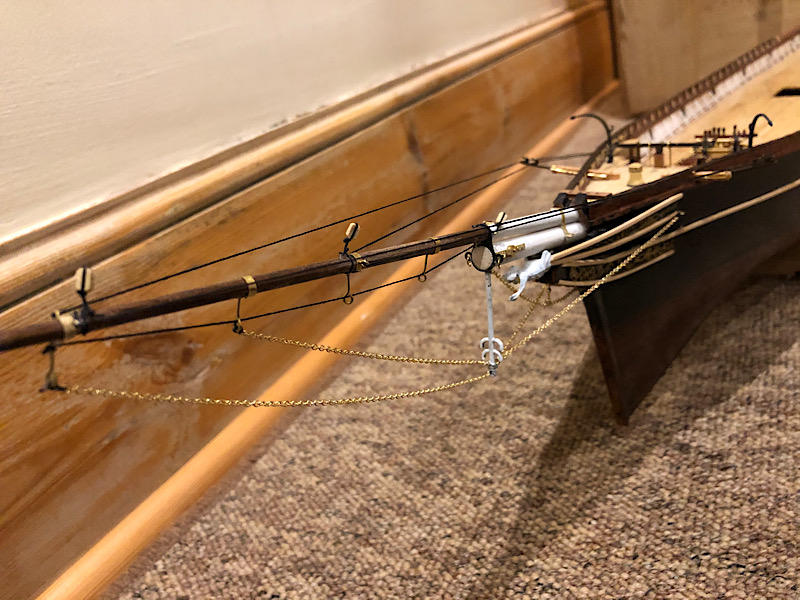
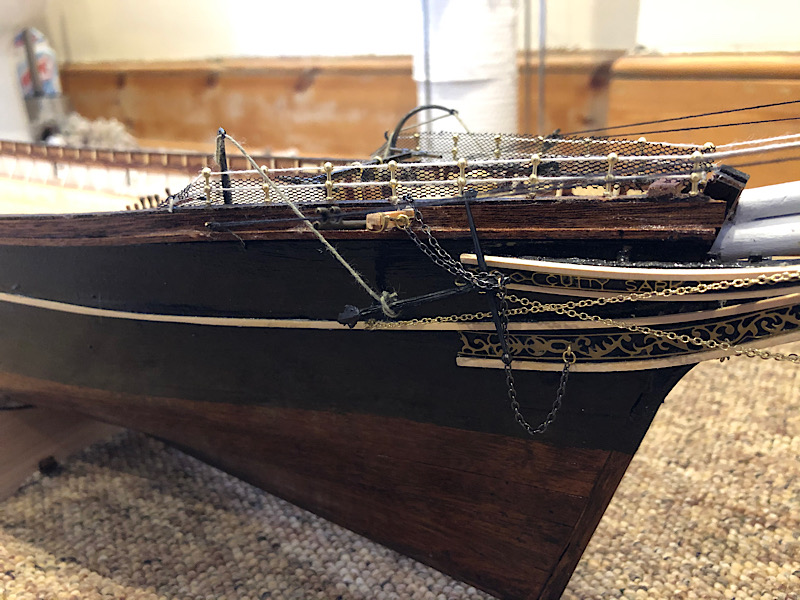
Done some of the panels round the top rails and made a start on the bowsprit, even added the figurehead.


d6mst0
#453
Joined: August 28, 2016
KitMaker: 1,925 posts
Model Shipwrights: 1,298 posts
Posted: Sunday, March 15, 2020 - 10:51 AM UTC
Ken
Very nice work on the bow. She sure doesn't look like the same model a few months back.
Mark
Very nice work on the bow. She sure doesn't look like the same model a few months back.
Mark
kpnuts
Joined: December 20, 2013
KitMaker: 1,179 posts
Model Shipwrights: 427 posts
Posted: Wednesday, March 18, 2020 - 09:13 AM UTC
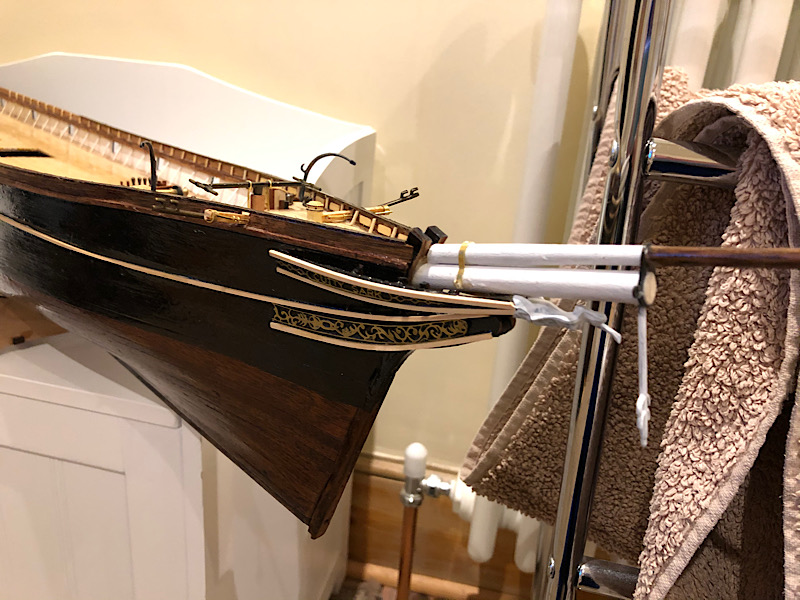
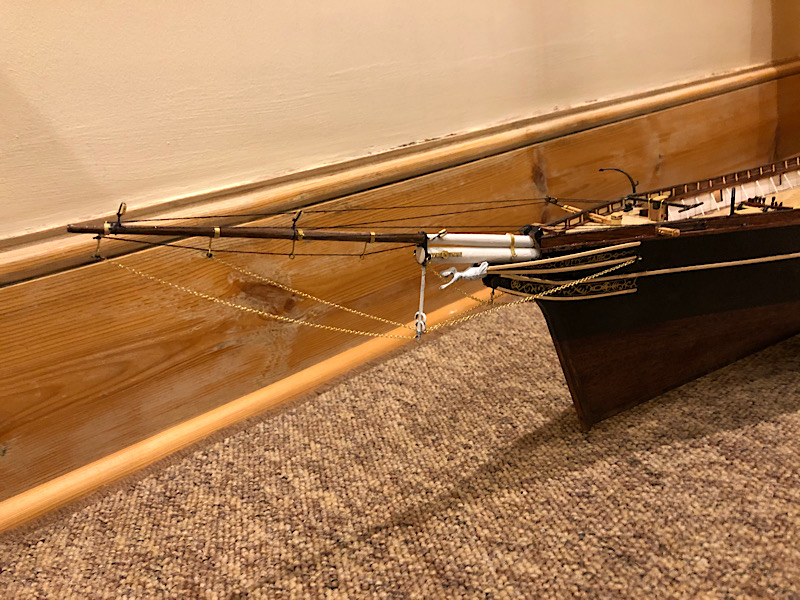
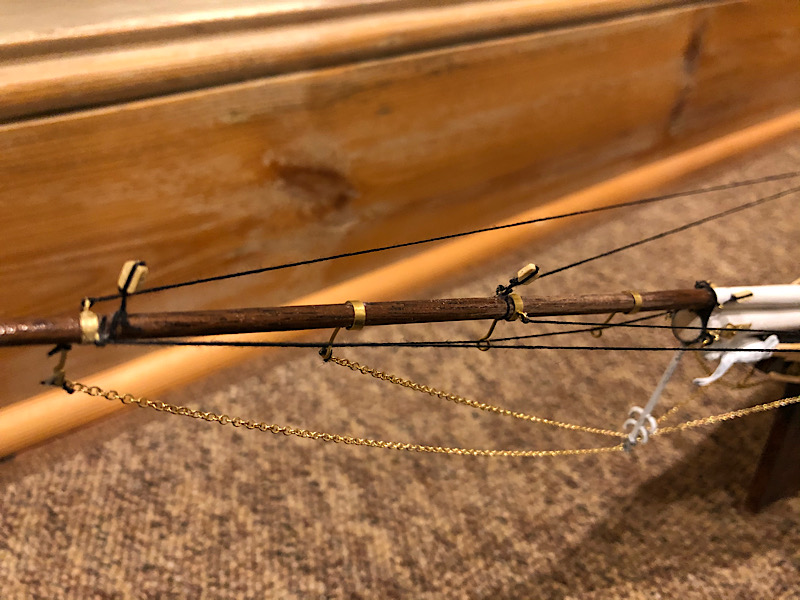
More done on the bowsprit a start on the dreaded rigging (all be it a very very tiny start)
RussellE
#306
Joined: June 27, 2010
KitMaker: 3,959 posts
Model Shipwrights: 2,777 posts
Posted: Wednesday, March 18, 2020 - 09:17 AM UTC
nice start on the rigging Ken
I do like the chains off the bow, too
Best health to everyone!
I do like the chains off the bow, too
Best health to everyone!
kpnuts
Joined: December 20, 2013
KitMaker: 1,179 posts
Model Shipwrights: 427 posts
Posted: Saturday, March 21, 2020 - 08:39 AM UTC
Hi all let me start this update by saying (in the politest possible way)
F$%# b%$$/%% hell.
Let me explain.*
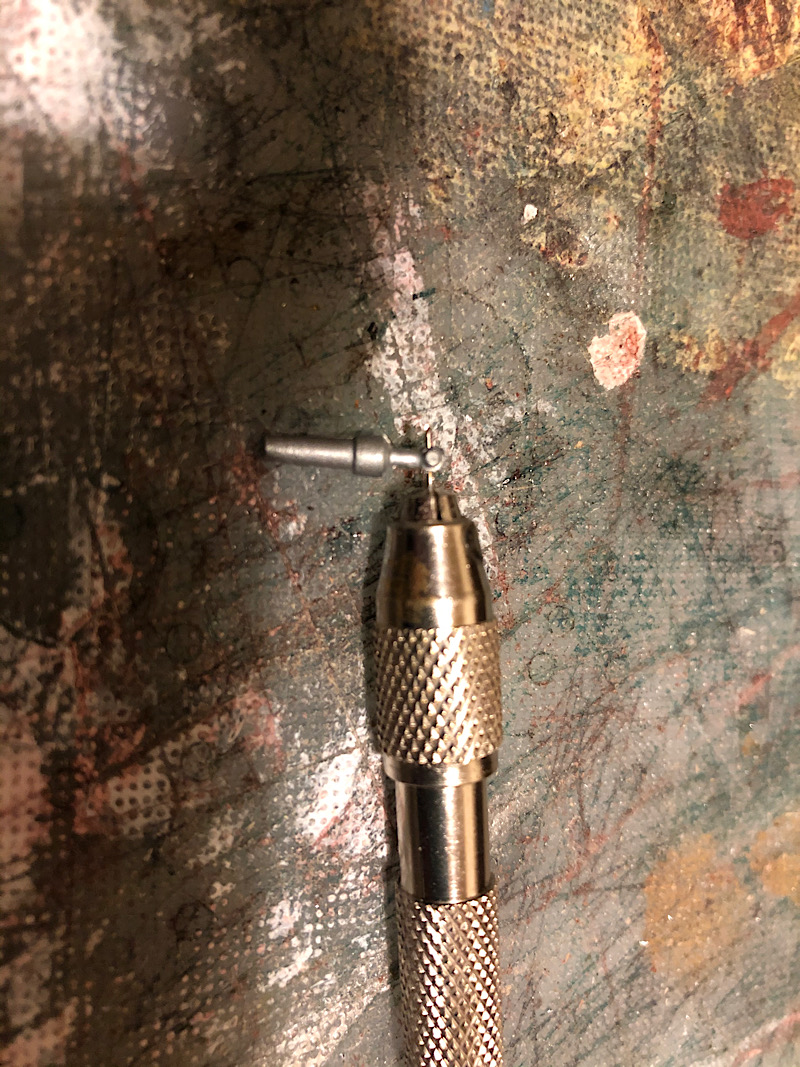
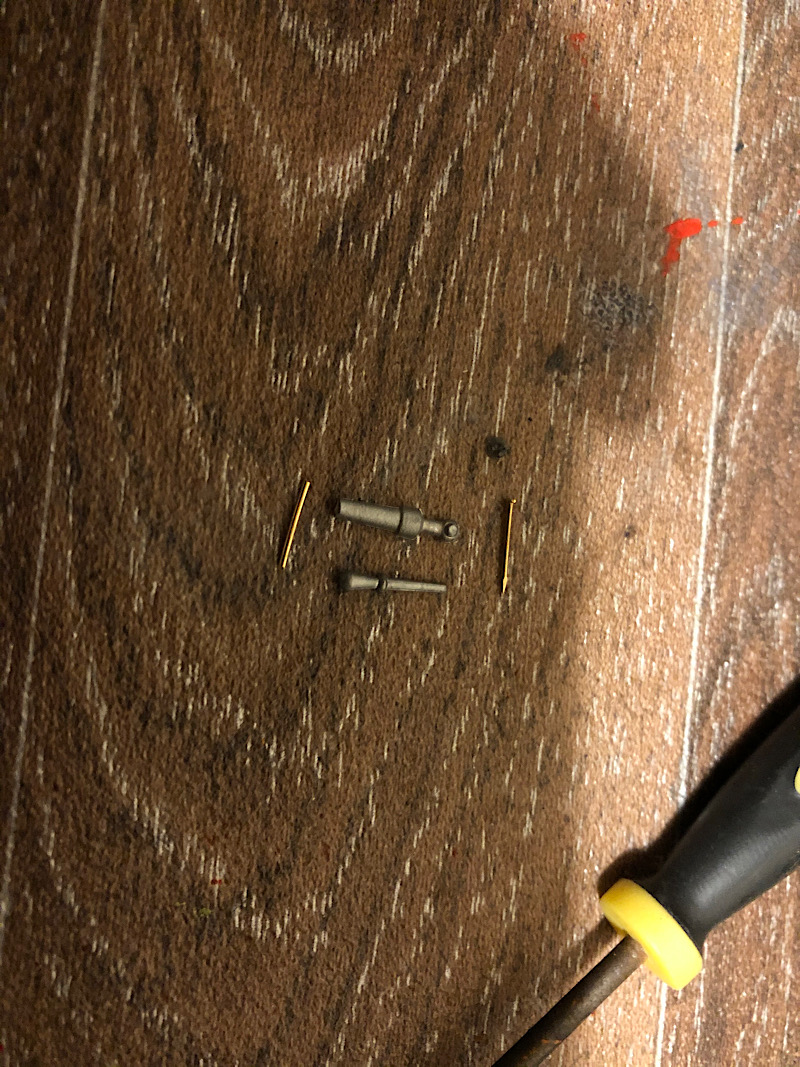
I do my modeling in the spare bedroom, I lay a piece of vinyl down on the floor immediately round my work bench and on top of the bench I put the container with all the brass pieces on the bed behind me after removing some parts needed for my next bit of work I set to adding some of the stanchions on the bow and heard this noise as if a plastic container of billions of bits had fallen on the floor, imagine my surprise when turning round to find that is exactly what had happened and of course as it was BEHIND me and not around the vinyl protection area it had fallen on a shag pile carpet, of course the lid came off. So after moving the bed (carpet was under it) shaking the carpet out I got this.
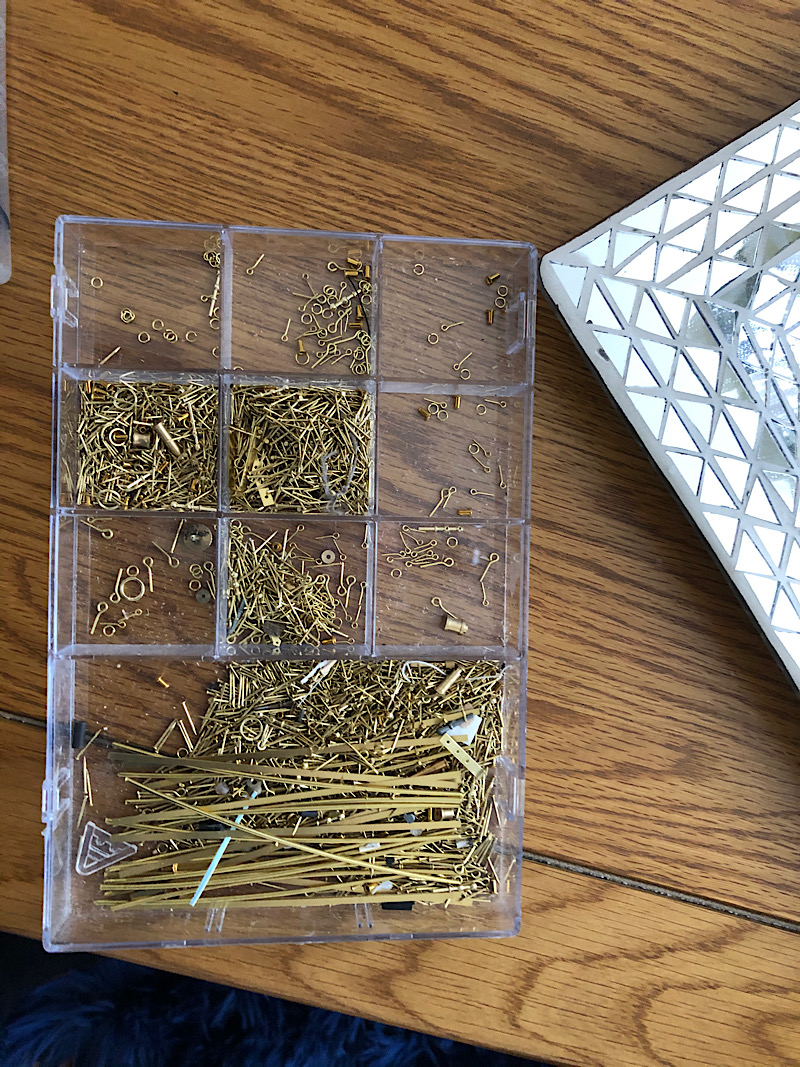
And after several hours
This
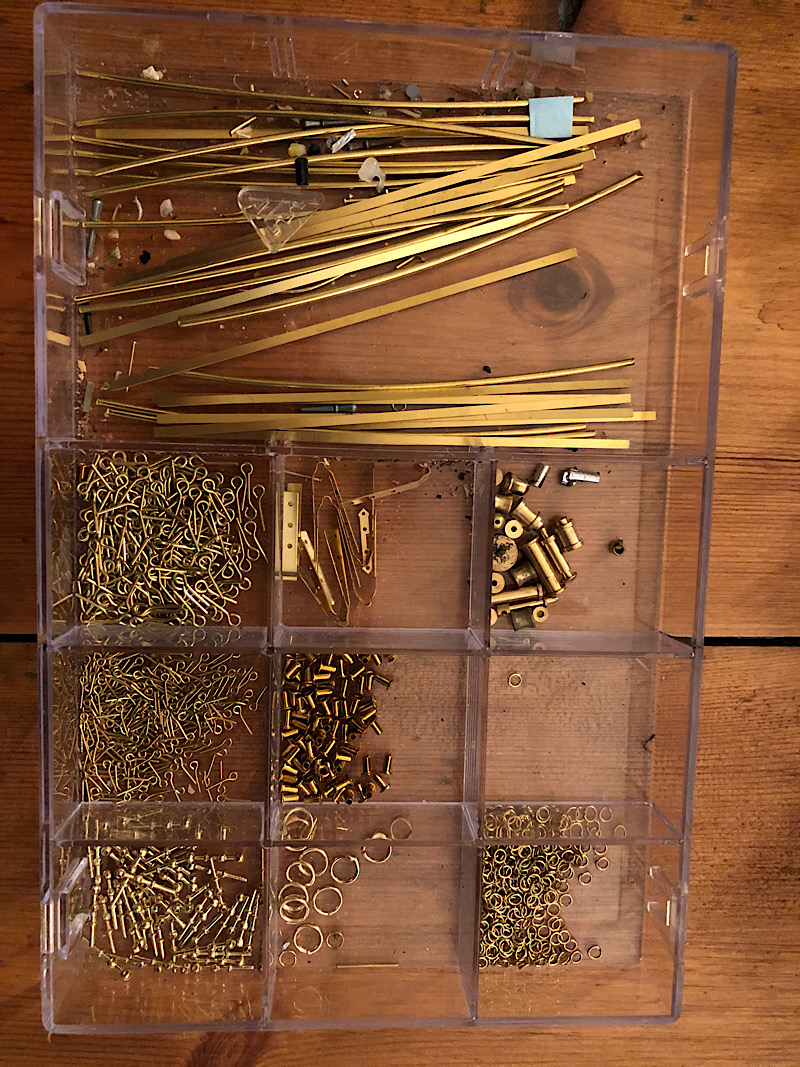
So on with the update.
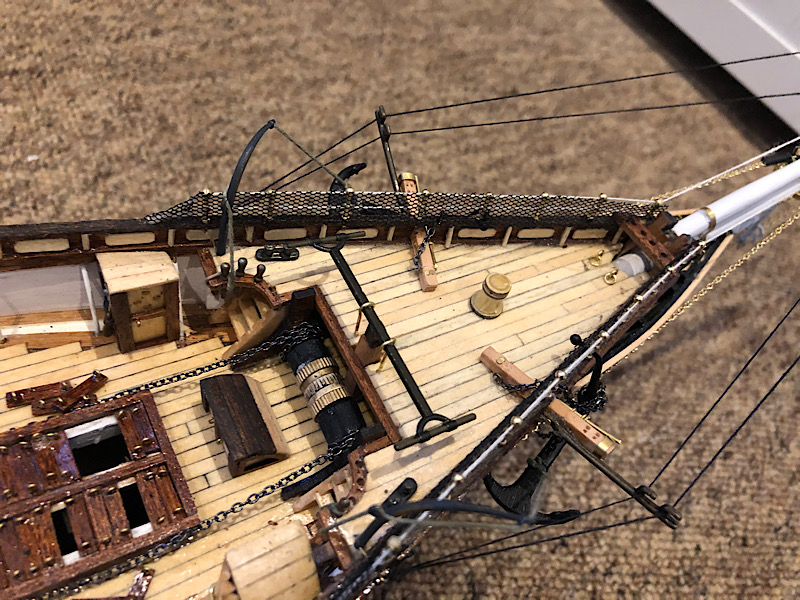
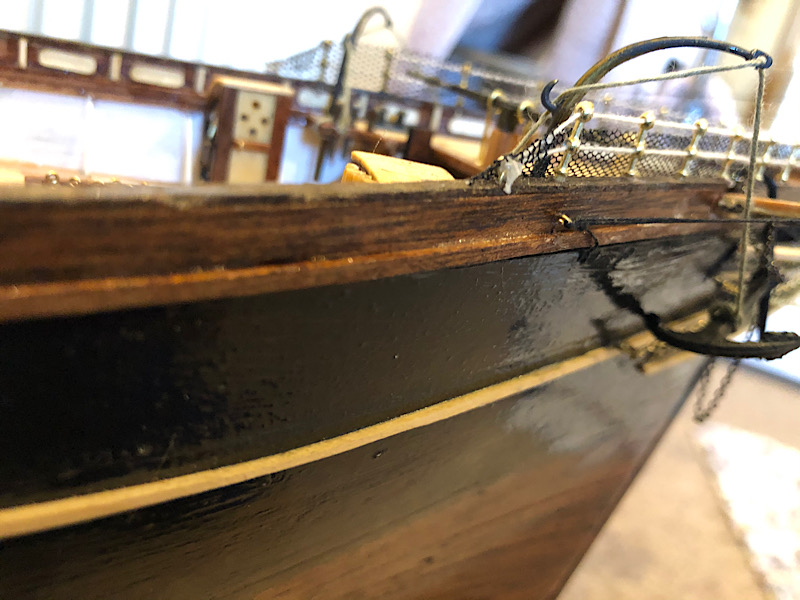

I'm really chuffed with how it's going (I should point out check ALL the stanchinons BEFORE gluing them in place as some of the holes are not clear and removing and drilling them after they are glued in place is no easy task.
Ps mate lucky we are in good health at the moment
F$%# b%$$/%% hell.
Let me explain.*
I do my modeling in the spare bedroom, I lay a piece of vinyl down on the floor immediately round my work bench and on top of the bench I put the container with all the brass pieces on the bed behind me after removing some parts needed for my next bit of work I set to adding some of the stanchions on the bow and heard this noise as if a plastic container of billions of bits had fallen on the floor, imagine my surprise when turning round to find that is exactly what had happened and of course as it was BEHIND me and not around the vinyl protection area it had fallen on a shag pile carpet, of course the lid came off. So after moving the bed (carpet was under it) shaking the carpet out I got this.
And after several hours
This
So on with the update.
I'm really chuffed with how it's going (I should point out check ALL the stanchinons BEFORE gluing them in place as some of the holes are not clear and removing and drilling them after they are glued in place is no easy task.
Ps mate lucky we are in good health at the moment
d6mst0
#453
Joined: August 28, 2016
KitMaker: 1,925 posts
Model Shipwrights: 1,298 posts
Posted: Saturday, March 21, 2020 - 01:08 PM UTC
Ken,
The bow is really shaping up nicely, very nice work.
I have not suffered a spill like yours but if I did I don't think I would be so controlled as you are...LOL.
I use to spend a lot of time looking for parts on the carpet until I made me a jeweler's apron. Now I am spending more time at the bench than under it.
Mark
 |

WEB HOSTING BY


Copyright ©2021 Model Shipwrights and Kitmaker Network, a subsidiary of Silver Star Enterprises
All Rights Reserved. Please read our Conditions of Use and Privacy Policy.
All Rights Reserved. Please read our Conditions of Use and Privacy Policy.