

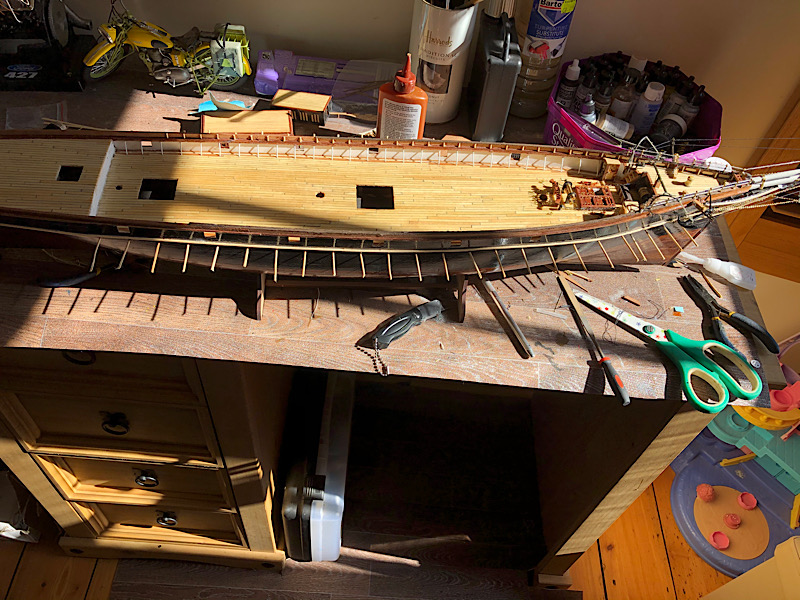
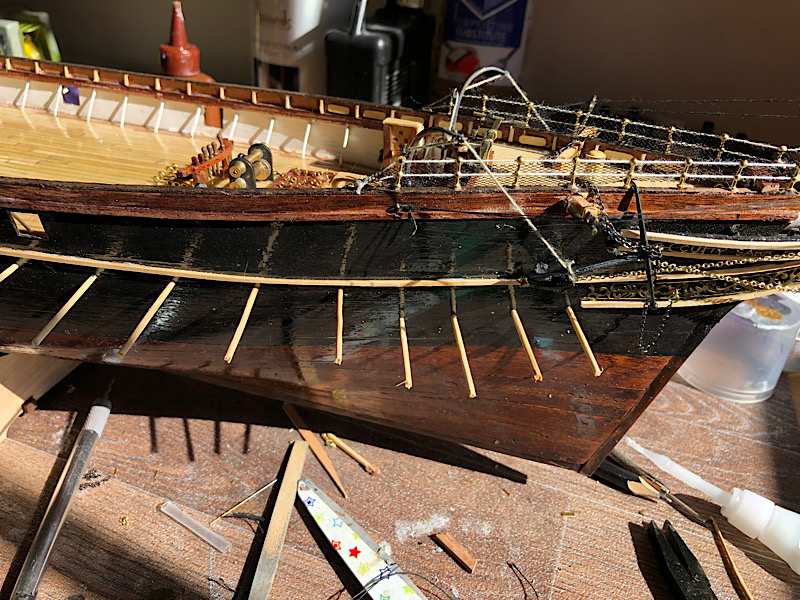
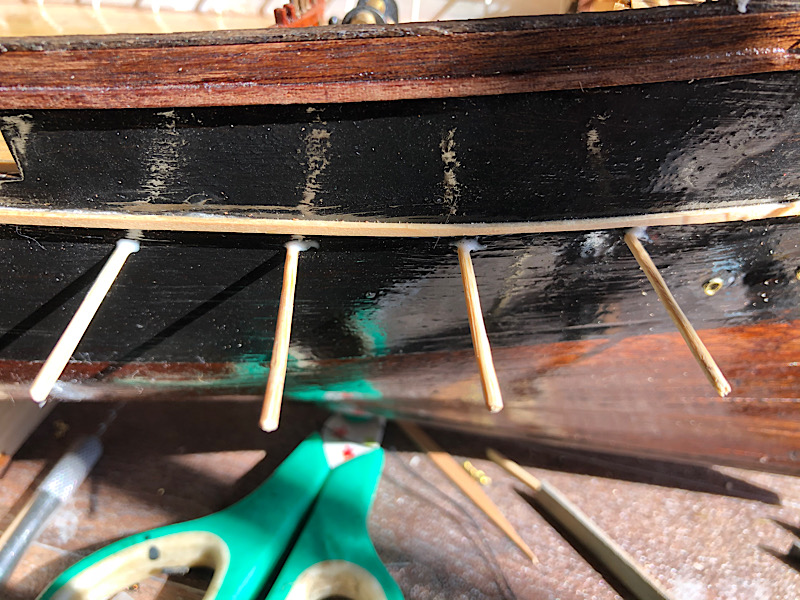
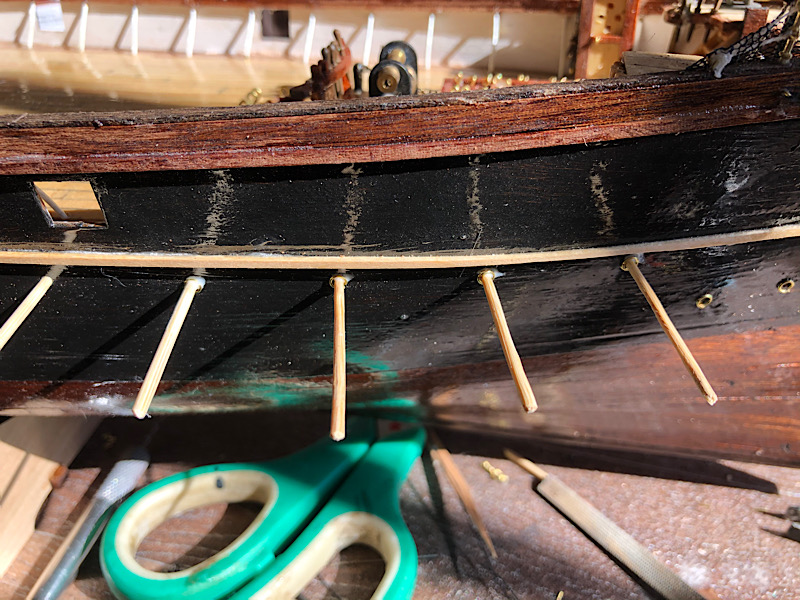
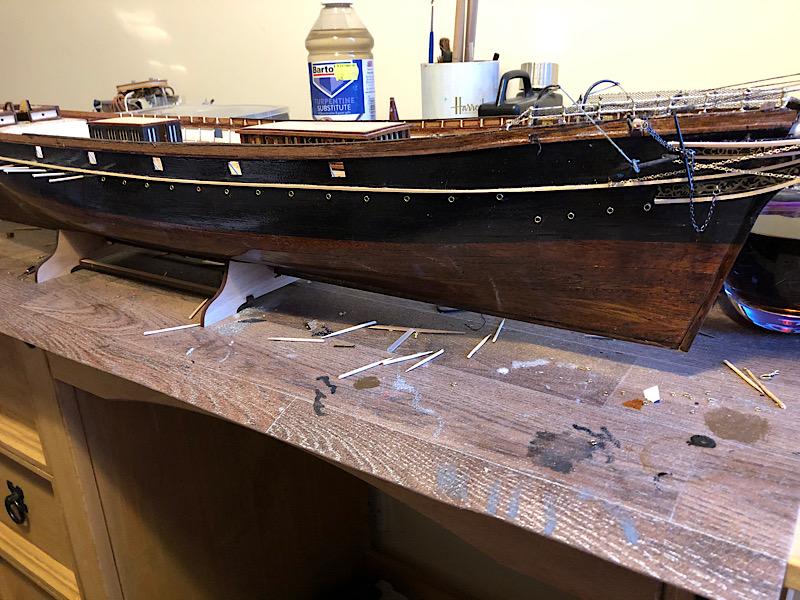
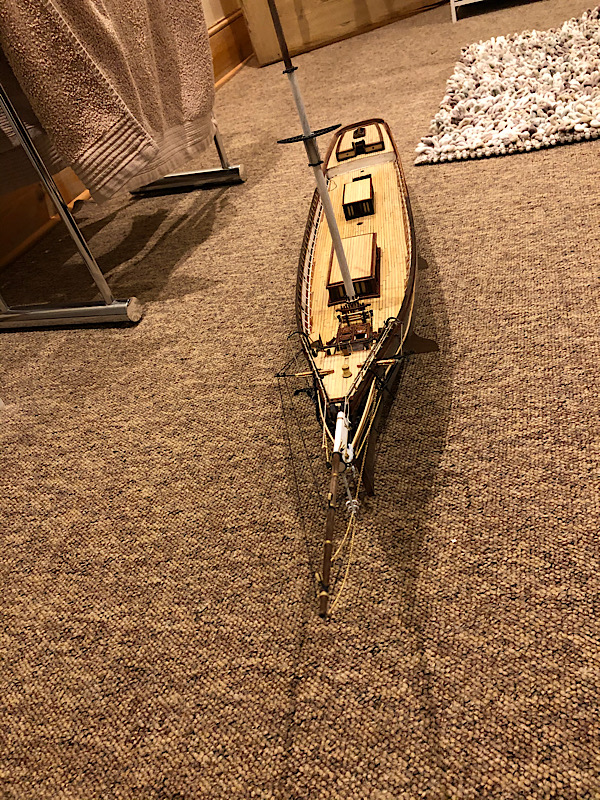
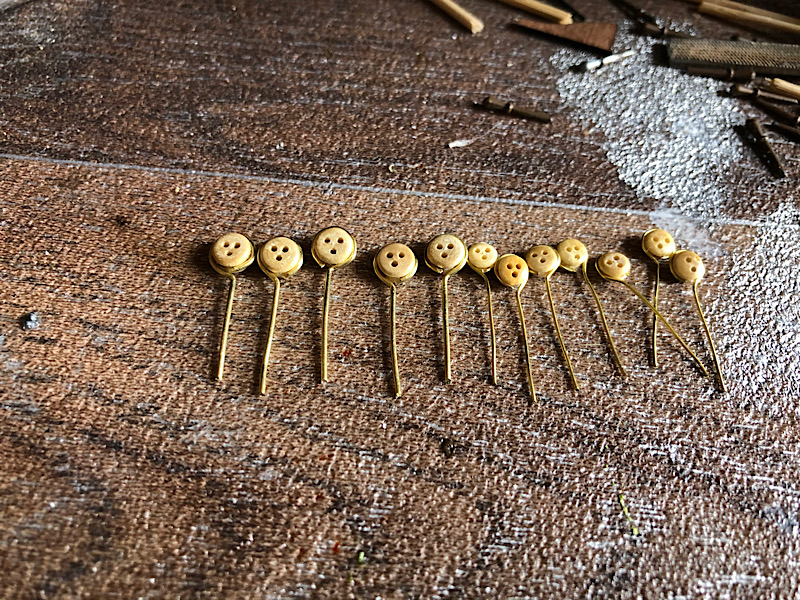
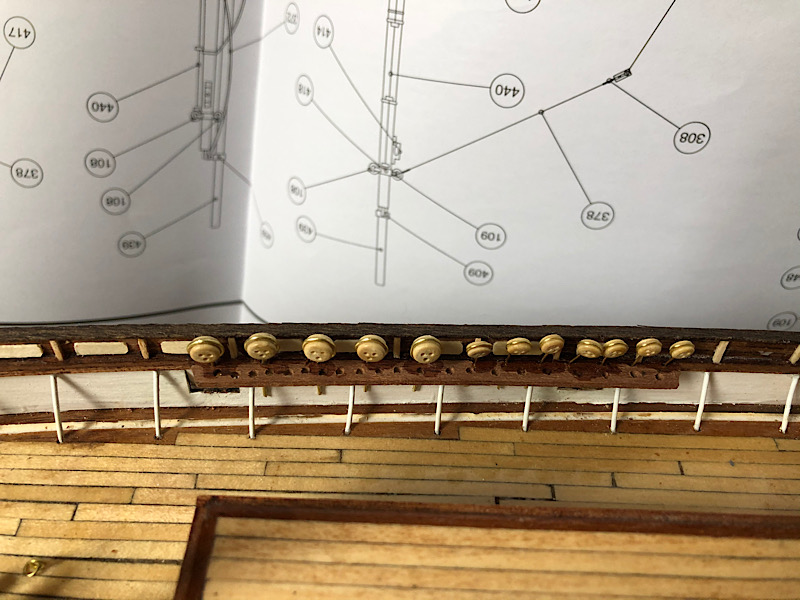
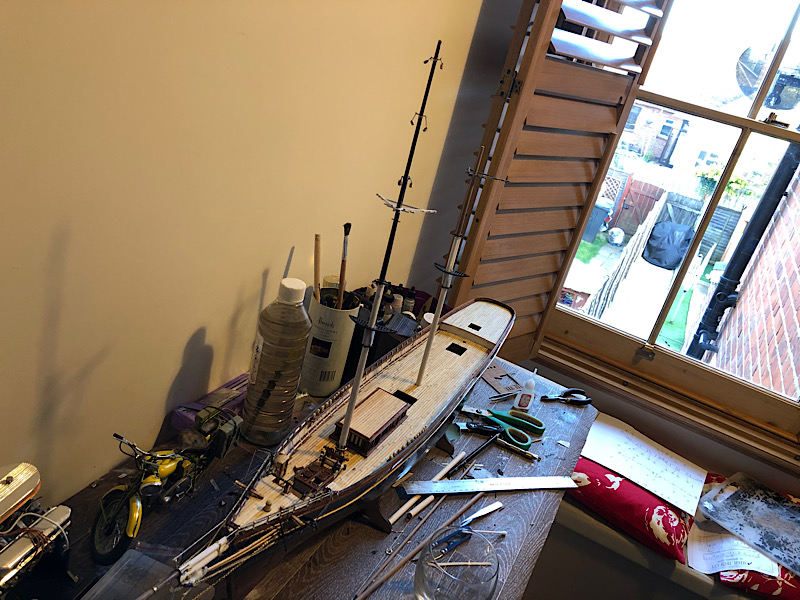
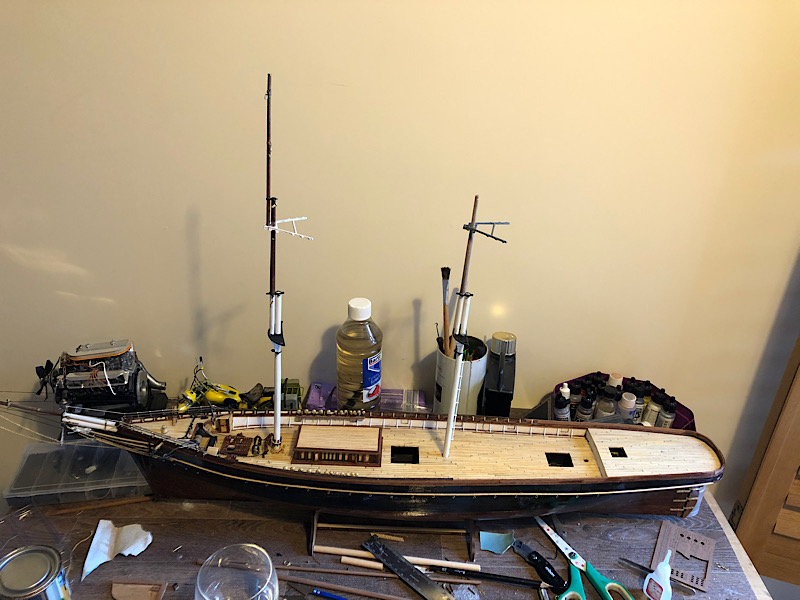
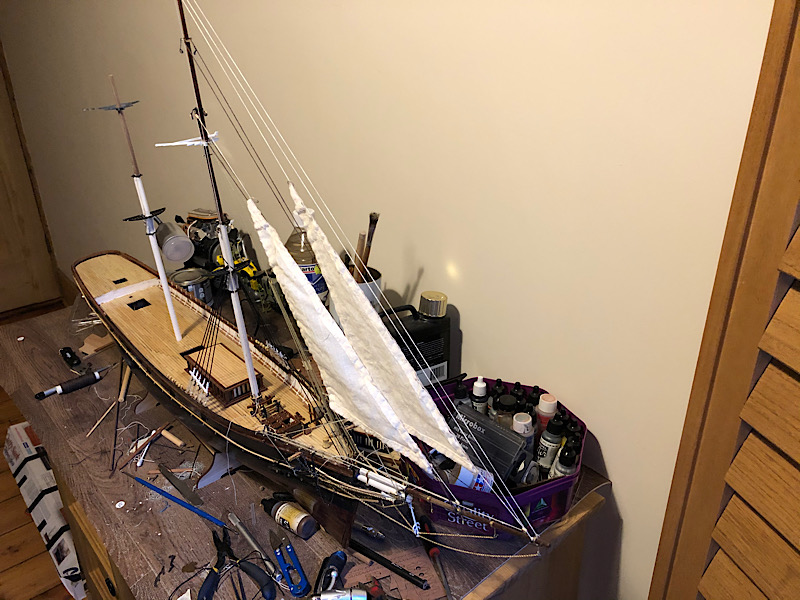
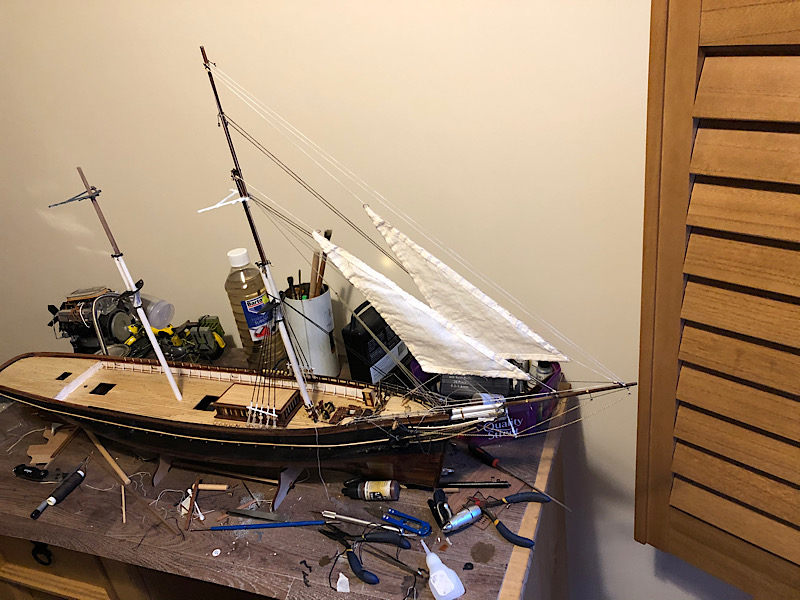
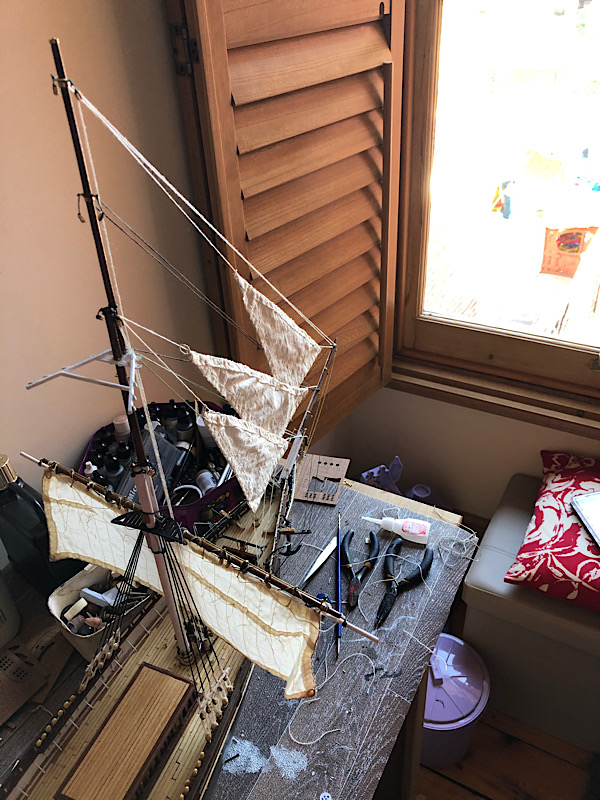
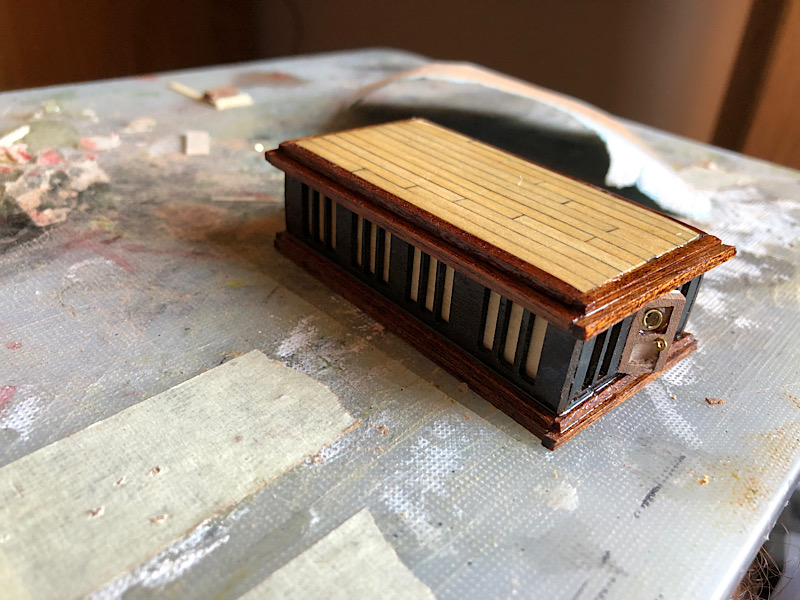
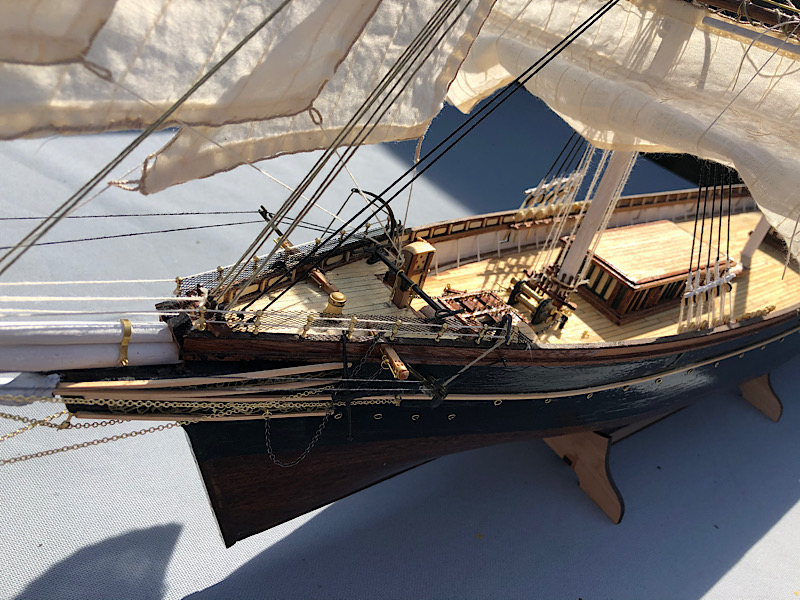
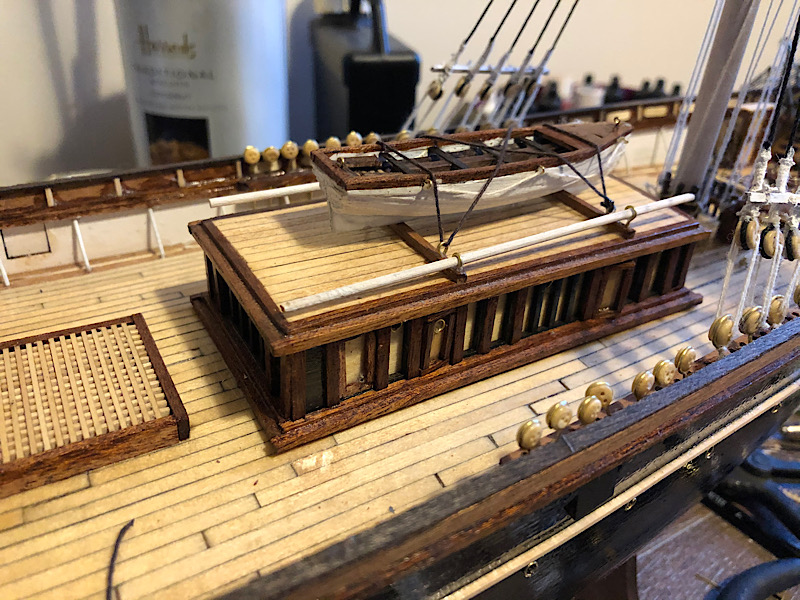
So first I thought about the problem of doing the portholes heres my answer to getting them all in the right place.
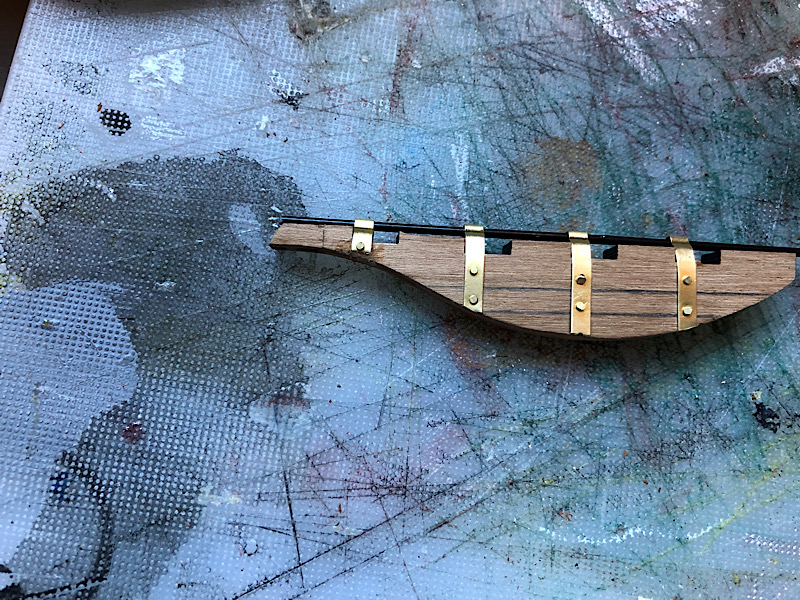
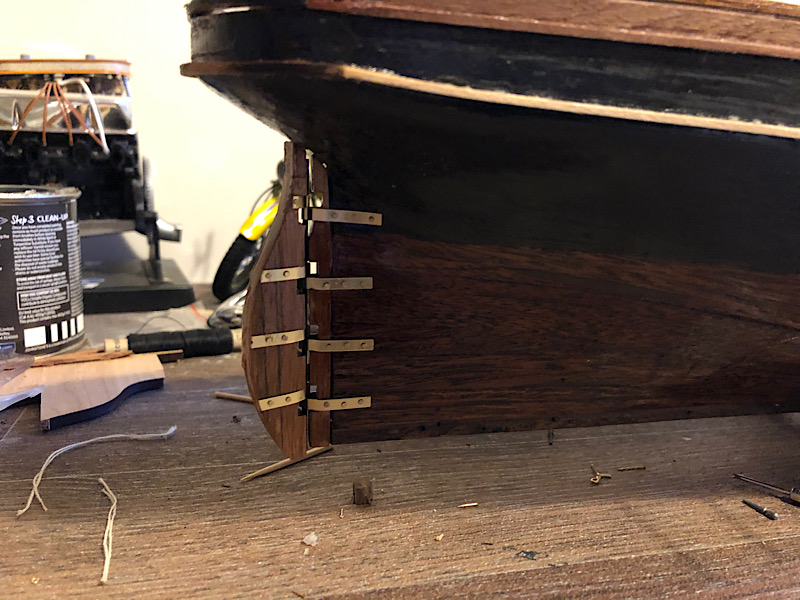
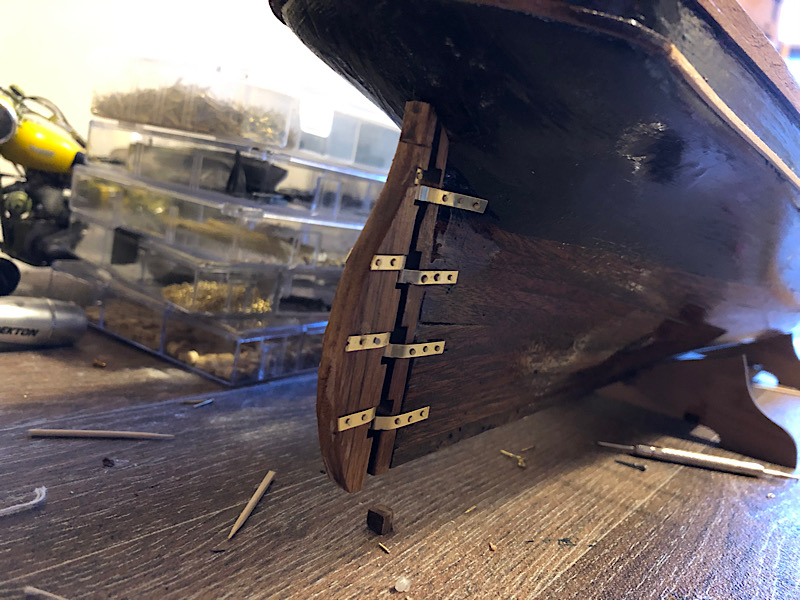
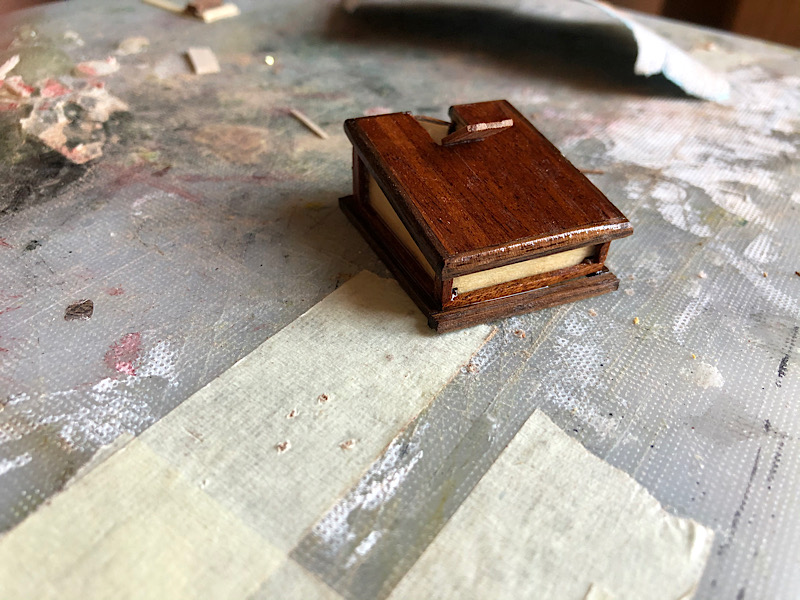
Then to do the rudder.


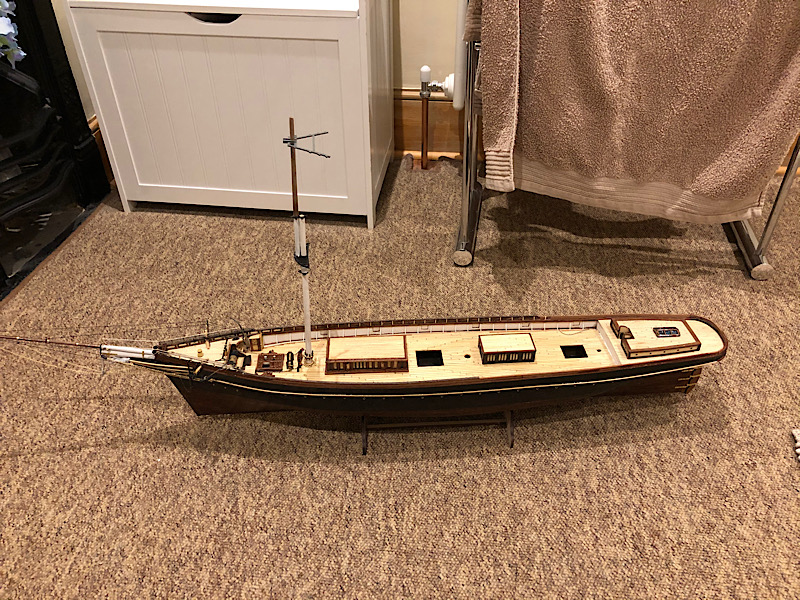


I am totally confused with building the yards on this I dont know which bits to use the instructions are pretty much useless assuming you know what bits are what.
I've tried googling for detail of them and all the pics that come up are either too blurred to see or are from behind the mast help please anyone got a picture of the built yard on this kit.
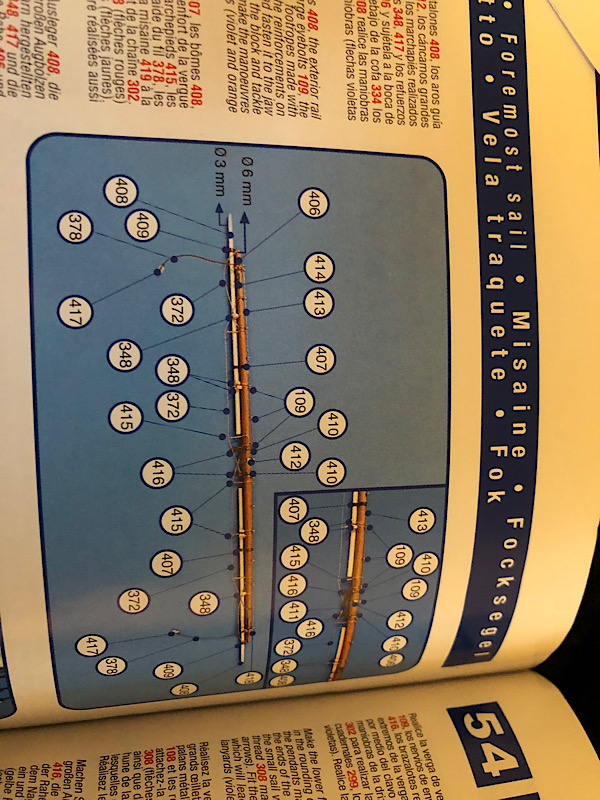
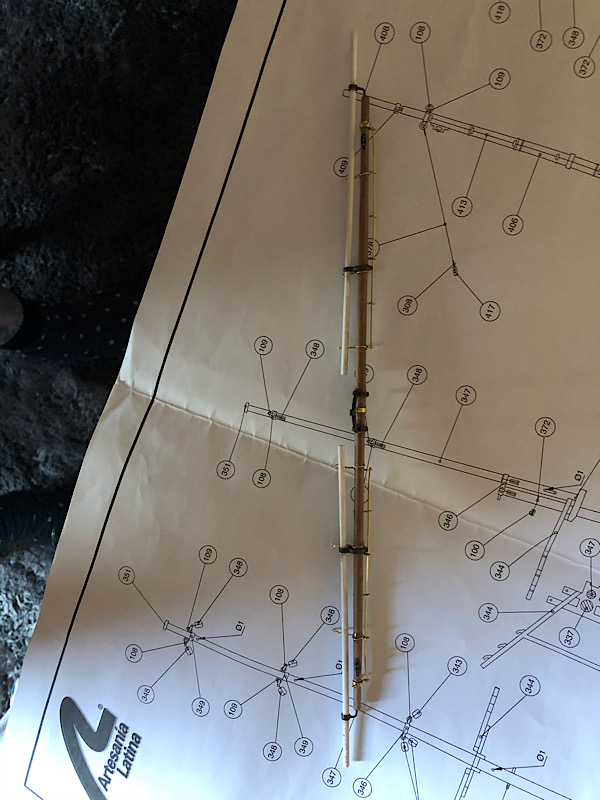
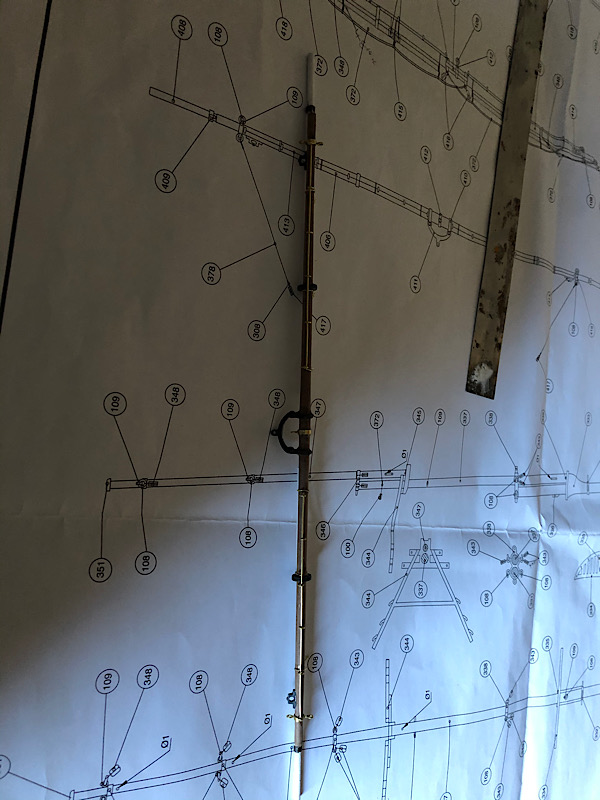
Hi Tim here are the instructions
First the photo of all the parts needed
As you can see they show nothing helpful.
Just to explain there are no pictures of the parts to go with the numbers the instructions just say what the part is.
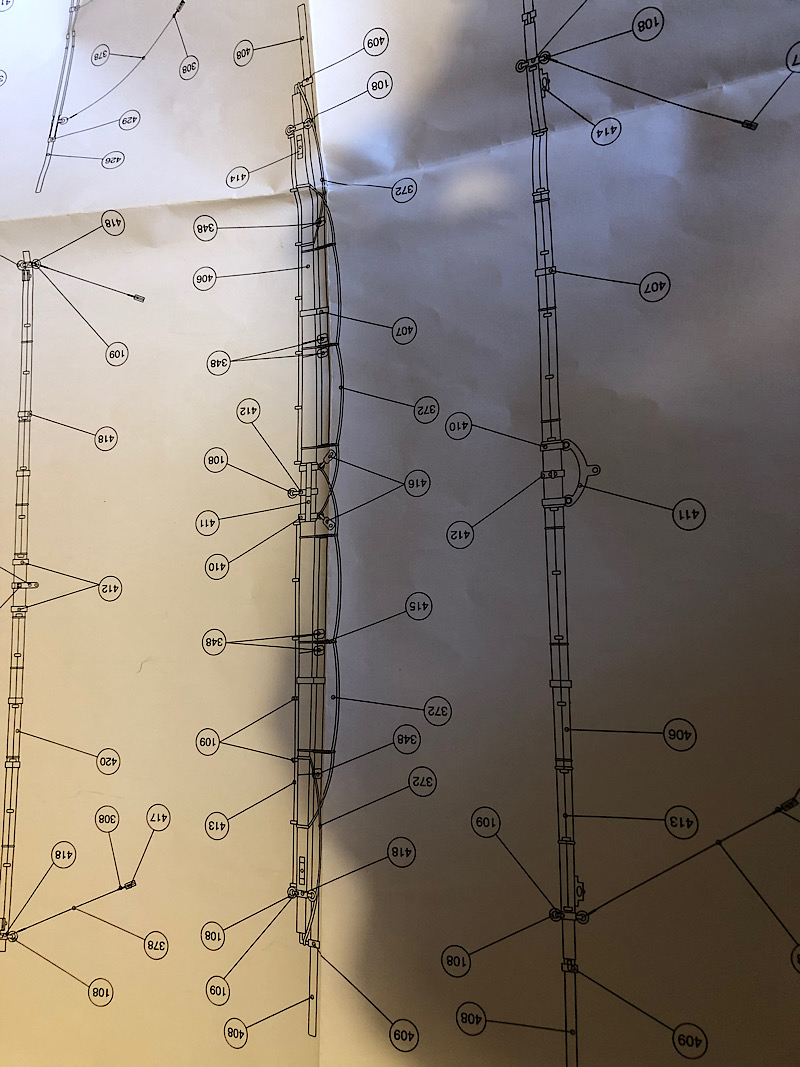
Next the line drawings (which are bigger and more understandable but still the parts are just numbered no pictures)
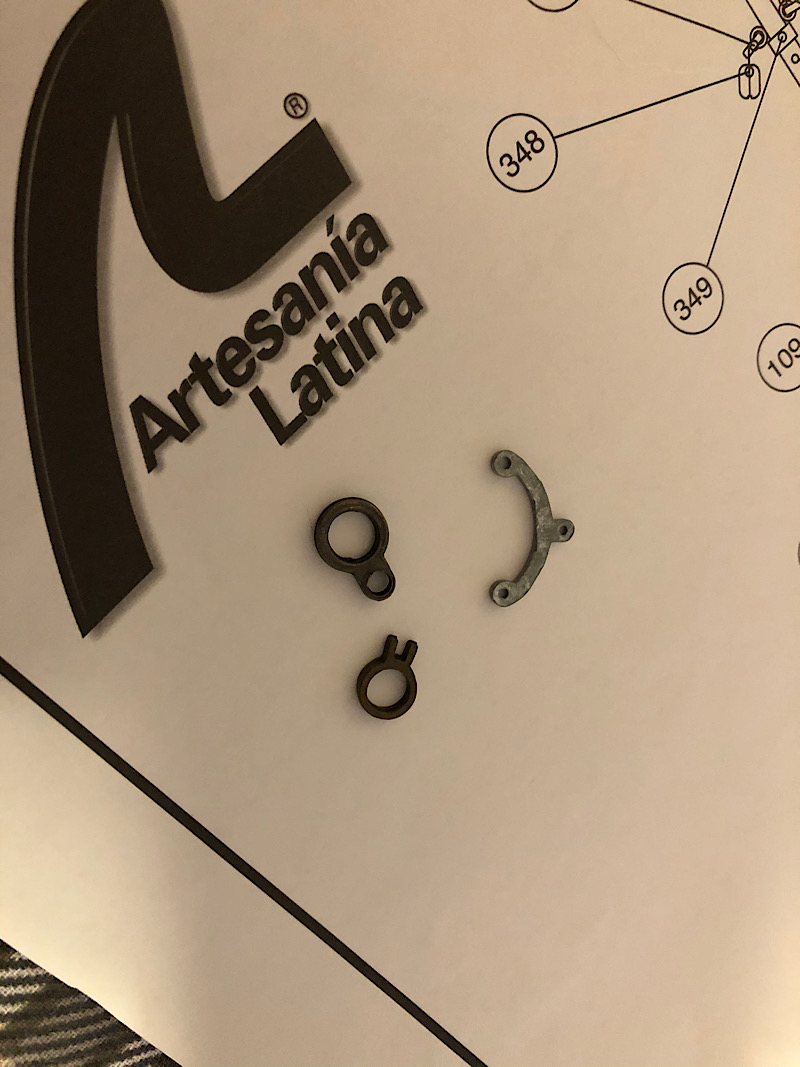
I know what the half moon type thingy is and I'm guessing the round bit with the notch in it is the bit the mooney bit slots into the bit with the with the large and small holes I assume is for the yard extending bits that are for the outrigger sails, am I right.
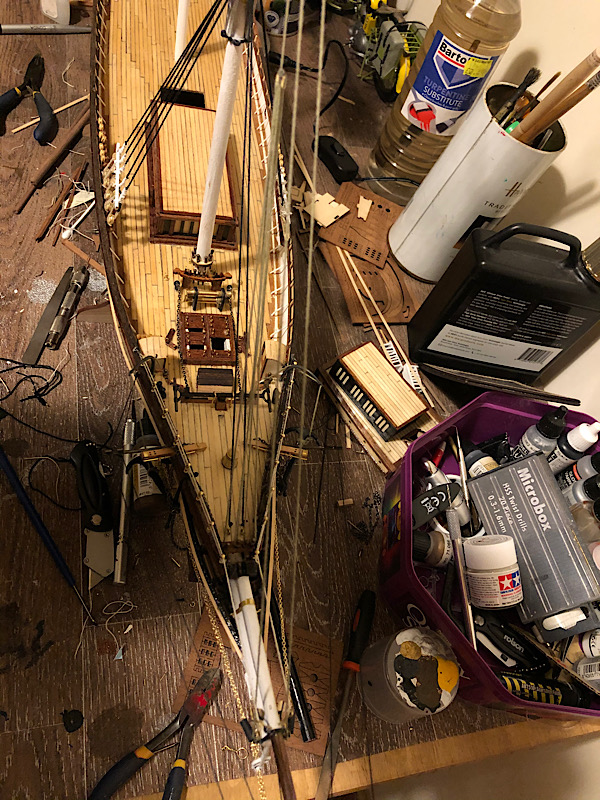
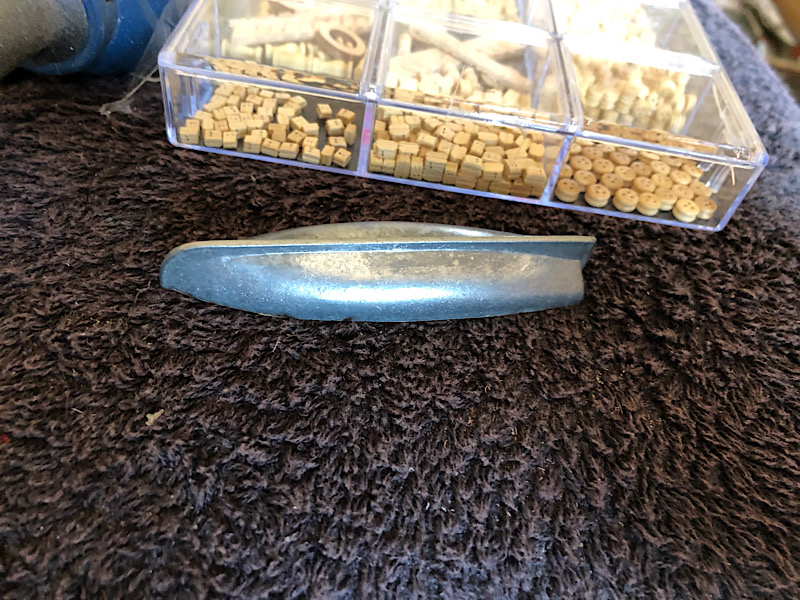
Hi Tim the parts are in a plastic box with divisions (several parts in each division)
Thanks for the info.
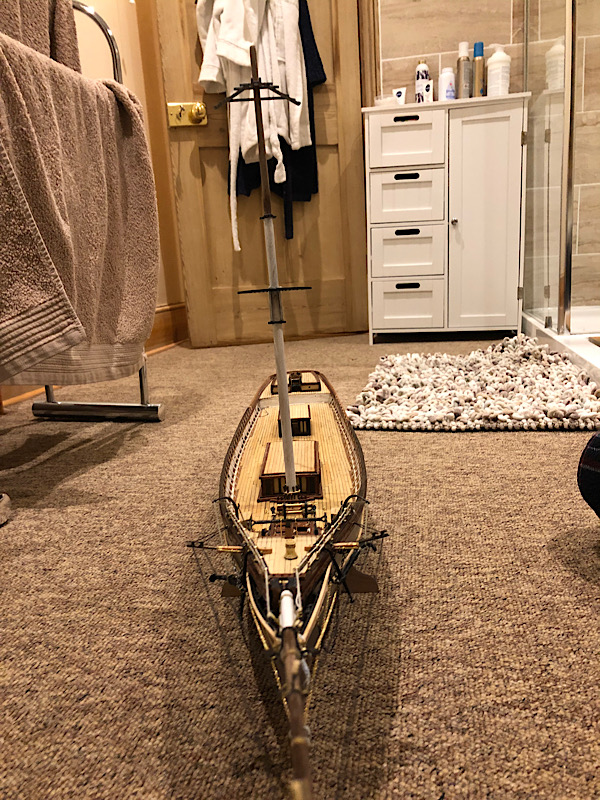
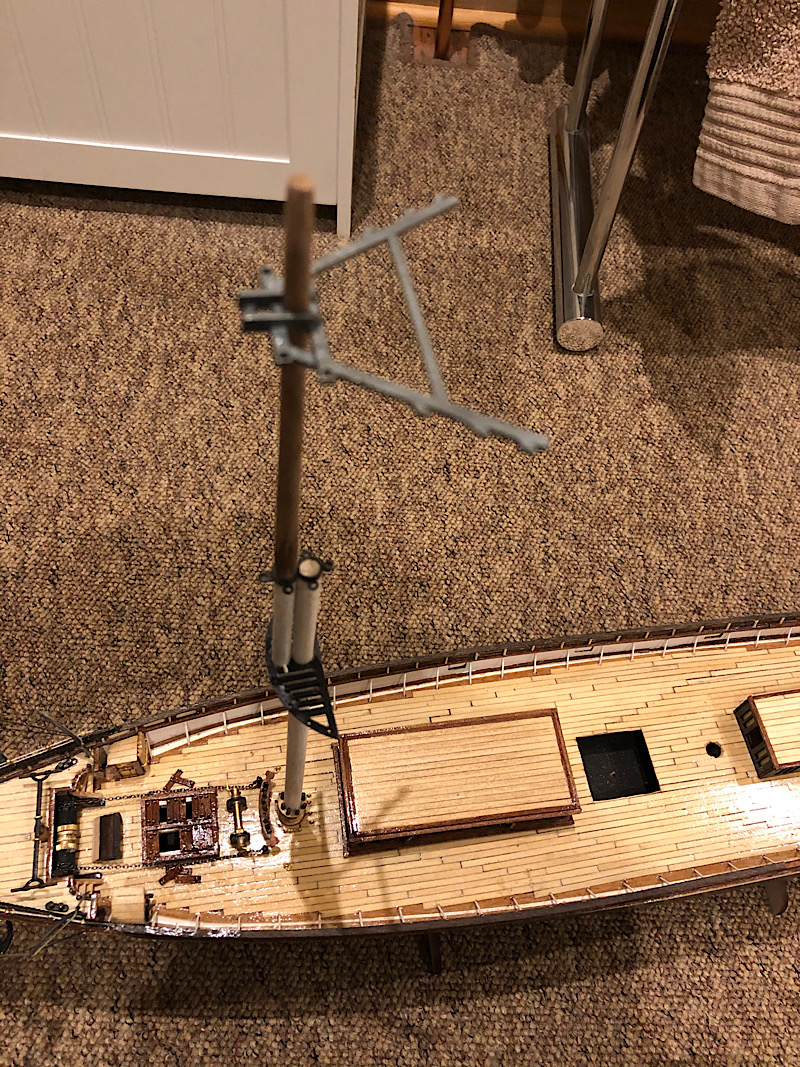
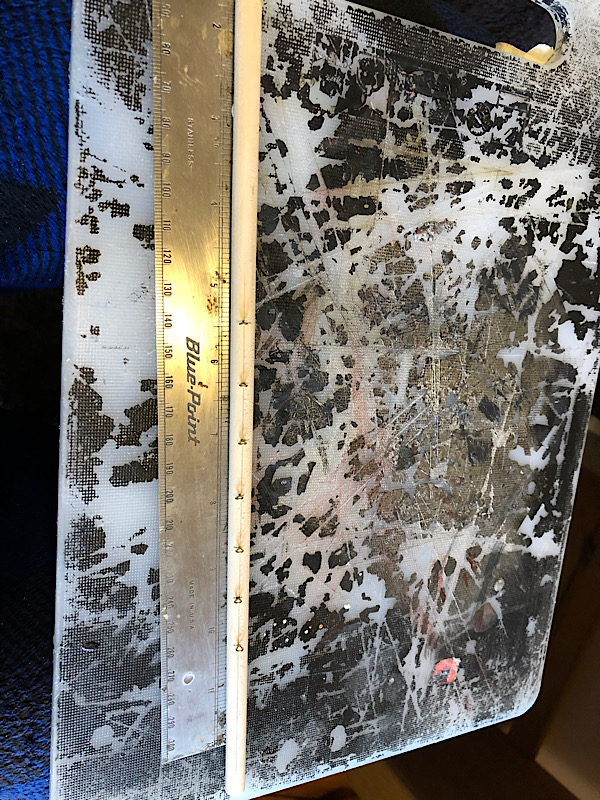
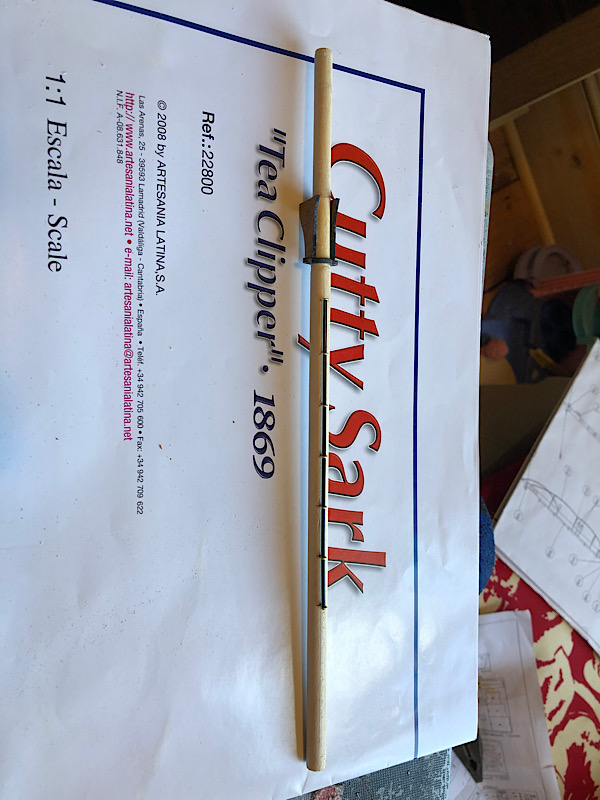
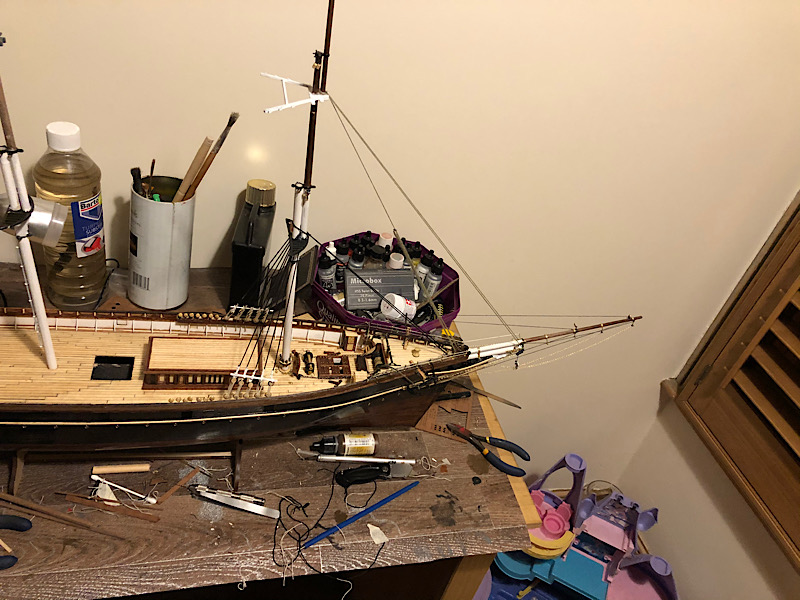
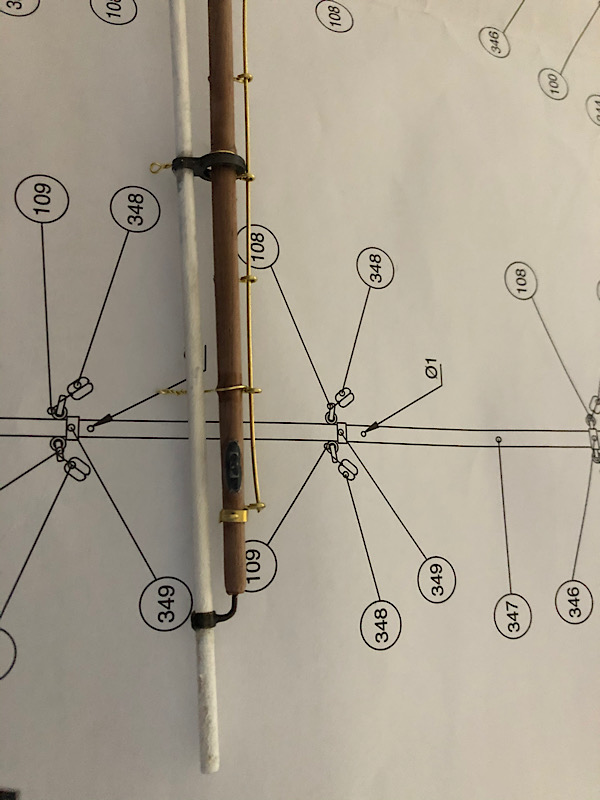
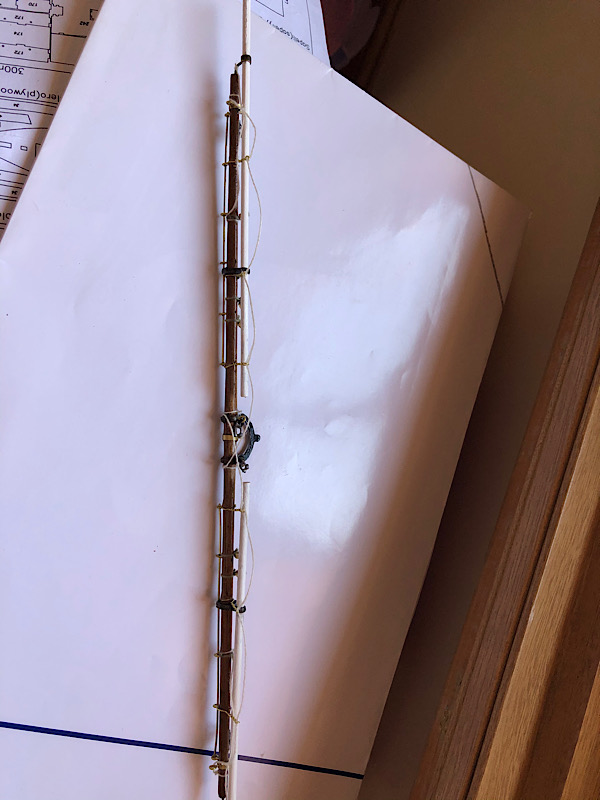
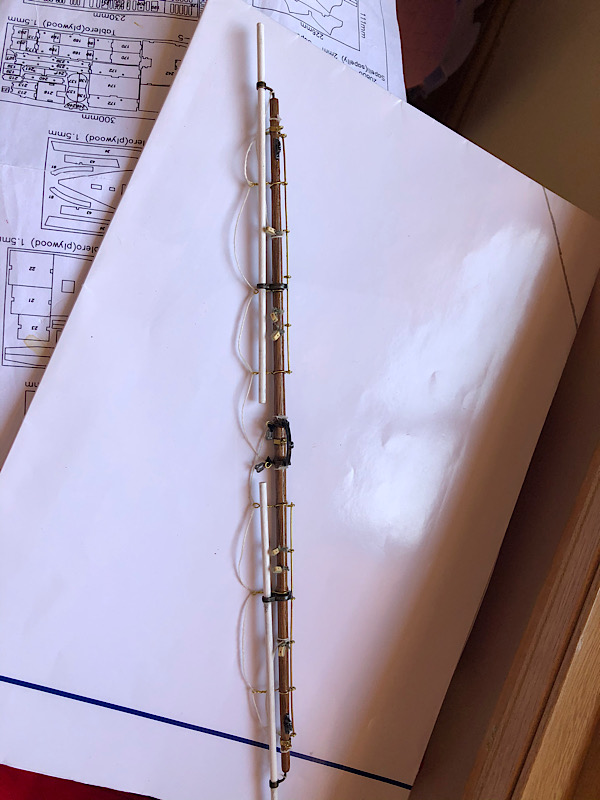
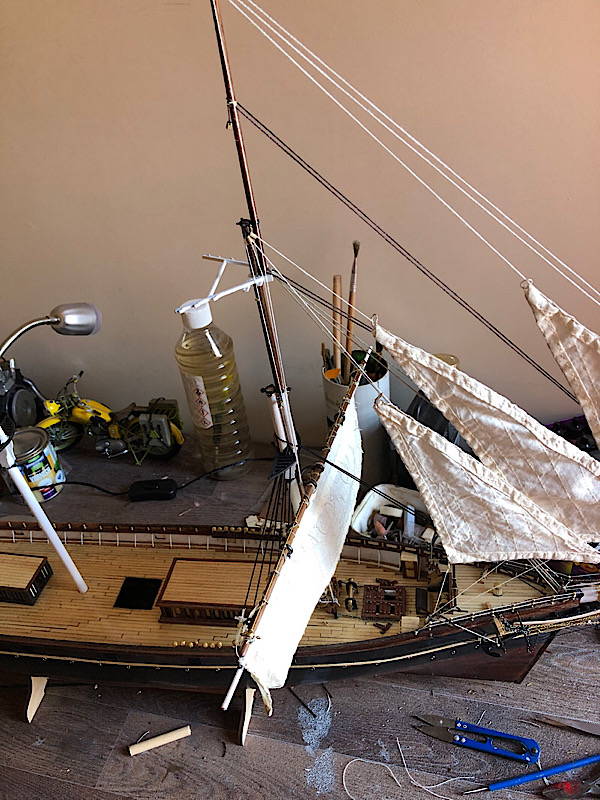
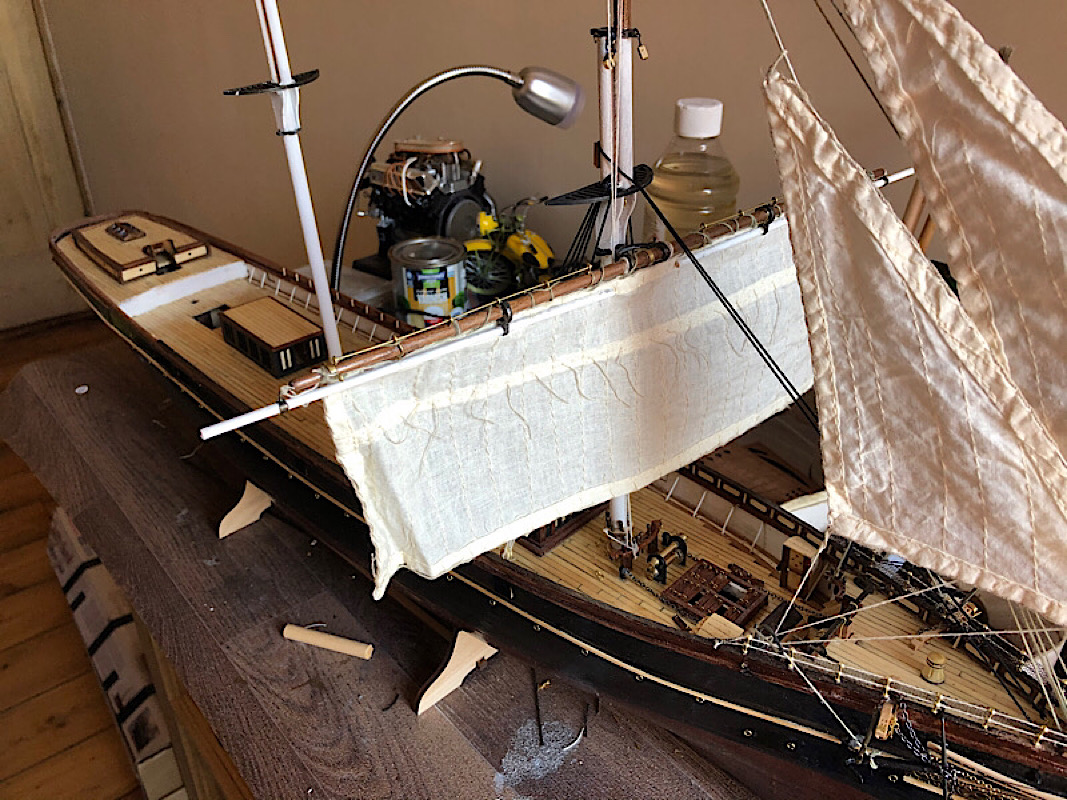
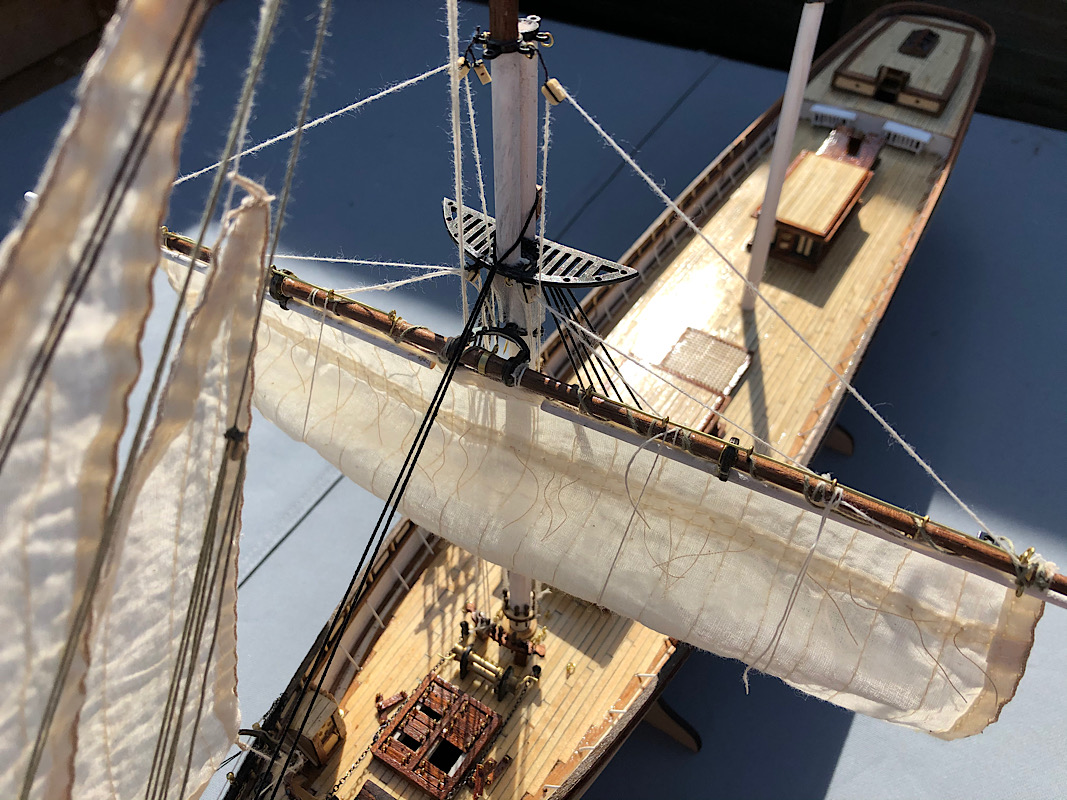
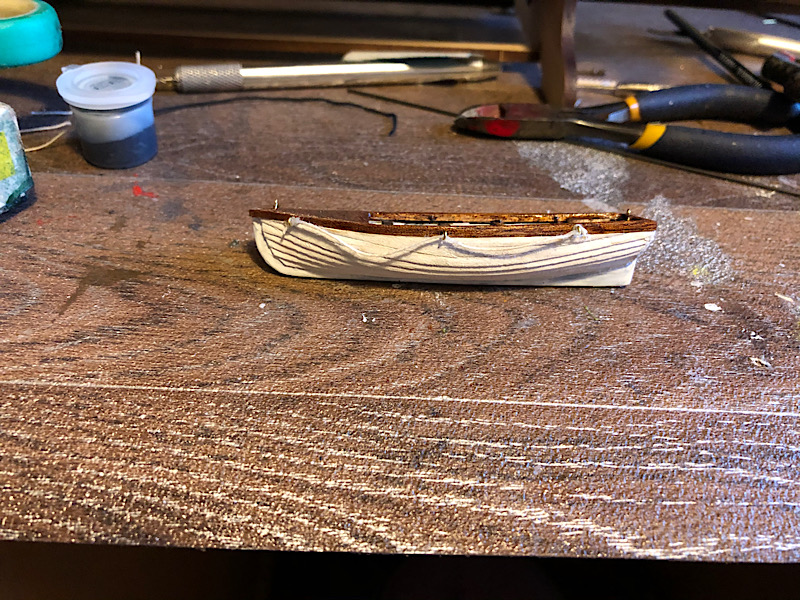
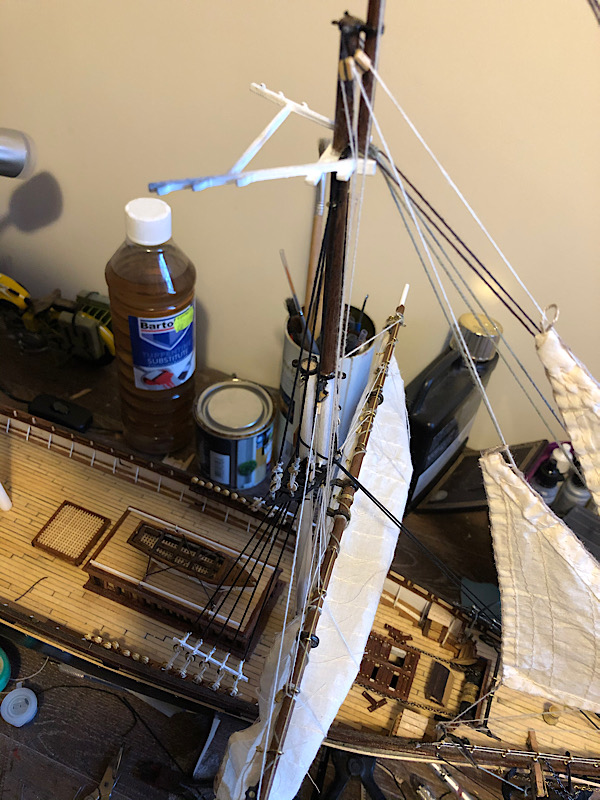
I've made a start on the first yard .
Even with the blocks and such the instructions just say stuff like 4mm block but there are 3 types of 4mm blocks(depending on where you measure them) some with 2 holes in some with one, there is a lot of guess work in this kit.


 |


