

Go to modelshipwrights.com for the current dynamic site!


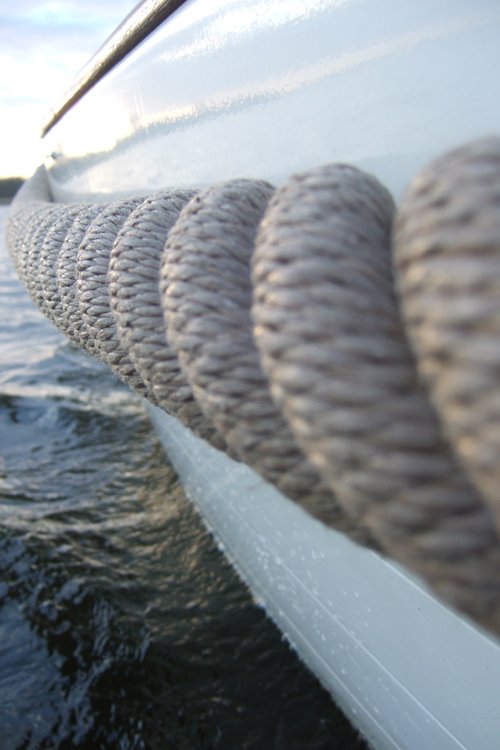
1⁄35Weaving Extended Rope Bumpers
9
Comments

"Crew-mate Hory Aycardo gives us a step-by-step tutorial (his first submission) in weaving extended rope bumpers, in this MSW Feature!"
Hory and his wife came up with a very viable and useable method that will allow you to form longer rope bumpers for not only the Wasser-Schlepper, but for other ship related subjects requiring a long, tubular style bumper (ex, tugs).
First, I thought of looking for needles that would do the job. Unfortunately, I dont know of any needles that are 9-10 inches long that would do the job and still meet the scale. Secondly, threading the needle out of a 9 weave with a braided cord wasnt going to be smooth sailing.
My wife shares the same passion in helping me build models. I told her my problem and what I wanted to weave. She offered her lap cross-stitching frame as a solution.
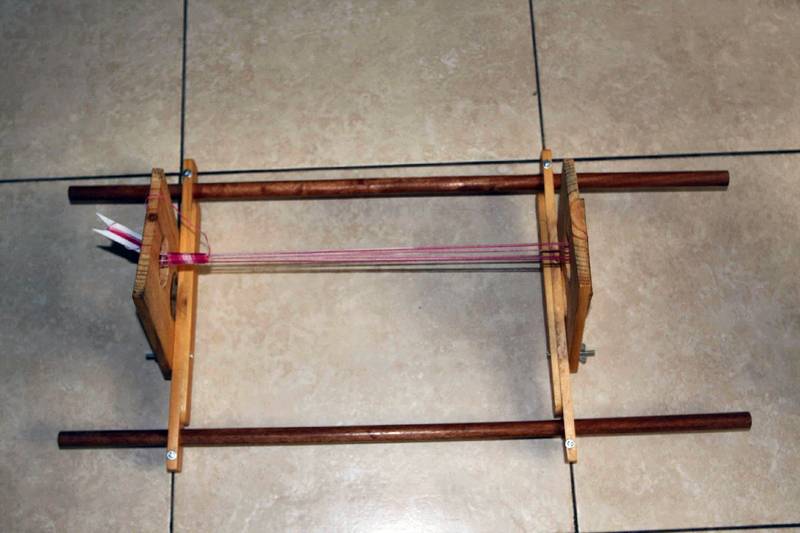
Fortunately, this version of the frame had holes on the sides where I could install a piece of wood with 7 holes to hold the cord taught. There are wing nuts that allow adjusting the framed holes left or right to set the tension between the cords. I'm using the cross-stitch frame backwards for my purpose.

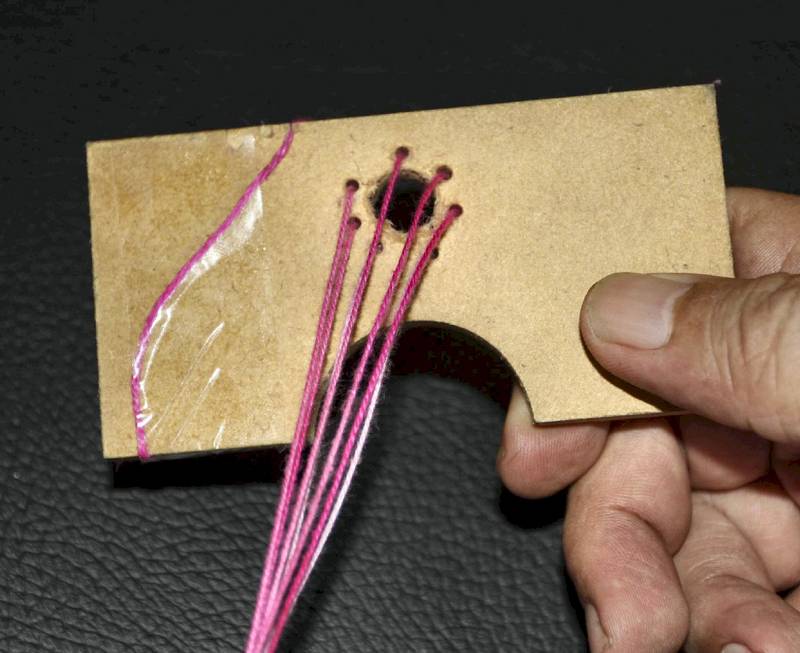
Two bases to string the cords were made out of a 4 X 3 piece of wood. You need to punch a hole in the center to allow brushing white glue inside and to push the foam filler. I drilled 7 holes around the bigger hole. Thats where the cord is threaded. You can choose to make one continuous length or 7 pieces of cord. In this illustration, I made it one piece. Thats the reason for the notch and the tape in the illustration to hold it down. Make sure the cords are aligned across each other!
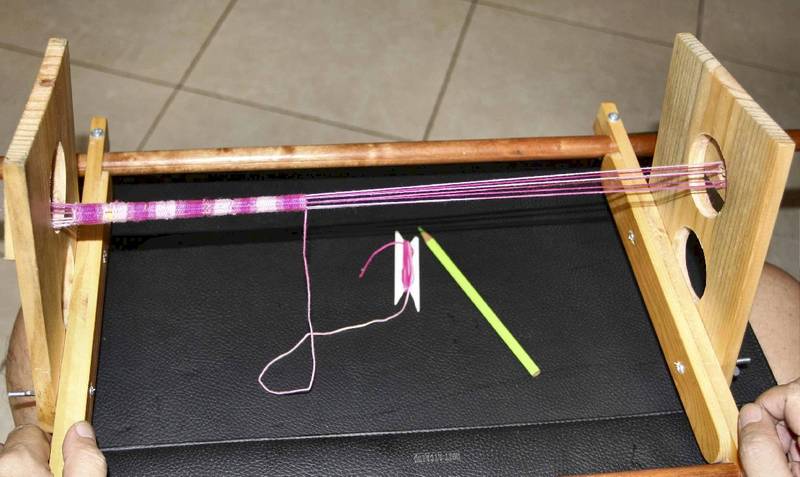
The next step is to install these wooden bases on both ends of the cross-stitch frame.
Hory and his wife came up with a very viable and useable method that will allow you to form longer rope bumpers for not only the Wasser-Schlepper, but for other ship related subjects requiring a long, tubular style bumper (ex, tugs).
how to....
The need to make my own fenders was because I got Broncos LWS, that necessitated that I look for a way to build them to complete the accuracy of the model.First, I thought of looking for needles that would do the job. Unfortunately, I dont know of any needles that are 9-10 inches long that would do the job and still meet the scale. Secondly, threading the needle out of a 9 weave with a braided cord wasnt going to be smooth sailing.
My wife shares the same passion in helping me build models. I told her my problem and what I wanted to weave. She offered her lap cross-stitching frame as a solution.
Fortunately, this version of the frame had holes on the sides where I could install a piece of wood with 7 holes to hold the cord taught. There are wing nuts that allow adjusting the framed holes left or right to set the tension between the cords. I'm using the cross-stitch frame backwards for my purpose.
Two bases to string the cords were made out of a 4 X 3 piece of wood. You need to punch a hole in the center to allow brushing white glue inside and to push the foam filler. I drilled 7 holes around the bigger hole. Thats where the cord is threaded. You can choose to make one continuous length or 7 pieces of cord. In this illustration, I made it one piece. Thats the reason for the notch and the tape in the illustration to hold it down. Make sure the cords are aligned across each other!
The next step is to install these wooden bases on both ends of the cross-stitch frame.
About the Author


Comments

Normally I would not be too into the pink, but my tune has changed in the last year, but enough of that.
That is one very interesting skill to have. Thank your for sharing you process with us.
AUG 25, 2008 - 02:43 AM

This is a very cool solution to the problem that I was having, that is finding needles long enough and of the proper gauge to facilitate the length of the bumper/fender that you are trying to make...I really like the idea, and the end product is very good looking!
AUG 25, 2008 - 05:23 AM


Very interesting process. It gave rise to an old skill I learned in the Boy Scouts when I did the Pioneering Merit Badge. It was called ropemaking. Seeing his jig recalled it.
We would attach pieces of twine at one end and at the other end there would be a block that we would thread them through. (Actually, you would thread first then attach). You would then turn the crank attached to the thread through end thus twisting the pieces together. Of course you kept tension on the line and just kept moving the crank section further back. When you got your length you cut and whipped it and repeated the process several times. After you had several woven sections you would run those through a larger version of the "rope machine" and thus make a rope. If you did this it would all make sense, or read about the process as described in the book, I am relying on a 38 year memory. I wuld think putting a something like a thin stiff wire for bendability in the middle and using thin sewing thread with 5 - 7 pieces might also do the trick.
Me, I'm lazy, I found lion roar has released a resin kit that runs $15 with free shipping from Lucky models and I also ordered it before I saw this article.
AUG 25, 2008 - 07:26 AM

Indeed we are always learning new (or remembering, after reading Mark's own feature) techniques!
Apart from the already mentioned color issue (we could always try to find a more rope looking color) all that is missing now is seing the end result in the LWS!
Thanks for sharing
Rui
AUG 25, 2008 - 07:30 AM

Gents, thanks so much. I think if you use white cord for this purpose and then dunk it in a cup of day old left over brewed coffee (no milk or sugar), you can achieve the rope color you're looking for.
AUG 25, 2008 - 12:10 PM

This is beautiful work! Bravo Zulu!
For those of us interested in the LWS, but having too meaty fingers, Lion Roar just recently released a resin bumper. Just wanted to let you know!
Guido
AUG 27, 2008 - 04:33 PM

Interesting technique, well presented. With Mark's, all bases are covered.
AUG 30, 2008 - 05:47 PM
Copyright ©2021 by Hory Aycardo. _OPINIONS Model Shipwrights, KitMaker Network, or Silver Star Enterrpises. Images also by copyright holder unless otherwise noted. Opinions expressed are those of the author(s) and not necessarily those of Model Shipwrights. All rights reserved. Originally published on: 2008-08-25 00:00:00. Unique Reads: 12126

WEB HOSTING BY


Copyright ©2021 Model Shipwrights and Kitmaker Network, a subsidiary of Silver Star Enterprises
All Rights Reserved. Please read our Conditions of Use and Privacy Policy.
All Rights Reserved. Please read our Conditions of Use and Privacy Policy.