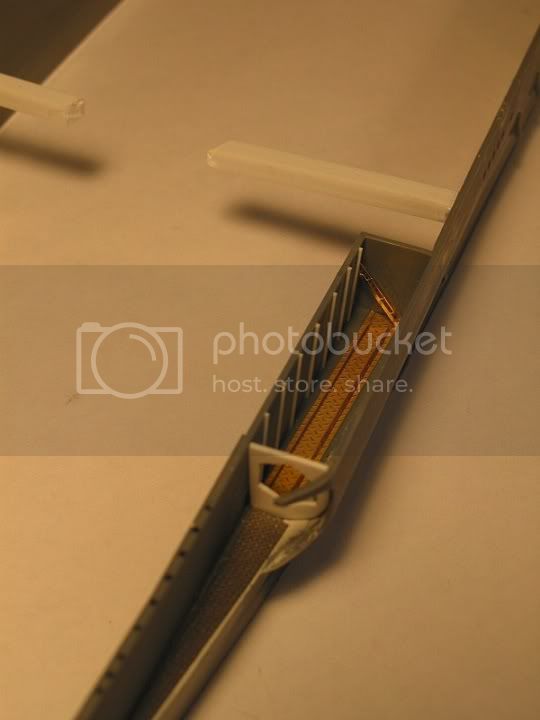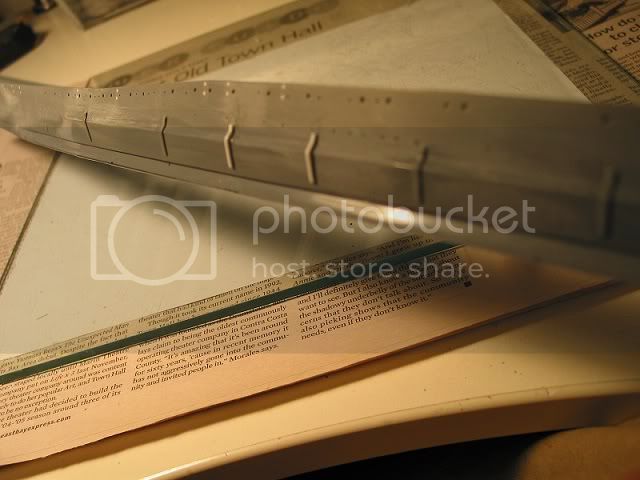
I was able to trim the tips of the locator pins from underneath the non-skid deck piece by sawing them gently with a new Exacto blade, and then glued the piece into the hangar well. It was necessary to tamp down the edges due to the slight curve coming from the PE sheet. A few pieces of square rod to simulate vertical ribbing came next. I used a flat strip to simulate some horizontal bracing inside the hangar well as is portrayed in several depictions of the ship. This was so thin that all I had to do was hold it in place at the bend to get it to match the curve of the wall.
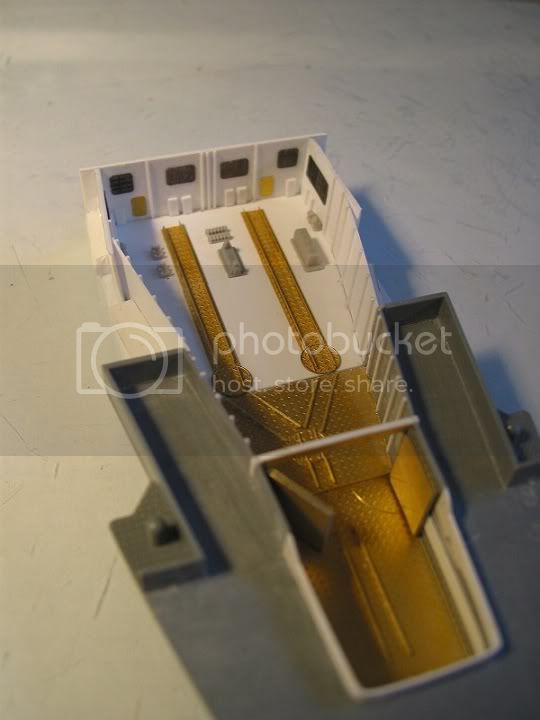
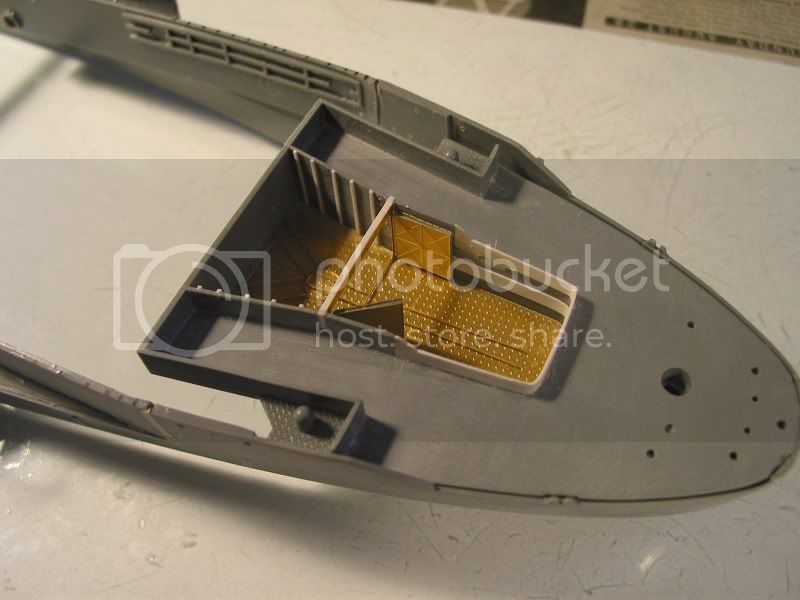
I decided to give the two doors to the aircraft hangar some additional width by gluing them over the original Tamiya pieces, after sanding off detail. This required recreating the curve of the PE parts, which was not present on the Tamiya parts. I am not totally happy with these doors and may replace with the resin parts when they are finally available. There is a slight indentation between the two PE parts, but I will try running some super glue along it to fill in the gap.
Next, fitting the hangar frame piece required stiffening with a piece of Evergreen square rod. I then attached the doors. This took a while as the small connectors on the PE pieces did not hold together very well as adjustments were made to the angle and amount of swing shown.
I do not plan to have any planes in the hangar. The inclined ladder leading down to the well will be added later in the build.