

Go to modelshipwrights.com for the current dynamic site!


Ships by Class/Type
For discussions on ships by class and type.
For discussions on ships by class and type.
Hosted by Jim Starkweather
Vosper 73' MTB Type 1 (Airfix 1/72)

TGarthConnelly

Joined: August 03, 2008
KitMaker: 875 posts
Model Shipwrights: 872 posts

Posted: Wednesday, June 25, 2014 - 10:51 AM UTC
NICE job so far.

Gremlin56
Joined: October 30, 2005
KitMaker: 3,897 posts
Model Shipwrights: 3,301 posts
KitMaker: 3,897 posts
Model Shipwrights: 3,301 posts

Posted: Thursday, June 26, 2014 - 07:08 PM UTC
Hi Kev,
great work with the floats and welcome back, wondered what had happened to you
great work with the floats and welcome back, wondered what had happened to you

Longshanks8

Joined: July 04, 2013
KitMaker: 430 posts
Model Shipwrights: 390 posts

Posted: Friday, June 27, 2014 - 10:09 AM UTC
Thanks guys.
Making some progress with the bridge wind deflectors (which was the catalyst for scratch building the bridge).

The wings are not for flight They are so I can tie in the side deflectors.
Thanks for looking
Cheers Kev
Making some progress with the bridge wind deflectors (which was the catalyst for scratch building the bridge).


The wings are not for flight
They are so I can tie in the side deflectors.Thanks for looking
Cheers Kev

TAFFY3
Joined: January 21, 2008
KitMaker: 2,531 posts
Model Shipwrights: 1,244 posts

Posted: Friday, June 27, 2014 - 12:07 PM UTC
Looking really great Kev, especially like the work on the rafts. Light-years ahead of the kit parts. This is going to be a terrific looking boat by the time you're done. 
 Al
Al
Al
RedDuster

Joined: March 01, 2010
KitMaker: 7,078 posts
Model Shipwrights: 6,649 posts

Posted: Friday, June 27, 2014 - 08:41 PM UTC
Hi Kev,
Great start on the wind deflector, following with interest.
Si
Great start on the wind deflector, following with interest.
Si
Longshanks8
Joined: July 04, 2013
KitMaker: 430 posts
Model Shipwrights: 390 posts
Posted: Tuesday, July 01, 2014 - 01:20 AM UTC
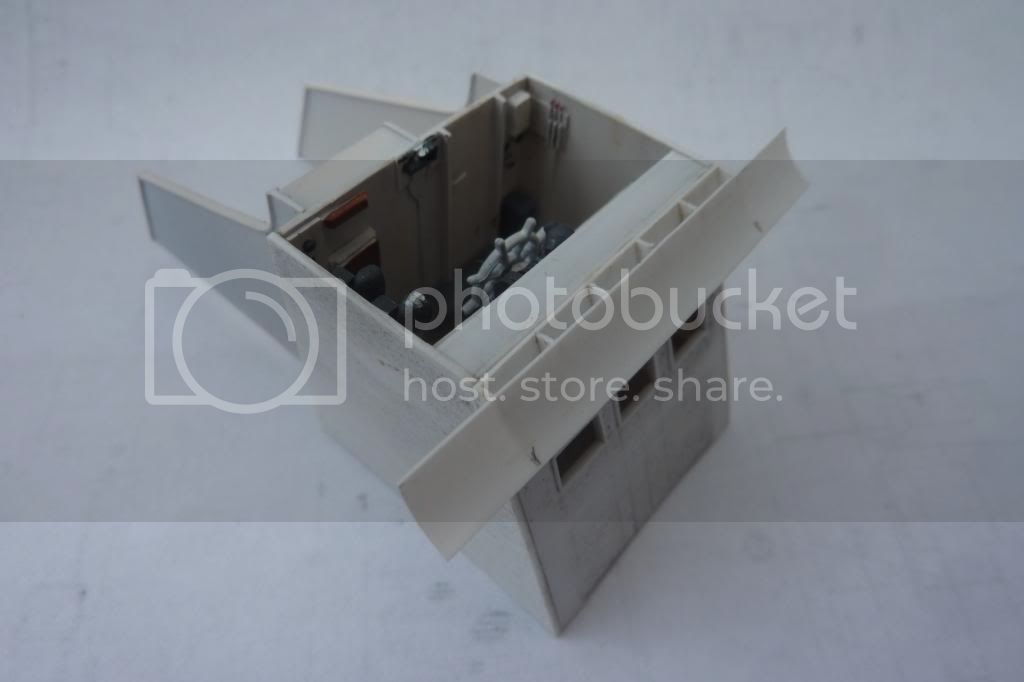
Hi guys, thanks for your intrest and comments
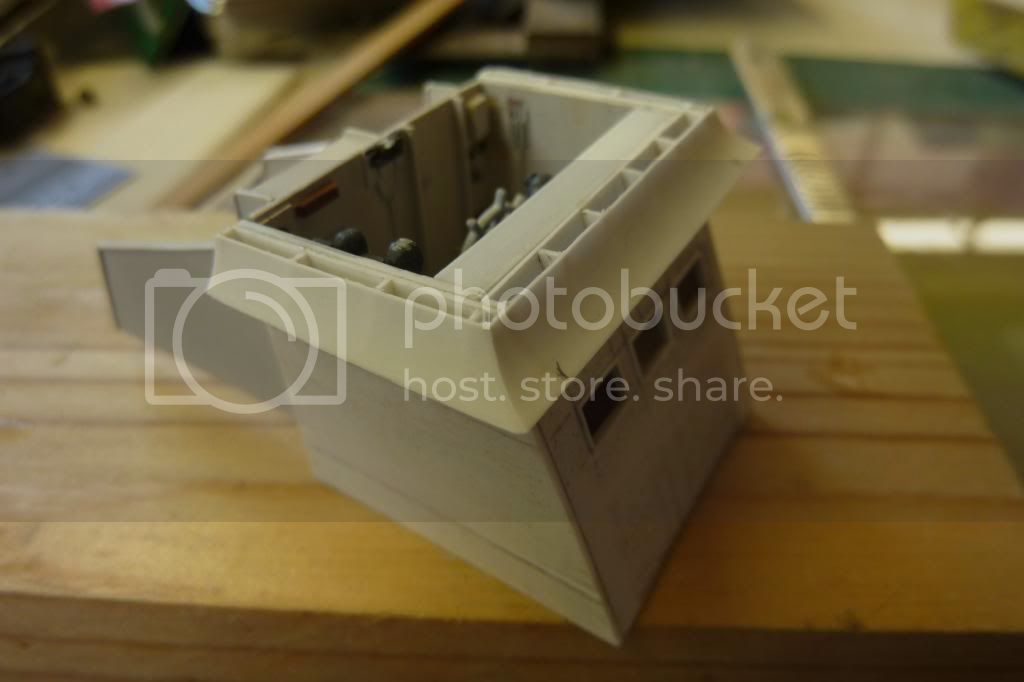
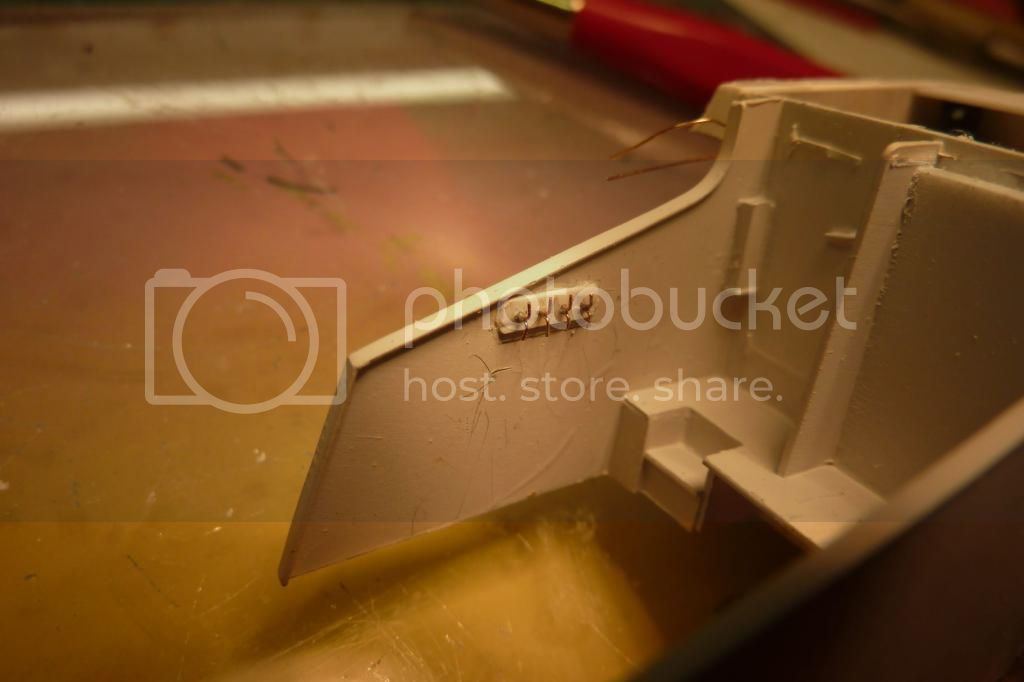
Update on wind deflectors
I've managed to get the side deflectors in position, waiting for glue to set before I trim and clean up

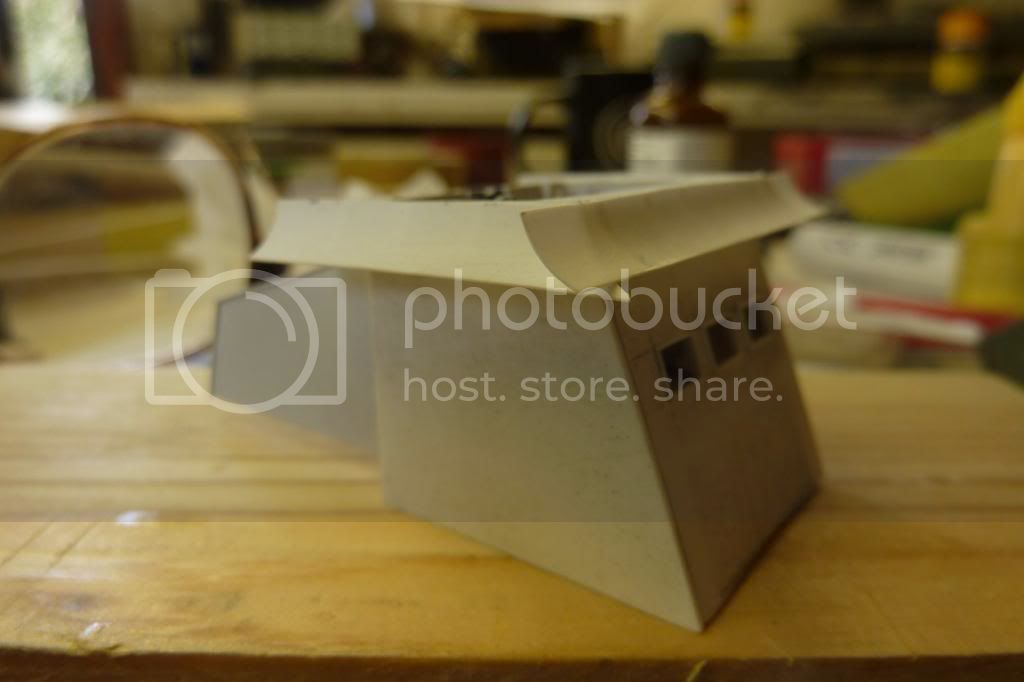
I reckon it will clean up ok and be alot better than the orignal solid blob, see above
One for you lot now any (polite) suggestions as to how I mask the interior of the wheelhouse so I can spray the outside?????
Second question - I might as well push my luck ;o) . Does any one know of a source for miniature clamps????
Cheers Kev
Gremlin56
Joined: October 30, 2005
KitMaker: 3,897 posts
Model Shipwrights: 3,301 posts
KitMaker: 3,897 posts
Model Shipwrights: 3,301 posts
Posted: Tuesday, July 01, 2014 - 03:45 AM UTC
I would mask this with bog standard Tamiya tape.
You can find all sorts of small bulldog clamps in electro stores, that's where I buy most of mine.
www.micromark.com in the US of A also stocks mini clamps.
You can find all sorts of small bulldog clamps in electro stores, that's where I buy most of mine.
www.micromark.com in the US of A also stocks mini clamps.
Longshanks8
Joined: July 04, 2013
KitMaker: 430 posts
Model Shipwrights: 390 posts
Posted: Thursday, July 03, 2014 - 06:23 AM UTC
Thanks Julian for your suggestions
Well all but finished - just a fine clean up before painting.
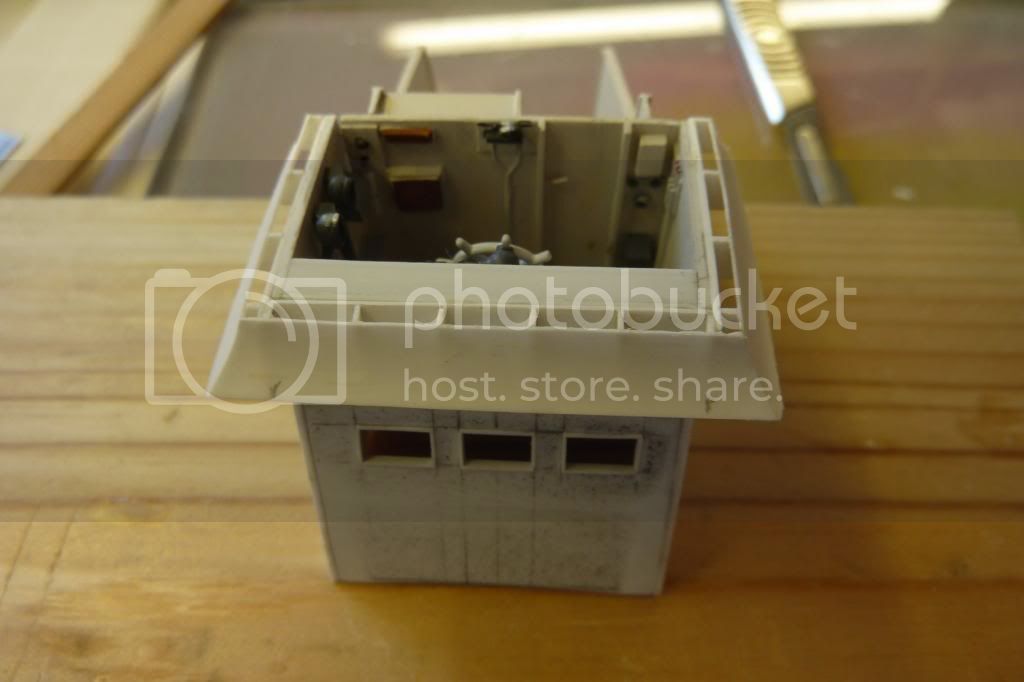
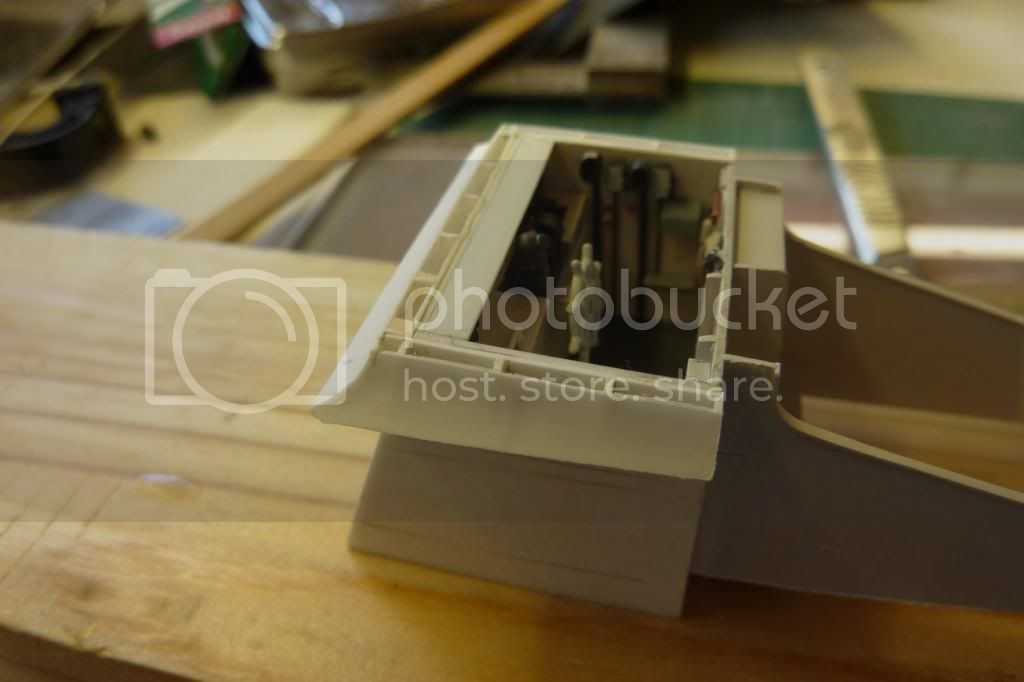
Not perfect but 100 times better than the original . . . I'm happy
Cheers Kev

Well all but finished - just a fine clean up before painting.


Not perfect but 100 times better than the original . . . I'm happy
Cheers Kev
RedDuster
Joined: March 01, 2010
KitMaker: 7,078 posts
Model Shipwrights: 6,649 posts
Posted: Thursday, July 03, 2014 - 08:11 AM UTC
Hi Kev,
I would say, that wind deflector is excellent, an incalculable improvement on the kit. I would reckon the hard life those boats got it would not be perfect either.
Great stuff.
Si
I would say, that wind deflector is excellent, an incalculable improvement on the kit. I would reckon the hard life those boats got it would not be perfect either.
Great stuff.
Si
Longshanks8
Joined: July 04, 2013
KitMaker: 430 posts
Model Shipwrights: 390 posts
Posted: Thursday, July 03, 2014 - 10:25 AM UTC
Cheers Si
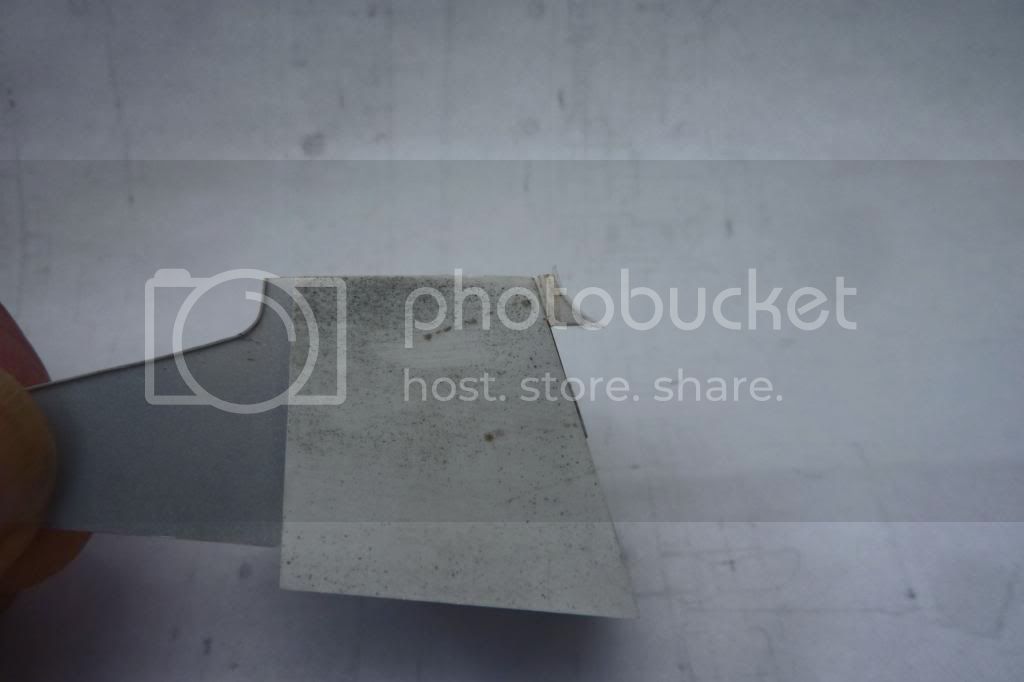
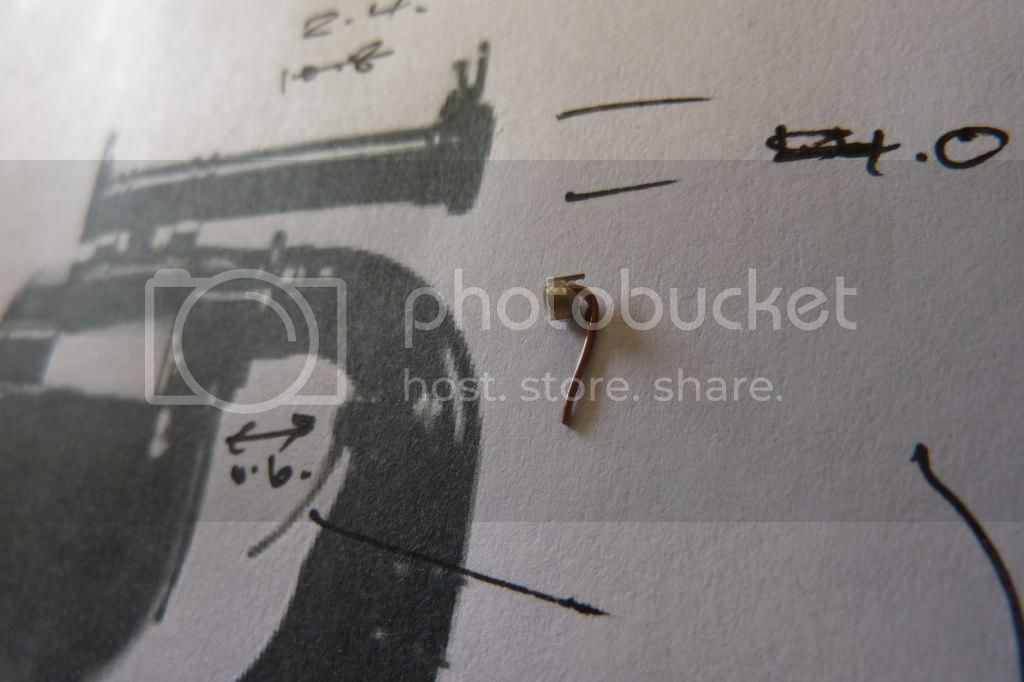
A small (very) update, though they took most of the afternoon
Halyard cleats

Here's how they were done

Thanks for looking
Cheers Kev
A small (very) update, though they took most of the afternoon
Halyard cleats


Here's how they were done

Thanks for looking
Cheers Kev
Gremlin56
Joined: October 30, 2005
KitMaker: 3,897 posts
Model Shipwrights: 3,301 posts
KitMaker: 3,897 posts
Model Shipwrights: 3,301 posts
Posted: Saturday, July 05, 2014 - 12:39 AM UTC
Gorgeous Kev, the Devil is in the details................ 

TimReynaga
Joined: May 03, 2006
KitMaker: 2,500 posts
Model Shipwrights: 1,830 posts
Posted: Saturday, July 05, 2014 - 01:39 AM UTC
Great job Kev, those halyard cleats really look the part. I too seem to spend way too much time trying to get details like that right... but in the final analysis, you won't even care how much time you spent on them - just that they look right. Keep up the good work!


Longshanks8
Joined: July 04, 2013
KitMaker: 430 posts
Model Shipwrights: 390 posts
Posted: Saturday, July 05, 2014 - 07:49 PM UTC
Julian and Tim,
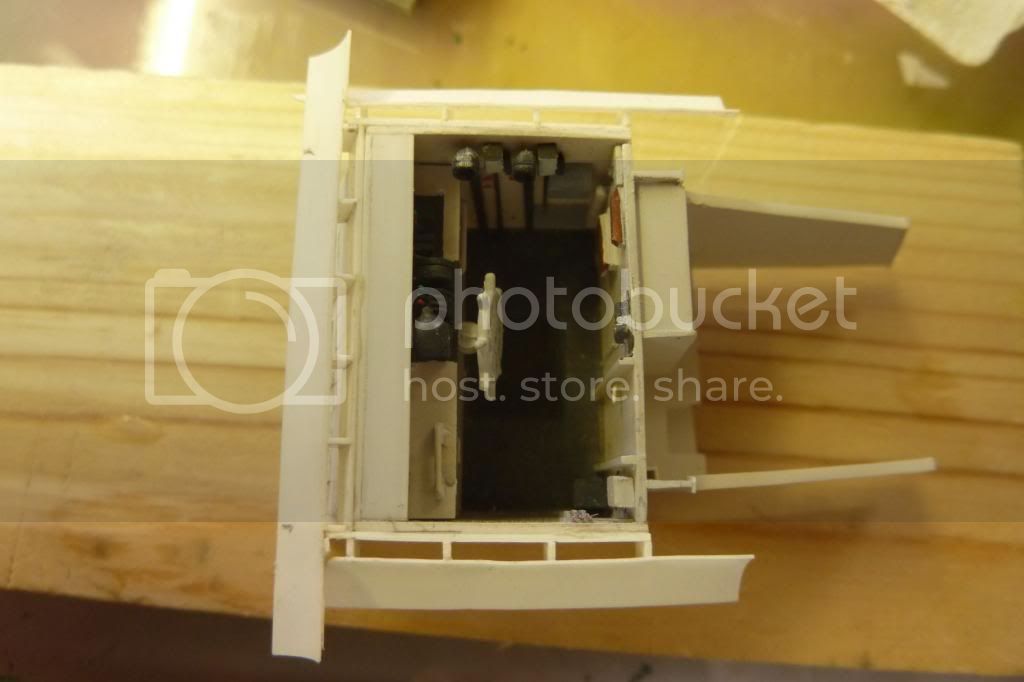
Thanks for the encouragement. I will admit that I'm really enjoying myself detailing the Vosper, greatly helped by the Coastal Craft weapons etc.. Time consuming? Yes but I would only building another boat so I will plod up the steep learning curve, must admit I'm not looking forward to the painting/masking
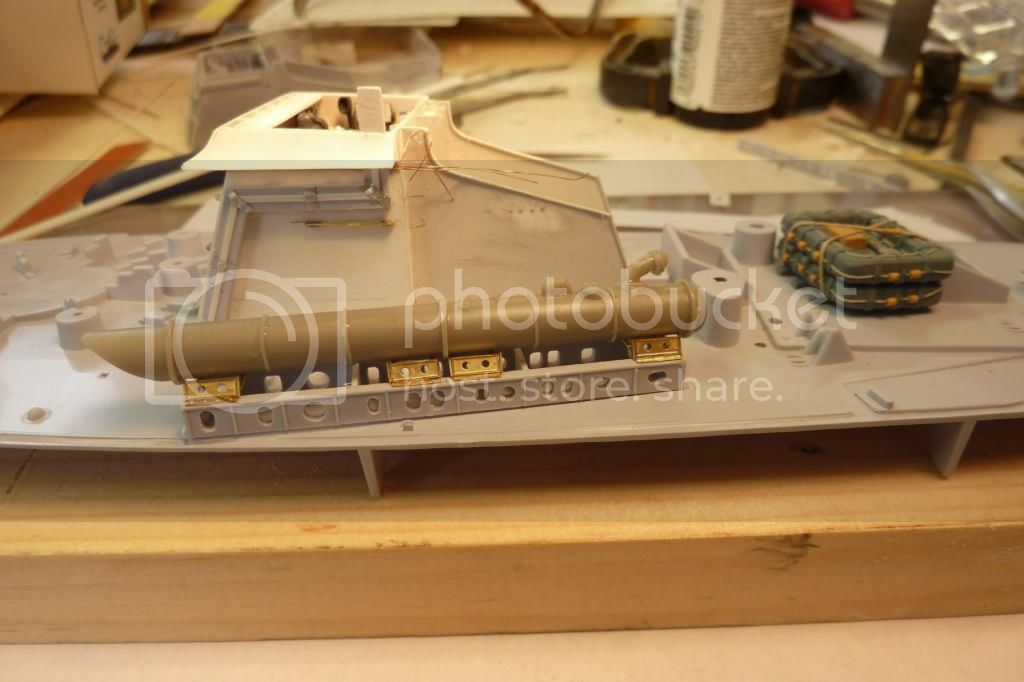
Some more detail for you. Handrails, wiring, ducting and canvas roll over the windows
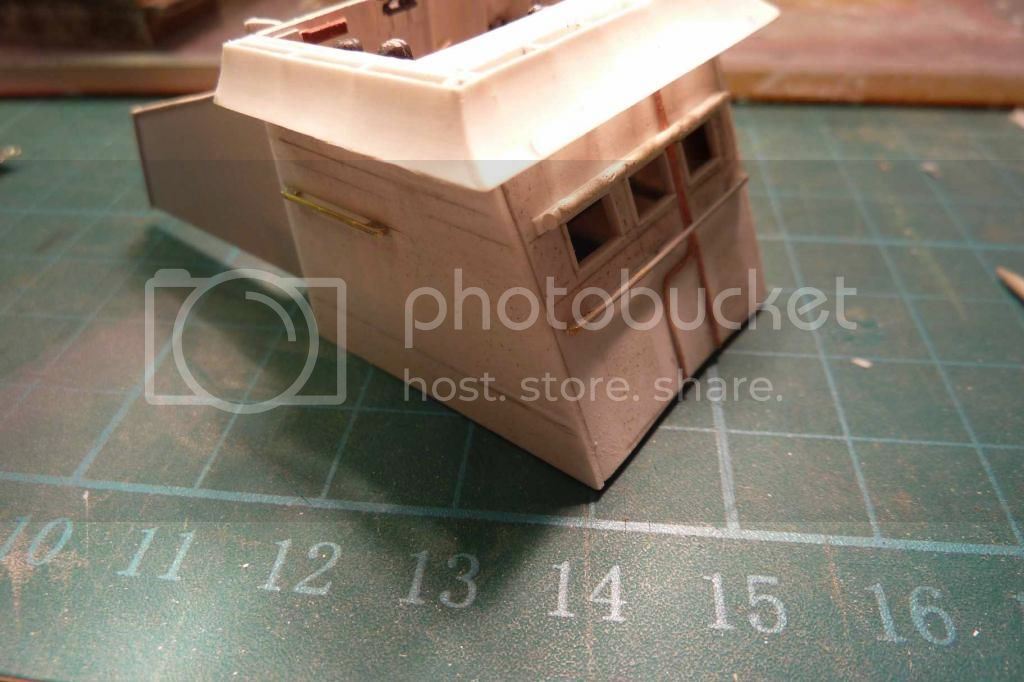
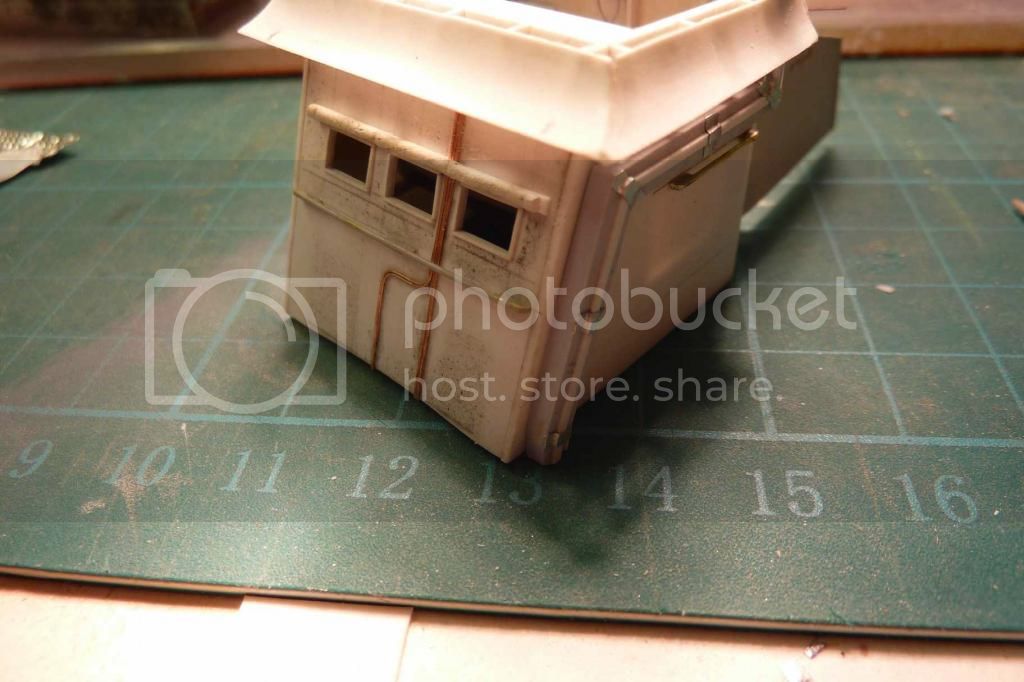
and here I've actually used one of the kits although it has of course been detailed

The wiring has been left long to tie in with the mast
Thanks for looking
Cheers Kev
Thanks for the encouragement. I will admit that I'm really enjoying myself detailing the Vosper, greatly helped by the Coastal Craft weapons etc.. Time consuming? Yes but I would only building another boat so I will plod up the steep learning curve, must admit I'm not looking forward to the painting/masking
Some more detail for you. Handrails, wiring, ducting and canvas roll over the windows


and here I've actually used one of the kits although it has of course been detailed

The wiring has been left long to tie in with the mast
Thanks for looking
Cheers Kev
Gremlin56
Joined: October 30, 2005
KitMaker: 3,897 posts
Model Shipwrights: 3,301 posts
KitMaker: 3,897 posts
Model Shipwrights: 3,301 posts
Posted: Saturday, July 05, 2014 - 08:36 PM UTC
I have to keep reminding myself that you are doing this in 1/72 scale Kev.
Great job,
Great job,
RedDuster
Joined: March 01, 2010
KitMaker: 7,078 posts
Model Shipwrights: 6,649 posts
Posted: Sunday, July 06, 2014 - 08:31 AM UTC
Hi Kev,
Excellent job, really breathing life into the old kit. Attention to detail is brilliant.
Si
Excellent job, really breathing life into the old kit. Attention to detail is brilliant.
Si

RussellE

#306

Joined: June 27, 2010
KitMaker: 3,959 posts
Model Shipwrights: 2,777 posts
Posted: Sunday, July 06, 2014 - 09:48 AM UTC
Just found this thread...
Fantastic scratch building, Kev!
Fantastic scratch building, Kev!

Longshanks8
Joined: July 04, 2013
KitMaker: 430 posts
Model Shipwrights: 390 posts
Posted: Sunday, July 06, 2014 - 08:13 PM UTC
Thanks guys for your kind words
Cheers Kev
Cheers Kev
Longshanks8
Joined: July 04, 2013
KitMaker: 430 posts
Model Shipwrights: 390 posts
Posted: Monday, July 14, 2014 - 10:36 AM UTC
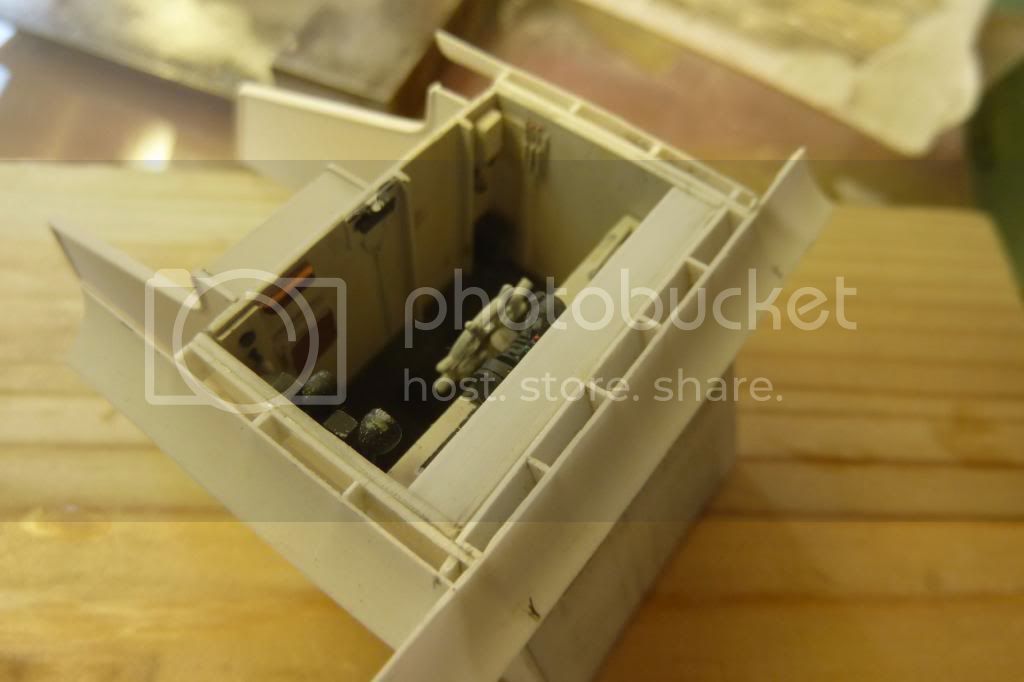
Last night toys left pram at very high velocity
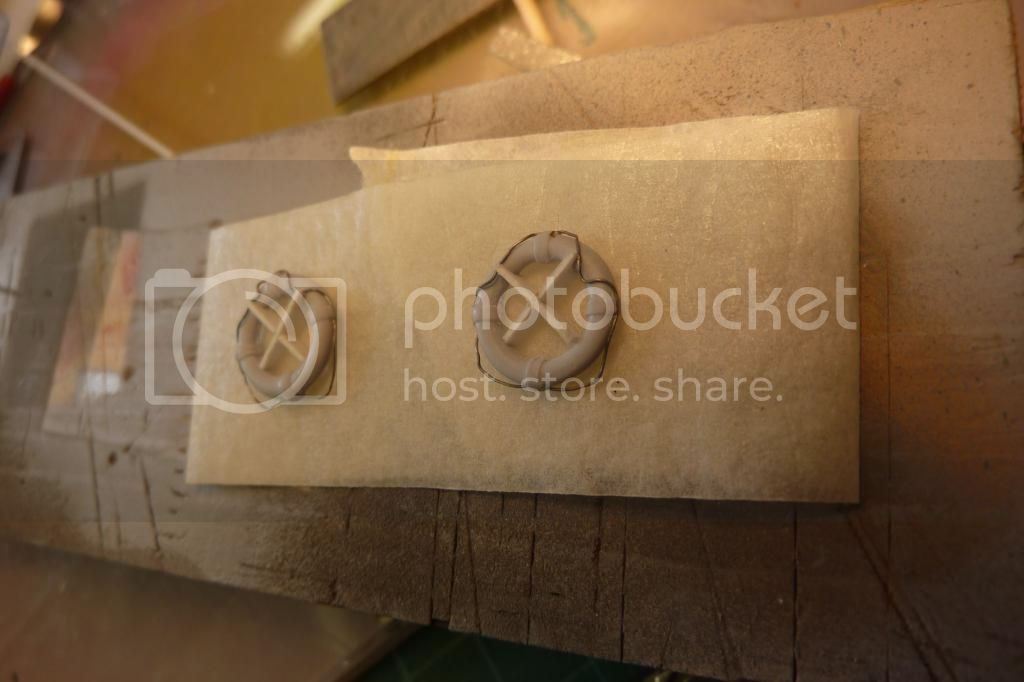
Since the start of this project I had been attempting to scratch build the frames that support the torpedo tubes

This is what I was trying to achieve


Just some of the various attempts
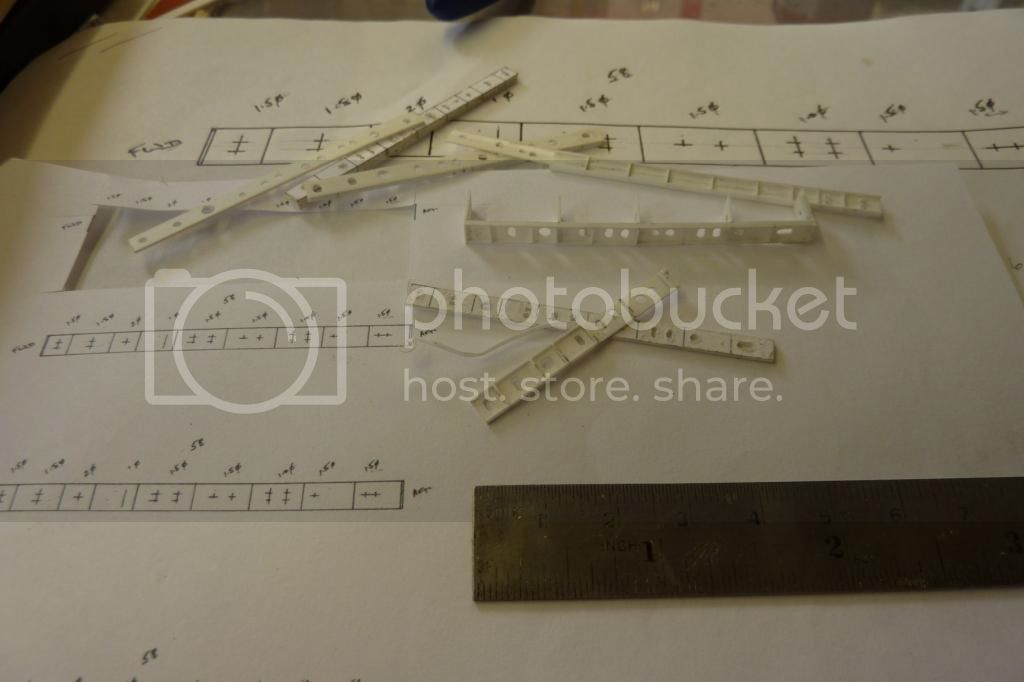
It was all to precise (not) and frail and last night trying to sand an almost complete frame it all bent and toys left the pram! Faced with the thought that I had to do four the same I've called it a day.
So now its use the kit part

and keep my sanity . . . .
Thanks for looking
Cheers Kev
Since the start of this project I had been attempting to scratch build the frames that support the torpedo tubes

This is what I was trying to achieve


Just some of the various attempts

It was all to precise (not) and frail and last night trying to sand an almost complete frame it all bent and toys left the pram! Faced with the thought that I had to do four the same I've called it a day.
So now its use the kit part


and keep my sanity . . . .
Thanks for looking
Cheers Kev
Longshanks8
Joined: July 04, 2013
KitMaker: 430 posts
Model Shipwrights: 390 posts
Posted: Monday, July 14, 2014 - 10:41 AM UTC
I have had some minor successes
Aldis (signal) lamp
Kit lifebuoys cleaned up, rope added and brackets made up

Cheers Kev
Aldis (signal) lamp

Kit lifebuoys cleaned up, rope added and brackets made up


Cheers Kev

beefy66

Joined: October 22, 2007
KitMaker: 971 posts
Model Shipwrights: 645 posts

Posted: Tuesday, July 15, 2014 - 03:40 AM UTC
Keep it together there Kev it is coming together real good don,t stop on us now looking forward to more of your great detail work.
Keith
Keith
Longshanks8
Joined: July 04, 2013
KitMaker: 430 posts
Model Shipwrights: 390 posts
Posted: Wednesday, July 16, 2014 - 09:33 AM UTC
Thanks Keith for the support.
Thinking I will take a break . . .
Kev
Thinking I will take a break . . .
Kev
Longshanks8
Joined: July 04, 2013
KitMaker: 430 posts
Model Shipwrights: 390 posts
Posted: Thursday, July 24, 2014 - 07:43 AM UTC
Right here we go with the latest step forward. In typical style I've gone arse about face . . .
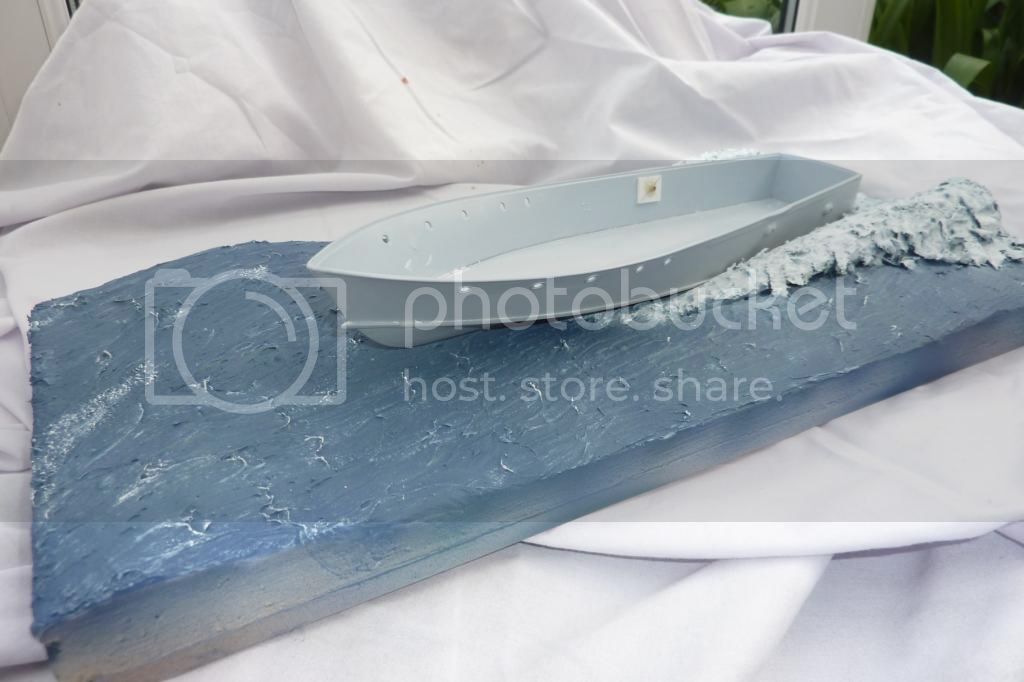
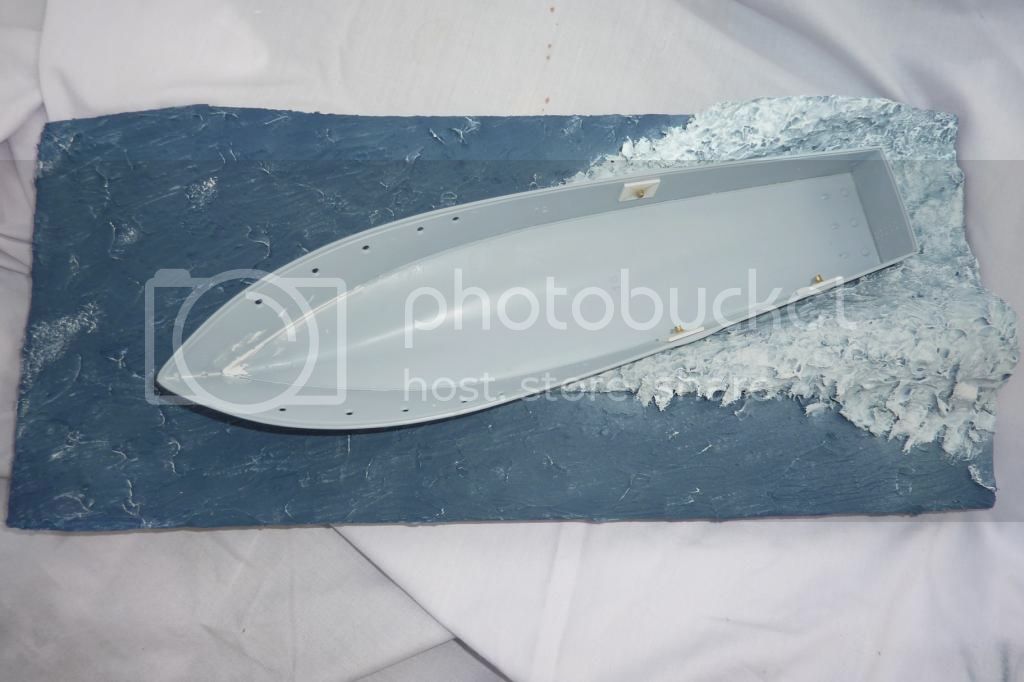
I wanted to protray the Vosper in its natural enviroment and I wanted to get the hull bedded in before I started painting it so


Thanks for looking, I look forward to your comments
Cheers Kev
I wanted to protray the Vosper in its natural enviroment and I wanted to get the hull bedded in before I started painting it so


Thanks for looking, I look forward to your comments
Cheers Kev
Gremlin56
Joined: October 30, 2005
KitMaker: 3,897 posts
Model Shipwrights: 3,301 posts
KitMaker: 3,897 posts
Model Shipwrights: 3,301 posts
Posted: Thursday, July 24, 2014 - 05:00 PM UTC
That is turning into another cracker of a build Kev. I just love the "sit" of the ship in the water. How did you make the wake?
Longshanks8
Joined: July 04, 2013
KitMaker: 430 posts
Model Shipwrights: 390 posts
Posted: Thursday, July 24, 2014 - 07:33 PM UTC
Hi Julian,
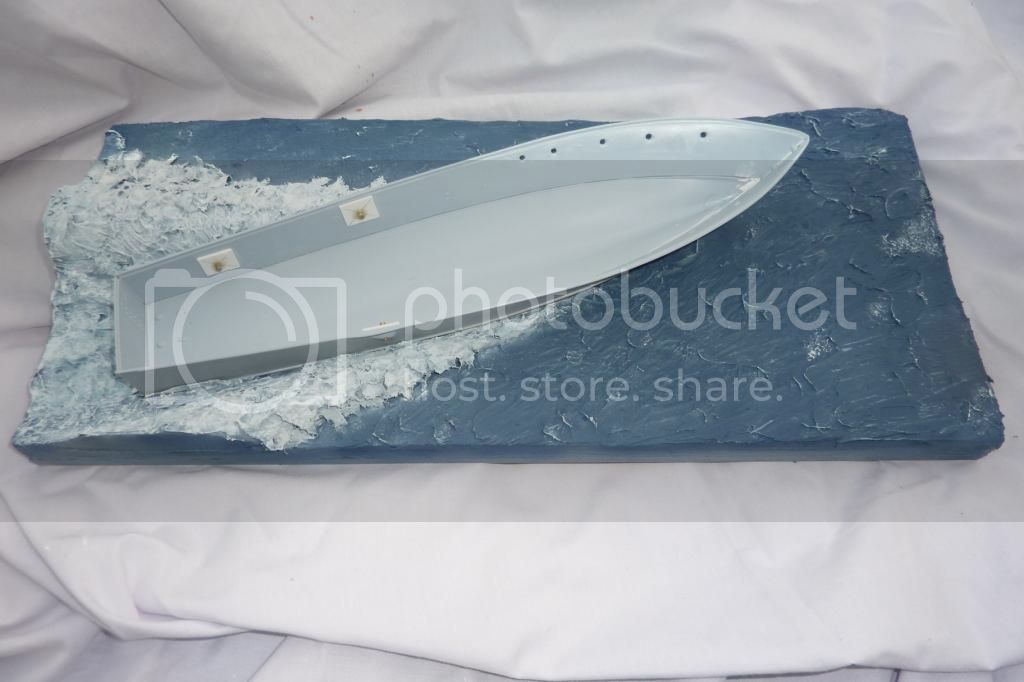
Thanks for your comments, here's how I achieved it
Started with close grained insulation foam as used in house building. Lovely to work with can be cut/sanded to any shape.
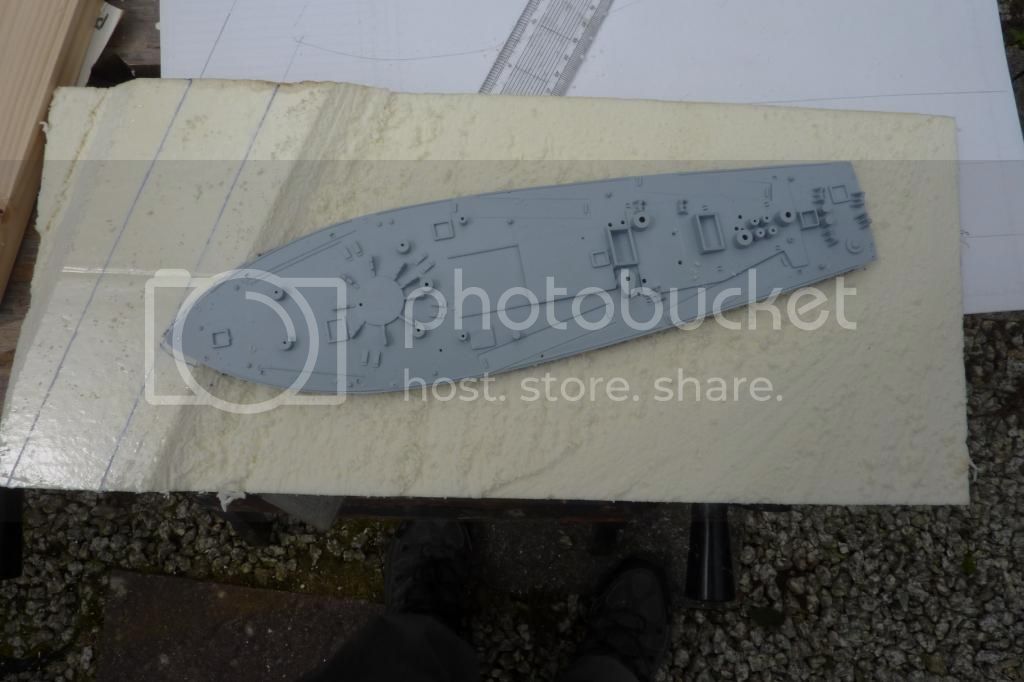
Basic wake shape made and siliconed on

Note the cut out for the rear of the hull to squat in.
Sea and wake built up with Acrylic Modelling Paste (Artist supplies). Basically slapped on and shaped with a flat brush.

To build up the foam/spray I used kitchen towl torn into strips, glued with diluted pva glue.
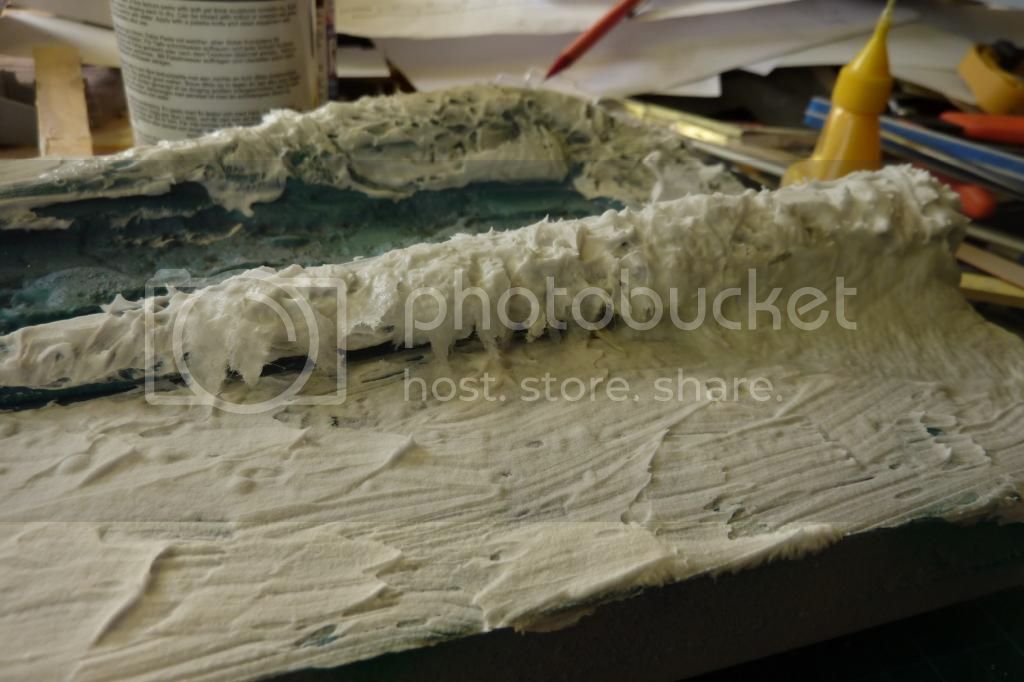
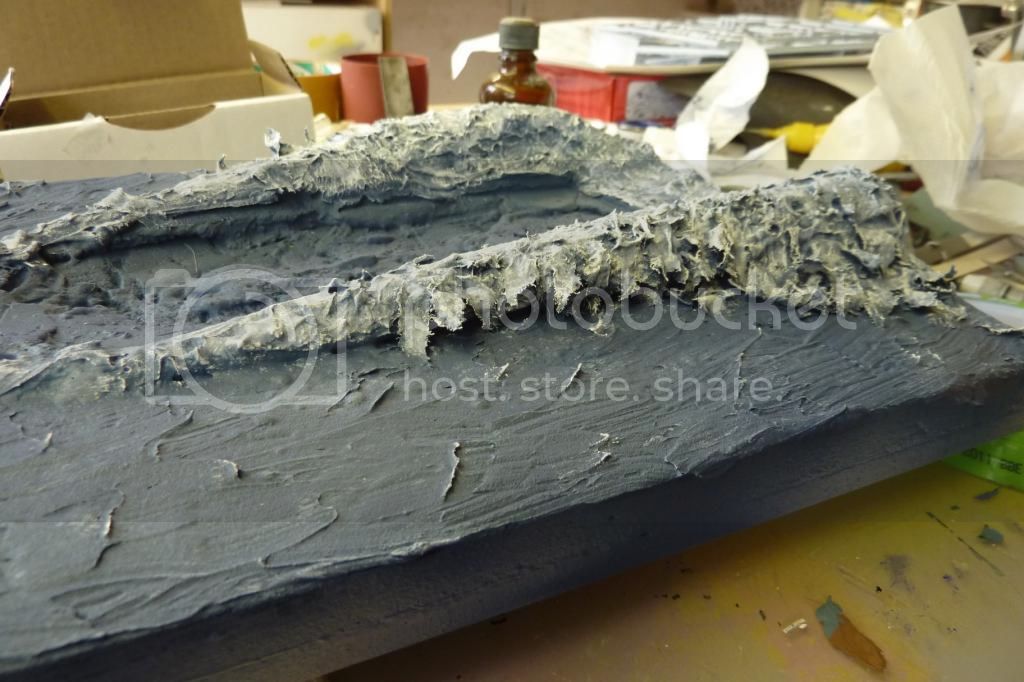
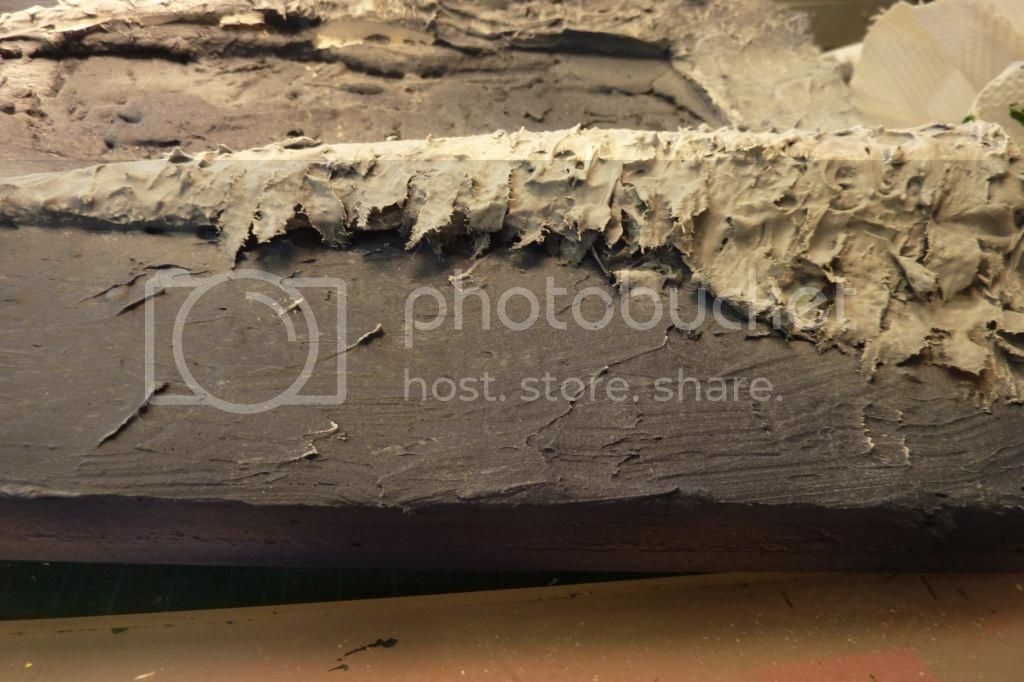
Colour was built up with several shades including the wake as I didnt want a completely white wake. I then built up the white of the wake using airbrush and brush. Looking at it today wake needs further white highlights.
Hope I've given people some ideas
Cheers Kev
Thanks for your comments, here's how I achieved it
Started with close grained insulation foam as used in house building. Lovely to work with can be cut/sanded to any shape.

Basic wake shape made and siliconed on

Note the cut out for the rear of the hull to squat in.
Sea and wake built up with Acrylic Modelling Paste (Artist supplies). Basically slapped on and shaped with a flat brush.

To build up the foam/spray I used kitchen towl torn into strips, glued with diluted pva glue.


Colour was built up with several shades including the wake as I didnt want a completely white wake. I then built up the white of the wake using airbrush and brush. Looking at it today wake needs further white highlights.
Hope I've given people some ideas
Cheers Kev
Gremlin56
Joined: October 30, 2005
KitMaker: 3,897 posts
Model Shipwrights: 3,301 posts
KitMaker: 3,897 posts
Model Shipwrights: 3,301 posts
Posted: Thursday, July 24, 2014 - 08:00 PM UTC
You certainly have Kev, looks very realistic.
I like it very much,
I like it very much,
 |

WEB HOSTING BY


Copyright ©2021 Model Shipwrights and Kitmaker Network, a subsidiary of Silver Star Enterprises
All Rights Reserved. Please read our Conditions of Use and Privacy Policy.
All Rights Reserved. Please read our Conditions of Use and Privacy Policy.