_GOTOBOTTOM
Ships by Class/Type: Battleships
Topics from the Dreadnaught era to modern day.
Hosted by Steve Joyce
HMS NELSON - 1/200 by Trumpeter + MK.1 Desig
elmarriachi
Visit this Community
Baden-Württemberg, Germany
Joined: December 26, 2009
KitMaker: 813 posts
Model Shipwrights: 304 posts
Posted: Tuesday, March 15, 2016 - 02:13 PM UTC

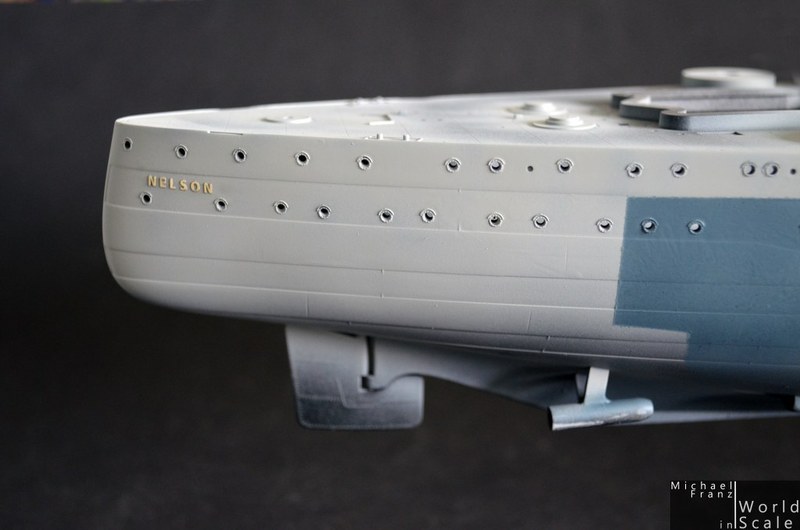
HMS Nelson (pennant number 28) was one of two Nelson-class battleships built for the Royal Navy between the two World Wars. She was named in honour of Horatio Nelson, 1st Viscount Nelson the victor at the Battle of Trafalgar. The Nelsons were unique in British battleship construction, being the only ships to carry a main armament of 16-inch (406 mm) guns, and the only ones to carry all the main armament forward of the superstructure. These were a result of the limitations of the Washington Naval Treaty. Commissioned in 1927, Nelson served extensively in the Atlantic, Mediterranean, and Indian oceans during World War II. She was decommissioned soon after the end of the war and scrapped in 1949.


Nelson was laid down in December 1922 and built at Newcastle by Armstrong-Whitworth. Launched in September 1925, she was commissioned in August 1927 and joined by her sister ship HMS Rodney (built by Cammell Laird) in November. She cost £7,504,000 to build and made partial use of the material prepared for the cancelled Admiral-class battlecruisers HMS Anson and Howe, planned sister ships of HMS Hood.

She was the flagship of the Home Fleet from launch. In 1931 the crews of both Nelson and Rodney took part in the Invergordon Mutiny. On 12 January 1934 she ran aground on Hamilton's Shoal, just outside Portsmouth, as she was about to embark with the Home Fleet to the West Indies.

Nelson was modified little during the 1930s and was with the Home Fleet when war broke out in September 1939. On 25 and 26 September she performed escort duty during the salvage and rescue operations of the submarine HMS Spearfish. Nelson was first deployed in the North Sea in October against a German formation of cruisers and destroyers, all of which easily evaded her. On 30 October she was unsuccessfully attacked by U-56 under the command of captain Wilhelm Zahn near the Orkney Islands being hit by three torpedoes, none of which exploded. Later she was again shown up for pace in the futile pursuit of German battlecruisers. In December 1939 she struck a magnetic mine (laid by U-31) at the entrance to Loch Ewe on the Scottish coast and was laid up in Portsmouth for repairs until August 1940.

Upon return to service she went to Rosyth in case of invasion[3] and was then deployed in the English Channel. From April to June 1941 she was on convoy escort in the Atlantic. In late May she was in Freetown and was ordered to Gibraltar to stand by to take part in the chase of the German battleship Bismarck.

In June 1941 Nelson, then in Gibraltar, was assigned to Force H operating in the Mediterranean as an escort. On 27 September 1941 she was extensively damaged by a Regia Aeronautica torpedo strike and was under repair in Britain until May 1942. She returned to Force H as the flagship in August 1942, performing escort duties for supply convoys running to Malta. She supported Operation Torch around Algeria in November 1942, the invasion of Sicily in July 1943 and the Salerno operation (by coastal bombardment) in September 1943. The Italian long armistice was signed between General Dwight Eisenhower and Marshal Pietro Badoglio aboard the Nelson on 29 September.

The Nelson returned to England in November 1943 for a refit, including extensive additions to her anti-aircraft defences. Returning to action she supported the Normandy landings but hit two sea mines on 18 June 1944 and was sent to the Philadelphia Naval Shipyard in Pennsylvania for her repairs. She returned to Britain in January 1945 and was then deployed to the Indian Ocean, arriving in Colombo in July. She was used around the Malayan Peninsula for three months. The Japanese forces there formally surrendered aboard her at George Town, Penang, on 2 September 1945.

Nelson returned home in November 1945 as the flagship of the Home Fleet until reassigned as a training ship in July 1946.

Nelson was decommissioned in February 1948 and used as a target ship for aerial bombing exercises for several months. She was sold to Thomas W. Ward Ltd for scrapping, arriving at Inverkeithing on 15 March 1949.
(Quelle: Wikipedia)

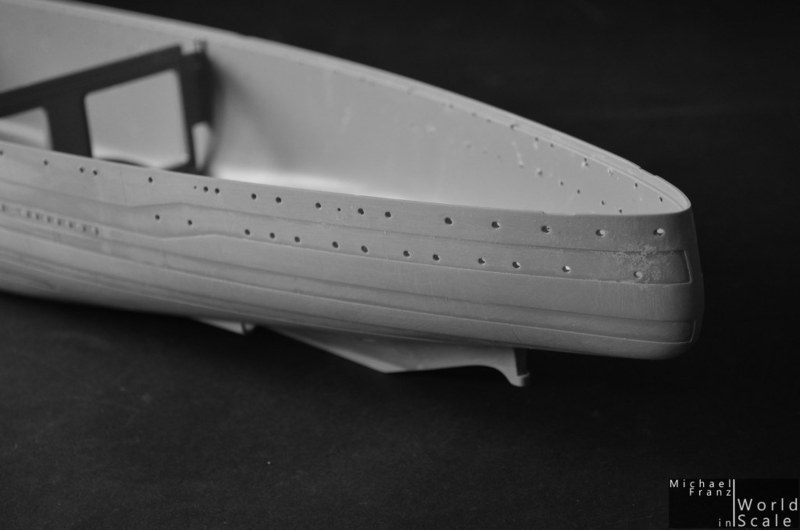
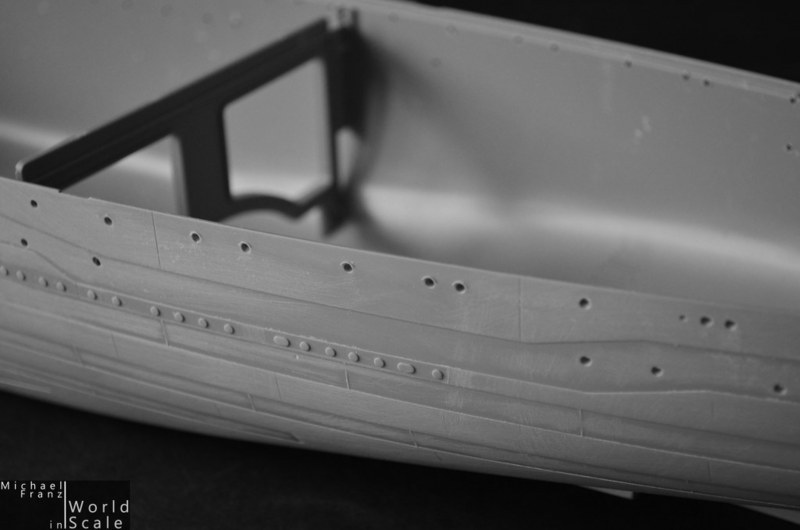
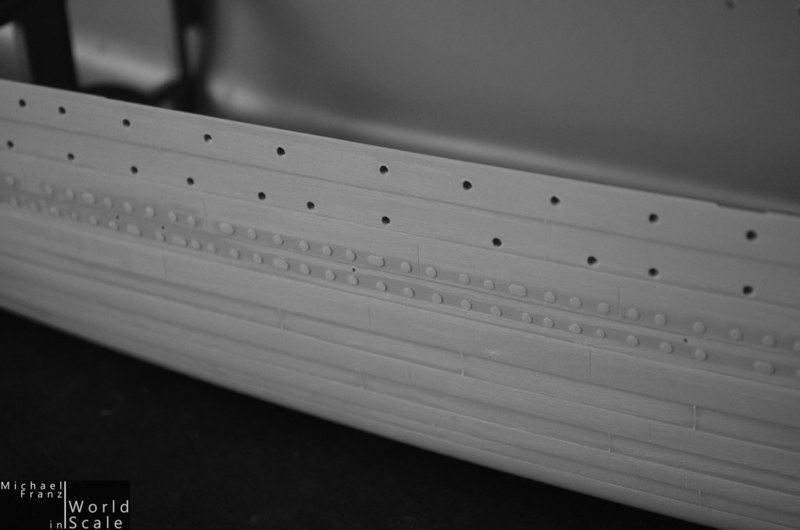
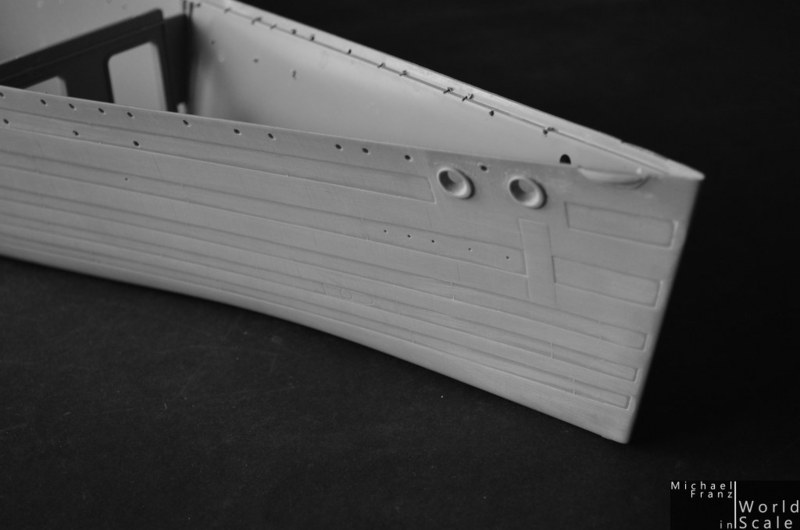
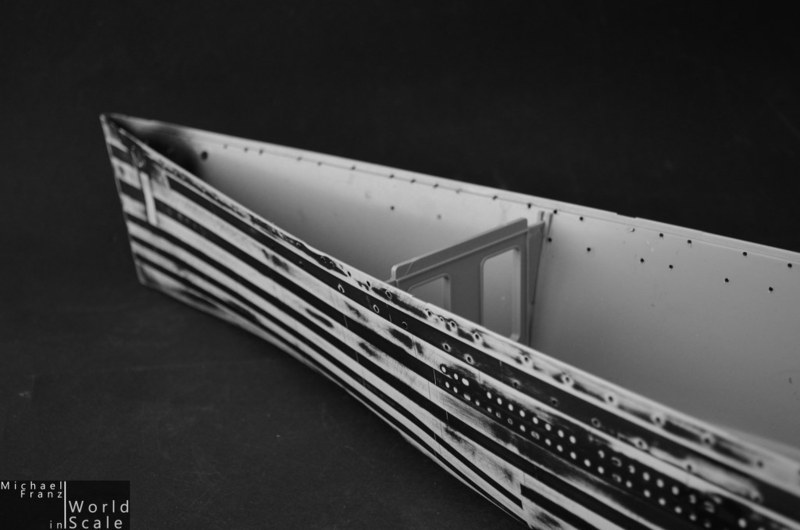
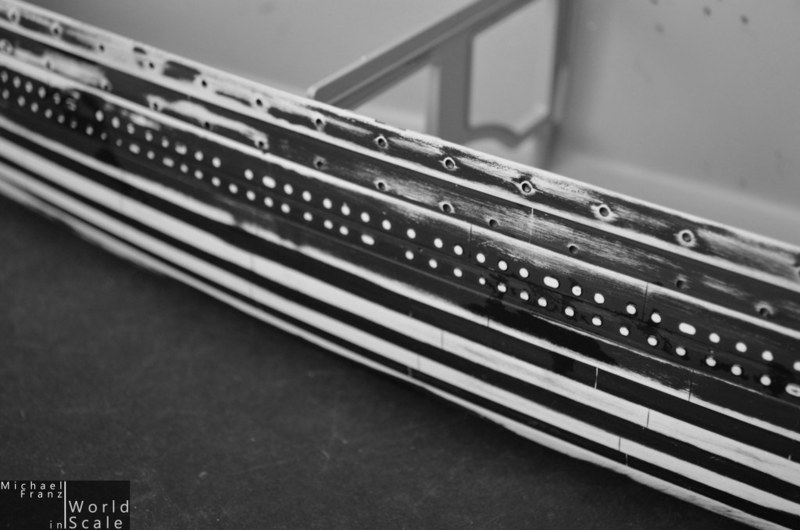
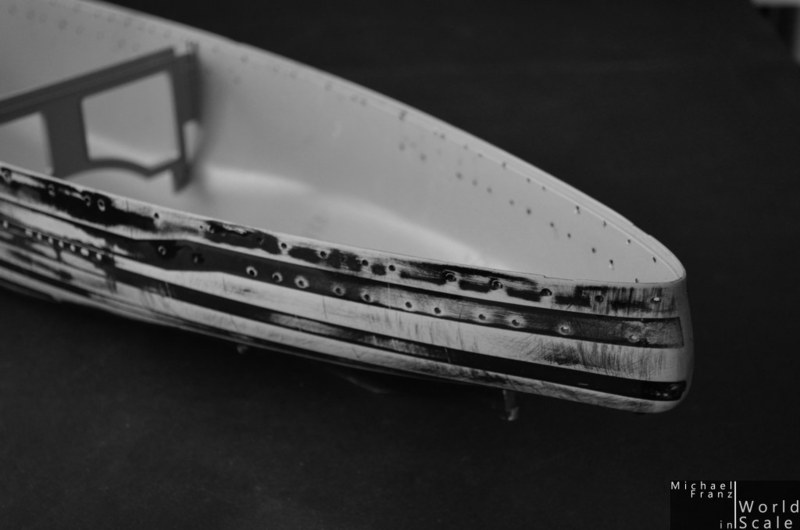
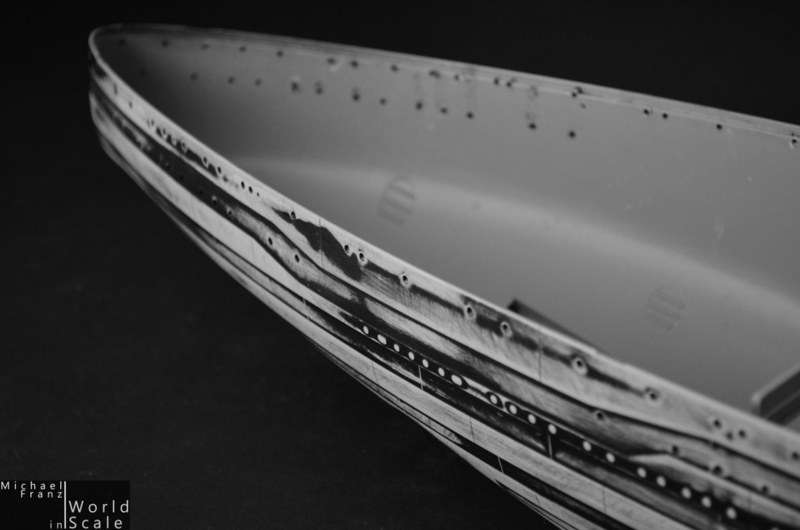
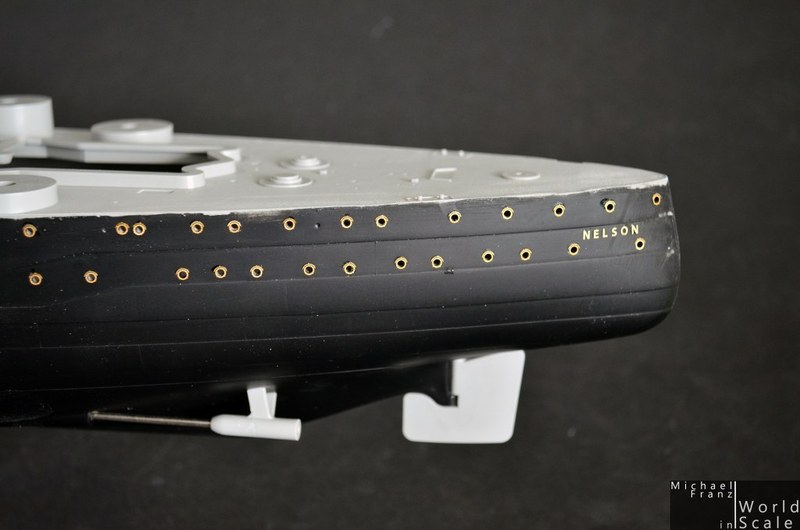
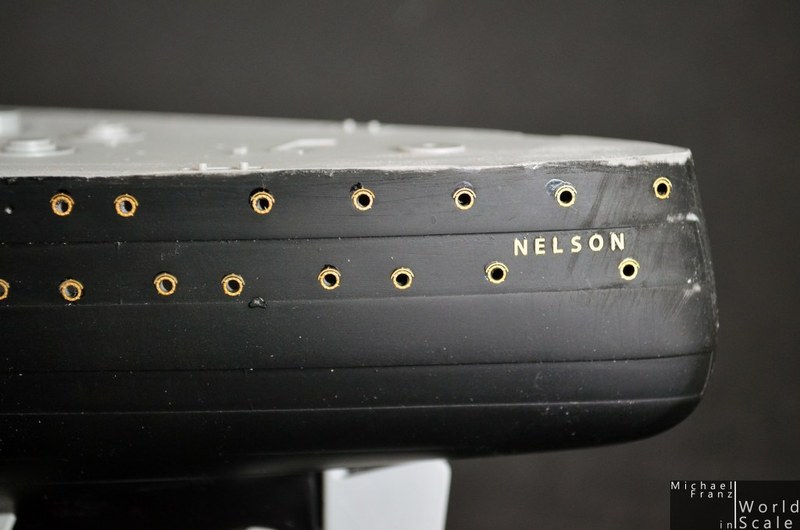
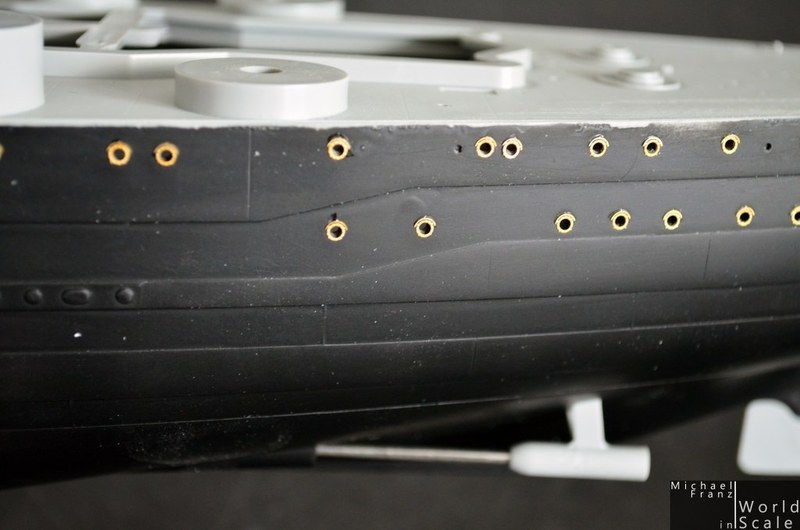
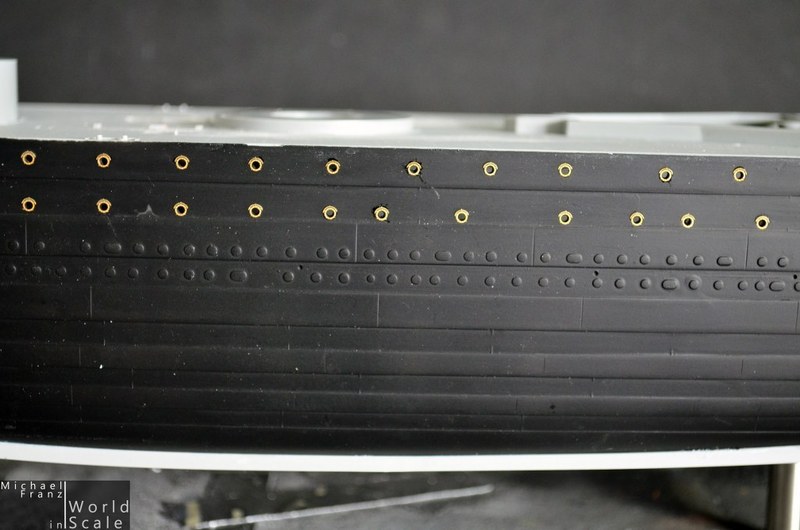
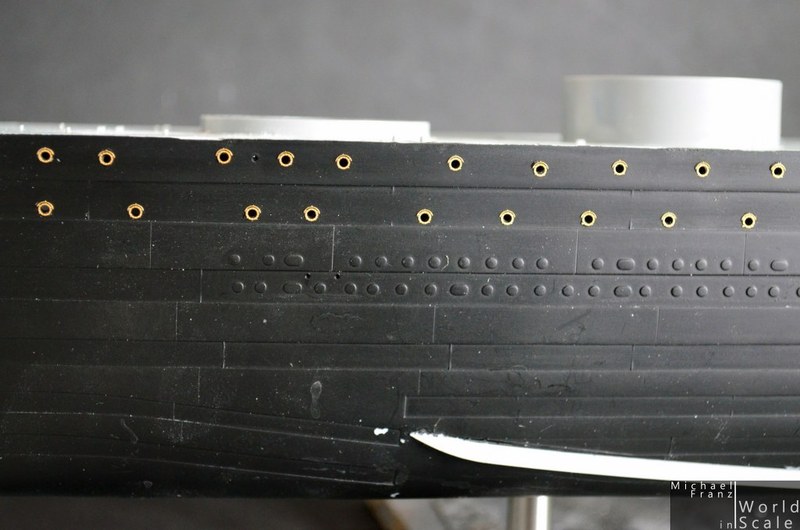
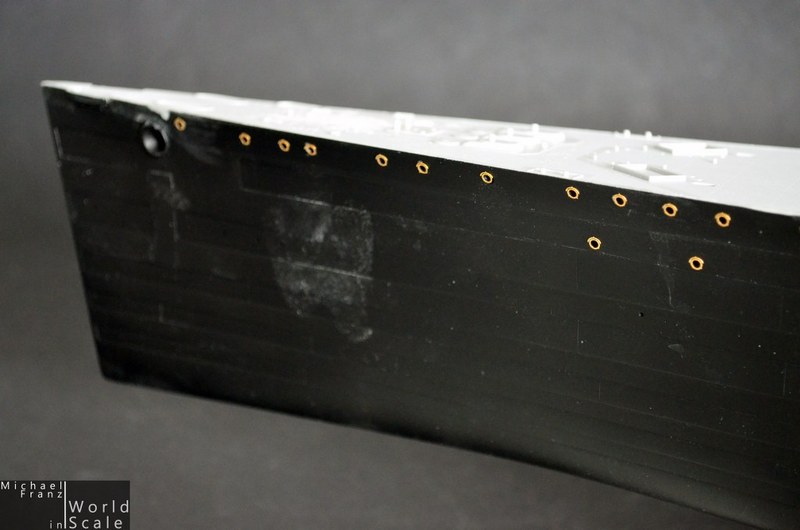
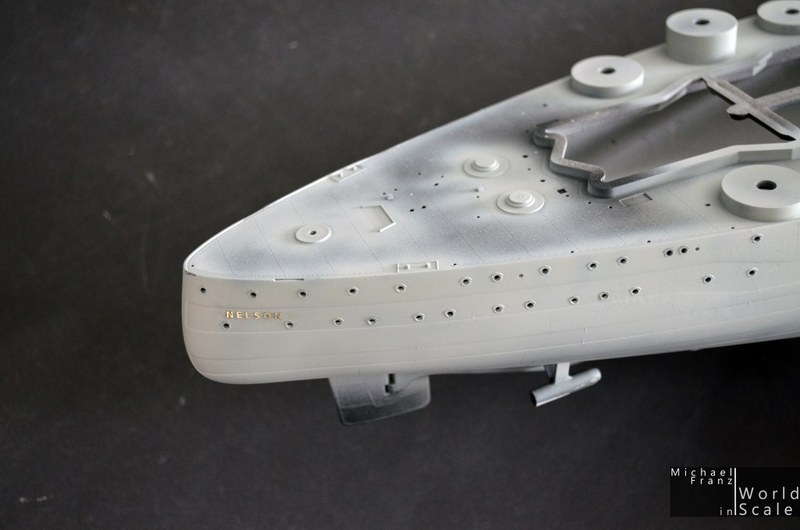
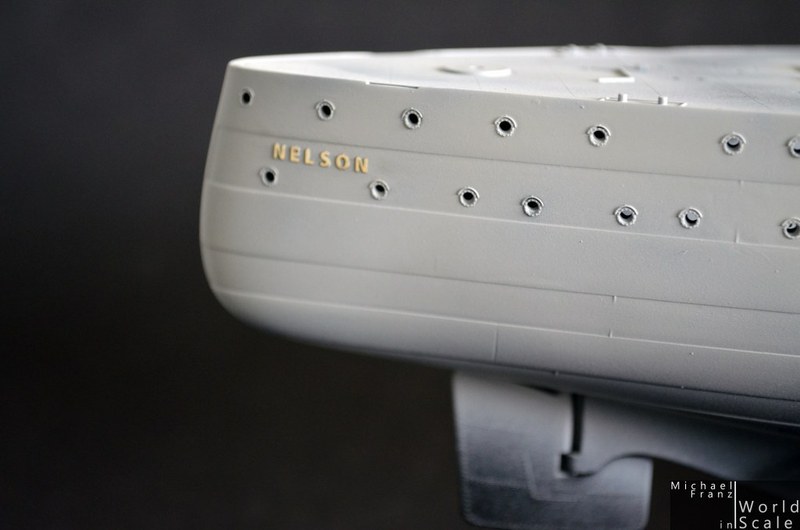
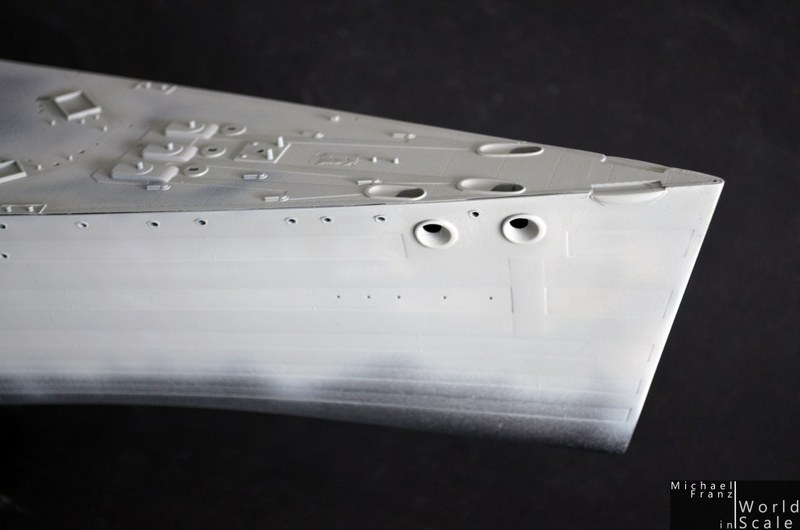
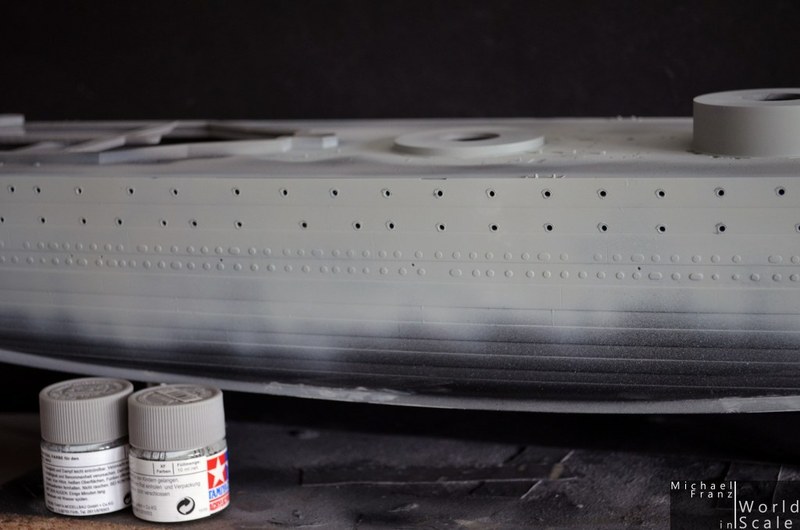
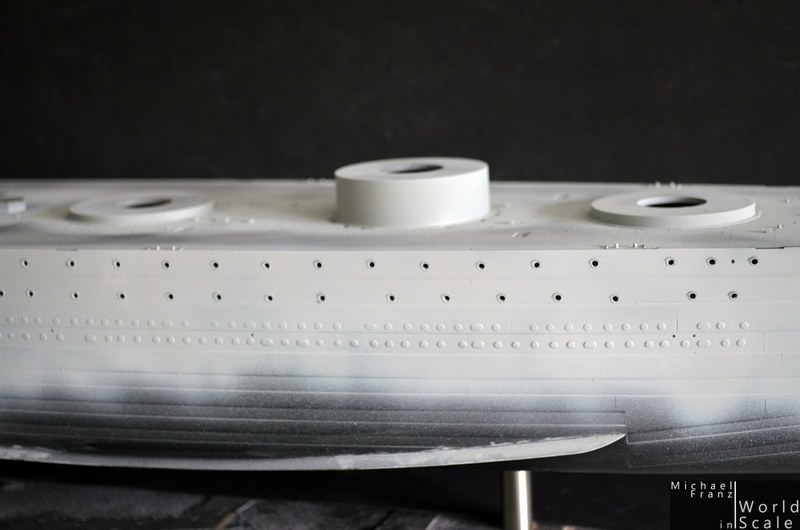
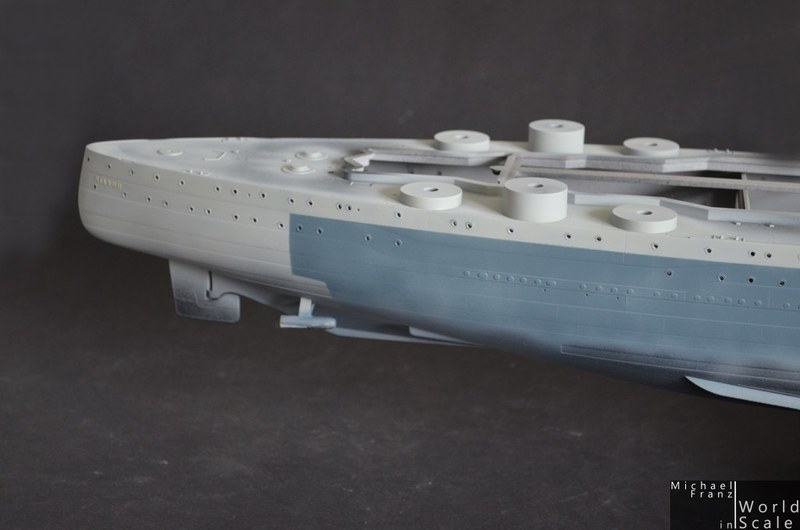
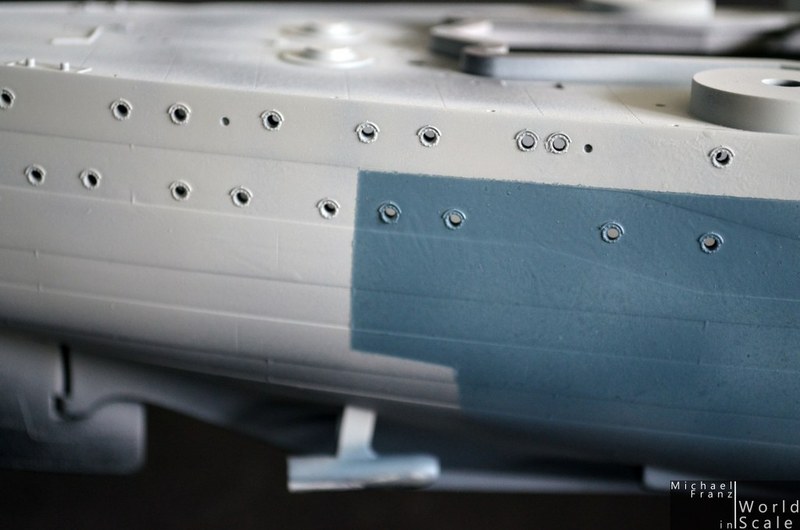
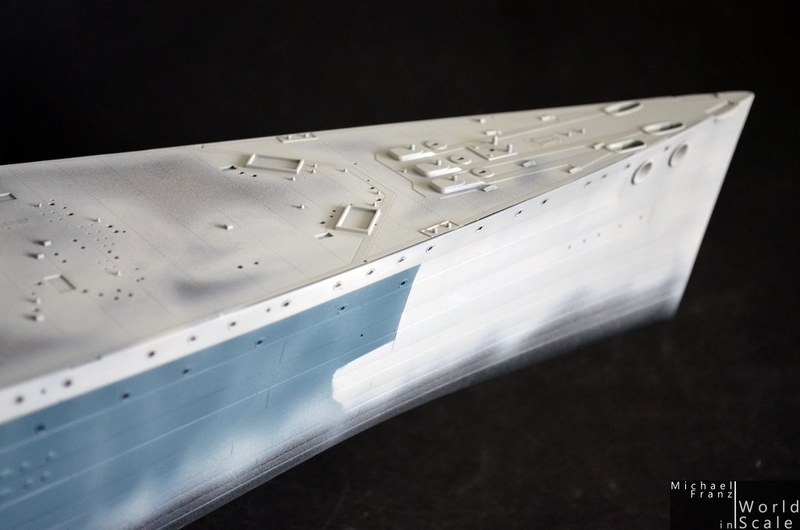
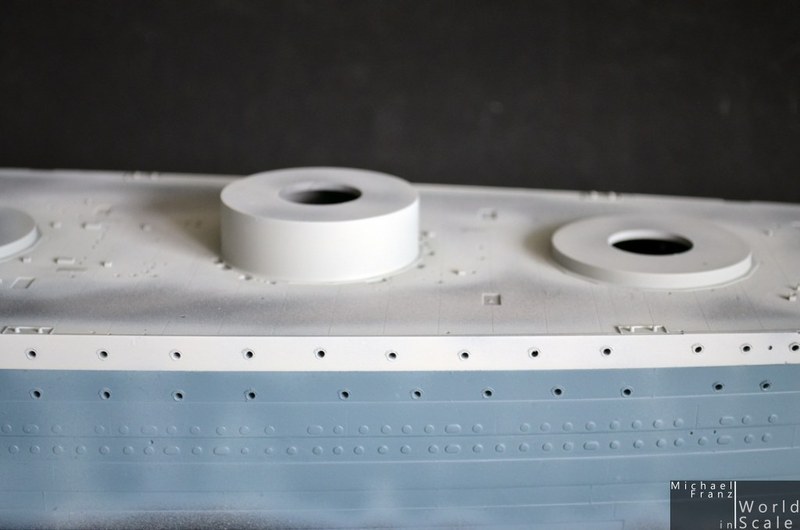
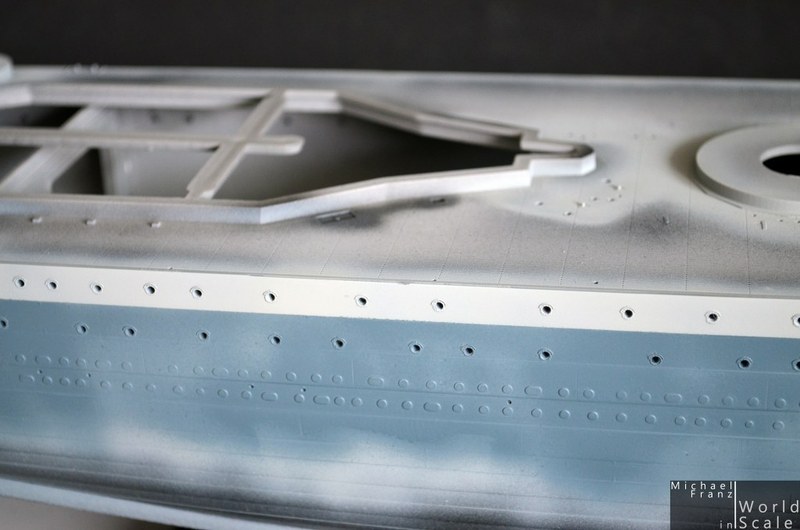
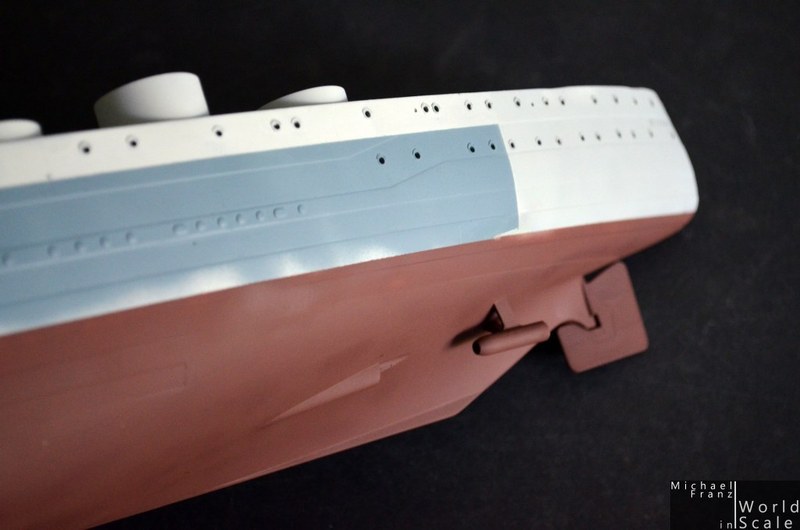
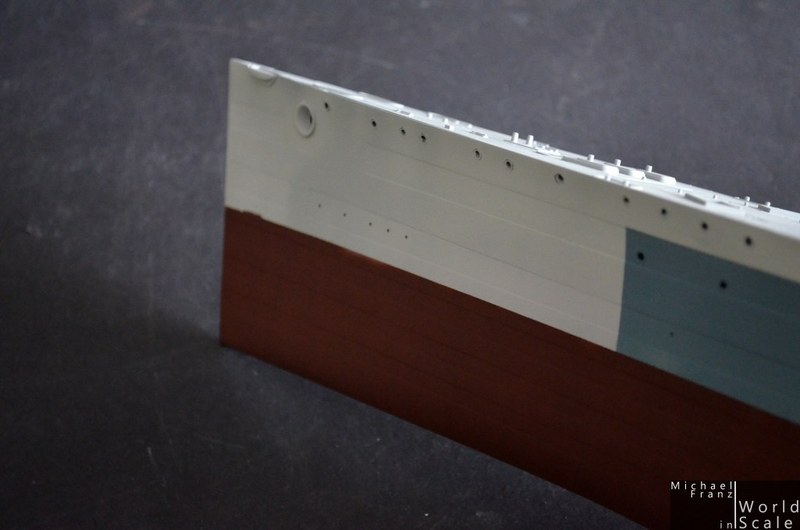
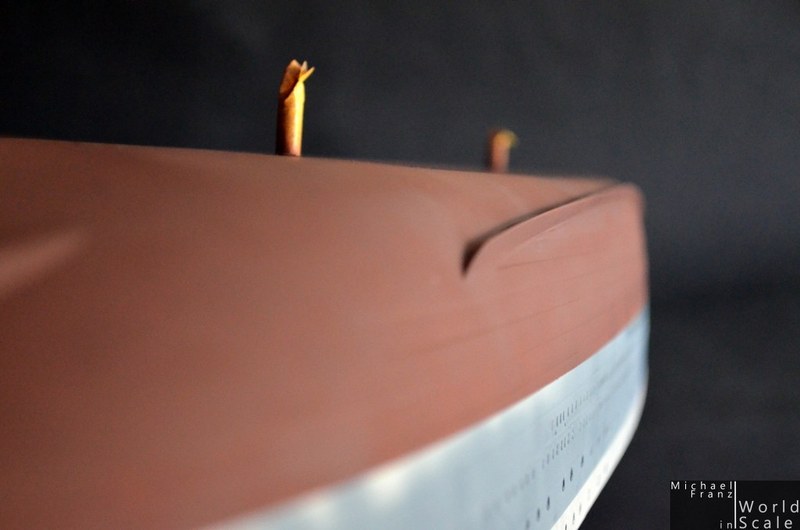
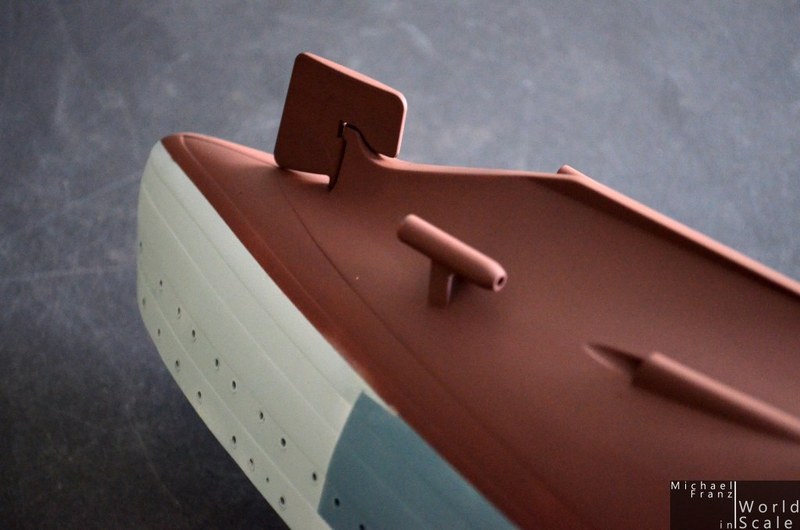
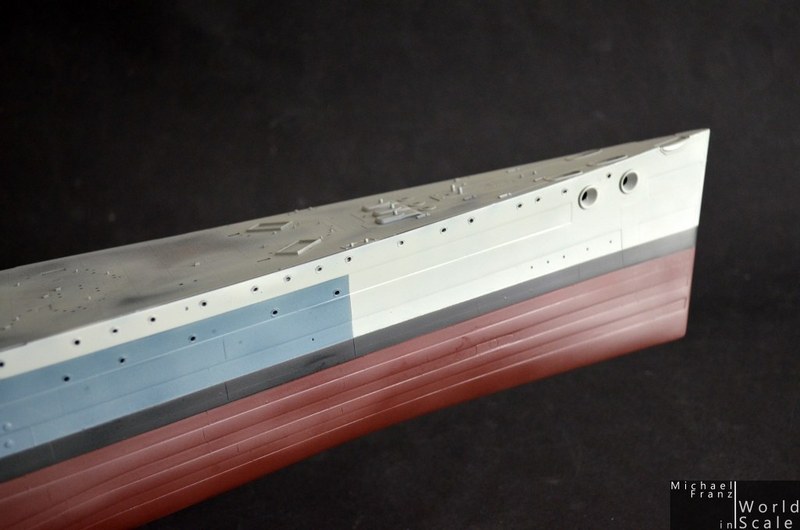
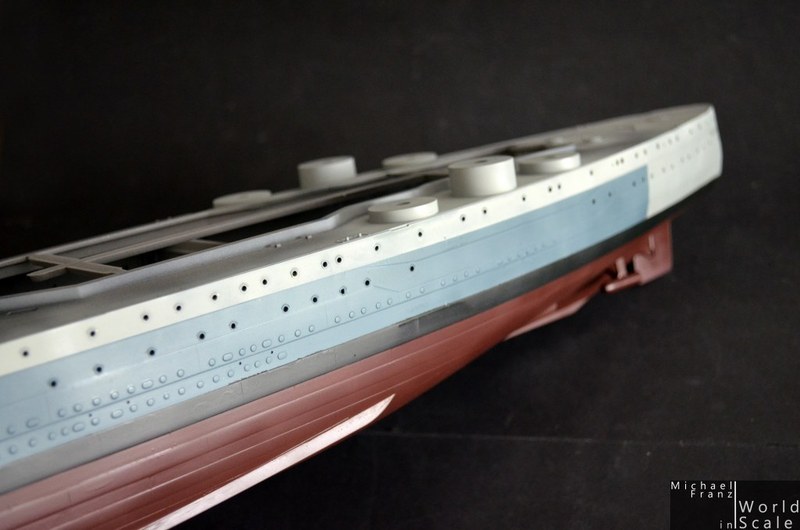
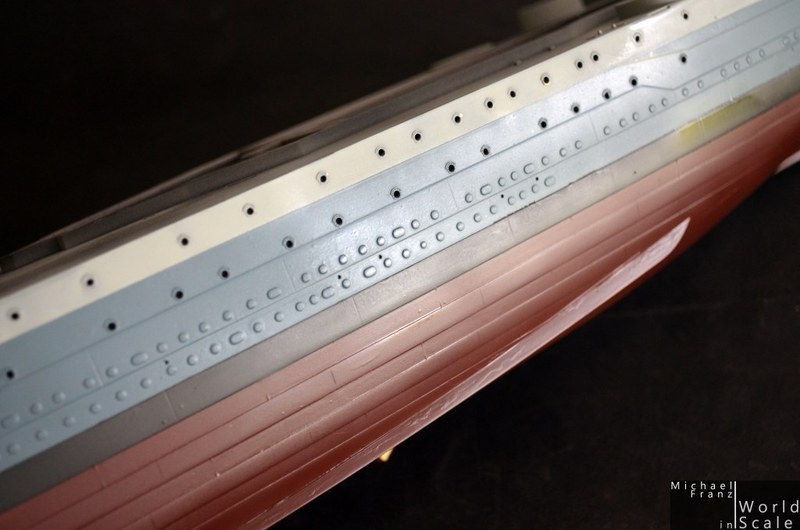
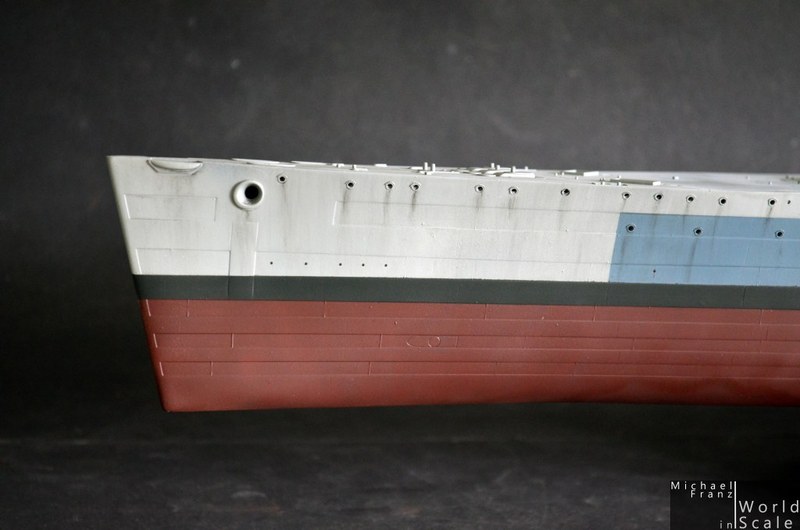
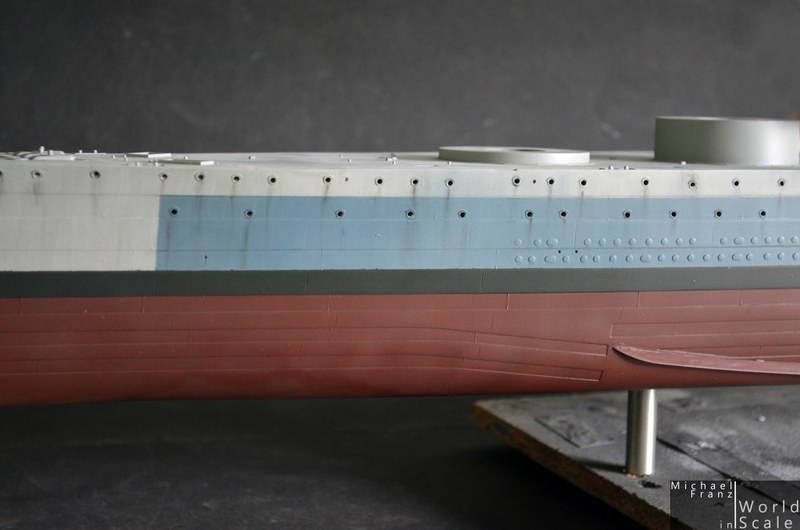
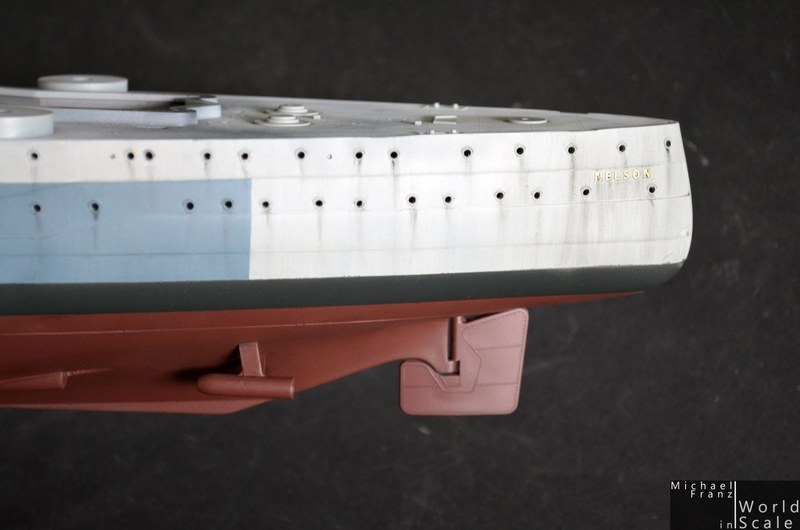
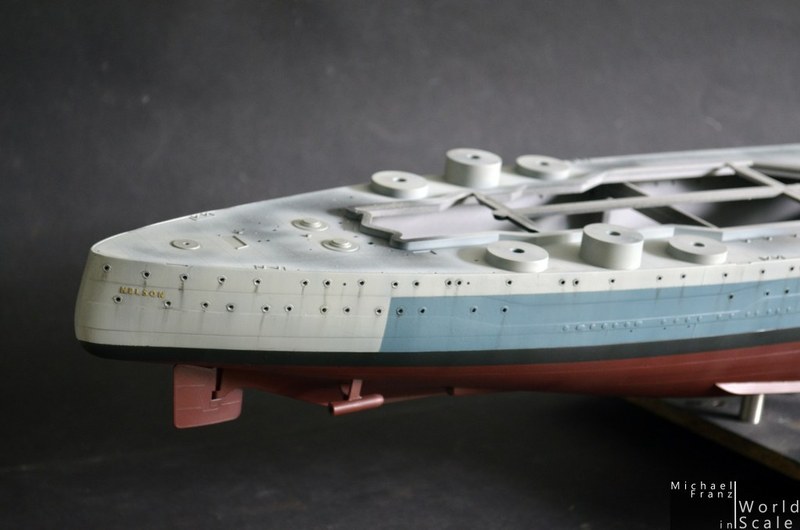
[u]The kit by Trumpeter:[/u]


[u]The upgrade-set by MK.1 Design:[/u]


I think that this might become a long time project again ....

Cheers,

Micha
Fordboy
Visit this Community
Auckland, New Zealand
Joined: July 13, 2004
KitMaker: 2,169 posts
Model Shipwrights: 1,597 posts
Posted: Wednesday, March 16, 2016 - 02:10 AM UTC
Ahoy Micha

Phew what a next project!

I am looking forward to your efforts on this one.


Cheers


Sean
RussellE
#306
Visit this Community
Victoria, Australia
Joined: June 27, 2010
KitMaker: 3,959 posts
Model Shipwrights: 2,777 posts
Posted: Wednesday, March 16, 2016 - 02:23 PM UTC
I'm on board

be interested to see how you handle the overdone hull plating Micha
RedDuster
Visit this Community
England - South East, United Kingdom
Joined: March 01, 2010
KitMaker: 7,078 posts
Model Shipwrights: 6,649 posts
Posted: Thursday, March 17, 2016 - 11:15 PM UTC
I am along too,

Enjoyed the Bismarck and U Boat very much, looking forward to progress on this too.

Cheers

Si
JJ1973
#345
Visit this Community
Niedersachsen, Germany
Joined: August 22, 2011
KitMaker: 1,835 posts
Model Shipwrights: 1,832 posts
Posted: Thursday, March 17, 2016 - 11:43 PM UTC
Definitiv on for the ride, Micha, and looking forward very much to your build log!!

I always loved the 'special' appearance of those ships and am hoping for one that will fit my shipyard...fantastic choice!

Cheers,
Jan
rolltide31
#377
Visit this Community
Texas, United States
Joined: June 27, 2010
KitMaker: 1,481 posts
Model Shipwrights: 1,332 posts
Posted: Friday, March 18, 2016 - 07:34 PM UTC
Micha,

I echo everyone's sentiment regarding this build. If it is amazing as all of your previous builds it will be a true joy to watch.

Looking forward to seeing this hit the drydock.

Dave
elmarriachi
Visit this Community
Baden-Württemberg, Germany
Joined: December 26, 2009
KitMaker: 813 posts
Model Shipwrights: 304 posts
Posted: Sunday, March 20, 2016 - 02:35 PM UTC
*** UPDATE ***

This project starts as usual with the preparing of the hull. First step was the drilling of the portholes. No matter if the wall thickness is not correct at the portholes as these will get some "glasses" made of Micro Krystal Klear later. Therefore the wall remain unmodified at the portholes.

Next step - the planking structure. The planking structure is very prominent, a little bit "too much" I think. Therefore I started to sand down the thicker areas of the plankings to get the limit closer to the lower plankings. After that a first layer of primer followed, which was sanded down on the upper plankings too, remains in the lower plankings.

I think the planking structure will be more realistic now. One further layer of primer follows next.


Next step - one more layer of clear coat, to check the planking structure now, then sanding unter water with fine sanding paper to get a smooth surface. Drilling holes and installing the bolts for the display. THen detailing the hull....

Cheers
Micha
JJ1973
#345
Visit this Community
Niedersachsen, Germany
Joined: August 22, 2011
KitMaker: 1,835 posts
Model Shipwrights: 1,832 posts
Posted: Sunday, March 20, 2016 - 10:45 PM UTC
Starting a new project with lots of sanding is probably not the most encouraging way, but from all your previous projects I know that you'll soon overcome that phase. It's great to see that you took care of the way overdone planking, and even though it looks like a lot of work, the result will pay off!!

Very promising start Micha!

Cheers,
Jan
Fordboy
Visit this Community
Auckland, New Zealand
Joined: July 13, 2004
KitMaker: 2,169 posts
Model Shipwrights: 1,597 posts
Posted: Sunday, March 20, 2016 - 11:58 PM UTC
Ahoy Micha

Great update and superb start to this build.

I am sure all this prep work will pay dividends in the finished build.


Cheers


Sean
RedDuster
Visit this Community
England - South East, United Kingdom
Joined: March 01, 2010
KitMaker: 7,078 posts
Model Shipwrights: 6,649 posts
Posted: Monday, March 21, 2016 - 12:52 AM UTC
Great start Micha,

Like you method of sorting out the overstated plating, should look great under a coat of paint.

Cheers

Si
RussellE
#306
Visit this Community
Victoria, Australia
Joined: June 27, 2010
KitMaker: 3,959 posts
Model Shipwrights: 2,777 posts
Posted: Tuesday, March 22, 2016 - 01:21 AM UTC
Nice work on the plating Micha

be good to see how it looks under some paint.
elmarriachi
Visit this Community
Baden-Württemberg, Germany
Joined: December 26, 2009
KitMaker: 813 posts
Model Shipwrights: 304 posts
Posted: Monday, March 28, 2016 - 02:30 PM UTC
*** UPDATE ***

After some more rounds of sanding (under water) and one more layer of primer I could agree with the height of the planking....

Then I have drilled the hole in the hull and glued the screws inside which will hold the metal pipes which will hold the ship on the display later .... and fixed it with glue and plastic parts from the inside.

Finally... the main deck was glued inside the hull, some putty used to closed a small gap, then everything sanded clean... some plastic details removed which will be replaced by etched parts later after the wooden deck is installed....


Now further parts instalelled to the hull... rudder, propeller shafts, ... then I will beginn with the first etched parts ...

Cheers
Micha
elmarriachi
Visit this Community
Baden-Württemberg, Germany
Joined: December 26, 2009
KitMaker: 813 posts
Model Shipwrights: 304 posts
Posted: Wednesday, March 30, 2016 - 03:41 PM UTC

*** UPDATE ***

Some more plastic parts were glued on the hull once the main deck was fixed, sanded and ready for the wooden deck later.
The rudder remains unglued and would be removed for the painting as well as the propeller shafts which will be installed after the painting too.


The hull is ready now for the "real work" - a lot of metal stuff.... frames and eyebrows for the portholes, the letters of the "Nelson" name and lot of etched parts more ....

Cheers
Micha
RedDuster
Visit this Community
England - South East, United Kingdom
Joined: March 01, 2010
KitMaker: 7,078 posts
Model Shipwrights: 6,649 posts
Posted: Wednesday, March 30, 2016 - 11:49 PM UTC
Coming on great Micha,

Love the monochrome pics in the update too.

Cheers

Si
JJ1973
#345
Visit this Community
Niedersachsen, Germany
Joined: August 22, 2011
KitMaker: 1,835 posts
Model Shipwrights: 1,832 posts
Posted: Thursday, March 31, 2016 - 01:14 AM UTC
Very nice work Micha - great job in tackling that plating issue!

I agree with Si, the monochrome gives a very interesting effect!

Cheers,
Jan
elmarriachi
Visit this Community
Baden-Württemberg, Germany
Joined: December 26, 2009
KitMaker: 813 posts
Model Shipwrights: 304 posts
Posted: Sunday, April 03, 2016 - 03:14 AM UTC
*** UPDATE ***

Some etched parts later.... the portholes... the "Nelson" name letters.... these will be polished after the paint so that the brass parts will remain visible at the end ...


Now 2nd side ...

Cheers
Micha
JJ1973
#345
Visit this Community
Niedersachsen, Germany
Joined: August 22, 2011
KitMaker: 1,835 posts
Model Shipwrights: 1,832 posts
Posted: Sunday, April 03, 2016 - 10:12 PM UTC
Quite a few portholes there looks really good though!! Lots of fiddly work I imagine...

I really like the brass nameplate, that should really stand out!

Cheers,
Jan
RussellE
#306
Visit this Community
Victoria, Australia
Joined: June 27, 2010
KitMaker: 3,959 posts
Model Shipwrights: 2,777 posts
Posted: Monday, April 04, 2016 - 02:53 PM UTC
Lots of fiddly work! but nicely handled Micha
elmarriachi
Visit this Community
Baden-Württemberg, Germany
Joined: December 26, 2009
KitMaker: 813 posts
Model Shipwrights: 304 posts
Posted: Saturday, April 09, 2016 - 09:55 PM UTC
*** UPDATE ***

One the hull was primered with Valleyo Black Primer a first layer of Royal Navy Grey (Tamiya XF80) was sprayed on the hull, the black primer still visible as shadows.
The "NELSON" sign on the rear end was polished then and remains in unpainted brass color.


The darker blue color on the hull is mixed with Lifecolor UA6262 Navy Blue 5N, Lifecolor UA638 W.A. Blue, plus a bit of white and dark grey. I do not like the light blue which is shown on the illustration of the Trumpeter kit as it seems to be much too palle, compared to original black/white photos, were this color looks much darker in my eyes.
I have masked the hull and sprayed this mixed color on the hull, the lighter grey still visible, to give the darker color some kind of bleached optic.


Now I will keep it a few days for drying, then masking again and painting the lower side in "Hull Red", then the black stripe around the hull.. then weathering

Cheers
Micha
Fordboy
Visit this Community
Auckland, New Zealand
Joined: July 13, 2004
KitMaker: 2,169 posts
Model Shipwrights: 1,597 posts
Posted: Sunday, April 10, 2016 - 01:05 AM UTC
Ahoy Micha

Nice updates.

I like the paint effects they are looking great.

Cheers


Sean
JJ1973
#345
Visit this Community
Niedersachsen, Germany
Joined: August 22, 2011
KitMaker: 1,835 posts
Model Shipwrights: 1,832 posts
Posted: Sunday, April 10, 2016 - 09:24 AM UTC
Micha,

the colors look spot on!! And they really make all the preparations you did to the hull, the work on the plating etc., really stand out!! Looks fantastic!

Cheers,
Jan
RedDuster
Visit this Community
England - South East, United Kingdom
Joined: March 01, 2010
KitMaker: 7,078 posts
Model Shipwrights: 6,649 posts
Posted: Monday, April 11, 2016 - 12:37 AM UTC
Hi Micha,

Looking good with some colour on.

Cheers

Si
elmarriachi
Visit this Community
Baden-Württemberg, Germany
Joined: December 26, 2009
KitMaker: 813 posts
Model Shipwrights: 304 posts
Posted: Monday, April 11, 2016 - 08:08 PM UTC
Thank you very much!

I think I will do the underwater area today... let's see if it works

Cheers
Michael
TRM5150
Visit this Community
Massachusetts, United States
Joined: January 03, 2010
KitMaker: 2,159 posts
Model Shipwrights: 1,400 posts
Posted: Wednesday, April 13, 2016 - 07:38 AM UTC
She's looking great under a little color Michael!
elmarriachi
Visit this Community
Baden-Württemberg, Germany
Joined: December 26, 2009
KitMaker: 813 posts
Model Shipwrights: 304 posts
Posted: Sunday, April 17, 2016 - 03:17 PM UTC
*** UPDATE ***

After the colors of the upper hull were dried, everything was masked and the under water area airbrushed with Tamiya's "Hull Red".


Once dry the upper- and lower area was masked again for the painting of the black stripe. Tamiya's NATO-Black was used for that. A layer of "Future" was sprayed over everything to save the paint for the weathering and to get a smooth surface.


A first washing with high deluted black oilcolors was added next. Always vertically spread on the hull with a thick brush. As long as the washing was still wet, I have added small dots of black oil color under each porthole and spread these with the same washing vertically.
Some rust will follow later at the anchors in the same way, but this will be done later.
A layer of matt clear coat by Valleyo followed and finished most of the painting of the hull.


Next step is adding "glass" to the portholes, sanding the "NELSON" letters once again (to clean it from the matt coat), then the wooden deck follows.

Cheers
Micha
 _GOTOTOP