Ships by Class/Type: Frigates
This is for topics on modern Frigates. For the sailing variety they should still go under Sailing.
Australian FFG (Oliver Hazard Perry Class)
Choowy
Visit this Community
Victoria, Australia
Joined: April 17, 2015
KitMaker: 125 posts
Model Shipwrights: 125 posts
Posted: Wednesday, November 28, 2018 - 03:34 PM UTC

Quoted Text

Hi Ned,

Just picked up on this build.

Great work so far, the upgrade looks well up to Pontos' usually complete standard.

will be following along for the ride.

Cheers


Si


Thanks Si, yes Pontos does a nice job.
Choowy
Visit this Community
Victoria, Australia
Joined: April 17, 2015
KitMaker: 125 posts
Model Shipwrights: 125 posts
Posted: Wednesday, November 28, 2018 - 04:05 PM UTC
Main mast, didn't use the flat Pontos PE struts, decided the kit parts were more realistic.


After paint, left the top section off to avoid breakage until final assembly.


Flag deck lockers, Satcom dishes and artificial horizon for the flightdeck.


RussellE
#306
Visit this Community
Victoria, Australia
Joined: June 27, 2010
KitMaker: 3,959 posts
Model Shipwrights: 2,777 posts
Posted: Wednesday, November 28, 2018 - 09:37 PM UTC
That mast looks really good Ned
surfsup
Visit this Community
Queensland, Australia
Joined: May 20, 2010
KitMaker: 1,230 posts
Model Shipwrights: 1,212 posts
Posted: Thursday, November 29, 2018 - 12:31 AM UTC
Really enjoying your work on this one. Have the same Kit with Different P/E so watching this one with interest.....Cheers mark
Choowy
Visit this Community
Victoria, Australia
Joined: April 17, 2015
KitMaker: 125 posts
Model Shipwrights: 125 posts
Posted: Monday, December 03, 2018 - 06:41 PM UTC
Thanks guys!

Got the deck prepped with a coat of the deck grey.


Maybe foolishly I painted the superstructure vertical surface prior to attaching to the deck as I wasn't confident of getting a good clean line if I painted it later.


Superstructure attached.

[/url]

Some clean up and filling and sanding needed.


Touch up final coat.
RedDuster
Visit this Community
England - South East, United Kingdom
Joined: March 01, 2010
KitMaker: 7,078 posts
Model Shipwrights: 6,649 posts
Posted: Monday, December 03, 2018 - 08:47 PM UTC
Hi Ned,

Good choice on the mast, in this scale the kit mast masts if they are finely moulded enough do look better.

Nice to see the big bits coming together.

Cheers

Si
Choowy
Visit this Community
Victoria, Australia
Joined: April 17, 2015
KitMaker: 125 posts
Model Shipwrights: 125 posts
Posted: Sunday, December 09, 2018 - 06:28 PM UTC
Thanks Si, getting close to running out of old pics of progress over the last few years and I'll have to hit the bench again to get it all together.

Anti-foul treatment on Oz ships is all black.


Added the boat deck.


Australian FFG's had additional ventilator stacks fitted on the focsle. Scratch built some simple ones out of rod.


Bridge and ladder fitted along with some AAC deck accessories


Started adding some 02 deck parts, stack, 76mm main gun, CIWS rounds locker, ventilation fans, aft RAS points and comms.

RedDuster
Visit this Community
England - South East, United Kingdom
Joined: March 01, 2010
KitMaker: 7,078 posts
Model Shipwrights: 6,649 posts
Posted: Sunday, December 09, 2018 - 08:47 PM UTC
Nice work Ned,

The superstructure looks the business in place, neat job painting the deck too.

Cheers

Si
RussellE
#306
Visit this Community
Victoria, Australia
Joined: June 27, 2010
KitMaker: 3,959 posts
Model Shipwrights: 2,777 posts
Posted: Sunday, December 09, 2018 - 11:48 PM UTC
Always good to see a RAN ship get built up Ned

Nice work blending the hull to the superstructure
Choowy
Visit this Community
Victoria, Australia
Joined: April 17, 2015
KitMaker: 125 posts
Model Shipwrights: 125 posts
Posted: Tuesday, December 11, 2018 - 04:52 PM UTC
Thanks guys, I dont know how you make more than one model, takes too long to get into the groove. This one will be it for me!!.

Added the bollards starting at the focsle. I assembled the 3 piece PE then set them in position. It would have been easier I think to just dril the hole and assemble them in position. Id also fitted the Mk13 launcher (added a rail to the kit piece) and added the fwd Vertrep markings and launcher warning decals. Went on OK but lots a silvering which I'm not sure how to reduce just yet, maybe some careful touch ups. Oh yeah added anchor chain (kit chain was sus looking so I found a scale alternative) Should be stud-link technically but where do you stop!!


Added the fire hoses as well. Painted the bollards and looks OK.

RussellE
#306
Visit this Community
Victoria, Australia
Joined: June 27, 2010
KitMaker: 3,959 posts
Model Shipwrights: 2,777 posts
Posted: Wednesday, December 12, 2018 - 08:55 PM UTC

Quoted Text

Thanks guys, I dont know how you make more than one model, takes too long to get into the groove. This one will be it for me!!.


Hi Ned!

Well, I do hope you'll reconsider that: For your one and only build you're doing a cracking job!

TBH, as much as I take ages to build ships, it's kinda my only outlet to let off steam after a hard day at the office, so it's kinda addictive in a way...
Quincannon
Visit this Community
Colorado, United States
Joined: June 22, 2018
KitMaker: 275 posts
Model Shipwrights: 273 posts
Posted: Thursday, December 13, 2018 - 03:40 AM UTC
I hope you reconsider as well. I have never seen anyone make a Perry any better than yours, and most not nearly as good.

I would hope you would consider making Vampire or Vendetta from a kit made right there in OZ.
JJ1973
#345
Visit this Community
Niedersachsen, Germany
Joined: August 22, 2011
KitMaker: 1,835 posts
Model Shipwrights: 1,832 posts
Posted: Saturday, December 15, 2018 - 08:36 AM UTC
Hi Ned!

I could not agree more with what was already said here, yours is a fantastic build of an OHP. Now, I'm not so familiar with the Australian ones, but pretty familiar with the U.S. ones, and from all I can see I can say you are doing a fantastic job!!

Cheers,
Jan
Choowy
Visit this Community
Victoria, Australia
Joined: April 17, 2015
KitMaker: 125 posts
Model Shipwrights: 125 posts
Posted: Sunday, December 16, 2018 - 04:43 PM UTC

Quoted Text


Quoted Text

Thanks guys, I dont know how you make more than one model, takes too long to get into the groove. This one will be it for me!!.


Hi Ned!

Well, I do hope you'll reconsider that: For your one and only build you're doing a cracking job!

TBH, as much as I take ages to build ships, it's kinda my only outlet to let off steam after a hard day at the office, so it's kinda addictive in a way...


Thanks Rus, too kind!! Still I think this might do, too many bits (says I who added over 250 PE parts voluntarily!!)
Choowy
Visit this Community
Victoria, Australia
Joined: April 17, 2015
KitMaker: 125 posts
Model Shipwrights: 125 posts
Posted: Sunday, December 16, 2018 - 04:44 PM UTC
Thanks Chuck, hope I'm doing it justice, they are a nice looking ship. HMAS Vampire, last of the big gun destroyers, its a museum ship in Sydney now. Would be a nice choice.

Thanks also Jan, very similar to the original US versions until later in their life where they changed a fair bit in an effort to extend their usefulness.
Choowy
Visit this Community
Victoria, Australia
Joined: April 17, 2015
KitMaker: 125 posts
Model Shipwrights: 125 posts
Posted: Sunday, December 16, 2018 - 05:11 PM UTC
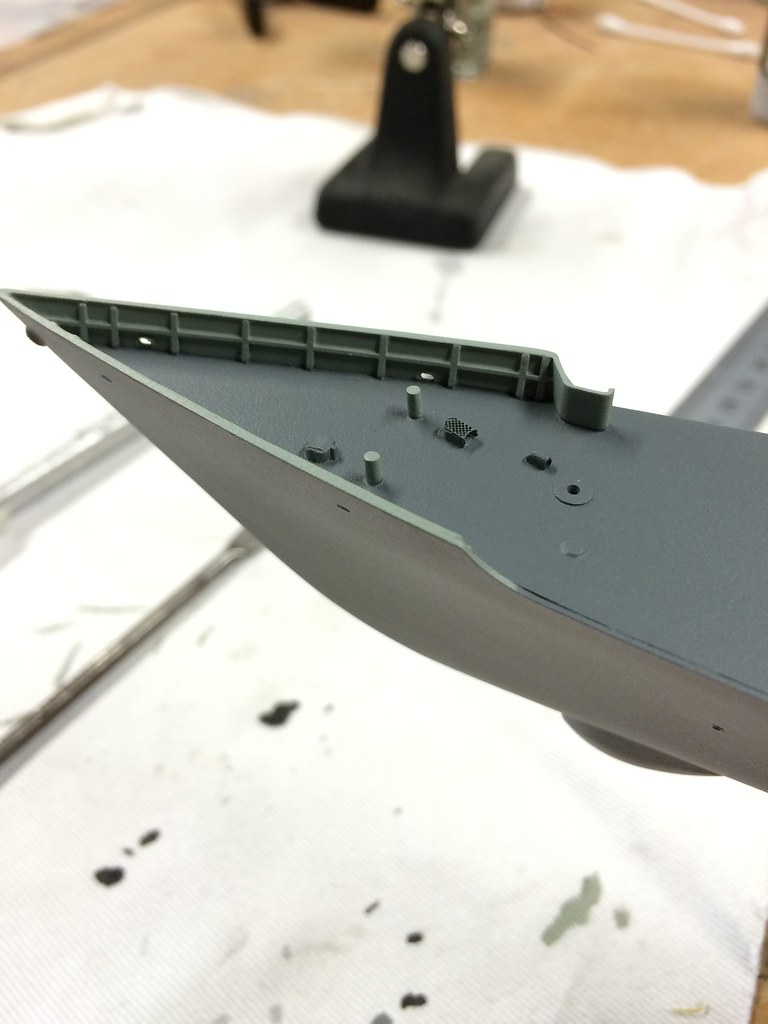
I decided to fit the original ships whaler boat instead of using the more modern RIB and the modified boat crane.

This meant having to scratch build one as the Academy kit and Pontos supplied a RIB. Again what was I thinking???

Its not as good as the one "Blespooky" did which by the way is a very nice FFG build, so much better extra detail scratch built than mine.


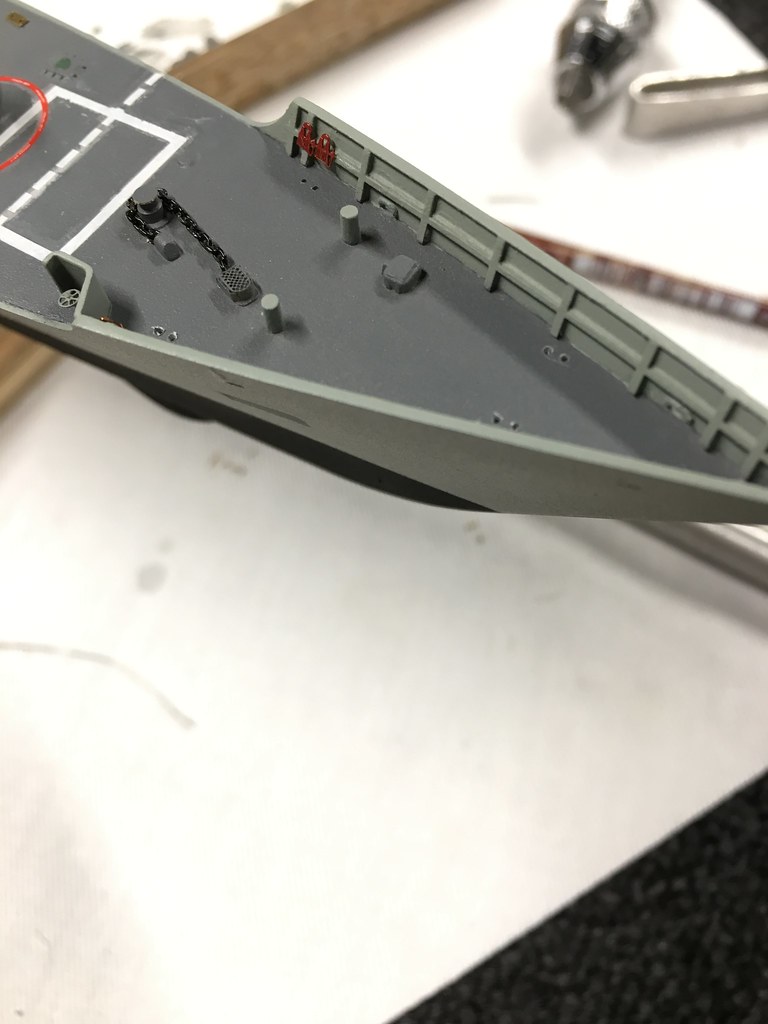
I did use some of the parts from the Pontos RIB and the result is close enough to the original boat. I need to tidy up the trim around the top and the outside, colour is not quite "wood" enough and a bit sloppy with the brush.


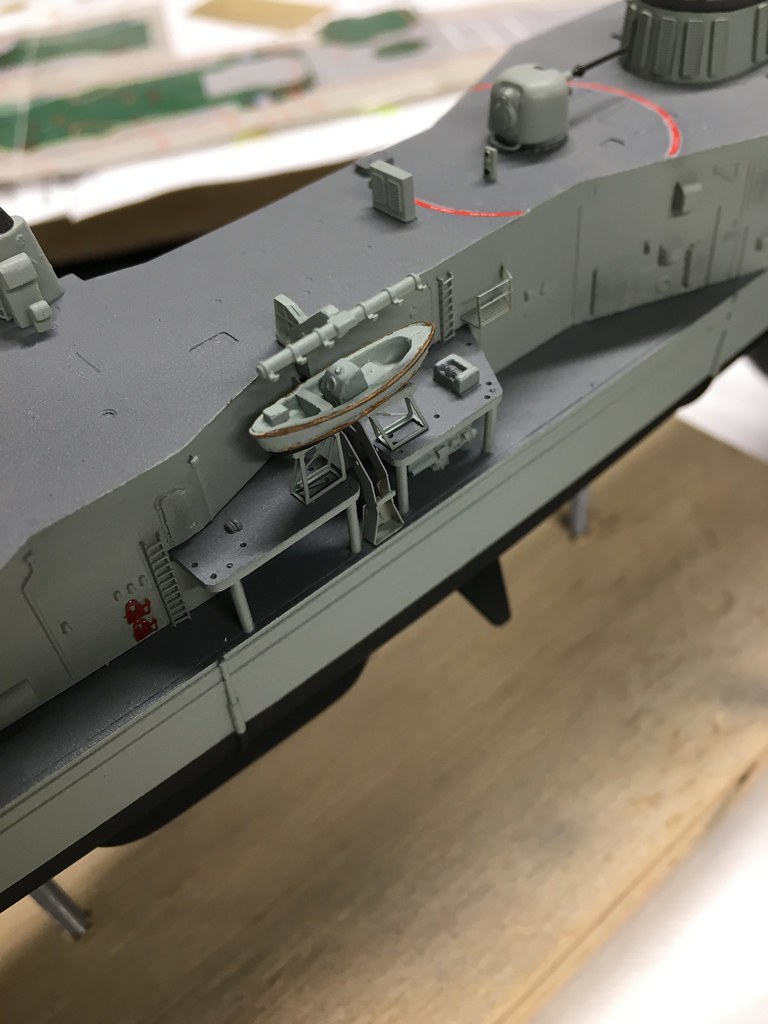
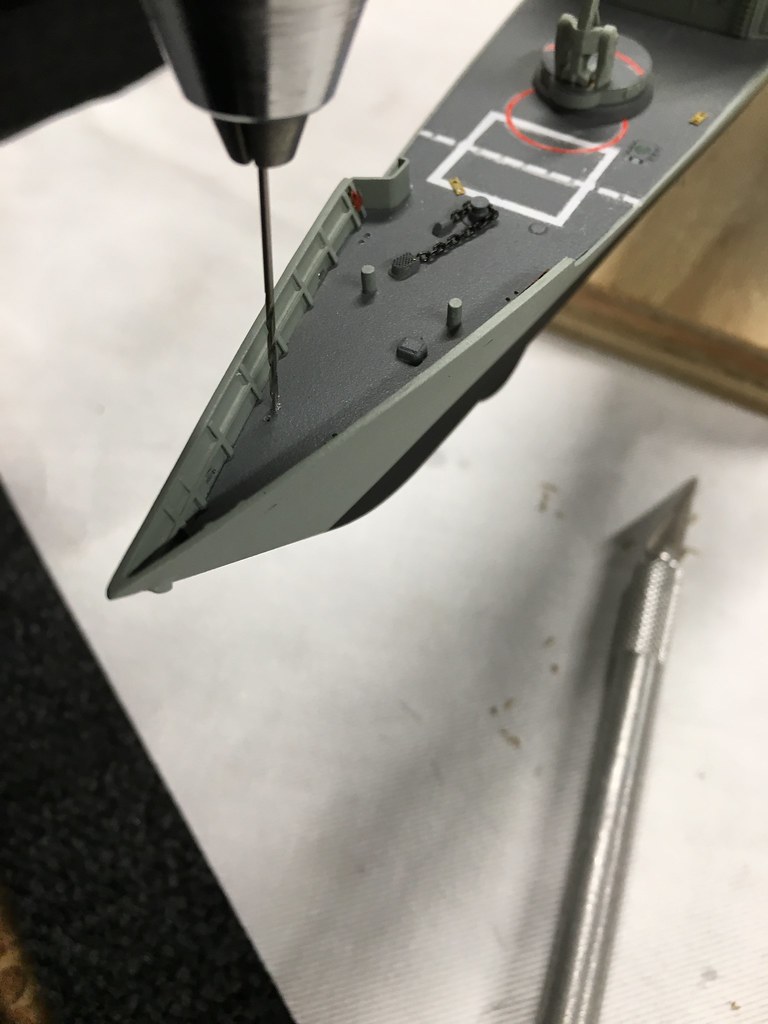
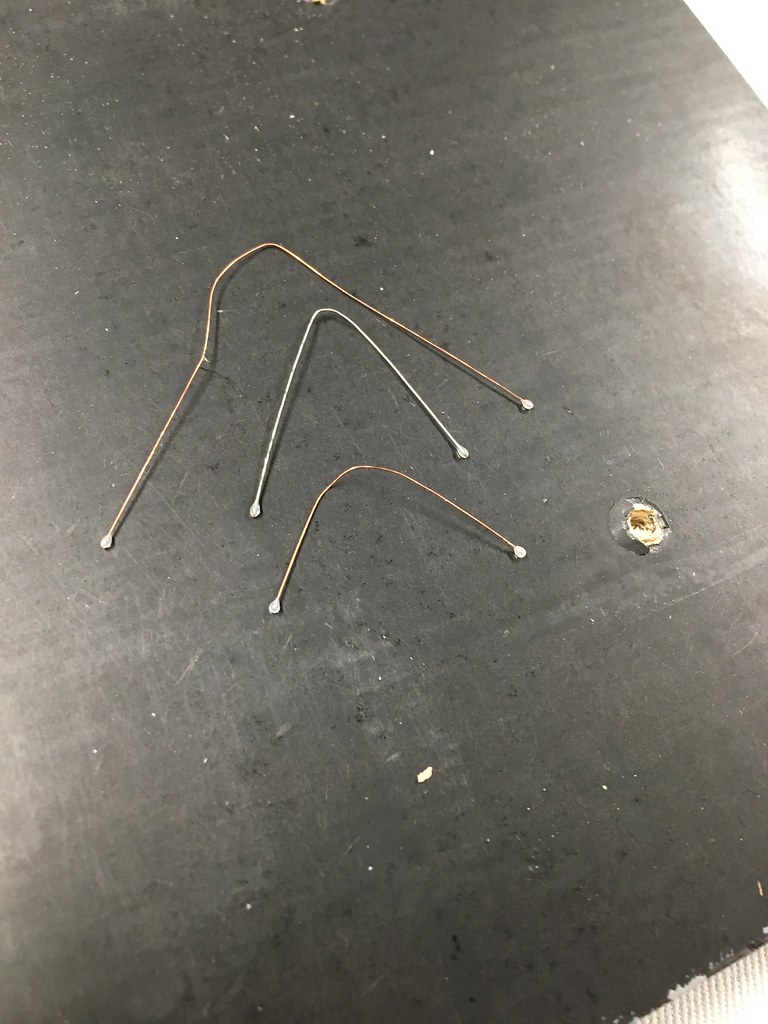
I had to make 6 small bags that hold a rope each which is used to provide some basic support as the boat is lowered. Used Si's trick of rolling wire to make them straight then added a drop of PVA to each then another after they had started to set to form a small bag shape.

They will get painted and fitted.


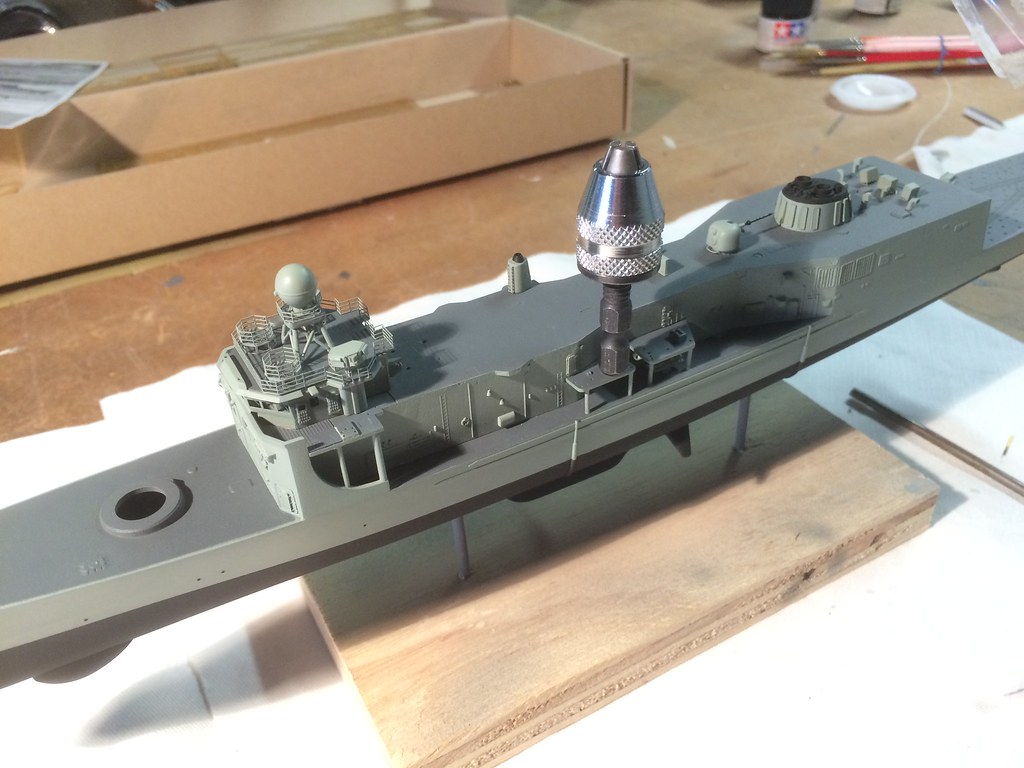
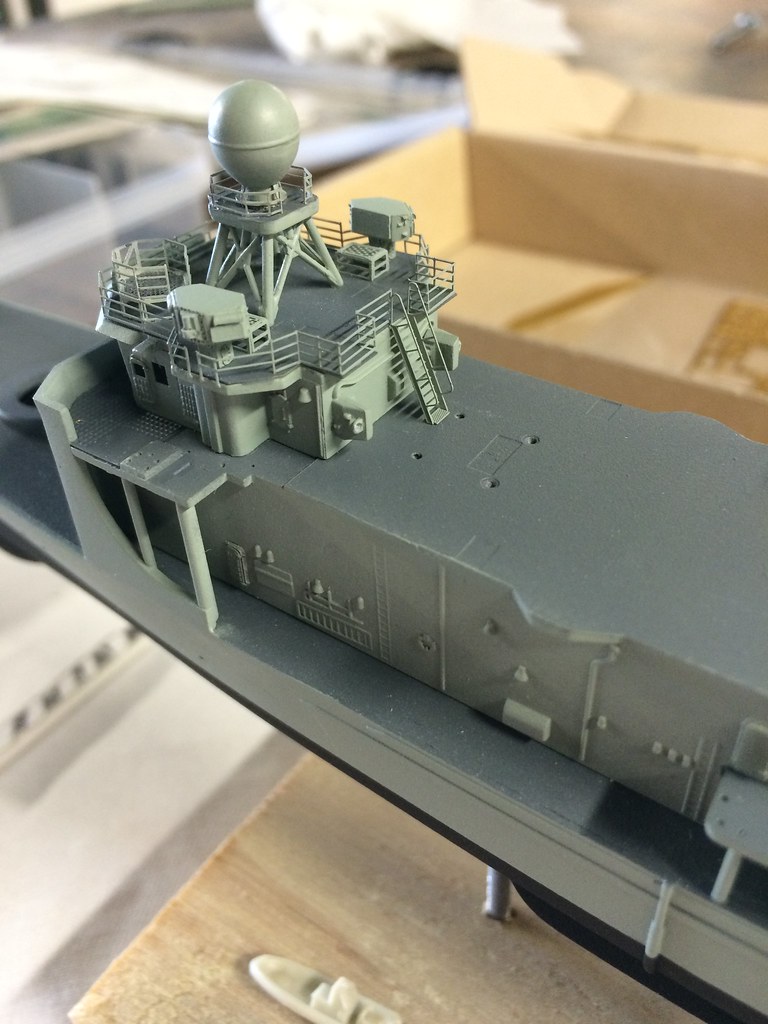
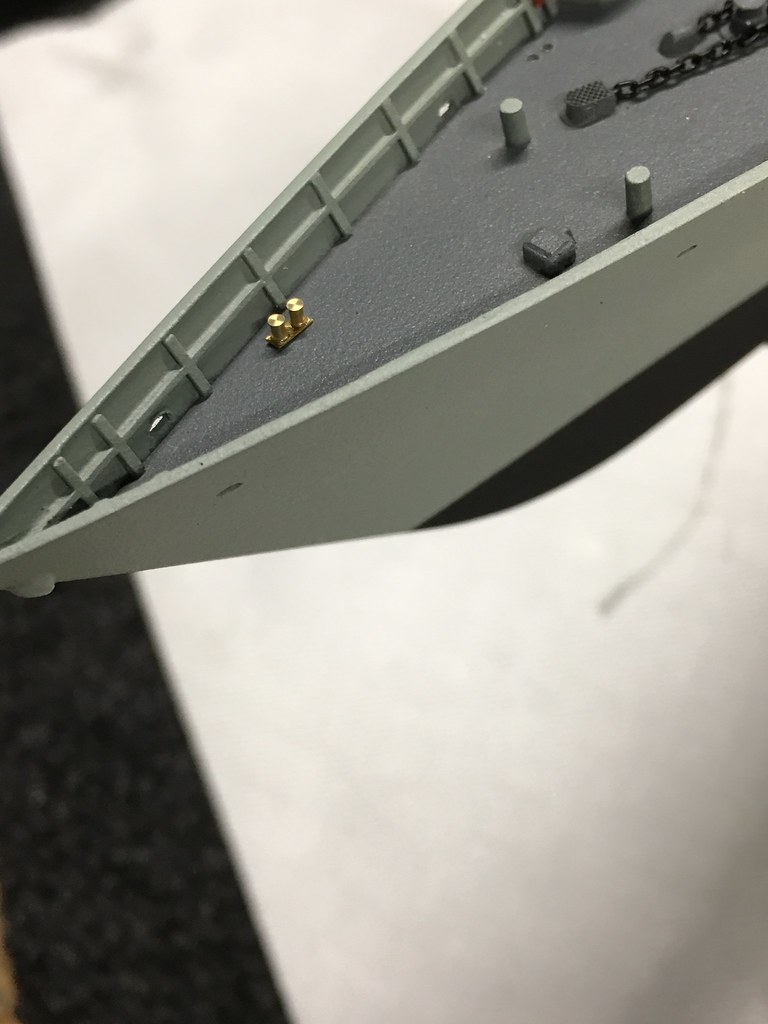
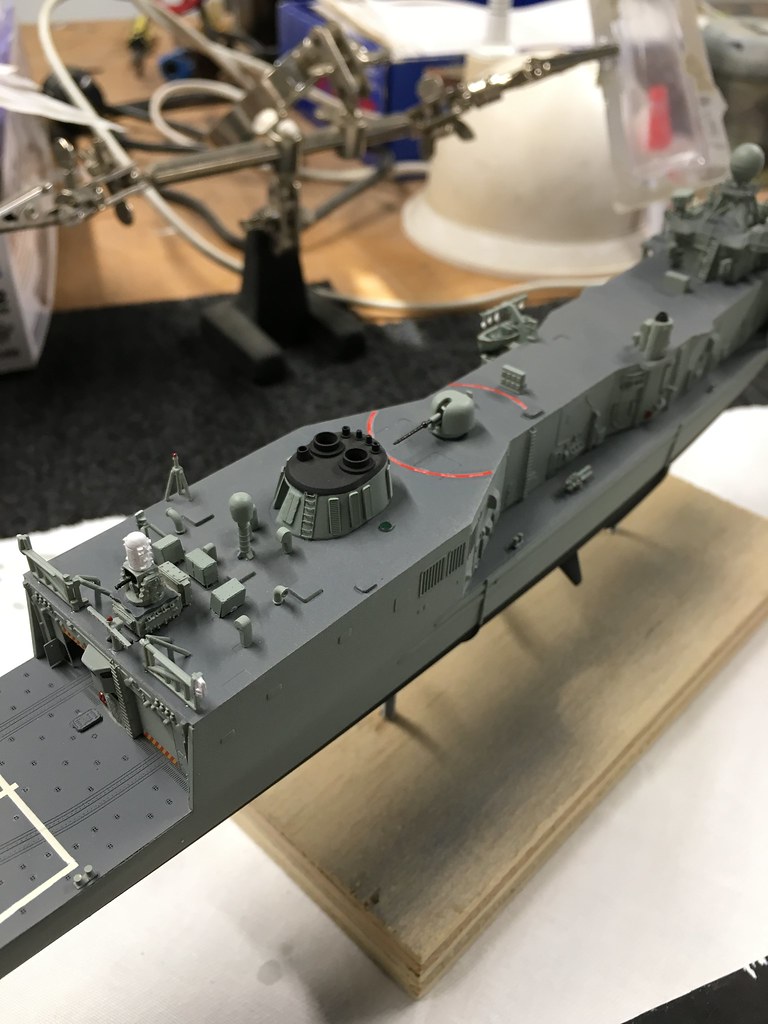
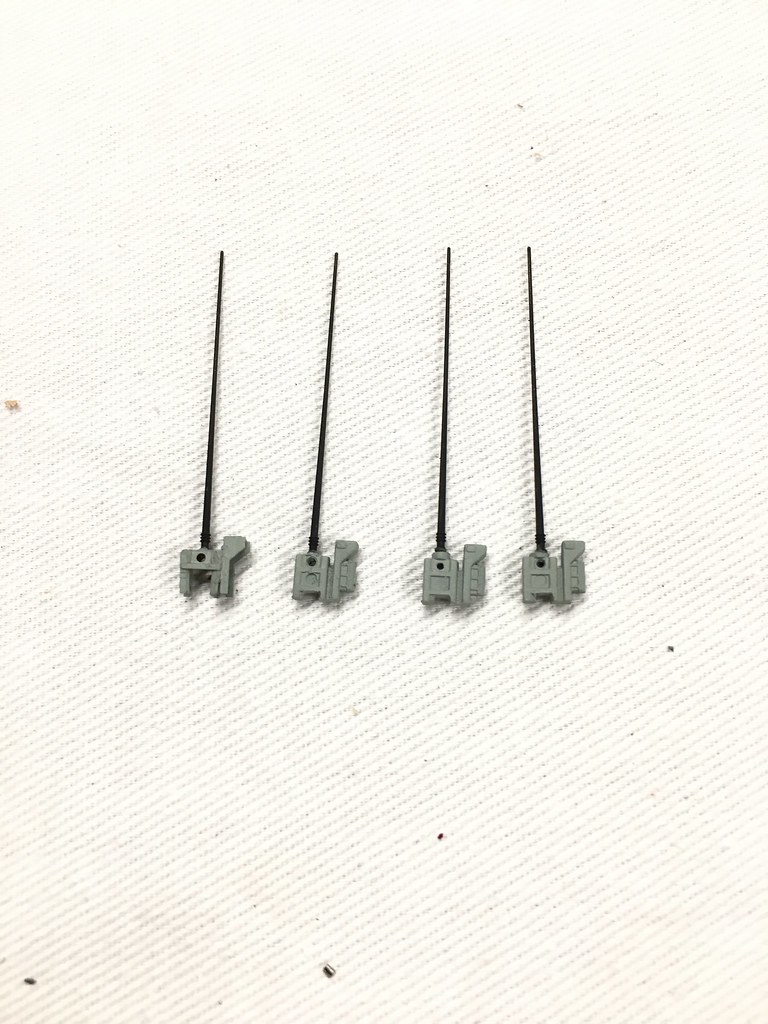
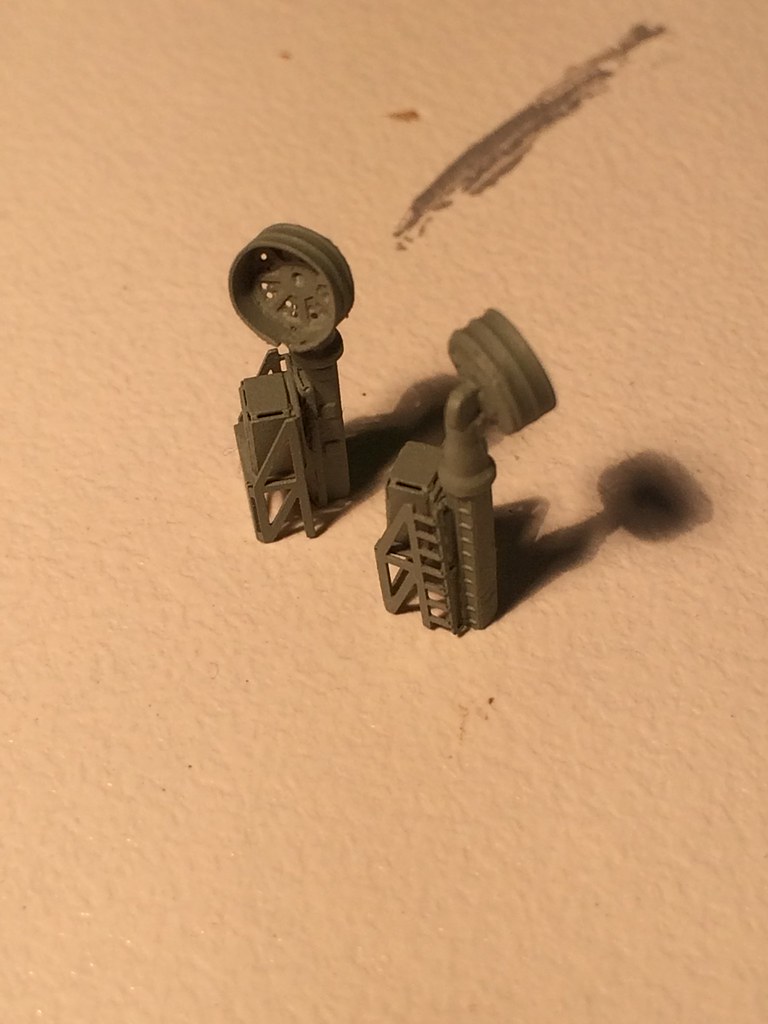
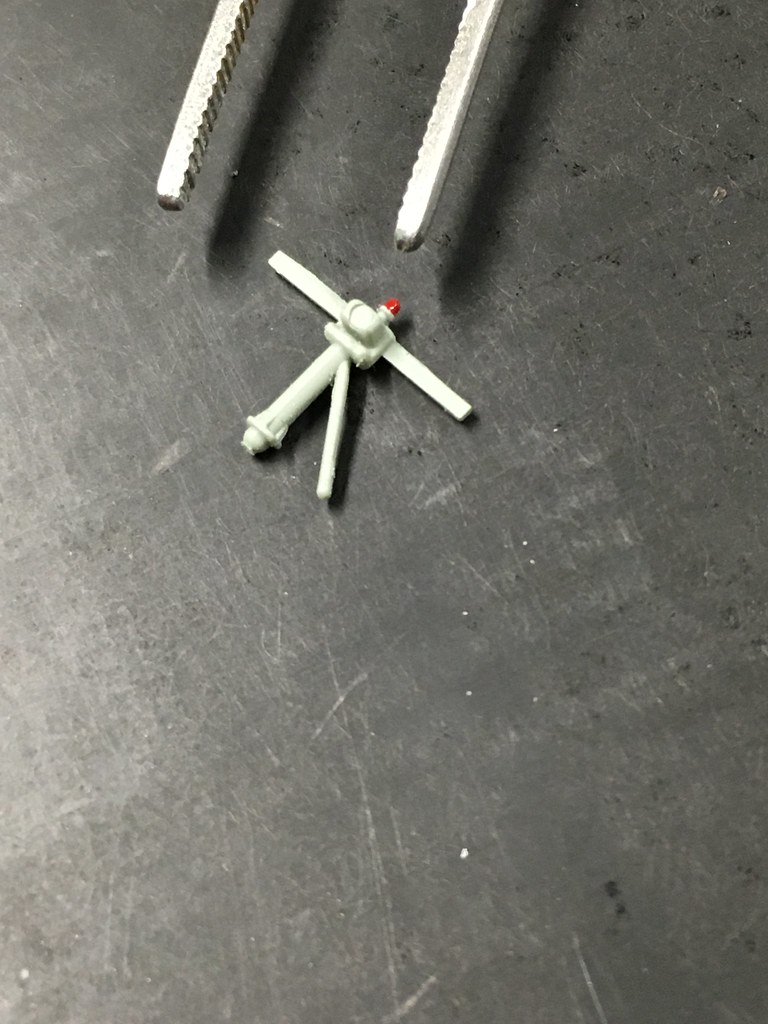
Australian FFG's had one additional "Whip" antenna than the US version. The Pontos kit doesn't have enough so I've used 4 of the 5 brass antennas in the kit and used the original plastic antennas for the 2 that sit above the bridge.

I also wasn't that impressed with the PE version of the antenna base assembly support (they lower the whips when operating a helo) so I used the original molded ones and one of the PE versions to make up the 4. USN version FFG's only had 3.

RedDuster
Visit this Community
England - South East, United Kingdom
Joined: March 01, 2010
KitMaker: 7,078 posts
Model Shipwrights: 6,649 posts
Posted: Sunday, December 16, 2018 - 07:12 PM UTC
Hi Ned,

Nice progress, like idea of building the bags up with PVA.

Cheers

Si
surfsup
Visit this Community
Queensland, Australia
Joined: May 20, 2010
KitMaker: 1,230 posts
Model Shipwrights: 1,212 posts
Posted: Tuesday, December 18, 2018 - 09:03 PM UTC
That is some really nice work.....Cheers Mark
Quincannon
Visit this Community
Colorado, United States
Joined: June 22, 2018
KitMaker: 275 posts
Model Shipwrights: 273 posts
Posted: Thursday, December 20, 2018 - 05:41 AM UTC
No Ned, the Vendetta I was referring to was the V and W Class Vendetta of WWII, which Showcase Models of Australia has recently issued. Looks like a splendid kit, and if it is of the same quality standards as their HMAS Collins it should be an outstanding model and a delight to build.

Can't find one yet among the usual suspect on line hobby shops here in the States yet, but I will continue until I find one.

Always liked the V and W Class. They are the RN, RAN counterparts of our four pipers of the Wickes and Clemson Classes, brought out of the stable for one last ride in WWII.

If you are interested Douglas Reeman wrote of life on a W during WWII in his novel :The Destroyers". Very good read, as are all of his Douglas Reeman and Alexander Kent novels are
Choowy
Visit this Community
Victoria, Australia
Joined: April 17, 2015
KitMaker: 125 posts
Model Shipwrights: 125 posts
Posted: Sunday, July 28, 2019 - 10:34 PM UTC
Well its been a while, finally got my act together and can see the finish line.

Started adding some of the aft section details. Flightdeck bollards.


Aft stores hatch, CIWS mount, artificial horizon (was too tall so was trimmed down) Port side Fueling davit.


Working on some of the railings on 02 deck so I can fit off the extra RAS davit points.
trahe
Visit this Community
Virginia, United States
Joined: April 03, 2006
KitMaker: 1,158 posts
Model Shipwrights: 117 posts
Posted: Sunday, July 28, 2019 - 11:32 PM UTC
Ned, looking really good!
ChurchSTSV
Visit this Community
Arizona, United States
Joined: September 20, 2017
KitMaker: 350 posts
Model Shipwrights: 175 posts
Posted: Monday, July 29, 2019 - 06:59 AM UTC
Great to see this build get going again!! Great work so far!
d6mst0
#453
Visit this Community
Texas, United States
Joined: August 28, 2016
KitMaker: 1,925 posts
Model Shipwrights: 1,298 posts
Posted: Monday, July 29, 2019 - 09:16 AM UTC
Ned,

Nice, very nice work.

Mark
RussellE
#306
Visit this Community
Victoria, Australia
Joined: June 27, 2010
KitMaker: 3,959 posts
Model Shipwrights: 2,777 posts
Posted: Monday, July 29, 2019 - 09:42 AM UTC
Great to see this one back on the bench Ned
Choowy
Visit this Community
Victoria, Australia
Joined: April 17, 2015
KitMaker: 125 posts
Model Shipwrights: 125 posts
Posted: Wednesday, July 31, 2019 - 09:31 PM UTC
Thanks guys, appreciate the support.

Mainly been working through smaller additions and some planning on what order to do things to minimise risk of messing up.

Even though I had stored it in a cupboard there was a fine film of dust which I carefully cleaned off today using a small paintbrush and lots of cotton swabs.

I've now moved it into a box for safe keeping.


Added the flight-deck markings (dry rub transfer) The Pontos set came with it and I wasn't prepared to use the kit supplied wet decal due to large amount of carrier film. I had really bad silvering issues with the smaller decals. I think I'll try adding a clear gloss to the bow area for the ships number to get a better result with the wet decals then matt coat it. I have some spare numerals which I can experiment with first on a scrap piece.

I had a slight misalignment issue with the marking but I think I can hide it with the Port side flight deck nets.


Aft RAS platforms added. They were removed off the US FFG's later in life.